The best camera deals, reviews, product advice, and unmissable photography news, direct to your inbox!
You are now subscribed
Your newsletter sign-up was successful
Watch video: Landscape photography masterclass – shutter speed
In Part Two of our landscape photography skills series, we covered aperture and the role it plays in depth of field as well as exposure. In this project we'll run through another, equally important setting: shutter speed, which determines how long the shutter is open and your camera’s digital sensor is exposed to light.
Your shutter speed is an integral part of the exposure triangle, which along with aperture and ISO value dictates how sensitive your camera’s sensor is to light. We’ll cover all this, and how these values can be used to make images lighter or darker, in more detail later on in this series.
• Read more: Best lenses for landscapes
A longer shutter speed will enable you to inject a sense of motion, and blur moving objects within the frame, although it will cause camera shake when you’re shooting handheld. You could also choose a really fast shutter speed of, say 1/2000 sec, which would freeze motion. Extending the shutter speed will mean the aperture will need to be closed, or the ISO lowered, to maintain a good exposure, or vice versa when choosing a faster shutter speed.
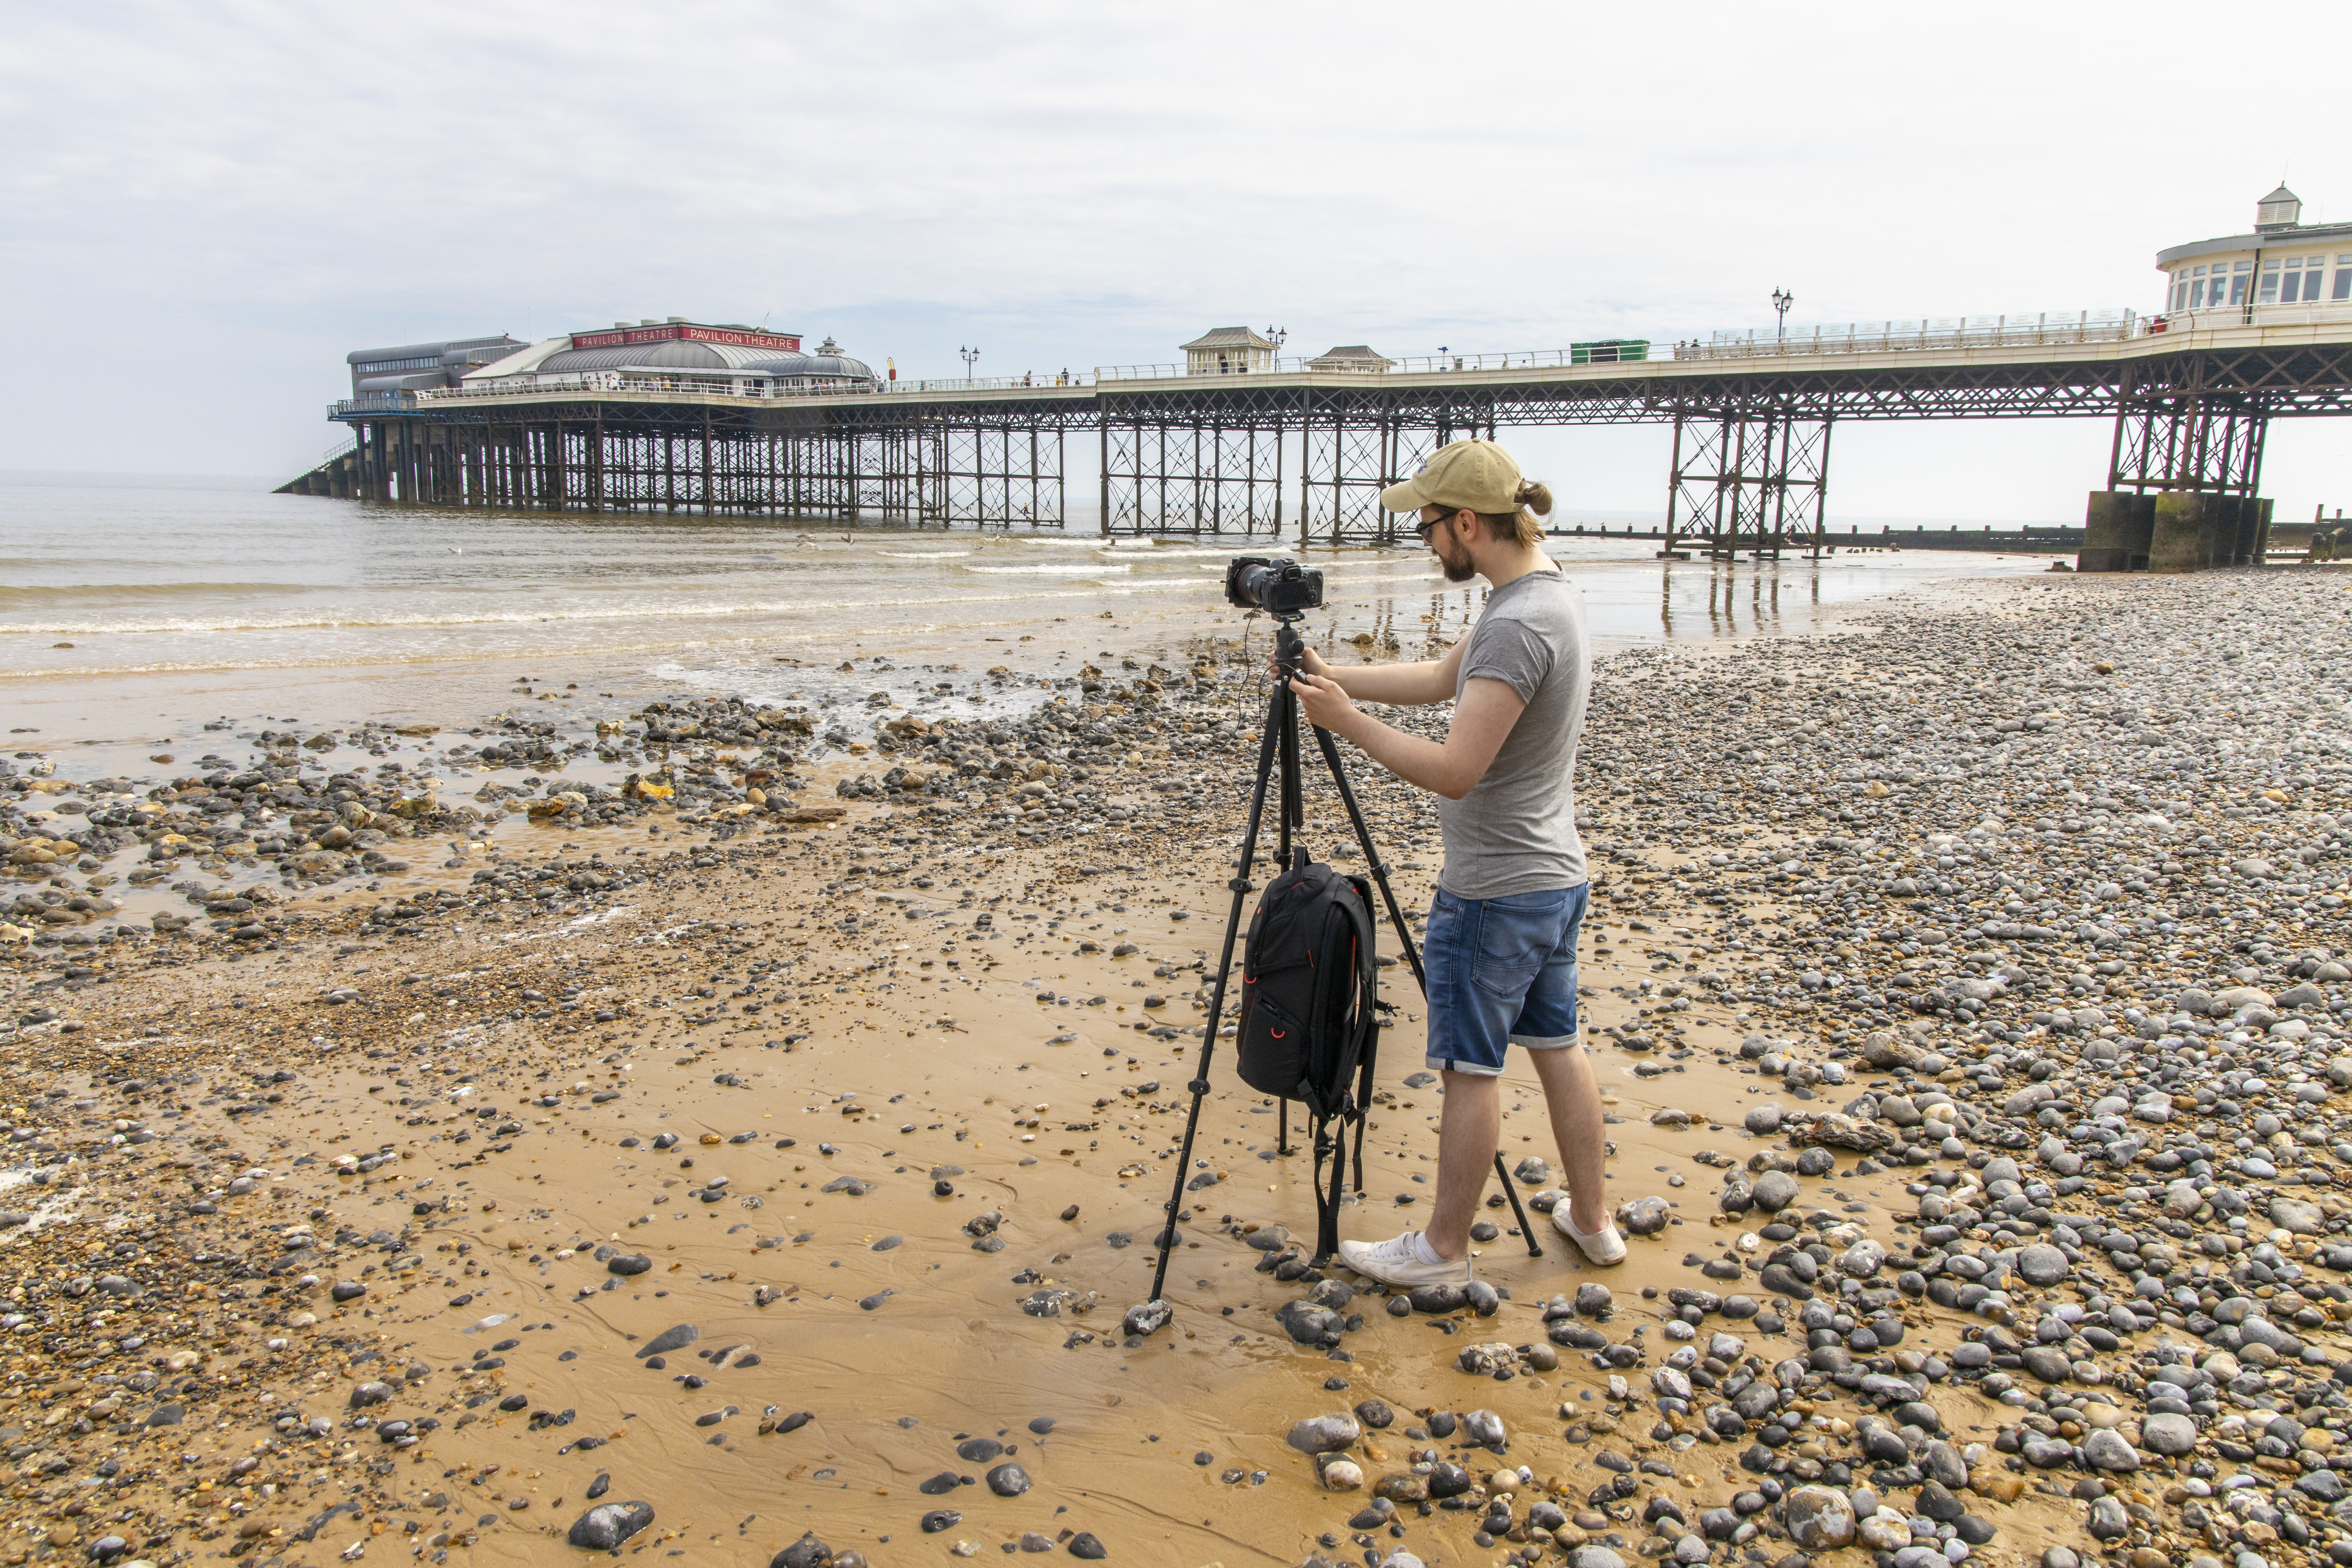
A tripod is essential when trying to blur moving elements in landscapes, as it means that the stationary parts will appear sharp in shot. Be sure to use a sturdy set of legs, and try hanging your camera bag off your tripod or center column to add a bit more weight, like we did – this helps secure it even more by acting like a ballast. Here’s everything you need to know…
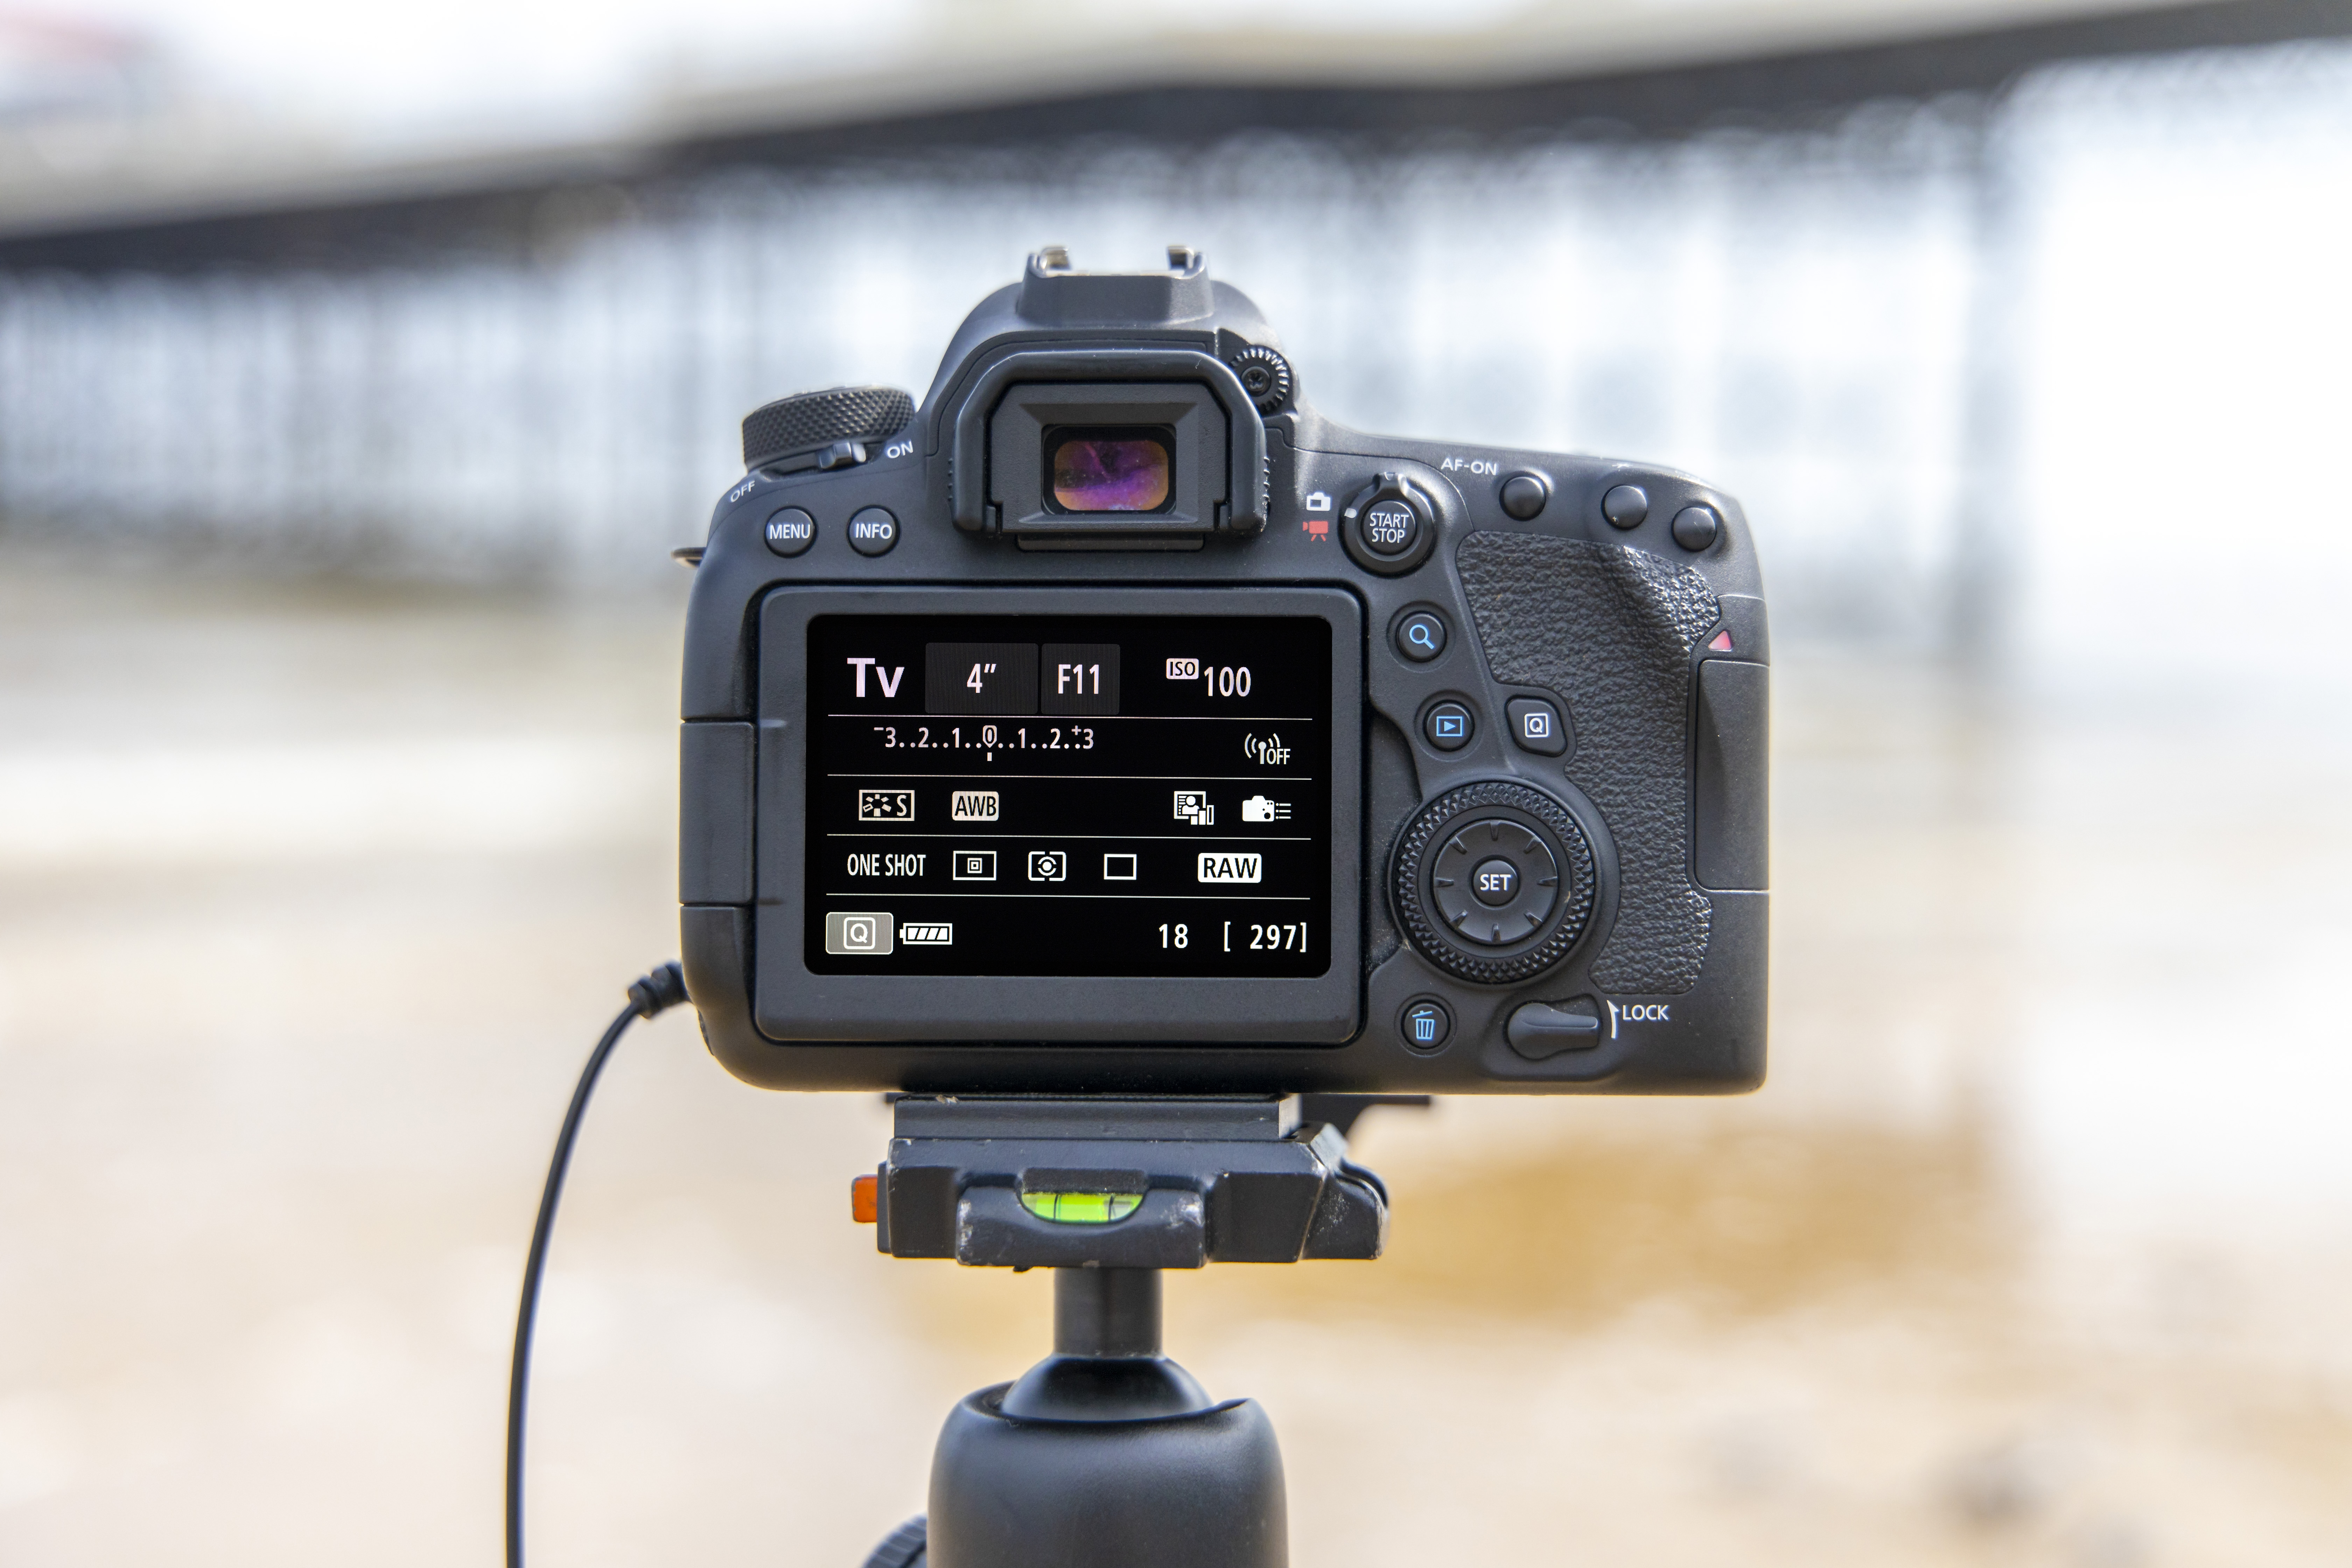
01 Go into Shutter Priority mode
To start taking control of your exposure, go into shutter priority (S) mode on your mode dial, also called Tv (Time value) on Canon cameras. Here you can dial in the shutter speed you want to use. If you want to extend the shutter speed you’ll need to choose your lowest ISO value and then input your desired shutter speed.
The best camera deals, reviews, product advice, and unmissable photography news, direct to your inbox!
It’s a semi-automatic mode, which means that the camera will work out the aperture value needed to achieve a correctly exposed image. If the aperture value blinks it means that the aperture can’t close down or open up any further, so you will get an over or underexposed image. You’ll be unlikely to achieve an exposure slower than 1/5 sec even on a dark and gloomy overcast day, though you should easily be able to achieve exposure times of around 30 secs at dusk and twilight.
To help us achieve these long exposure times in the middle of the day that's where Neutral Density (ND) filters come in…
02 Block out light with a Neutral Density (ND) filter
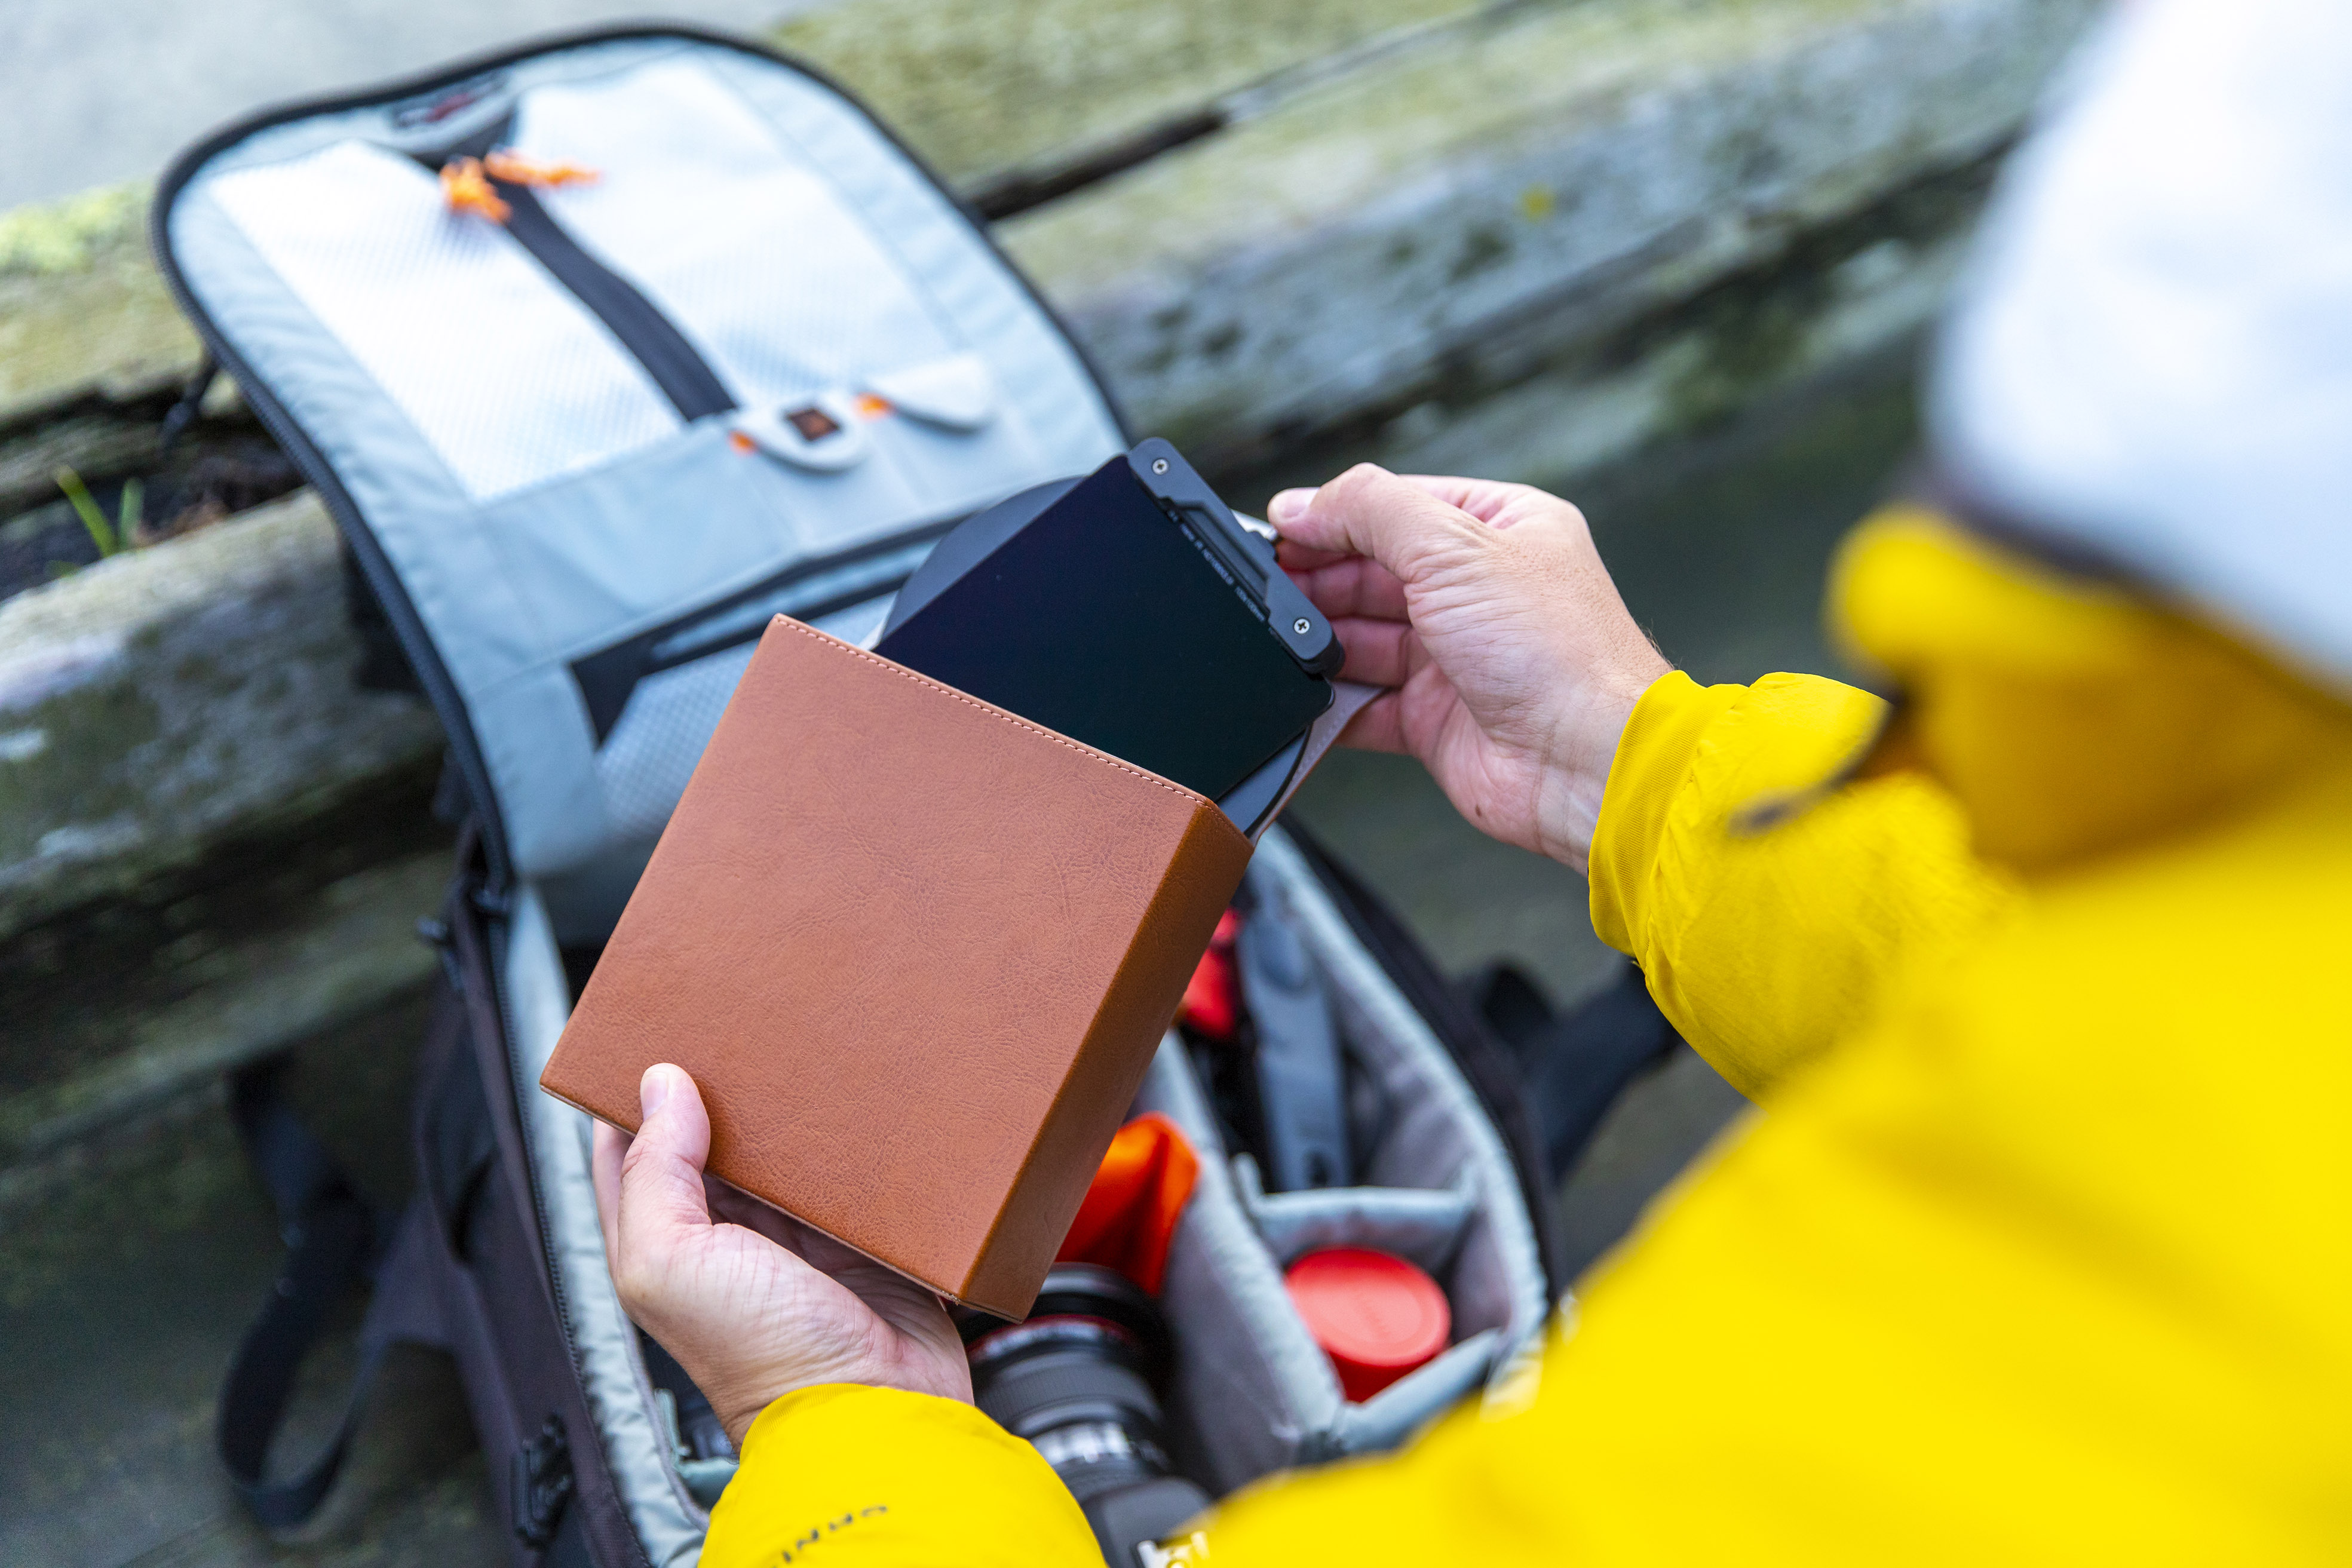
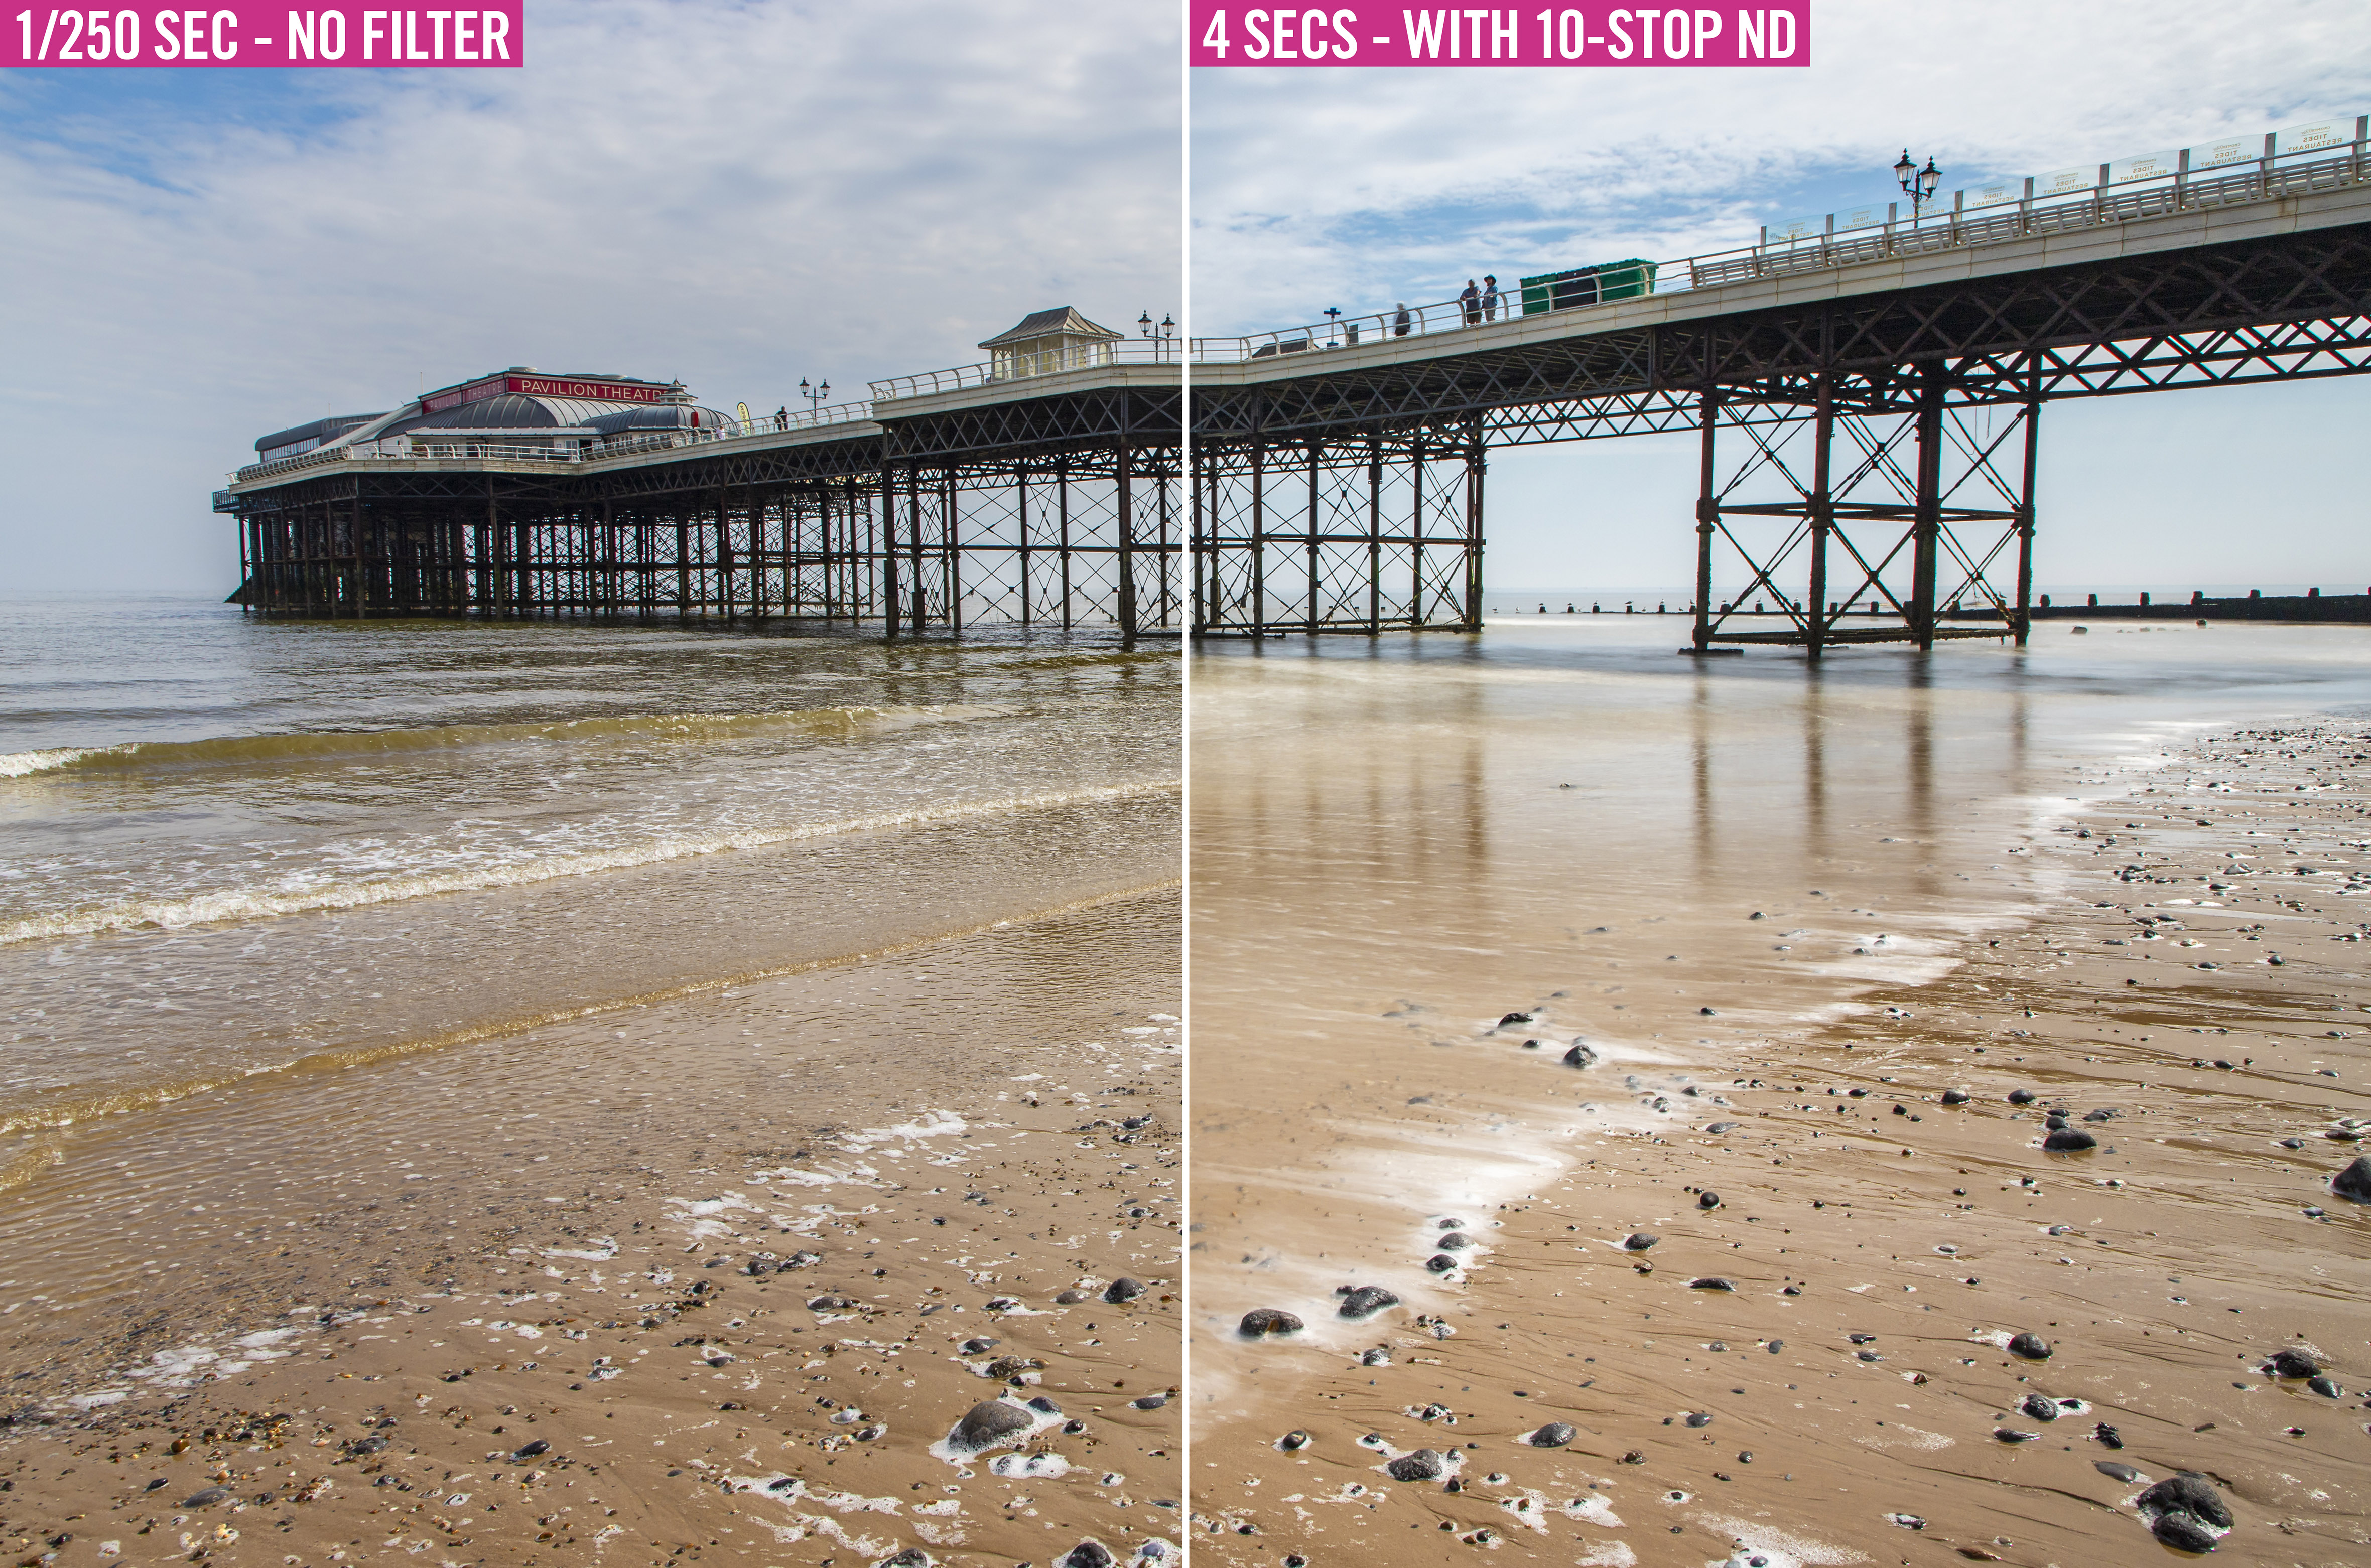
Neutral density filters act as sunglasses for your camera, blocking out light and making it possible to shoot at much slower shutter speeds. For example a 10-stop ND filter would turn a standard 1/60 sec exposure into 15 secs. They’re called ‘neutral density’ because they’re supposed to be completely neutral and not affect the colors and tones within the shot, though generally when you go up to stronger filters you see a slight color cast, which is easily fixed in post-processing.
ND filters come in different strengths and different shapes, too, with round ones that screw into the front filter thread of your lens, and square or rectangular ones that slot into a dedicated filter holder.
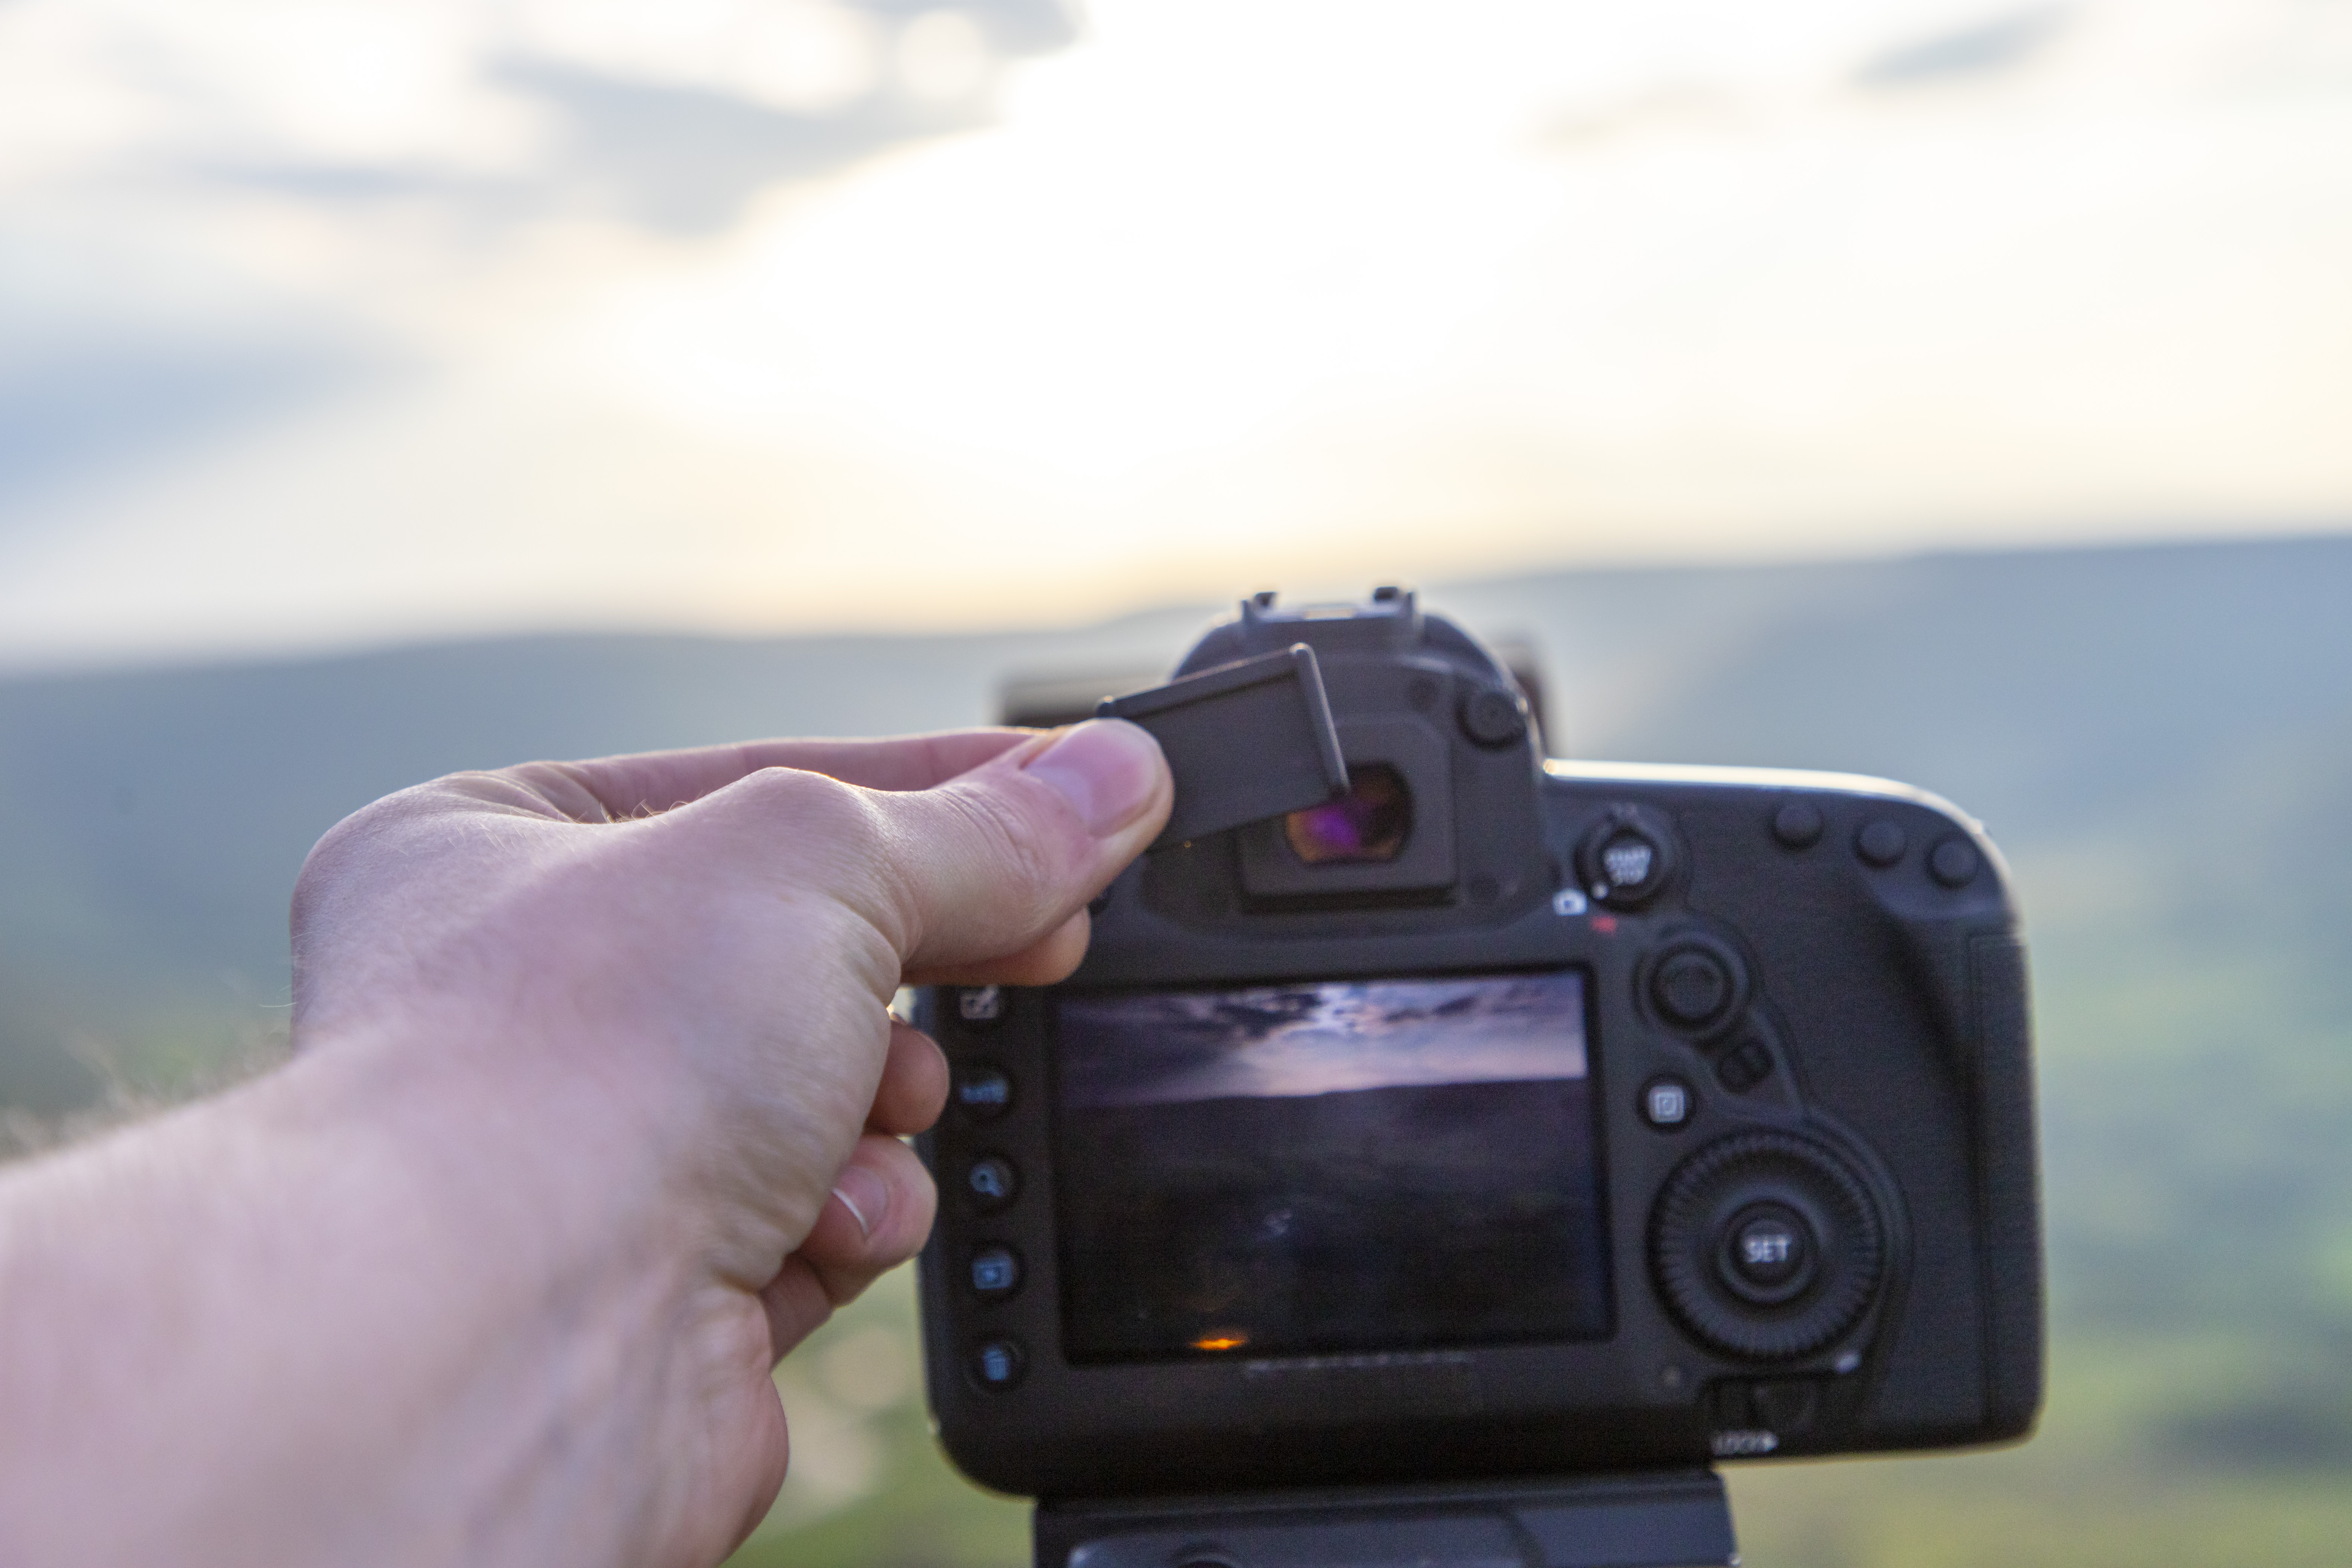
When using neutral density filters you’ll want to make sure you cover up the viewfinder to stop light leaking in when using a DSLR. The leaking light can create flare and faded images when shooting long exposures. This only applies to DSLRs, however, as they have an optical viewfinder; mirrorless cameras don't experience this issue.
Pretty much every DSLR will come with an eyepiece cover in the camera box, and you can pop the eye piece off and cover it up with this piece of plastic or rubber. Some DSLRs like the Nikon D850 have a built-in eyepiece-blocking mechanism.
• Best neutral density filters
03 Take a test shot
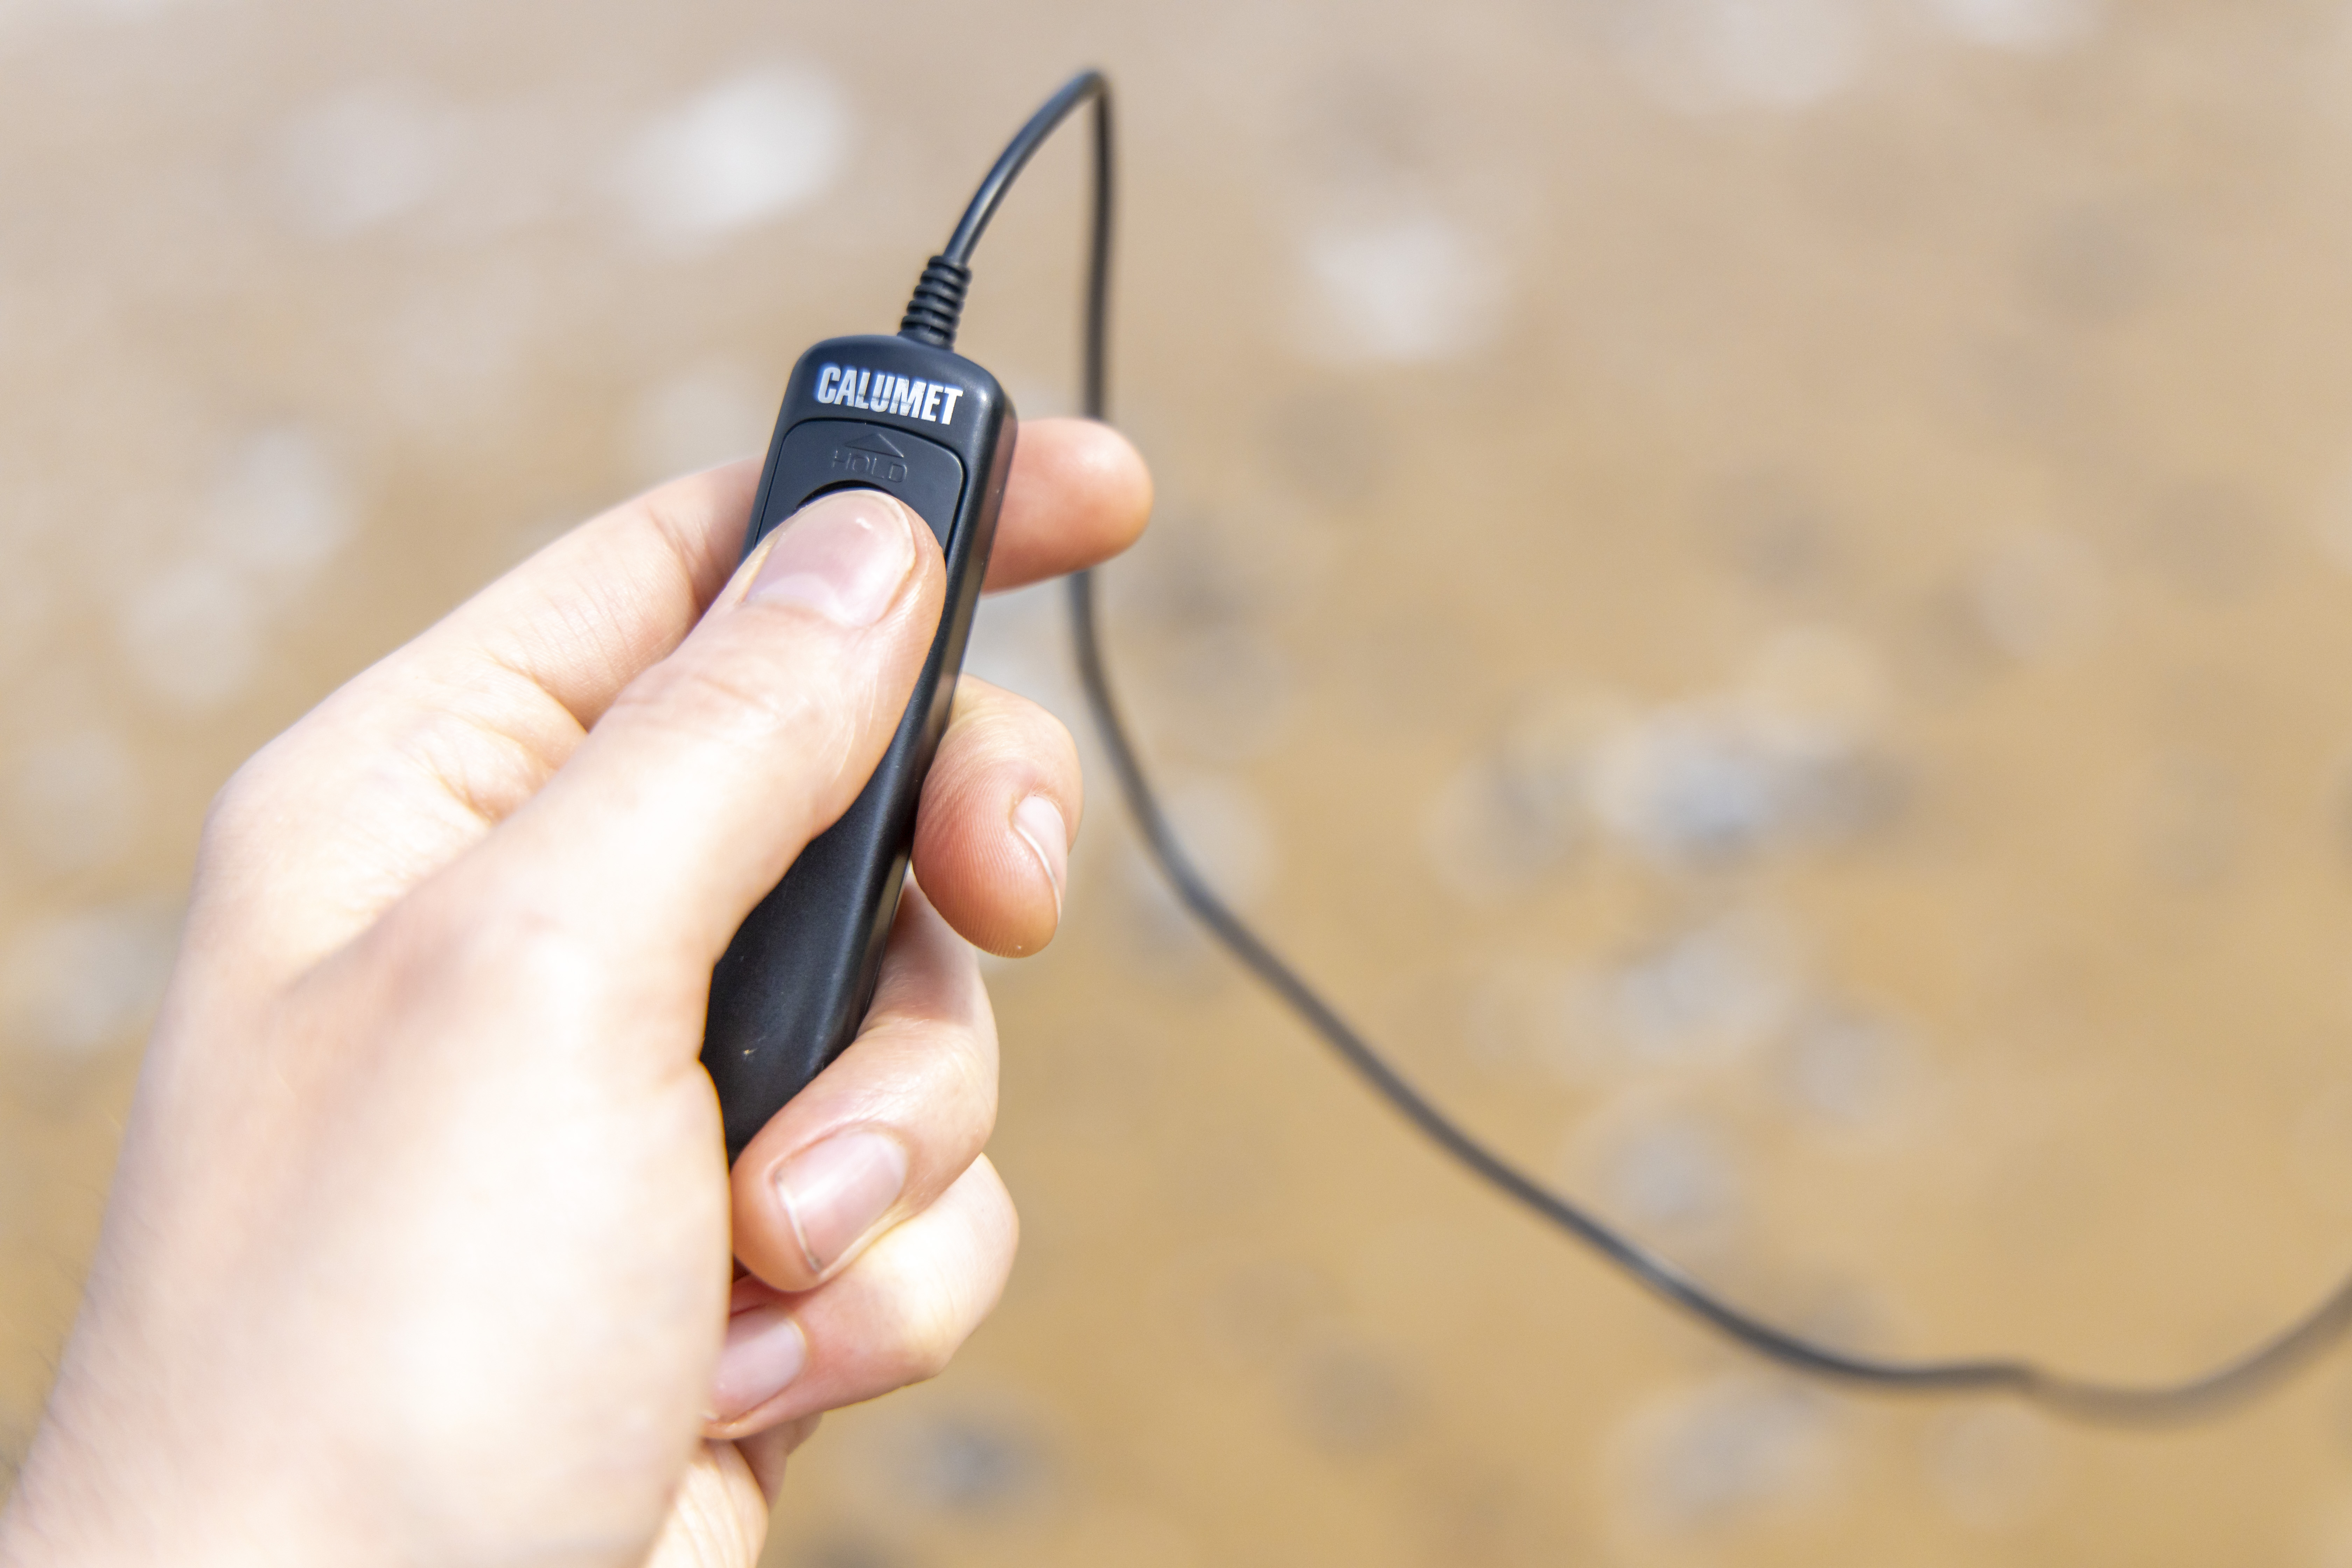
It’s a good idea to switch on your self-timer when shooting a long exposure, ensuring that you don’t nudge the camera when you press the shutter button. Alternatively, use a remote cable release to fire the camera. This is also a crucial accessory for when you want to take exposures longer than 30 secs – the maximum length of time you can expose in shutter priority, aperture priority and manual on many cameras.
With a cable release you can shoot in Bulb mode and lock the shutter in place as long as you like: this enables you to shoot exposures that are several minutes long, rather than the maximum 30 secs that many creative cameras usually top out at.
Note that you’ll want to compose and focus before attaching any ND filters, as they will significantly darken your LCD and viewfinder when you've put them in place.
• Best camera remotes and cable releases
04 Check your image is 'sharp'
Once you’ve taken your long exposure be sure to check it on the rear LCD of your camera to make sure it’s correctly exposed. Lighting can change dramatically while you’re taking your picture, which can result in an under or overexposed image. So inspect your shot and decide if it needs more or less motion, then dial in the shutter speed you want to use.
Zoom in on your camera's rear LCD to check that stationary parts of your image, such as the pier in our shot, are perfectly sharp while the moving areas like the clouds and water and blurred to your liking. If stationary objects have come out blurred be sure to check that any image stabilization has been switched off, that the camera wasn't nudged, the tripod and tripod head is all locked off tightly and that the tripod legs didn't sink in sand during the long exposure if you're shooting at the coast. When you've checked all of these, retake your shot and you should see a better result.
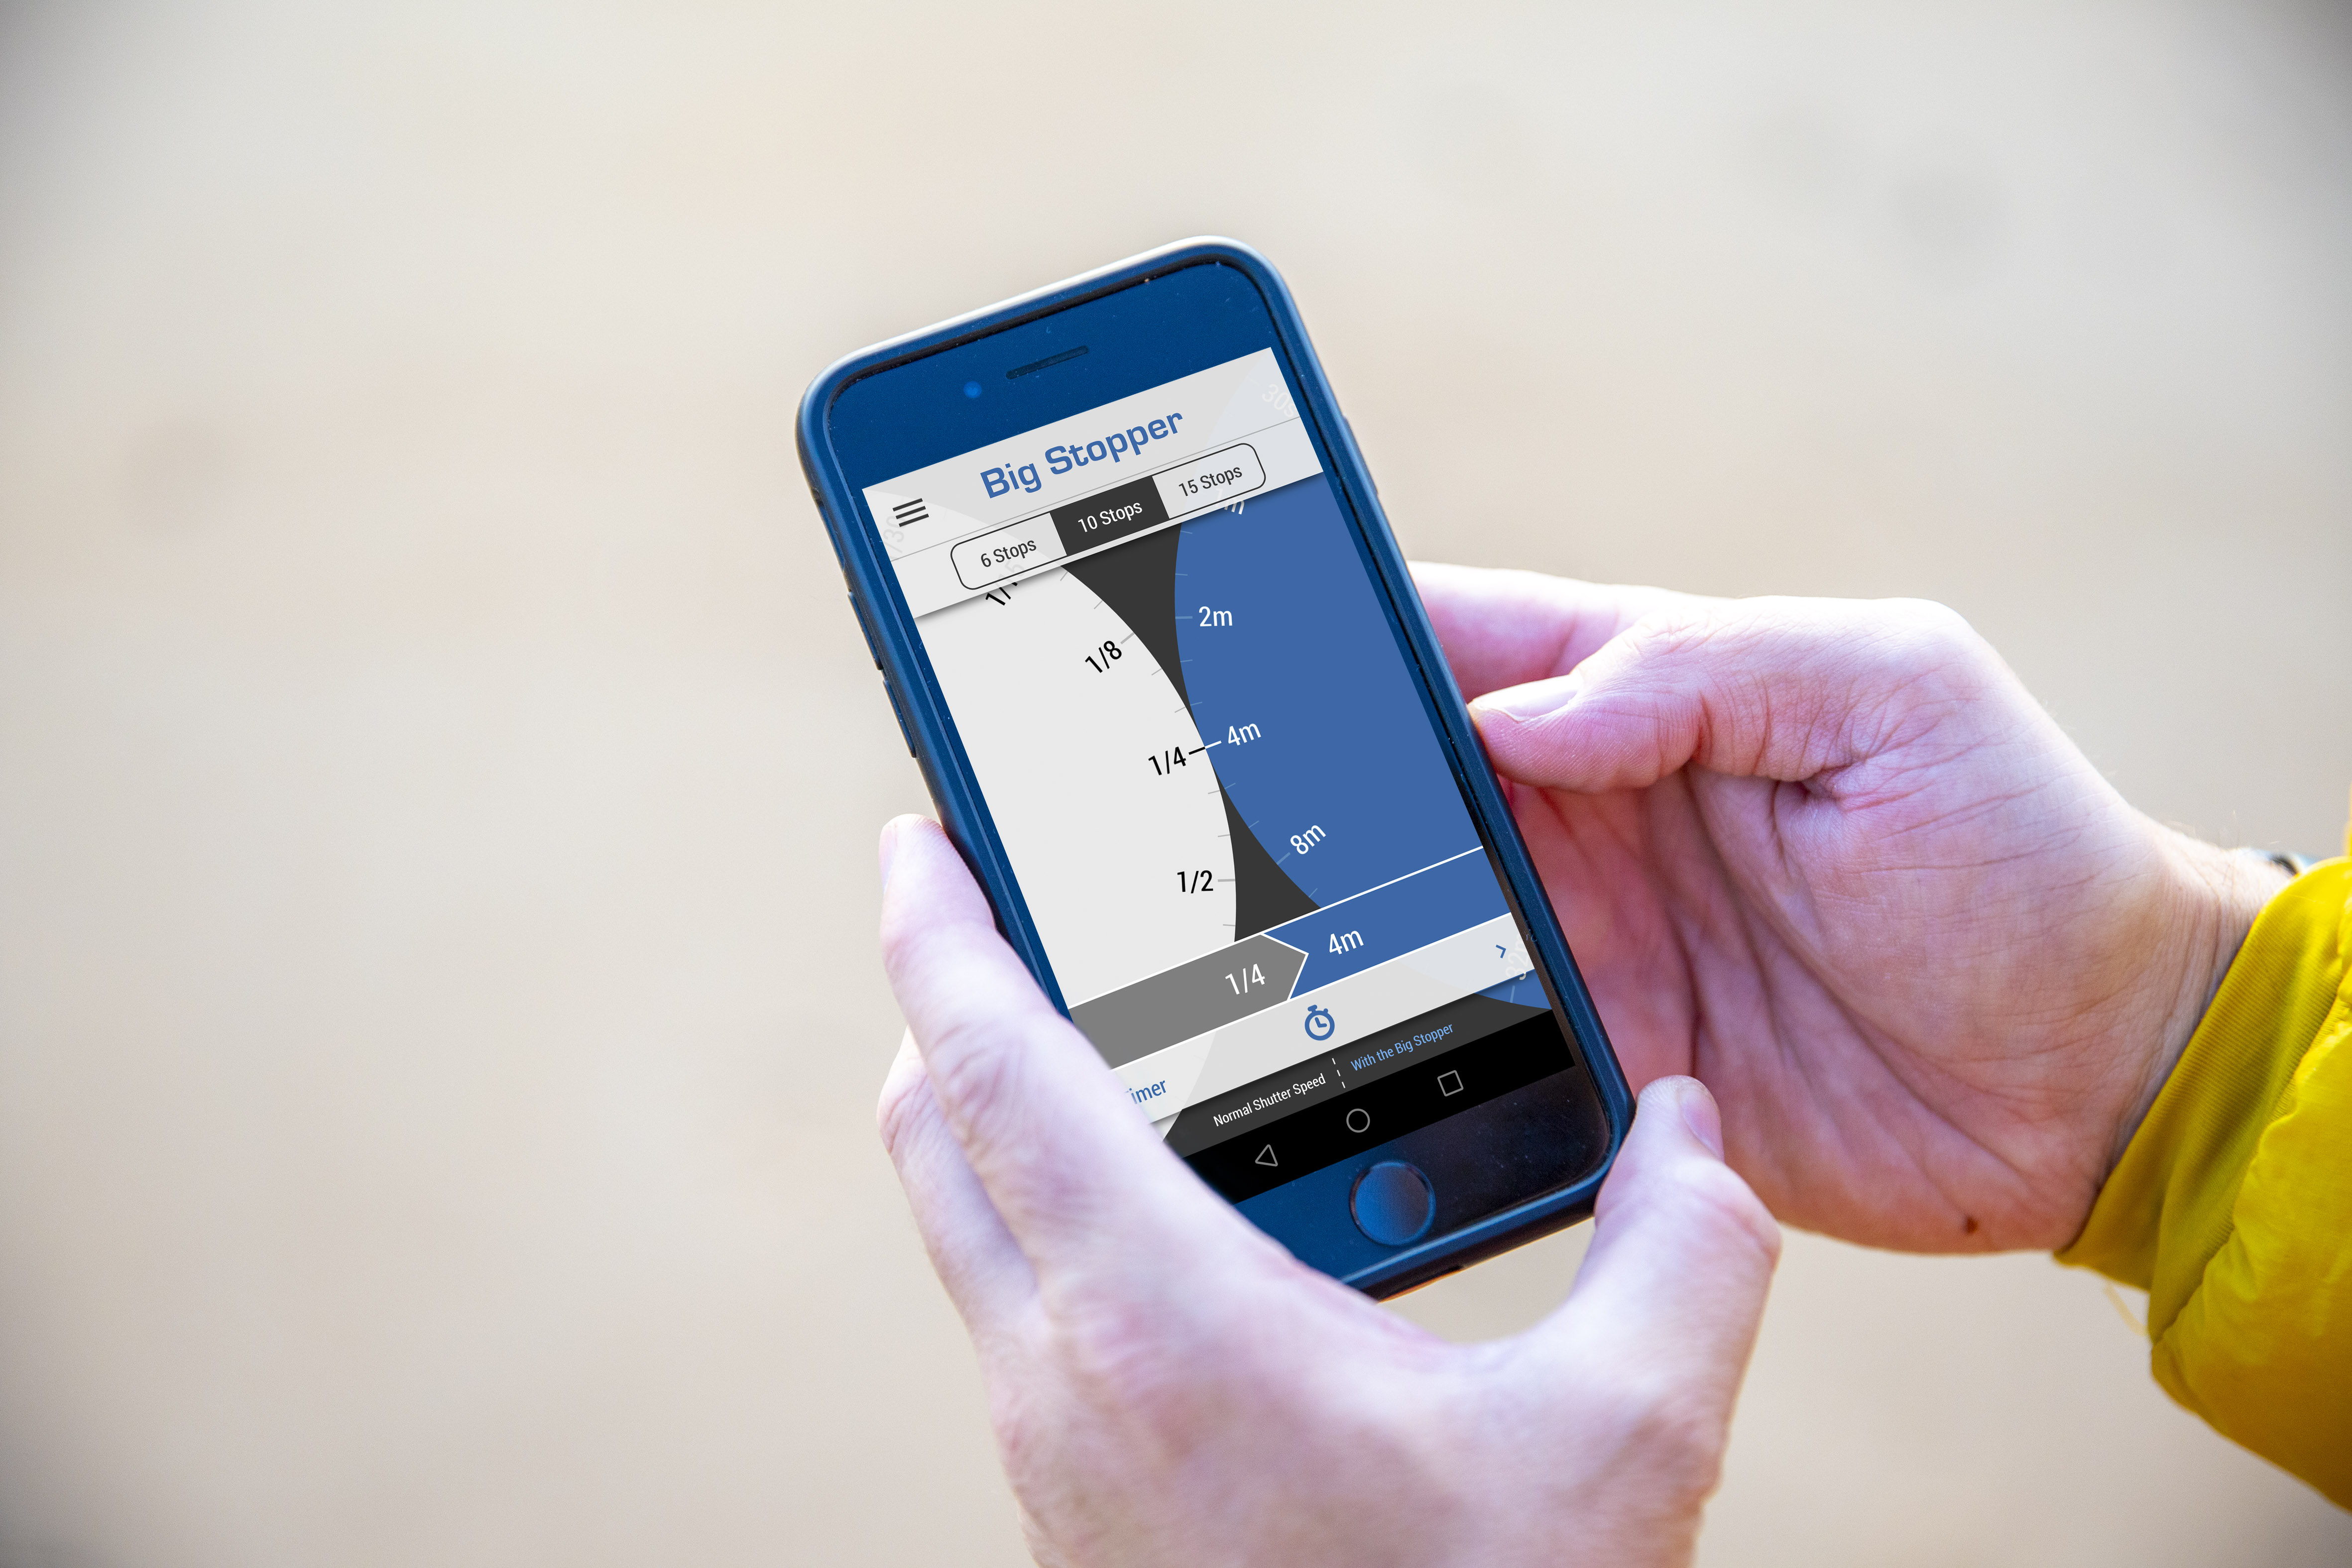
Apps like Lee Stopper Exposure Guide are great for converting your normal exposure into the long shutter speed required with one of Lee’s Little, Big or Super stoppers attached (which block out at 6, 10 and 15-stops respectively).
PhotoPlus: The Canon Magazine is the world's only monthly newsstand title that's 100% devoted to Canon, so you can be sure the magazine is completely relevant to your system.
Read more:
Landscape photography tips
Best cameras for landscape photography
Best lenses for landscape photography
Best wide-angle lenses
How to shoot landscapes with a telephoto lens

In addition to being a freelance photographer and filmmaker, Dan is a bona fide expert on all things Canon and Adobe. Not only is he an Adobe-certified Photoshop guru, he's spent over 10 years writing for specialist magazines including stints as the Deputy Editor for PhotoPlus: The Canon Magazine, Technical Editor for Practical Photography and Photoshop Editor on Digital Photo.
