The best camera deals, reviews, product advice, and unmissable photography news, direct to your inbox!
You are now subscribed
Your newsletter sign-up was successful
Watch video: Landscapes at night
In the sixth and final part of our ultimate landscapes series, we take a look at astrophotography and how you can take great landscapes, even in low light. So far we’ve covered everything from depth of field, to composition, and explained key settings like aperture and shutter speed, as well as explained which lenses and filters you need for landscapes.
In this project, we’ll run through our top tips for getting the very best landscape shots at night. Foreground elements can often come out looking very dark and silhouetted, so be sure to read on to see how you can add a bit more detail to your night sky scenes – and achieve pin-sharp focus, even if your autofocus system is struggling to lock on.
For the best results we highly recommend shooting in the raw image quality mode on your camera. This will capture much more exposure information and make it easier to tweak your exposure when editing back home, which will help you bring out loads of detail in the starry skies.
Light pollution is a big problem when shooting at night. If you shoot near built-up areas and cities you’ll see a faint orange glow on the horizon, and stars will be harder to see, so research ‘dark sky’ areas close to you at sites like darkskydiscovery.org.uk, and shoot at one of these places for the lowest light pollution.
Read on and watch the accompanying video lesson to see how you can do it too.
01 Get set up on a tripod
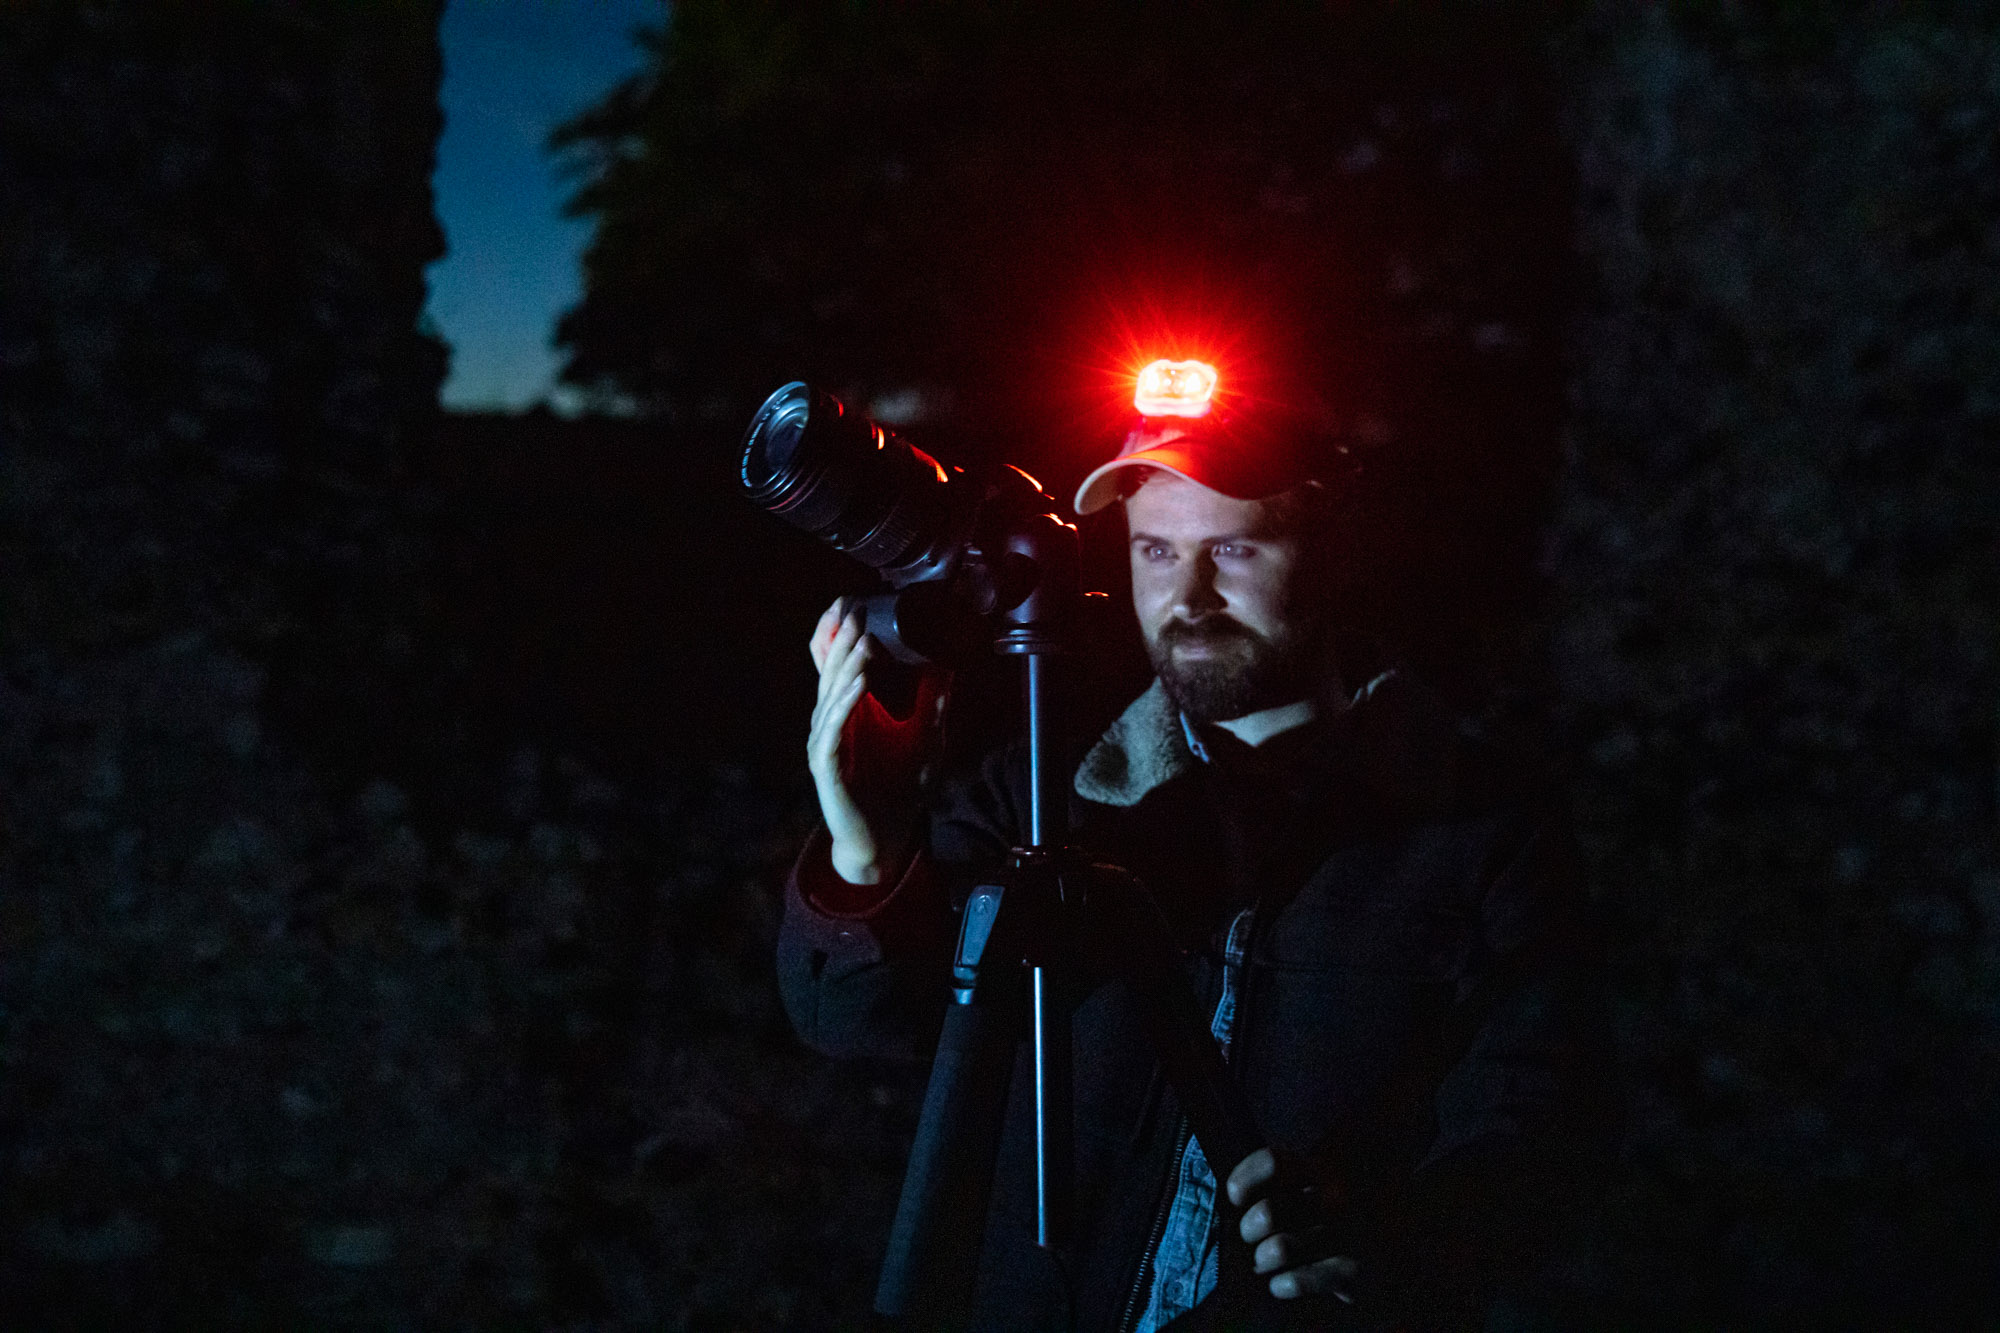
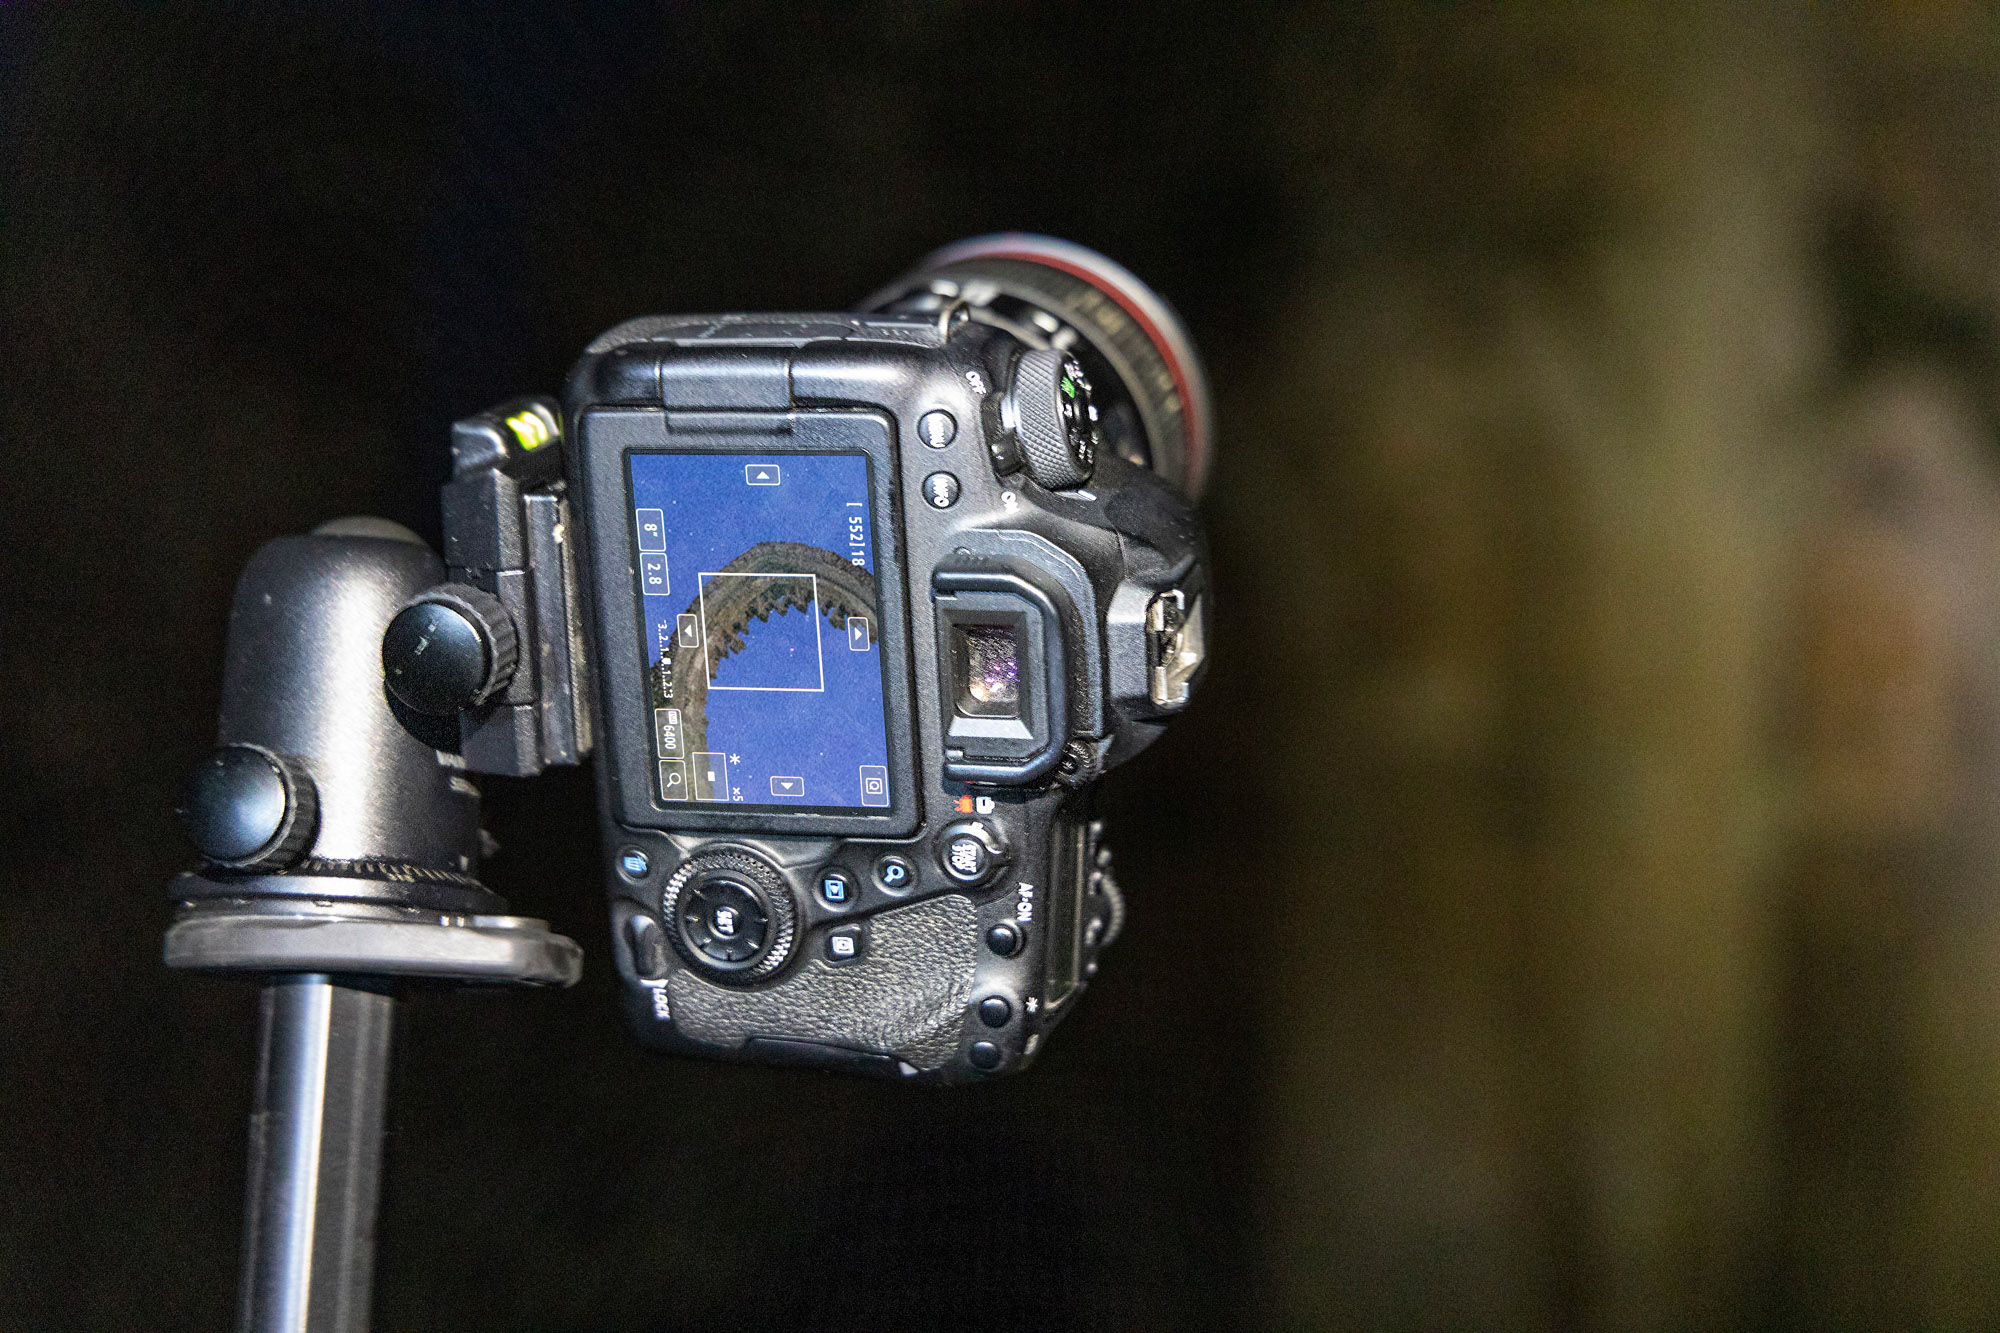
Set up your camera on a sturdy tripod and compose your scene using the rear LCD. Use a red light on your head torch, so that you can use your camera with ease in the dark. Don’t worry too much about getting your focus spot-on just yet, as we’ll get to that later.
The best camera deals, reviews, product advice, and unmissable photography news, direct to your inbox!
• Best tripods for photography
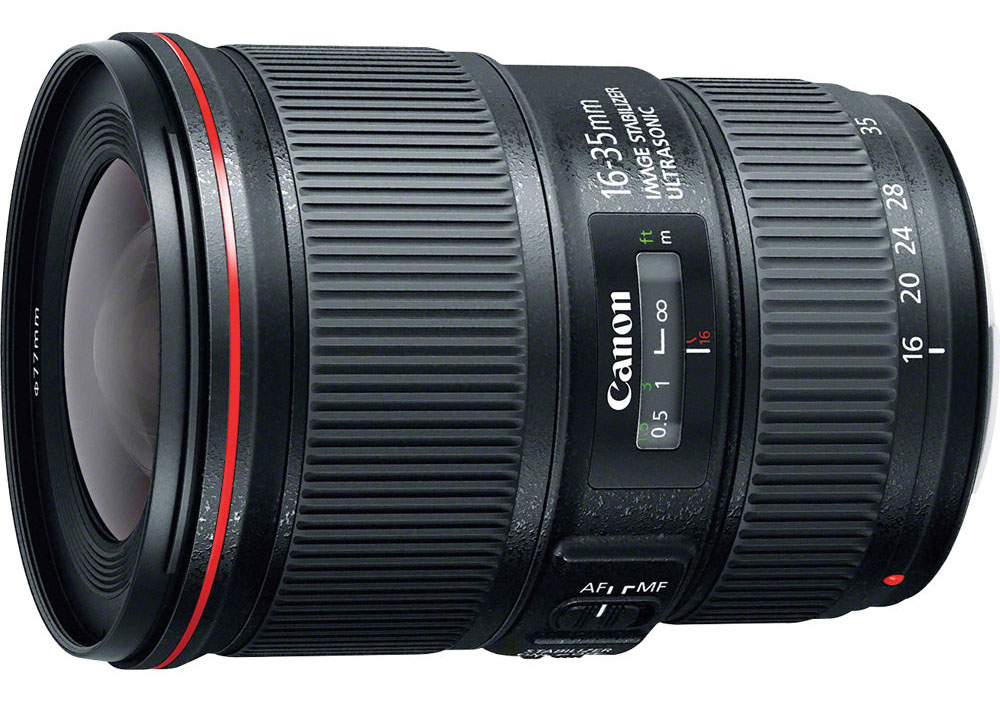
Compose your scene in portrait or landscape orientation with a wide-angle focal length, like 16mm on a full-frame or 10mm on an APS-C camera. This will give you loads of scope to frame up, with both interesting foreground and plenty of starry sky above. Now, lock off your tripod and hang your camera bag over your it to give it some extra ballast if it is needed. Lastly, switch off any in-camera or optical image stabilization on your lens.
02 Dial in the settings
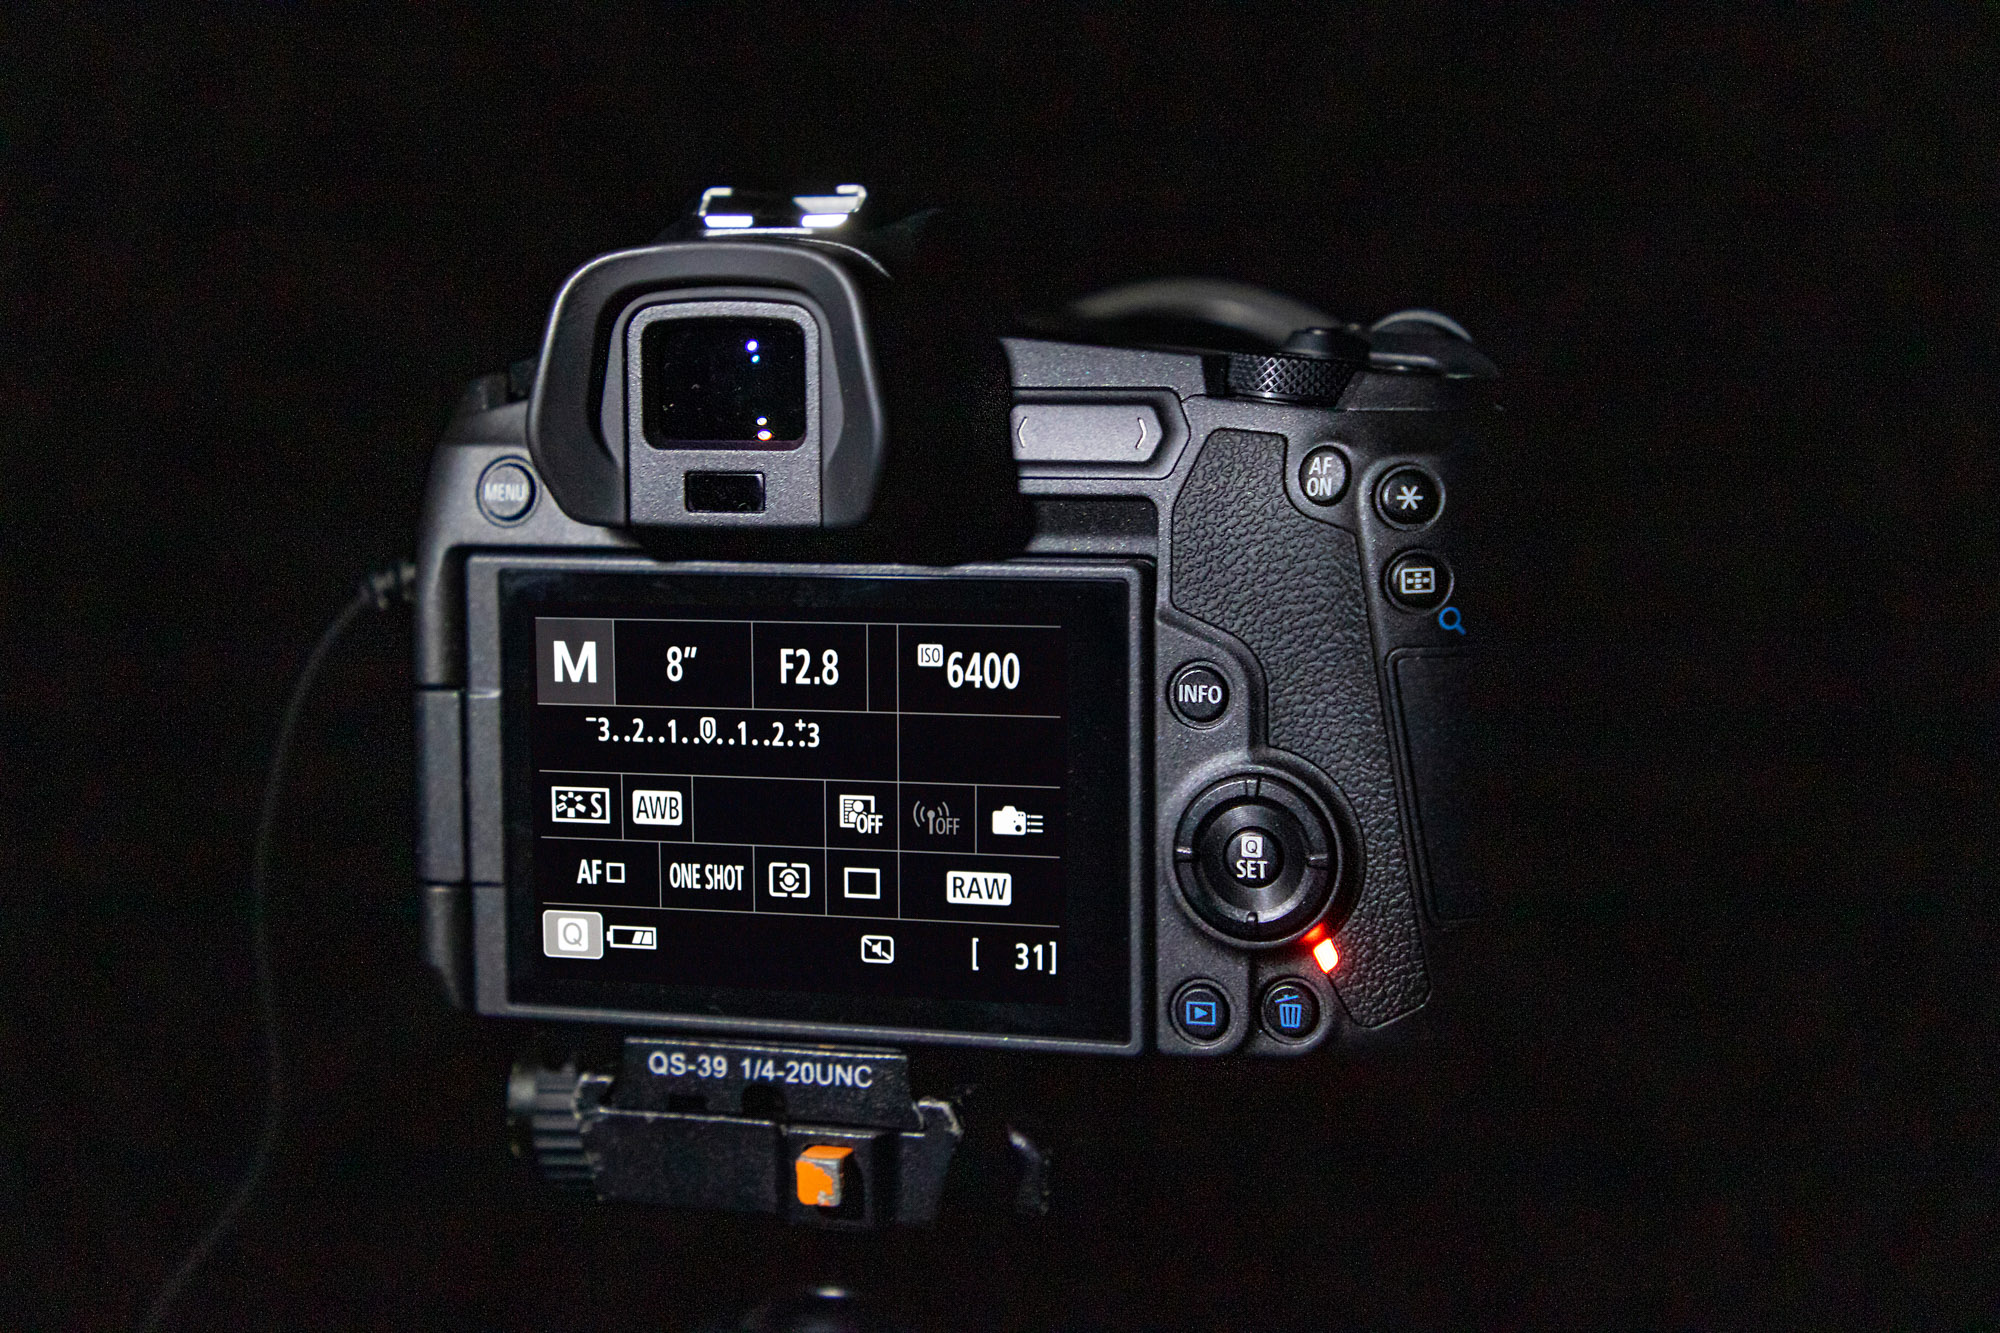
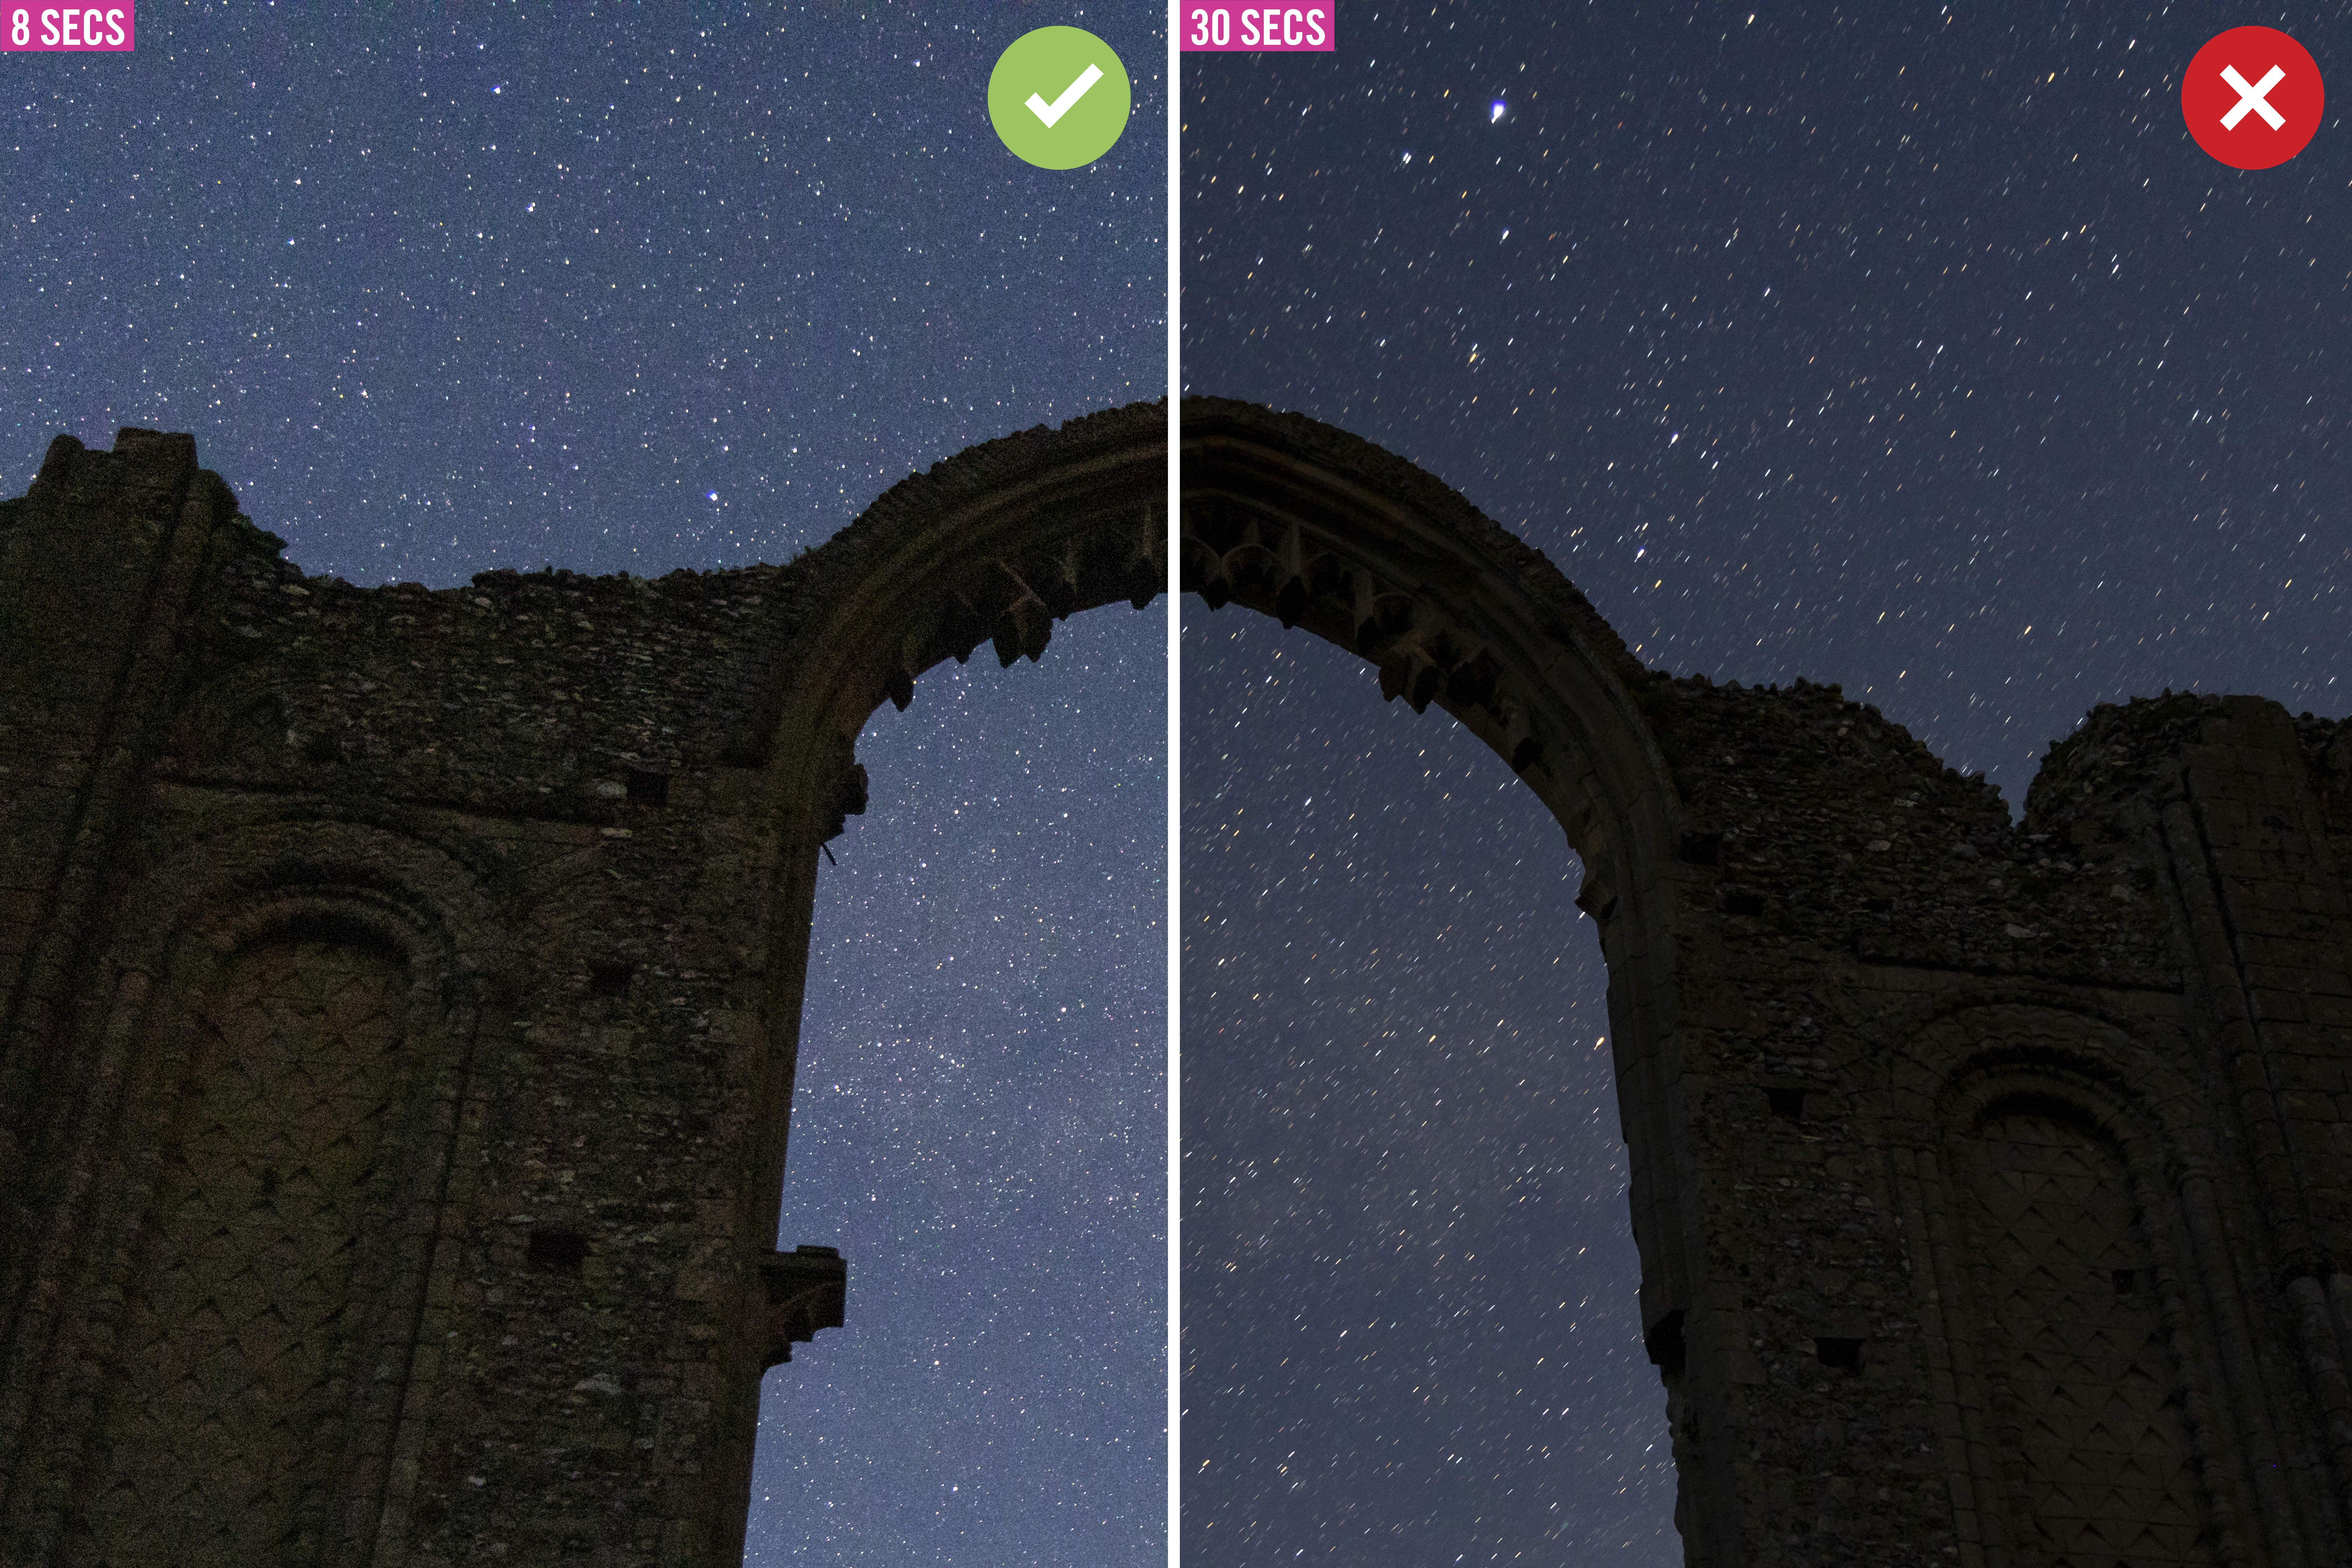
Next, it’s time to dial in the key settings on your camera. Make sure you’re in manual mode and then open the aperture as wide as it will go; an aperture of f/4, or even as wide as f/2.8, would be perfect. Then boost the ISO to 6400 and set the shutter speed to 8 secs and turn on the 2-sec self-timer, so that you don’t have to touch the camera during the exposure (which could cause camera shake).
Take a test shot and inspect the result, if it’s too dark you’ll need to extend the shutter speed or boost the ISO; a longer shutter speed will cause longer trails in the stars, rather than pin-points of light, while increasing the ISO will introduce more digital noise. If it’s too bright you’ll need to do the opposite, decreasing the ISO or shortening the exposure time.
03 Achieve pin-sharp focus in the dark
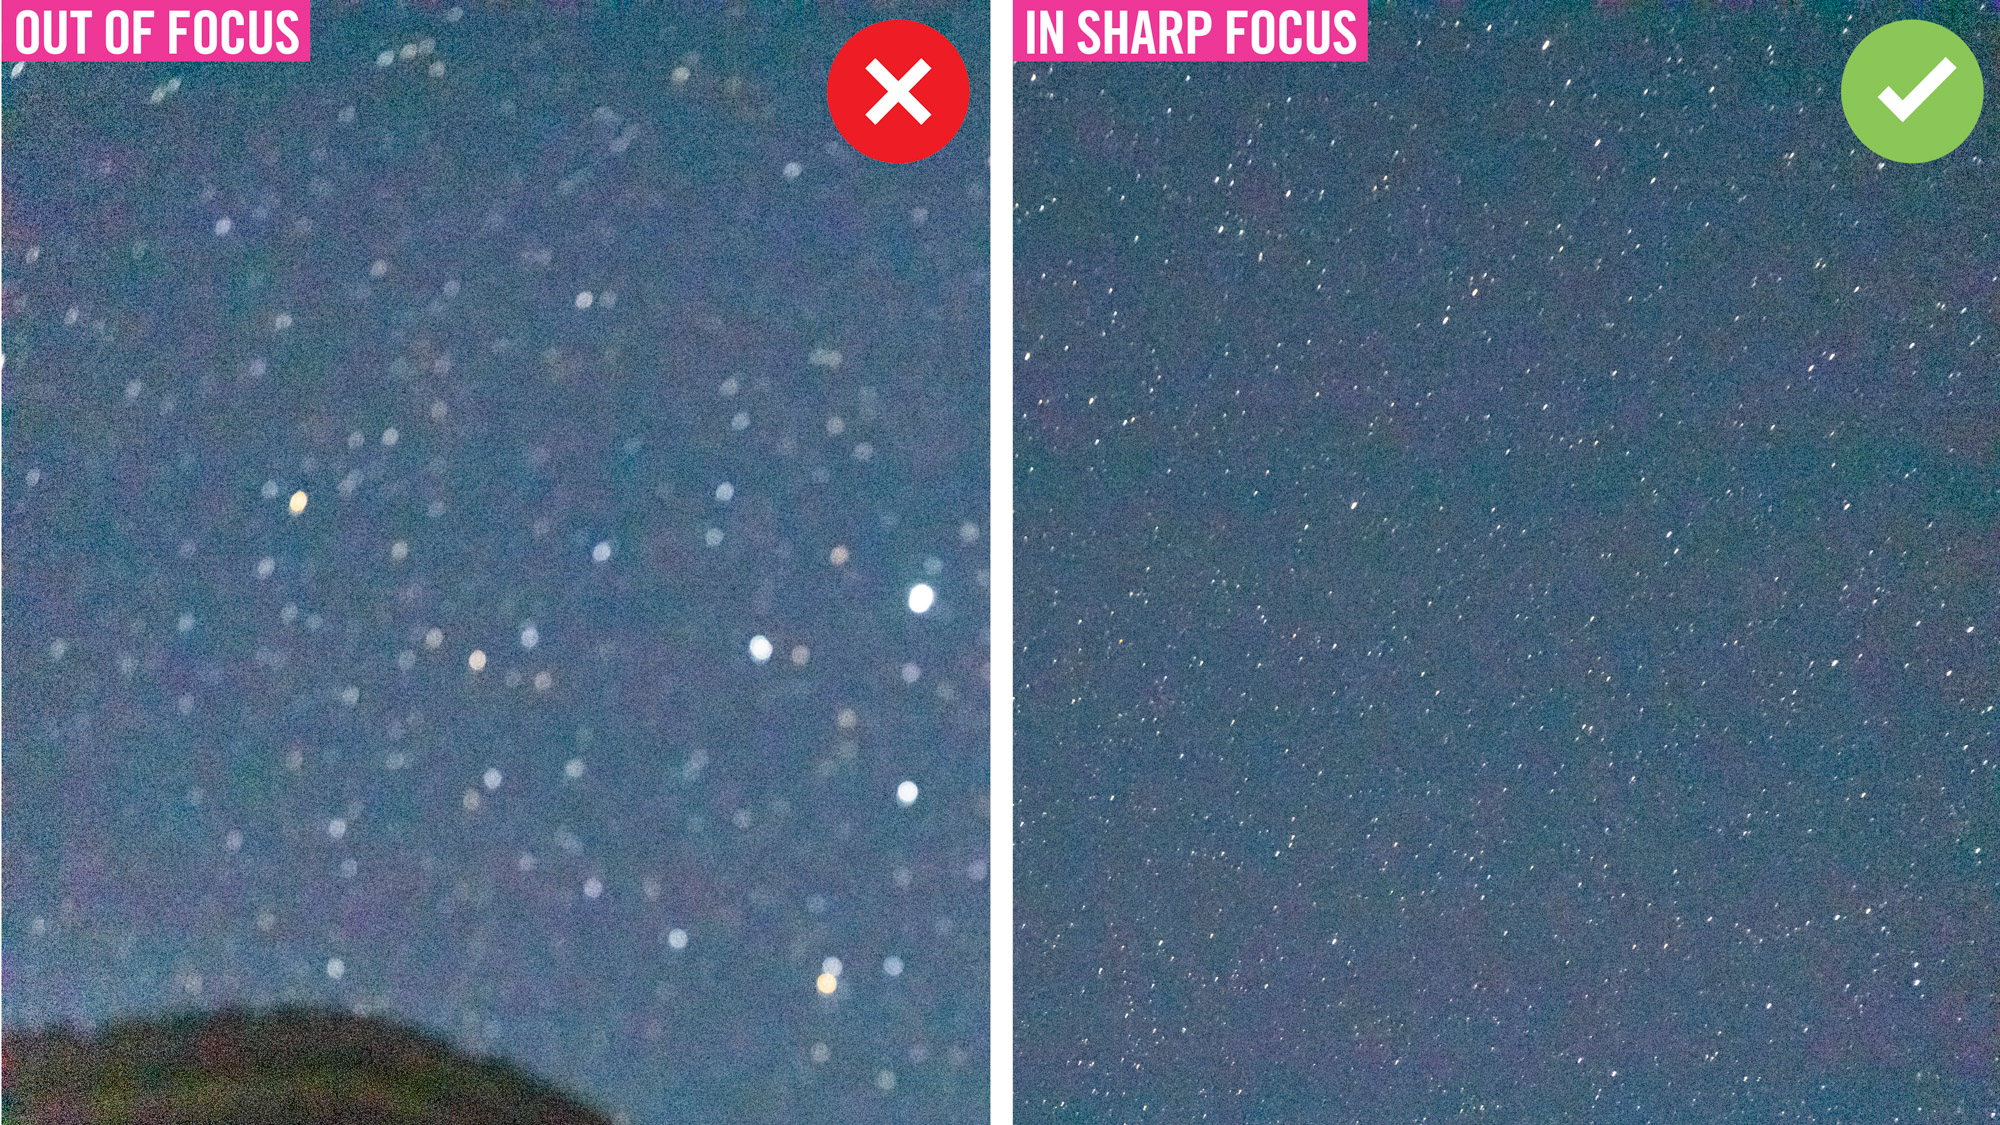
Achieving sharp focus at night can be tricky. In fact, for the best results, you’re better off taking one shot with your foreground perfectly in-focus and a second shot with the stars sharp. Then you can merge the best bits of both together for a sharp photo in post-production.
To make sure your foreground or sky is sharp, compose using live view and then press the zoom button by 5 or 10x (some bodies, like the Canon EOS Ra astro camera, can zoom in up to 30x), so you can clearly see what’s in sharp focus. Then adjust the focusing ring manually on your lens until the foreground or stars are sharp to your liking. Next, switch over to the manual focus setting to lock the focus in place. Shooting towards the North Star will also help you take sharper shots.
• Best cameras for astrophotography
04 Illuminate your scene or foreground
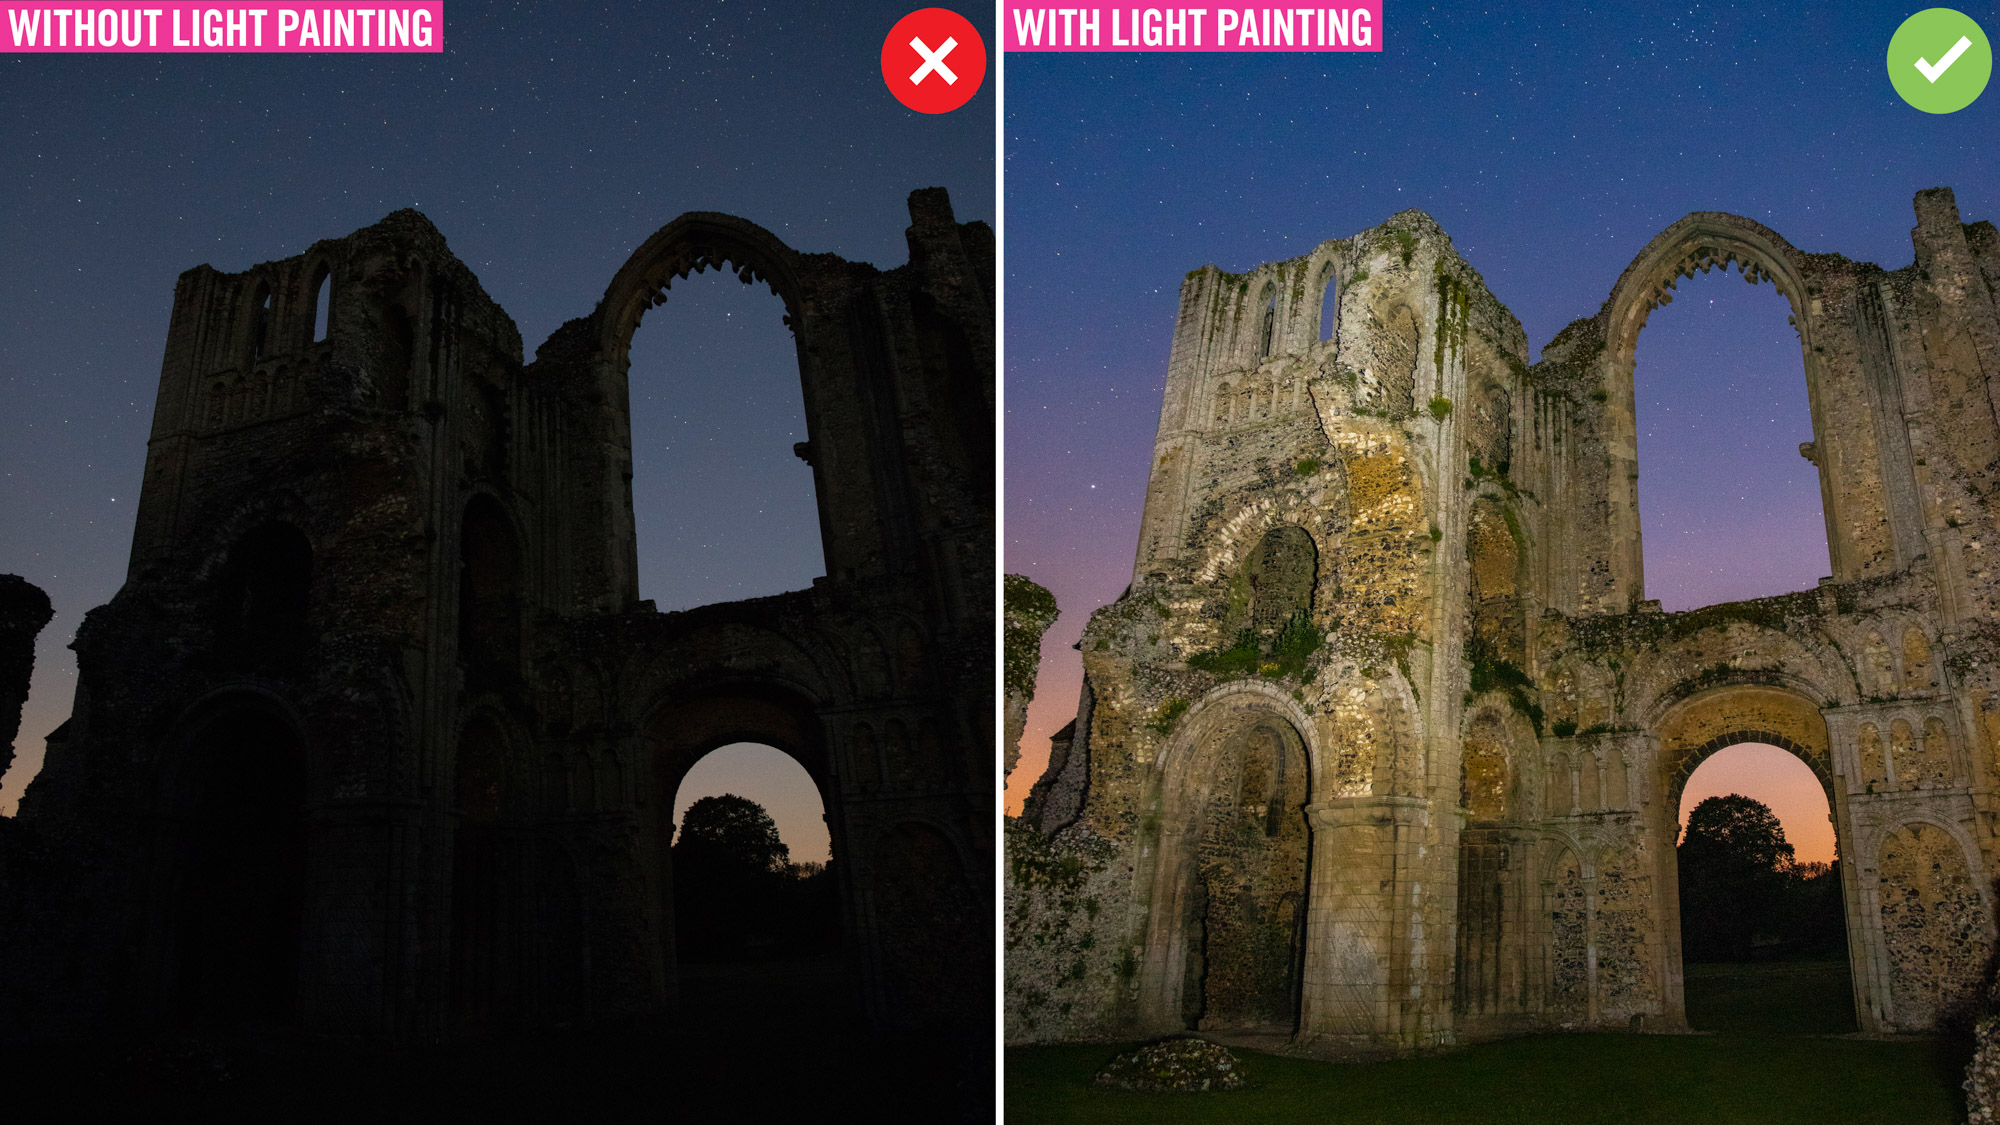
As mentioned in the previous tip, it can be beneficial to take separate exposures of both your foreground and night sky and then merge them together in post. However, the building in our example appeared very dark at night and in stark silhouette.
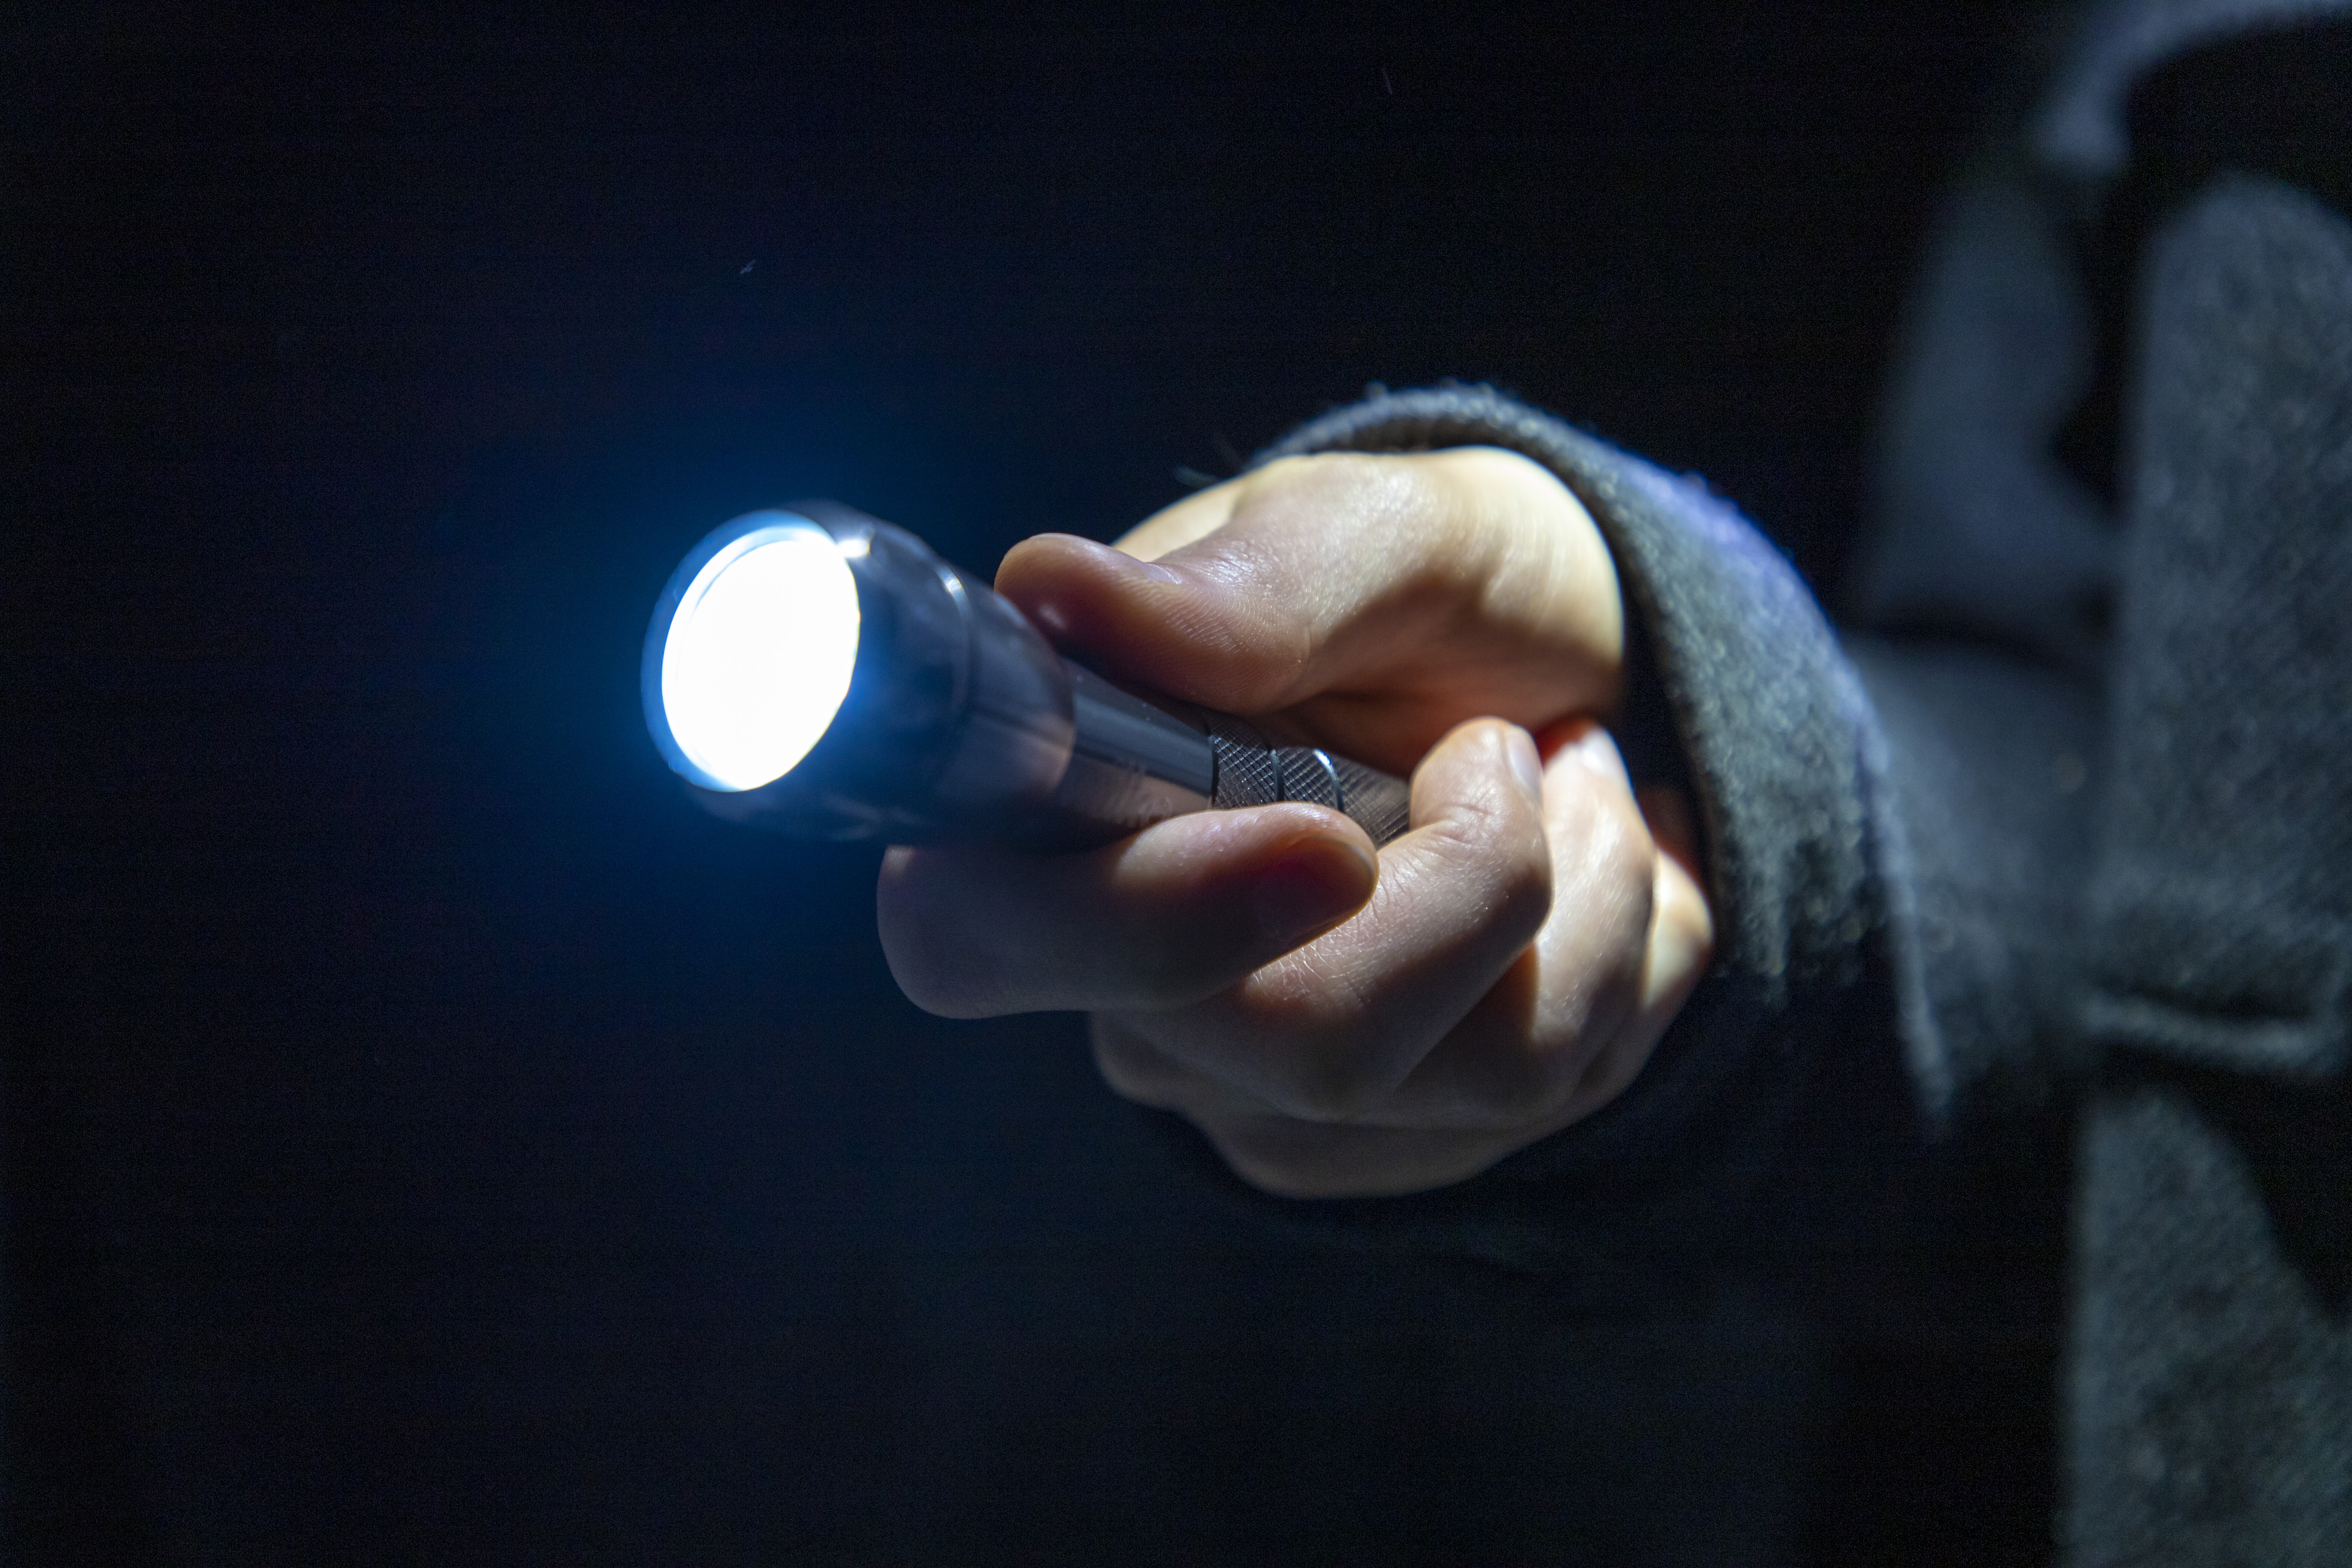
Adding a little light ‘painting’ with a strong hand torch can help you bring out details in your foreground areas, and stop them being totally black. Aim your light at every part of the foreground in a brushing motion evenly to avoid any hotspots or bright areas. Check the result and see if you need to extend the exposure length to give yourself more time to paint the scene. A flashgun can also work well, too!
PhotoPlus: The Canon Magazine is the world's only monthly newsstand title that's 100% devoted to Canon, so you can be sure the magazine is completely relevant to your system. Every issue comes with downloadable video tutorials too.
Read more:
Landscape photography tips
Best cameras for landscape photography
Best lenses for landscape photography
Canon EOS Ra Review
How to shoot landscapes with a telephoto lens

In addition to being a freelance photographer and filmmaker, Dan is a bona fide expert on all things Canon and Adobe. Not only is he an Adobe-certified Photoshop guru, he's spent over 10 years writing for specialist magazines including stints as the Deputy Editor for PhotoPlus: The Canon Magazine, Technical Editor for Practical Photography and Photoshop Editor on Digital Photo.
