iPad photography hacks: Creative lighting ideas for cheap photography projects
Shoot cheap photography concepts with our fun iPad photography hacks for creative lighting in your images
The best camera deals, reviews, product advice, and unmissable photography news, direct to your inbox!
You are now subscribed
Your newsletter sign-up was successful
Watch video: how to use an iPad to light your subject
Capturing brilliant photos doesn't necessarily mean using top-of-the-line kit. We've got eight fantastic iPad photography hacks to help you inject some creative lighting into your portraits and still life shots. Check out our cheap photography project ideas and have some fun with your photos!
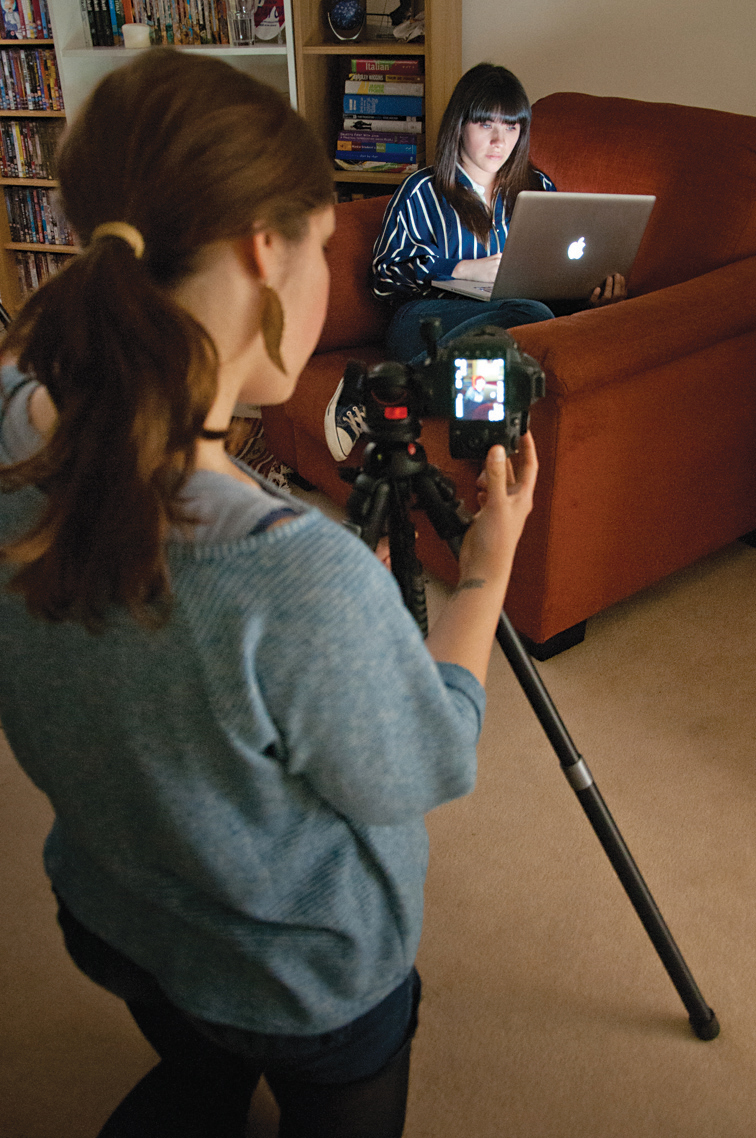
Did you know that you’re carrying around a brilliantly versatile little softbox in your backpack? Your tablet or laptop isn’t just useful for editing and sharing photos, it’s also easily converted into a light for illuminating portraits and still life images. Plus, it’s a lot cheaper and more portable than expensive, heavy lighting systems.
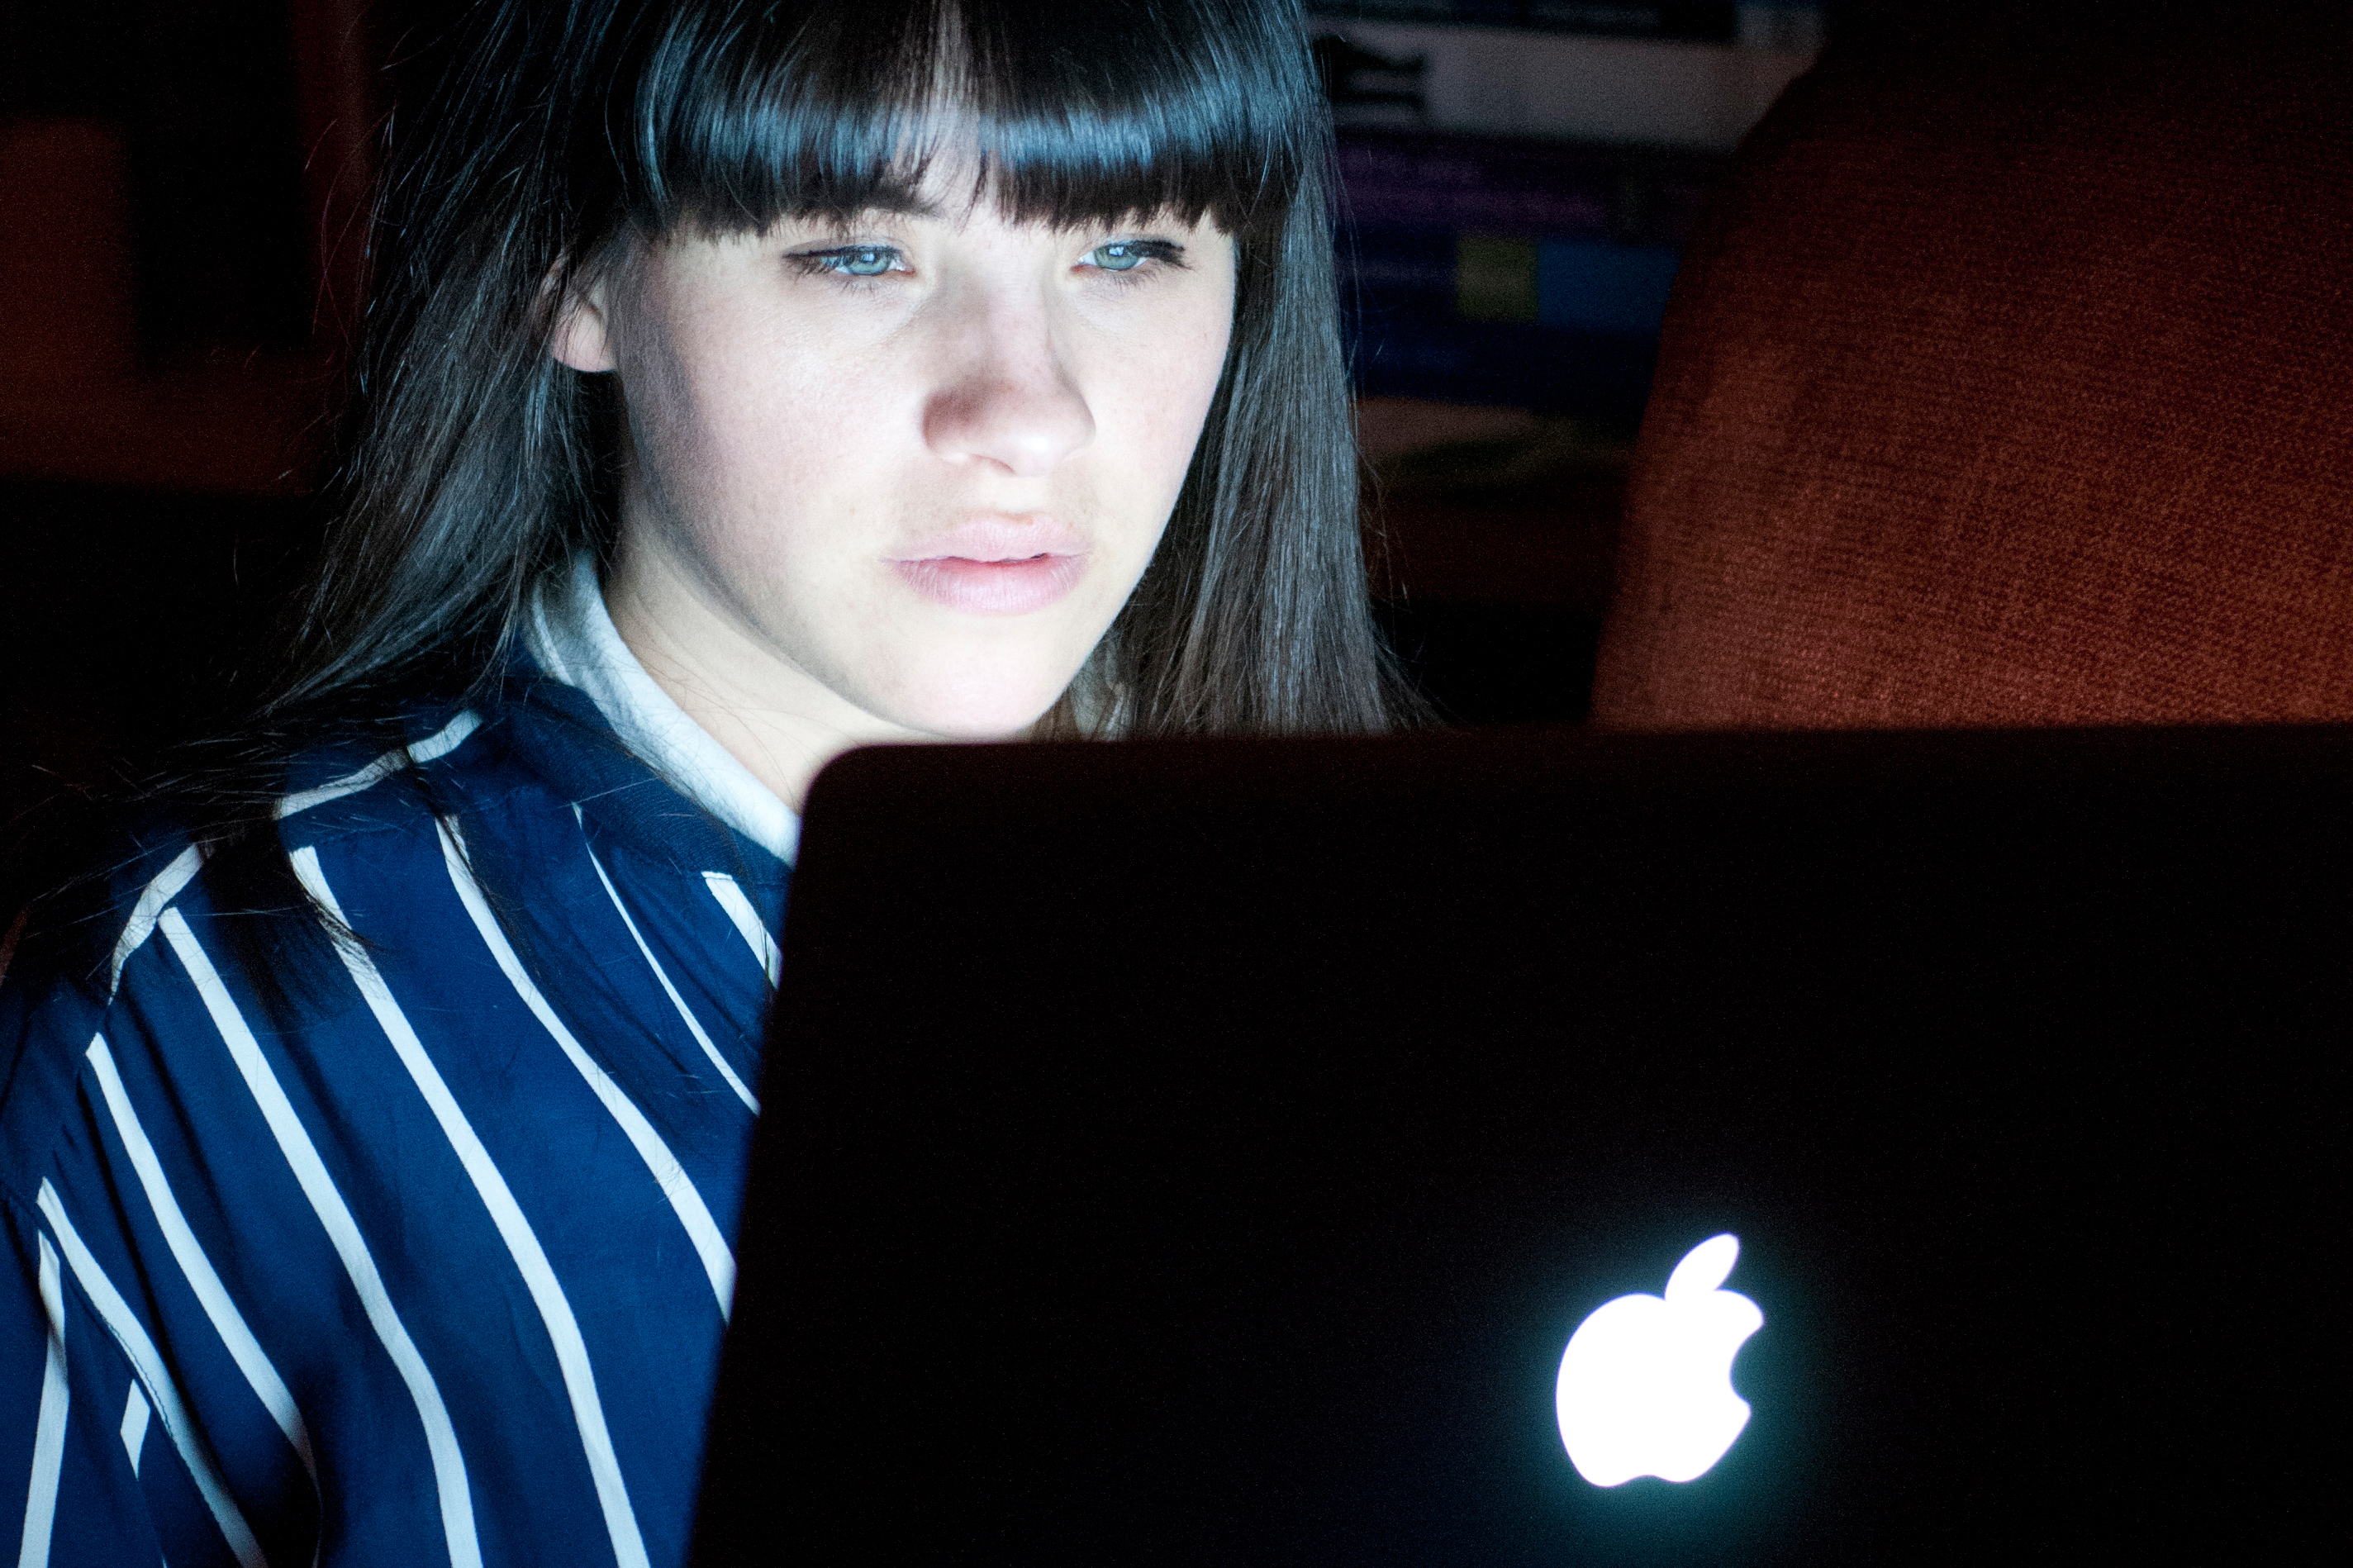
Laptops put out a lot of light, especially in a darkened room, and using a program such as Microsoft Paint or a bespoke lighting app, such as Pocket Softbox, you can open up a white screen that will act as a light source in the same way as a softbox does. The great thing about a digital lighting system is that you can choose new backgrounds, colors and shapes to instantly customize the effect.
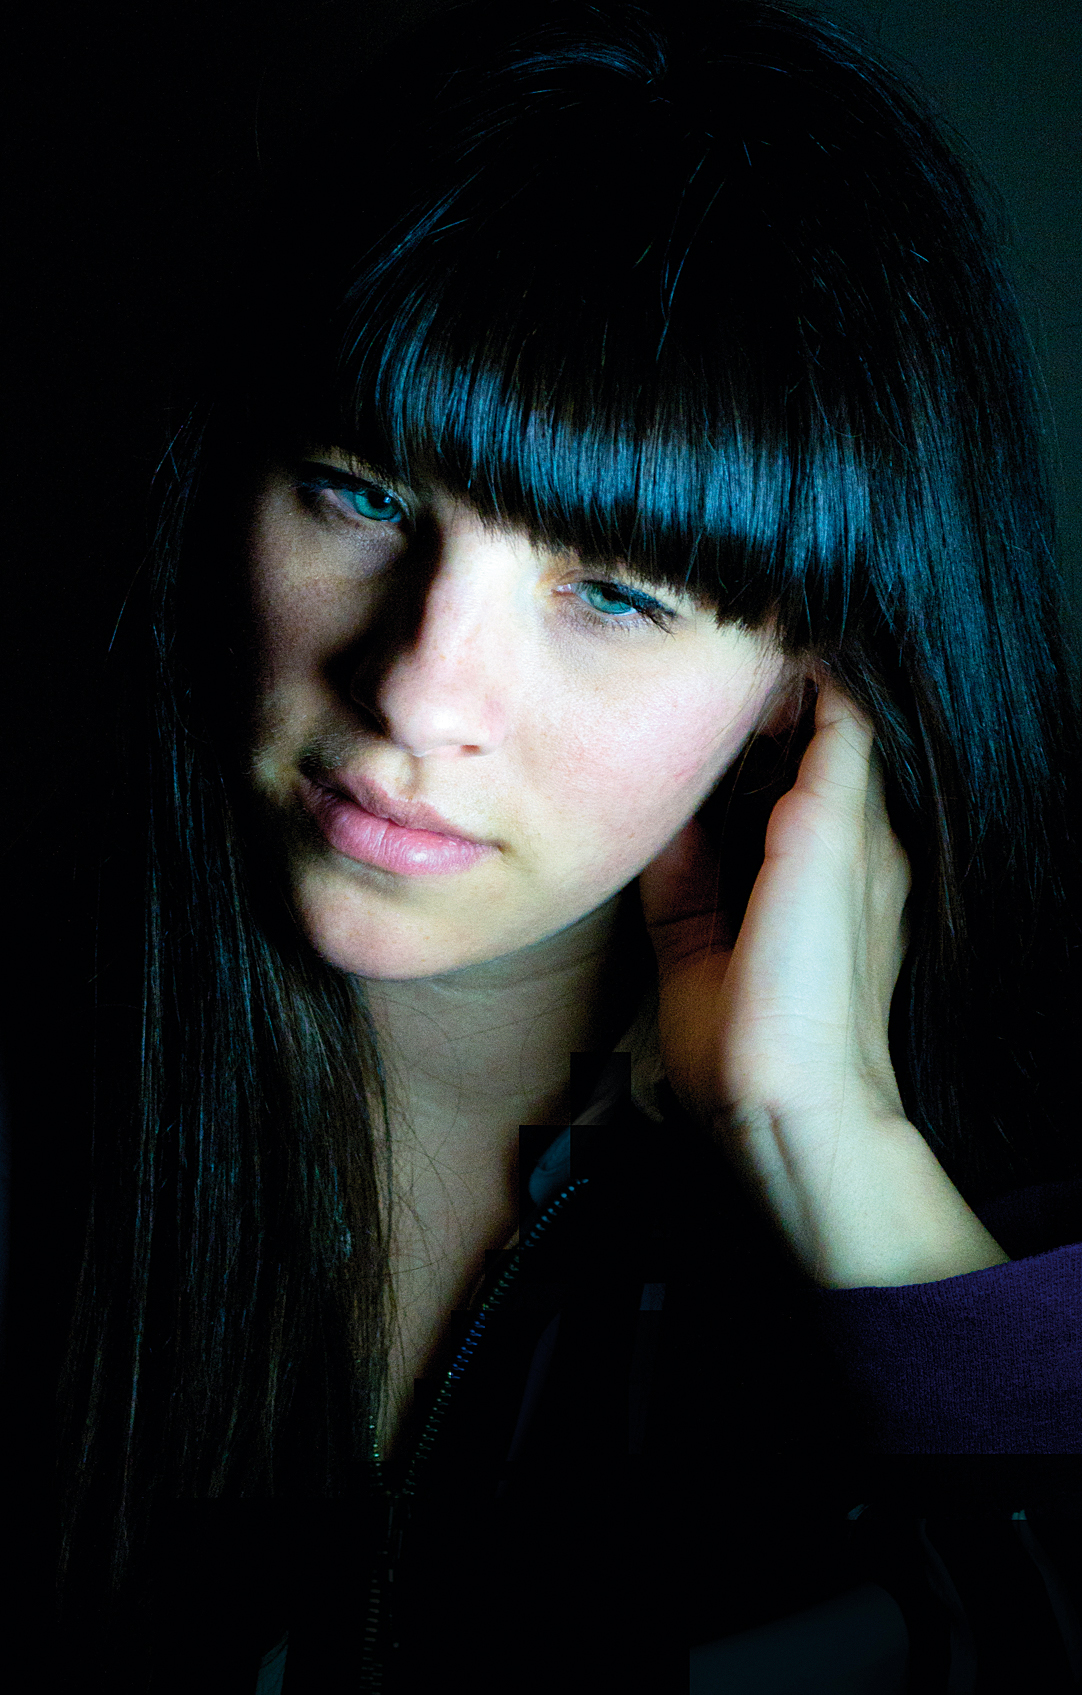
In this guide we’ll look at six different lighting set ups that use just your tablet as a light source. We’re shooting portrait photos of our model, Charlotte, using iPads as softboxes to light her face, and experimenting with shapes to create unusual catchlights in her eyes for a really striking look.
We’ll also look at how to use your tablet to light a simple still life for better food and product shots. Plus, we’ll show you how to add patterned backgrounds to your macro shots, play with cross-polarization effects and even paint with light for really creative photos.

01 Proper support
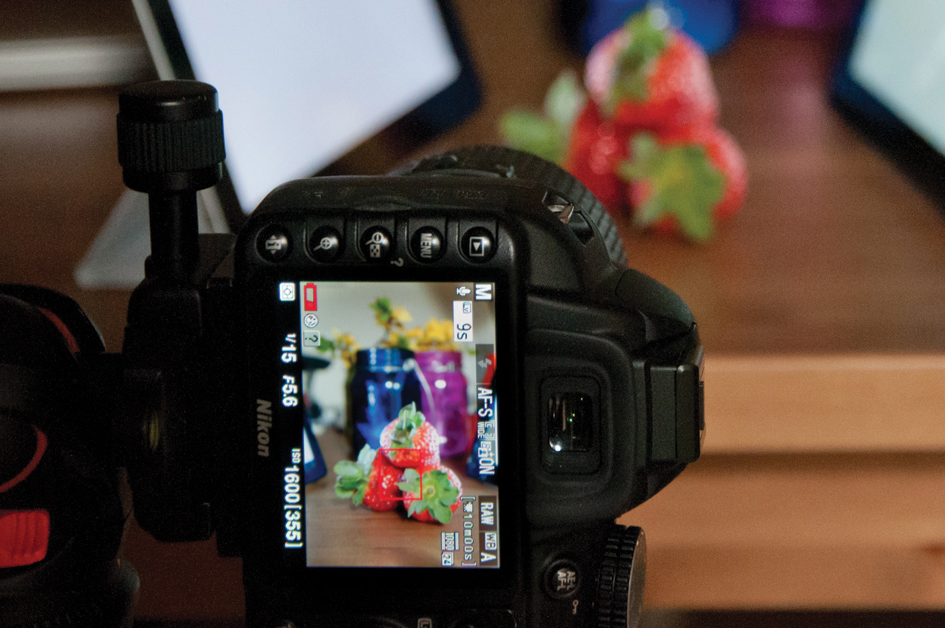
Tablets and laptops produce a lovely soft light, but there’s not very much of it, so you need to choose your settings carefully. Start by mounting the camera on a tripod – this will enable you to choose whatever aperture you need to make the composition work without having to worry about the shutter speed.
The best camera deals, reviews, product advice, and unmissable photography news, direct to your inbox!
If you’re shooting portraits, though, you’ll need to increase the ISO because your subject won’t be able to stay still enough for long exposures. We were using our 18-55mm kit lens at its maximum aperture of f/5.6 at its maximum zoom setting, and ISO1600 gave us shutter speeds in the region of 1/15 sec to 1/30 sec at f/5.6.
• Read more: Best tripods
02 Light a portrait
For this technique, you’ll need to shoot in a darkened room so that the tablet’s light is the only thing illuminating your model. Use a tripod for stability and pick a high ISO to compensate for the low light. We used a shutter speed of 1/15 sec and created a shallow depth of field with an aperture of f/5.6. Set your tablet at an angle to the model’s face and adjust the angle until you get an effect you like. This technique works just as well with a laptop screen.
• The best iPads for photo editing and video editing
03 Cute catchlights
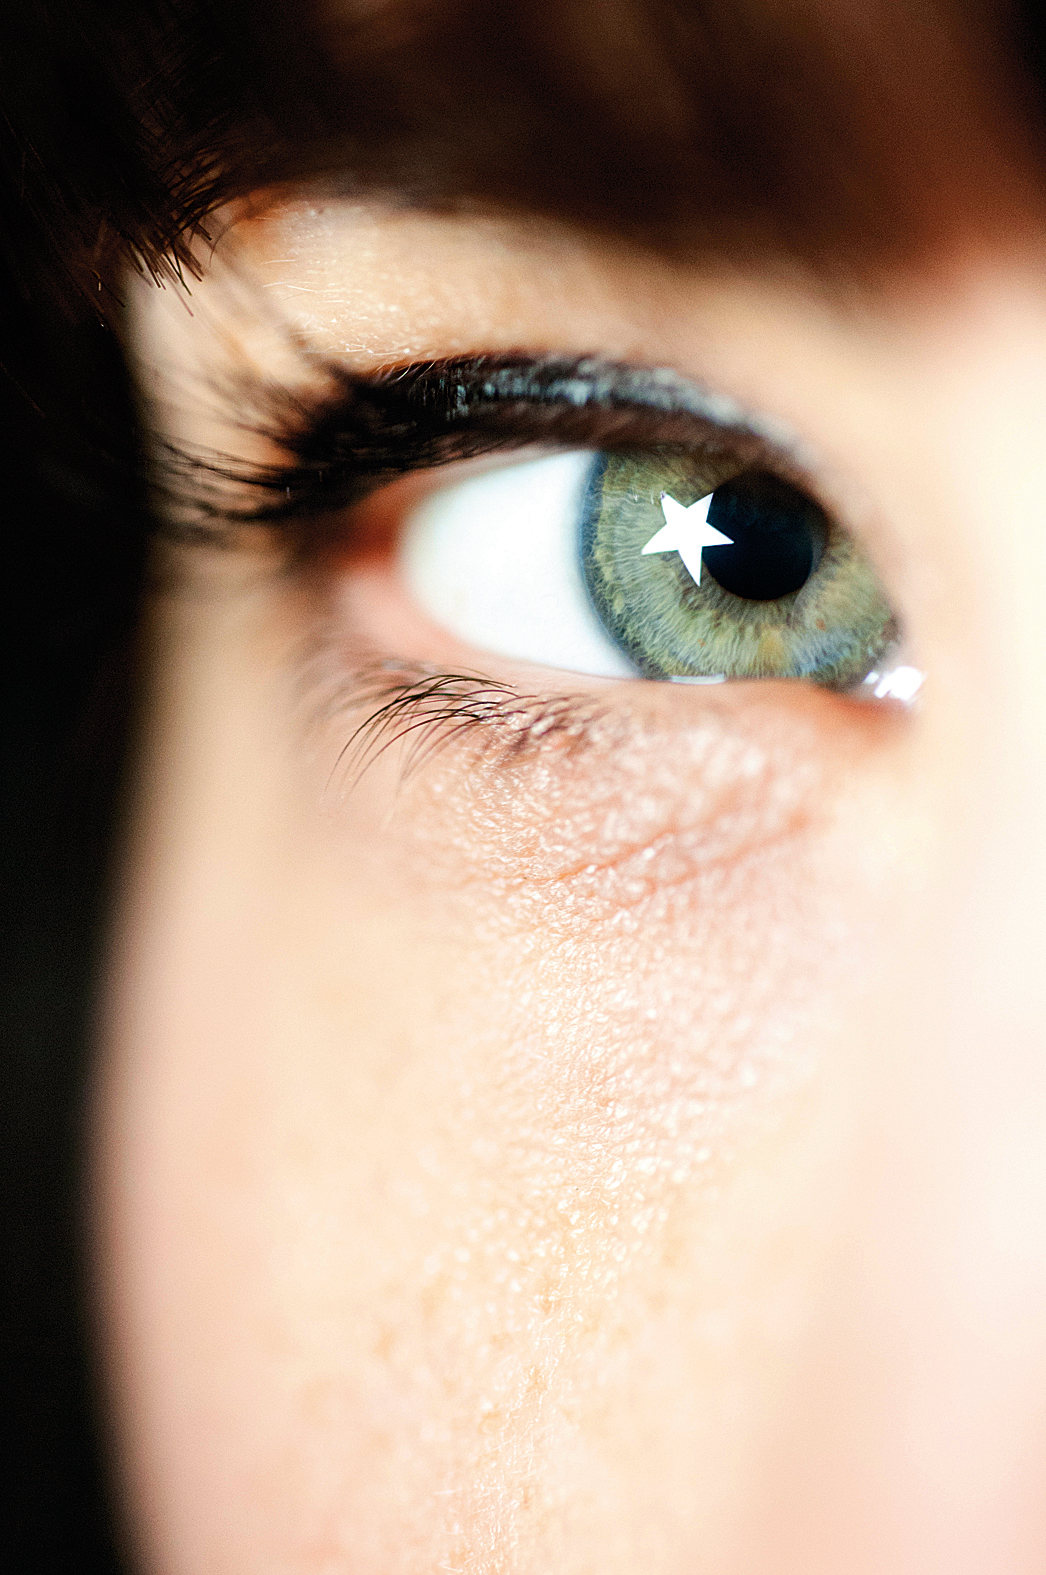
This attractive effect looks like a clever Photoshop trick, but it’s actually very simple to do. Instead of a plain white background, load a white shape against a black background onto your screen, and use this to light your model’s face – the shape will be reflected in the catchlight in their eyes. This works really well with portraits. For a striking close-up like ours, use a macro lens at f/2.8 to focus in on your model’s eye.
04 Use Live View Focus
t’s important to focus carefully when shooting close-ups because there’s not much depth of field and you need to be sure the key area of your subject is sharp. Live View mode uses the image actually captured by the sensor to focus, so it’s the most accurate method. You can move the square focus area to any part of the picture, and when you half-press the shutter button the camera focuses on that point – the focus square should turn green. It’s essential that the camera is on a tripod when you do this, because even a tiny change in the position will change the focus. And be patient – Live View autofocus is slower than the normal method.
05 Light a still life
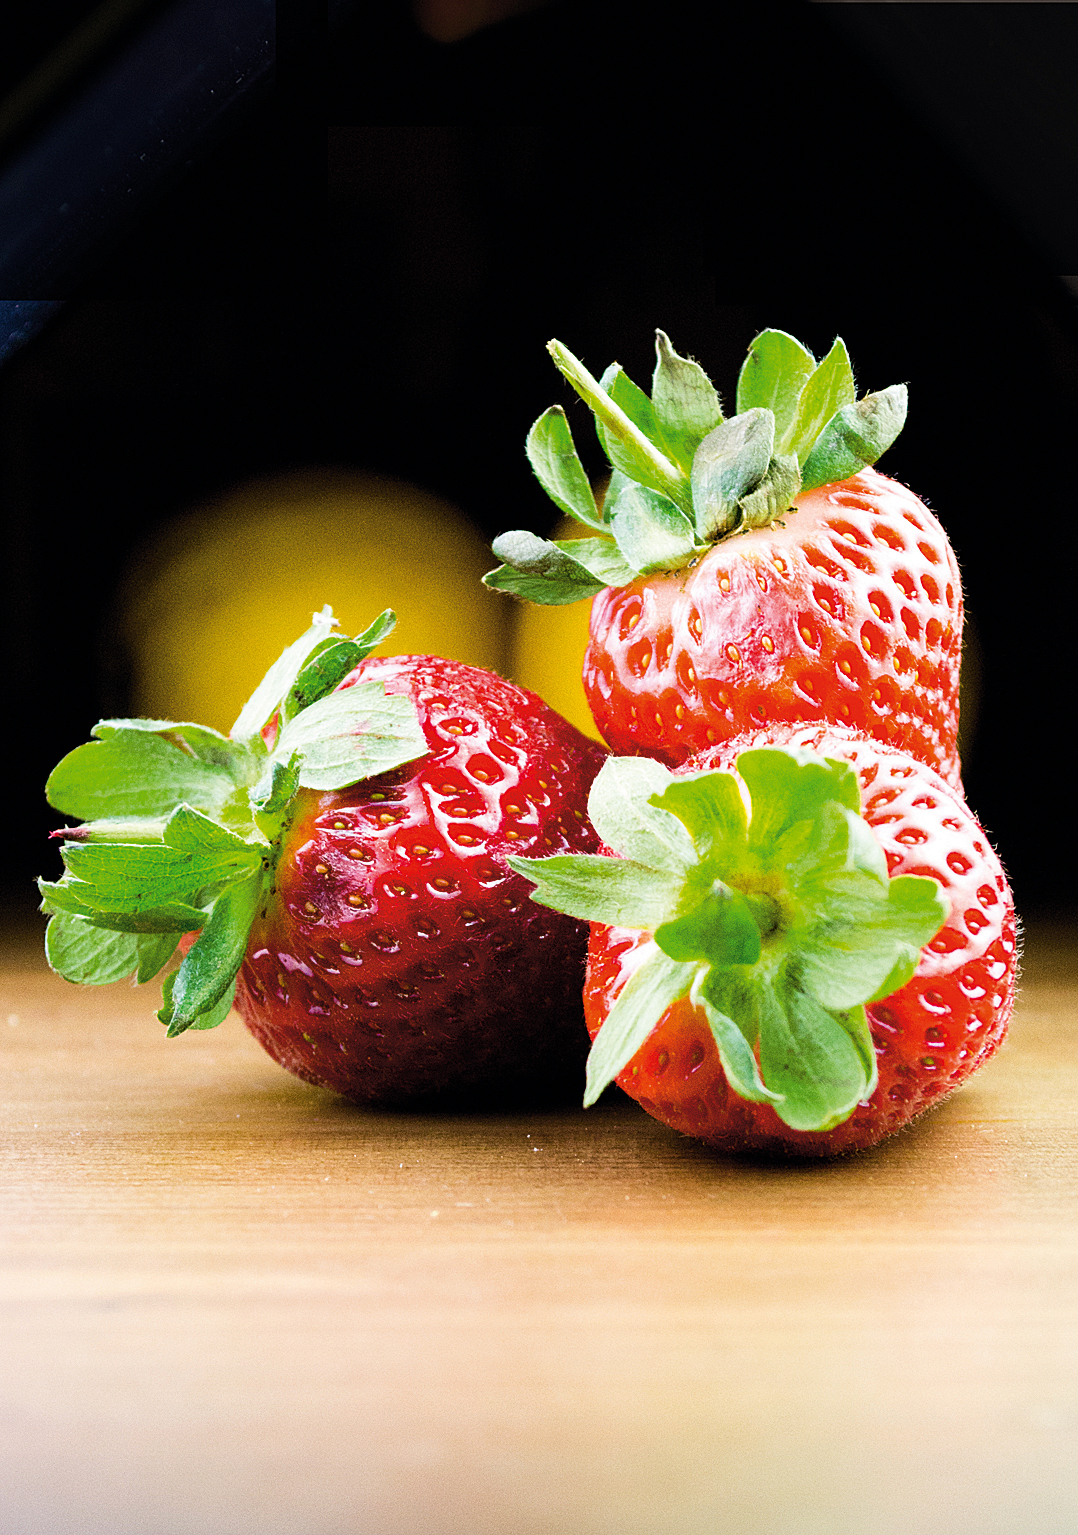
Still life arrangements, especially food, look a lot better shot under bright, natural light. If there’s no sunshine, however, you can still get a great effect by using two tablets or laptops in a clamshell arrangement for even lighting. Position one screen on either side of your subject and use a tripod to get down to the level of what you’re shooting. The angled tablets will give an even light, but be careful to compose the shot so that the screens aren’t in view.
06 Macro backdrop
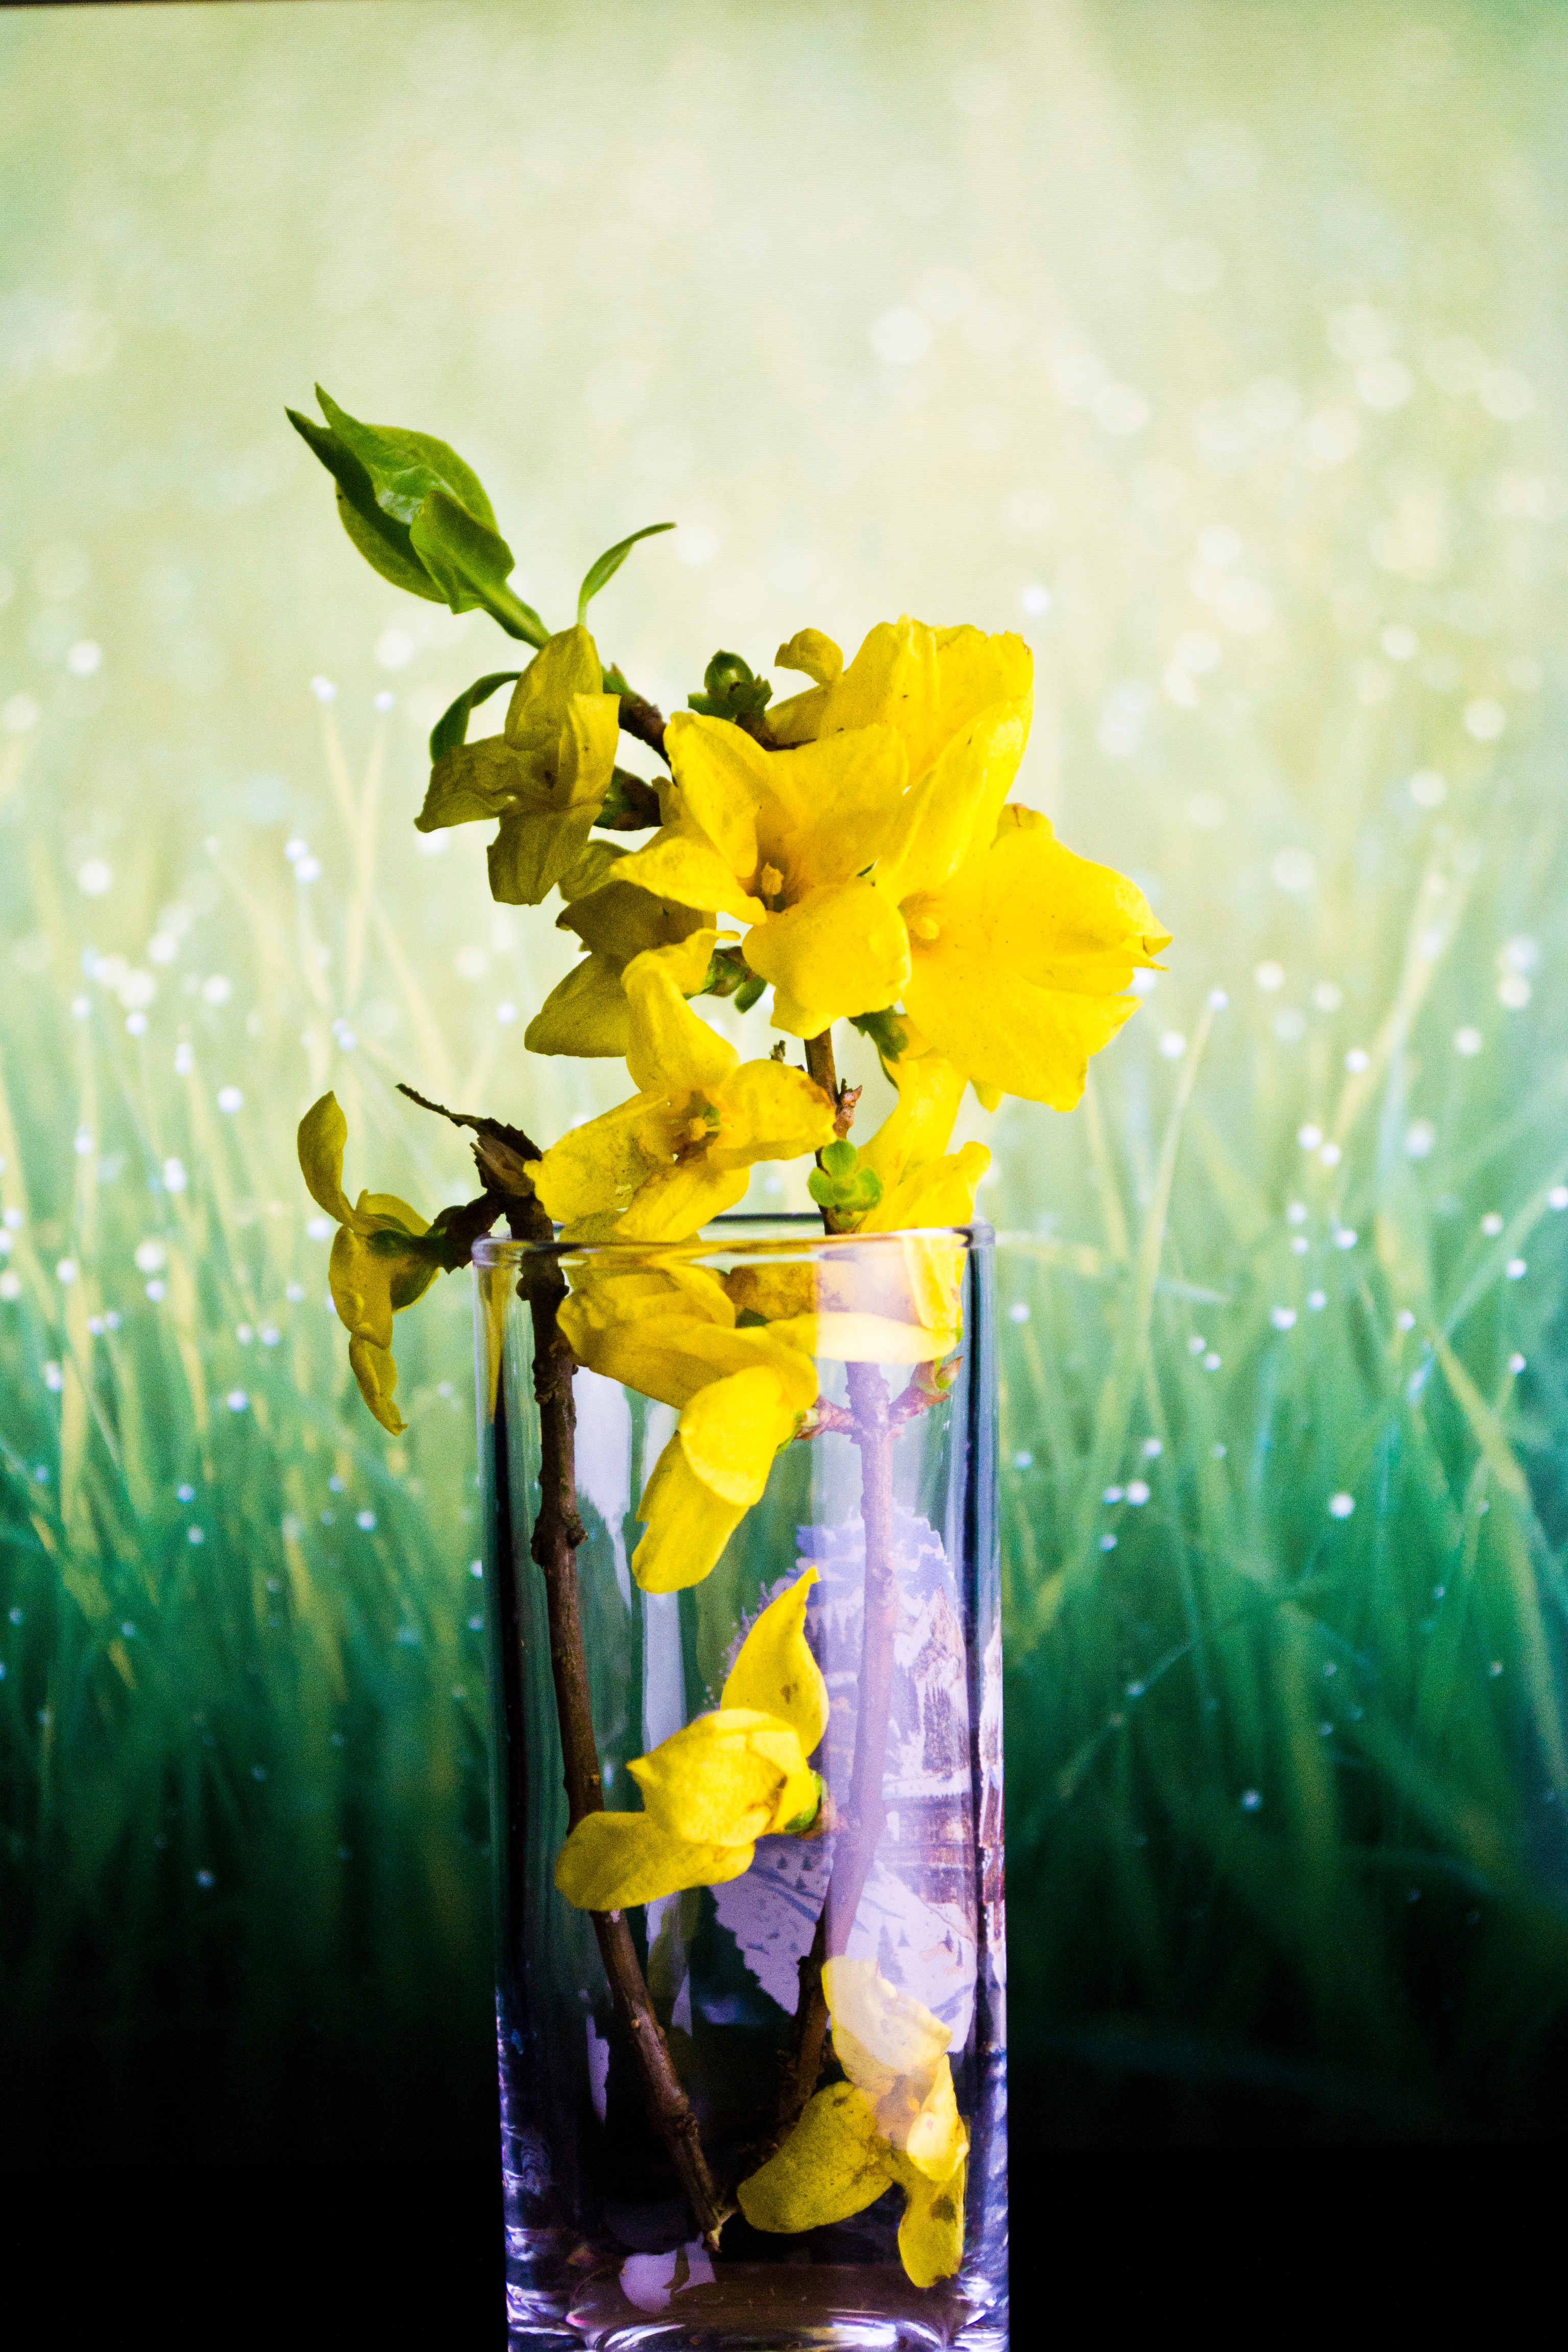
Close-ups lacking punch? Position them against a brightly colored background and they’ll instantly look much more striking. If you’re using a shallow depth of field, the tablet screen will be slightly out of focus and it won’t be so obvious that it’s not a real background. Using your tablet means you can choose any backdrop, texture or color you like to complement your subject. For a bolder composition, we could have placed our flowers against an image of blue sky.
07 Cross polarization
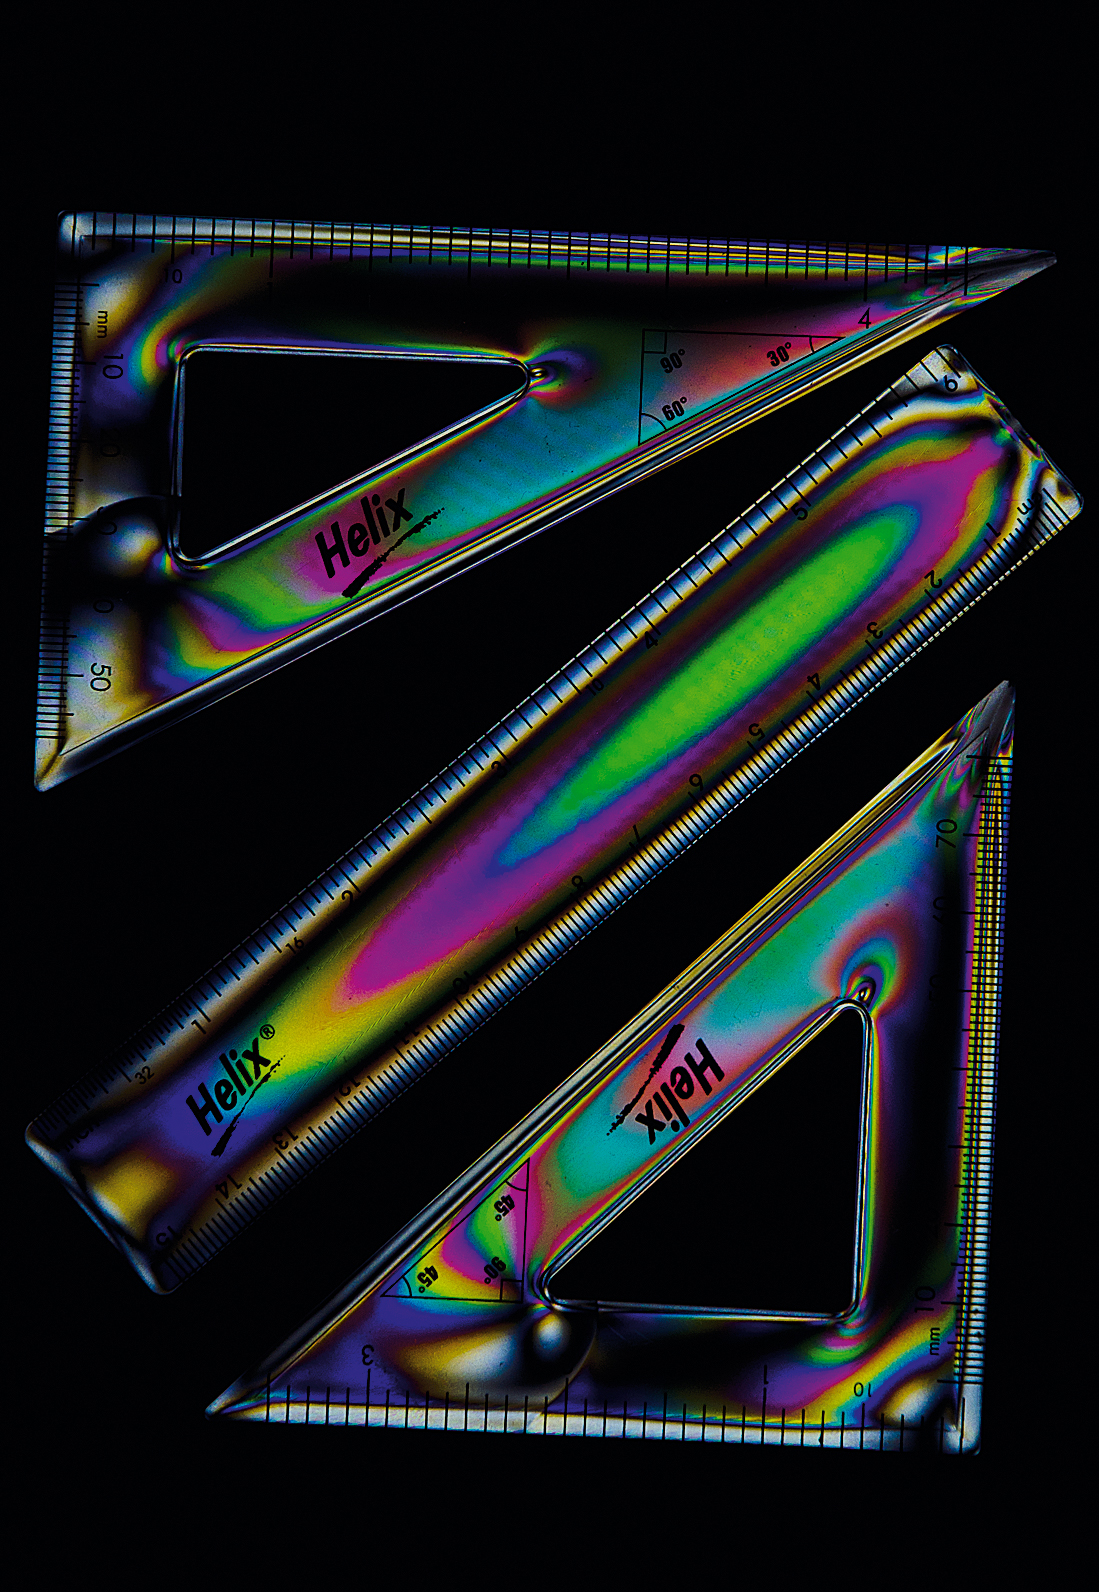
This is a technique that looks impressive but which is very easy to do with a tablet. Unlike other light sources, such as a lightbox, a computer screen is already polarized, so all you need is a polarizing filter fitted to your camera and the two will interact to cross-polarize the final image. Place a clear plastic object on your tablet’s screen and position your camera directly overhead using a tripod, then rotate the filter and see what futuristic effects you can create.
Read more: Best circular polarizers
08 Paint with light
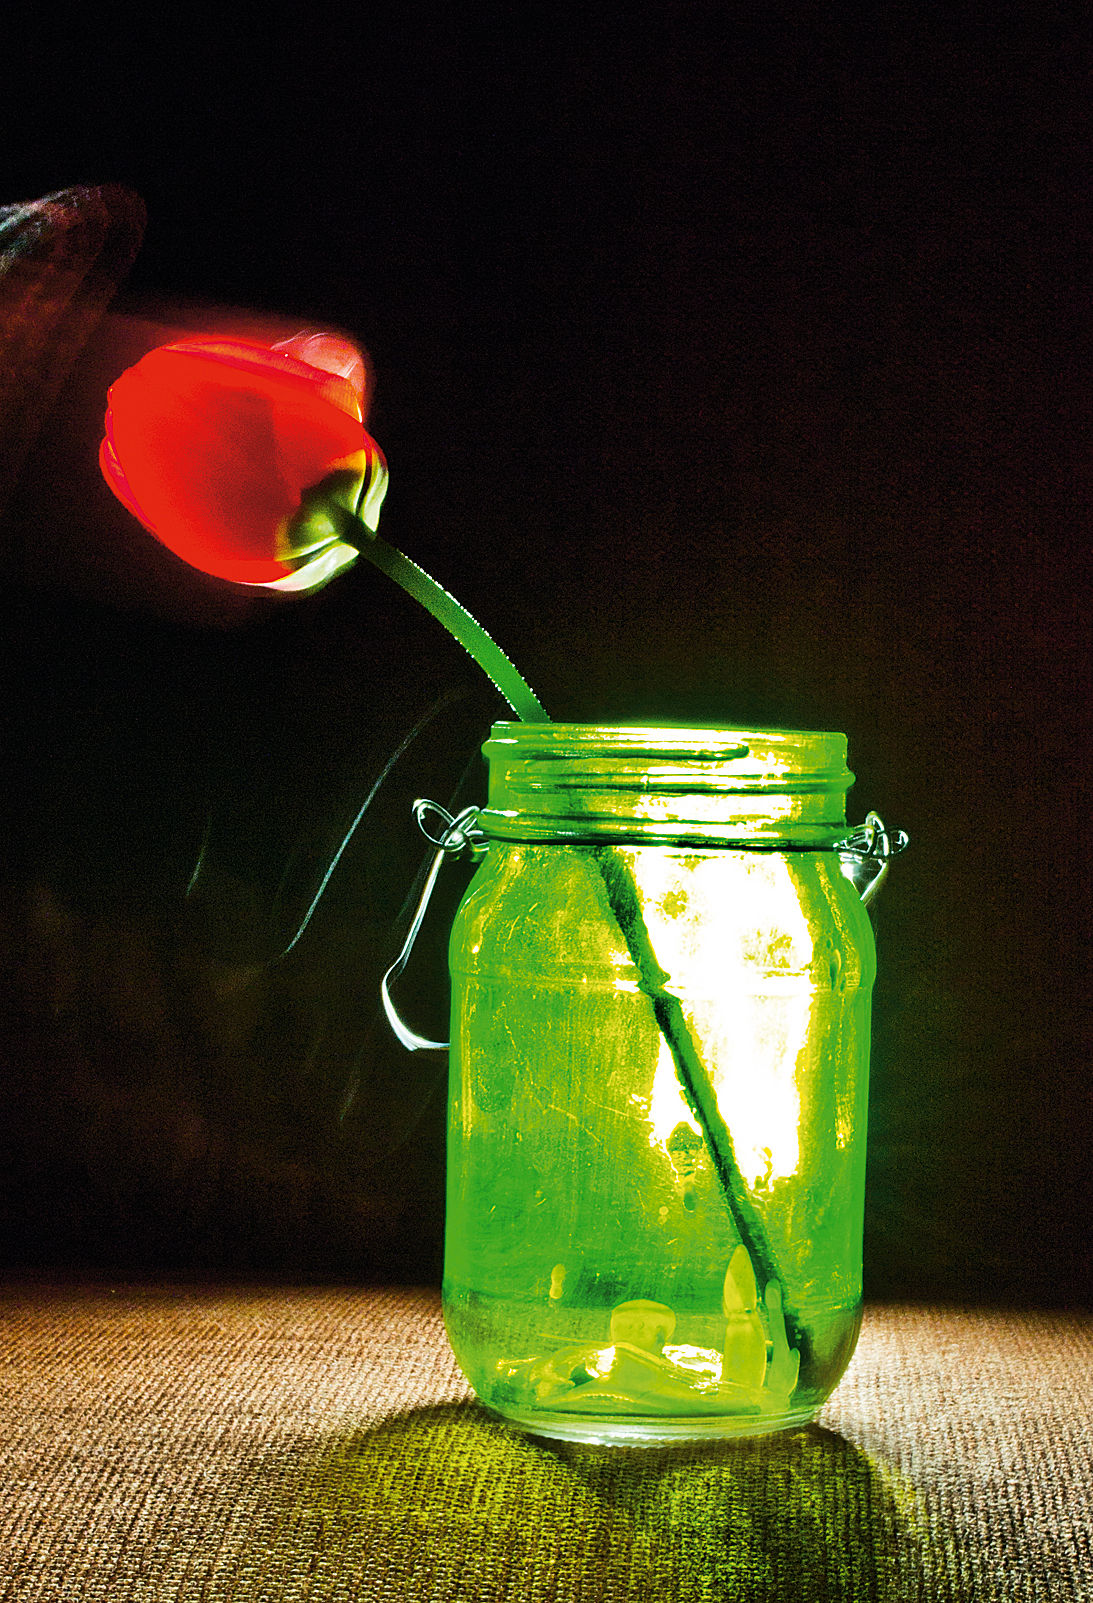
You can illuminate a still life by painting it with a moving light source. Traditionally done with a flashlight, a torch app downloaded onto your tablet or smartphone will also do the trick. Set a long exposure (we chose five seconds) and make sure the room is dark, then press your camera’s shutter button and use the beam of light to paint around your object. You can simply draw around the shape or use the light to illuminate part of the scene. The slower you move the light, the brighter it’ll be in the shot.

Read more:
Gobo lighting: tips for dramatic portraits and film noir photography
Worm's eye view photography: tips for unique flower and nature photography
Perfect the strobist look with off-camera flash photography
The best iPads for photographers and photo editing
Best iPad Pro cases
Best stylus for iPads and iPhones
