Interior photography tips: how to photograph interiors of homes
These indoor photography tips will help you get great shots with just a wide-angle lens, a tripod and natural light
The best camera deals, reviews, product advice, and unmissable photography news, direct to your inbox!
You are now subscribed
Your newsletter sign-up was successful
Photography project inspiration
• How to light interiors
Architectural shopping list
• Best wide-angle lens
• The best professional camera
• Best tripod for photographers
• Best camera bags and cases
Watch video: Interior photography tips
If you aspire to become a pro photographer, want to expand your existing business or simply learn a new technique, interior photography is an extremely useful genre to master – and it doesn’t require much kit, beyond the best wide-angle lens.
The first step is to find an inviting, clutter-free subject. If your own abode isn’t suitable, consider offering to photograph a friend’s house or, if your portfolio is up to scratch, try approaching a holiday home and offer them the shots you take in return for the opportunity.
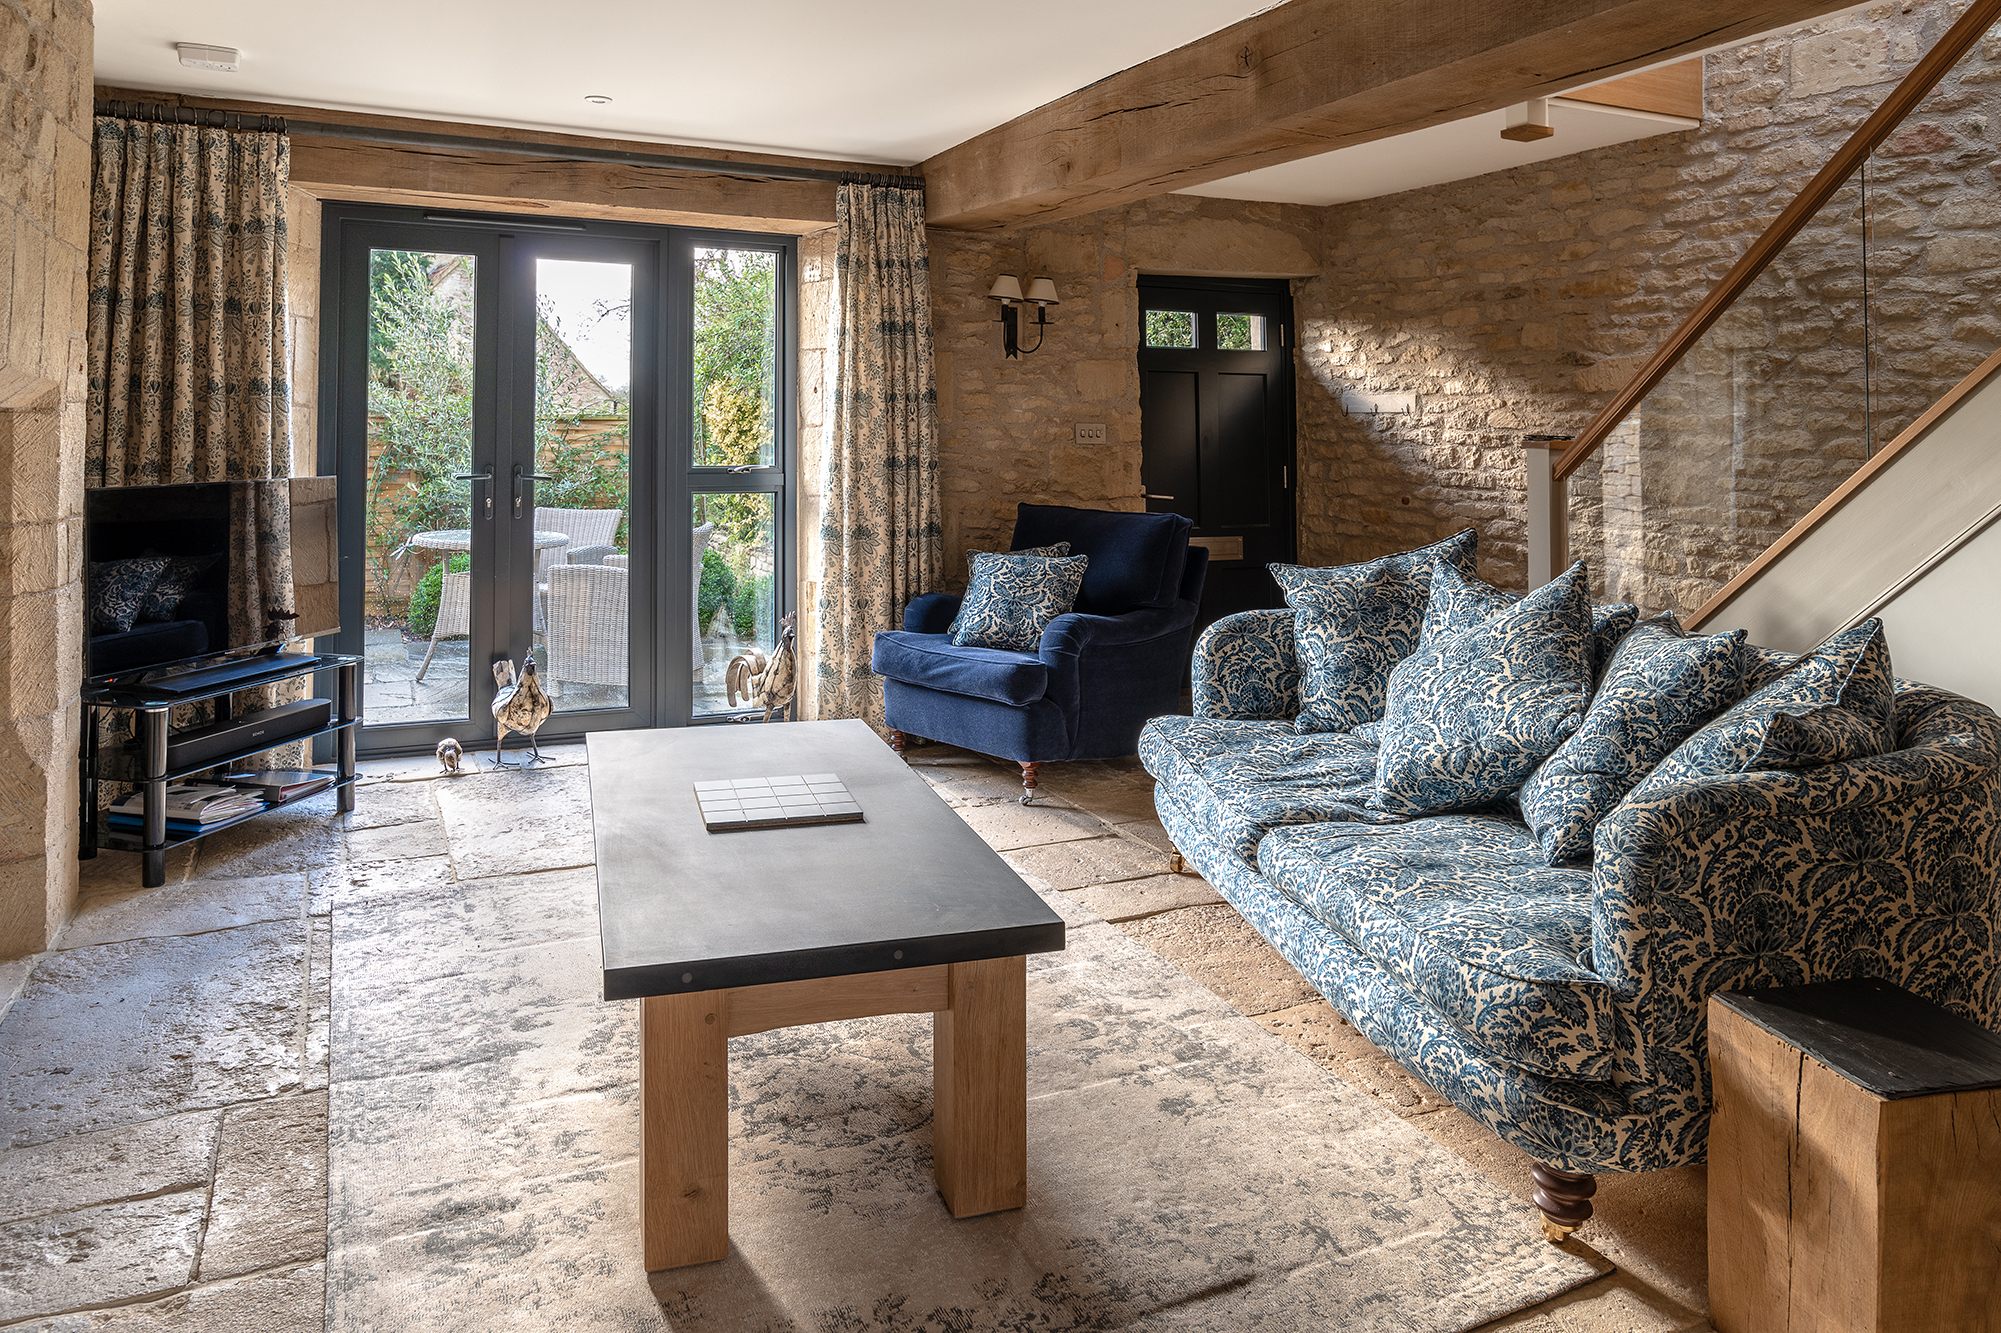
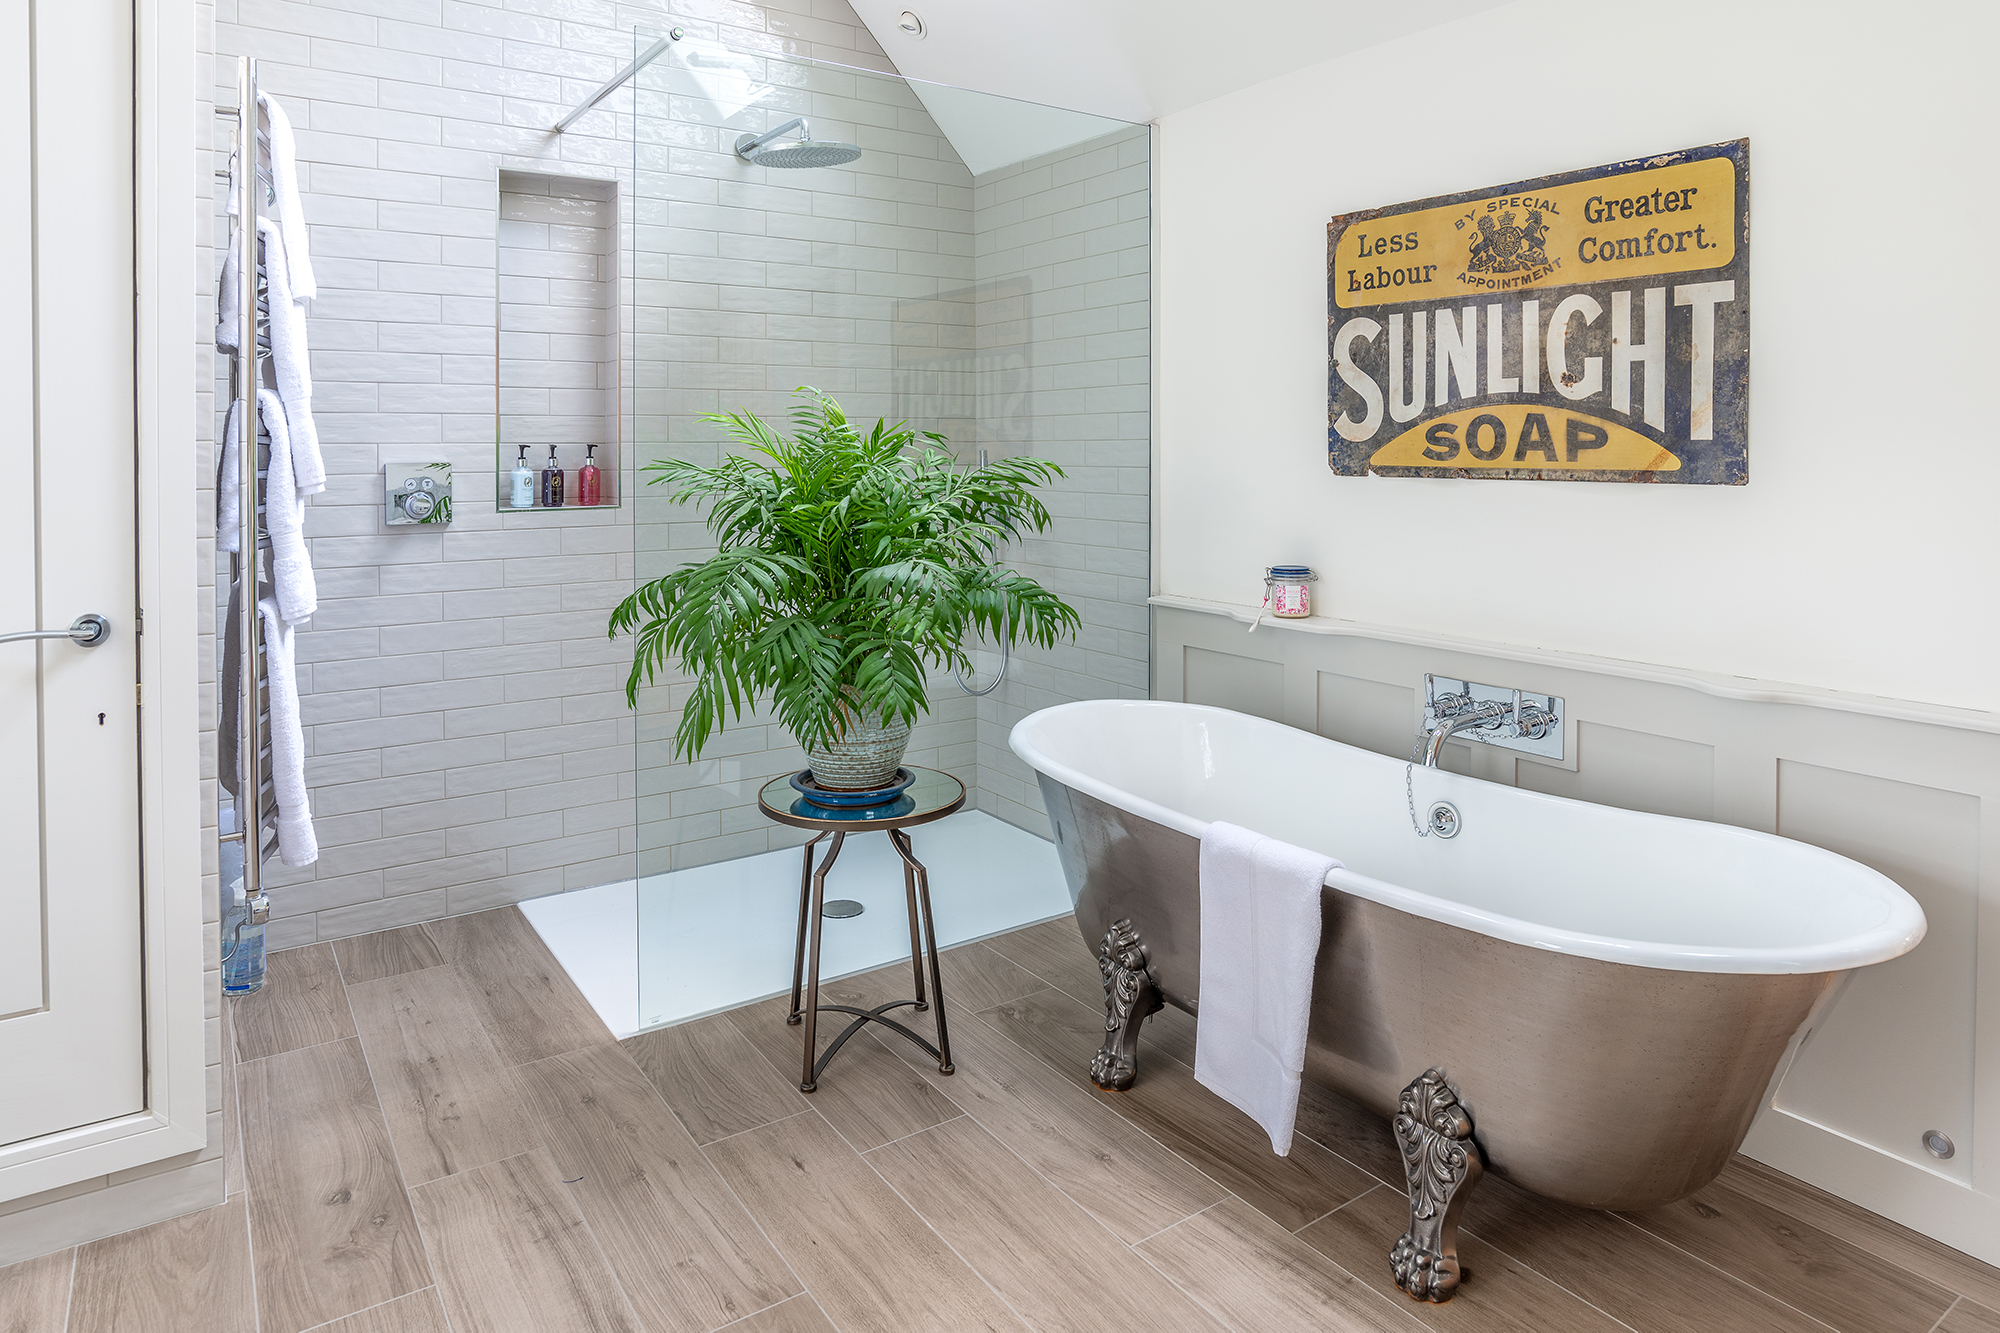
We photographed the stunning Burghope Cottage in Wiltshire and captured every image with a Nikon D800, Nikon AF-S 18-35mm f/3.5-4.5G ED and a Manfrotto Element MII tripod. Only natural light was used, which means no ambient indoor illumination and no specialist photography lighting. Good indoor photos are evenly lit to prevent harsh shadows, and the easiest way to achieve even lighting is to employ natural light.
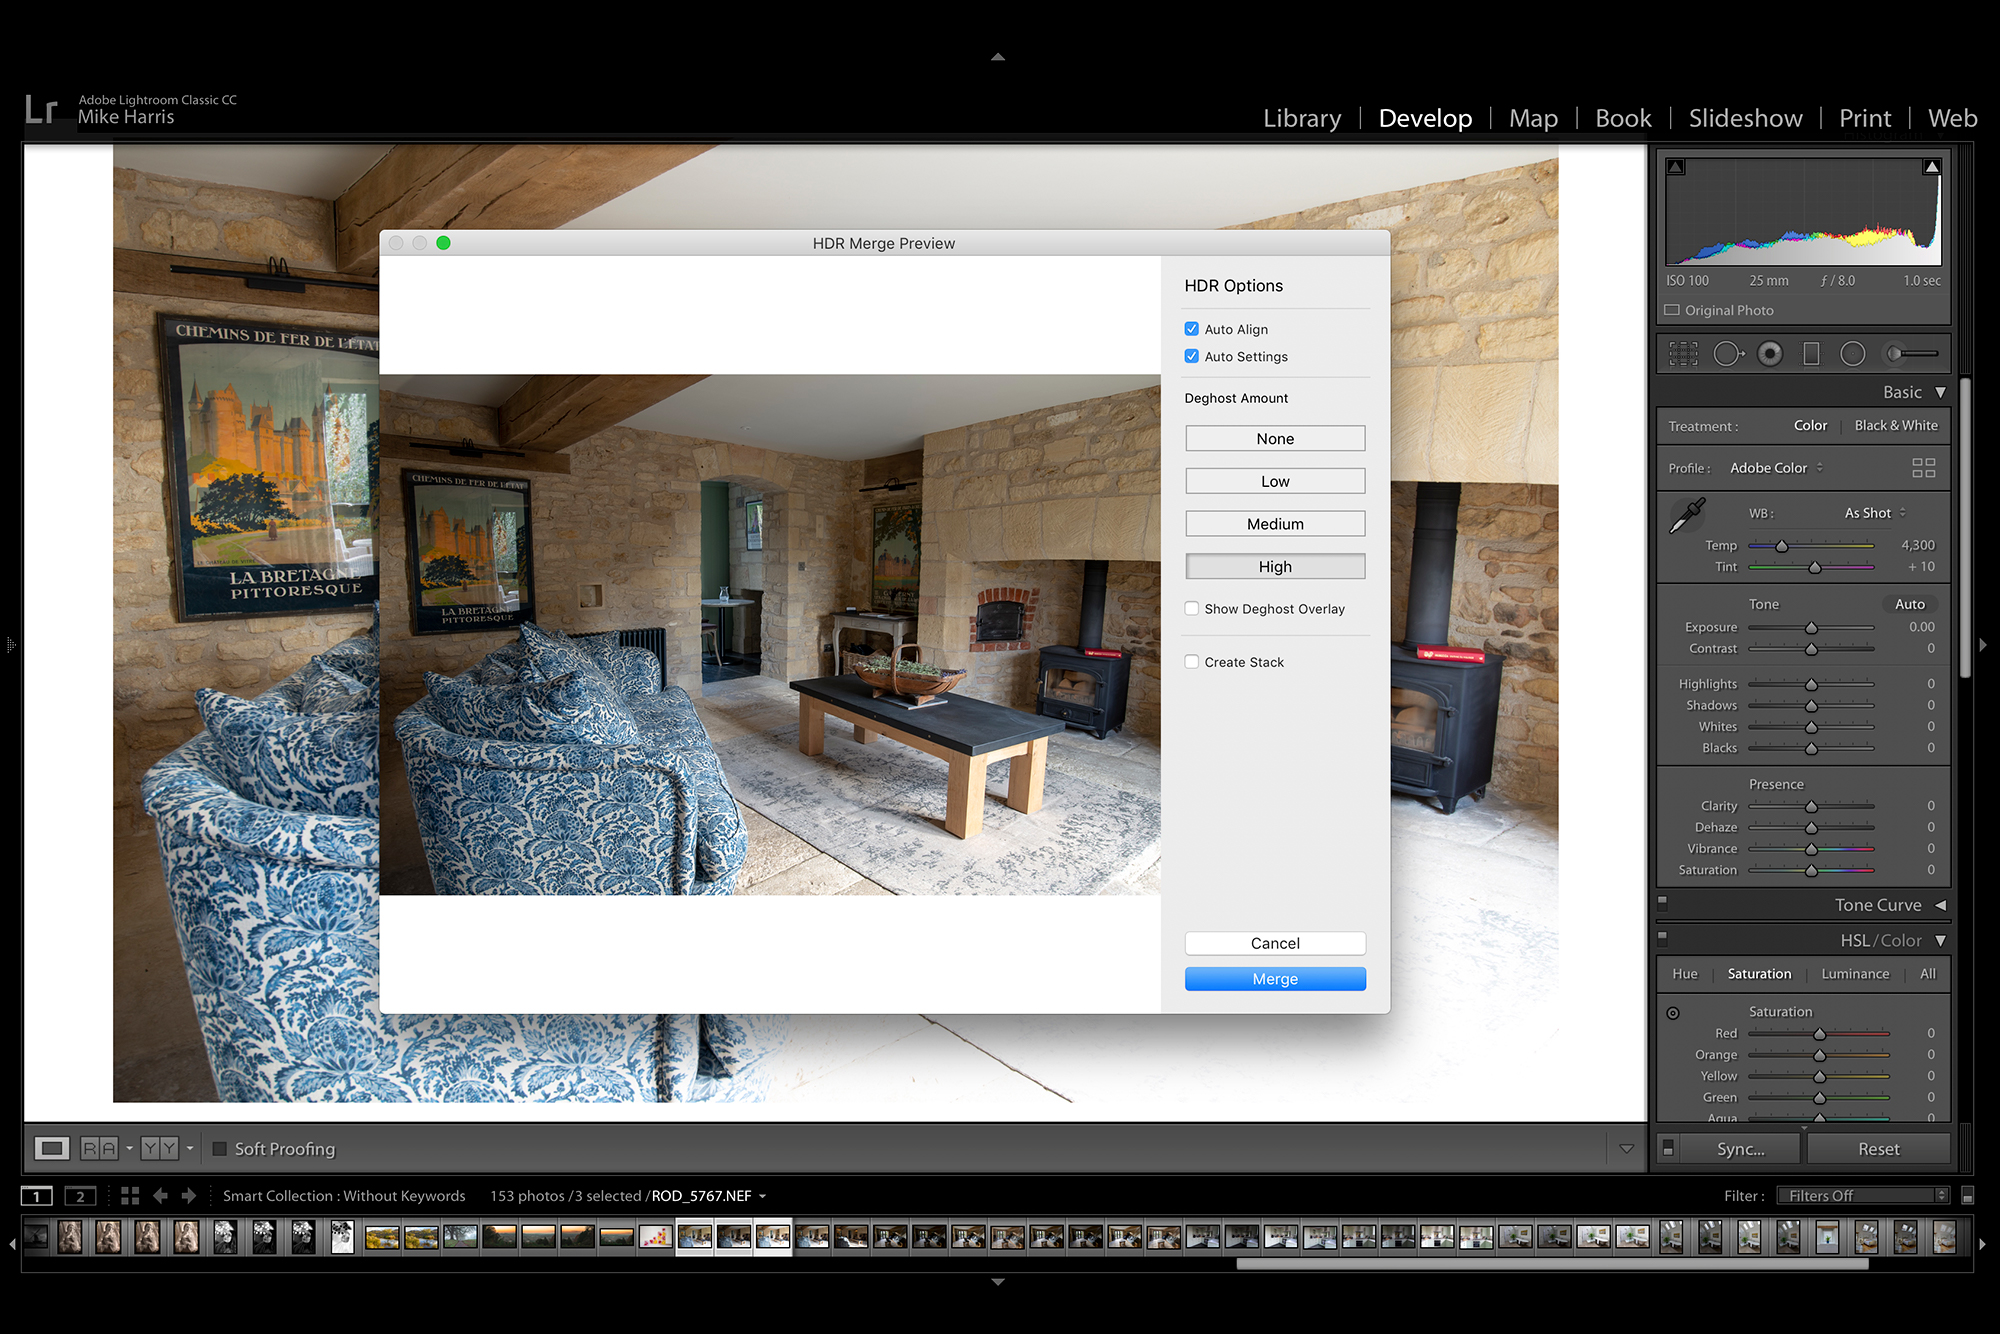
Interior photos are made in the editing room. We bracketed each composition, so we had the option to boost the dynamic range by merging an HDR. Interior shots tend to be bright and inviting, so don’t be afraid to boost the shadows and whites. Lightroom’s HSL panel and Temperature and Tint sliders are useful if you need to remove color casts and achieve more neutral lighting. Here are some tips to help you capture bright and inviting interior photos…
Interior photography tips: how to photograph interiors
1. Shoot a bracket
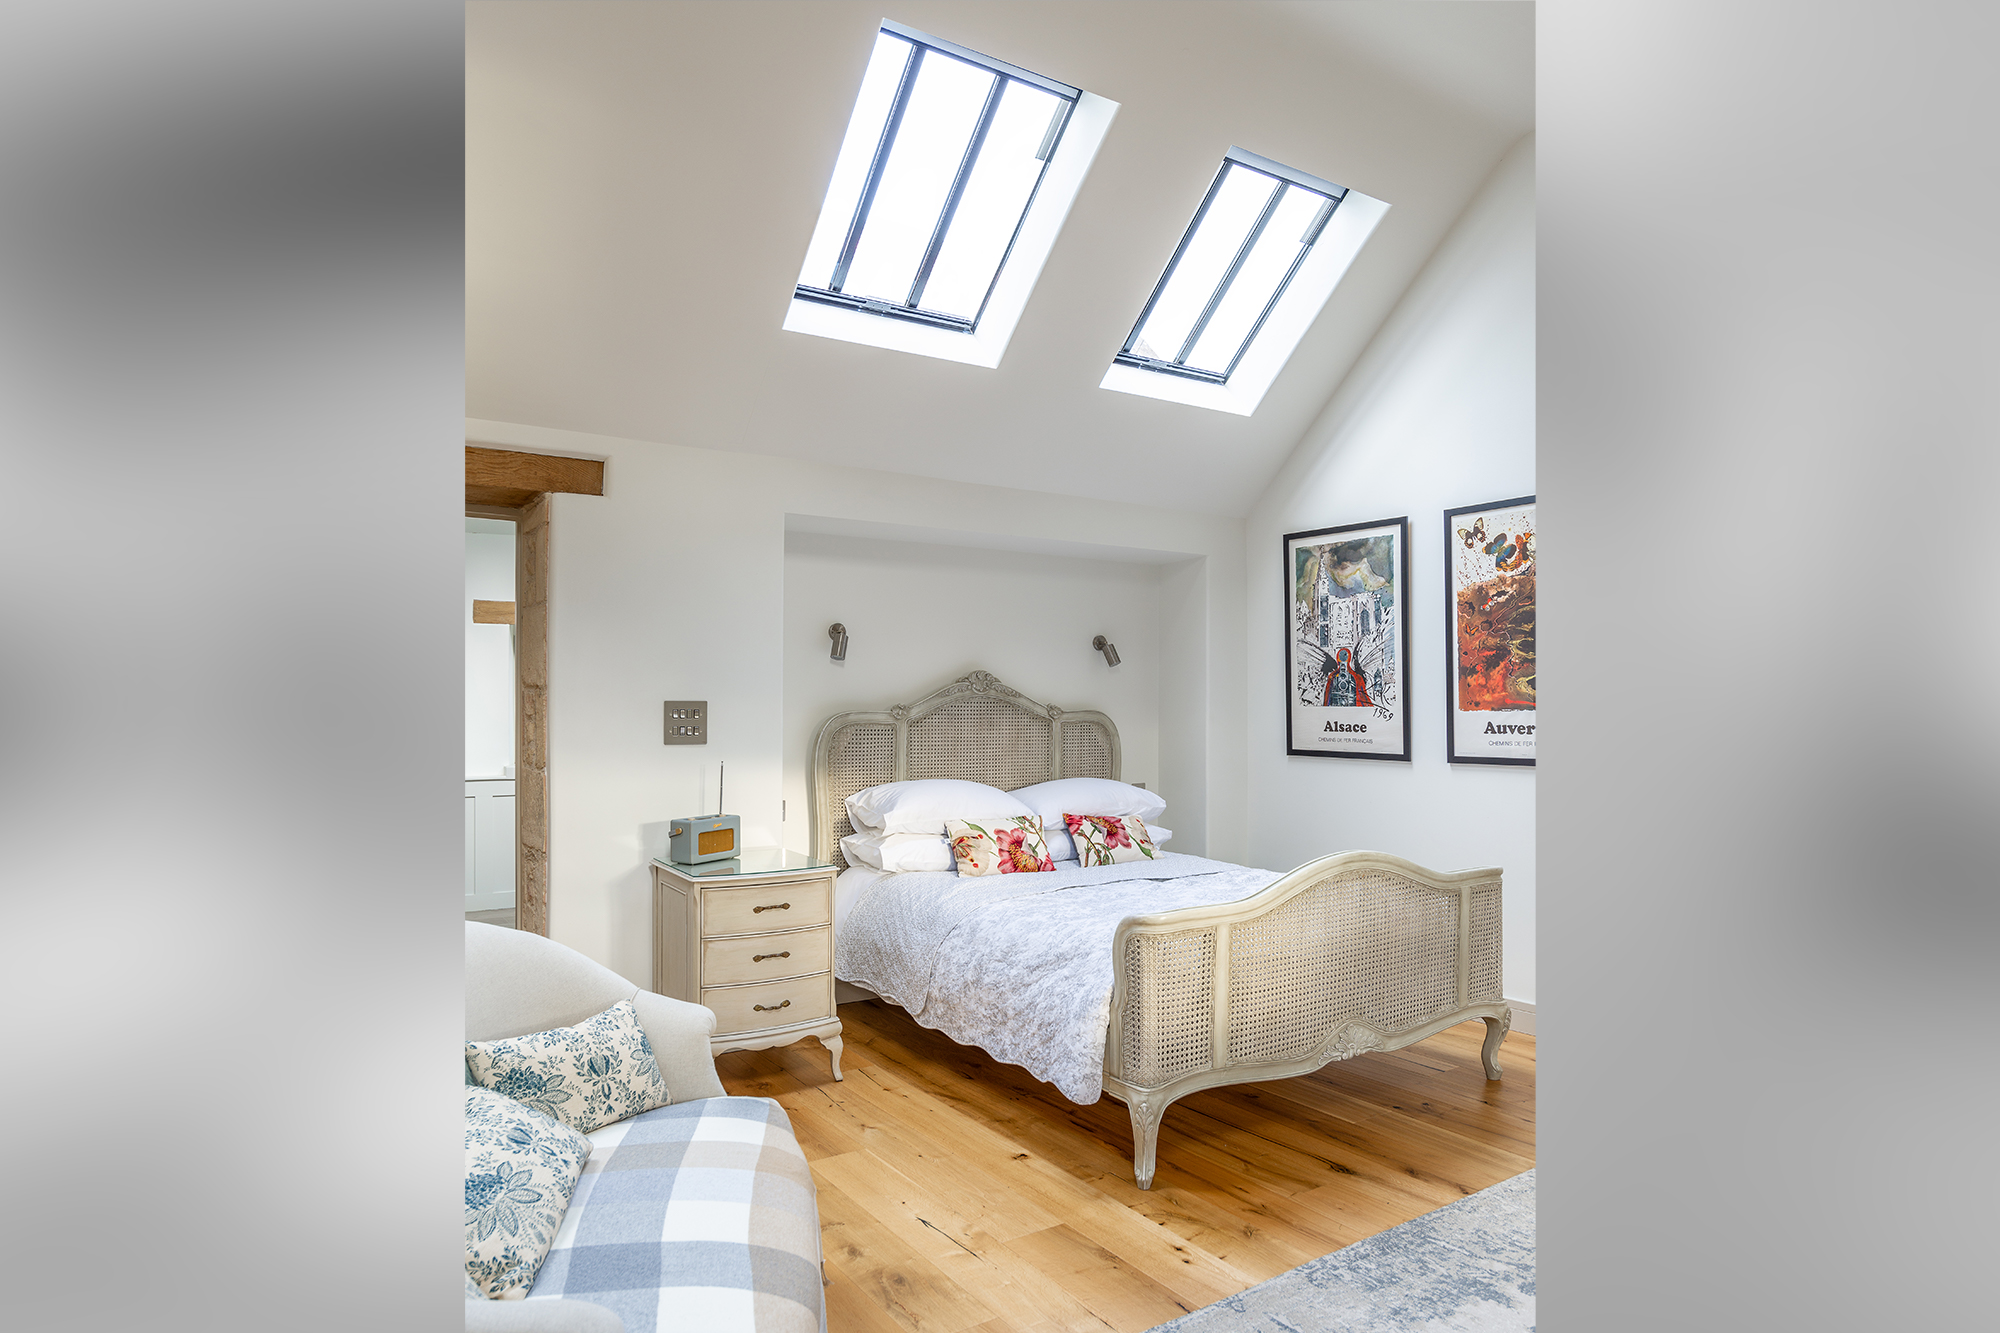
The bedroom and bathroom at Burghope Cottage have roof windows, which let in plenty of light. However, the living room has a low ceiling and gets the majority of its light from a pair of French doors and the door that leads into the kitchen. To get the highest dynamic range possible, we captured a three-shot bracket.
The best camera deals, reviews, product advice, and unmissable photography news, direct to your inbox!
2. Merge a HDR
We then highlighted the three images in Lightroom’s Develop Module, right clicked the sequence and selected Photo Merge > HDR. When photographing the bracket, we waited until cloud cover diffused the sunlight to prevent too much contrast.
3. Capture straight verticals in-camera
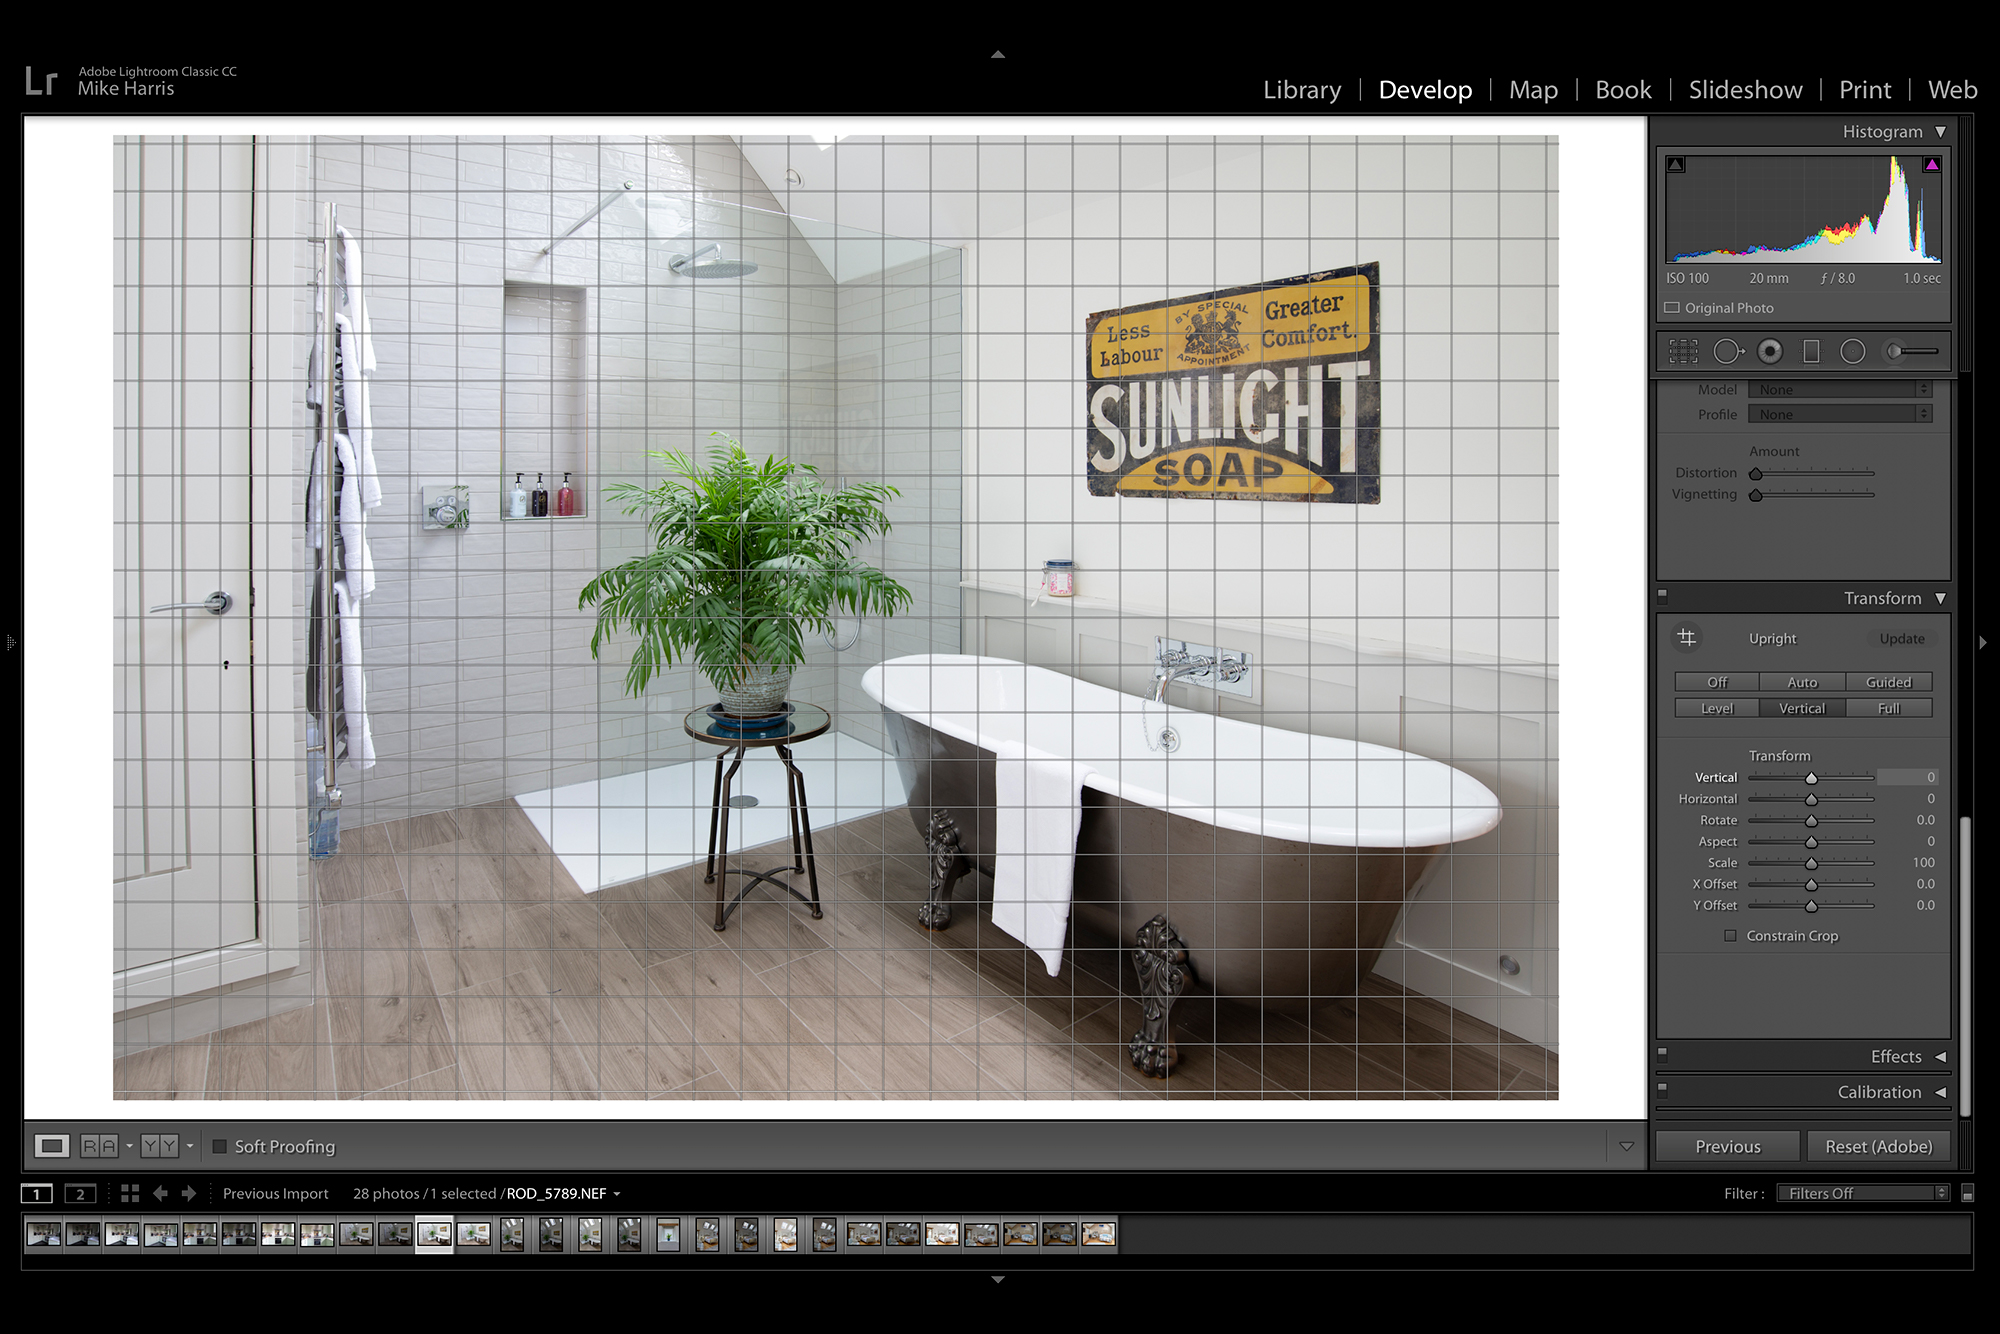
Straight verticals are the hallmark of a good interior image. Barrel distortion and perspective prevent an image from having straight verticals throughout, but even so, getting as many verticals straight as possible in-camera will prevent you having to crop too far into the image when straightening it in post. Use the grid overlay in Live View to line up walls and objects.
4. Refine verticals in post
Then, straighten any skewed uprights you’re left with in Lightroom. In the Develop Module, ensure Enable Profile Corrections is ticked in the Lens Corrections panel and then head to the Transform panel and select Vertical.
5. Cut the clutter
Beautiful lighting and a great composition mean nothing if your camera bag is poking out from behind the sofa, washing-up is left on a kitchen surface or a lamp is teetering on the edge of a side table. Make sure the room you are working in is clean, clutter-free and arranged in an attractive way. We’d recommend taking a test shot, entering Playback and zooming into the image. Spend a few minutes looking for any clutter or poorly placed items and move or remove them accordingly.
6. Find a few details
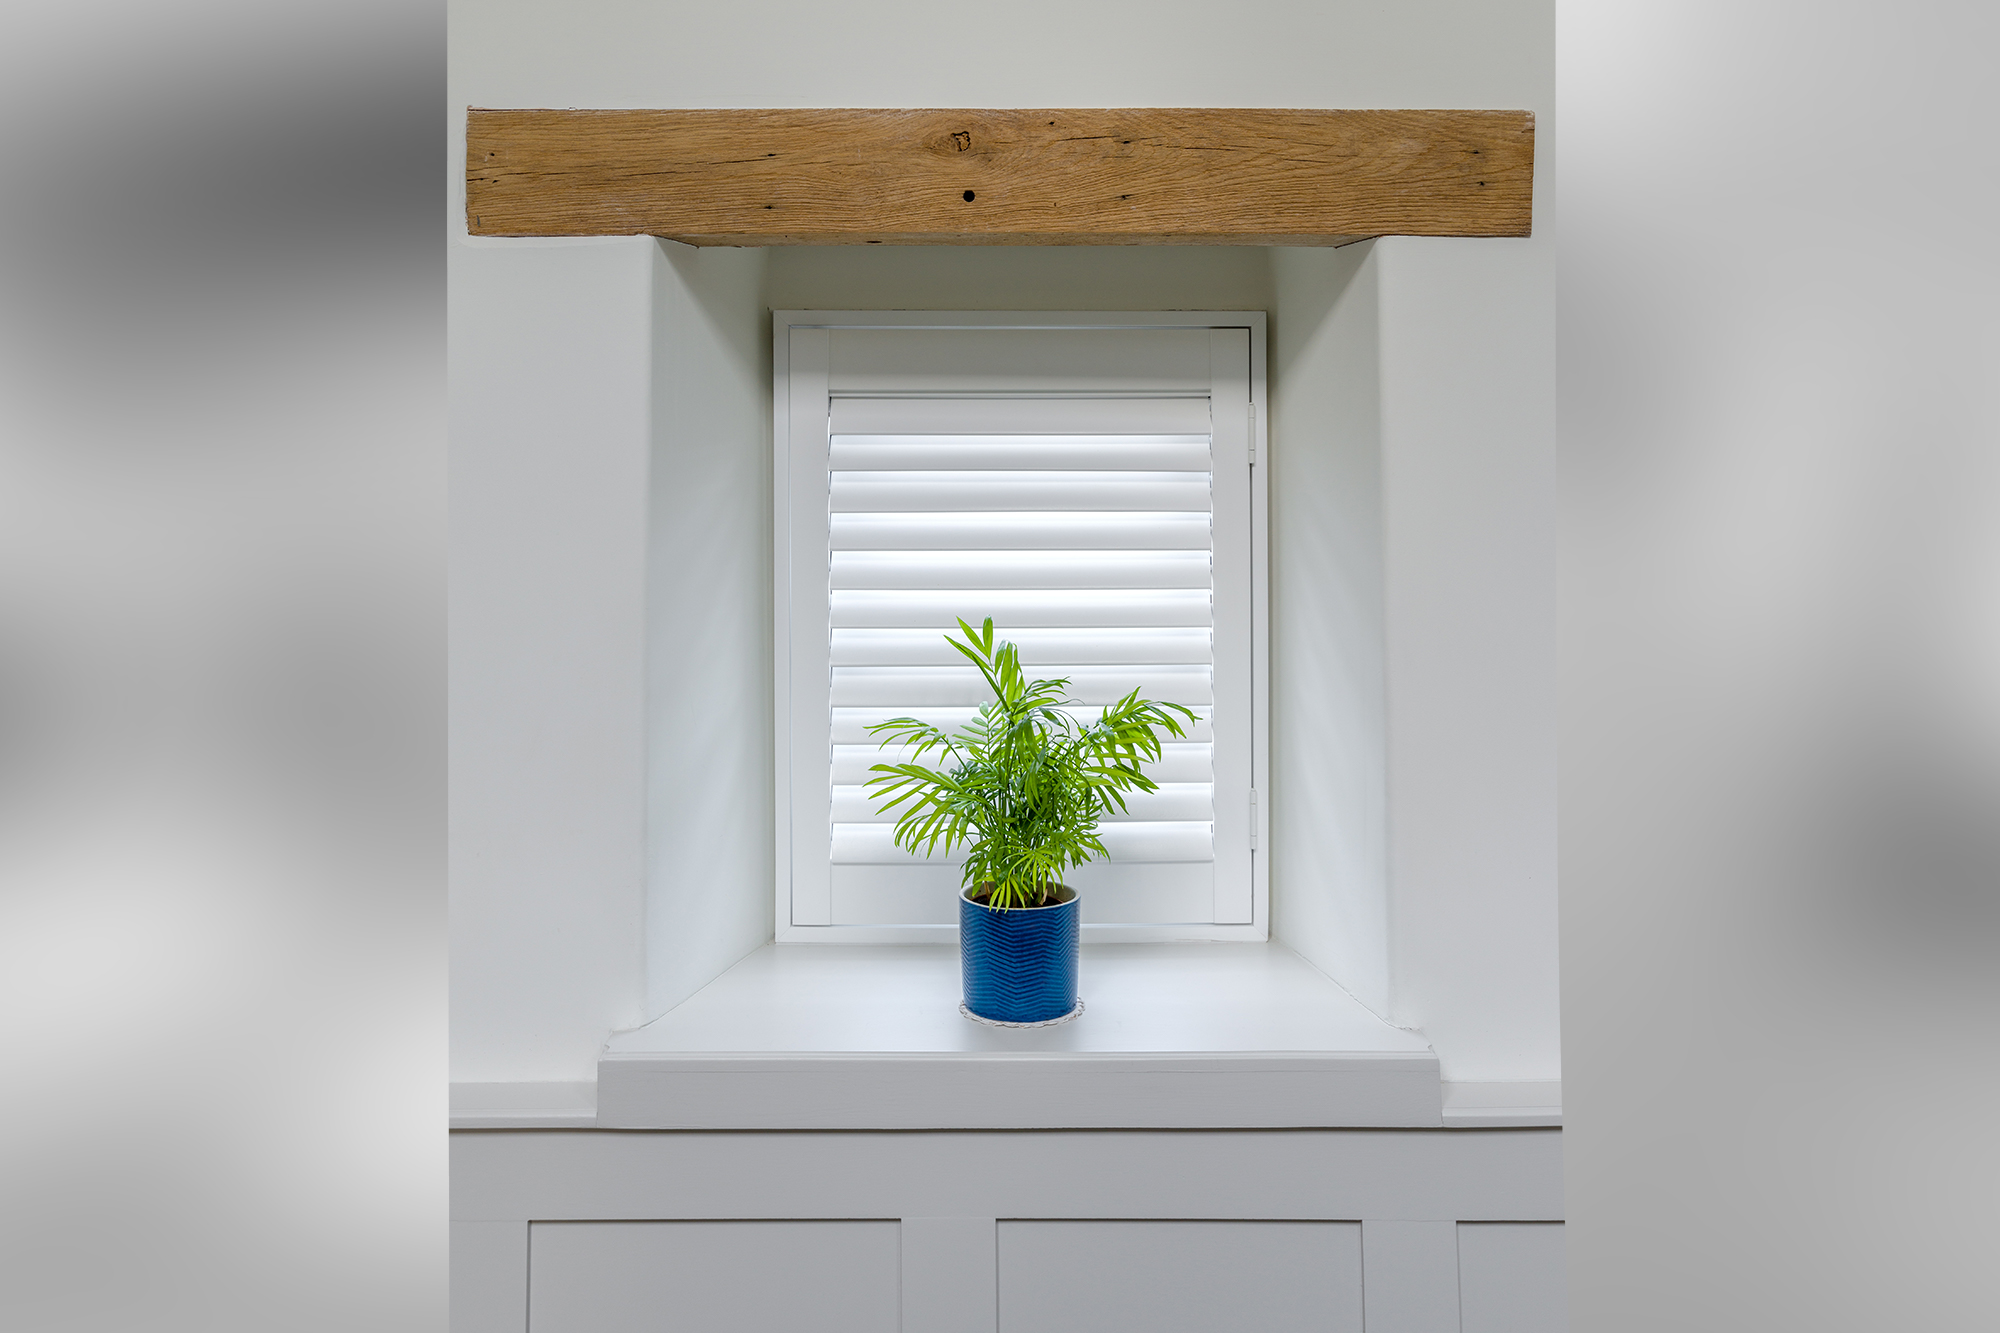
Interior photography doesn’t have to be just sprawling images of rooms. If you notice any nice details, get close with a 50mm lens and pick them out. This is particularly important when shooting character properties.
7. Look for reflections
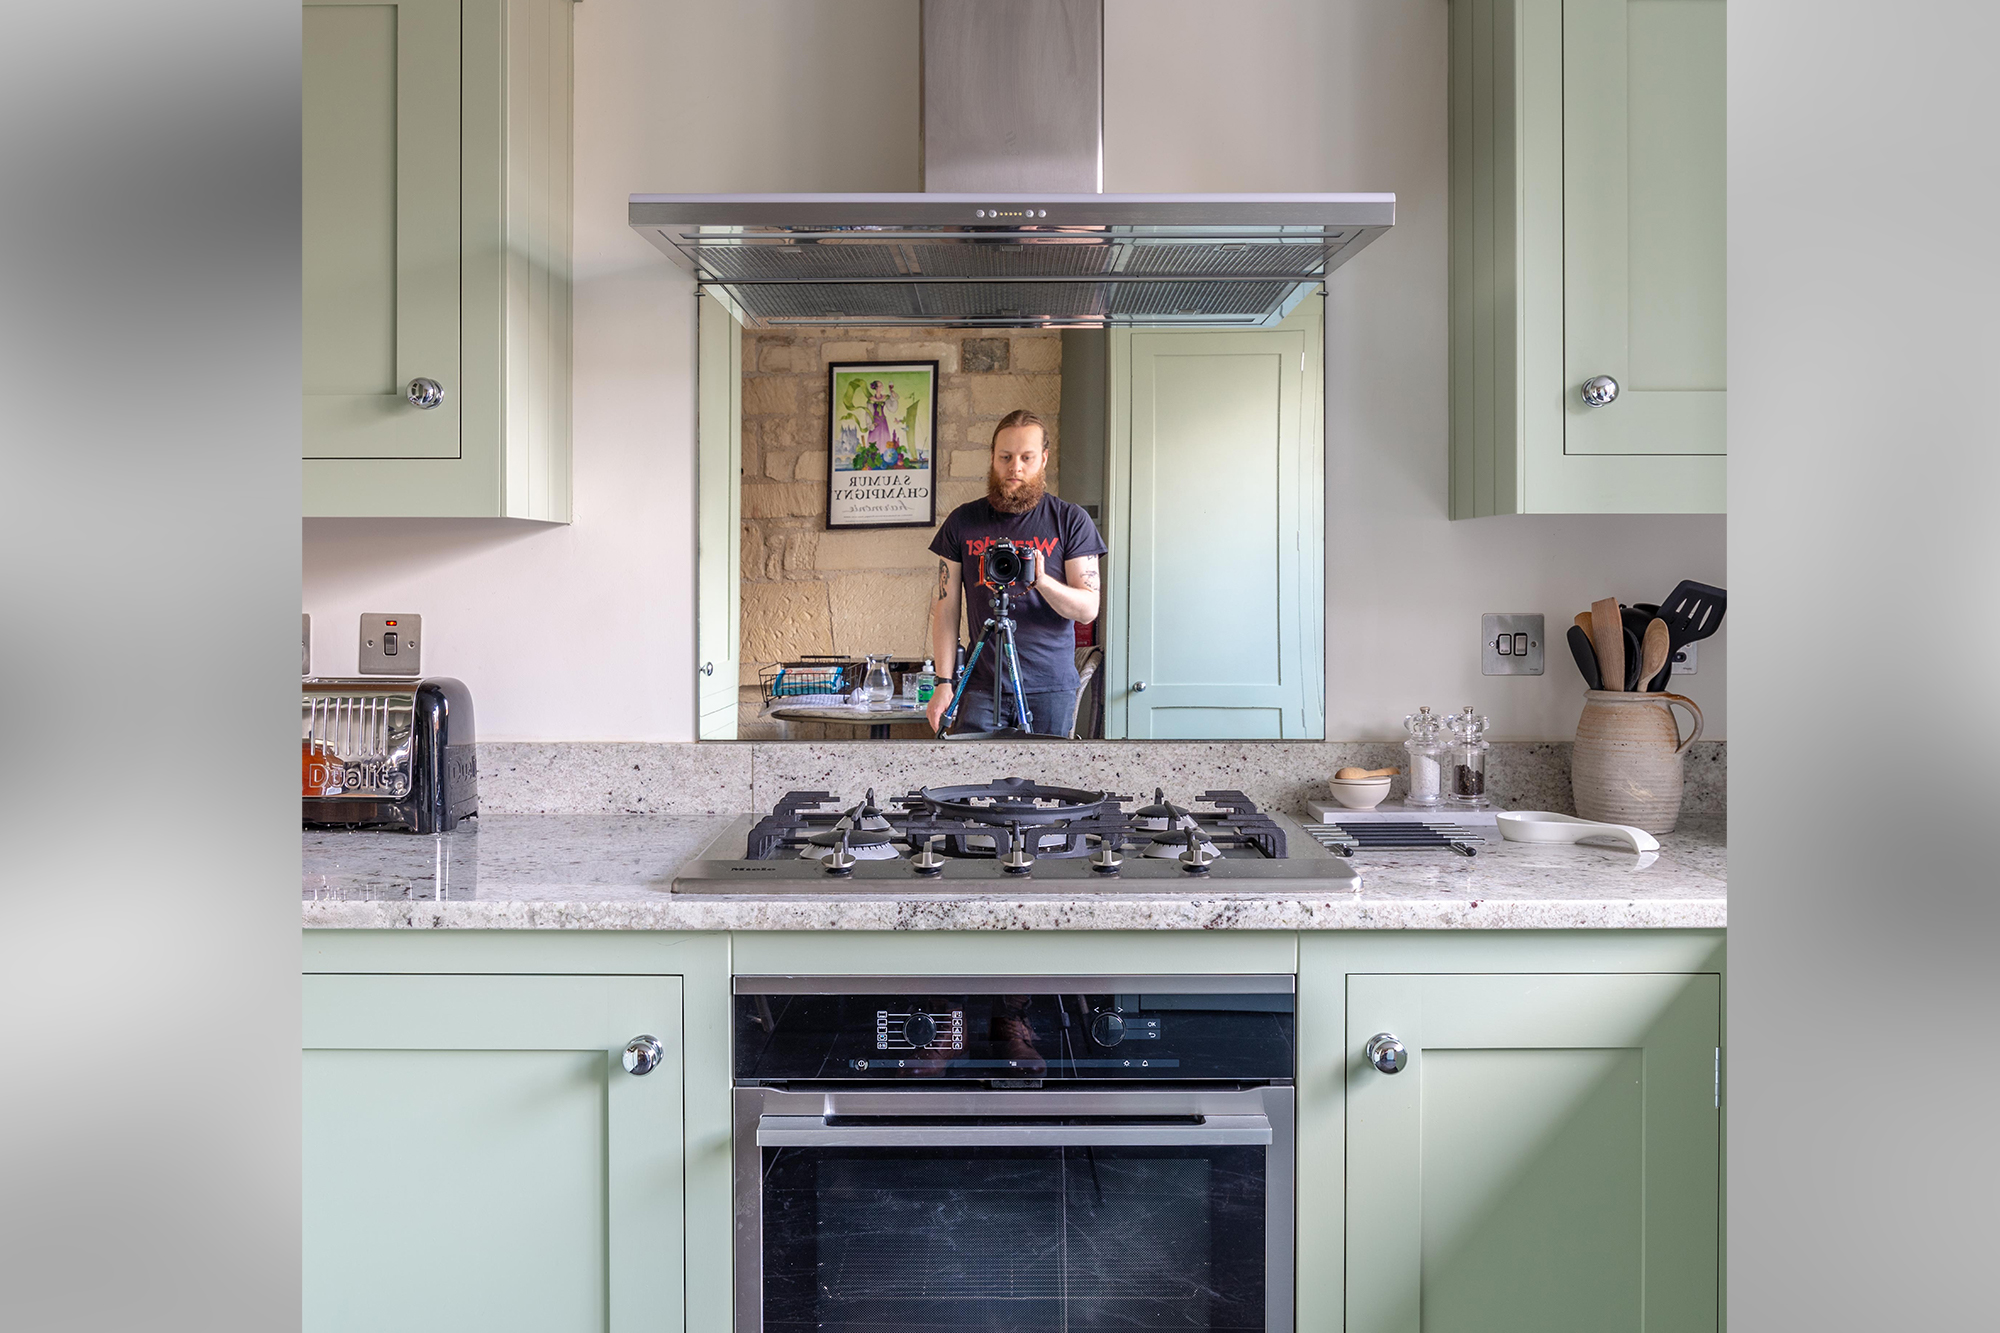
Rooms with reflective surfaces and mirrors are challenging to shoot. Be mindful of anything reflective when composing your shot and adjust your framing or reposition where you’re standing accordingly. A useful trick is to set a self-timer and leave the room. Your camera and tripod will be easier to remove in post than your body.
8. Wait for it...
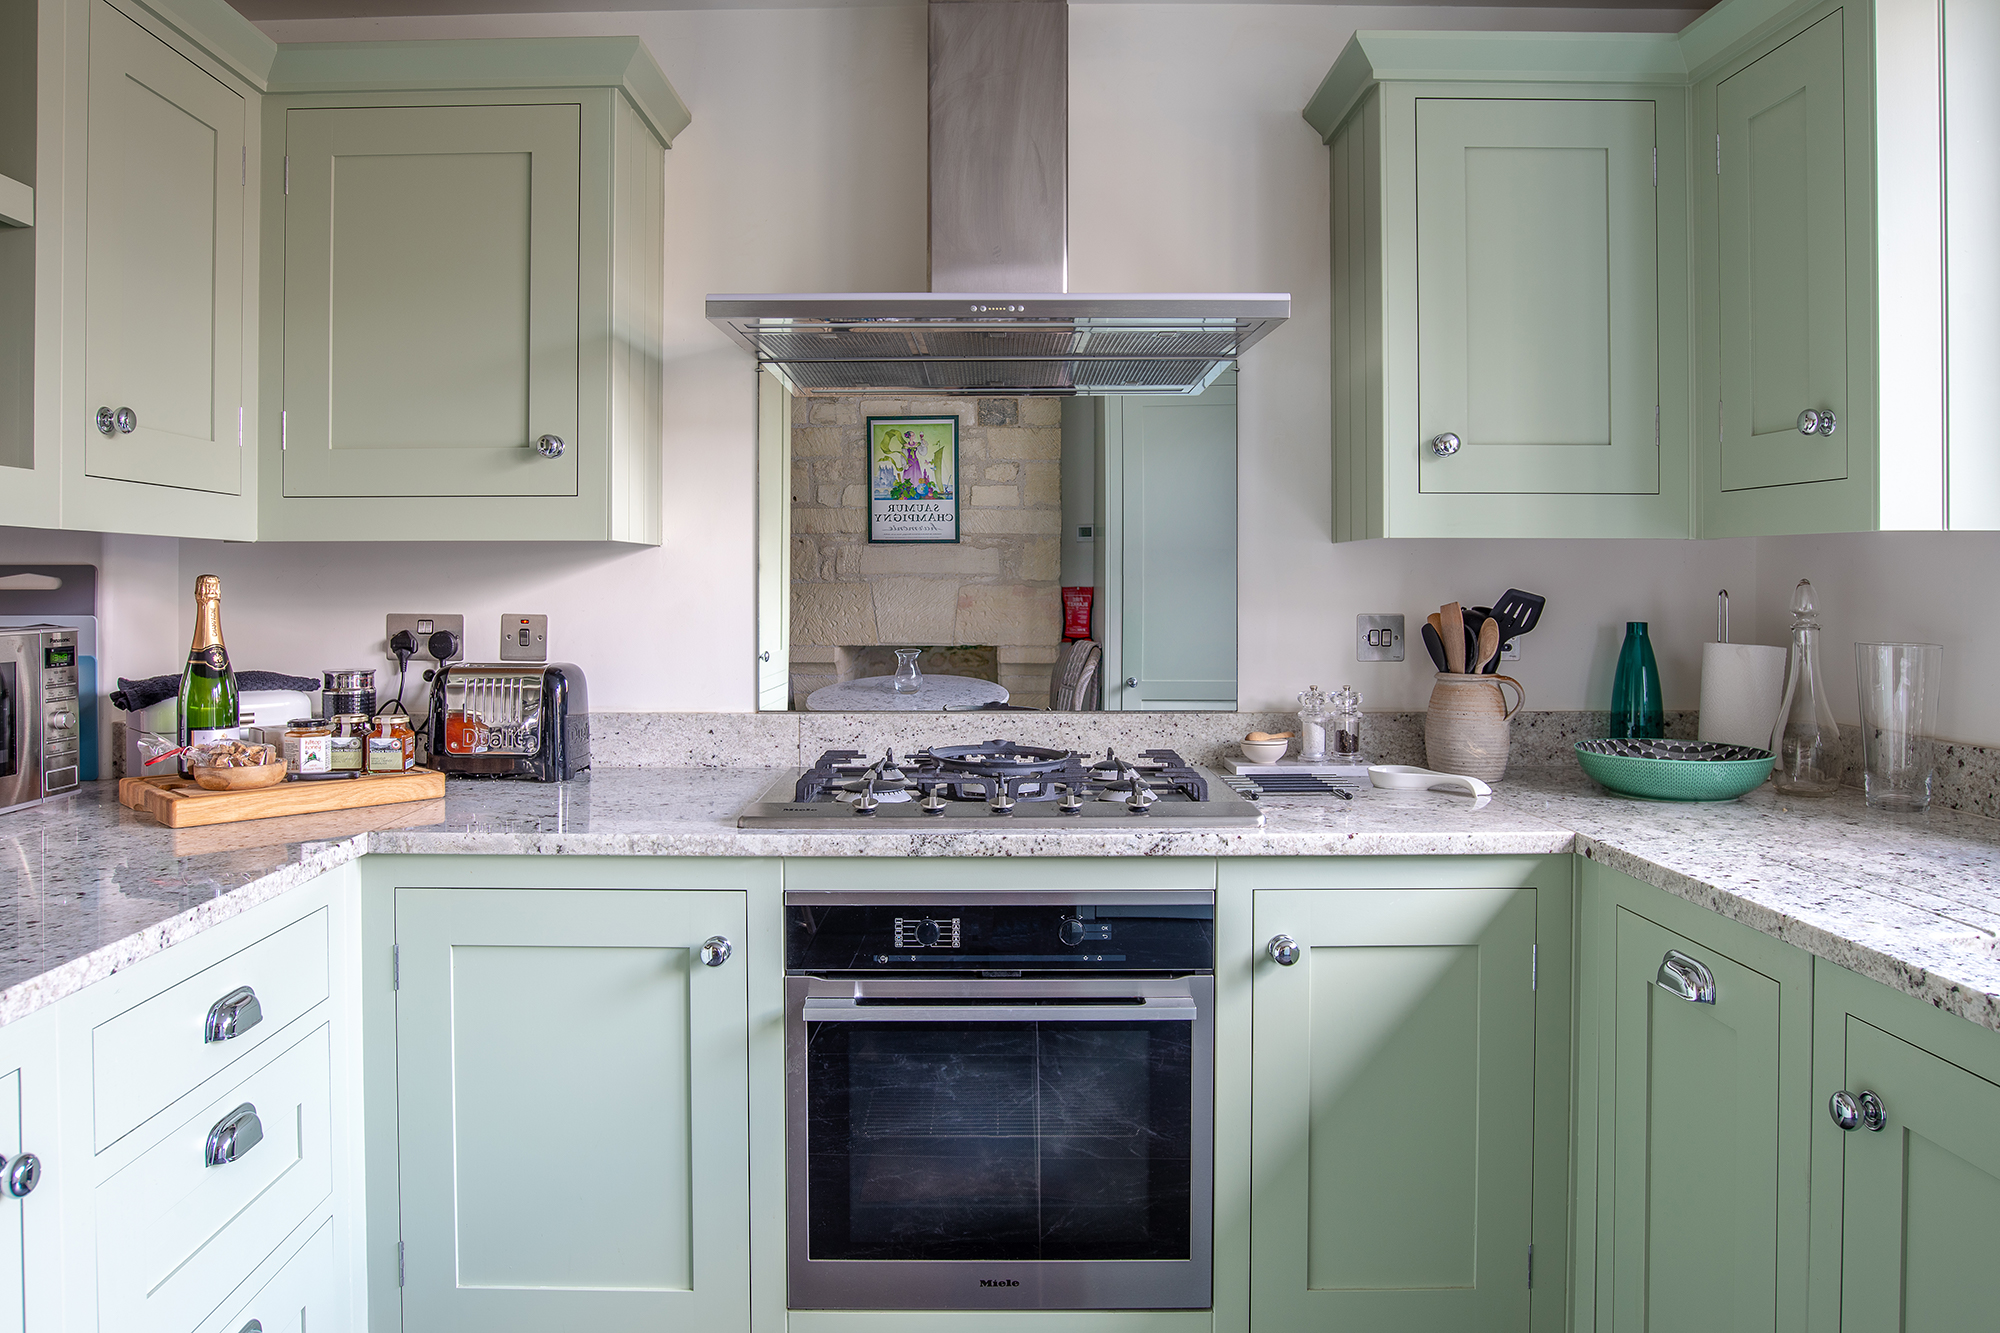
The kitchen (above) has a mirrored splashback and we had no choice but to obscure the reflection when shooting head on. We rectified this by turning the camera on the area reflected in the mirror, cutting around the mirror in post and adding the new image. This was flipped and manipulated using Photoshop’s Transform tool.
• The best carbon fiber tripods
N-Photo: The Nikon Magazine is a monthly publication that's entirely dedicated to Nikon users. For the best news, reviews, projects and more, subscribe to N-Photo today!
Read more:
The best tripod for photographers
Home photography ideas: learning how to light interiors
Use custom white balance to improve colors when shooting interiors

Mike studied photography at college, honing his Adobe Photoshop skills and learning to work in the studio and darkroom. After a few years writing for various publications, he headed to the ‘Big Smoke’ to work on Wex Photo Video’s award-winning content team, before transitioning back to print as Technique Editor (later Deputy Editor) on N-Photo: The Nikon Magazine.
With bylines in Digital Camera, PhotoPlus: The Canon Magazine, Practical Photography, Digital Photographer, iMore, and TechRadar, he’s a fountain of photography and consumer tech knowledge, making him a top tutor for techniques on cameras, lenses, tripods, filters, and more. His expertise extends to everything from portraits and landscapes to abstracts and architecture to wildlife and, yes, fast things going around race tracks...
