How to use a ring light: get perfect perfect pet and people portraits
Wondering how to use a ring light properly? Here's how to get creative for pet and people photos
The best camera deals, reviews, product advice, and unmissable photography news, direct to your inbox!
You are now subscribed
Your newsletter sign-up was successful
Watch video: How to use a ring light
Ring lights have been used for distinctive photos for a long time, but in the past couple of years – thanks to the pandemic and endless video meetings – they’ve become increasingly popular. A ring light eliminates shadows, resulting in simple, flattering lighting over a face. The 360 degrees of illumination help to give skin a flawless look – it fills out bags under eyes and reduces wrinkles.
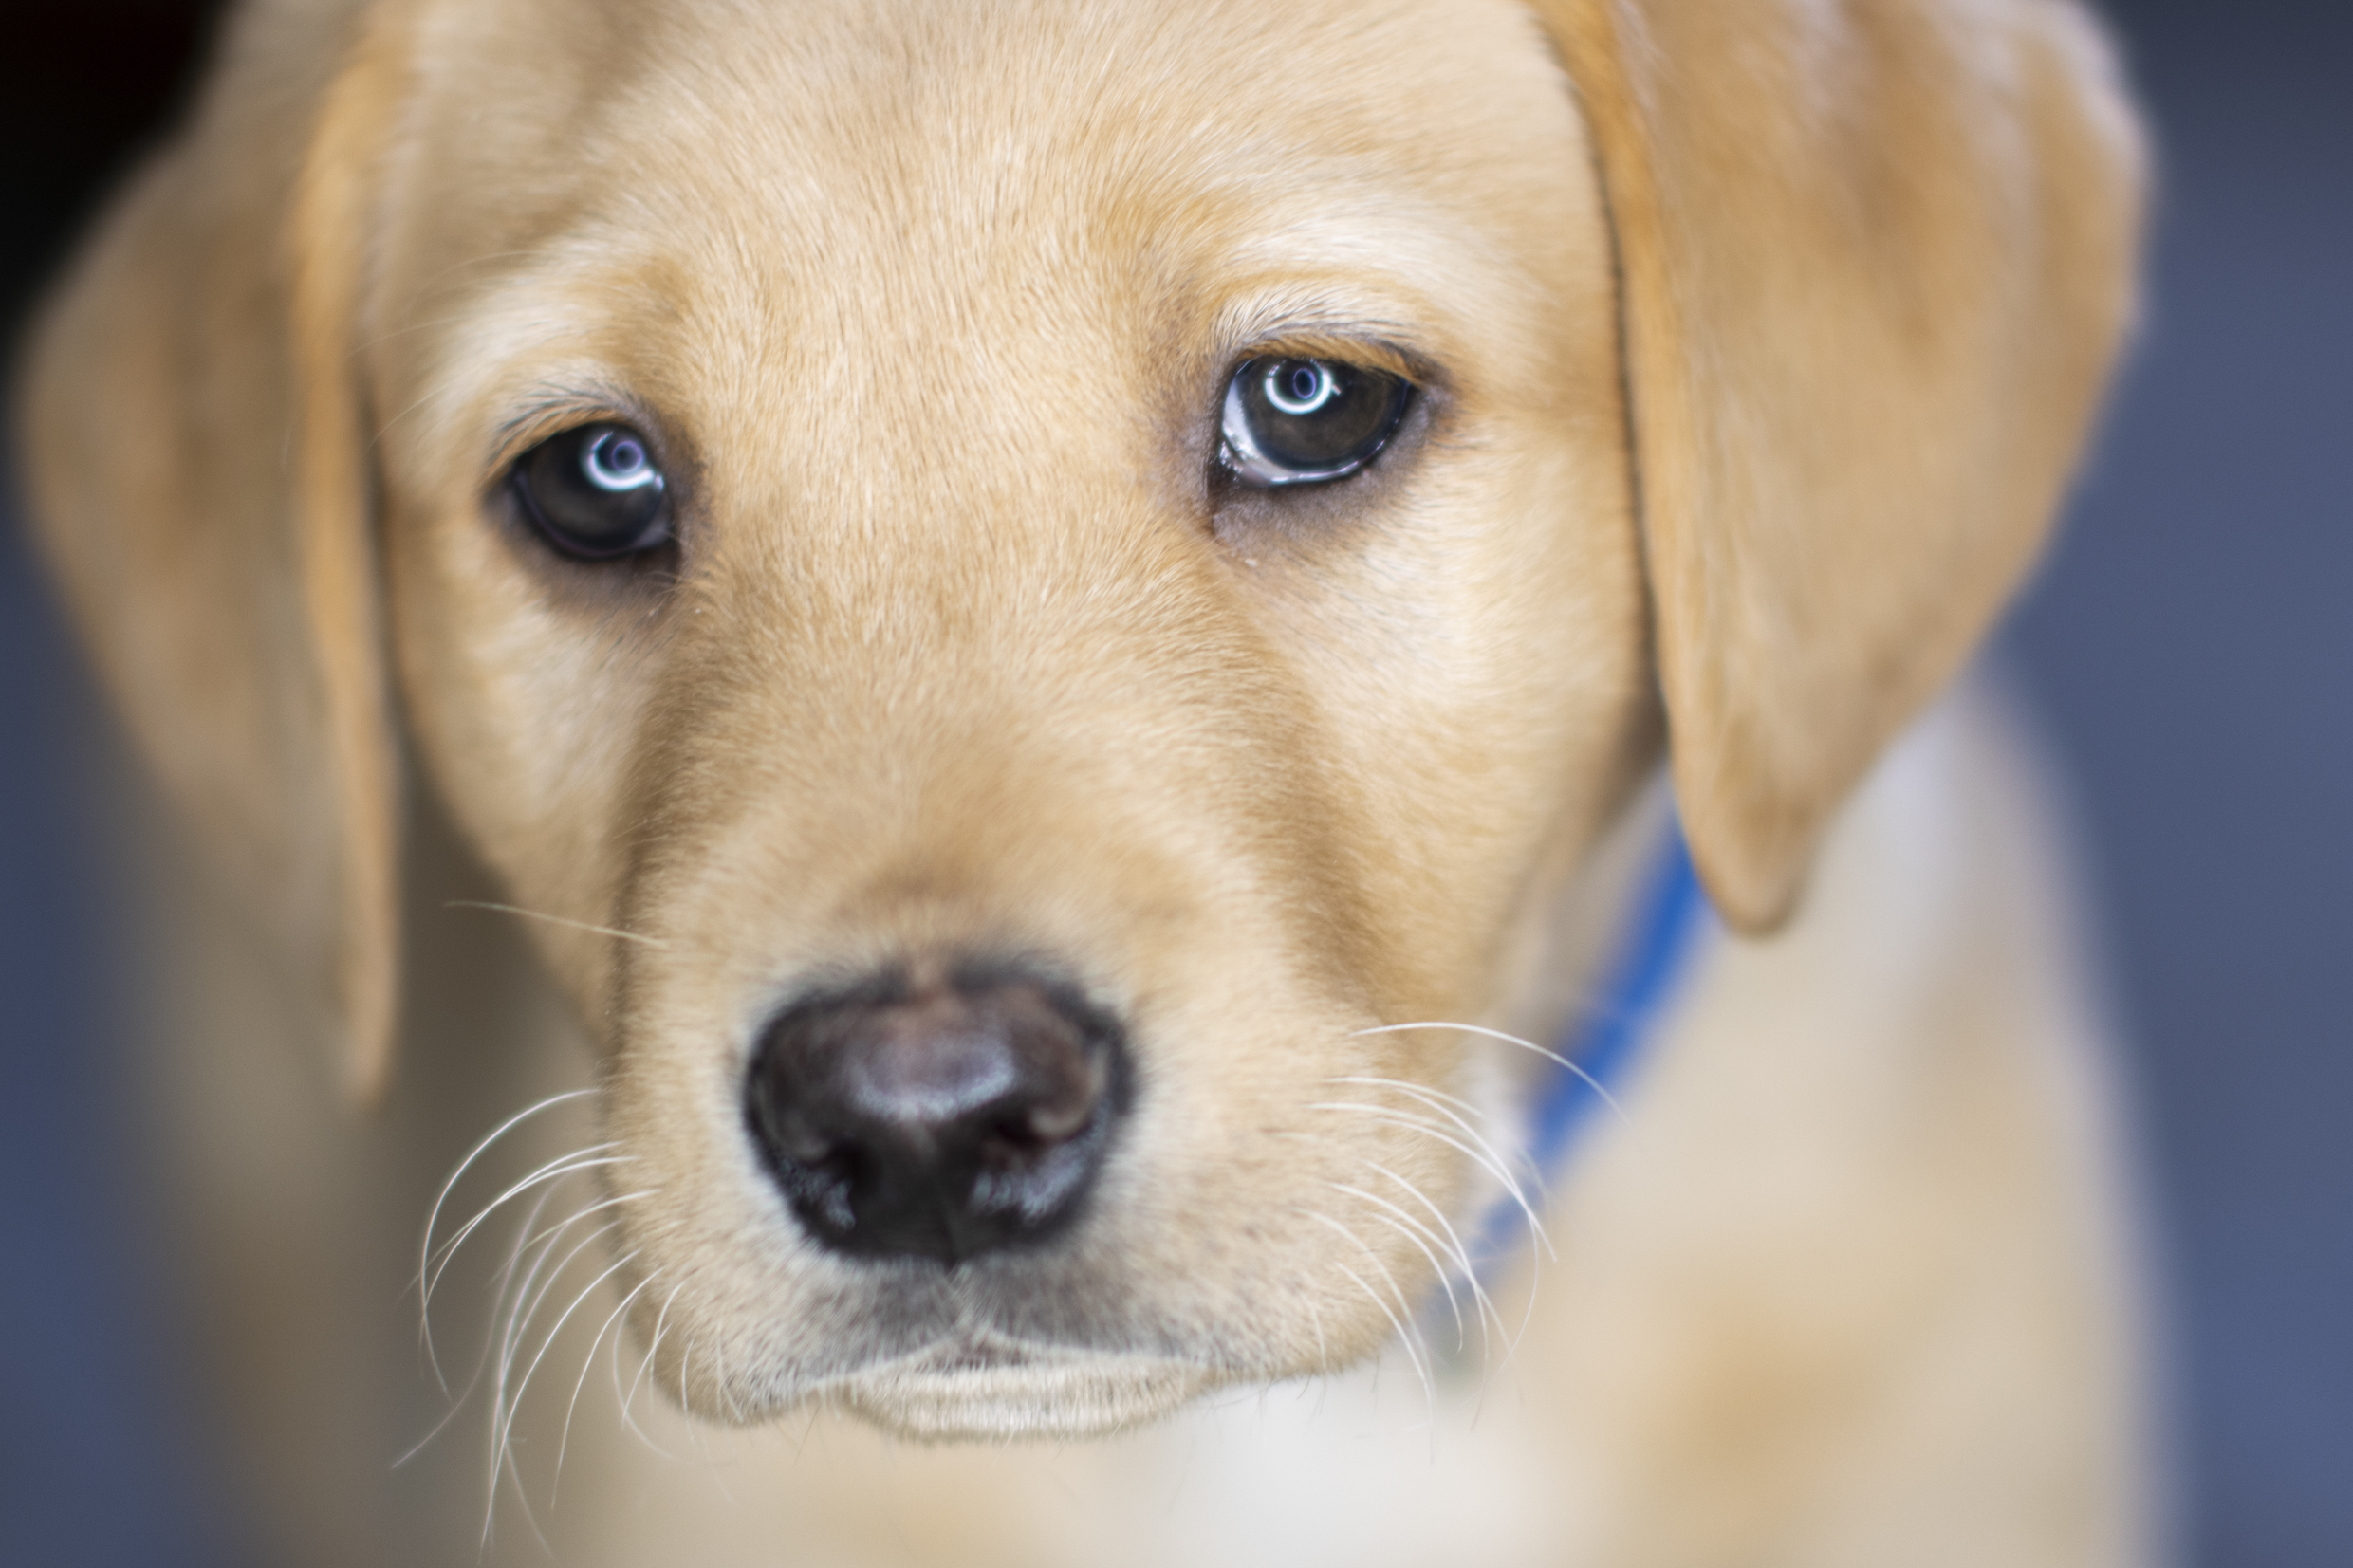
So the best ring lights are a popular choice not only for Zoom meetings, but also among everyone from YouTube presenters to fashion photography. Besides the characteristic shadow-less illumination, it also results in wonderful circular catchlights in the subject’s eyes. It’s this that makes a ring light a great choice for pet photos, as eyes are such an important feature for conveying the character of the subject.
In this project we’ll explore several creative uses for a ring light. For our pet portrait example we’ve used two rings – one inside the other – to create a double-ring catchlight. We’ll also look at other ring light tricks, from using it as a backdrop, to breaking up the ring shape with tape. These all serve to add interesting details to your pet portraits as well as to more creative people photos.
While ring flashes can be pricey, you don’t need to buy lots of expensive kit for this type of photography. To keep things simple we’ll focus on inexpensive LEDs and fluorescent ring lights, as these are the kind that have become cheaper and more readily available lately.
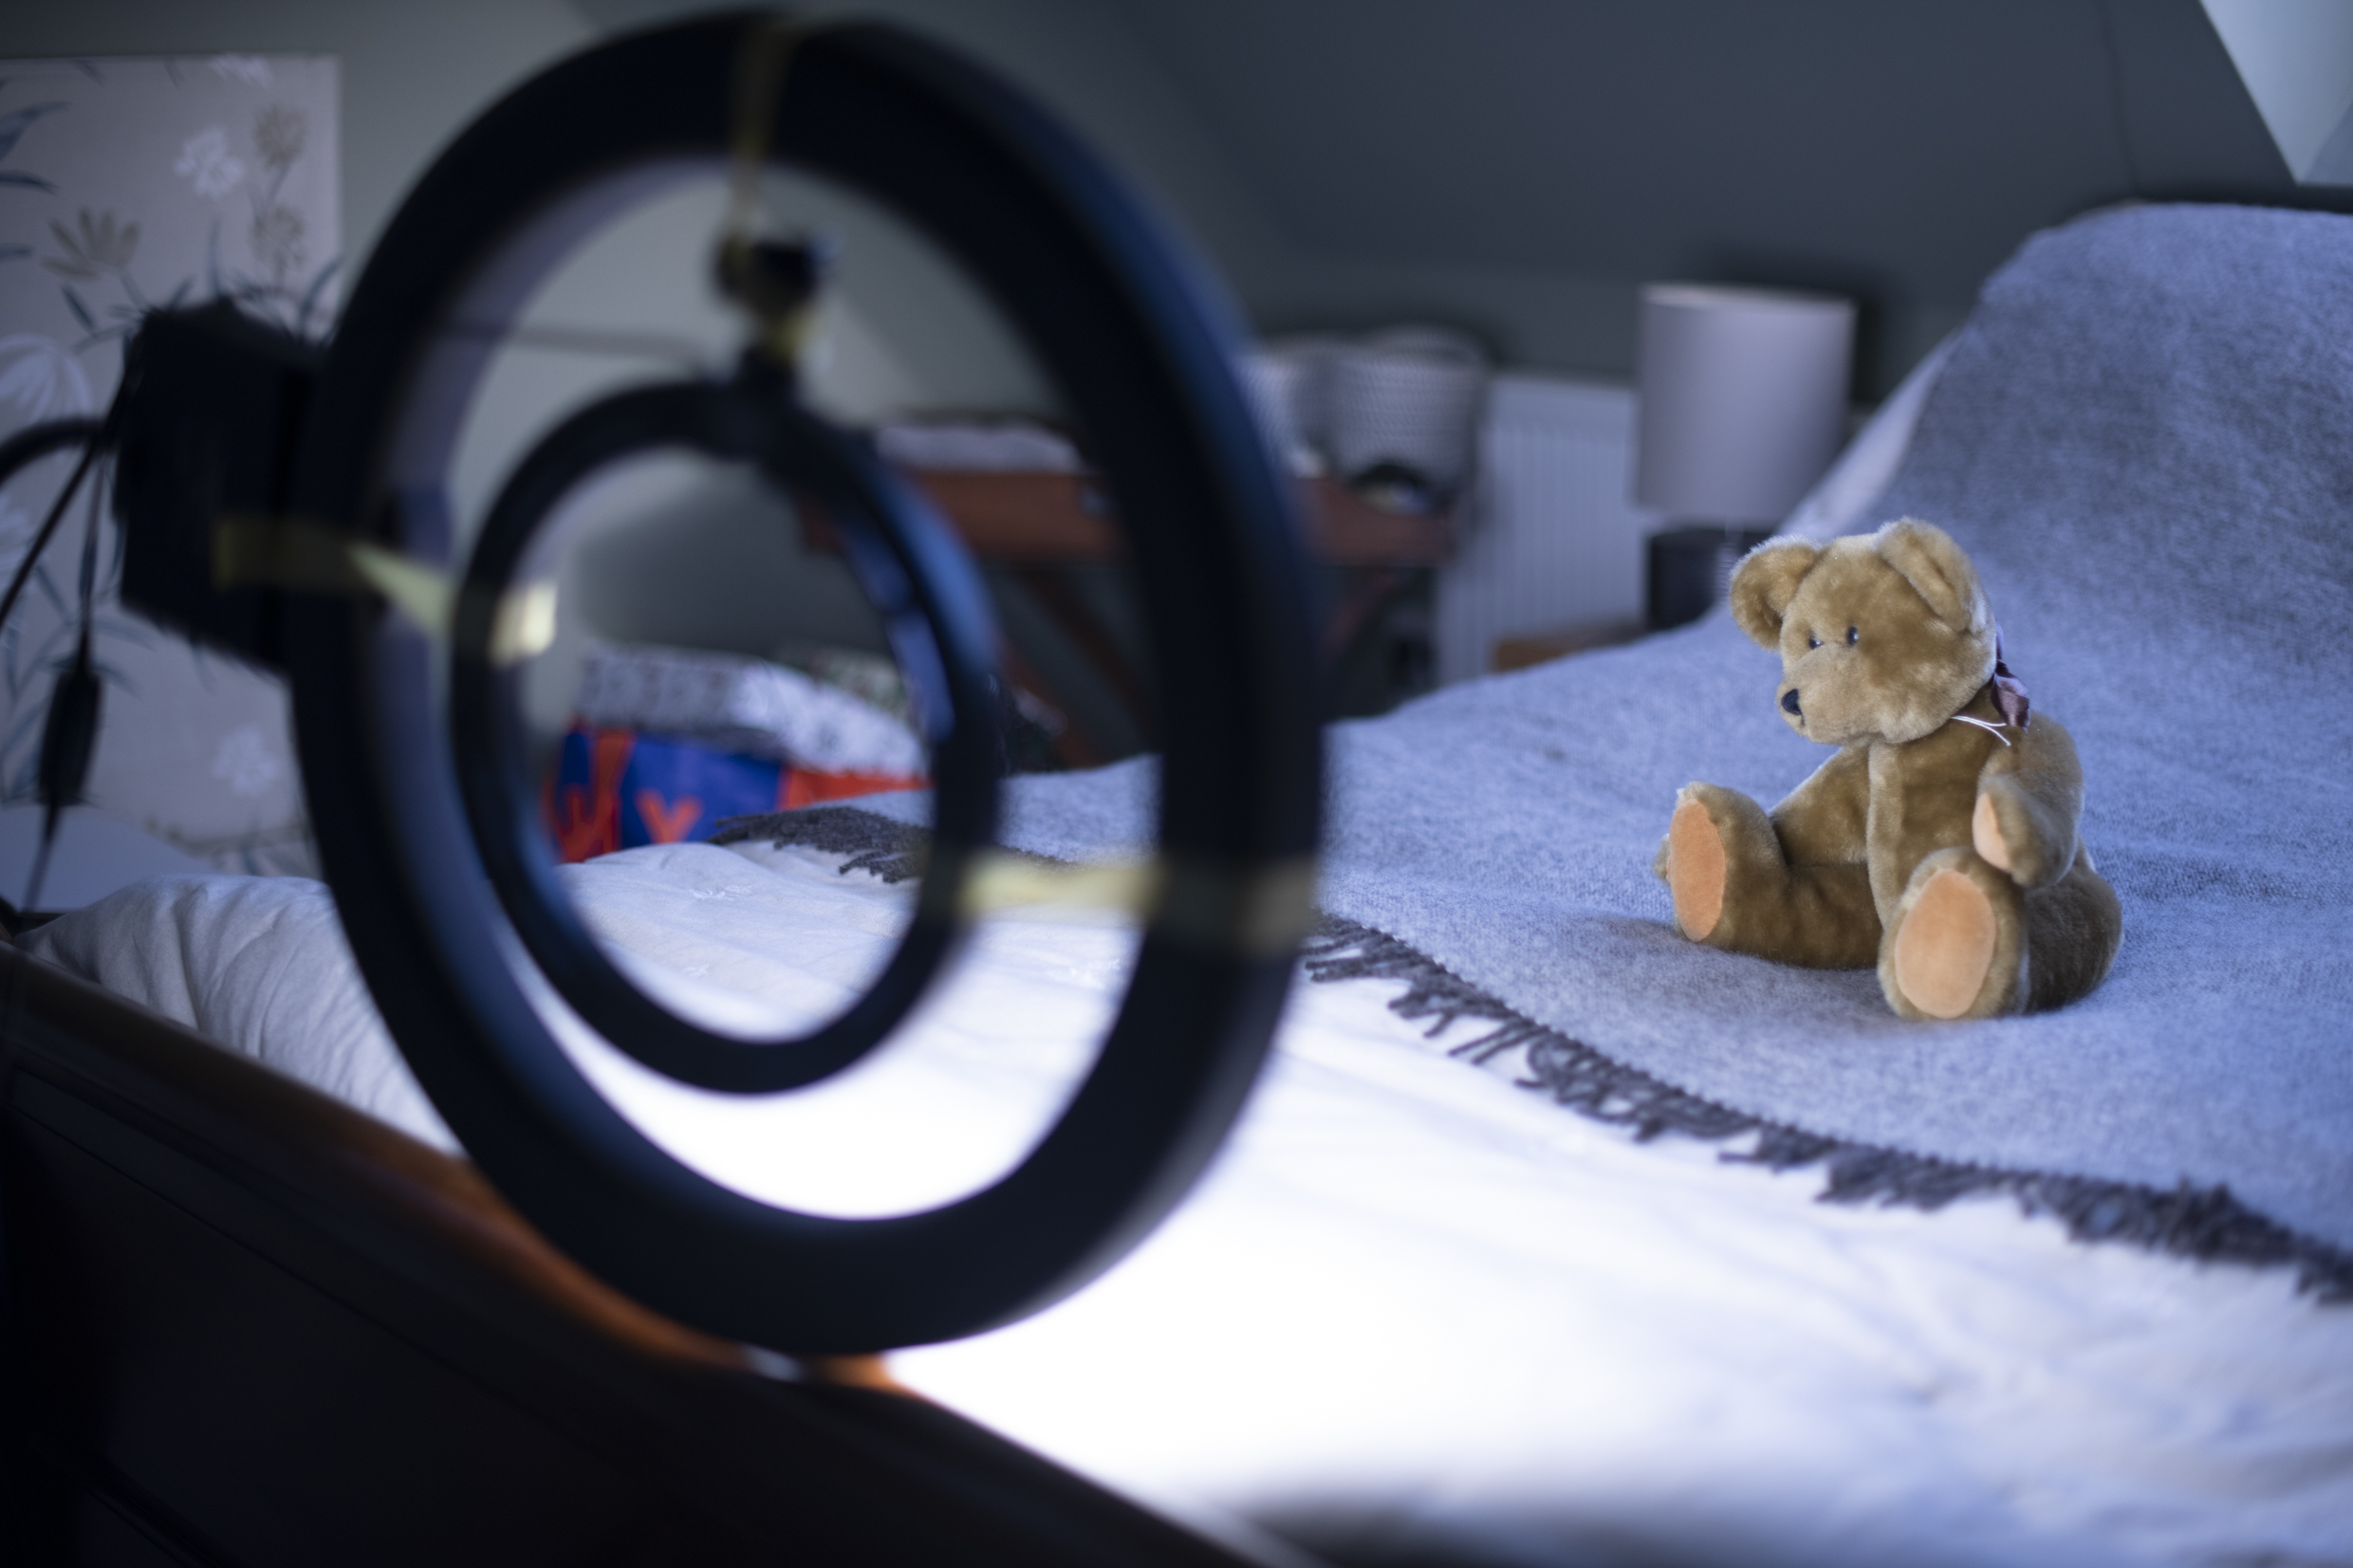
01 Practice on a teddy
If you’re planning on capturing pets, it’s a good idea to practice first, so the lighting, backdrop and exposure are spot on before the shoot begins. A teddy is ideal, as you can place it in the right spot, perfect lighting and check how the ring light reflects in the eyes.
02 Simple camera settings
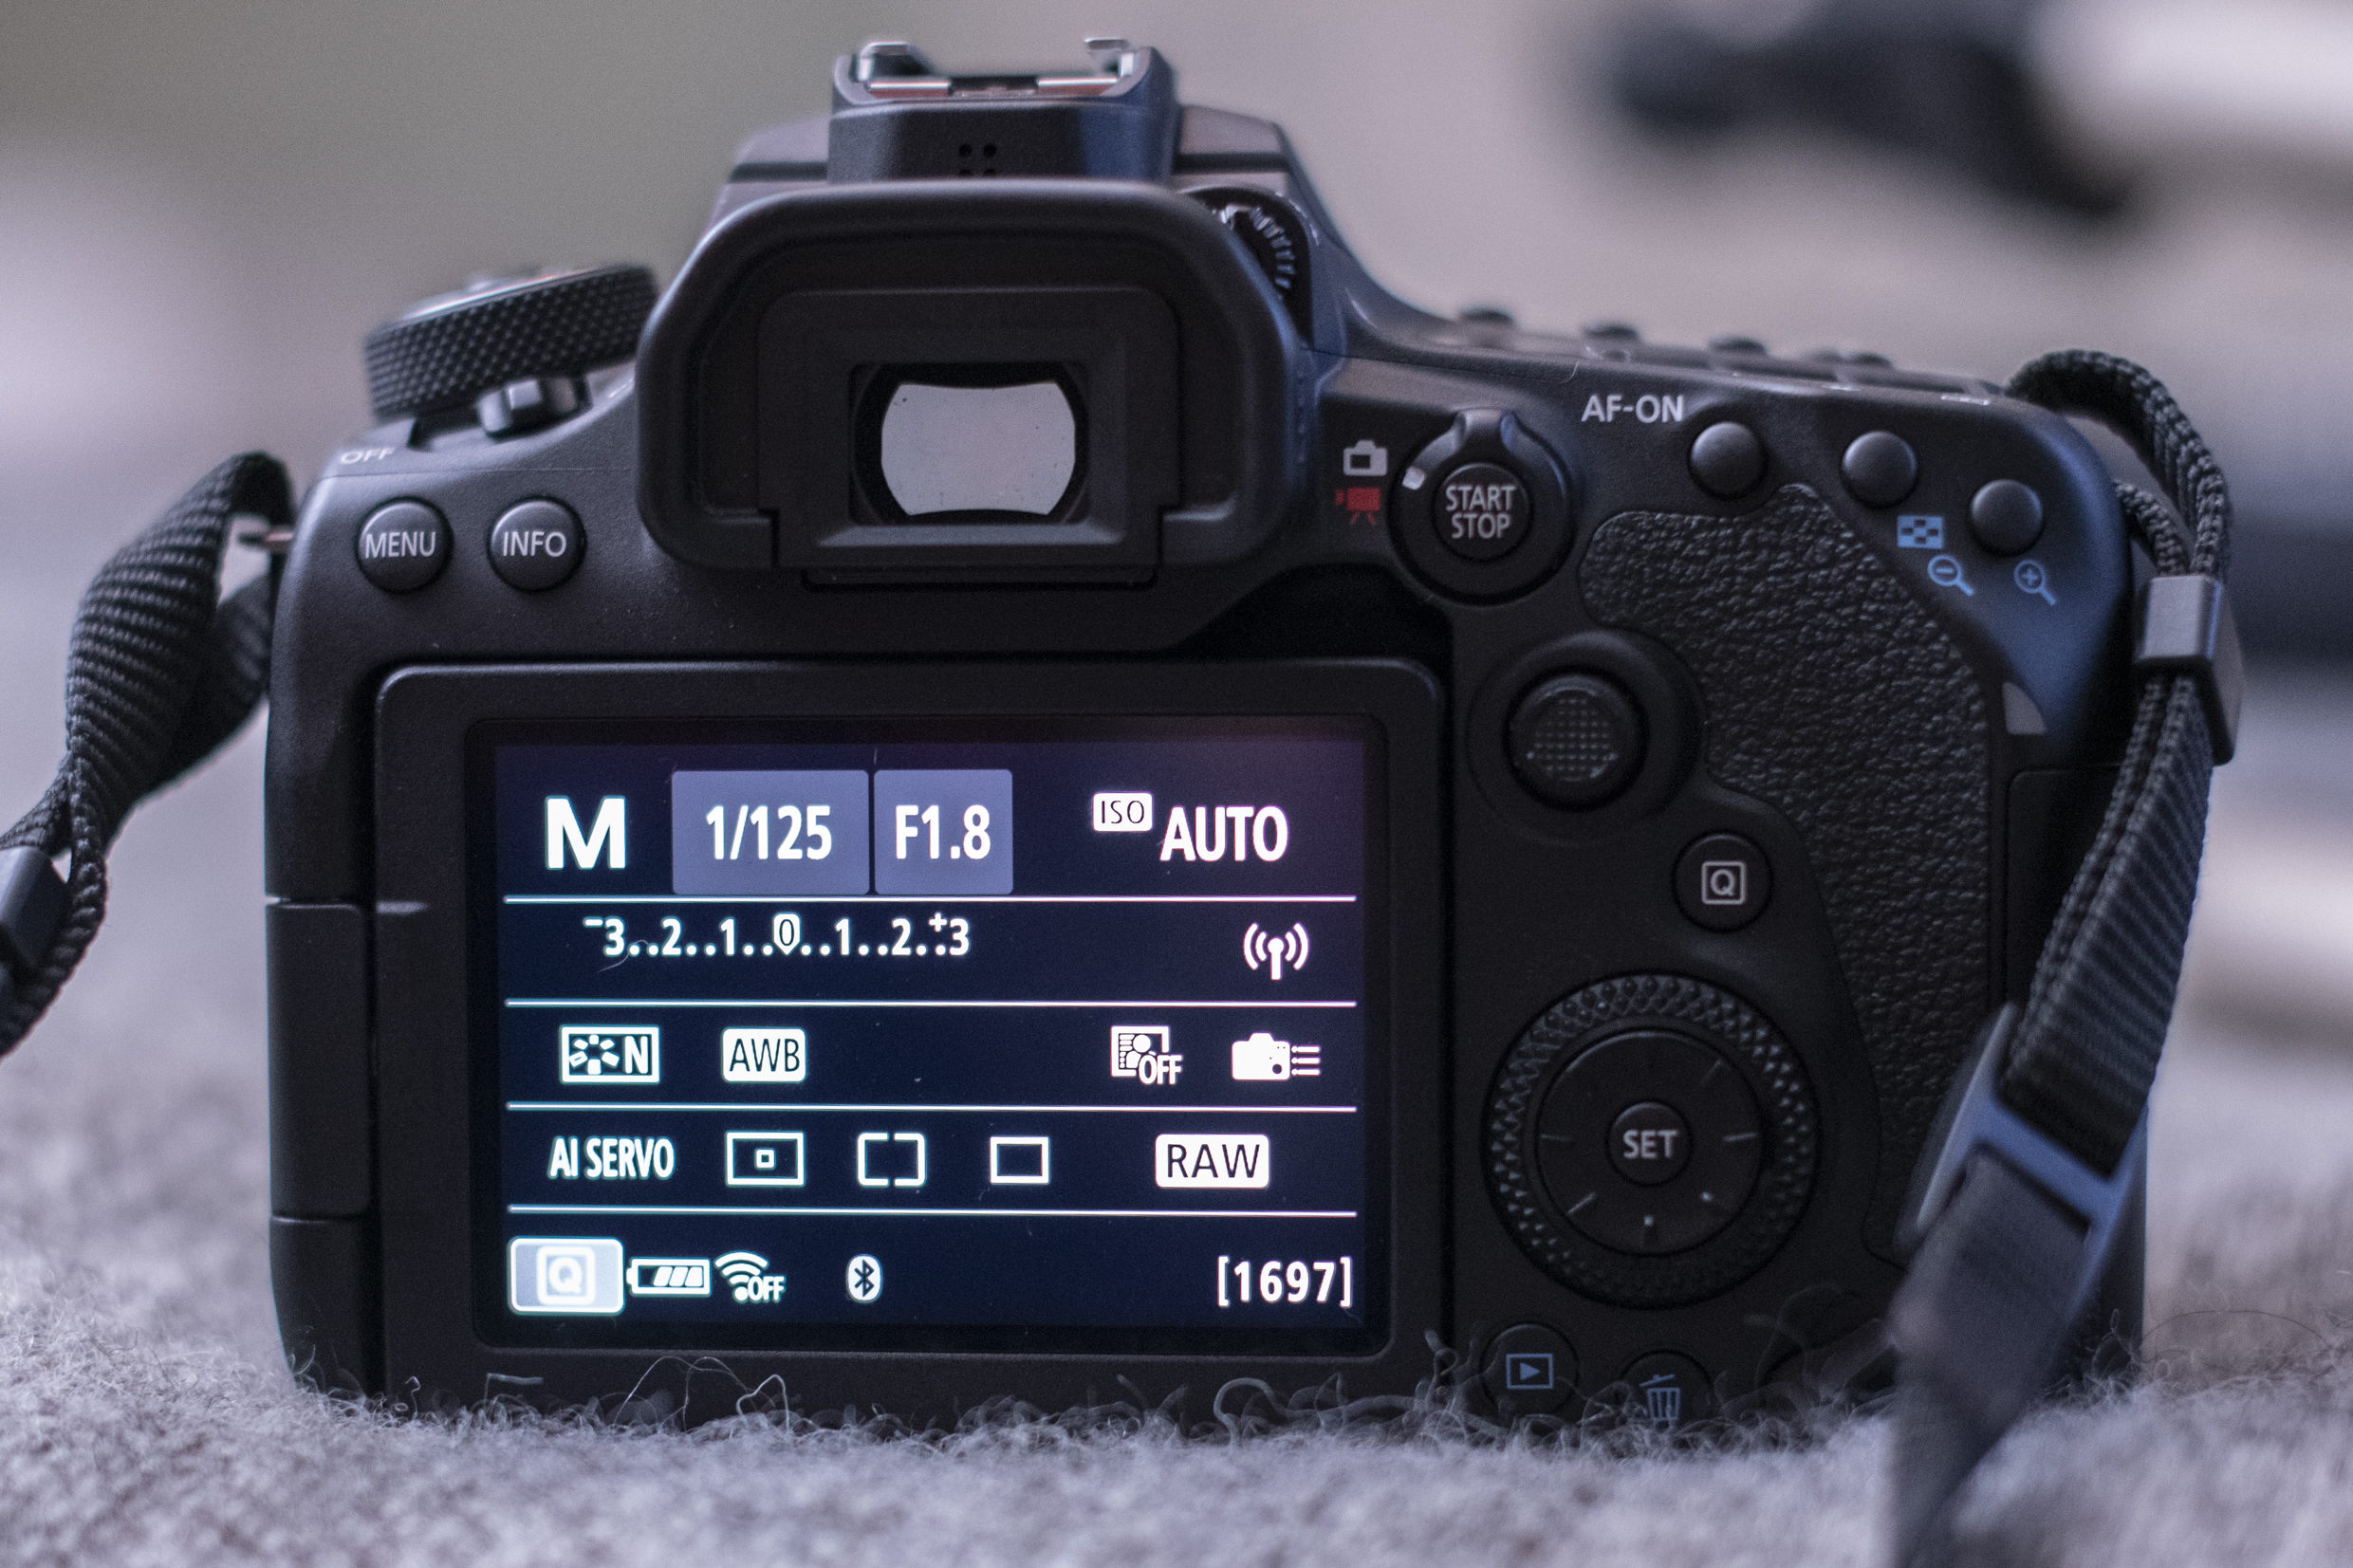
When using always-on ring lights we can set any exposure mode and let the camera meter for the right exposure. We used manual mode with an aperture of f/1.8, shutter speed 1/125 sec and ISO to auto; this way the ISO will adapt to the conditions for us.
The best camera deals, reviews, product advice, and unmissable photography news, direct to your inbox!
03 Lens choices
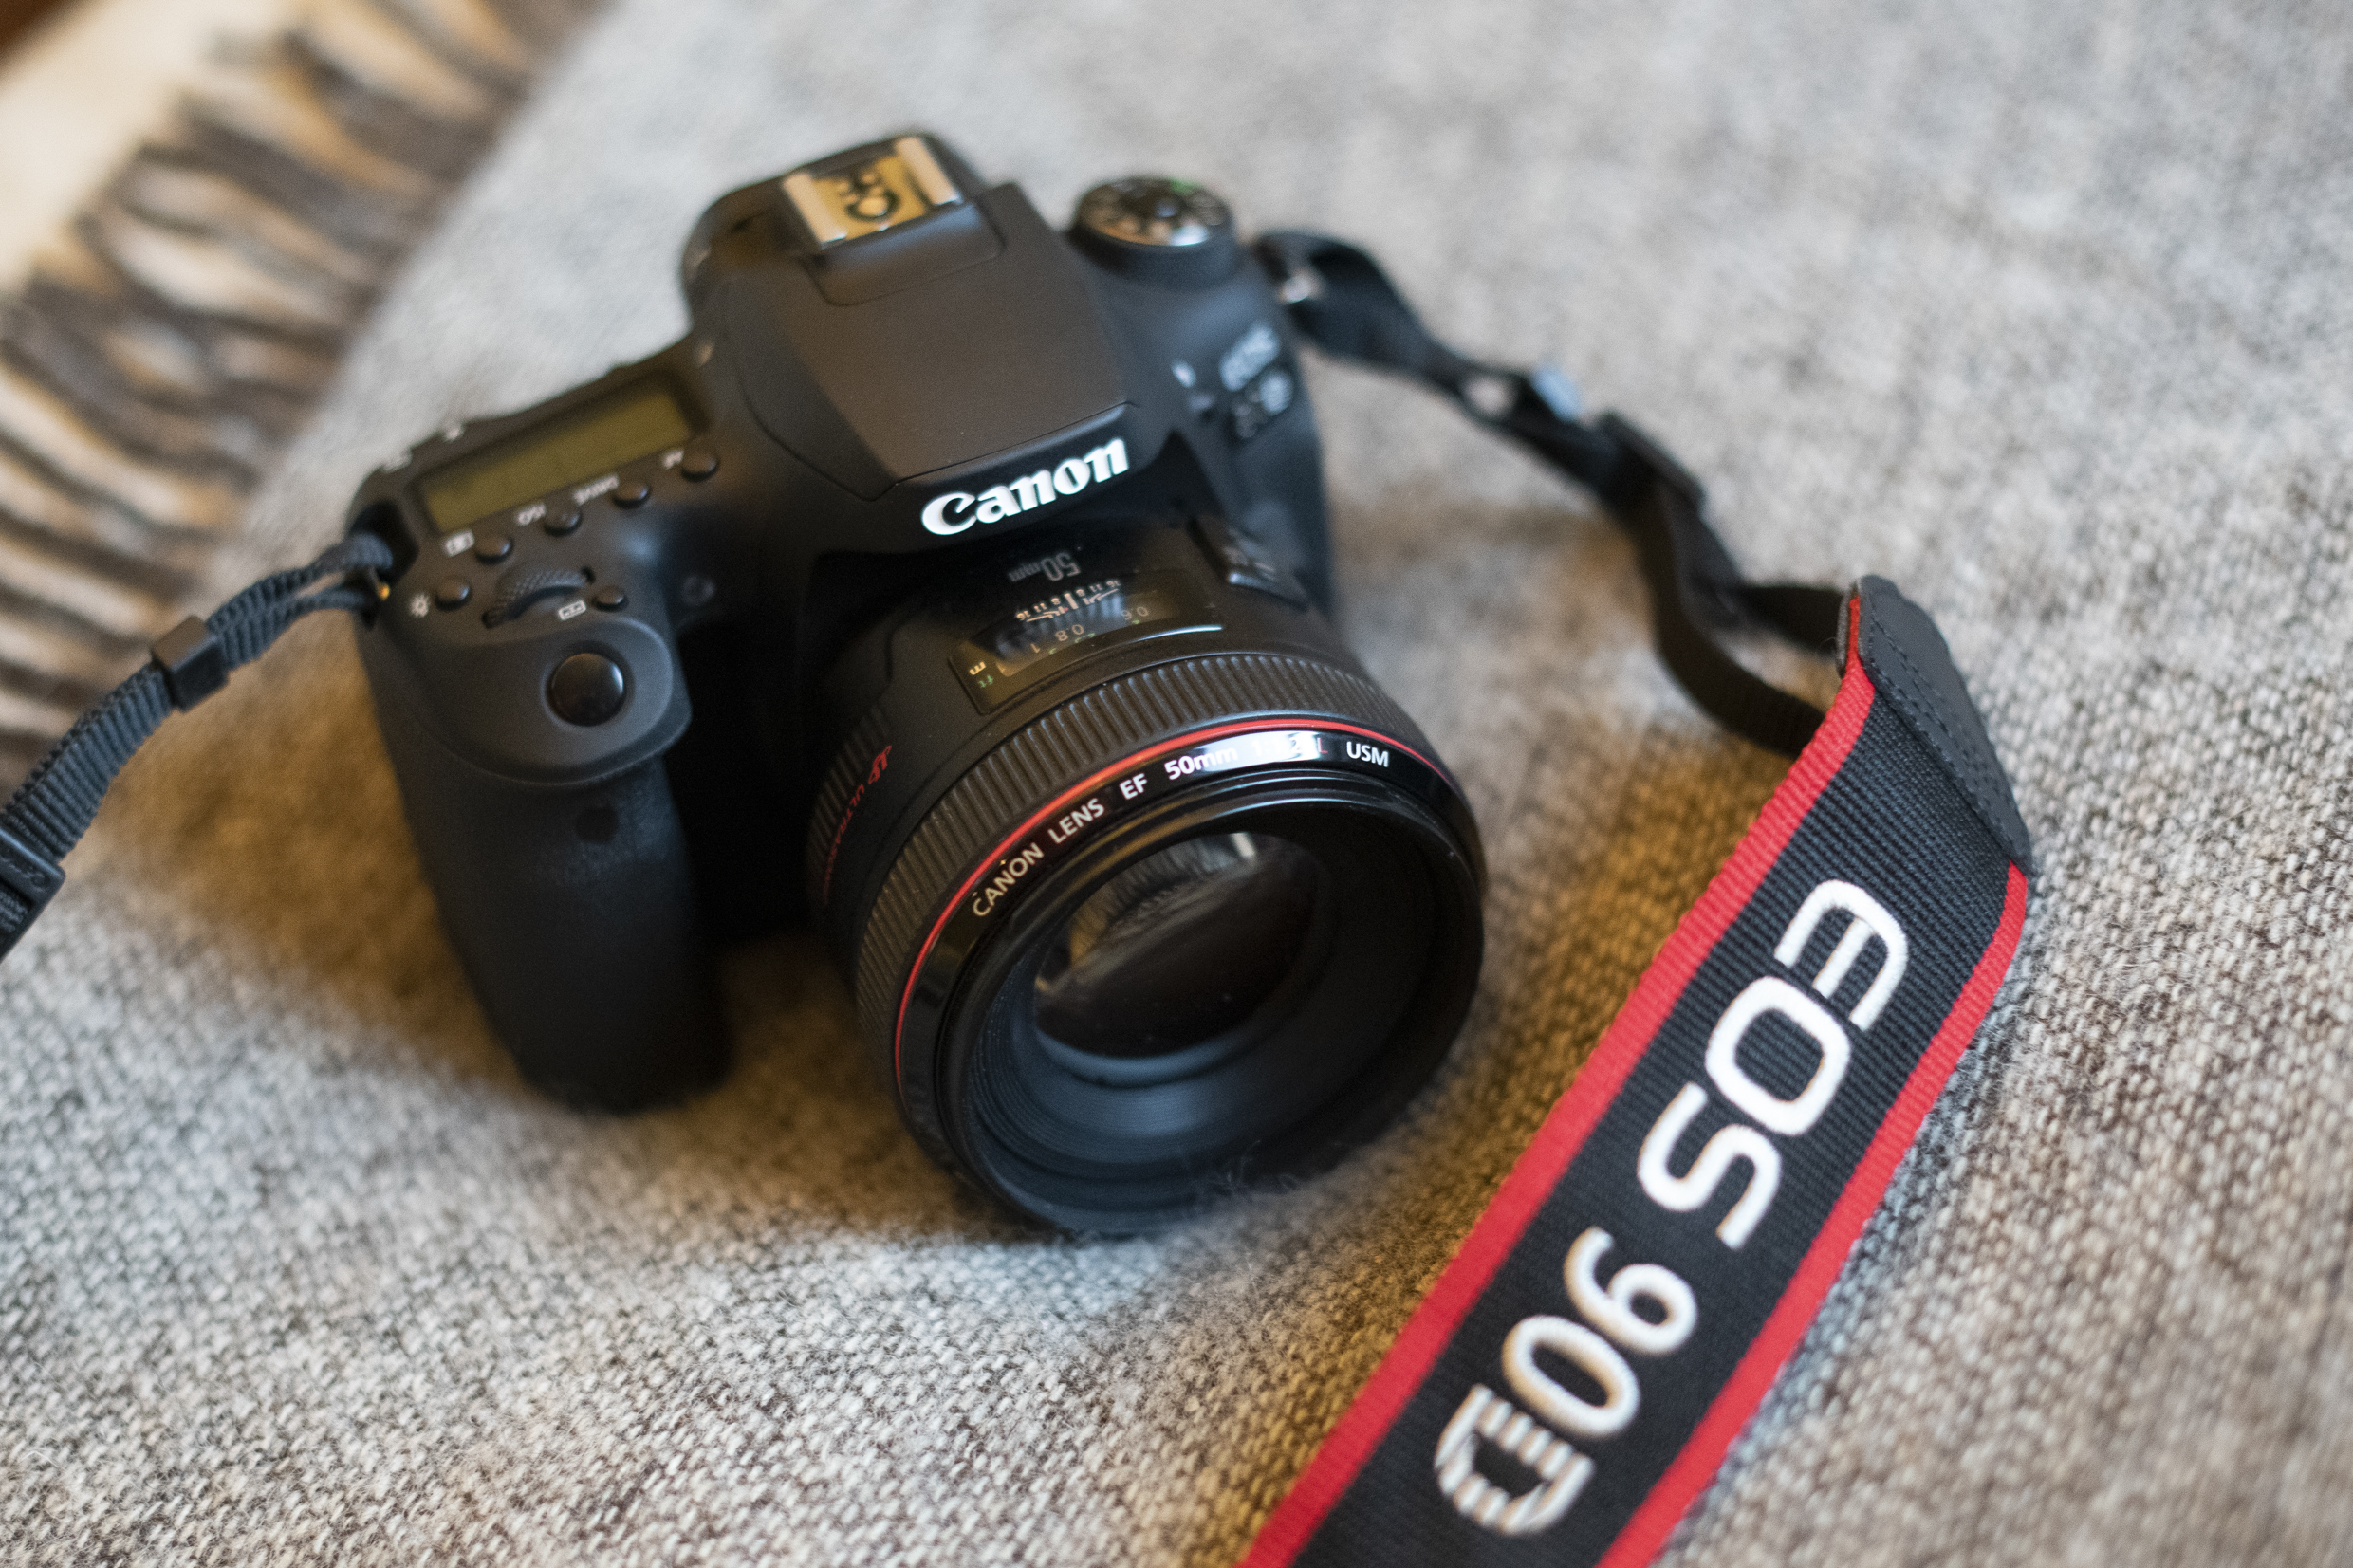
A 50mm prime is perfect for this type of pet portrait, as it offers a wide max aperture, which nicely blurs our backdrop. We need to be very precise with focusing, as when shooting at a wide aperture like f/1.8 the depth of field will be a few millimeters, so focus on the eyes.
04 Check the catchlights
Catchlights are the tiny reflected highlights you see reflected in your subject’s eyes, and ring lights create attractive circular shapes. The distance between subject and light determines the size of the catchlight, so bring it in close to make them larger.
05 Rings for backdrop
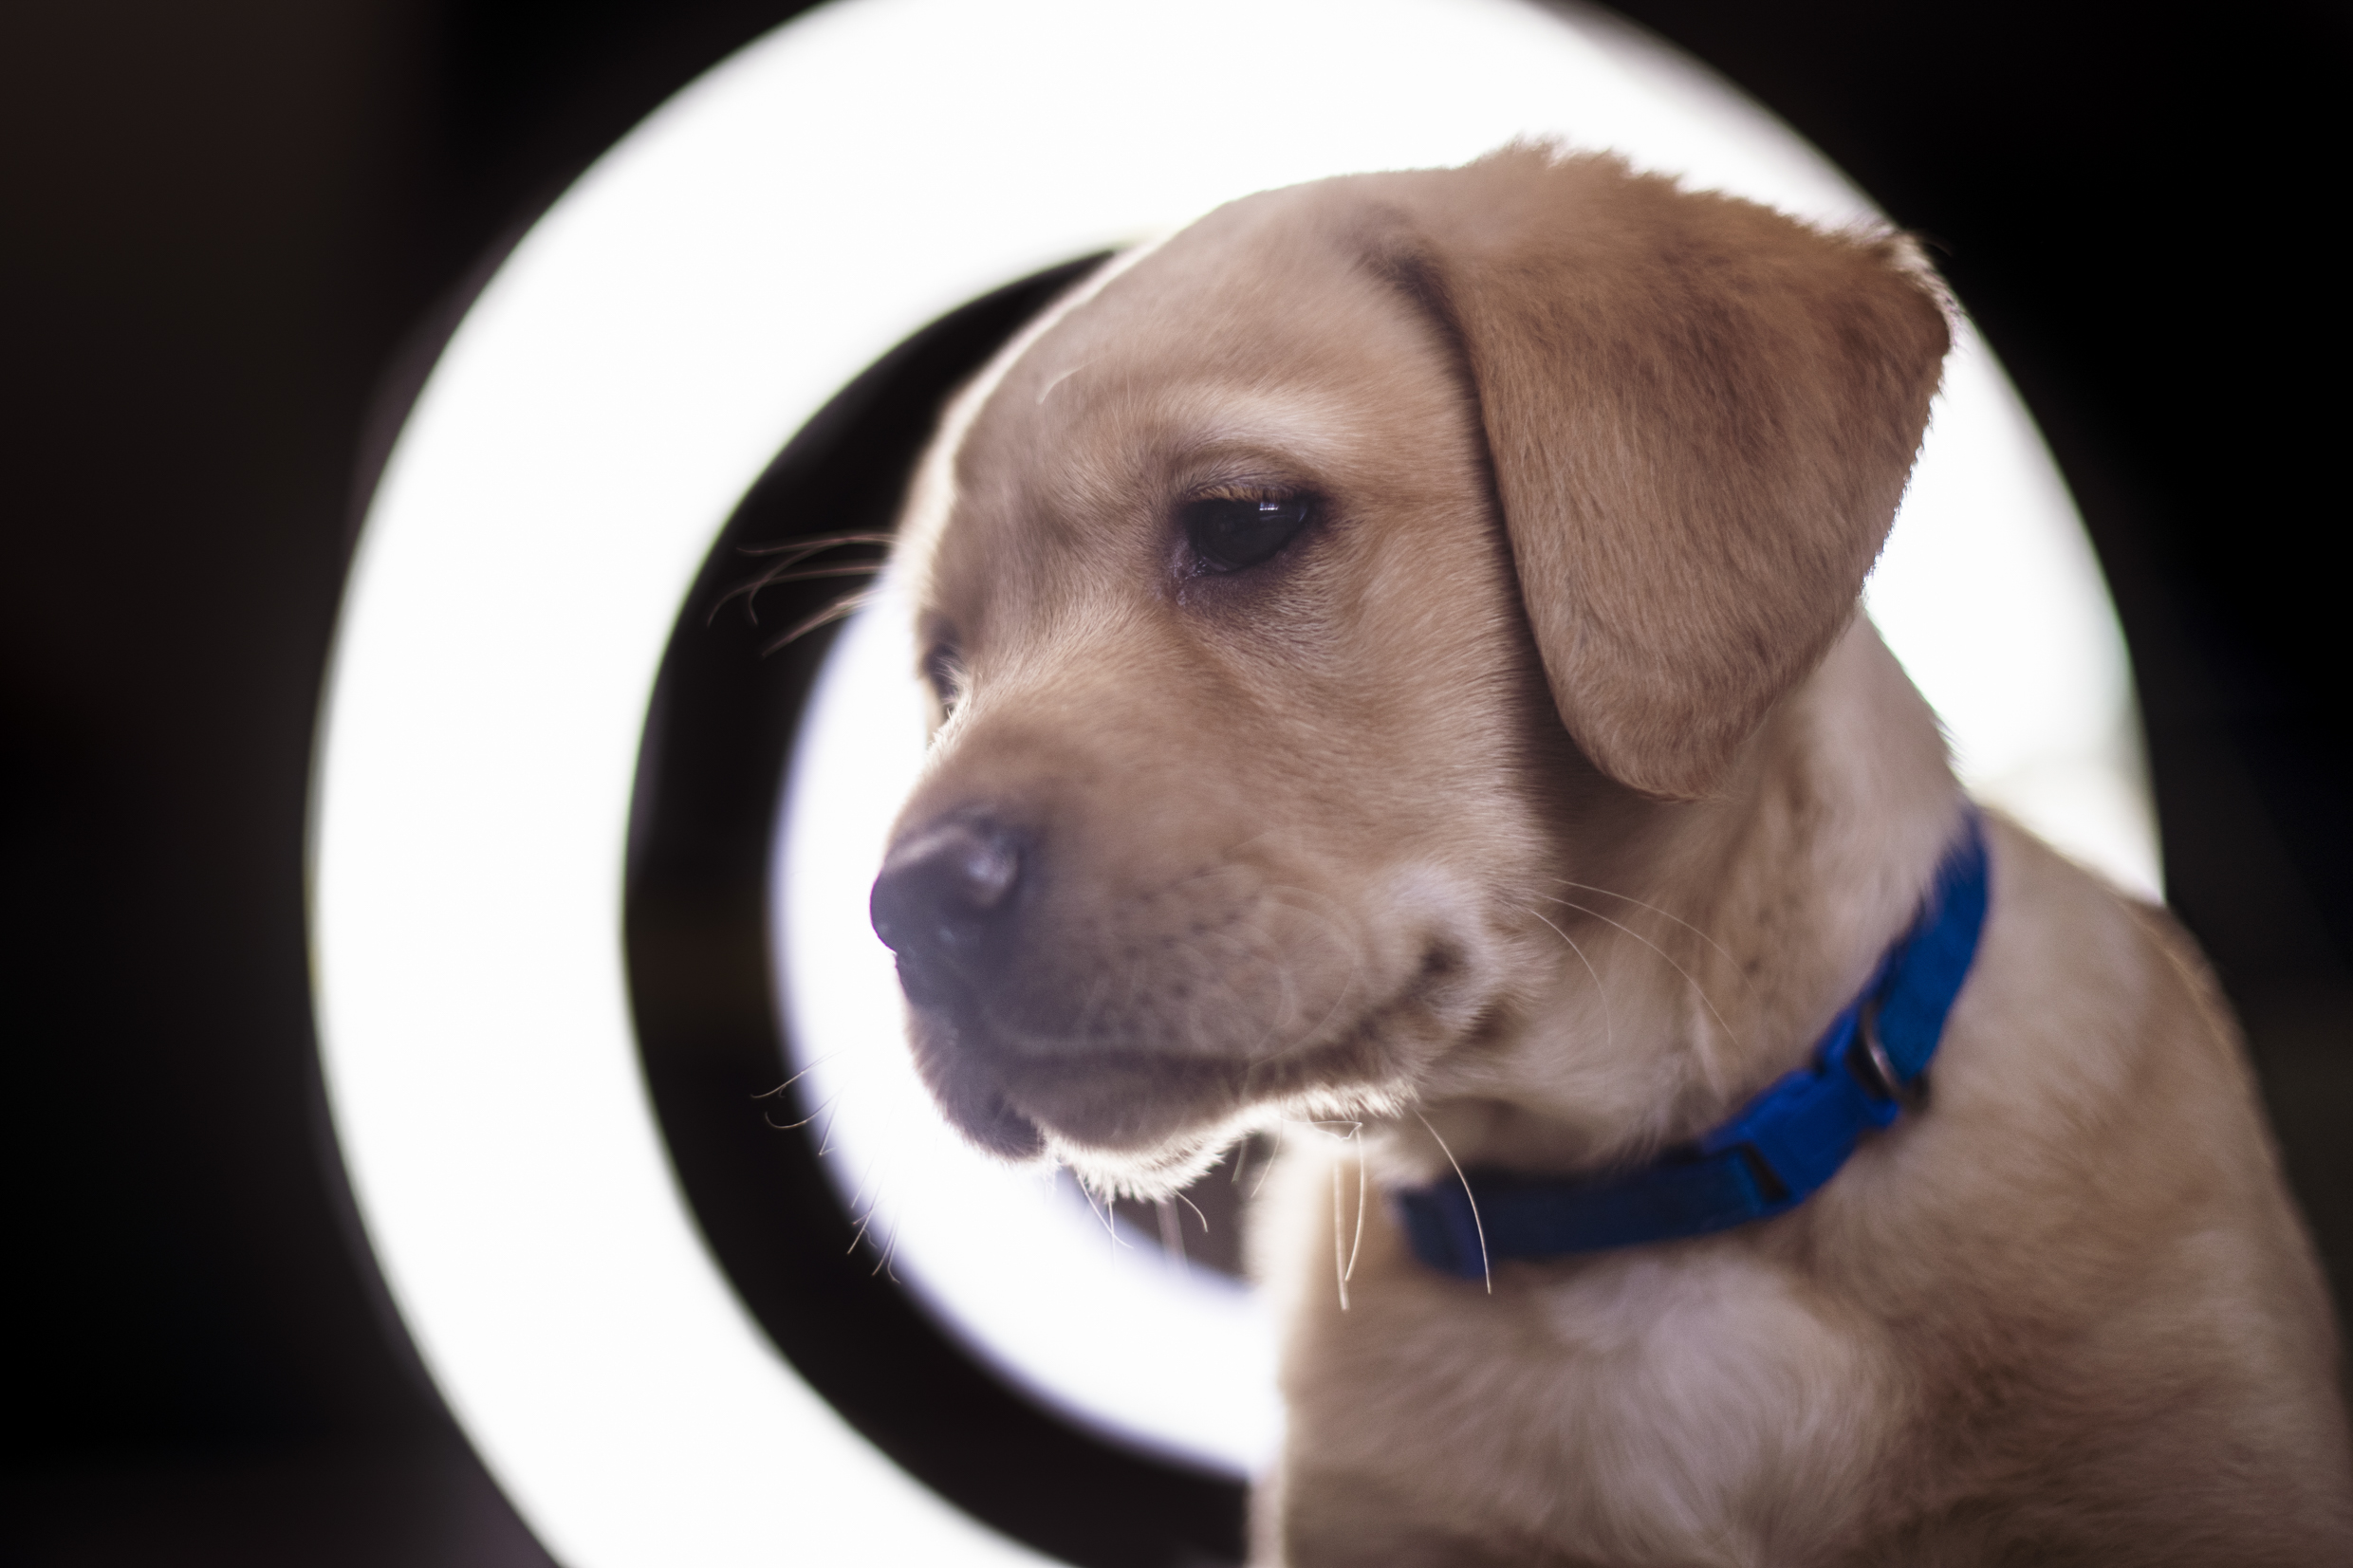
We can also use the ring lights for a 'halo' backdrop by shooting from the other side. Here the dog is lit with a window in the room, while the rings behind create our background. When the background has strong light, we may need to up our exposure to compensate.
06 Shoot in Raw
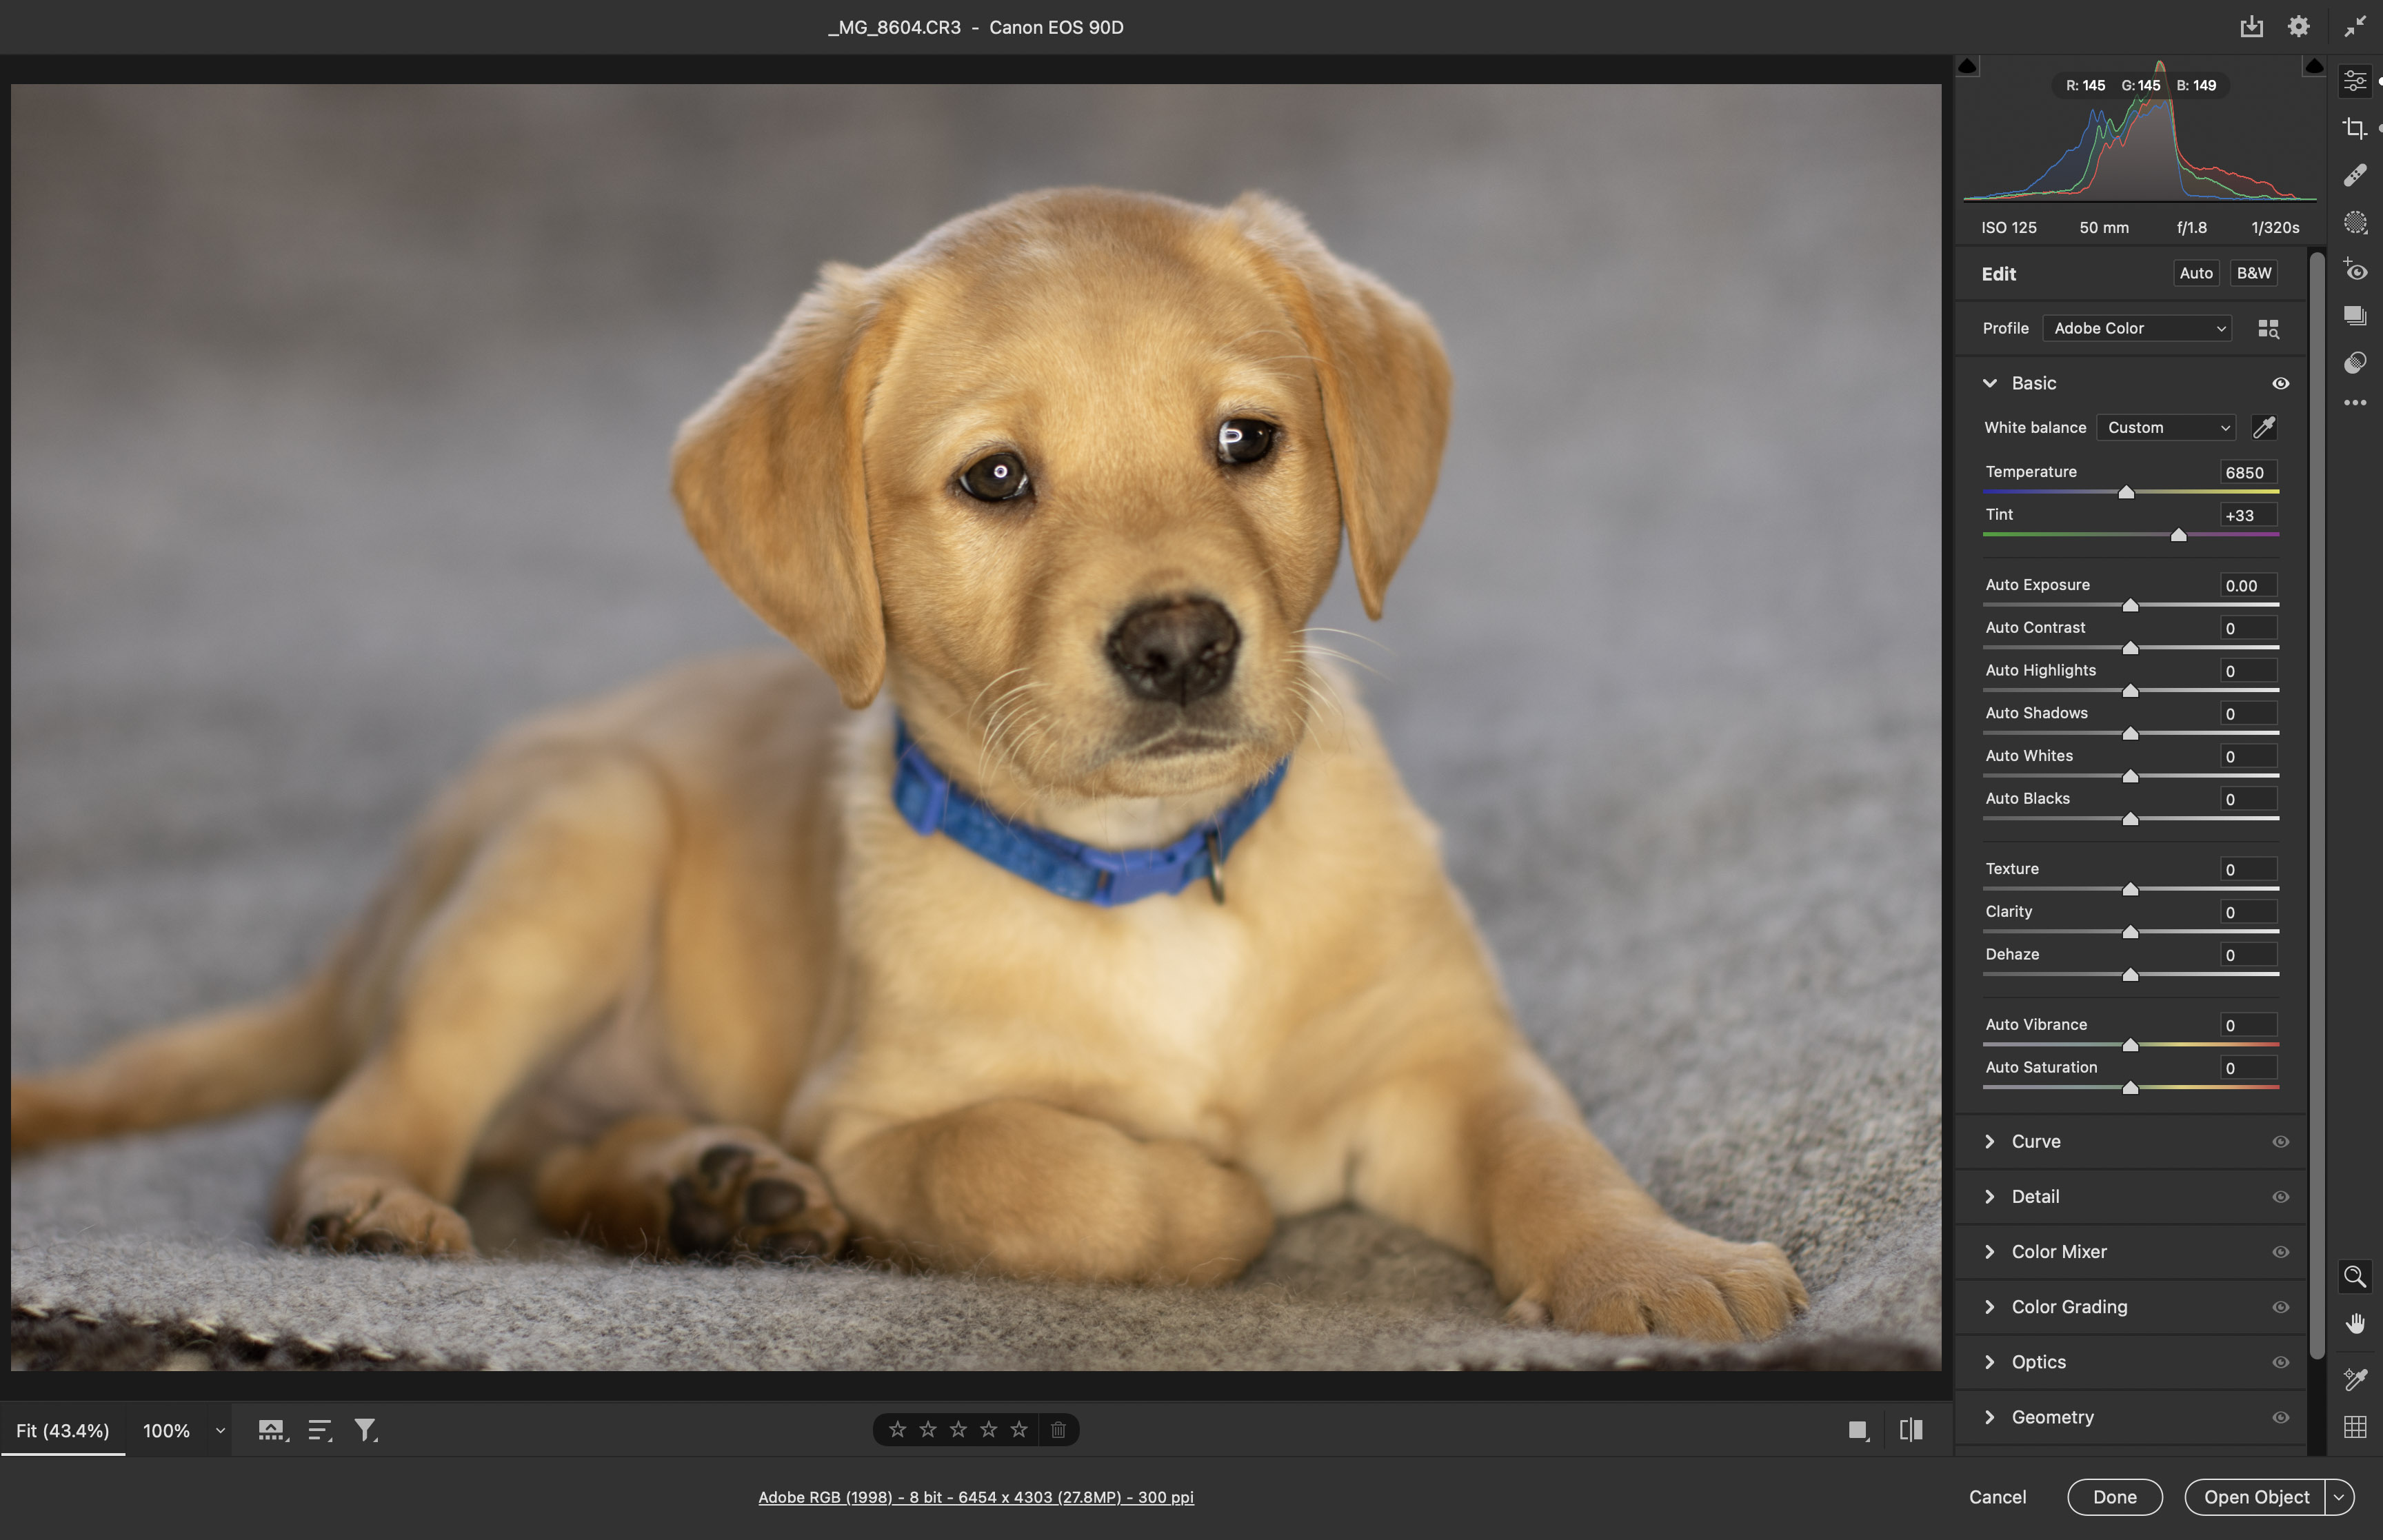
Some ring lights may not have perfect color accuracy. It’s best to shoot in Raw, as this gives you greater freedom to correct color casts in post. You can do this in Camera Raw or Lightroom by clicking on a neutral point, like the grey blanket, with the eyedropper tool.
07 Square the circle
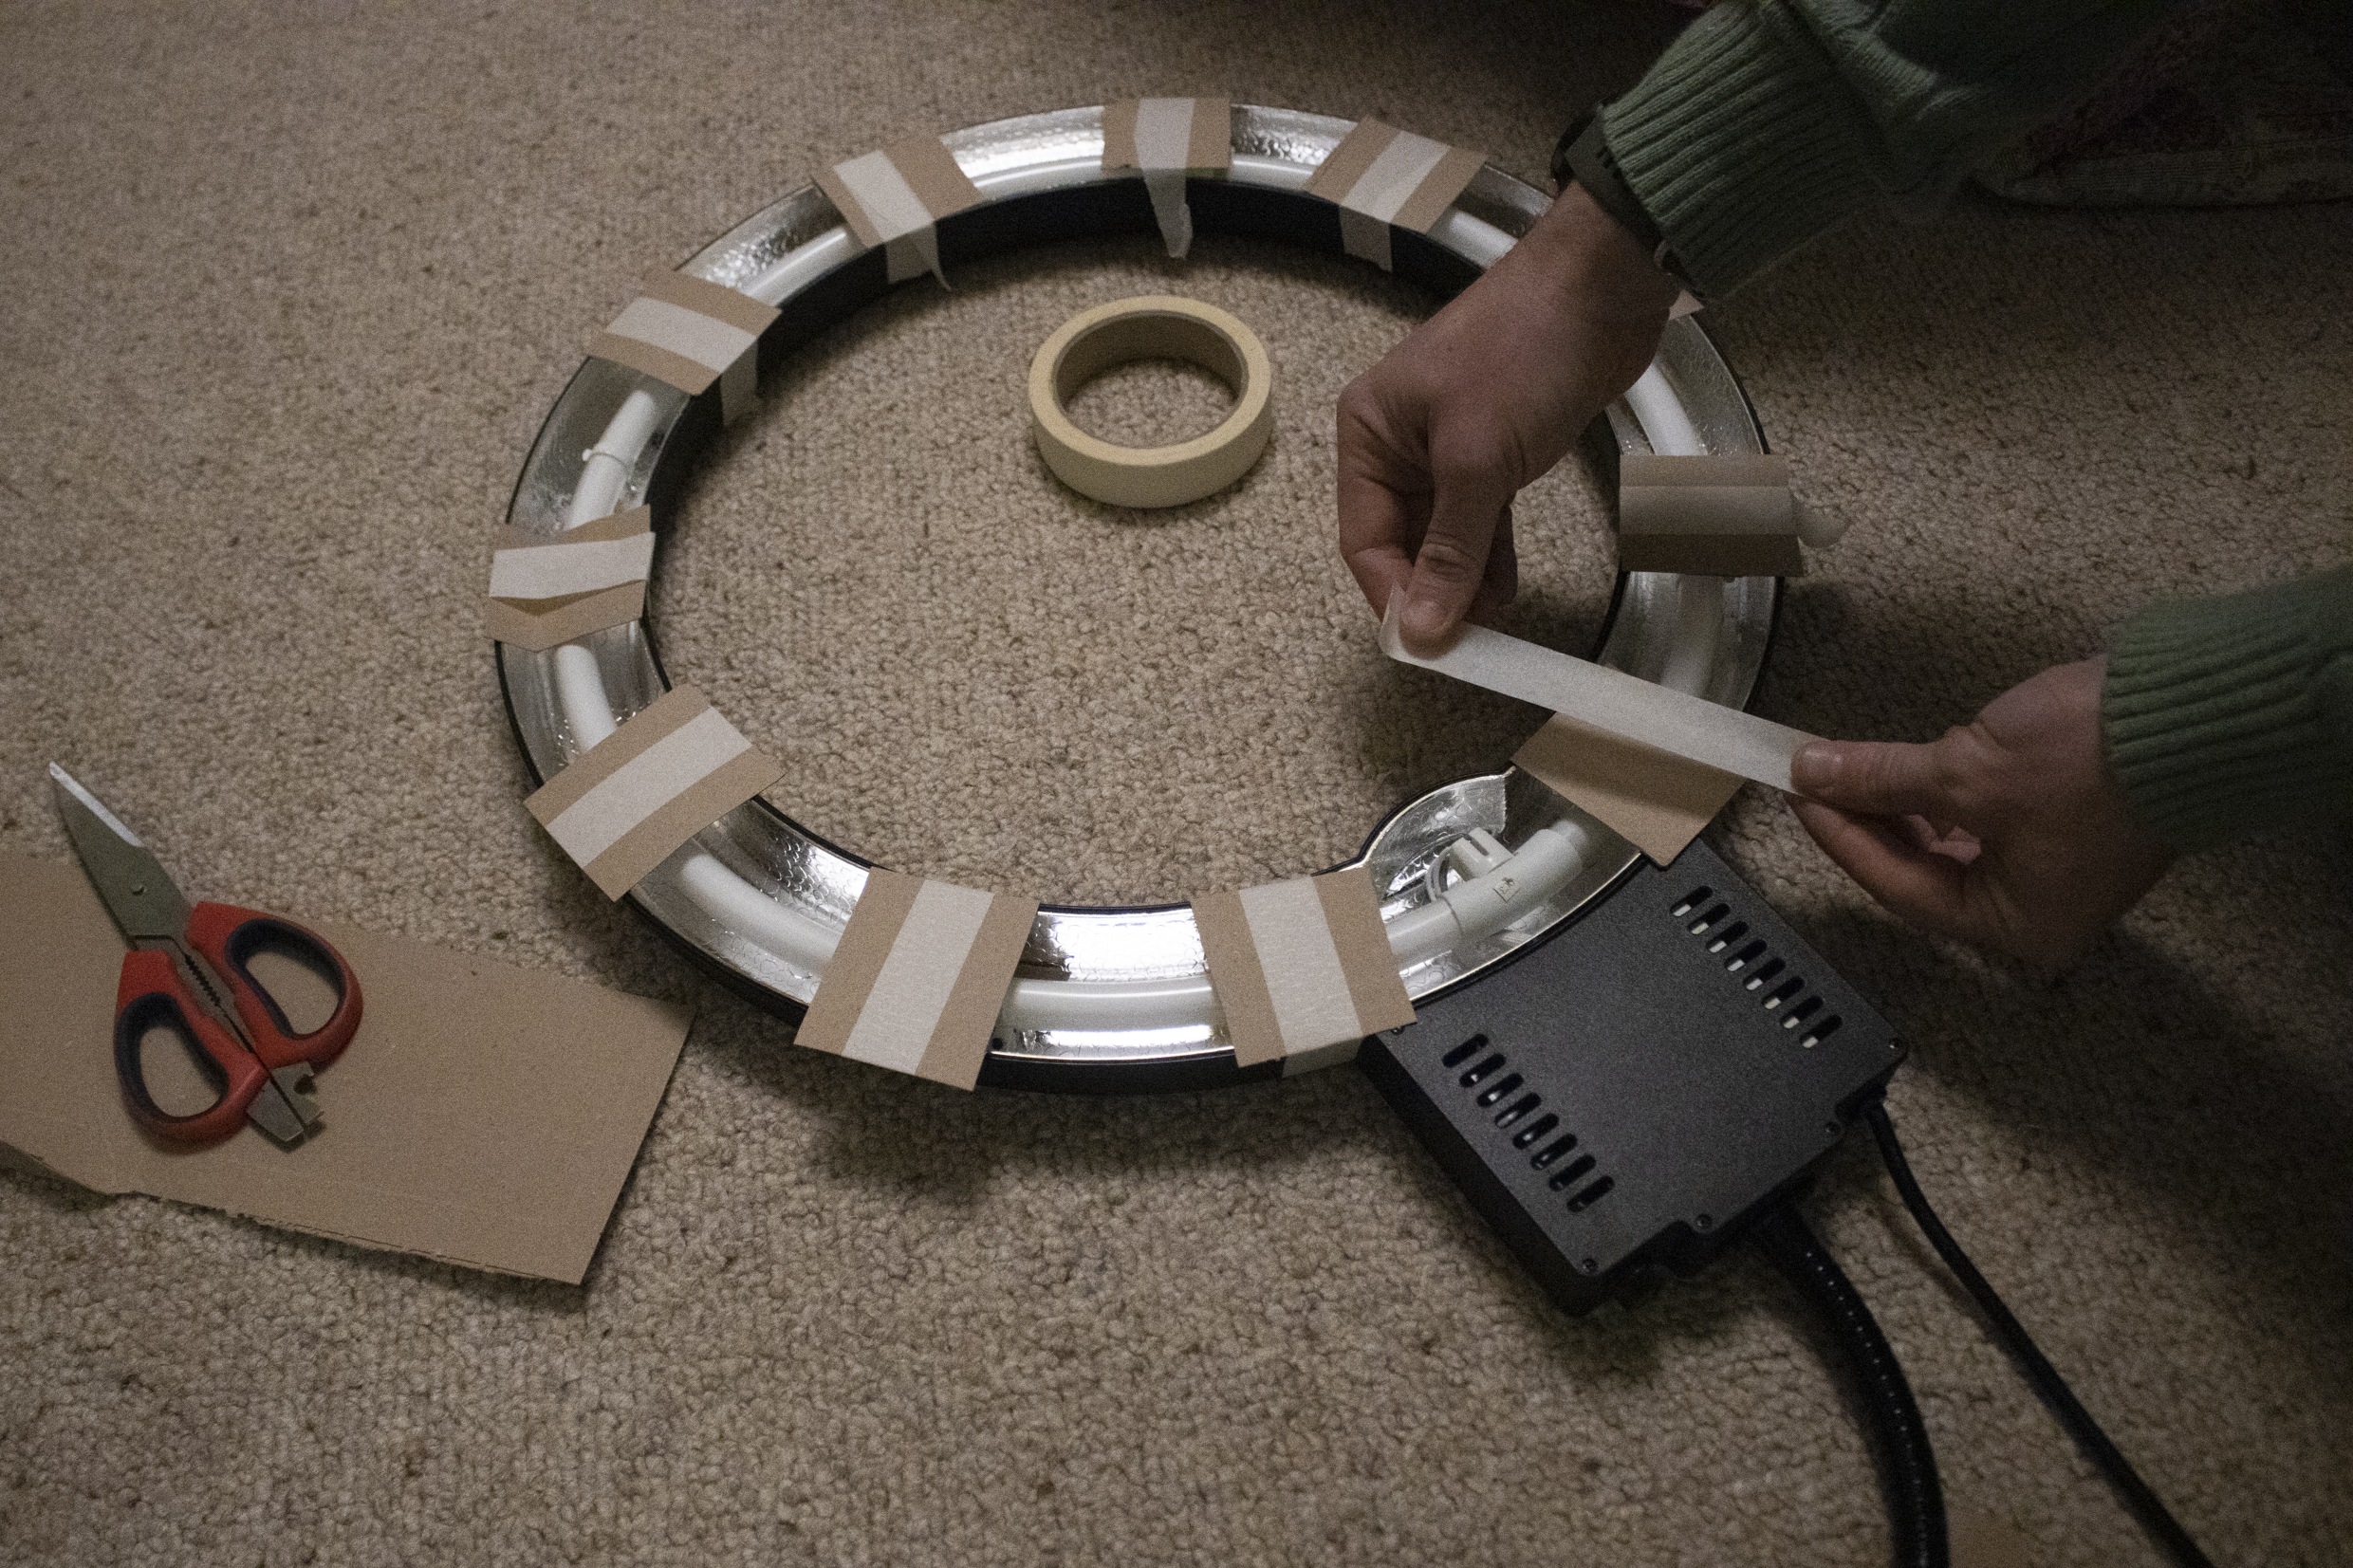
The idea here is that if we divide the ring into equal segments then they’ll make for an interesting catchlight in our subject’s eyes. So we begin by cutting out several squares of cardboard, then tape them over the ring to break up the circle of light into small chunks.
08 Position the subject
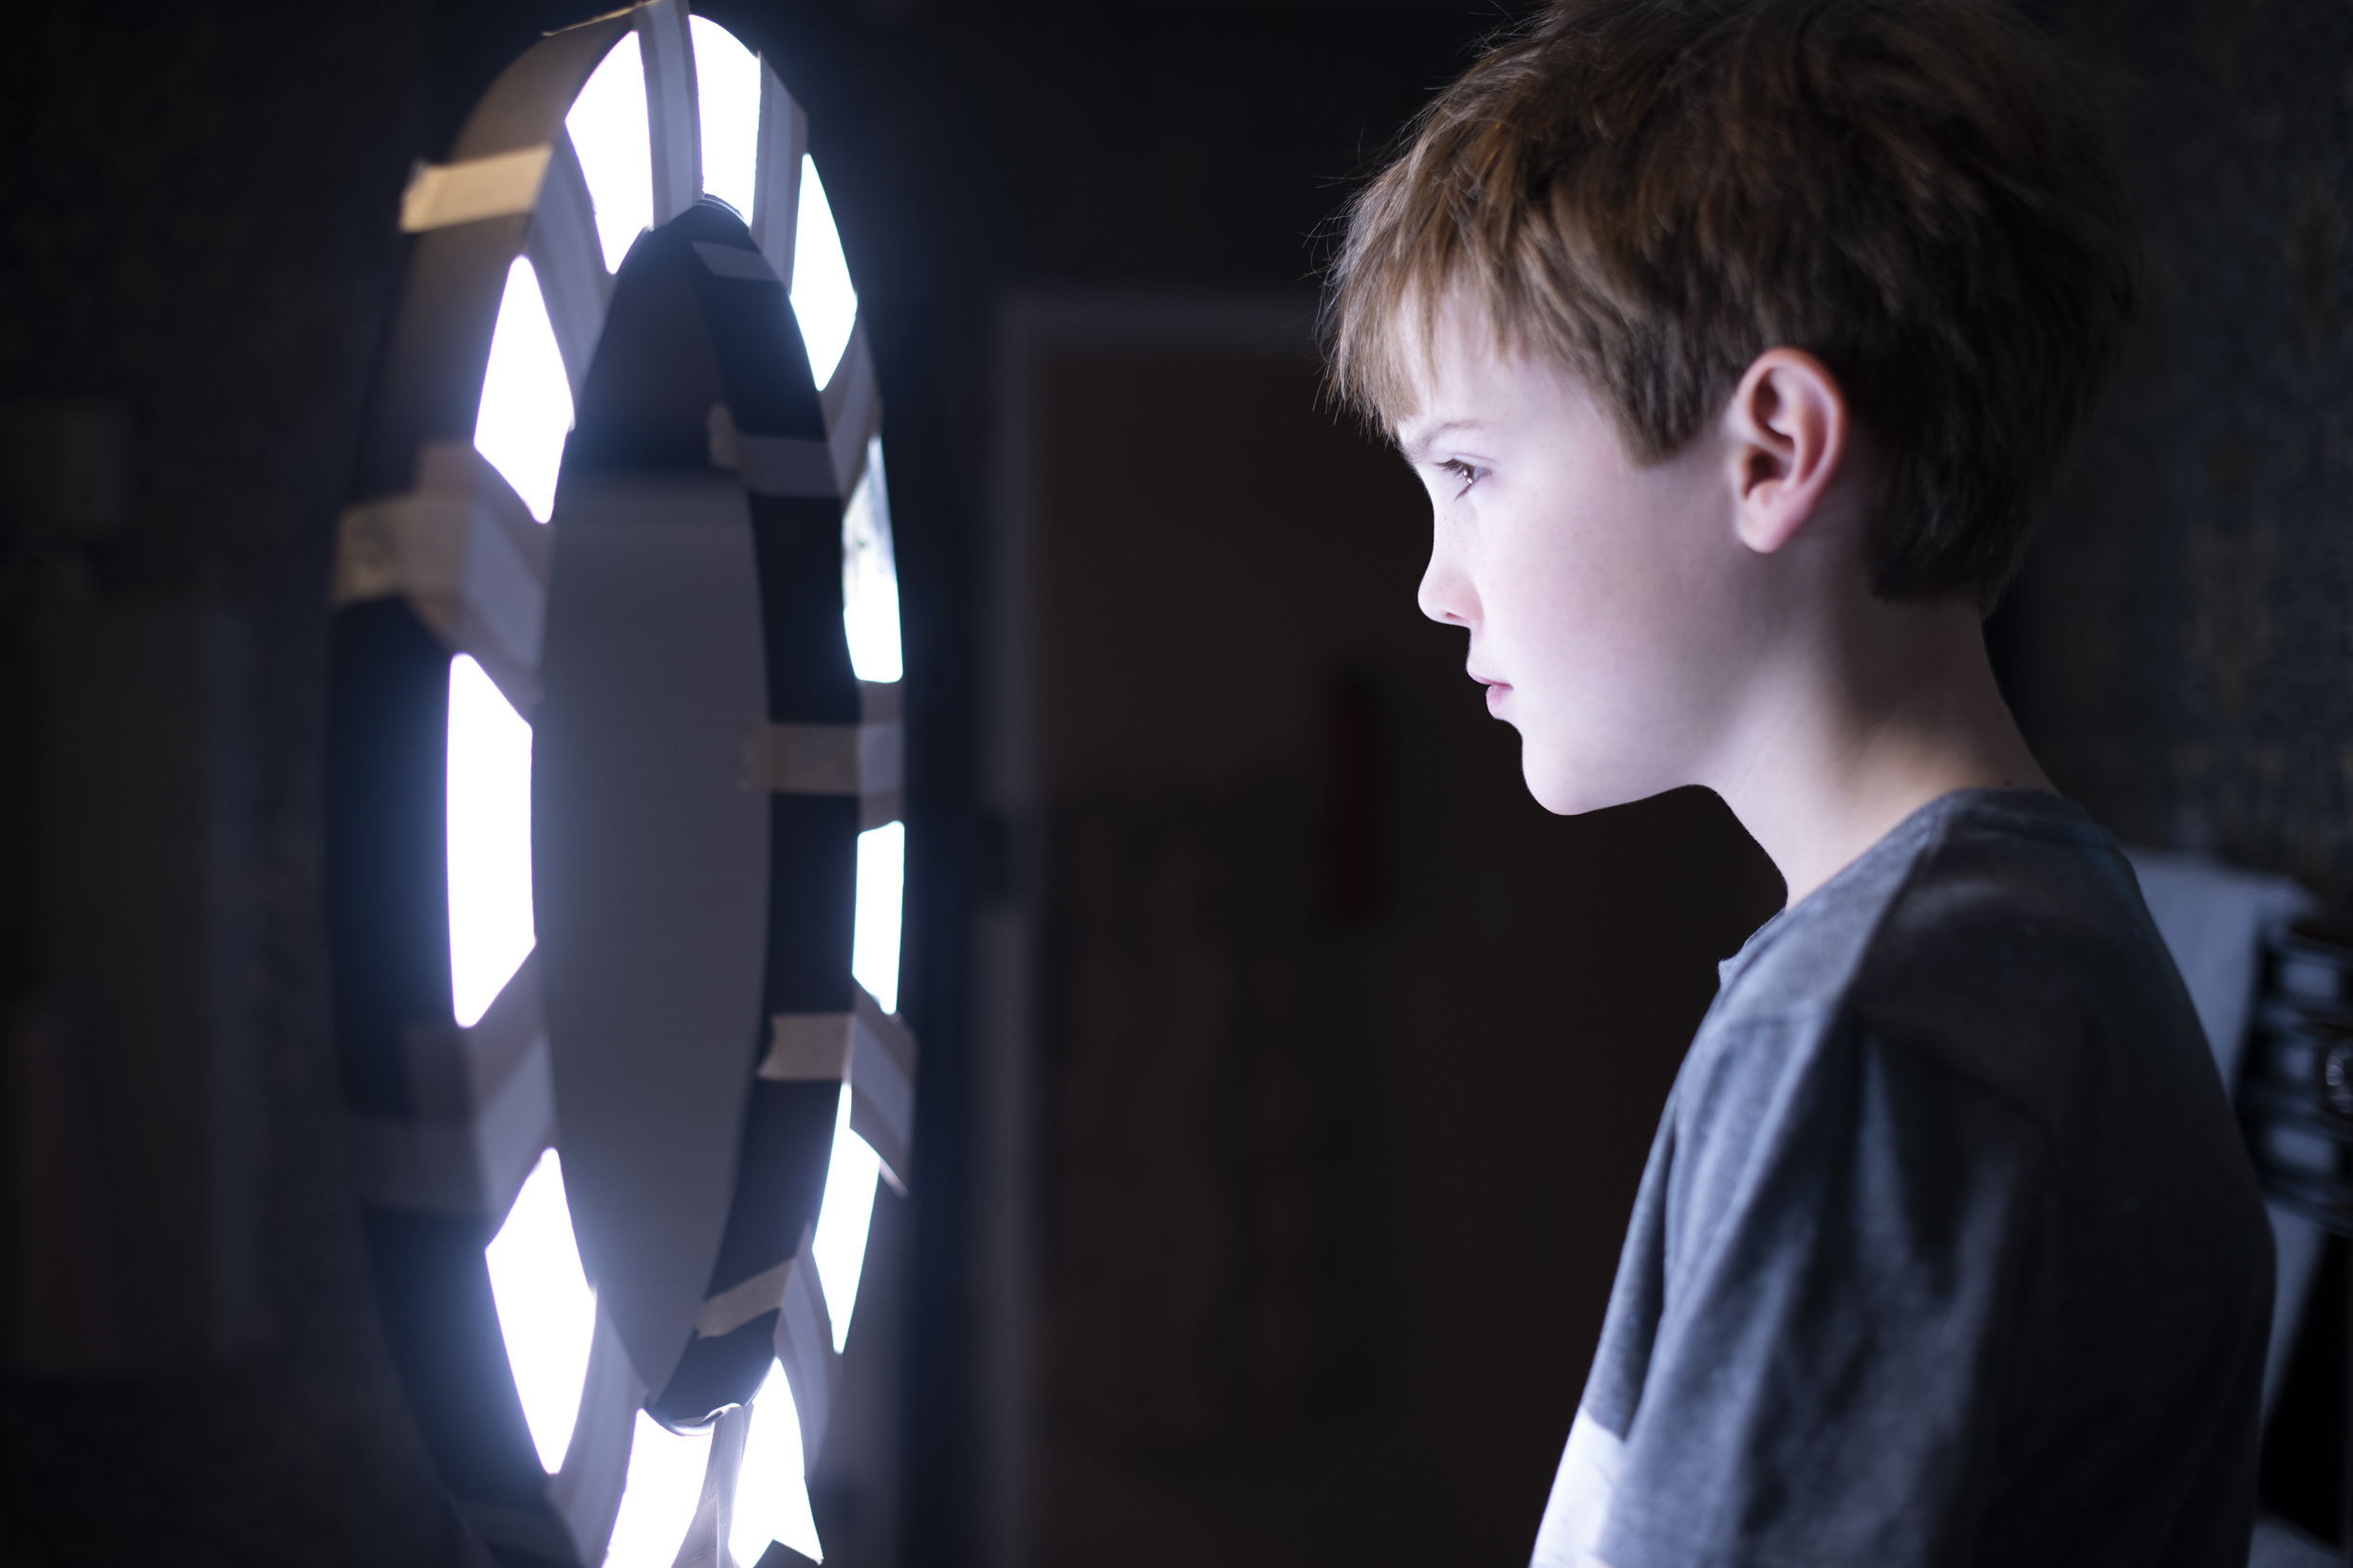
We bring the ring light in fairly close to our subject’s face, this means that the catchlight show more clearly in the eyes. You may find that parts of the ring do not show as clearly as others, if this is the case, experiment with the height and angle of the light and camera.
09 Capture the eyes
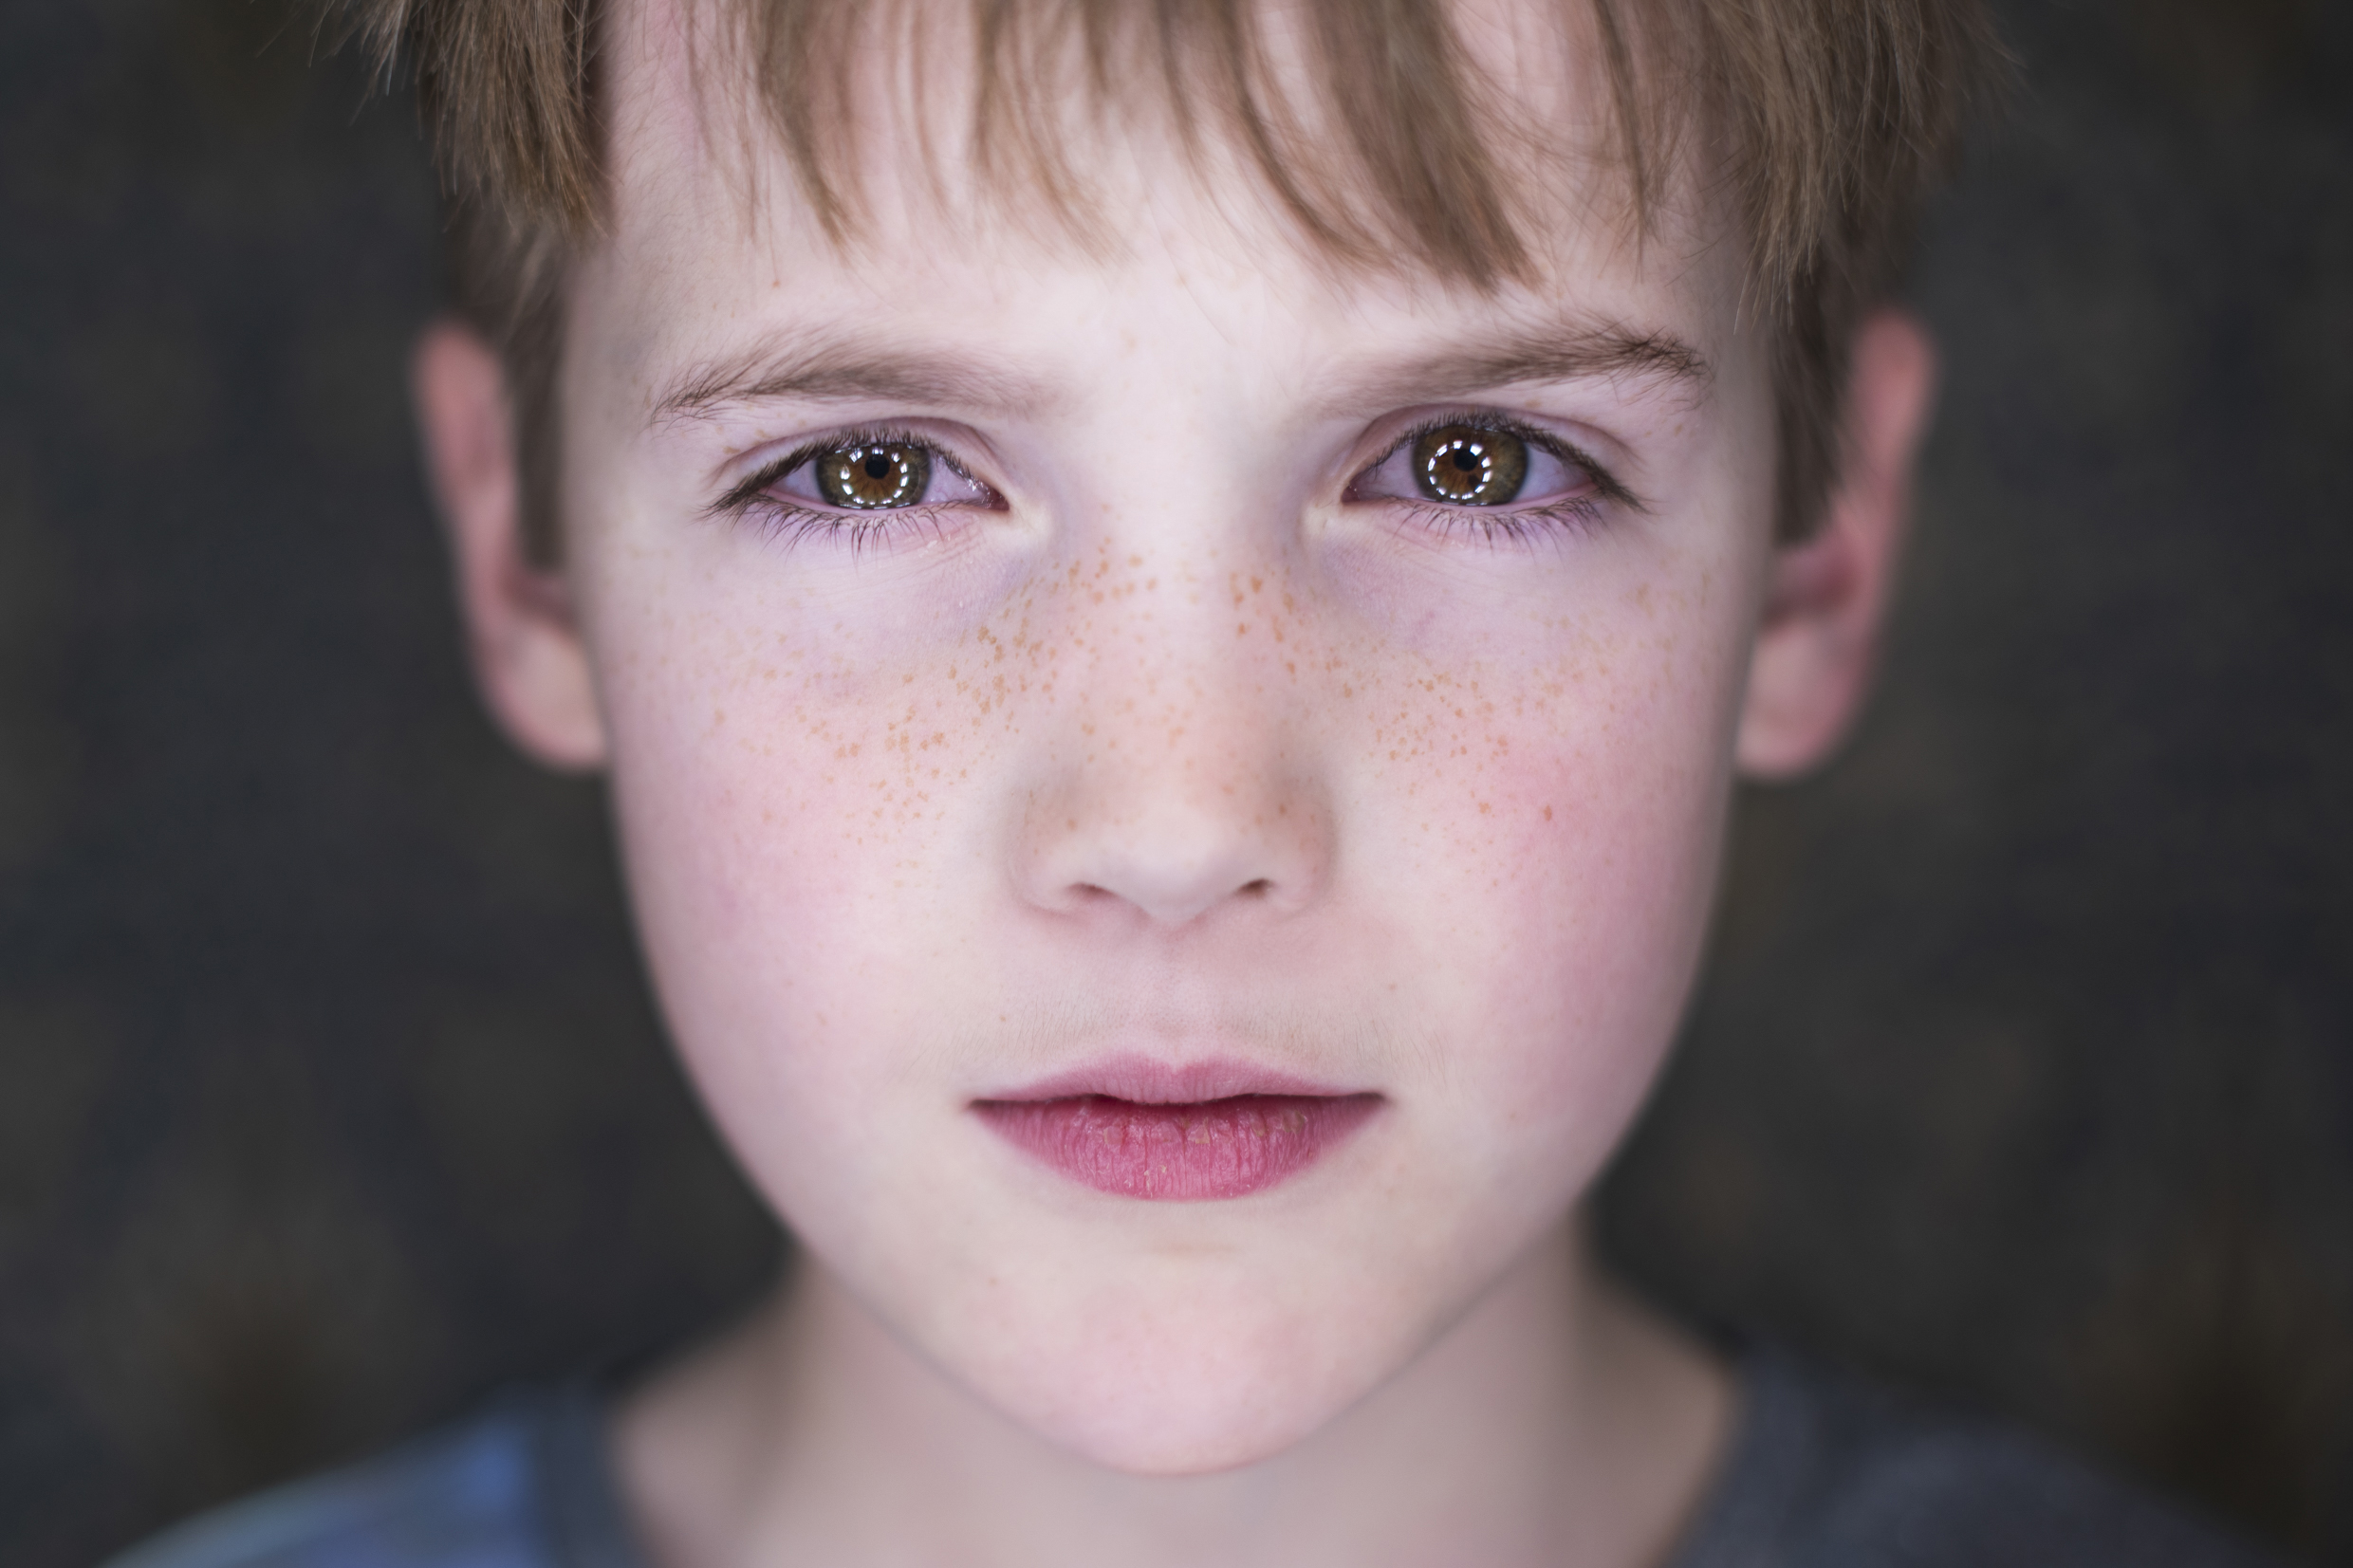
The reflection in the eyes causes them to sparkle with dots of light, while the rest of the face is evenly lit with the shadow-less quality of the illumination. We used a 50mm lens with a wide aperture of f/1.8 for this, so that everything but the eyes and lips are dropped nicely out of focus.
10 Try a beauty or fashion shoot
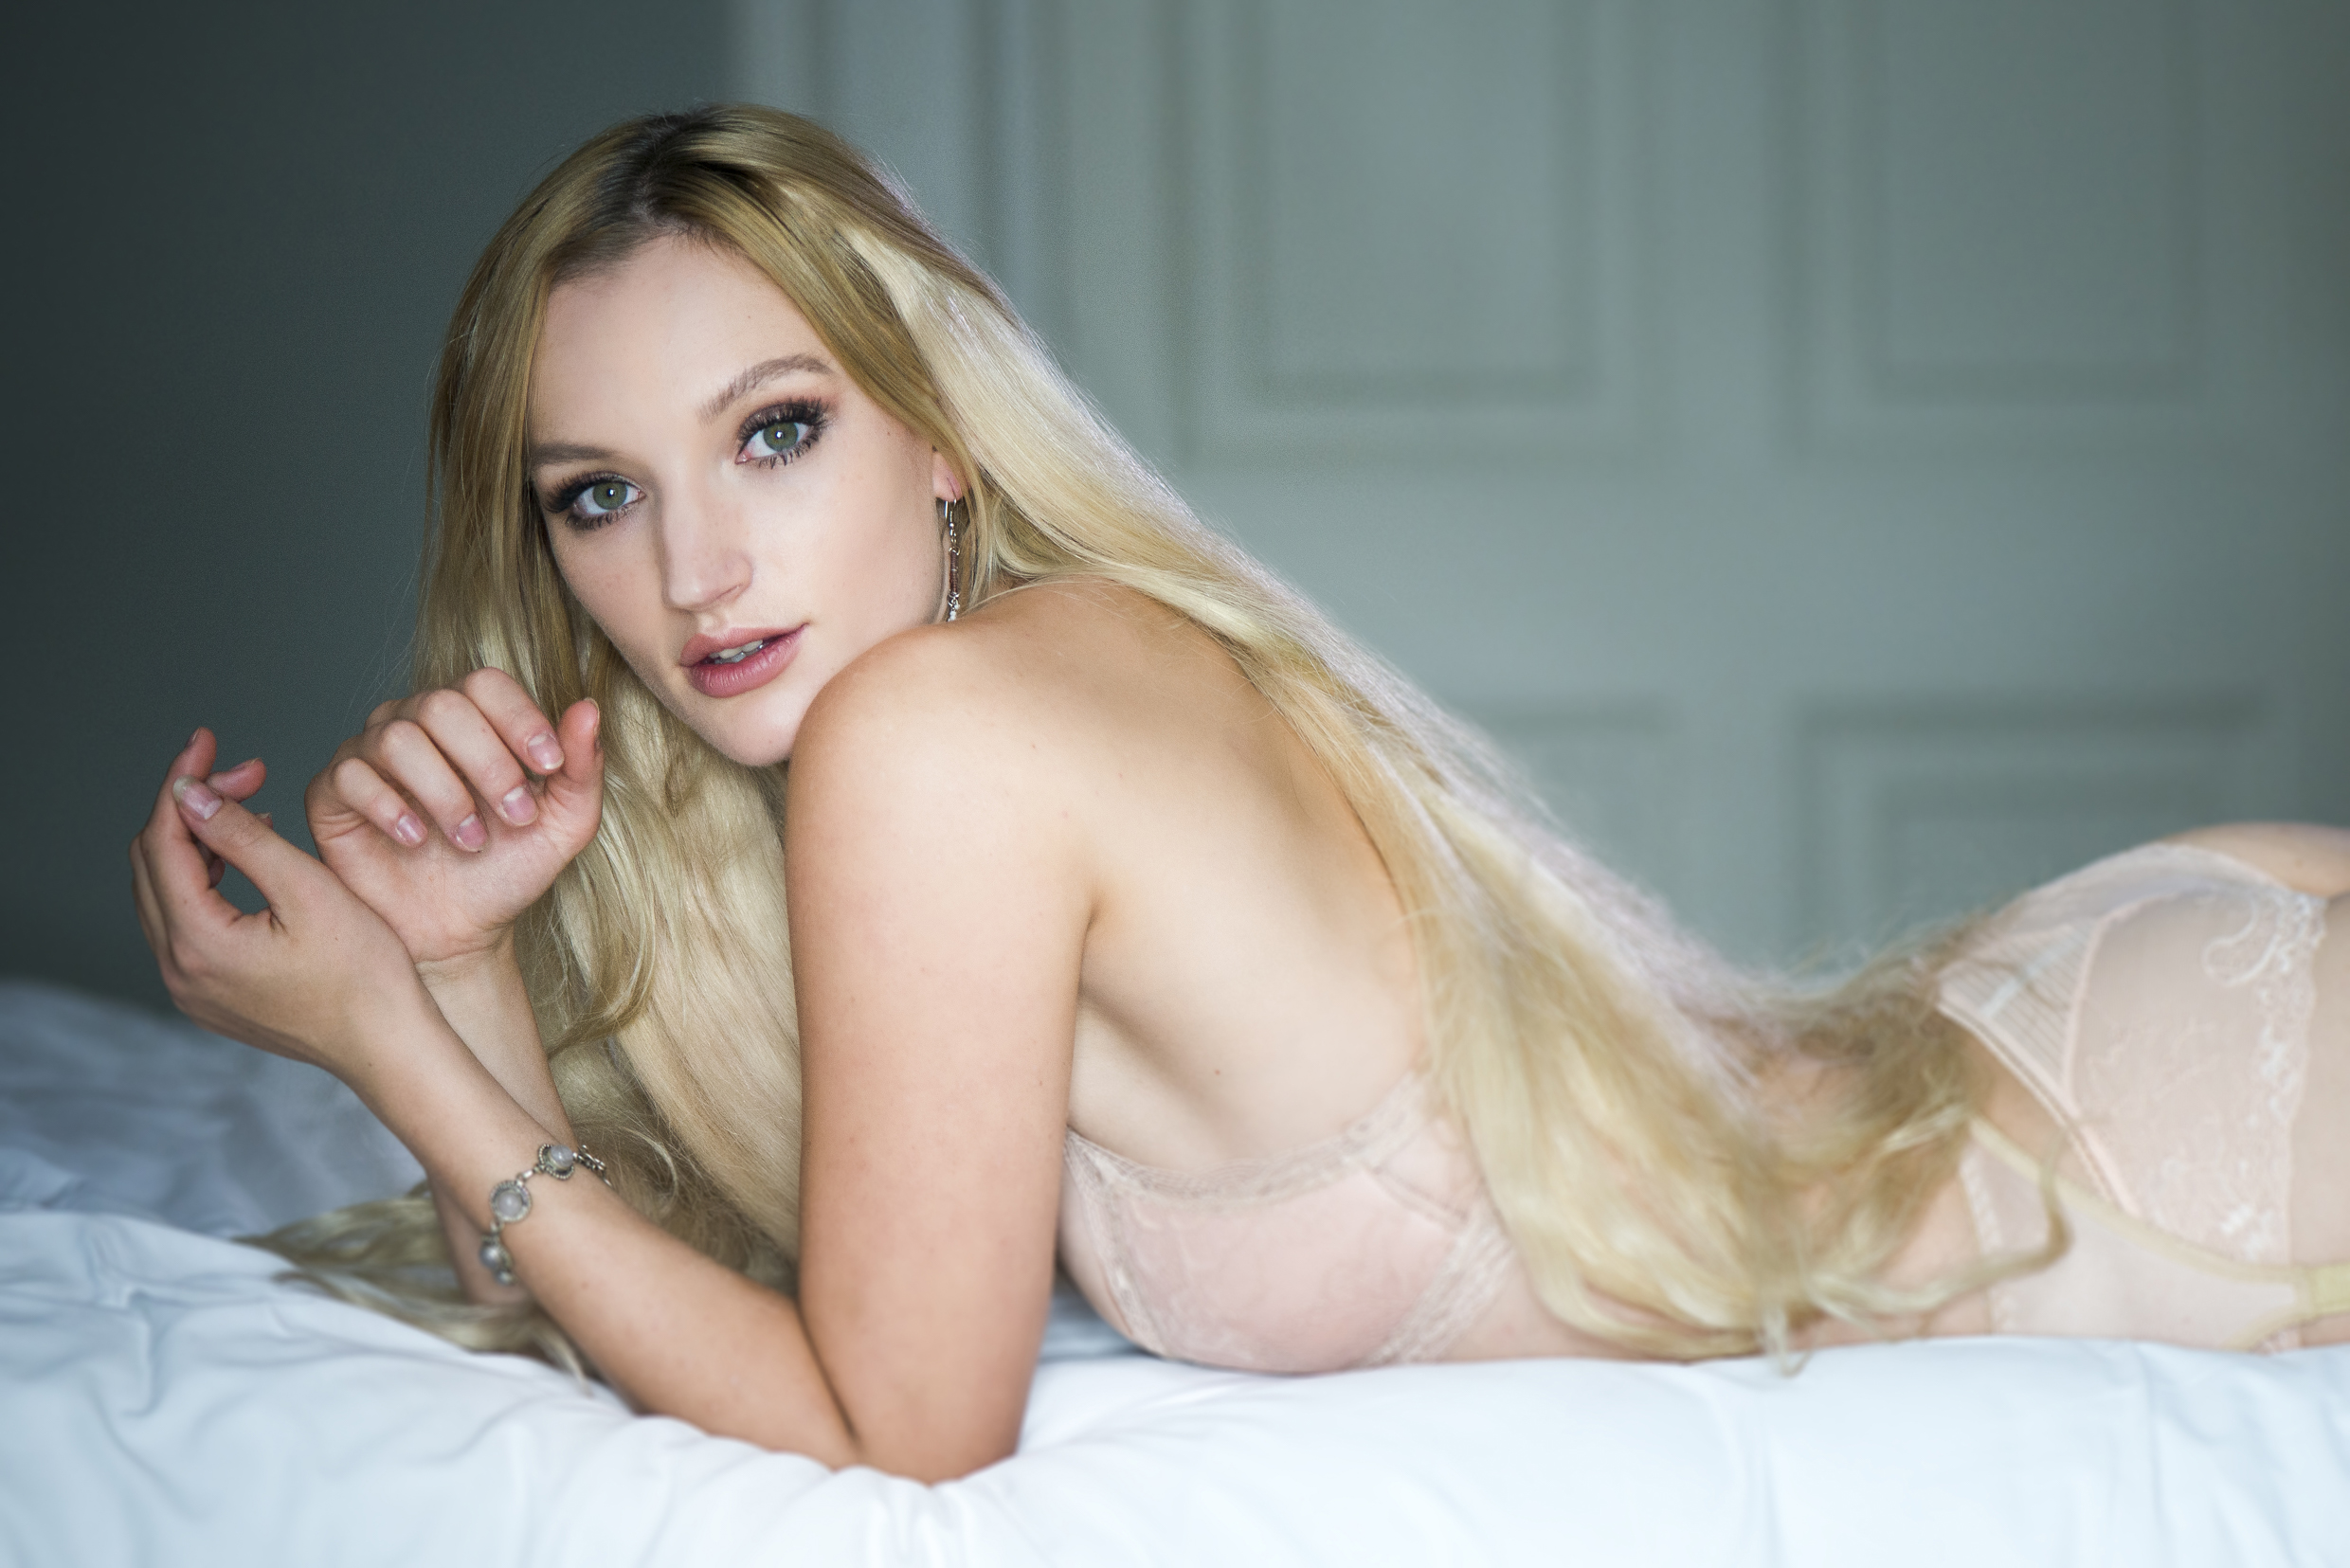
Ring lights are very popular for beauty, fashion and boudoir photography because of the flattering, shadow-free look they produce over faces and skin. However, the light is rather flat, so it can look a bit one-note. As such, it’s often a good idea to combine a ring light with another light source.
In our original dog photo, we mixed in window light, and for the boudoir shot here the ring light was used in combination with another LED, placed behind and to the right side of the subject. The ring light gives us those catchlights in the eyes and flattering light over the skin, while the rear light offers an edge highlight over the hair and body, helping to separate our model from the backdrop and adding depth to the portrait.
PhotoPlus: The Canon Magazine is the world's only monthly newsstand title that's 100% devoted to Canon, so you can be sure the magazine is completely relevant to your system.
Read more:
Best cameras for portraits
Best portrait photography tips
The best photo editing software: image editors for novices through to pros
The best photo-editing laptops: top laptops for photographers
10 best online photography courses – from beginner guides to masterclasses
The lead technique writer on Digital Camera Magazine, PhotoPlus: The Canon Magazine and N-Photo: The Nikon Magazine, James is a fantastic general practice photographer with an enviable array of skills across every genre of photography.
Whether it's flash photography techniques like stroboscopic portraits, astrophotography projects like photographing the Northern Lights, or turning sound into art by making paint dance on a set of speakers, James' tutorials and projects are as creative as they are enjoyable.
He's also a wizard at the dark arts of Photoshop, Lightroom and Affinity Photo, and is capable of some genuine black magic in the digital darkroom, making him one of the leading authorities on photo editing software and techniques.
