Home photography ideas: Soggy doggy portraits!
Have a dog spray afternoon with a wet pooch and flash to capture fun high-speed pet portraits
The best camera deals, reviews, product advice, and unmissable photography news, direct to your inbox!
You are now subscribed
Your newsletter sign-up was successful
Watch video: Home photography ideas – Shoot soggy doggy portraits
Photography projects at home
• Home photography ideas
Useful home photography kit
• Best tripods
• Best lighting kits
• Best reflectors
• Best macro lenses
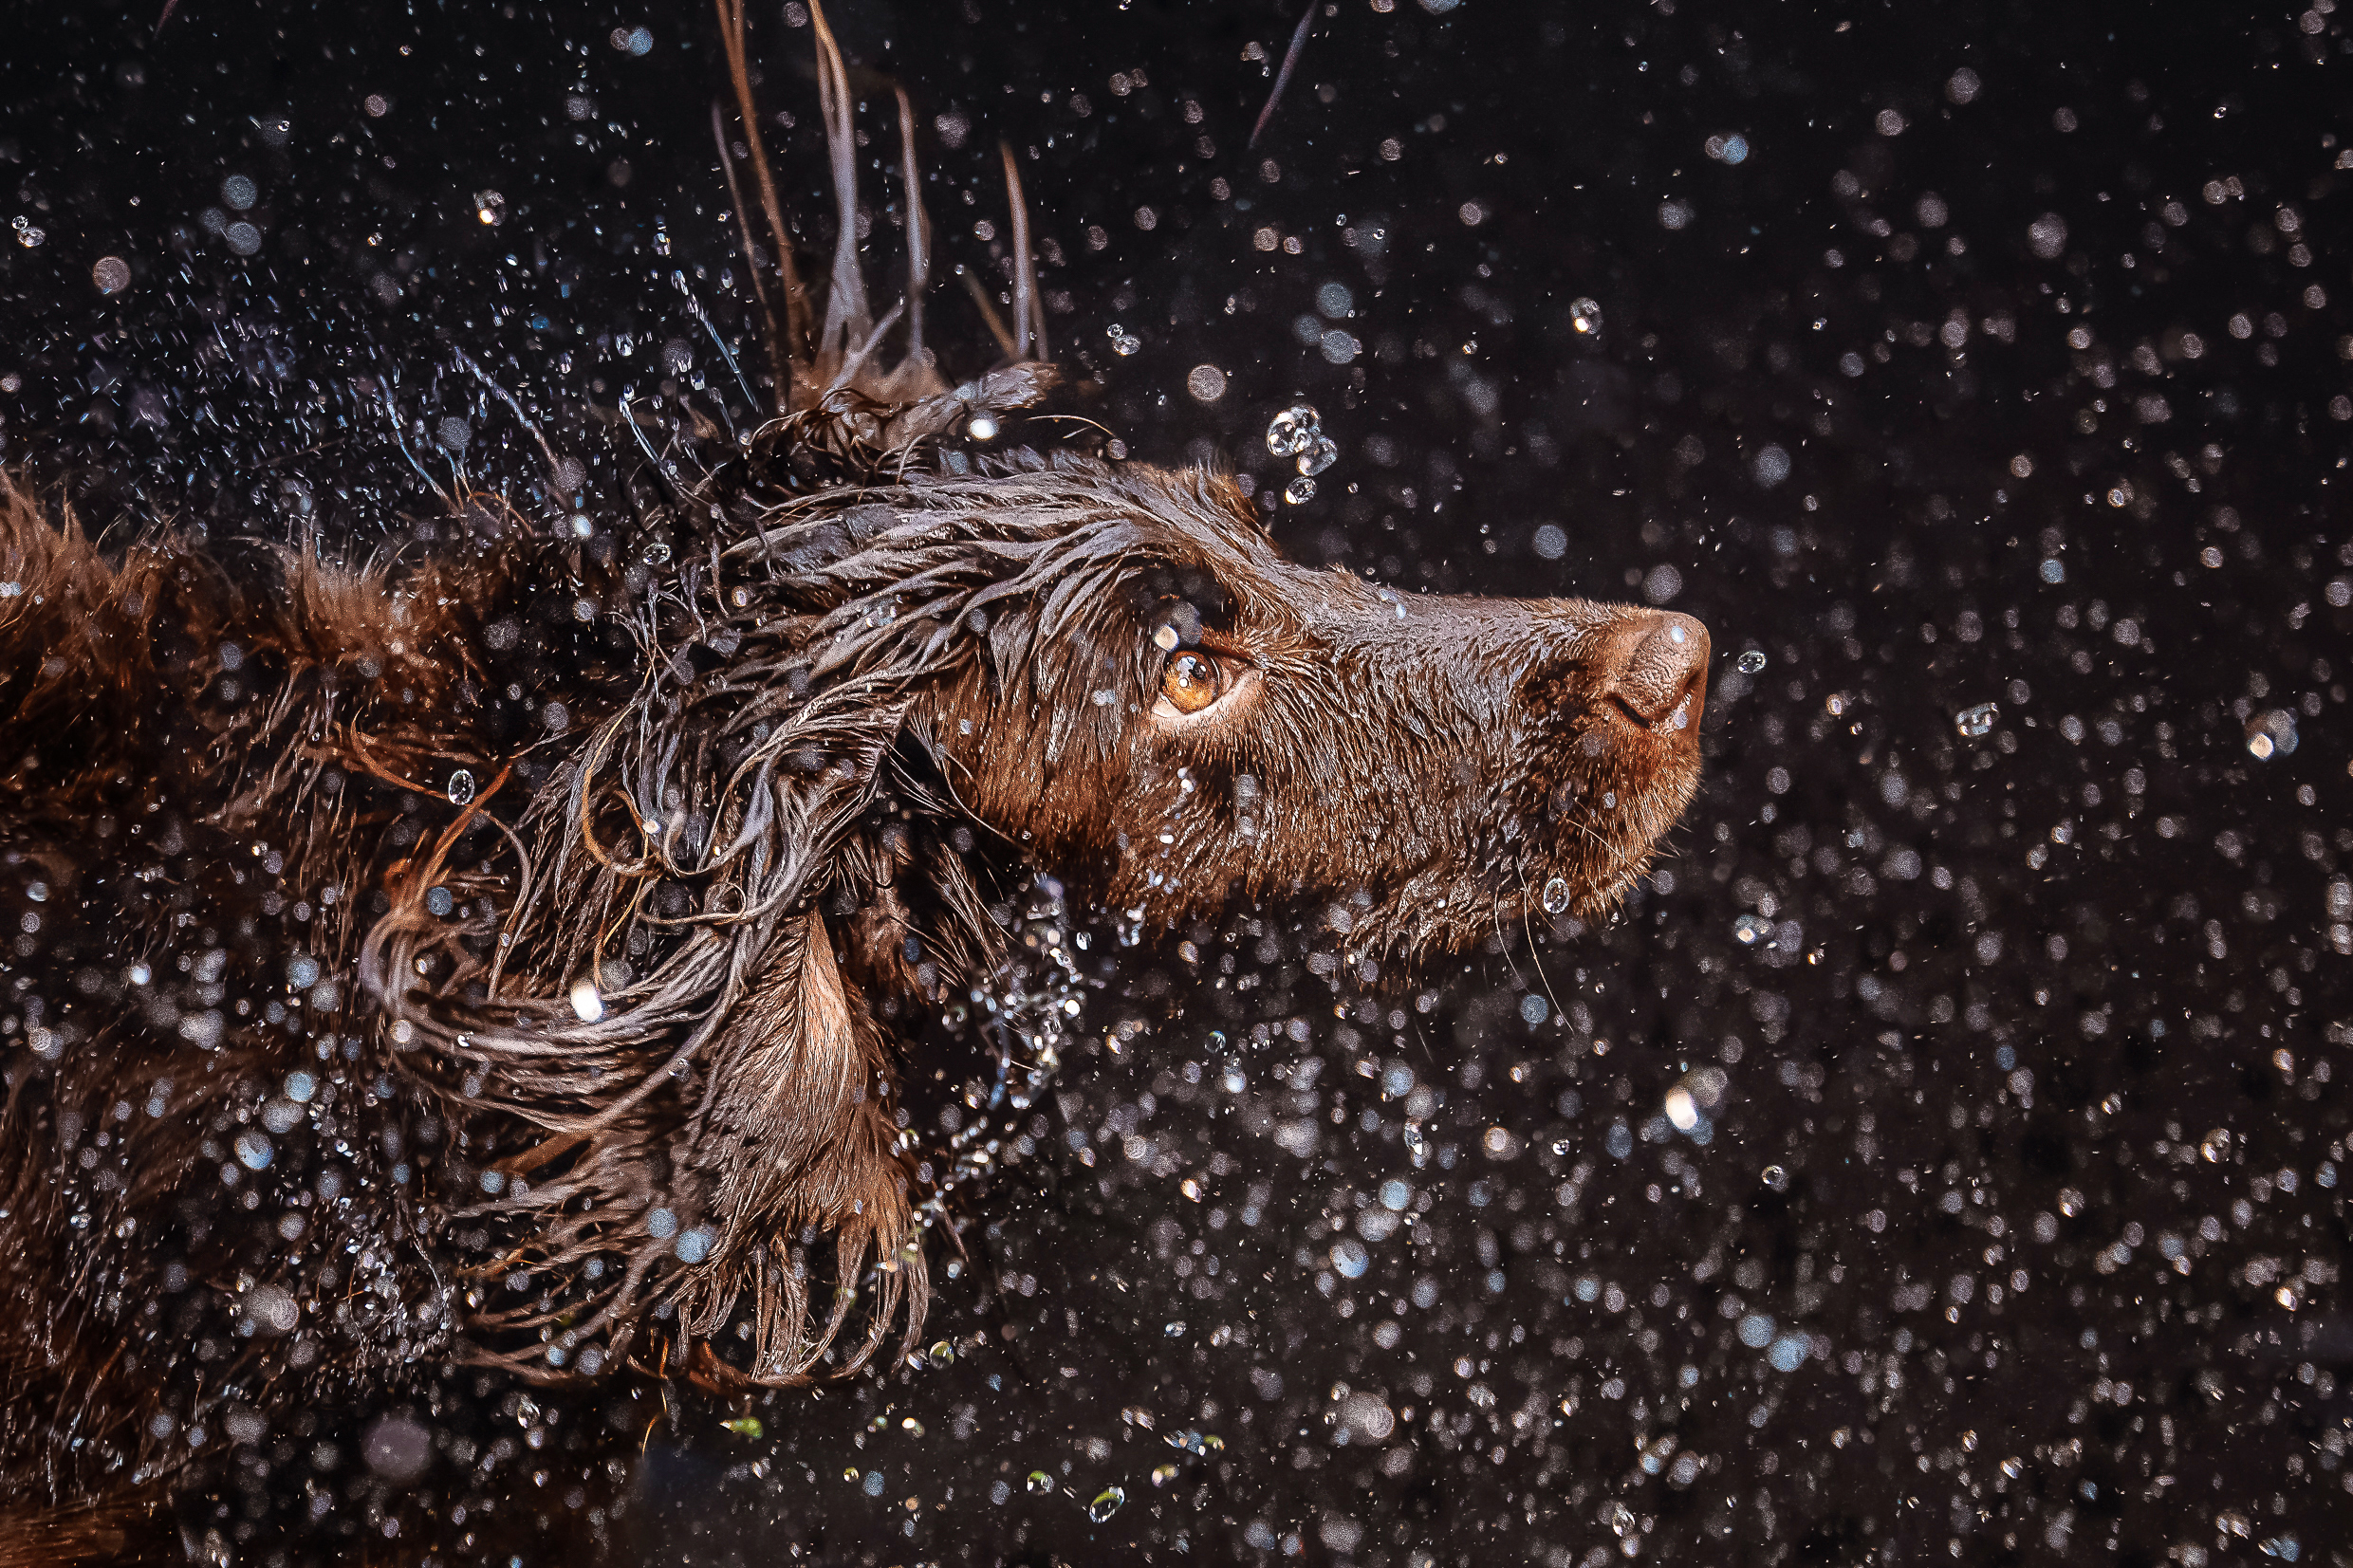
When wet dogs start shaking off their coats, people usually dive for cover, but it’s a fun moment filled with both action and character. In this project we’ll look at how to capture that moment – we’ll explain how to light our sodden subject and set up a camera to freeze the action in crystal-clear clarity.
We’ve used Rotolight LED panels to light our subject here (you could use a couple of speed lights), which have a high-speed sync flash mode that helps to freeze motion. However, as is the case with any LEDs, the maximum output doesn’t come close to the most basic flashgun, so we have to adapt out exposure accordingly with a higher ISO setting.
Article continues belowLEDs have their benefits, though – more battery life, a near-instant recycle time in flash mode, color temperature control, and the convenience of what-you-see-is-what-you-get exposure results.
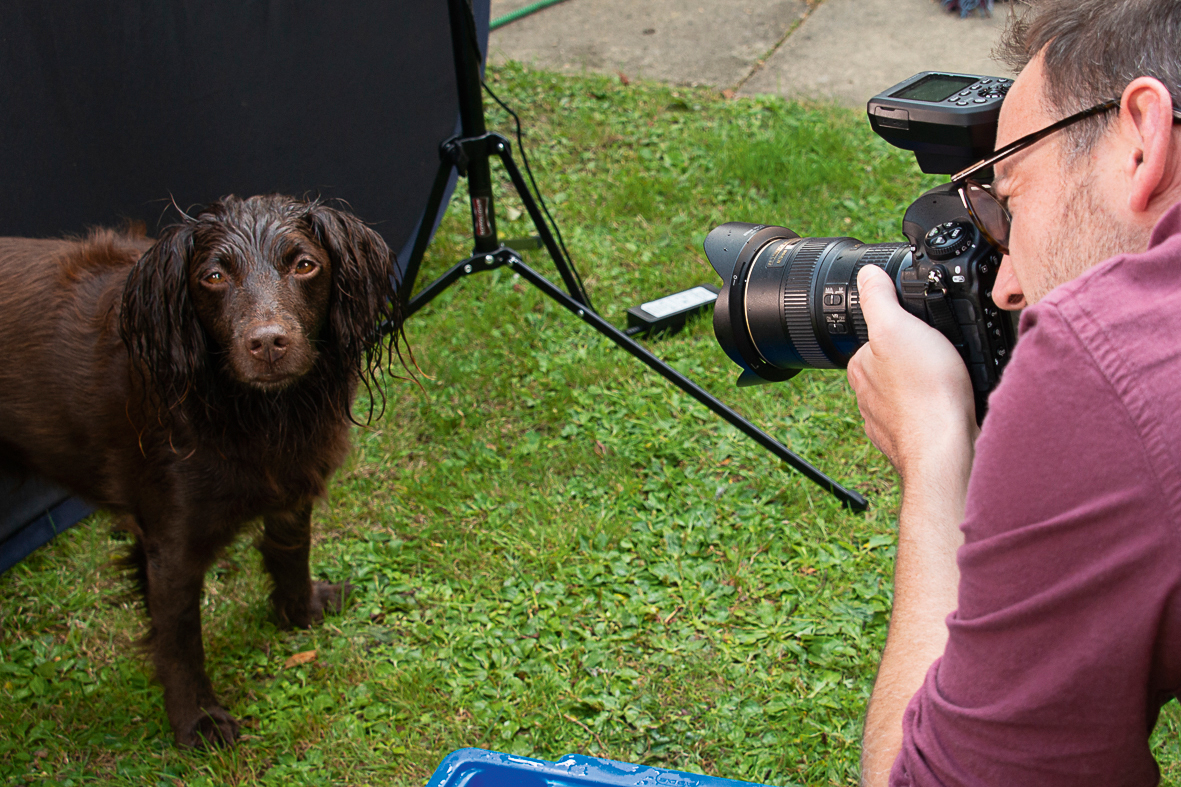
While the lighting isn’t easy, you might find that the trickiest part of this whole project is actually the dog-handling! Our damp doggy was more than happy to be soaked with water, but didn’t feel like standing in the spot we’d set up, preferring to run off to another part of the garden to shake off.
It took a few attempts to get her to stay put and get the posing and focusing spot-on, so you’ll likely shoot a few duds before getting a usable shot – but it’s all part of the fun! And what better way to spend a warm day in the garden than with your camera and four-legged friend?
• Best online photography courses
The best camera deals, reviews, product advice, and unmissable photography news, direct to your inbox!
A dog spray afternoon
01 Dark backdrop
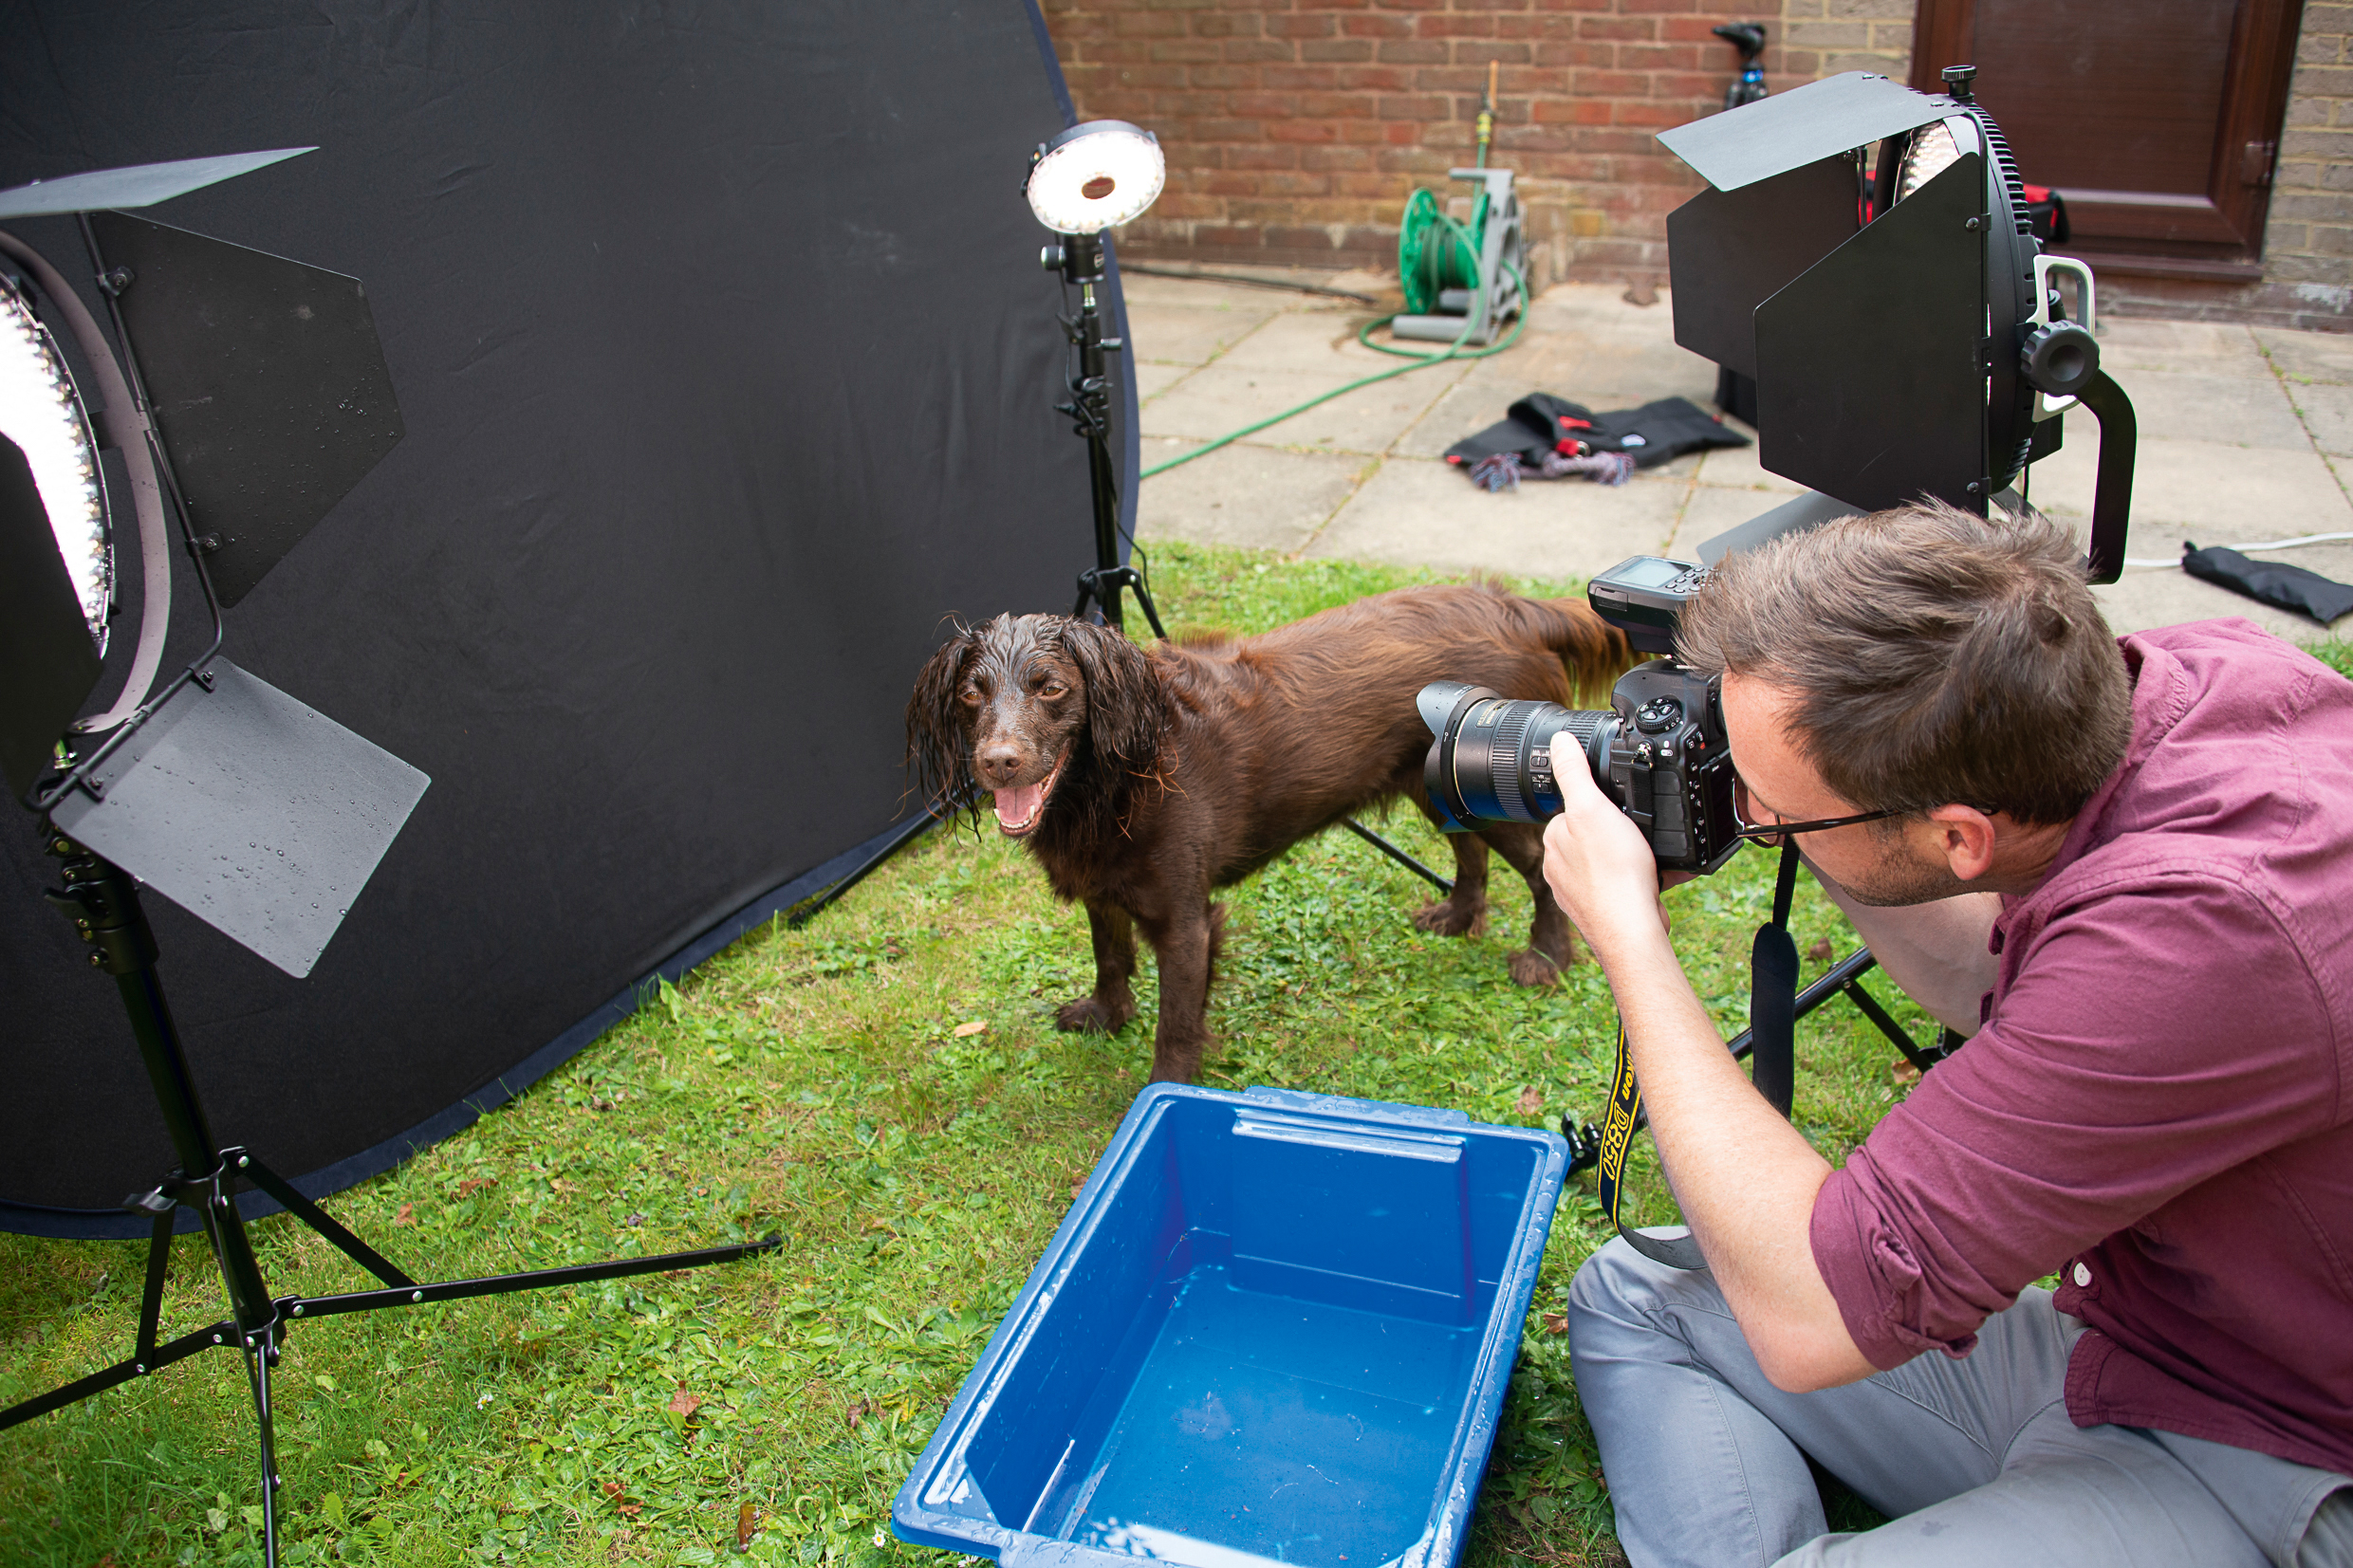
A dark background is ideal, as the water drops won’t show up as well against a lighter background. We’ve used the dark side of a large pop-up reflector here.
02 Lights
The Rotolight LEDs used here have a high-speed sync flash mode, in which the light emits a continuous burst and enables the use of very fast shutter speeds. However, speed lights could also be used.
03 Water
We kept a tray of water on hand to sprinkle over our pup. Shooting outdoors like this means that there’s no need to worry about spillages, either.
04 Camera settings
A fast shutter speed helps to freeze the motion of a shaking dog. Here the shutter speed is set to 1/2000 sec, with the camera in manual exposure mode.
Get your soggy shot
01 Work out an exposure
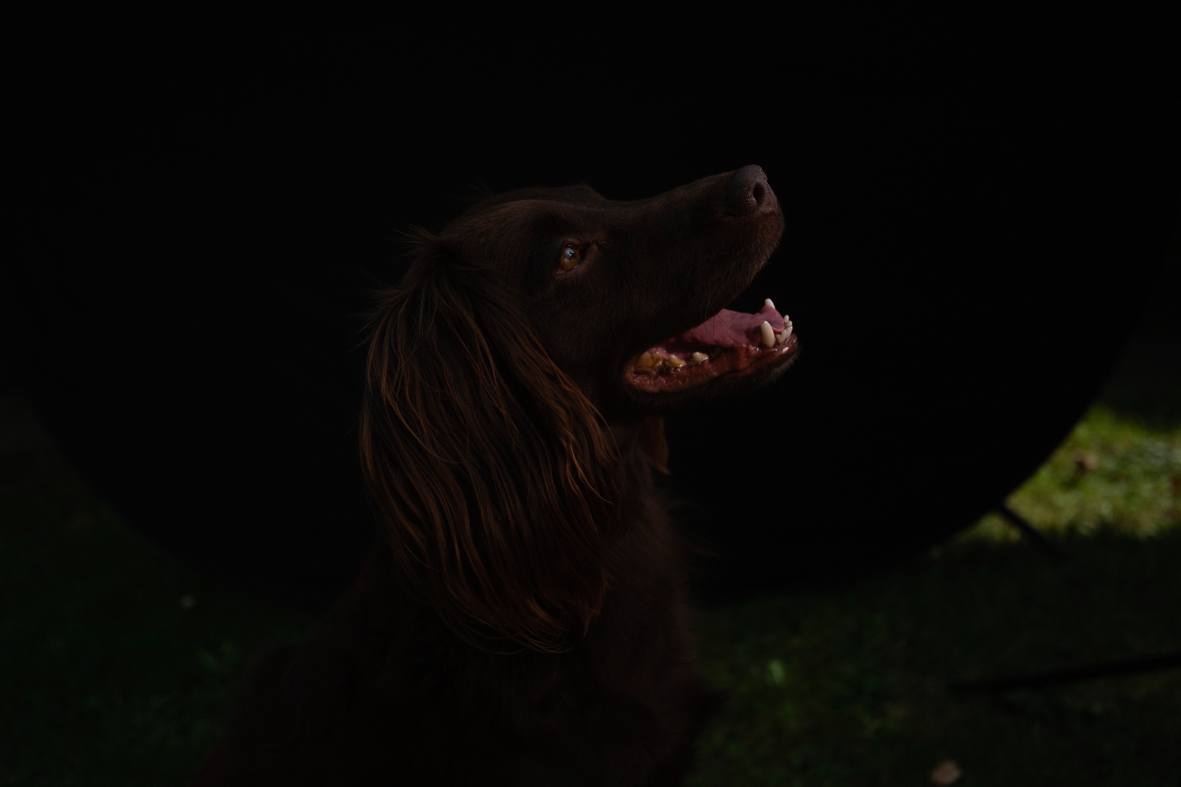
We’re shooting outside, but we don’t want the natural light to play too big a part in our exposure. So to begin, leave the lights off and find an exposure that results in a dim image like the above – we use 1/2000 sec, f/4, ISO800. Use manual mode to lock the exposure in.
02 Set up the lights
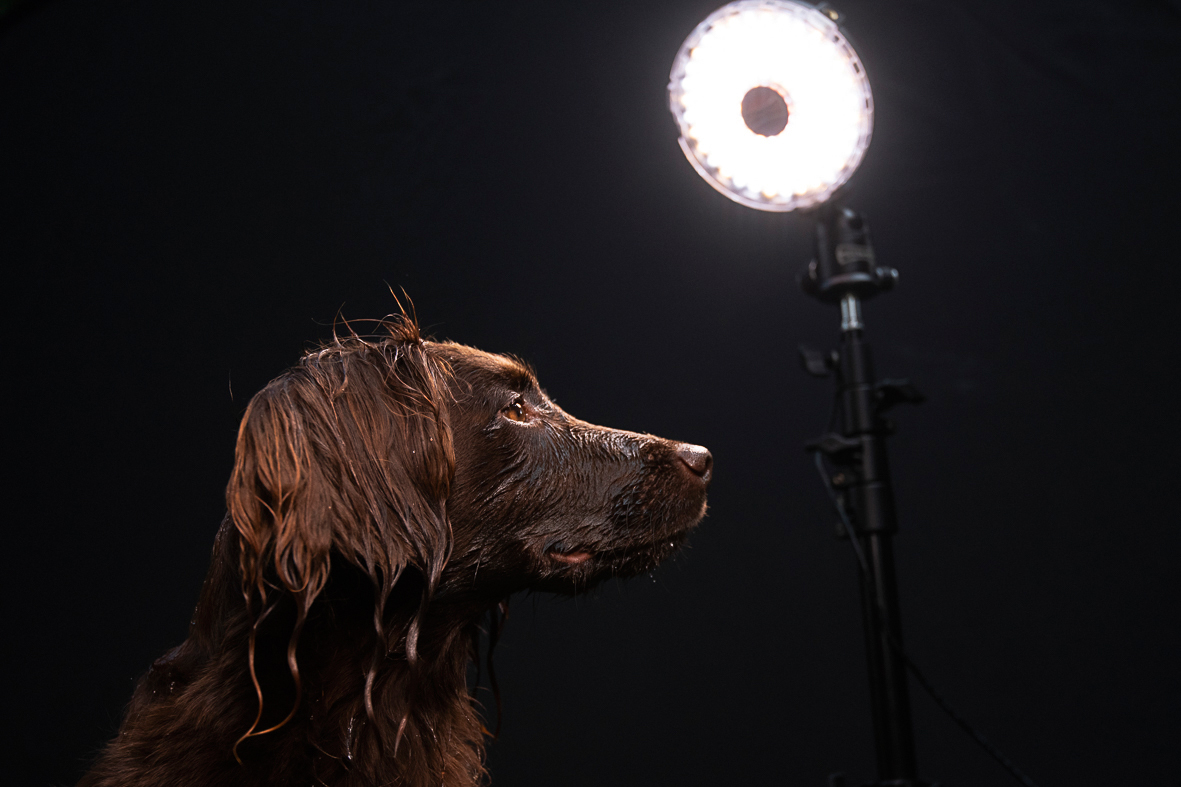
Now we can use the lights to pick out our subject. By placing a light behind the subject, angled back towards the camera, the light shines through the drops and gives us a nice edge highlight along the dog’s nose, which helps to separate her from the dark backdrop.
03 Trigger the flash
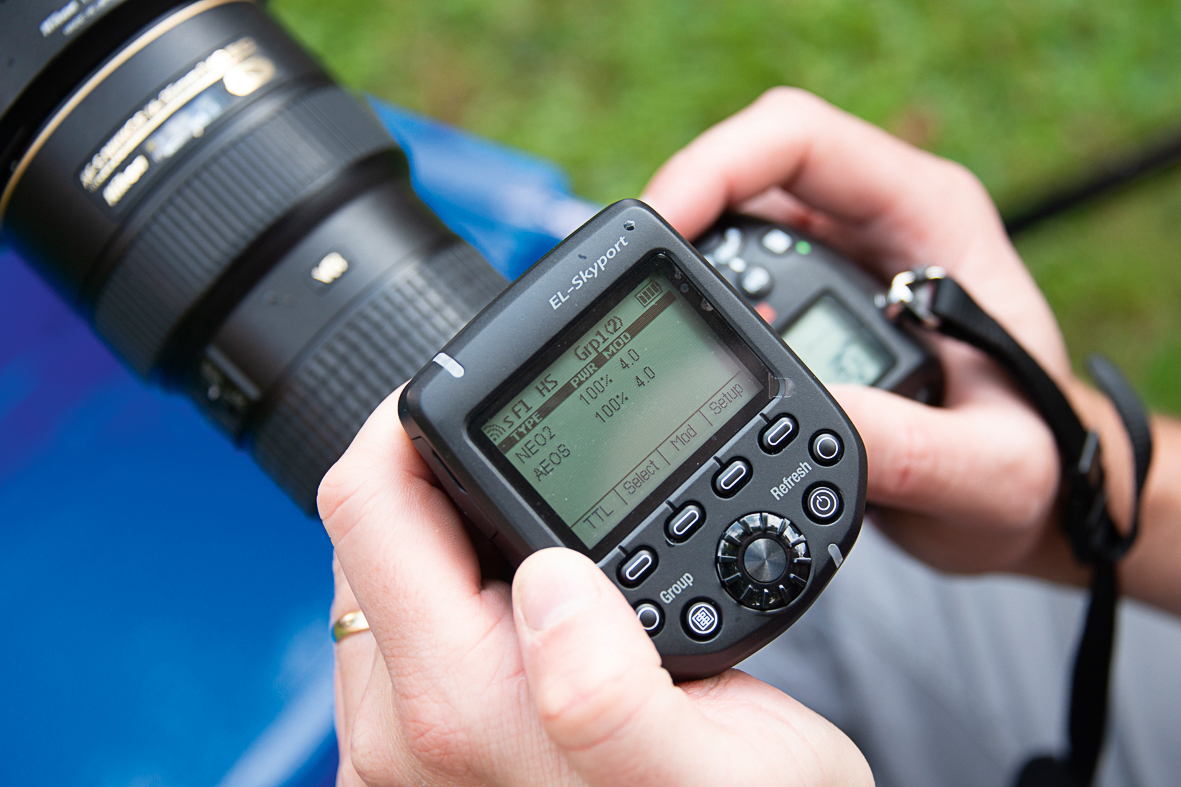
We need to fire our off-camera flash with a trigger – compatibility is important when using high-speed sync. The Elinchrom Skyport we used to communicate between the Rotolights and the camera enables us to manipulate both the power and the color temperature of the lights.
04 Put it all together and balance
Now we turn on the key and fill lights, then meter the exposure again and take a shot. The fill light lifts the deep shadows and gives us balanced lighting. The ratio between key and fill is fairly even, so our contrast is subtle. We could power down the fill for more contrast.
Composite rain for even soggier shots
01 Select the drops
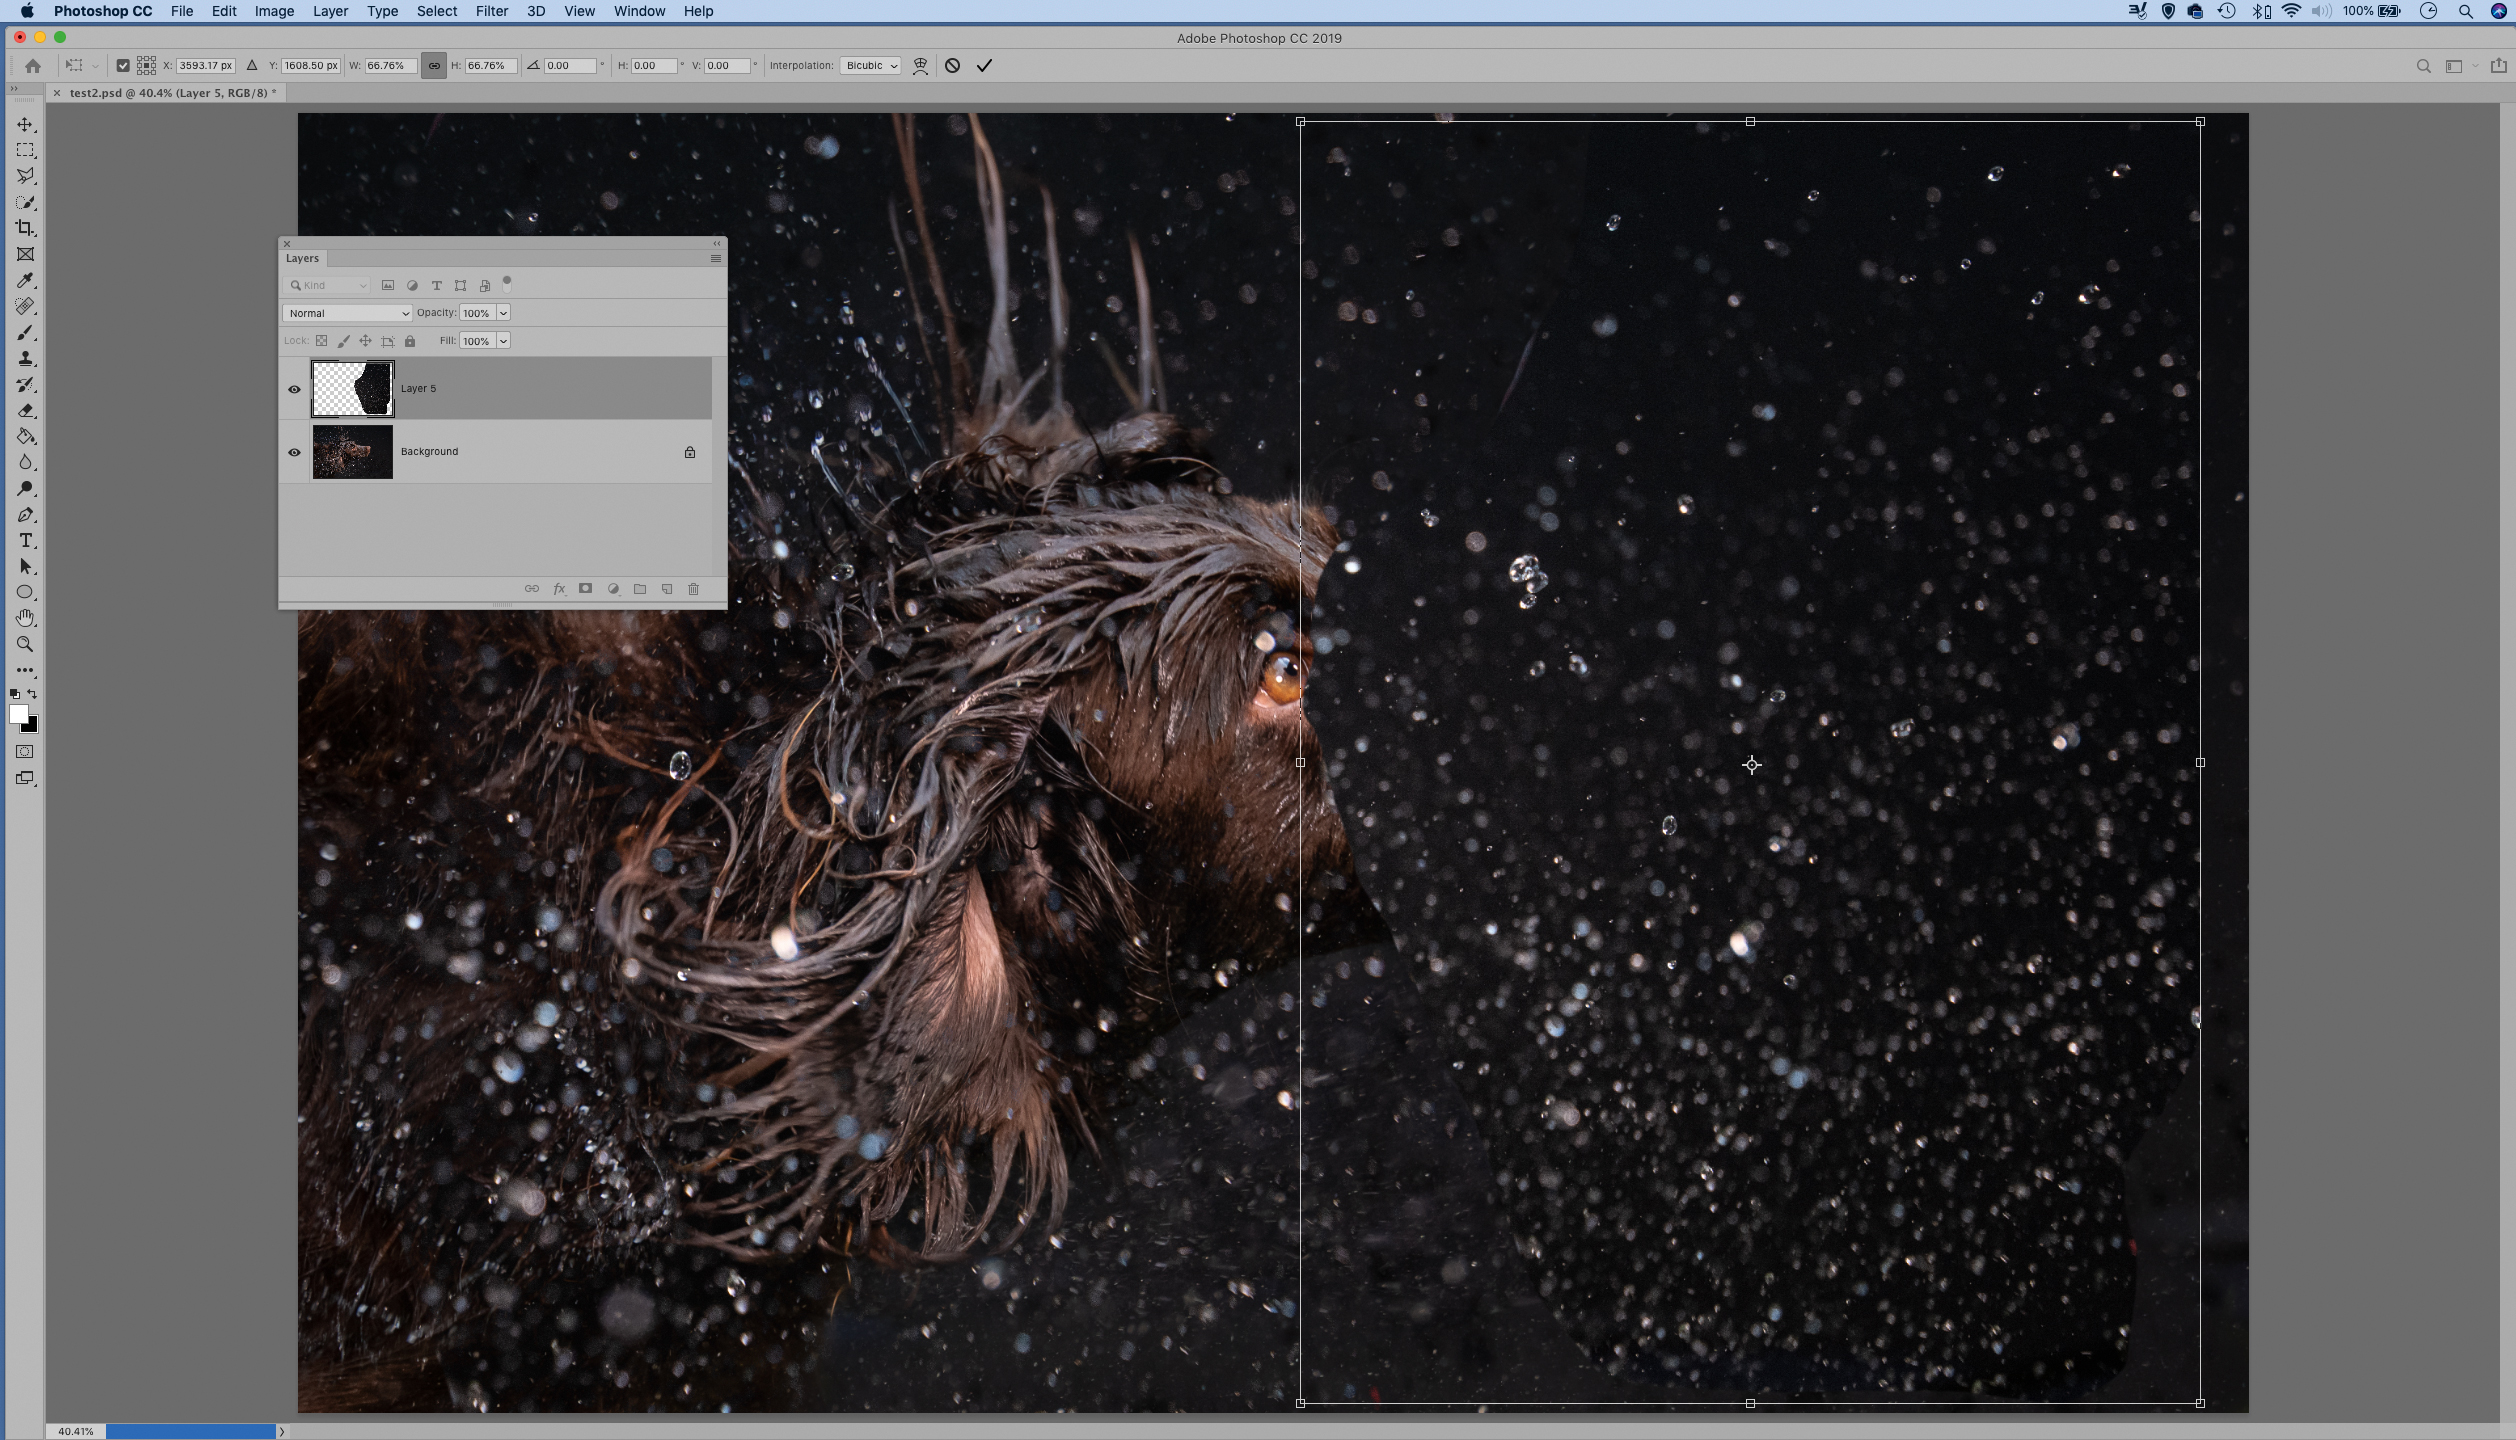
You may find that you have a great position of the dog in one photo, but the drops look better in another. If so, we can composite them in Photoshop; use the Lasso tool to select the drops, then copy (Cmd / Ctrl + C), go to the other image and paste (Cmd / Ctrl + V).
02 Paste and blend
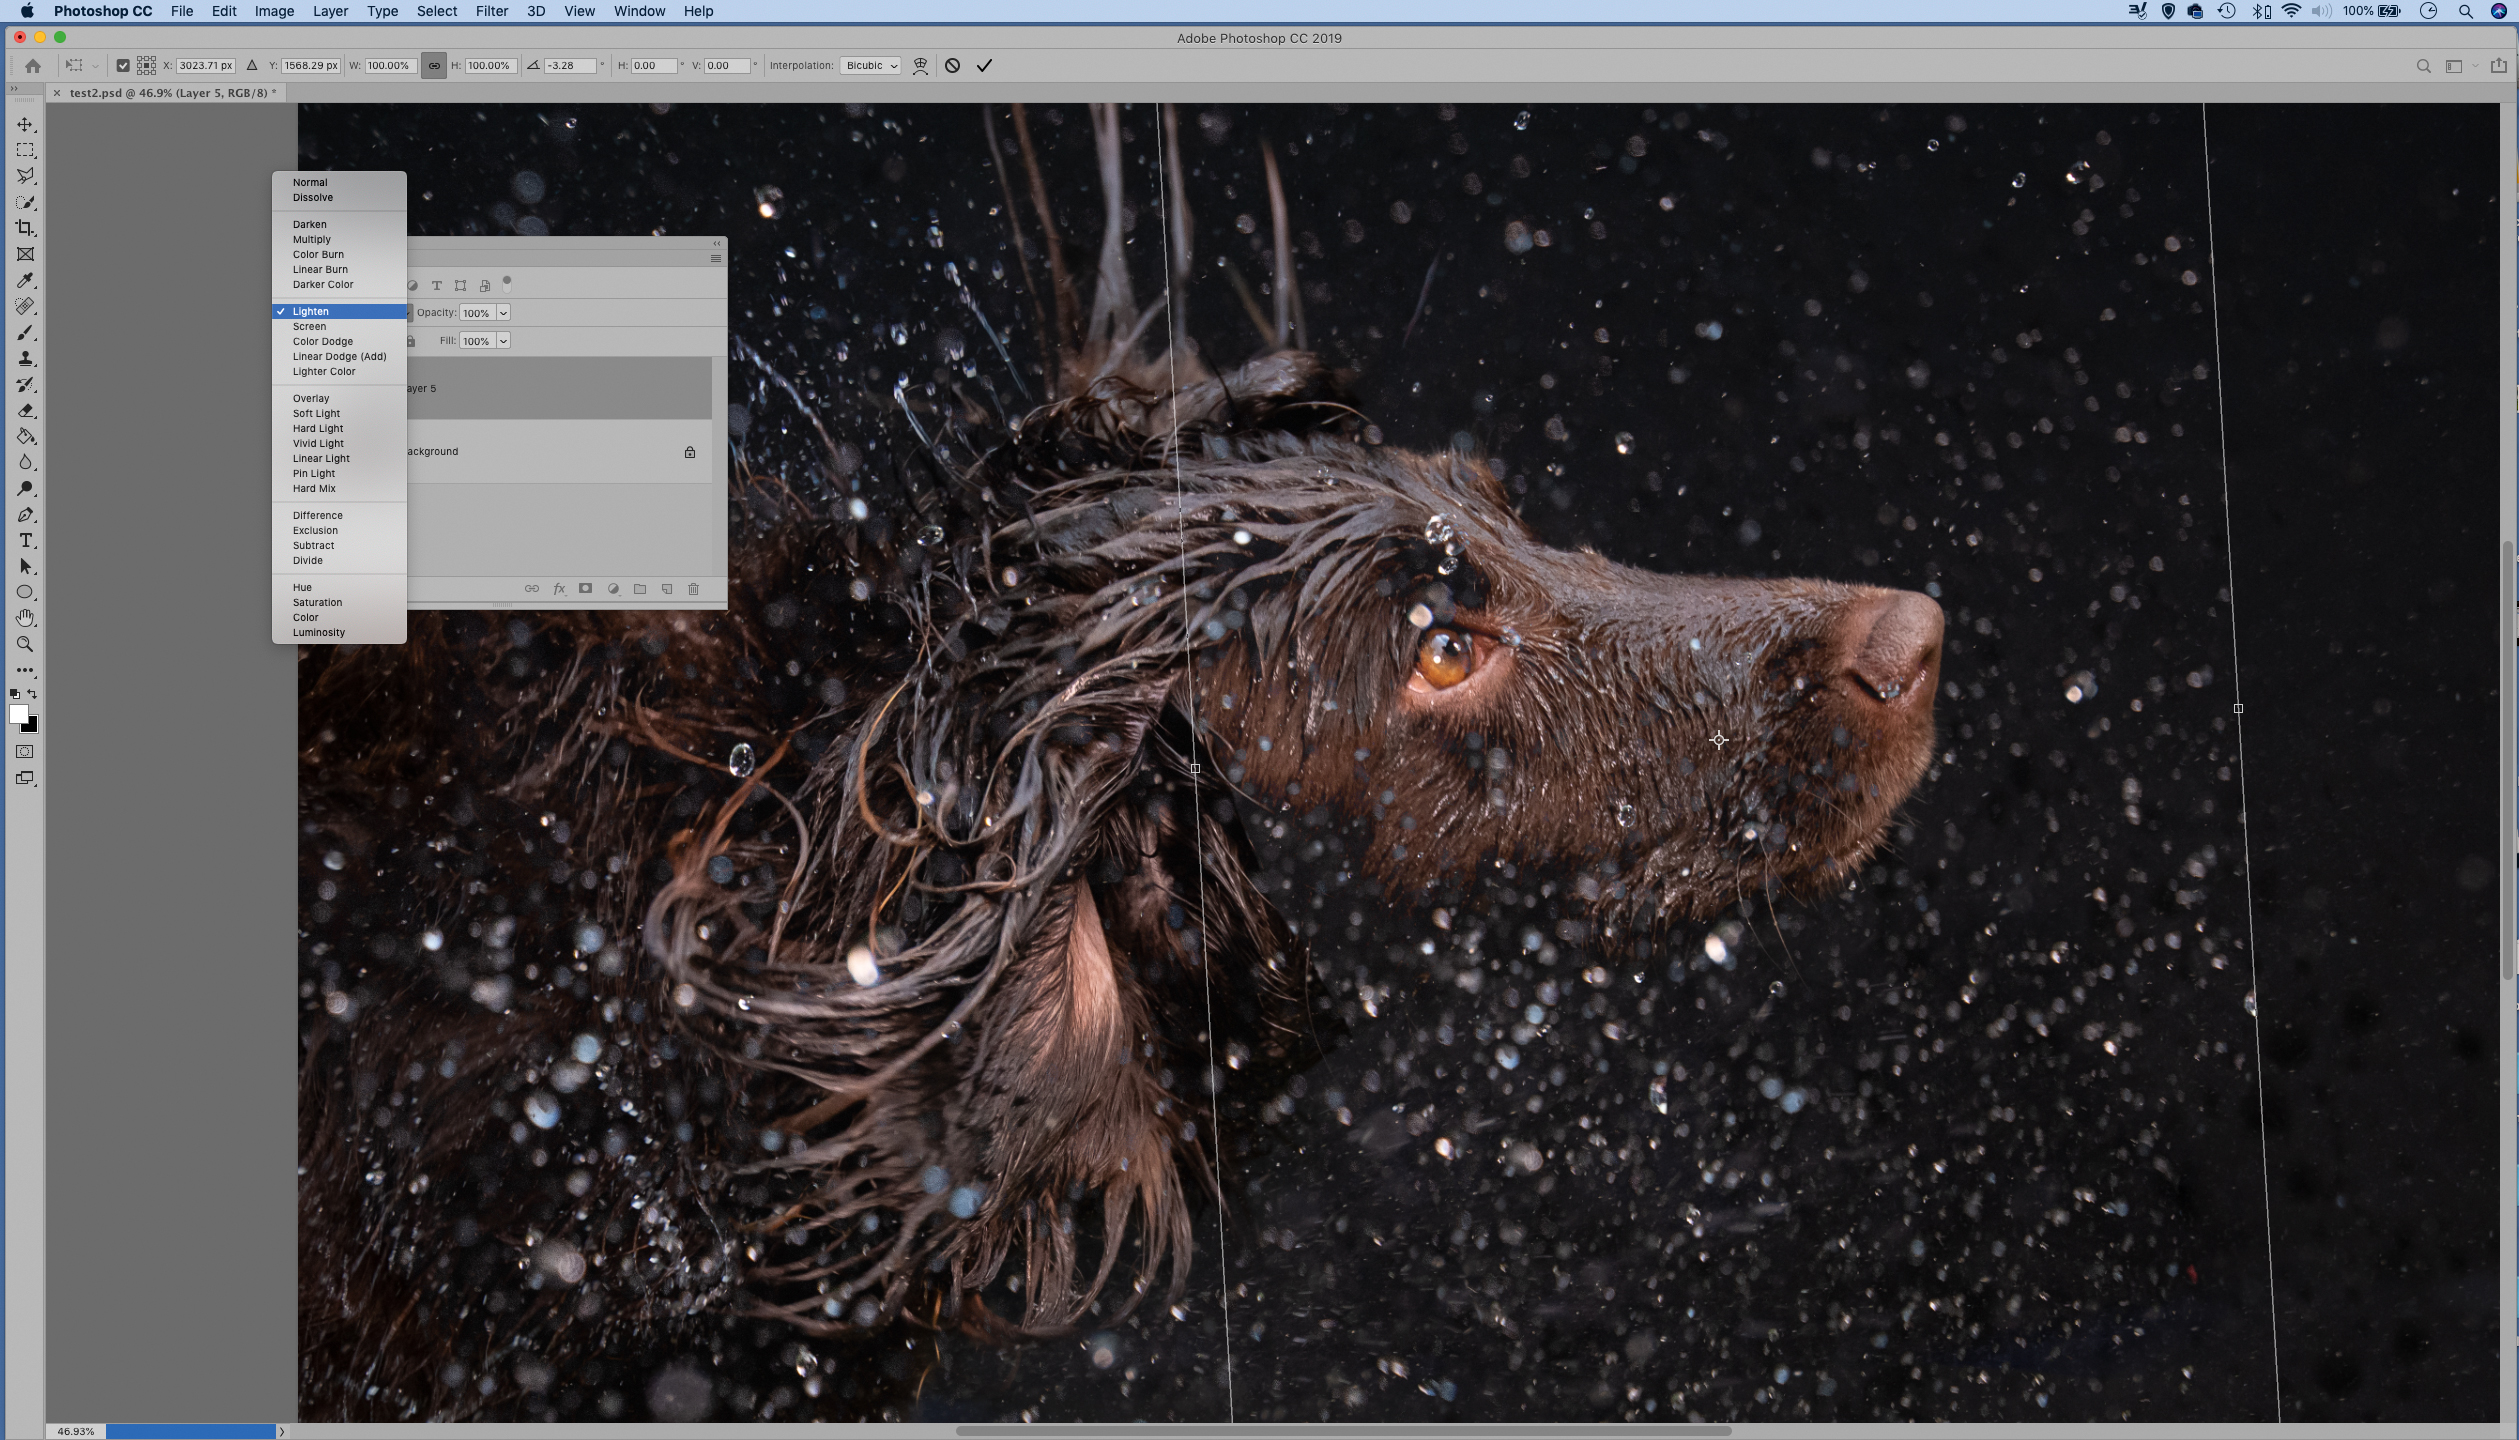
Hit Cmd / Ctrl + T to transform and move the drops where you want, then go to the Layers panel, click the Blend Mode drop-down and choose Lighten. Hit Cmd / Ctrl + L for Levels, then drag in the black point to fine-tune the blend.
N-Photo: The Nikon Magazine is a monthly publication that's entirely dedicated to Nikon users. For the best news, reviews, projects and more, subscribe to N-Photo today!
Read moreRead less▼
Read more:
Rotolight AEOS review
The best photography lighting kits: for studio, location and video
The best LED light panels: portable lighting for photography and video
The lead technique writer on Digital Camera Magazine, PhotoPlus: The Canon Magazine and N-Photo: The Nikon Magazine, James is a fantastic general practice photographer with an enviable array of skills across every genre of photography.
Whether it's flash photography techniques like stroboscopic portraits, astrophotography projects like photographing the Northern Lights, or turning sound into art by making paint dance on a set of speakers, James' tutorials and projects are as creative as they are enjoyable.
He's also a wizard at the dark arts of Photoshop, Lightroom and Affinity Photo, and is capable of some genuine black magic in the digital darkroom, making him one of the leading authorities on photo editing software and techniques.
