Fine-art nudes: four pro lighting set-ups
How to take control of lighting and posing to photograph captivating fine art images of the female form
From Brassai to Brandt, there’s a rich history of the fine art nude in photography. A nude shoot enables you to present the most celebrated form in the history of art – the female body – in any way you like, from a striking silhouette to an abstract array of simple lines and shapes.
However, there are fine lines between fine art, erotica, and porn. So how do we go about creating art from a naked body? We’ll explore several ways to approach the subject, with an emphasis on form, shape and light rather than titillation; think understated rather than X-rated.
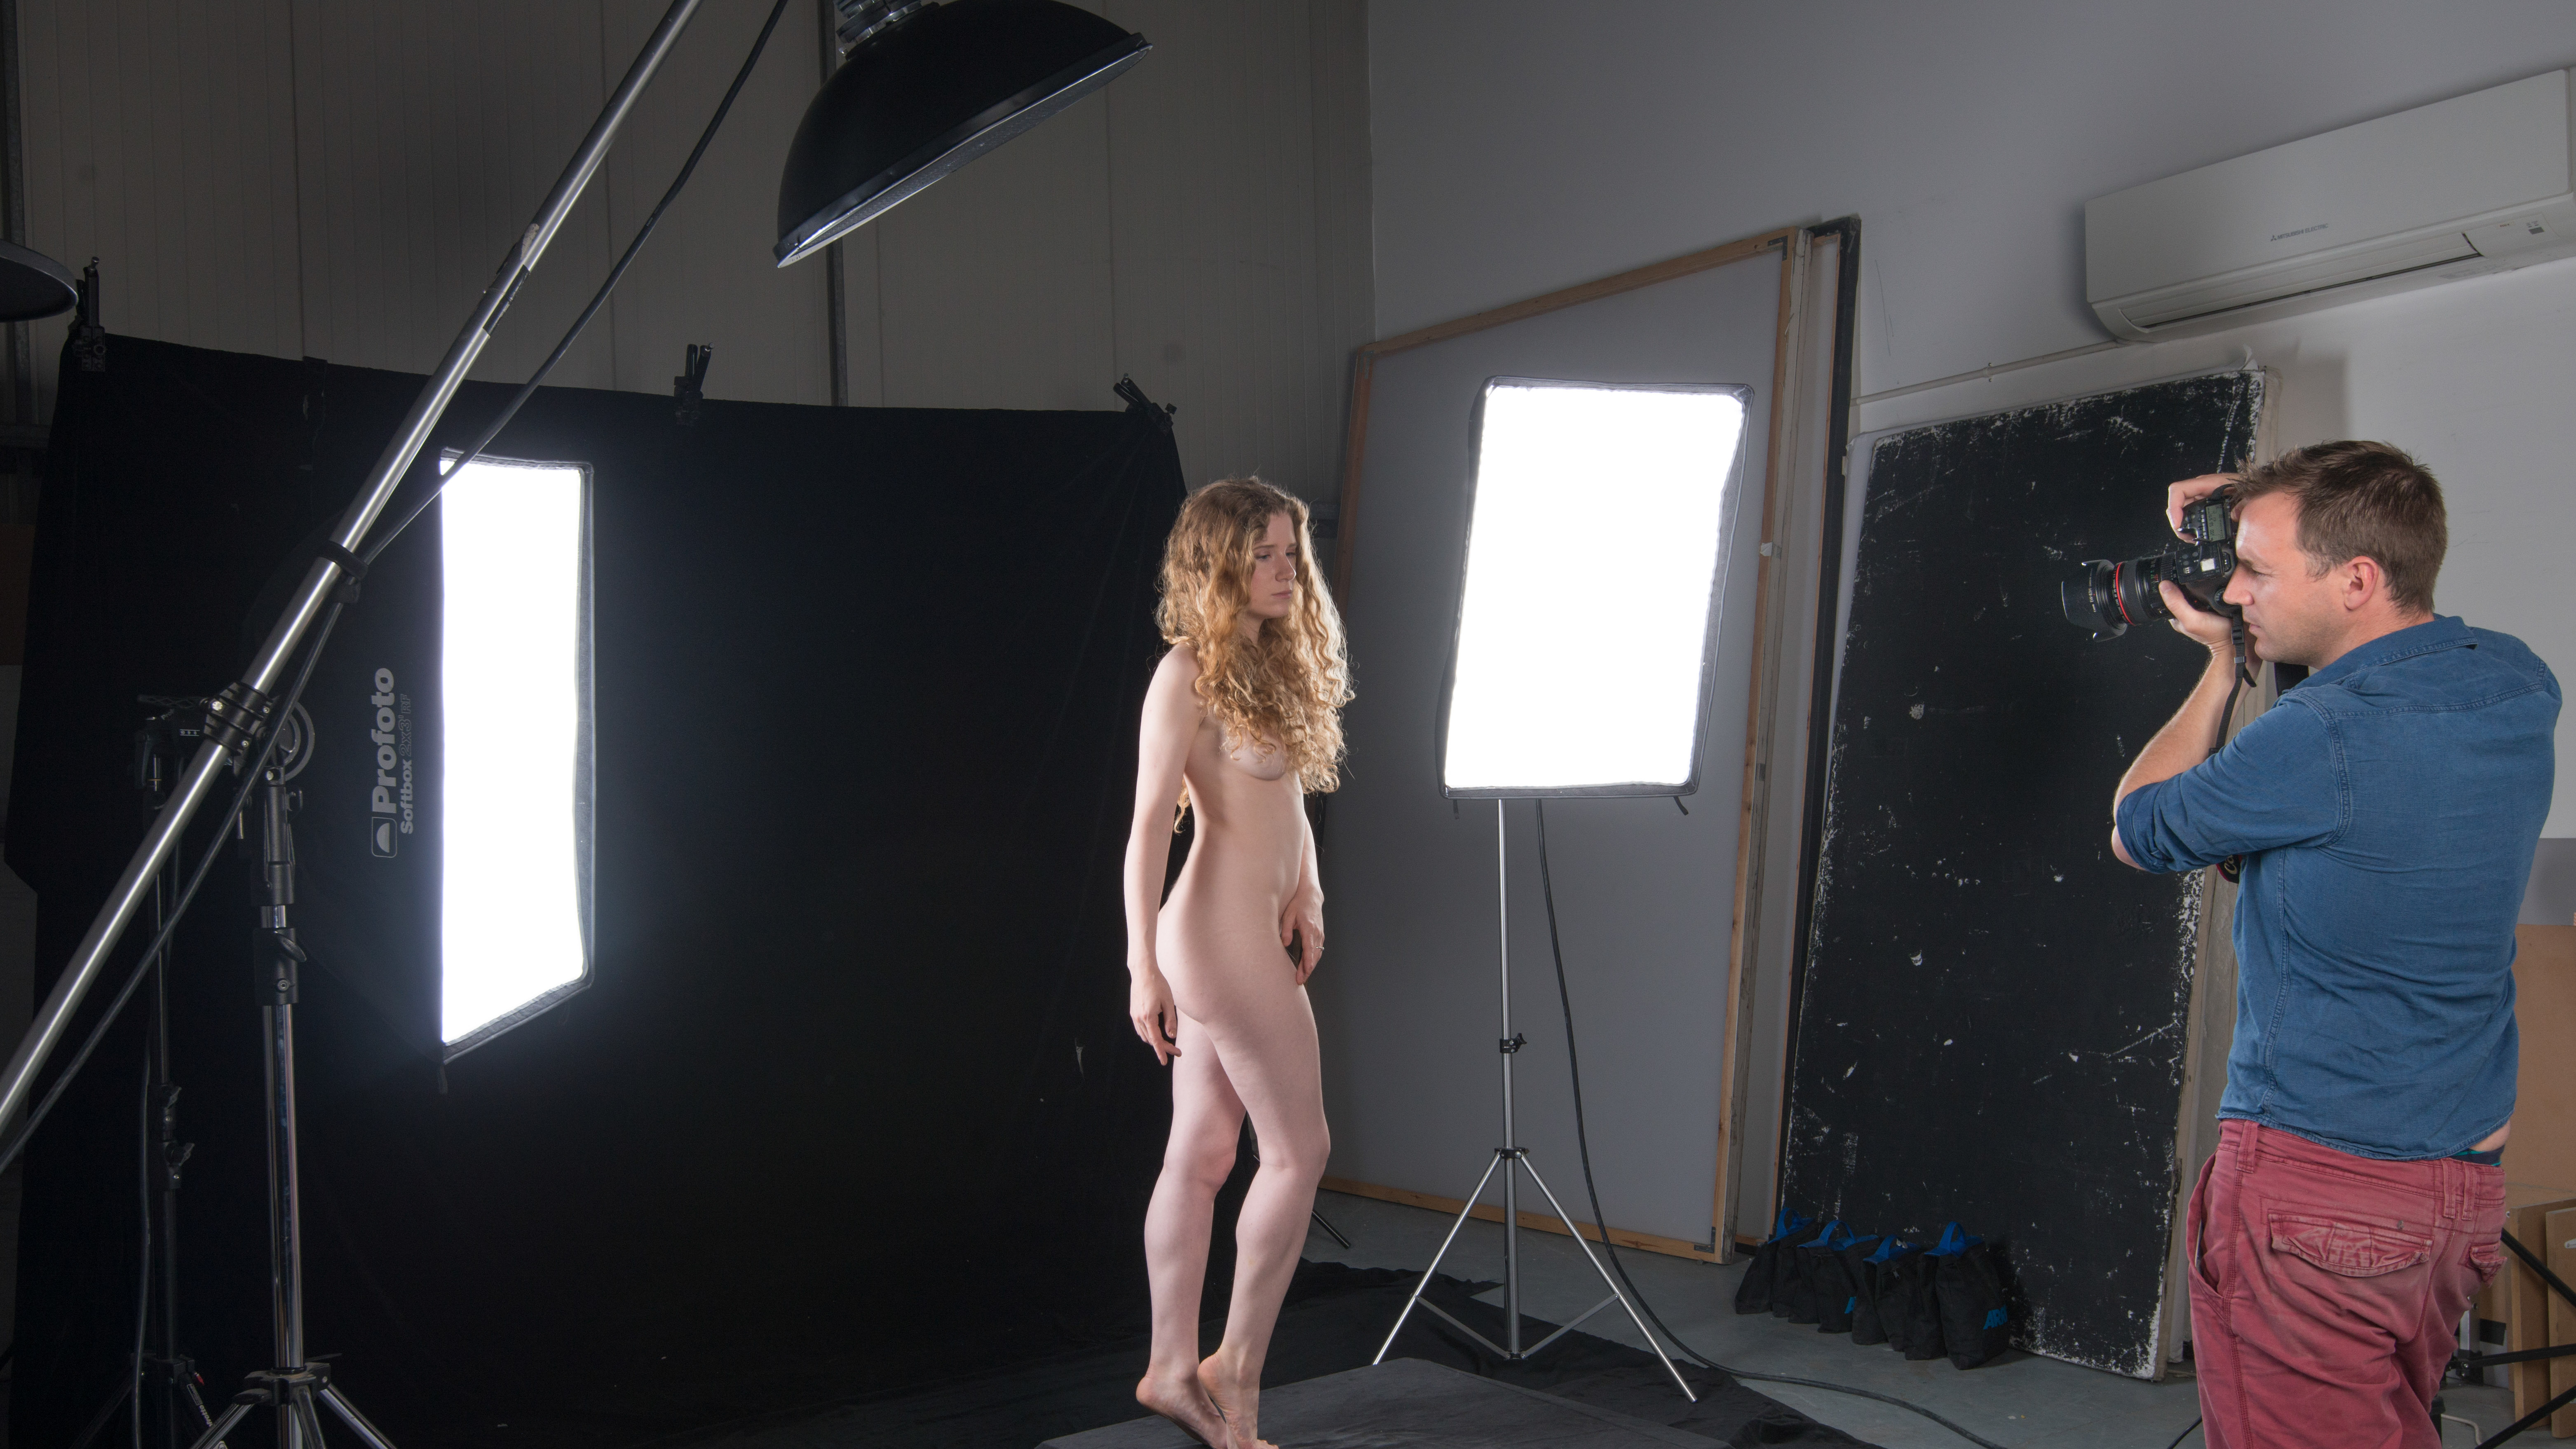
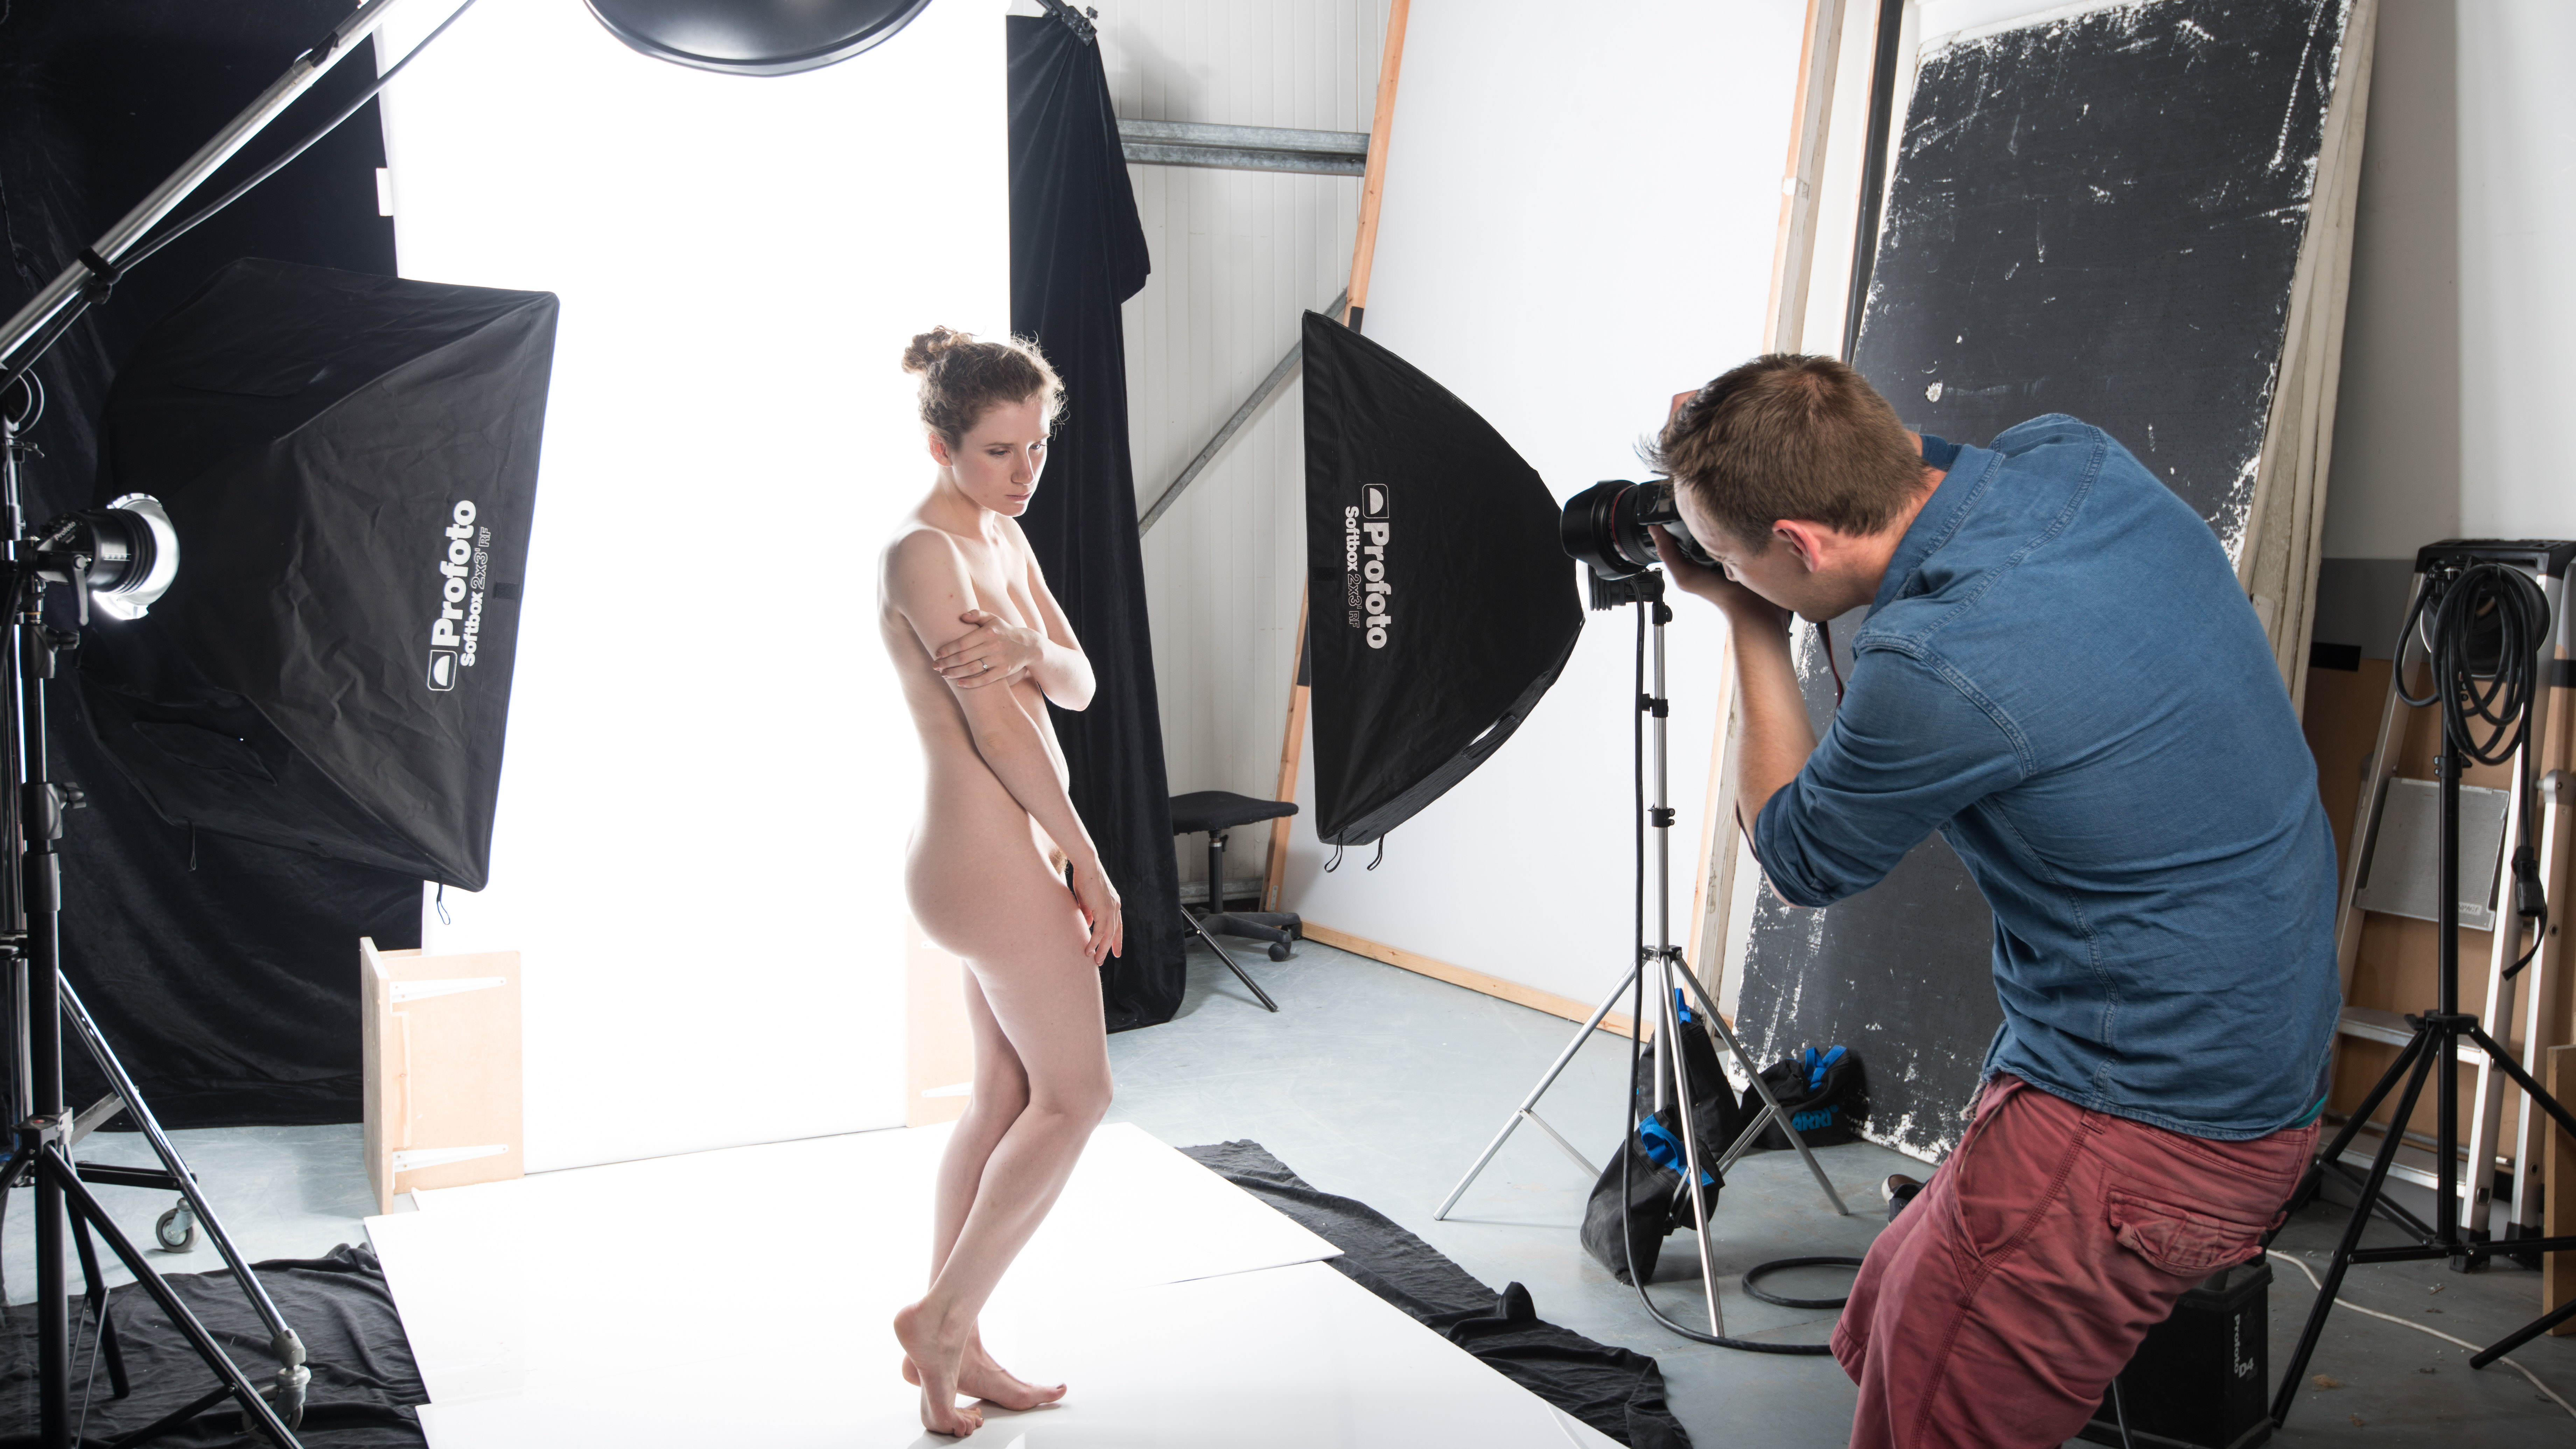
Studio lights are a must, but you don’t necessarily need a full studio setup for a shoot like this. Most of our shots were taken with two softboxes, of the kind you’ll find in the best softbox lighting kits.
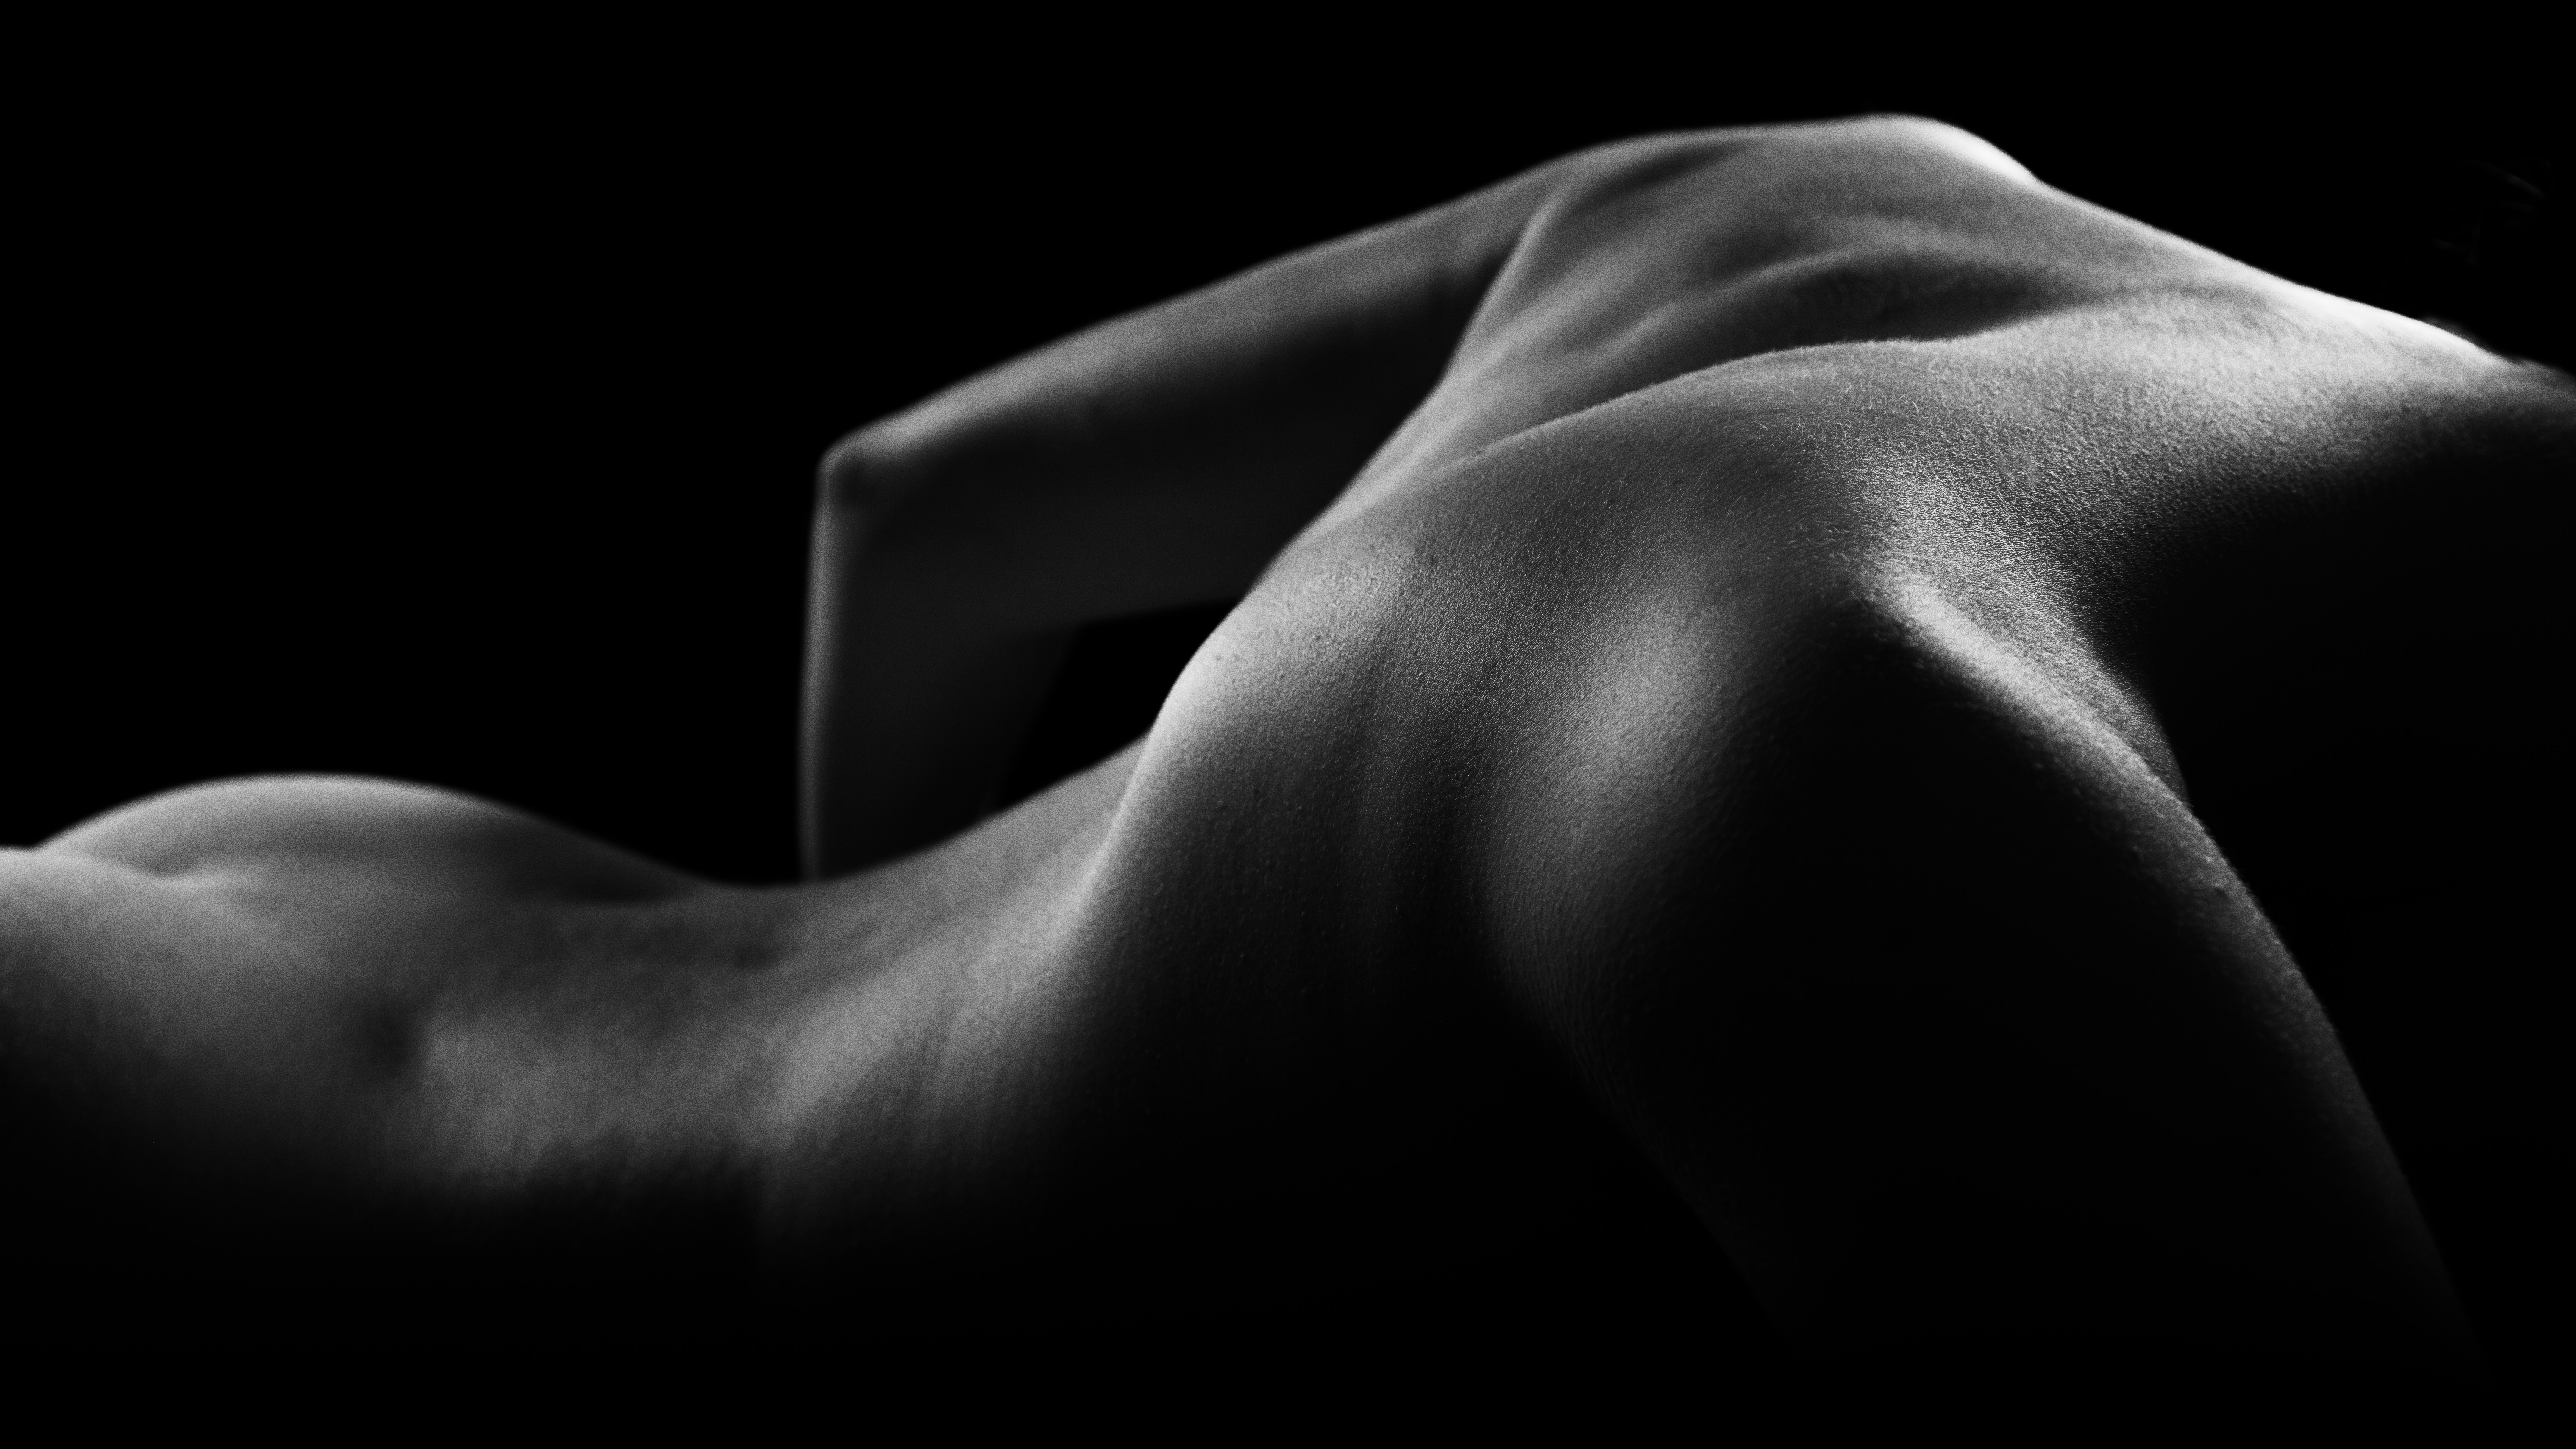
We’ll look at a few different setups, but for our first setup, the aim is to shoot an abstract nude. By excluding obvious features like the face, and concentrating instead on the shapes, shadows and highlights of the torso, we can transform the body into a form that looks almost like a landscape.
Set-up 1: Low-key edge lighting
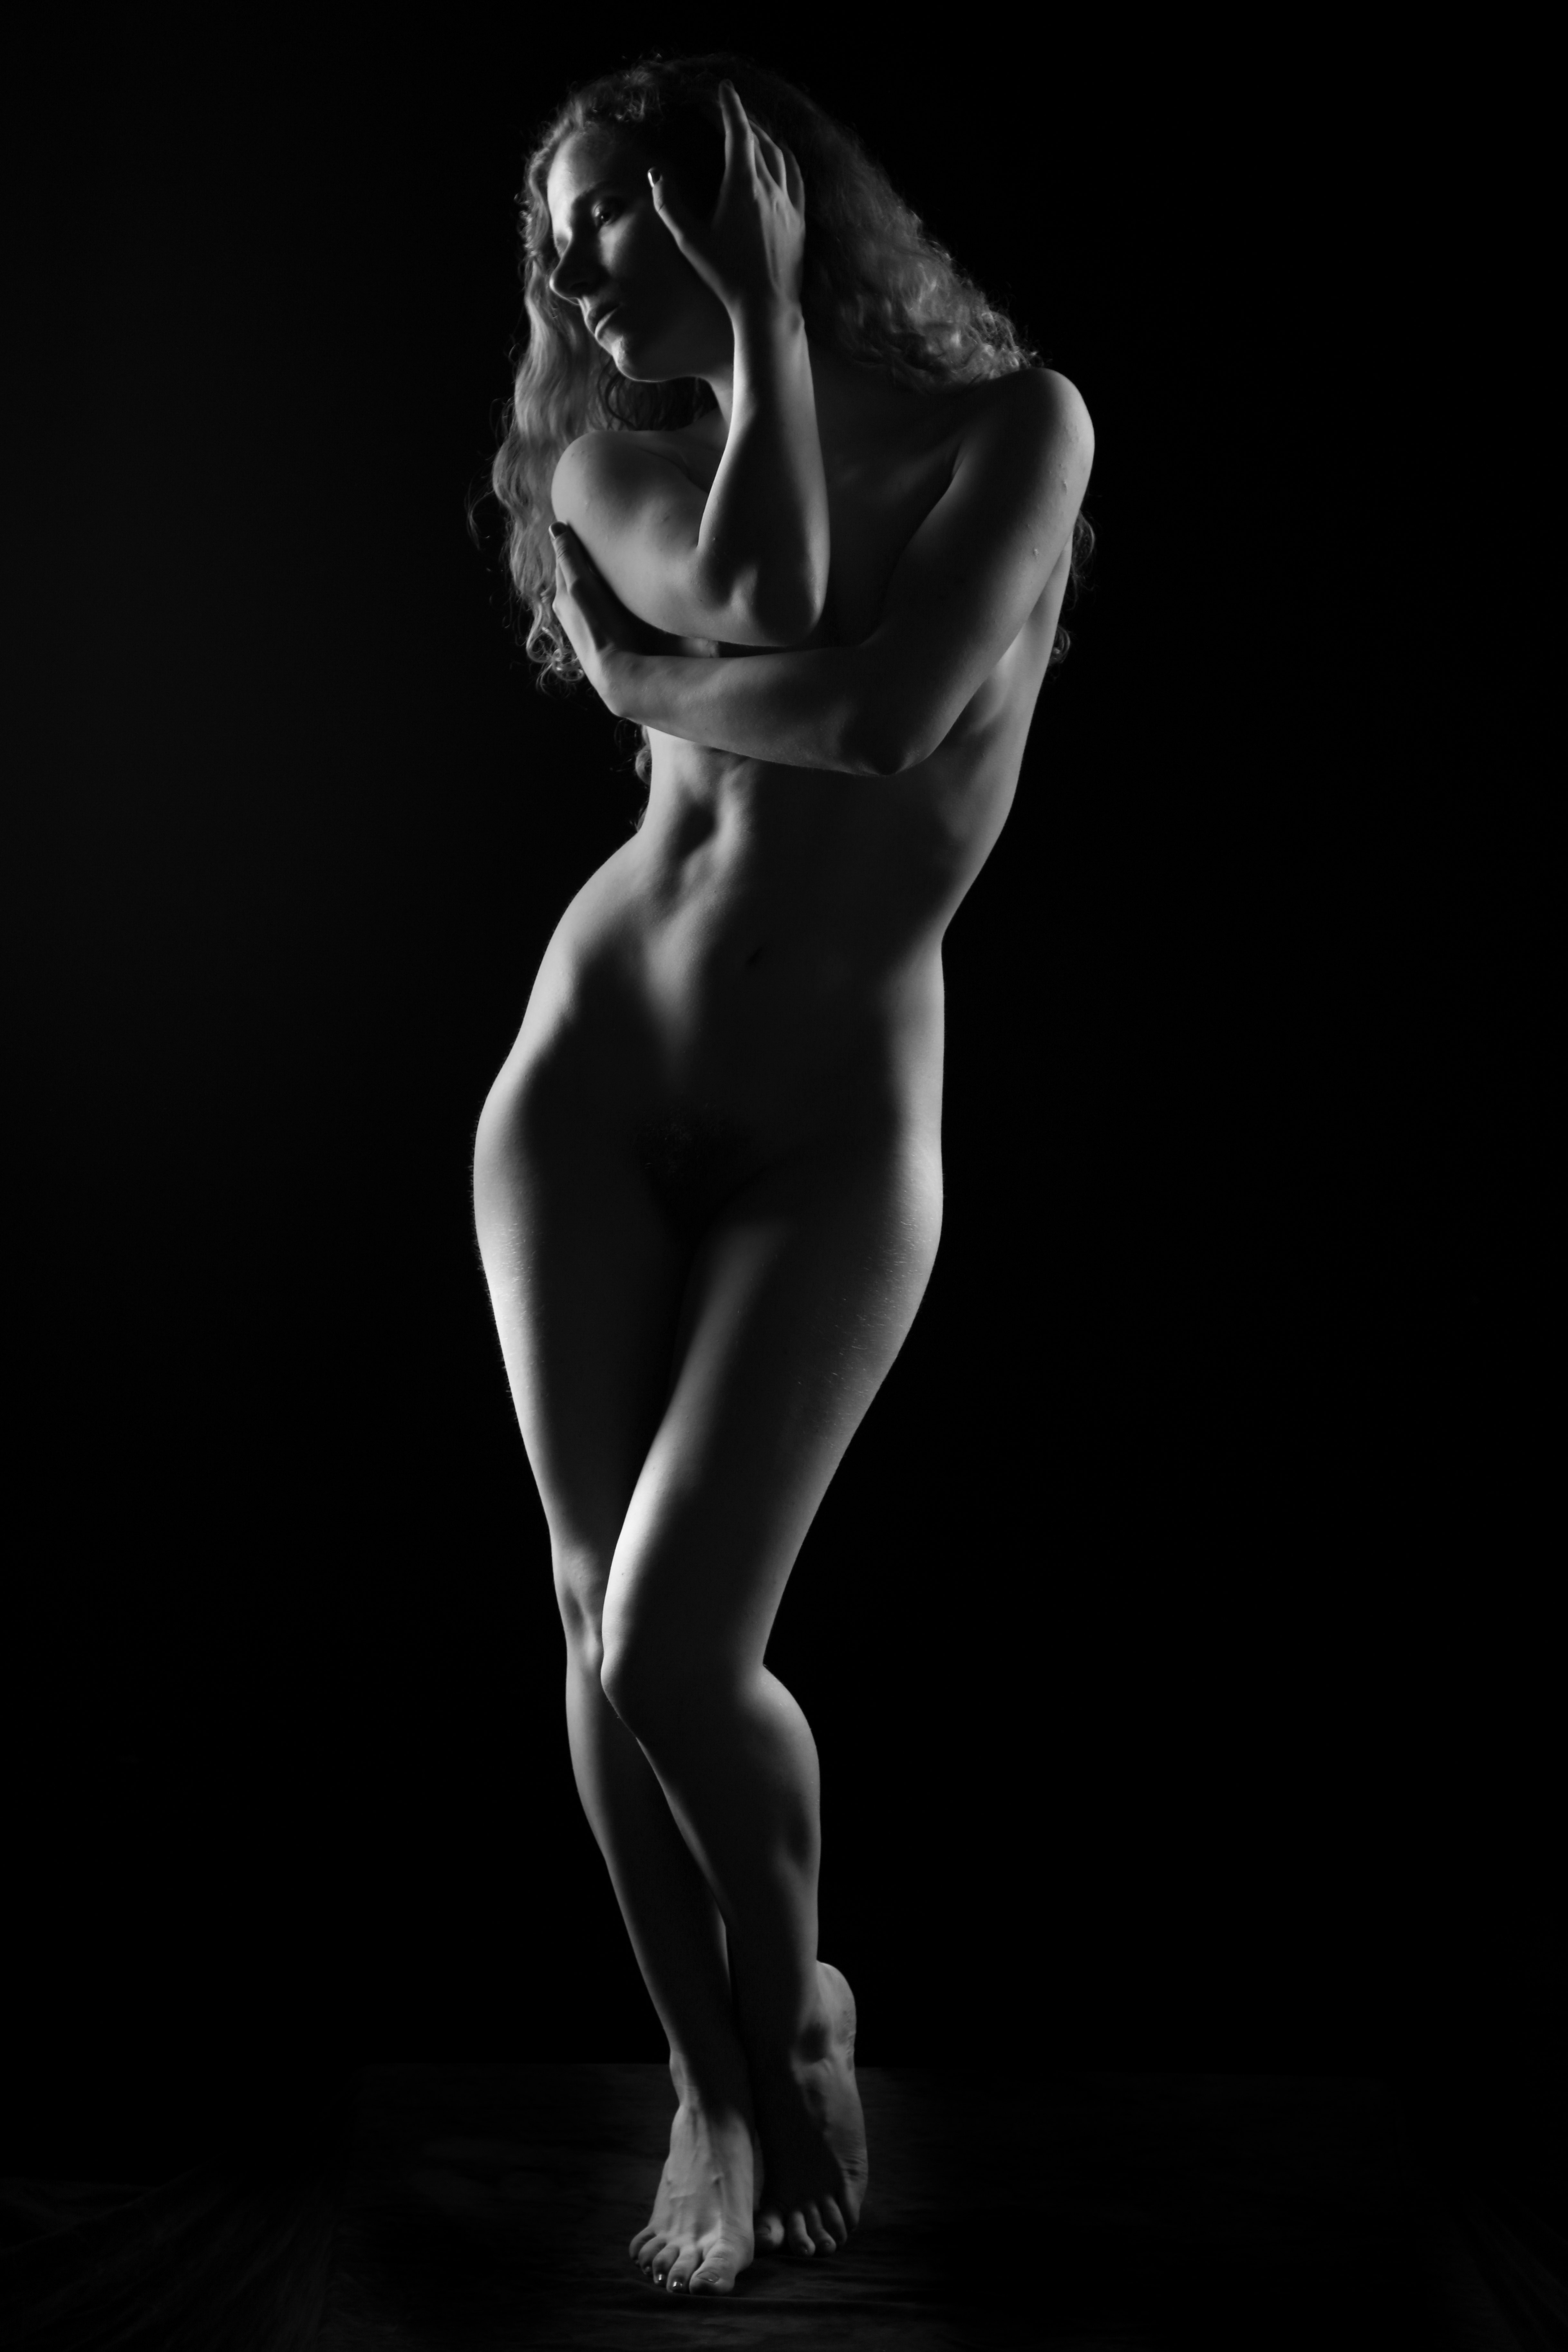
Keep your subject in the dark for atmospheric results
For a moody low-key look, keep the frontal illumination to a minimum. Positioning the lights to the side and slightly behind the model will light the edges of the figure and plunge the front into darkness, enabling you to create bright highlights along the edges of the body.
Posing the body in an hourglass shape creates attractive gentle curves, from the feet slightly apart to the closed, overlapping knees up to the hips, waist and shoulders, and eventually to the face. Having the head tilted to one side like this will allow the side lighting to hit the profile of the face and accentuate the features.
Kit needed: Black background, two softboxes and an optional top light
Exposure: 1/200 sec, f/7.1, ISO100
The best camera deals, reviews, product advice, and unmissable photography news, direct to your inbox!
Set-up 2: Wide-angle distortion
Elongate your subject’s limbs
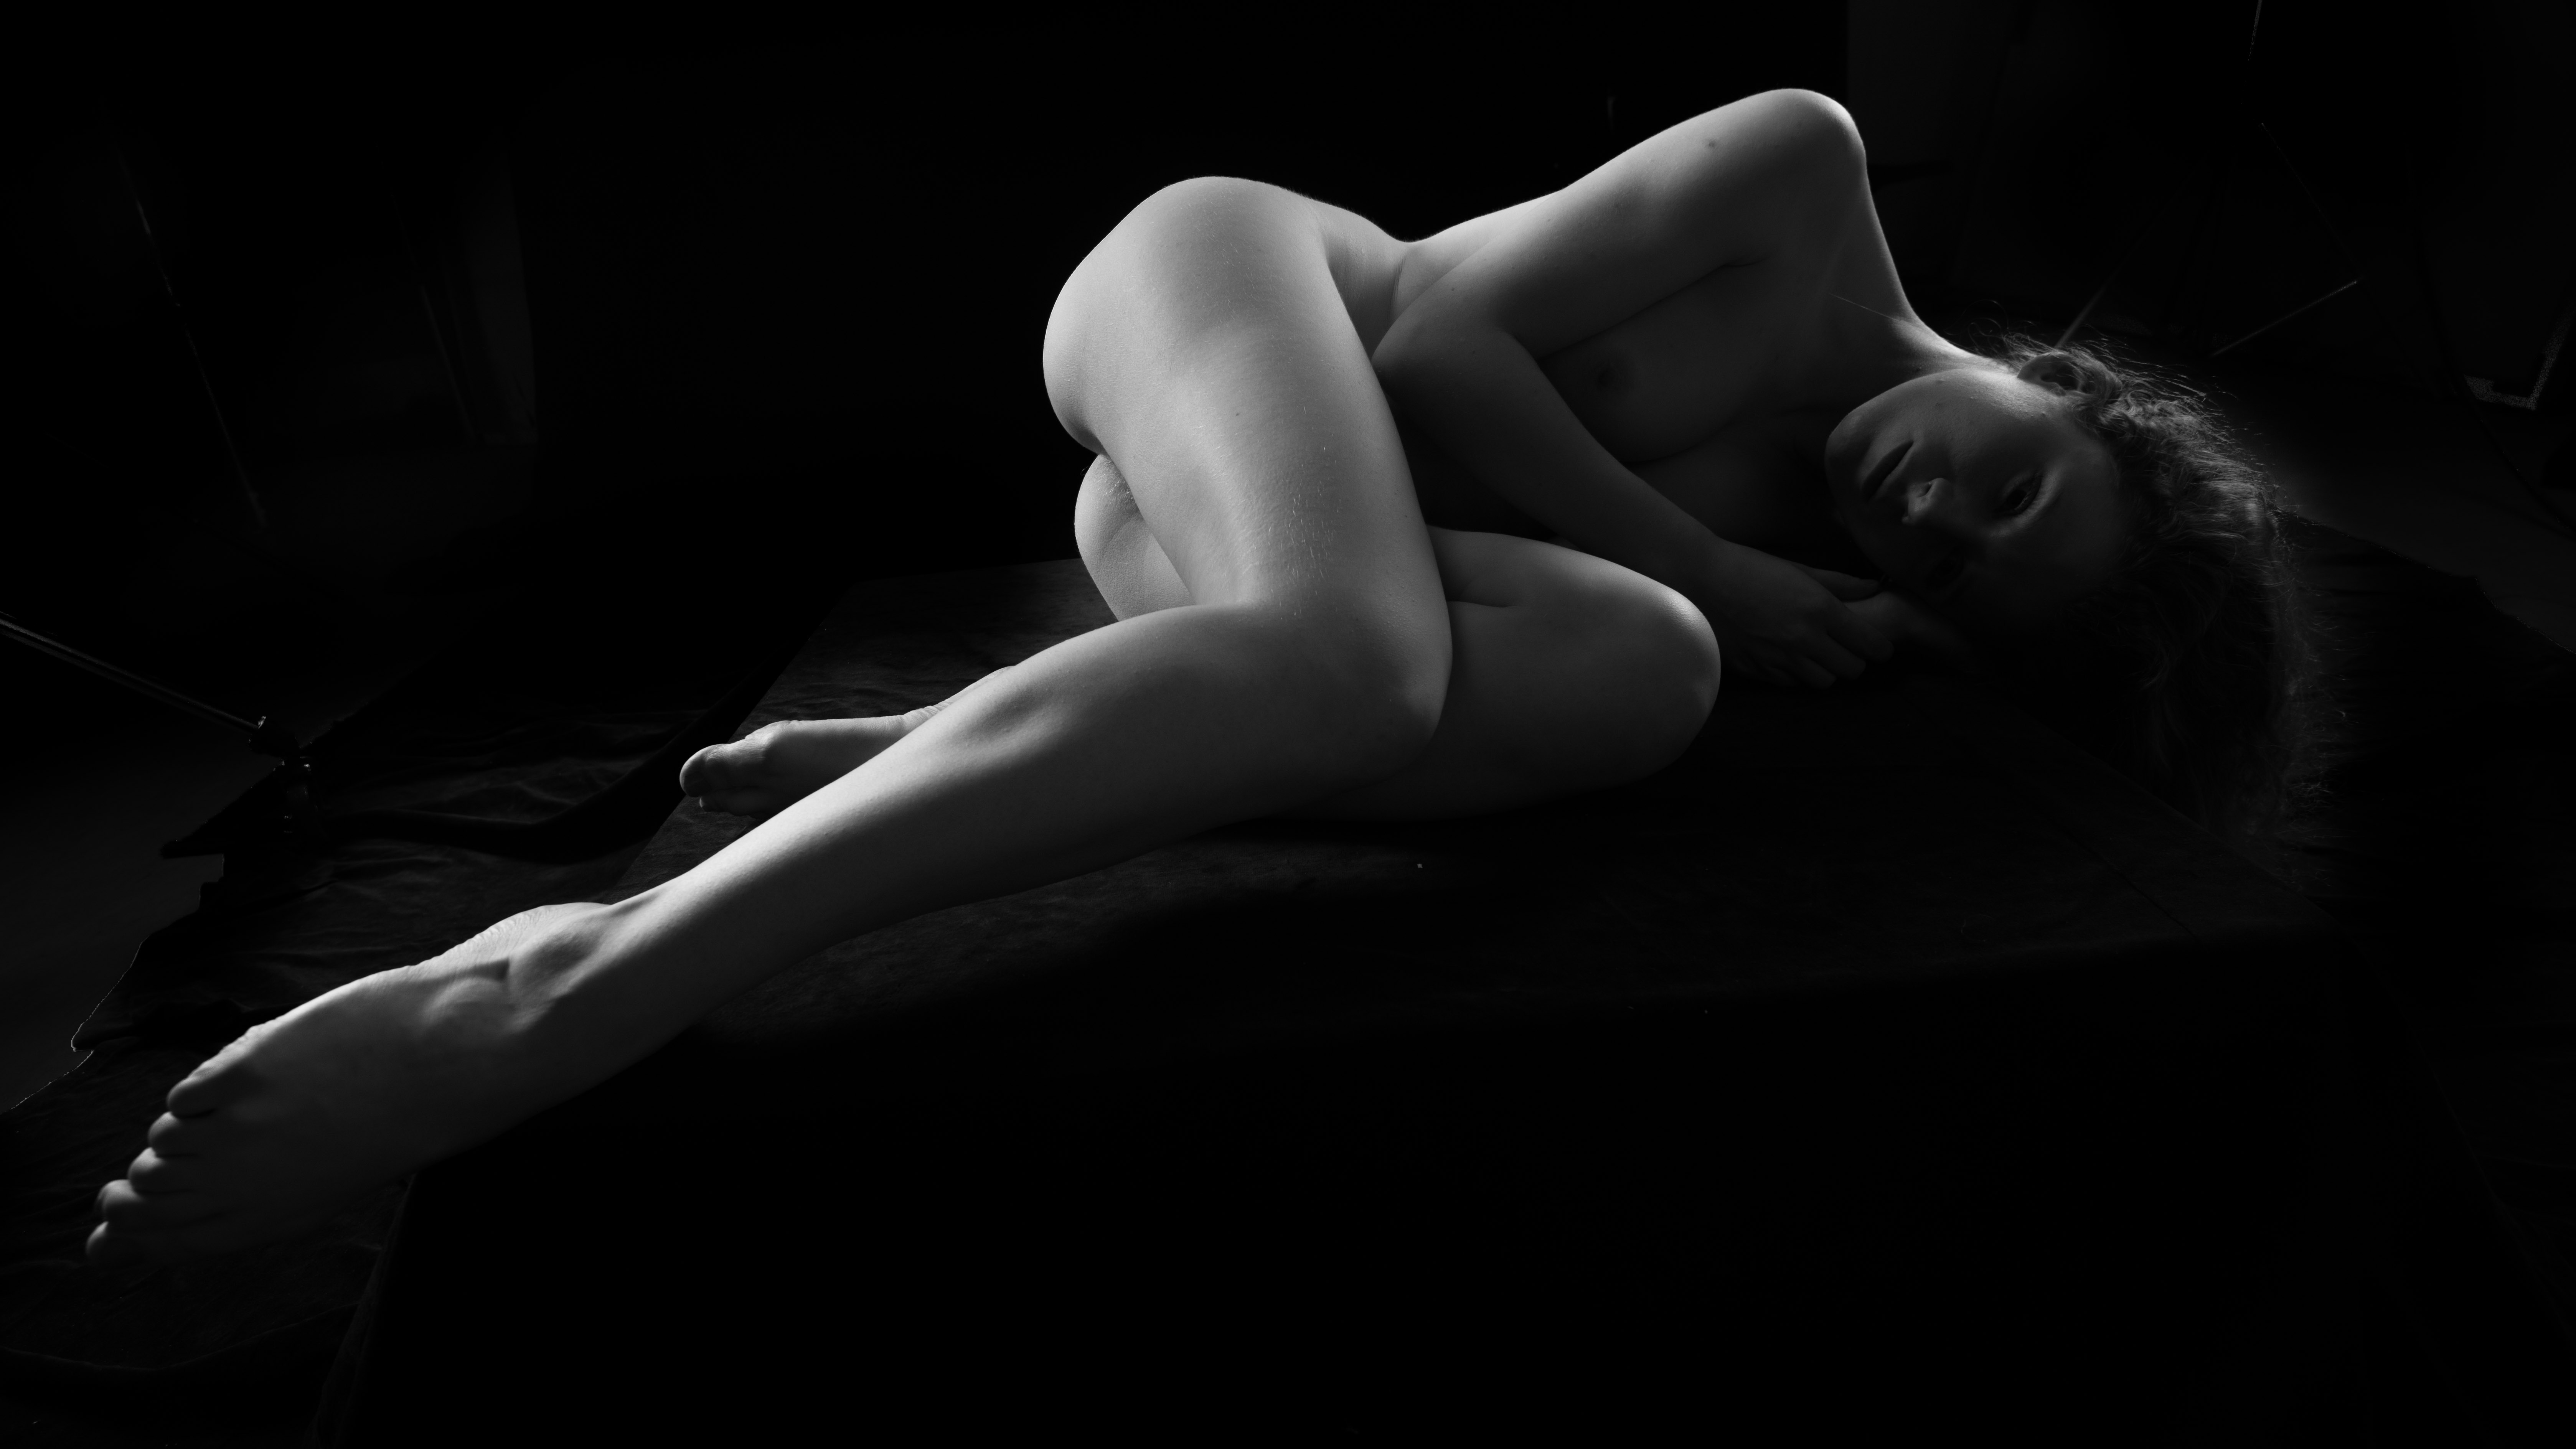
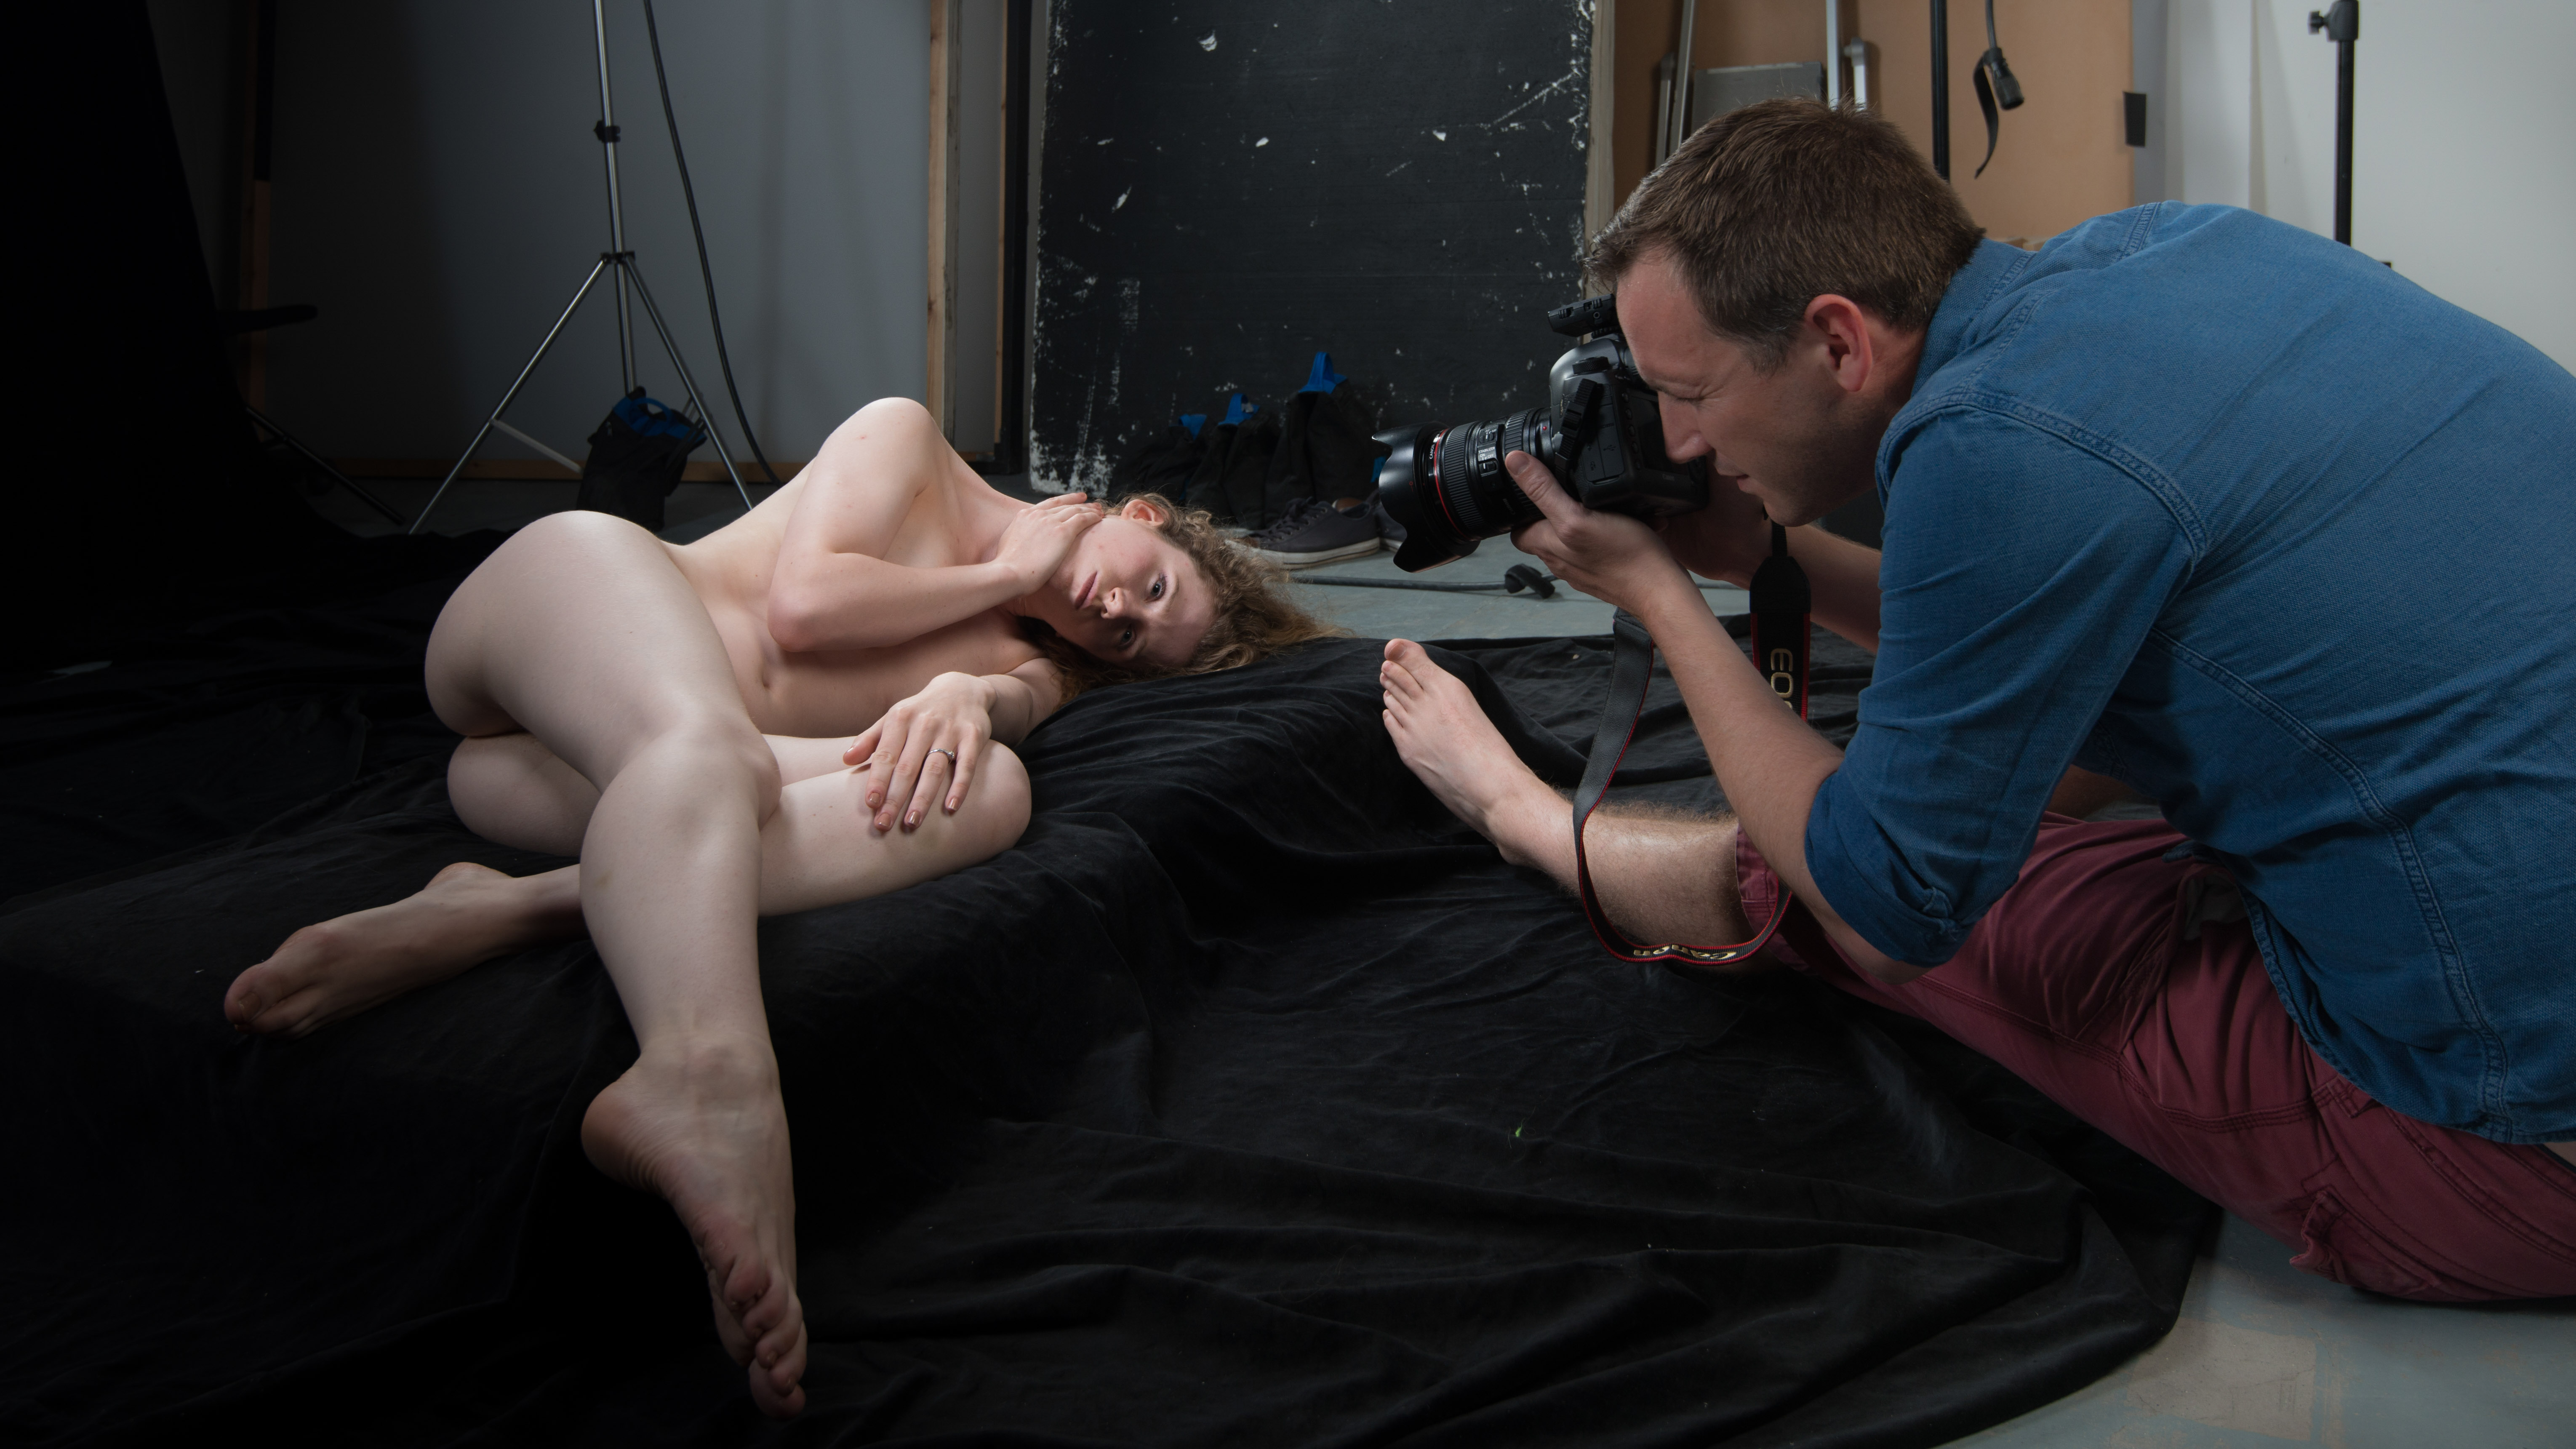
A wide-angle lens creates distortion, which is usually something to avoid on a portrait shoot. But for nudes, distortion can add to the drama of the shot by exaggerating and elongating parts of the body that are closer to the camera, like the legs here.
You’ll need to get in quite close to the subject and focus precisely, as the closer you are the more limited the depth of field. You may find with a wide-angle lens that the backdrop isn’t big enough to reach the edges of the frame, but with a black backdrop it’s easy to fill these in later using Photoshop’s brush tool.
Kit needed: Wide-angle lens
Exposure: 1/200 sec, f/5.6, ISO100
Set-up 3: High-key backlight
Turn your model into a silhouette
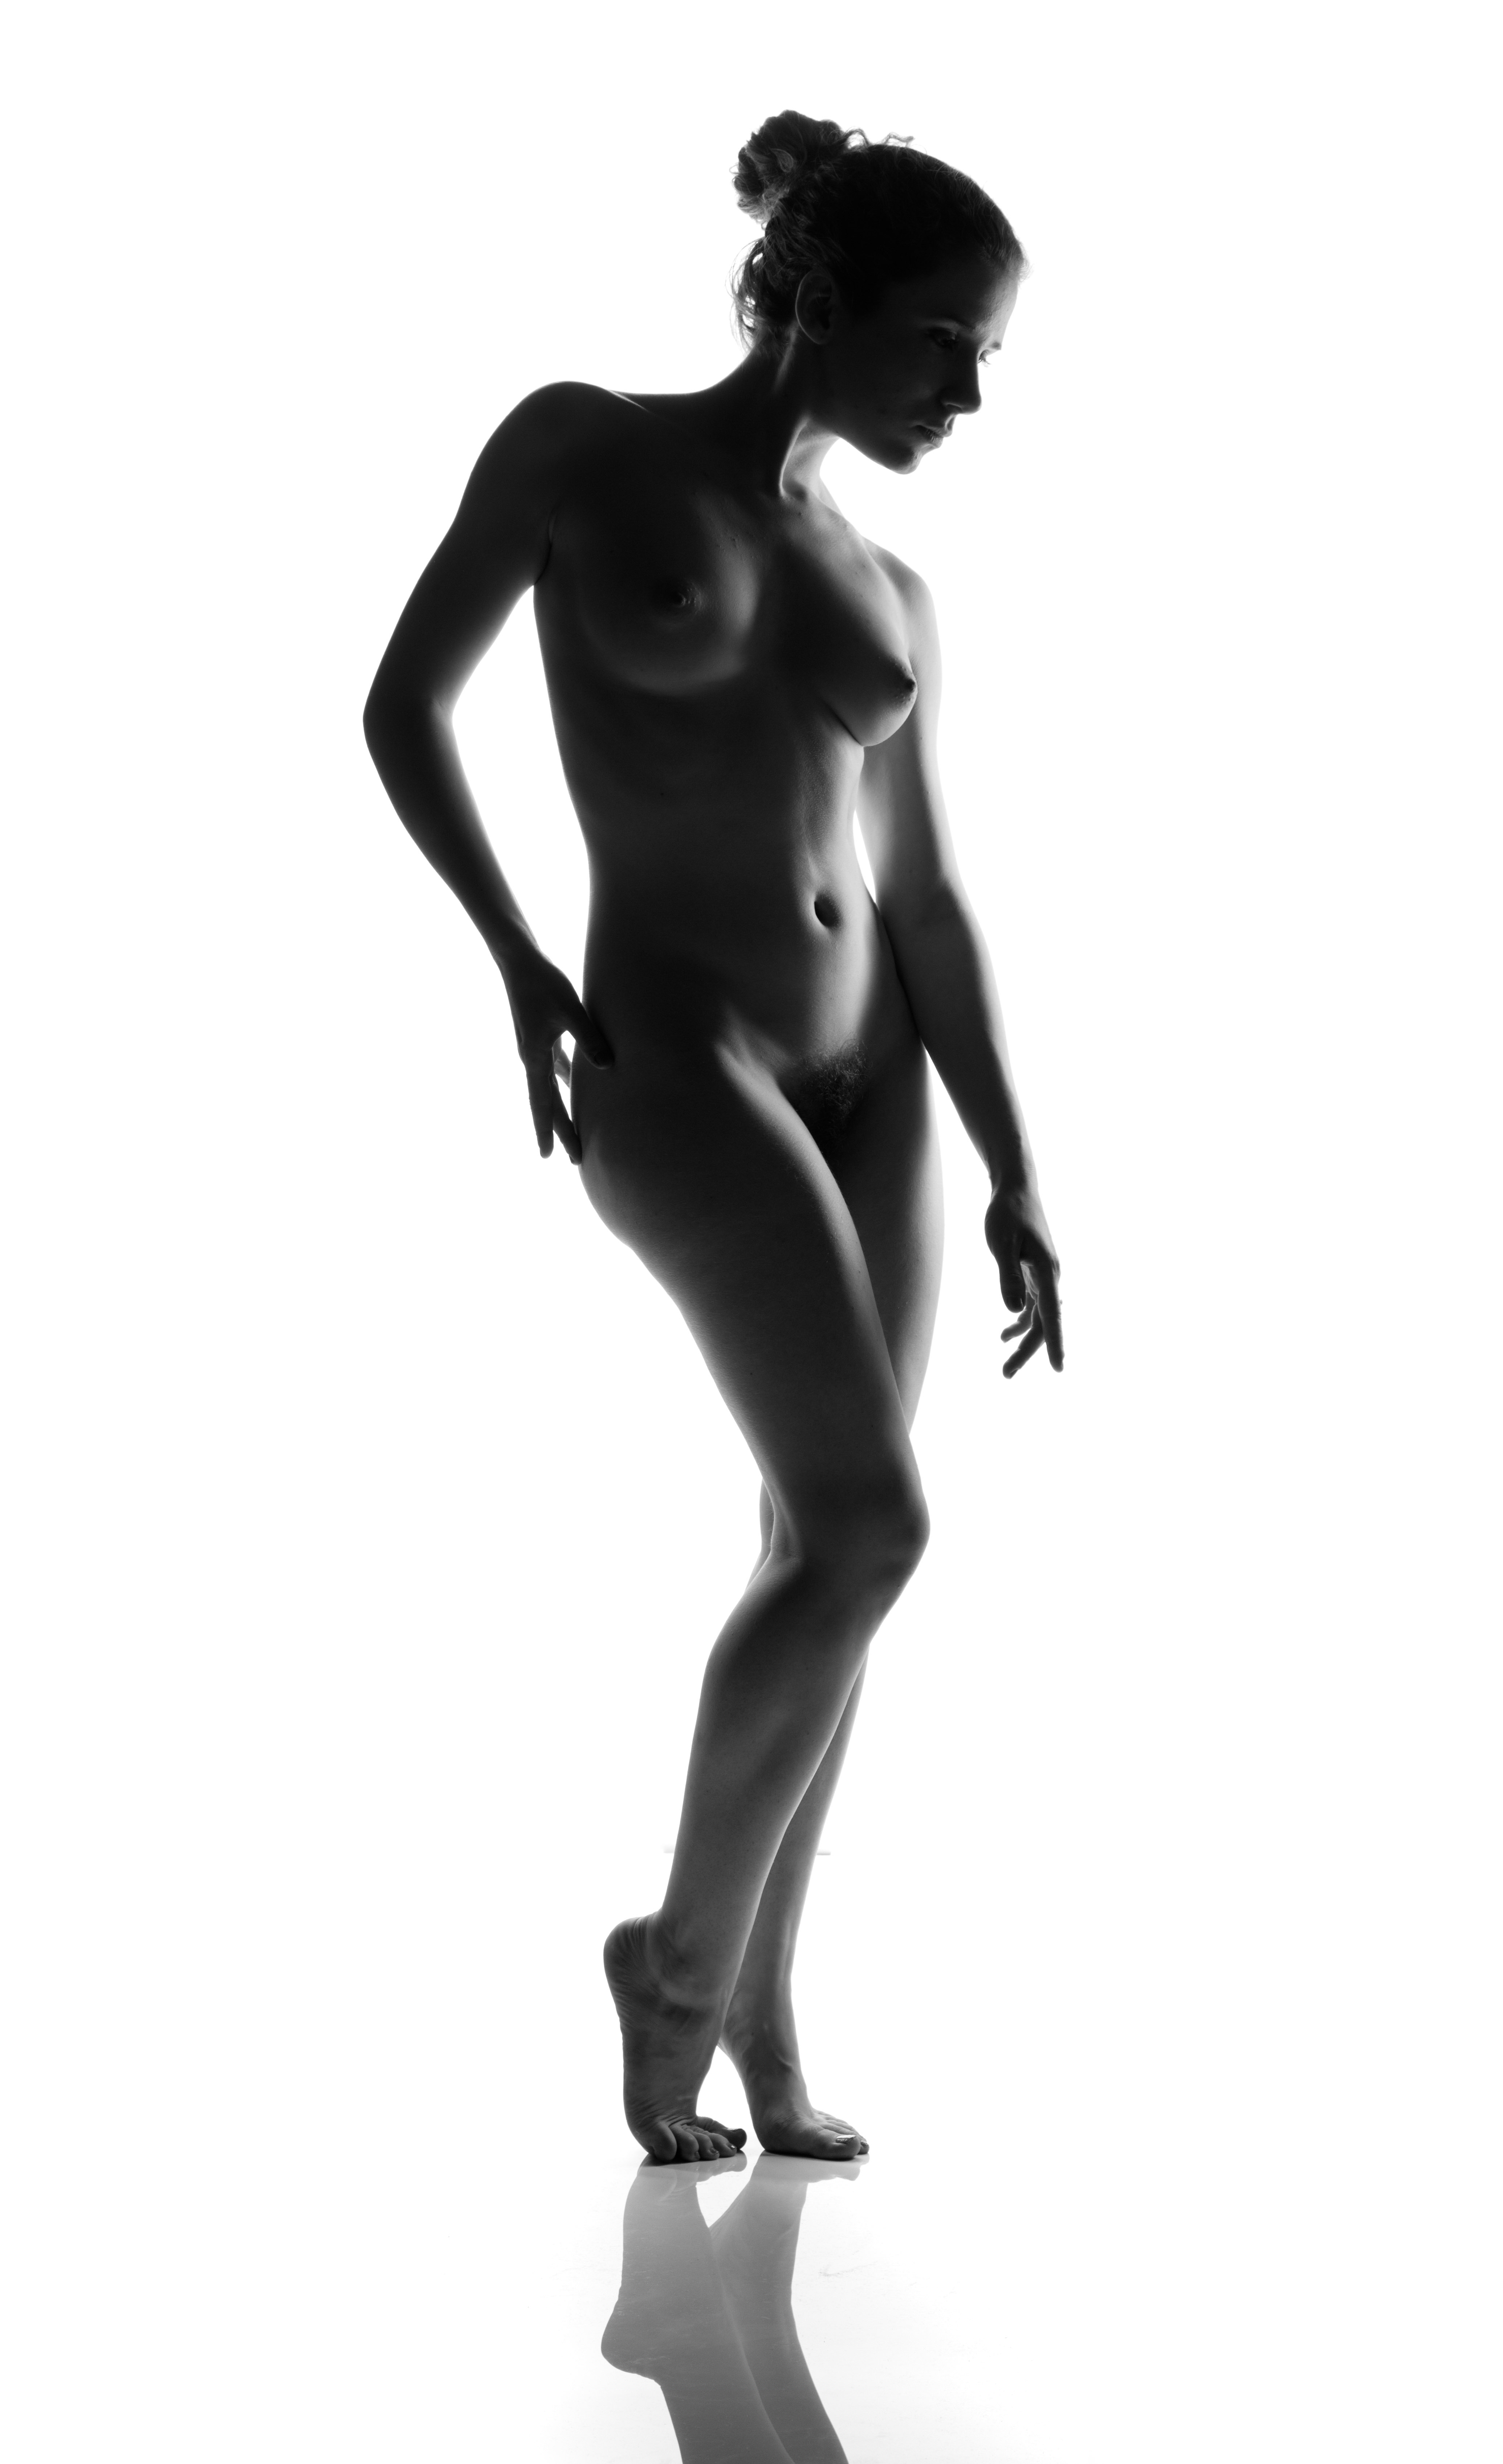
For a high-key setup that turns your subject into a silhouette, use a white background and direct your lights at this rather than the subject – here we used two softboxes either side of the background, and a top light. Angle the softboxes slightly inwards so that light spills onto the edges of the subject.
The body shape is important, so ask your model to angle their hips out and hold their arms away from the sides of the body. A sheet of white Perspex on the floor will capture a reflection that helps to ground the subject.
Kit needed: White background board
Exposure: 1/200 sec, f/7.1, ISO100
Set-up 4: Mirror effect
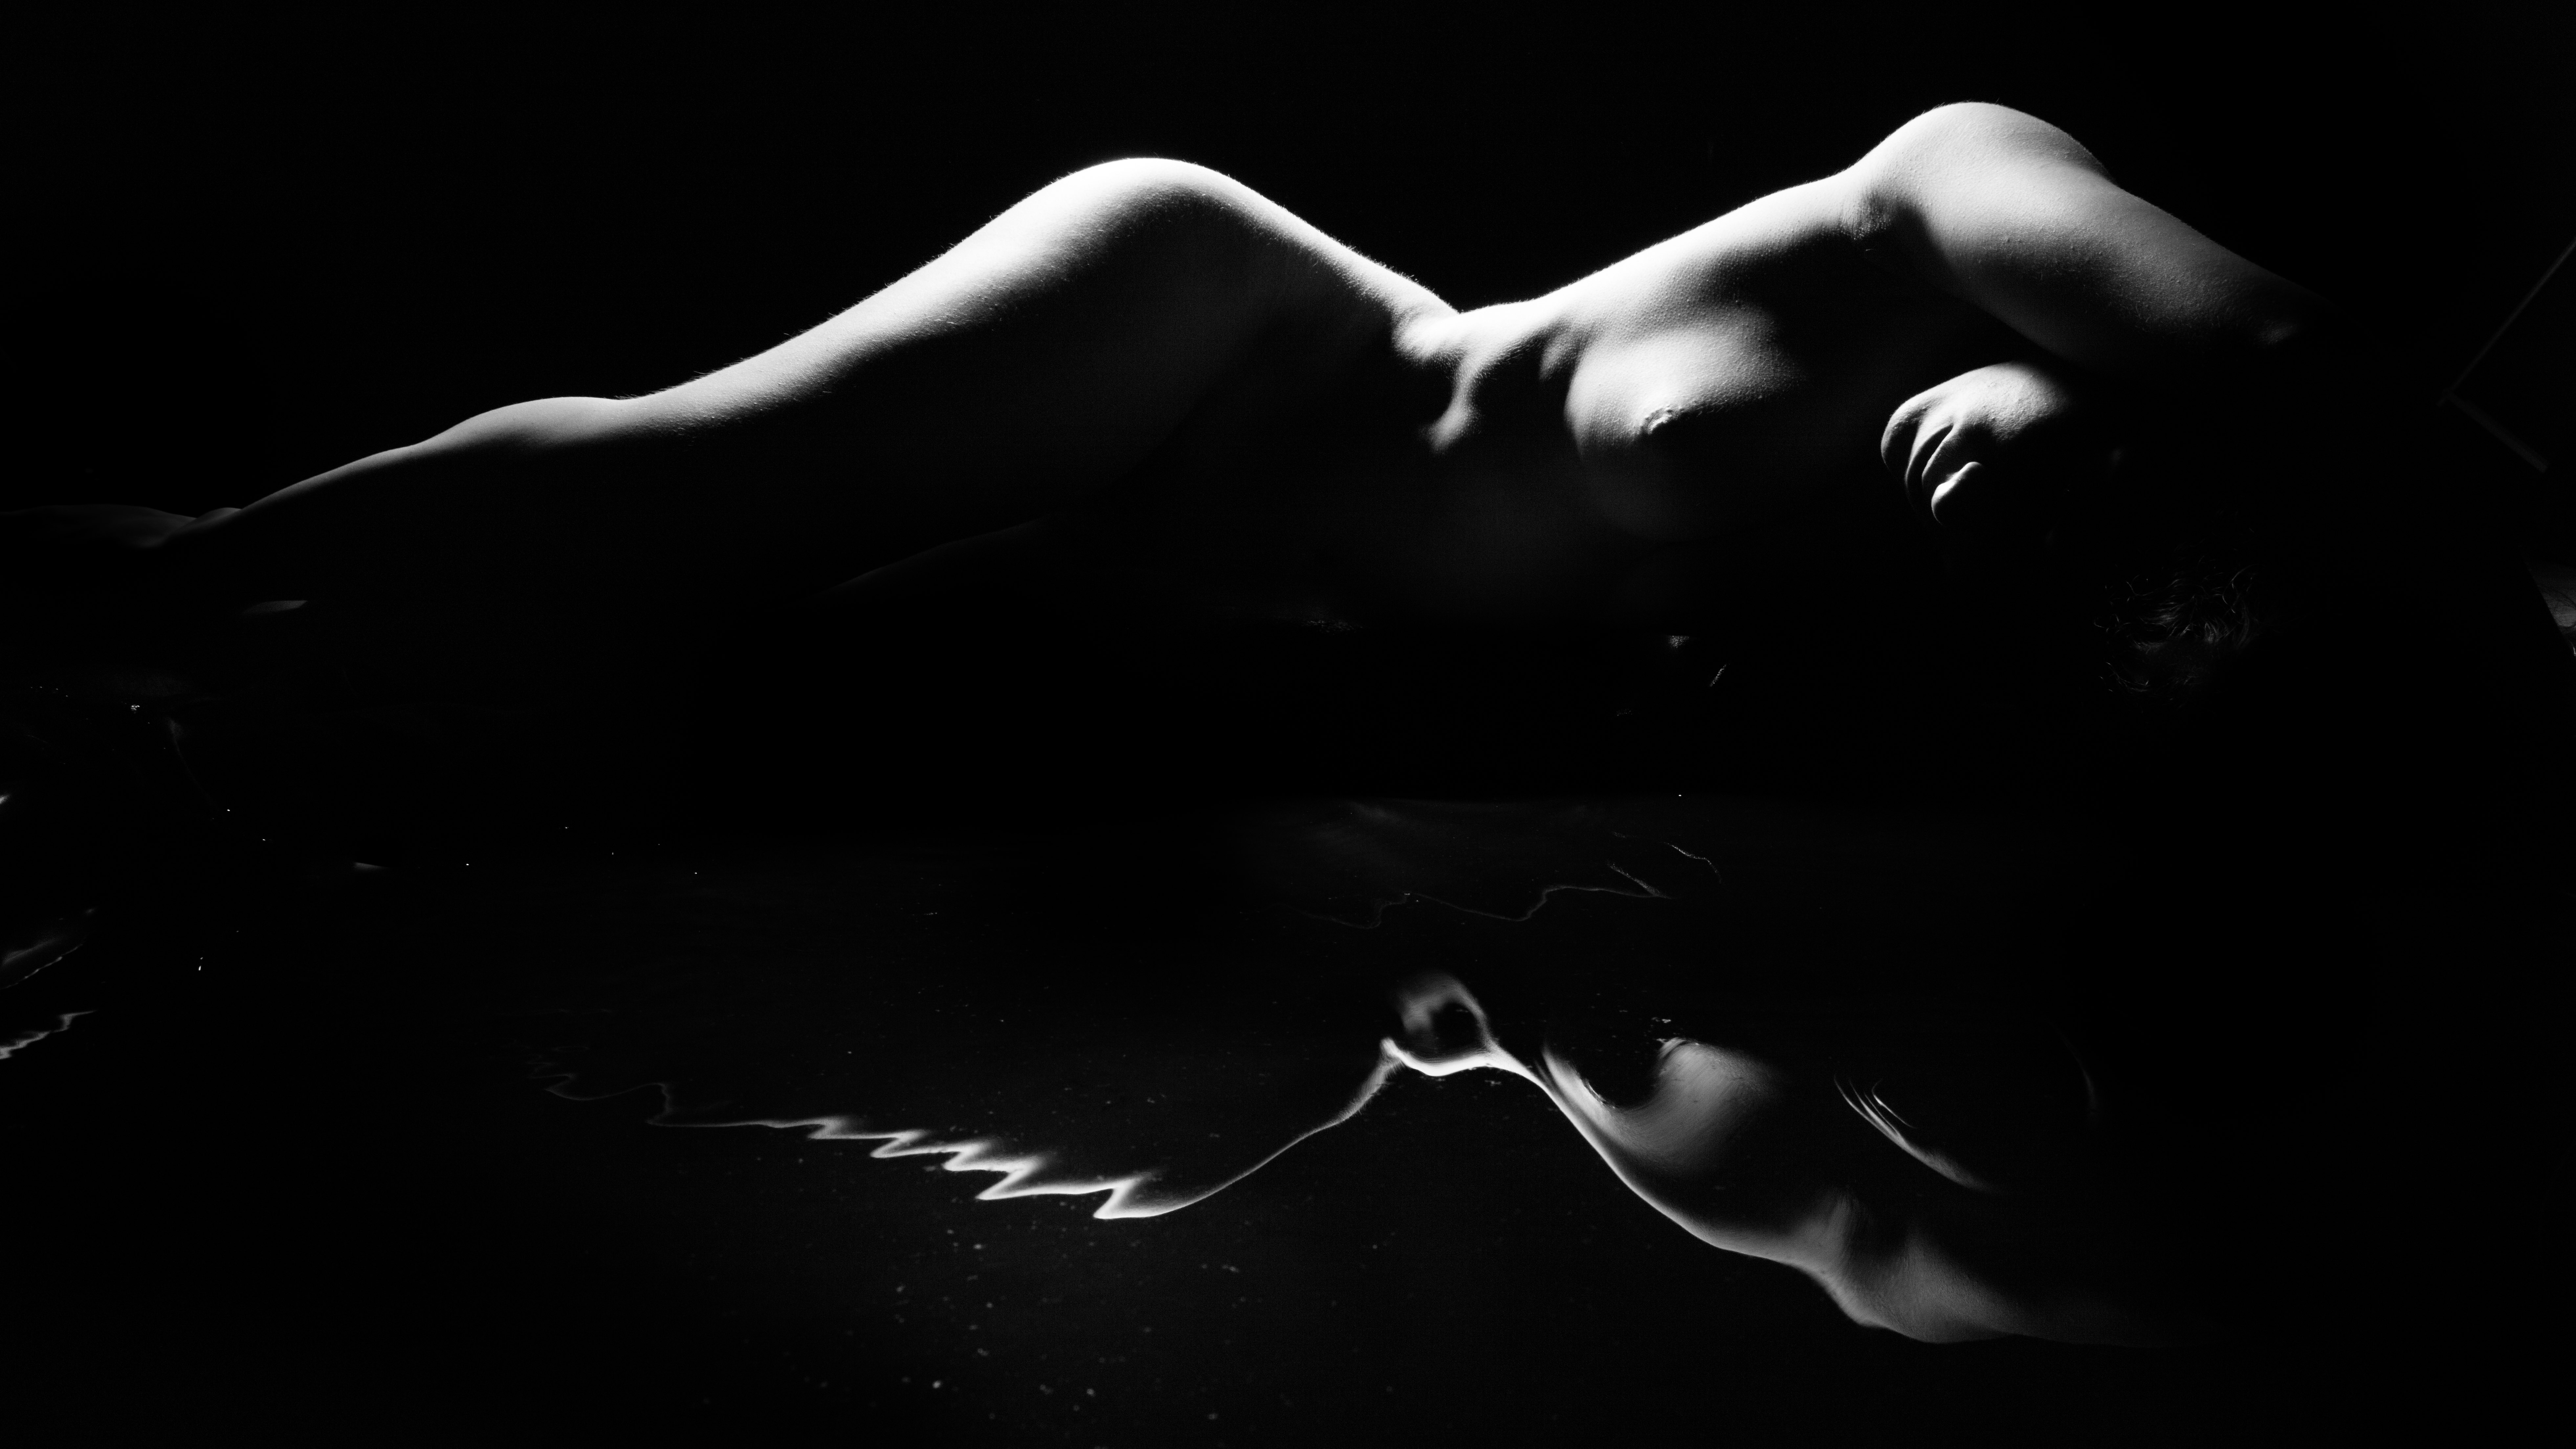
Add water for a rippled reflection
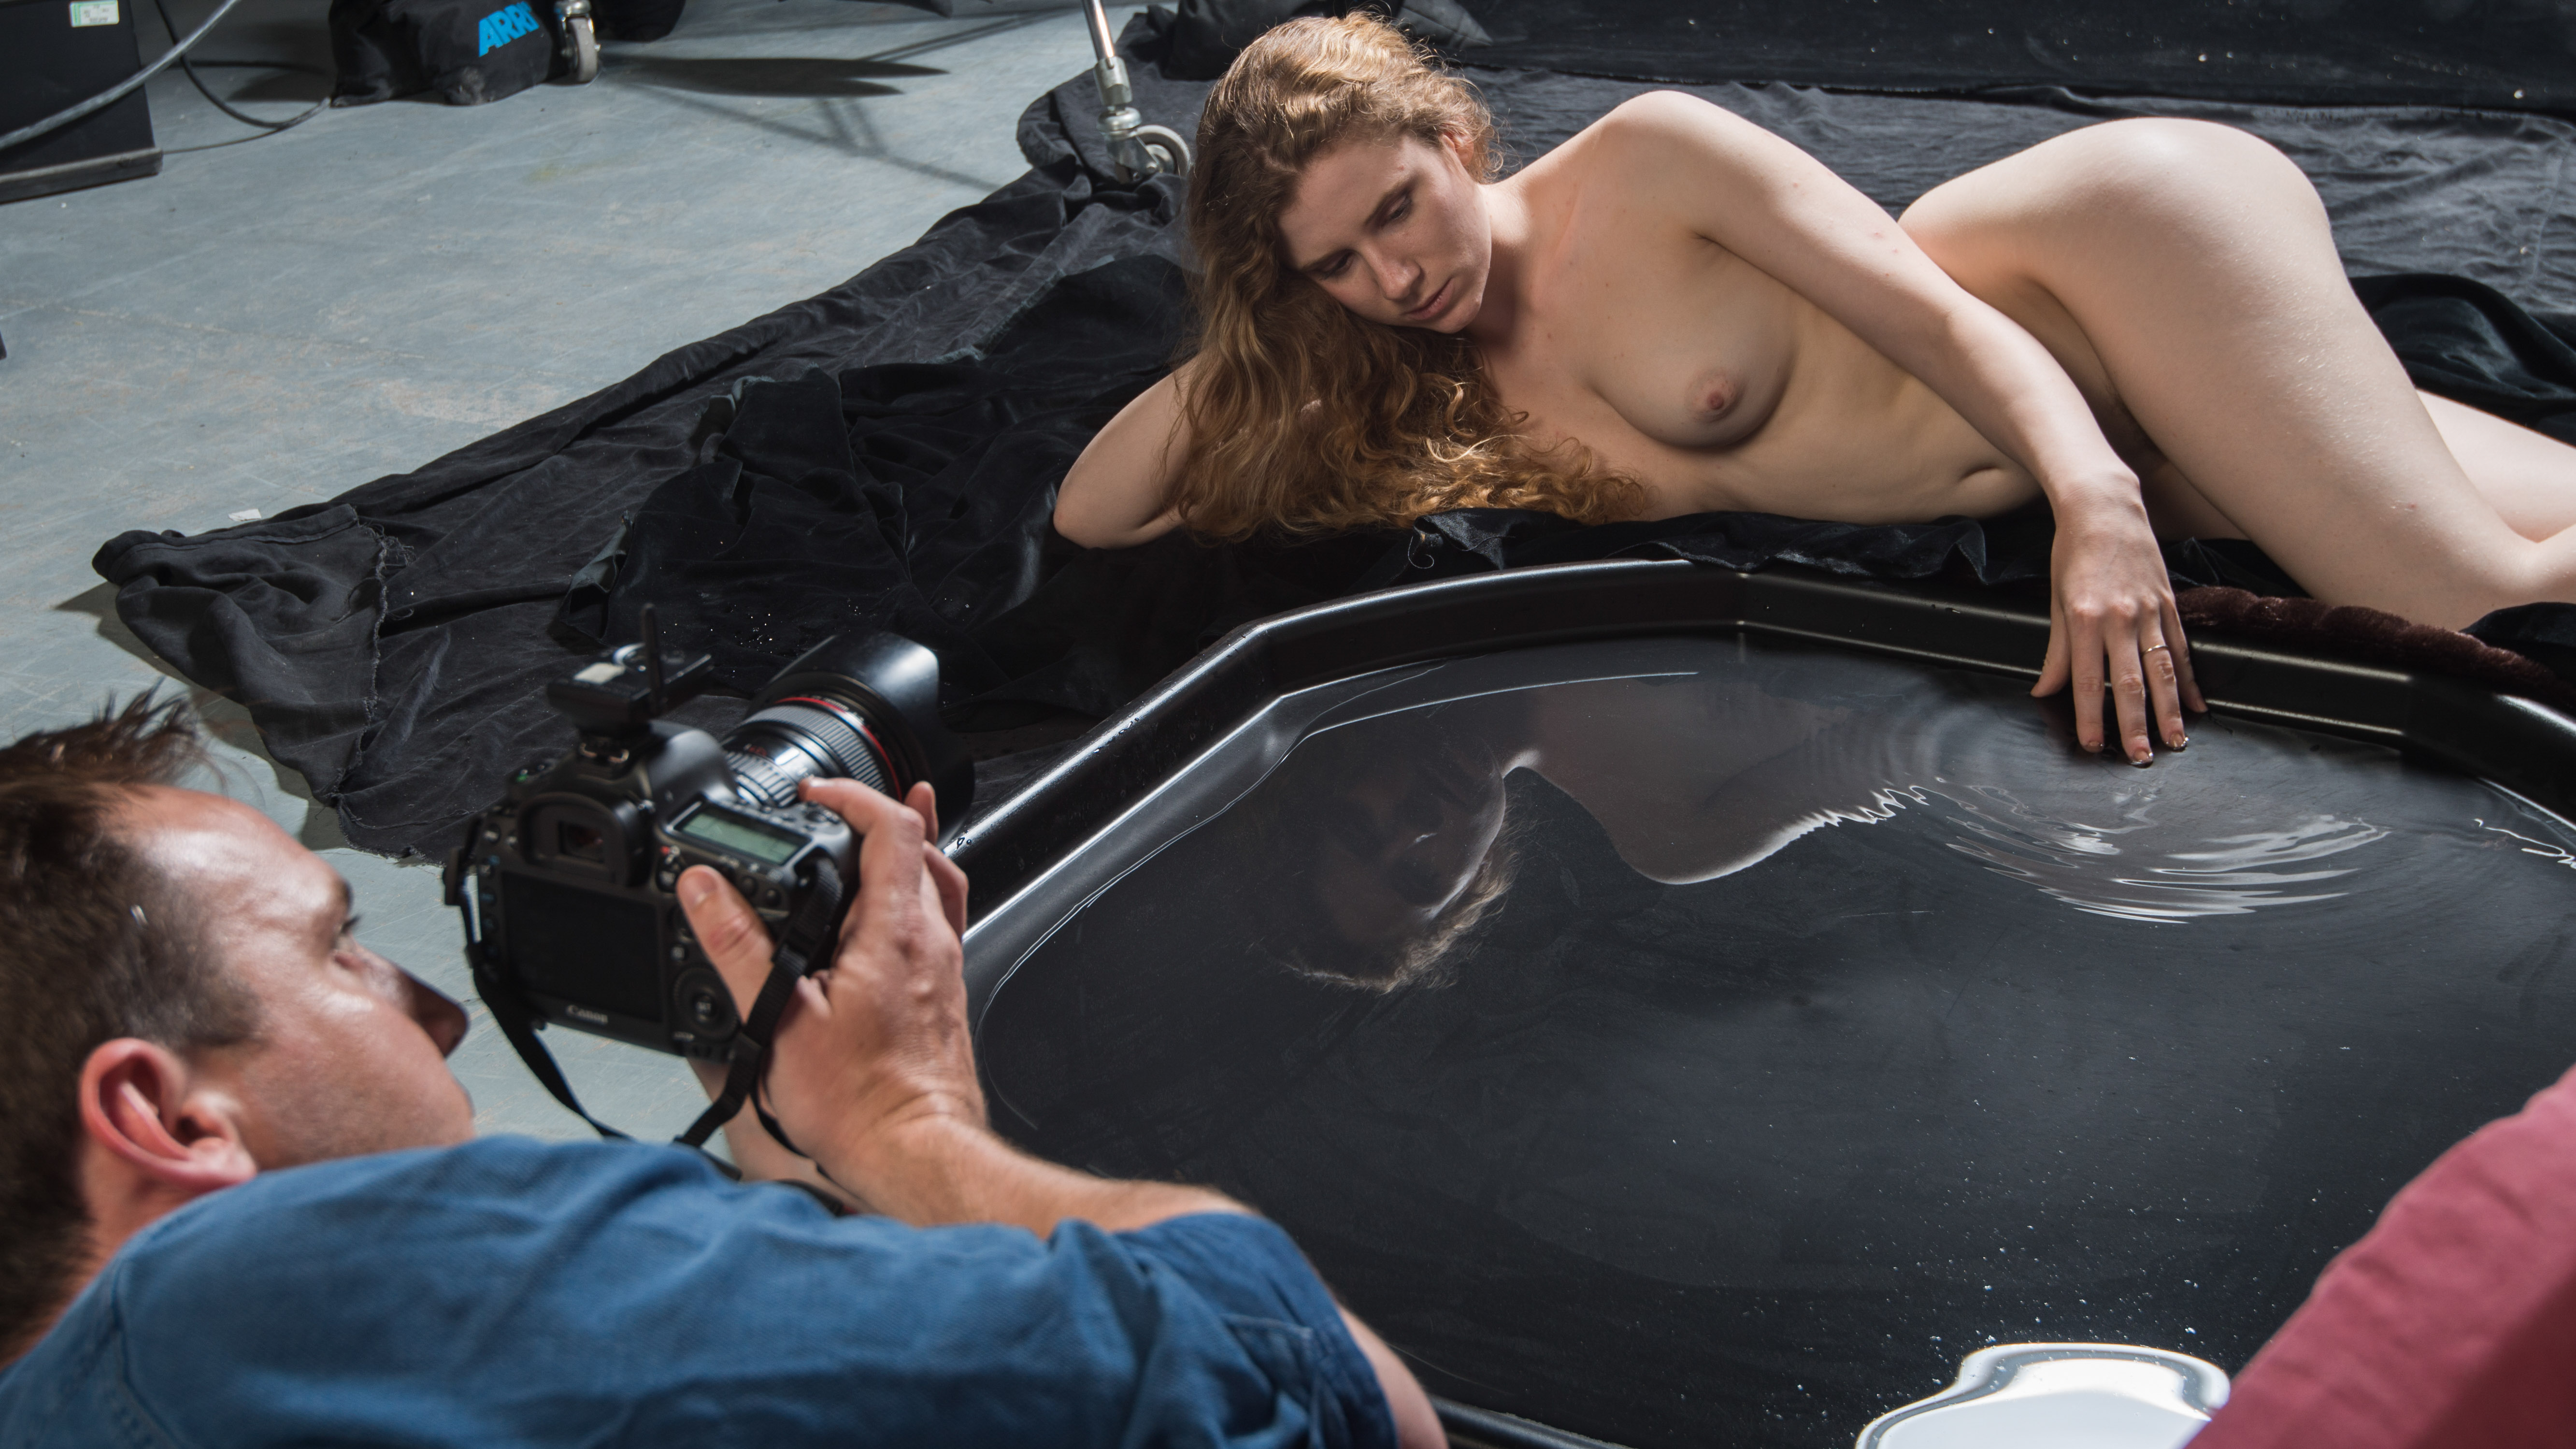
At the right angle, a tray of water placed in front of your subject can create a beautiful reflection that mirrors the edge of the body. A shallow tray with an inch or two of water is all that’s needed (a black cement-mixing tray like this can be picked up from a DIY store).
Gently disturb the surface of the water for a lovely rippled effect. Of course, water and studio lighting can be a dangerous mix, so keep the power packs and studio heads well away. If water isn’t an option, a sheet of black Perspex is a good alternative.
Kit needed: Shallow tray, water
Exposure: 1/200 sec, f/20, ISO100
Essential kit for a fine art shoot
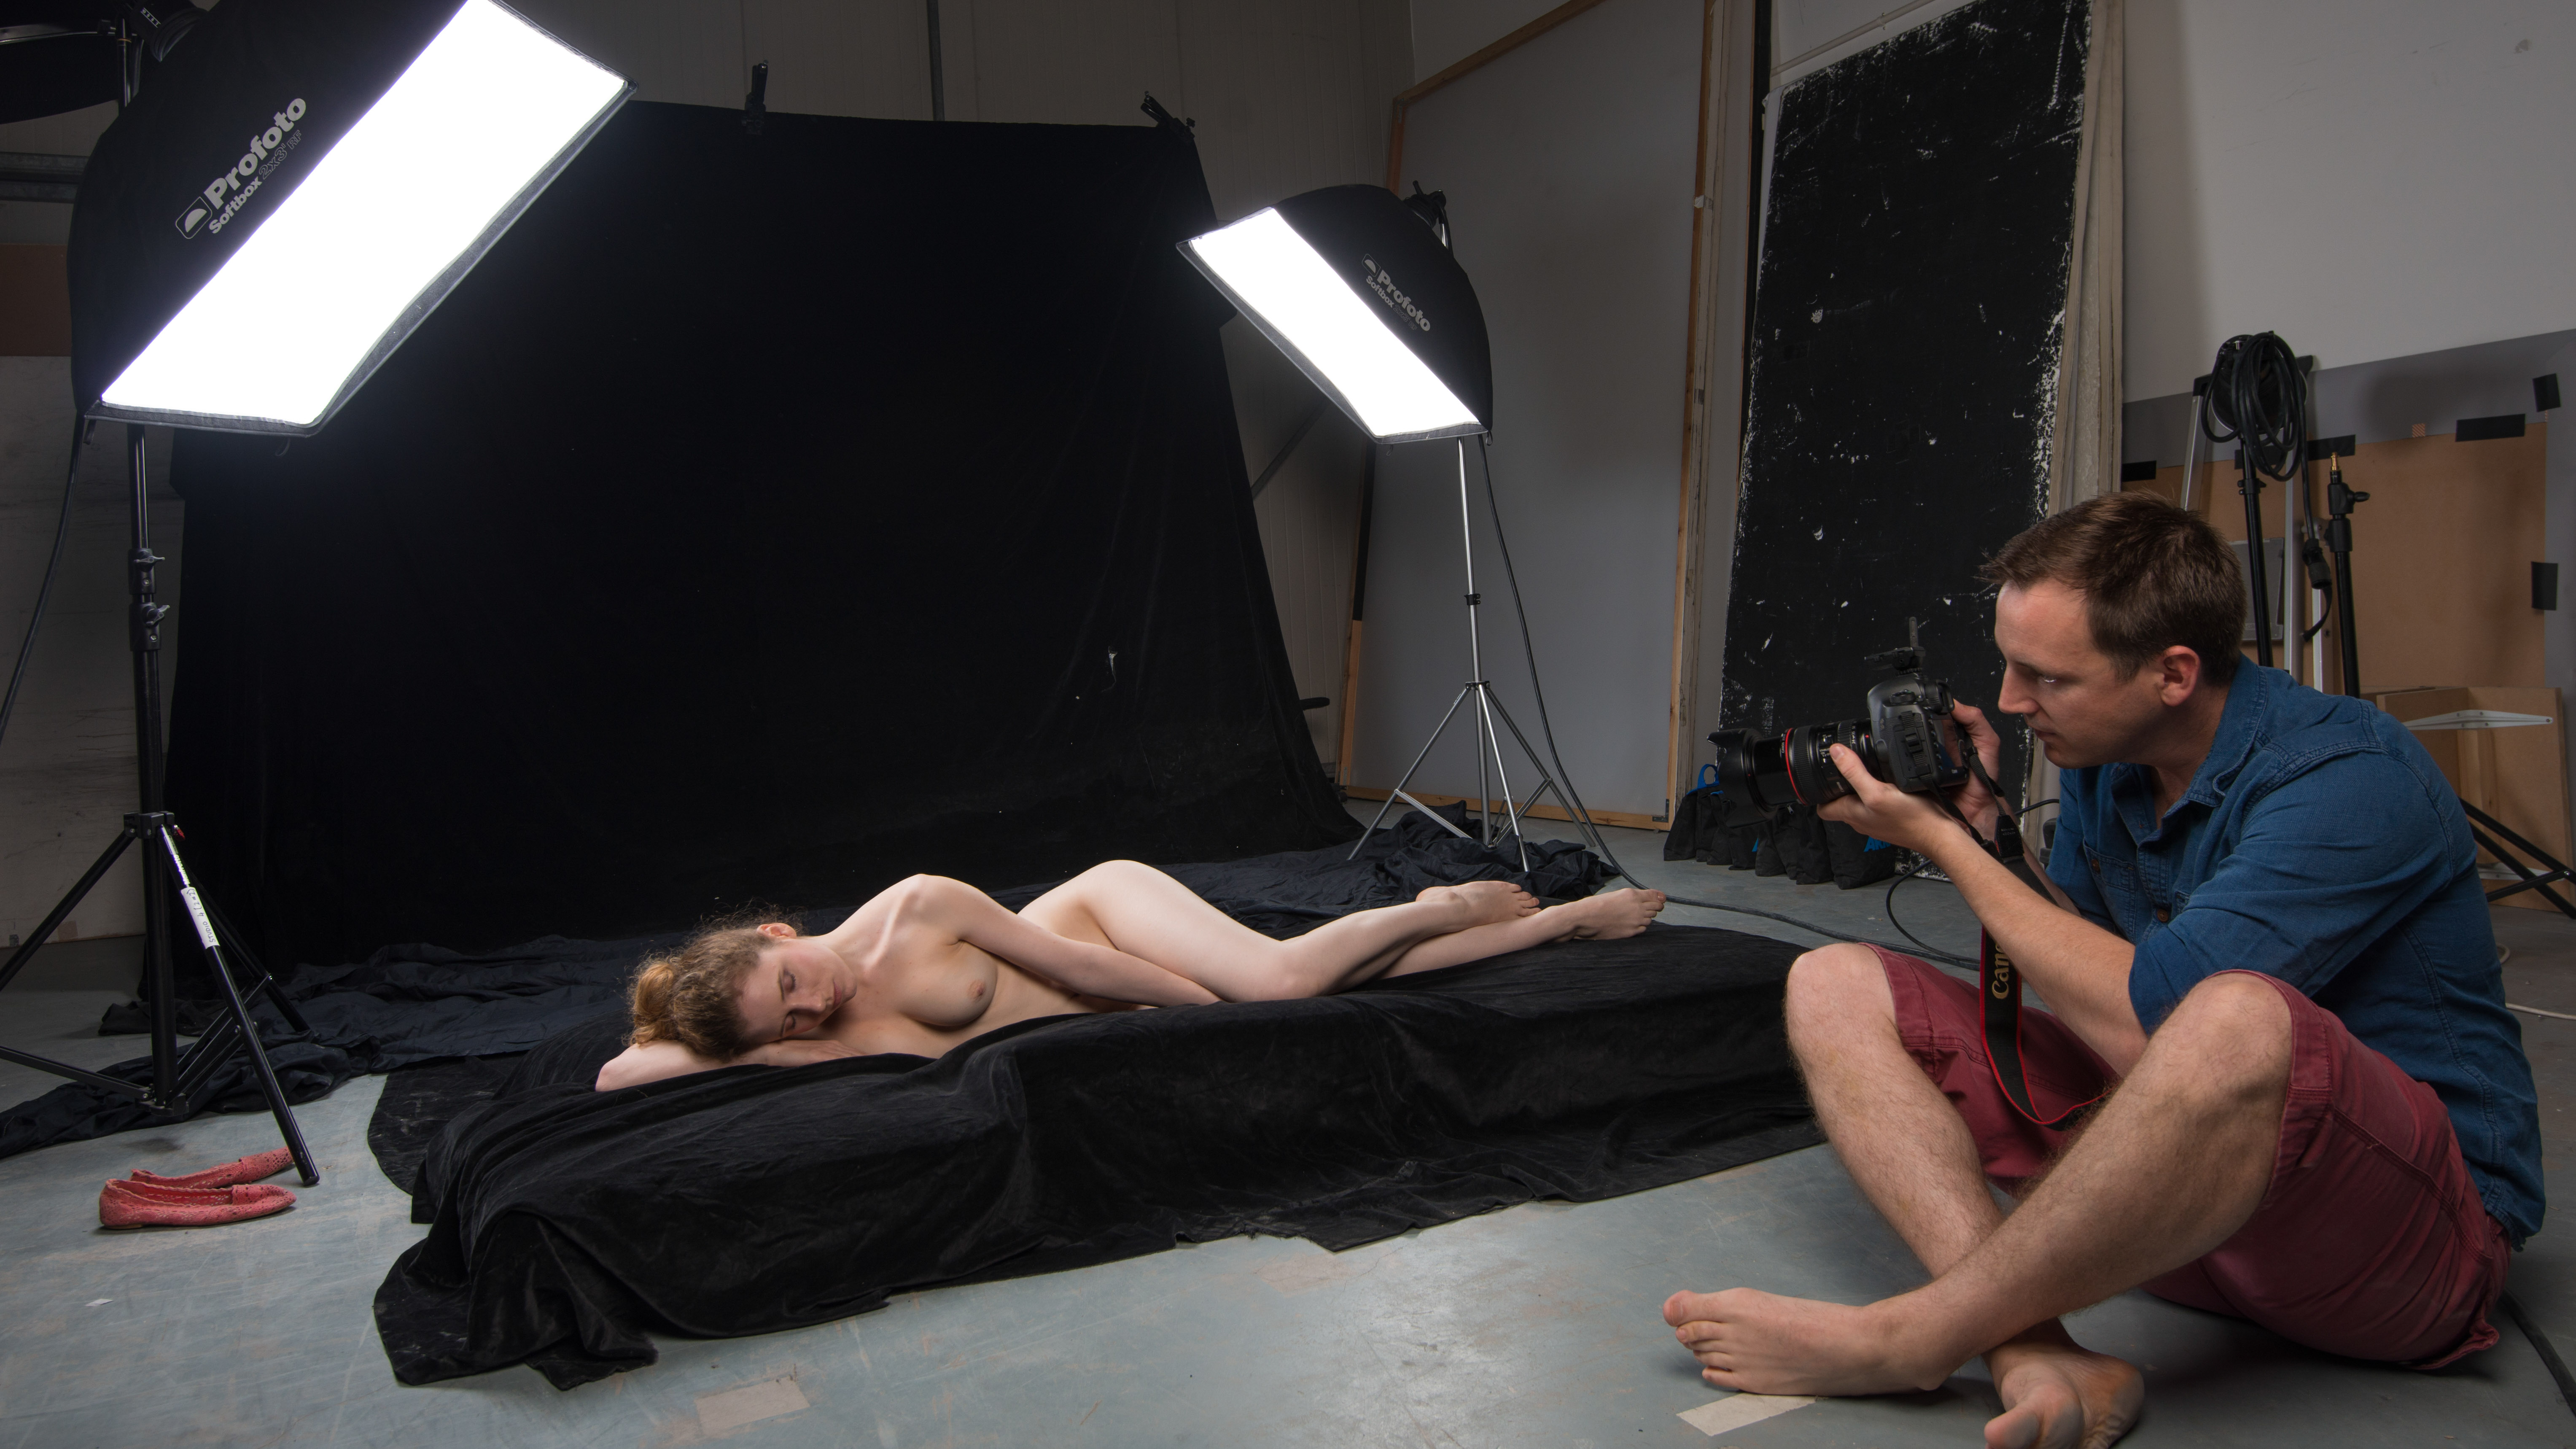
A model, two flash heads fitted with softboxes, and a black backdrop is all you need to get started...
01 SOFTBOXES
Softboxes are perfect for a nude shoot as they provide even, soft illumination that can be directed in channels across your subject. You’ll need to light both edges of the body; a third light, such as a beauty dish, can be added for top-down light.
02 BLACK VELVET
Nothing sucks up light like black velvet, which makes it perfect for a backdrop. A plain dark backdrop makes it easy to tidy up areas in post-production, but try to stop your lights spilling onto the background to keep it as dark as possible.
03 LIGHT POWER & DISTANCE
As well as adjusting the power, you can control the strength of lighting by changing its distance from the subject. Keep in mind the ‘inverse square’ law, which states that halving the distance of a light source will increase its illumination by four times.
04 EXPOSURE SETTINGS
A good starting point is to use Manual mode, set a shutter speed of 1/200 sec and aperture of f/11, and take some test shots. If images are too bright either close down the aperture or reduce the flash output; if they’re too dark do the opposite.
05 WIRELESS FLASH TRIGGER
A wireless trigger that connects to your camera's hotshoe makes things easier, as you won’t need messy sync cables. These triggers have a receiver that connects to the studio flash, so that when you press the shutter release the flash fires.
06 LOOK AFTER YOUR MODEL
If your model is going to be lying down for long periods, as here, think about her comfort. Bring along soft blankets, cushions or beanbags so she isn’t sprawled on a hard, cold studio floor. Don't forget to turn the heating up too.
The lead technique writer on Digital Camera Magazine, PhotoPlus: The Canon Magazine and N-Photo: The Nikon Magazine, James is a fantastic general practice photographer with an enviable array of skills across every genre of photography.
Whether it's flash photography techniques like stroboscopic portraits, astrophotography projects like photographing the Northern Lights, or turning sound into art by making paint dance on a set of speakers, James' tutorials and projects are as creative as they are enjoyable.
He's also a wizard at the dark arts of Photoshop, Lightroom and Affinity Photo, and is capable of some genuine black magic in the digital darkroom, making him one of the leading authorities on photo editing software and techniques.
