Common filter mistakes photographers make (and how to avoid them)
Filters are an essential part of landscape photography, but there are some essential do's and don'ts

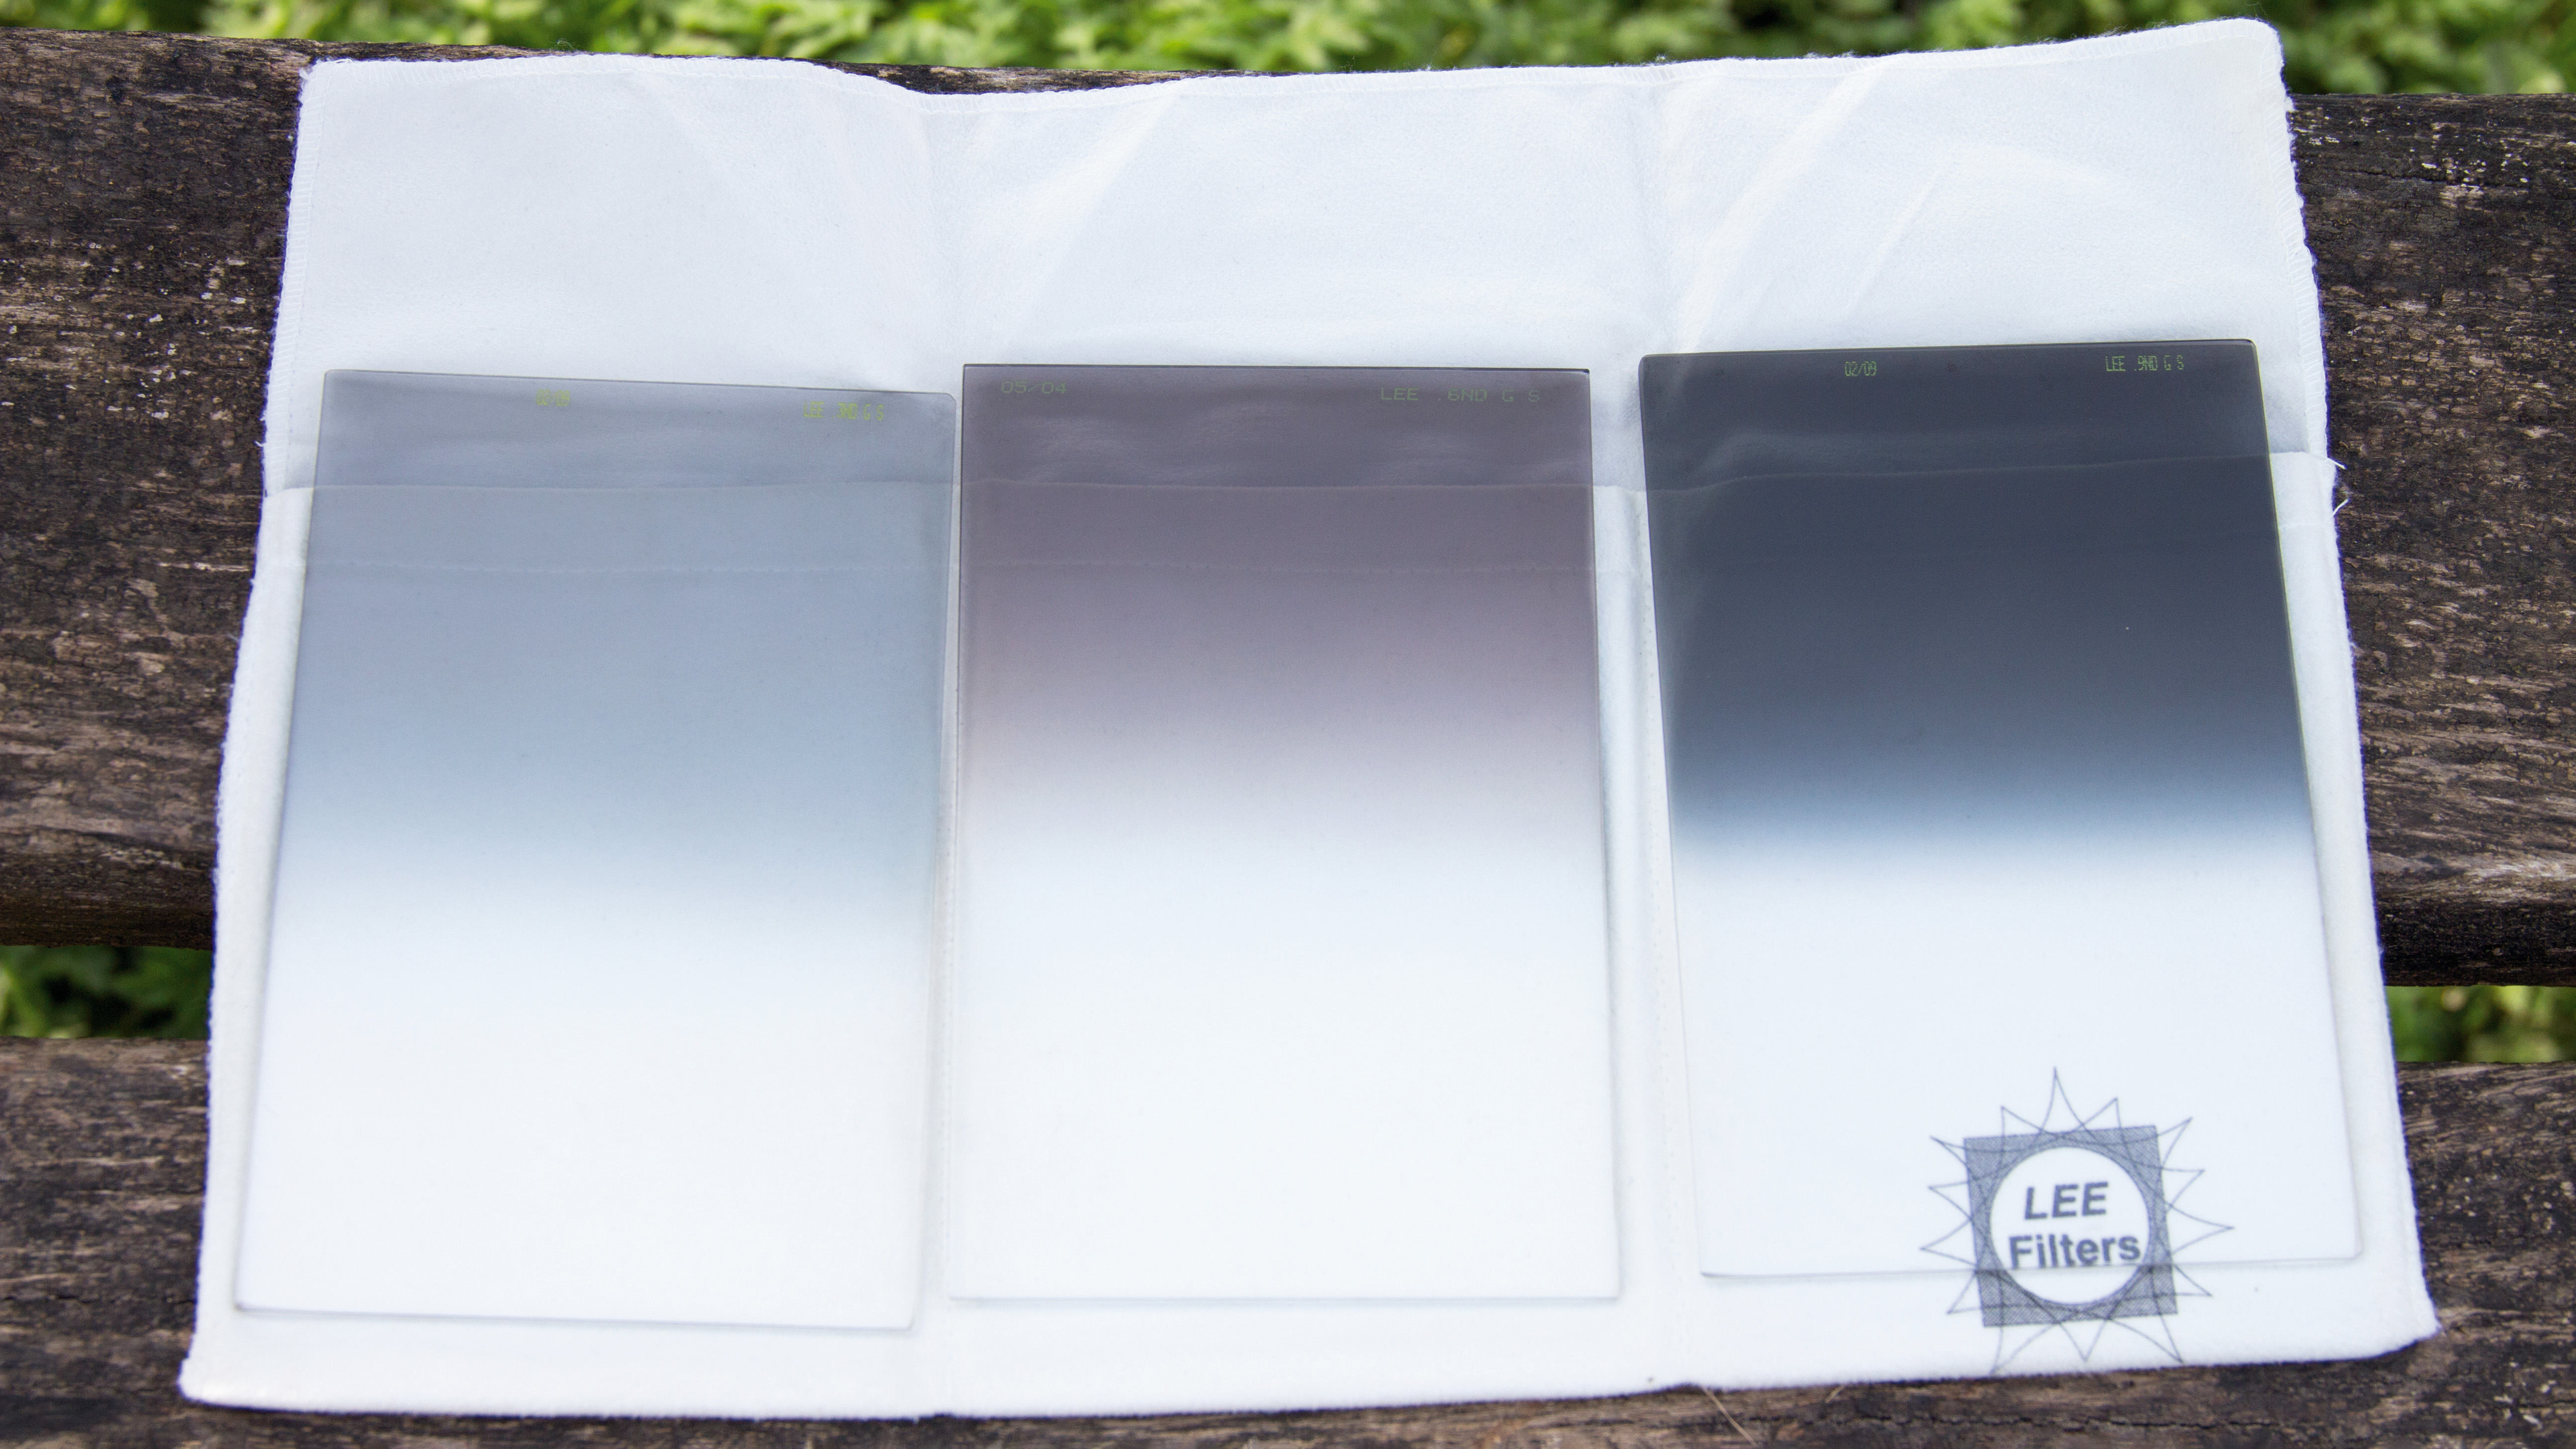
The best camera deals, reviews, product advice, and unmissable photography news, direct to your inbox!
You are now subscribed
Your newsletter sign-up was successful
Photography filters, the unsung heroes of the camera bag, have been around almost as long as photography itself. They are essential tools that can control, manipulate and improve the light that reaches your camera's sensor in a way that even the best post-production techniques can't replicate. Depending on their design and purpose, filters can protect your lens, reduce glare and reflections, amplify colours, smooth out skies and perform many other valuable functions.
There are several types of filters, each with a distinct purpose. For example, polarizing filters reduce reflections and enhance saturation, particularly in the sky. Neutral density (ND) filters, on the other hand, reduce the amount of light reaching the sensor, allowing for slower shutter speeds or wider apertures. UV filters are used primarily for lens protection, while graduated ND filters transition from dark at the top to clear at the bottom, assisting in balancing exposure within a frame.
Despite their invaluable role, filters can sometimes be misused or overlooked, diminishing the potential quality of an image. Here are eleven common mistakes photographers make when using filters, and how you can avoid them.
1. Poorly positioned graduation
Neutral or grey graduated filters, commonly used for enhancing skies or landscapes, aim to darken a portion of the frame without altering its colur. They balance a brightly lit sky with the darker terrain below. However, positioning the graduated part can be a challenging task. Setting it too high can overexpose the lower sky, while setting it too low can darken the horizon. Monitor your viewfinder or LCD screen carefully as you adjust the filter's position until you achieve the desired effect.
2. Obvious graduation
You can choose between hard or soft graduated filters. Hard graduated filters transition abruptly from clear to full density, making them suitable for flat horizons. However, if a tall structure or tree juts into the sky, the filter's effect can become noticeable. A soft grad is usually the solution, but sometimes even this can be perceptible. In such scenarios, it may be better to capture multiple exposure shots without a filter and blend them post-capture.
3. Use of polarizers with wide-angle lenses
Polarizing filters minimize reflections, enhance contrast, and deepen blue skies. However, their effect is dependent on the sun's relative position, which can result in uneven impact across a wide-angle frame. Generally, it's best to steer clear of polarizing filters when using very wide-angle lenses.
4. Black cross phenomenon with variable ND filters

The appeal of variable neutral density filters lies in their adjustability, allowing for exposure control in various lighting conditions by merely rotating the filter. However, when set to their maximum level, a black cross can sometimes appear due to the polarizing filters they are composed of. To prevent this, refrain from using a variable ND filter at its extreme point.
The best camera deals, reviews, product advice, and unmissable photography news, direct to your inbox!
5. Neglecting filter hygiene
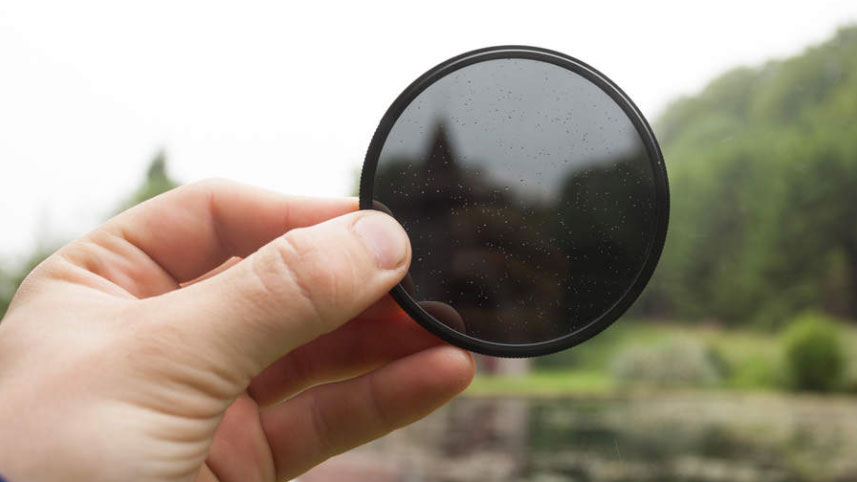
Keeping filters as clean as lenses is crucial. Dust, scratches, and fingerprints on filters, positioned ahead of the lens, can be more apparent than on a lens element. Such marks can also hinder the autofocus system and result in blurry images. To prevent this, handle filters delicately, store them in a protective case, and clean them with a lens cloth if they get dirty or wet.
6. Opting for cheap ND grads
Neutral density filters should not add color to your images. However, achieving this neutral effect is harder than it seems, and some filters can subtly alter color. While a simple color shift from a plain ND filter can be corrected during post-processing or with a custom white balance setting, correcting a color change from a graduated filter is more challenging due to its uneven effect. Therefore, invest in high-quality filters from trustworthy brands.
7. Over-stacking or wrong-sized system
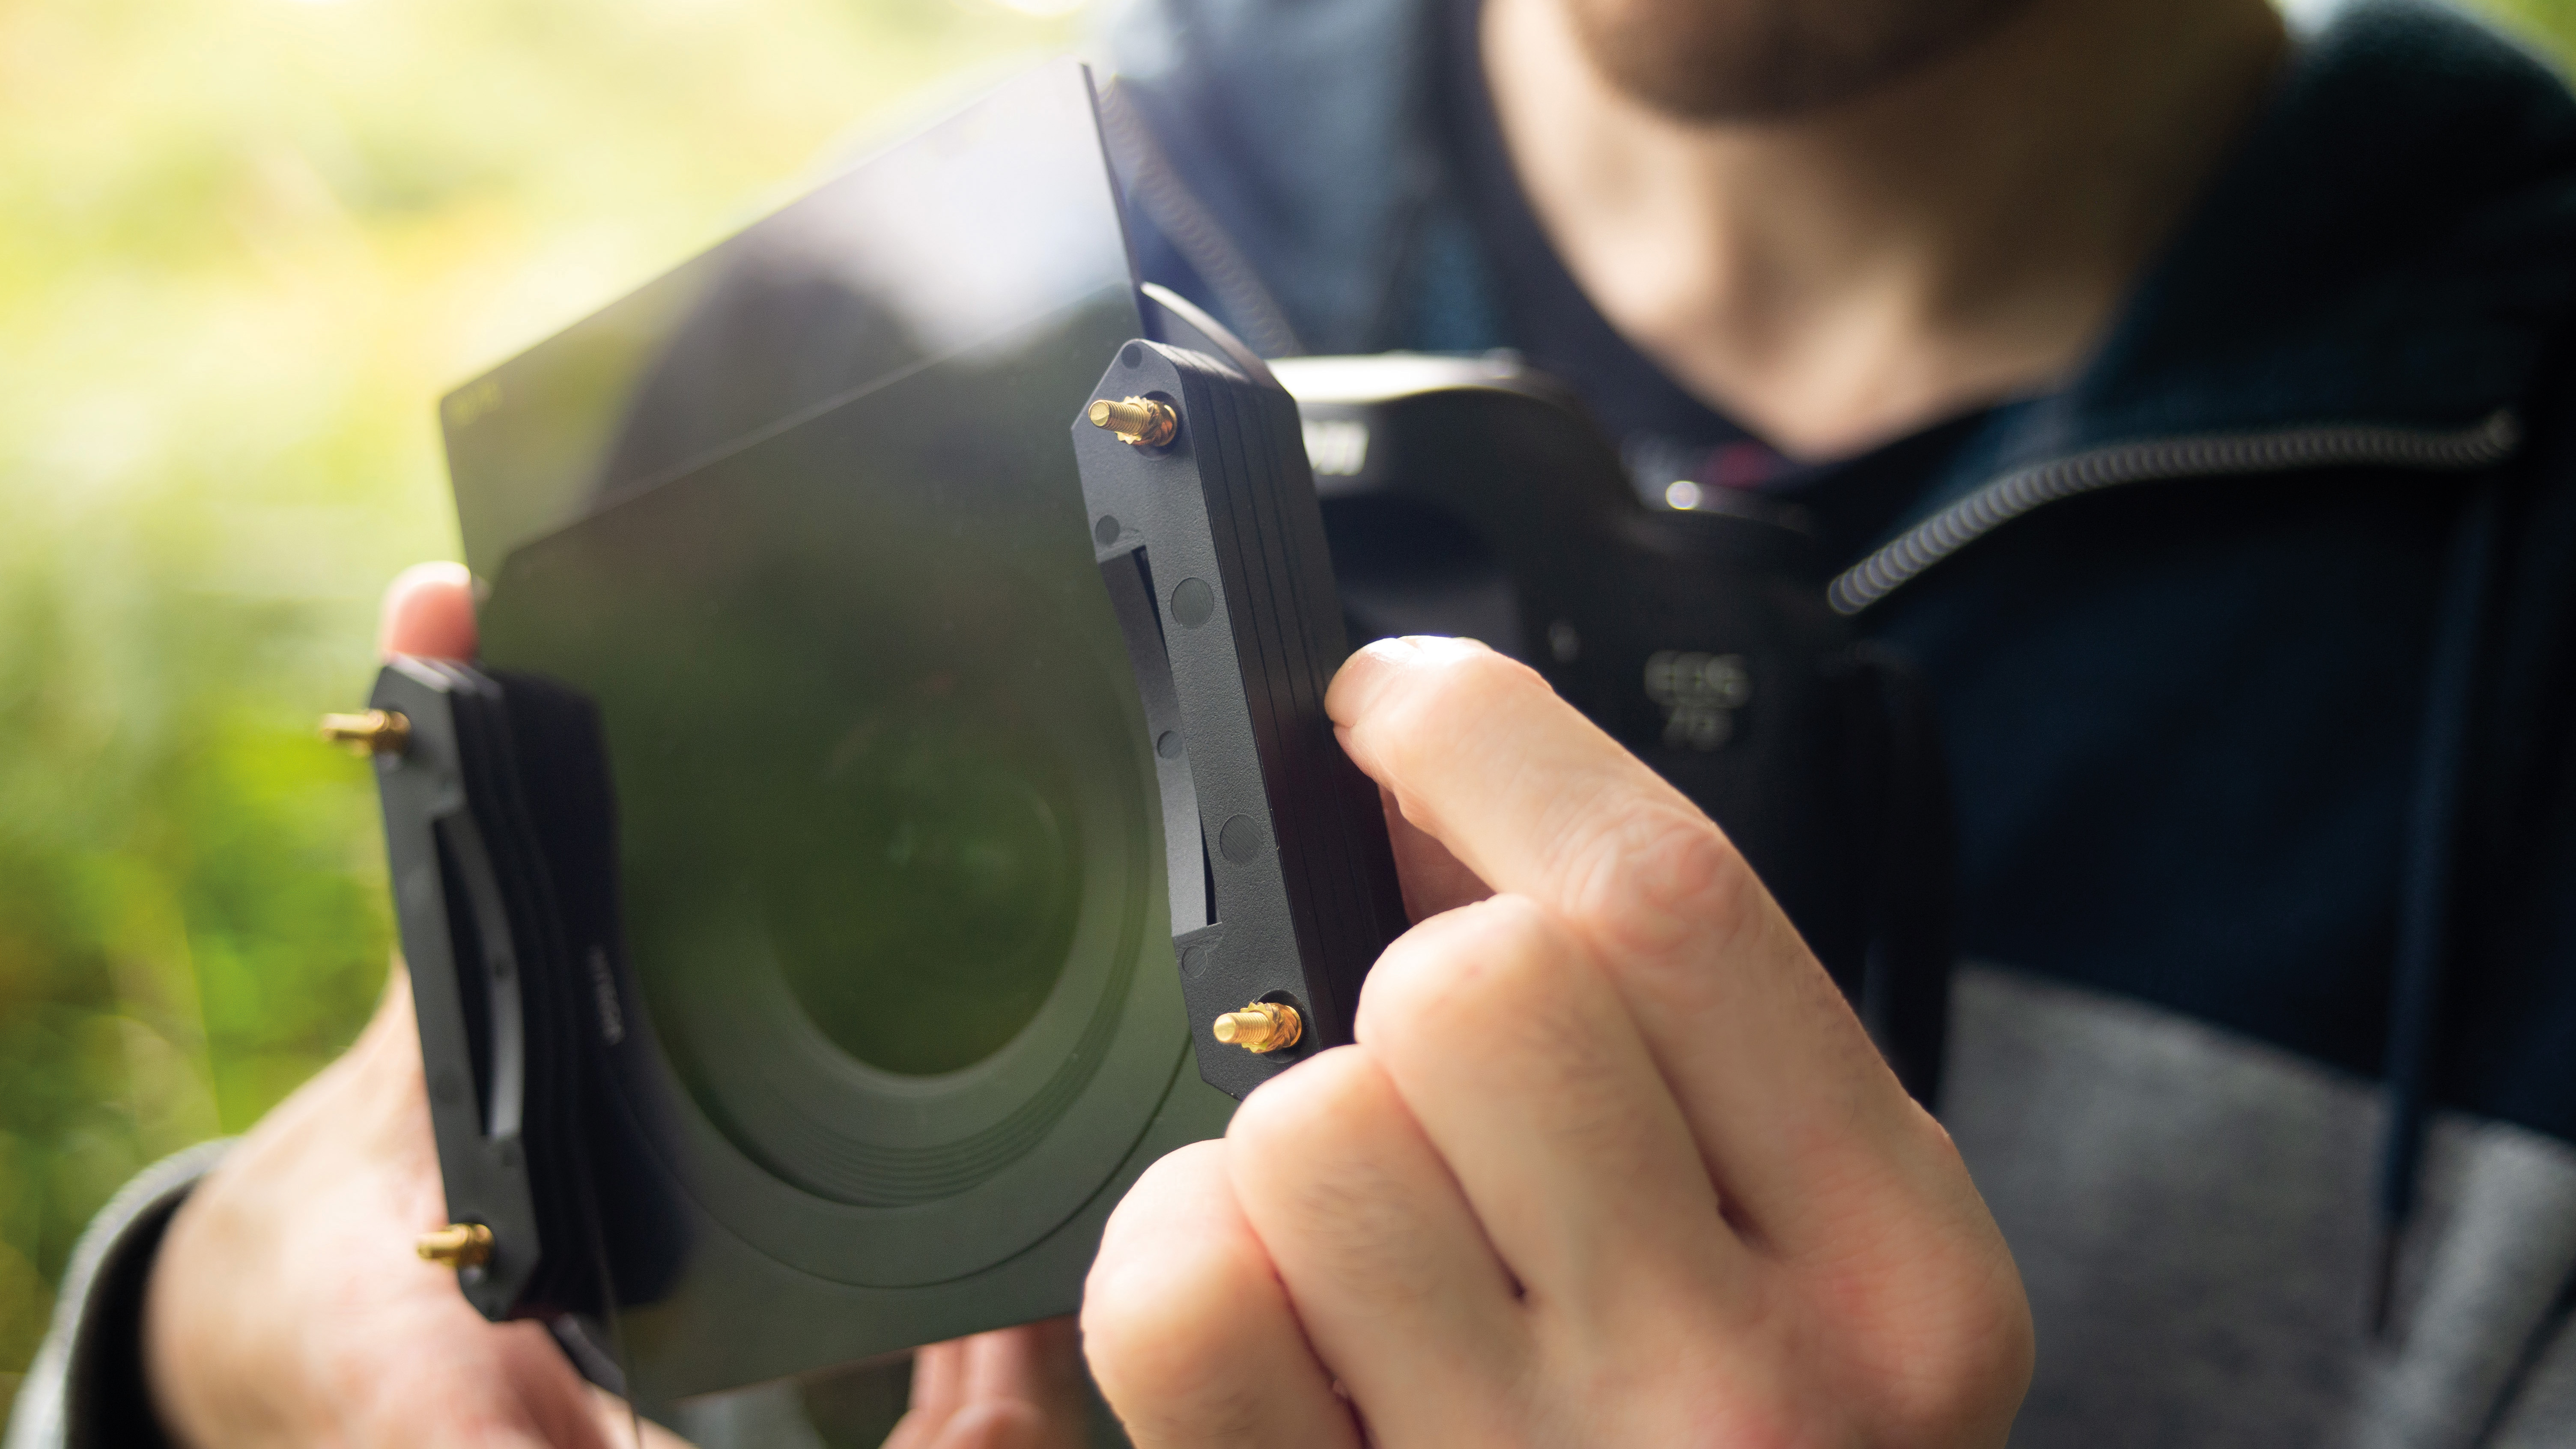
Using a filter at the end of a lens, especially a wide-angle one, can result in corner shading. This can be minimized with slim surround screw-in filters and by limiting the number of stacked filters. With square filter system holders projecting further from the front element, ensure no unwanted vignetting is introduced. If an issue arises, consider investing in a larger system or an adaptor ring to bring the filter closer to the lens.
8. Not using a lens hood
Landscape photographers often use lens hoods to shield the front lens element and prevent flare. However, most filter systems don't allow for a lens hood, and additional reflective surfaces can increase flare risk. While a shielding hand or piece of card can help, some manufacturers offer holders with built-in hoods to mitigate this issue.
9. Graduation moving during focusing
If the front element of a lens rotates during focusing, there's a risk that the once-level graduation will be shifted and made wonky, so the darkening effect doesn't sit exactly where it needs to. If the front element or your lens rotates, focus on the subject and then switch to manual focus prior to positioning the graduated filter and/or polarizing filter.
10. Over-dependence on neutral density filters

ND filters allow for slower shutter speeds or wider apertures by limiting the amount of light reaching the sensor. However, using an ND filter when it's not needed can unnecessarily prolong exposure times and lead to unwelcome motion blur or softening of your image.
Only use an ND filter when you need to control the exposure beyond what your camera settings allow. If you can achieve the desired effect without the filter, it's probably best not to use it.
11. Using low-quality filters
High-quality lenses are investments made for superior image quality. But placing a cheap, low-quality filter on them can undo all the benefits these lenses provide. It's like looking through a clean window versus a dirty one; you're going to notice the difference. Invest in high-quality filters from reliable manufacturers. While they may cost more, their impact on your image quality is worth every penny.
Remember, filters are tools in your photography arsenal that, when used correctly, can significantly enhance your images. By avoiding these common mistakes, you can fully utilize their potential and make your photographic journey even more rewarding.


