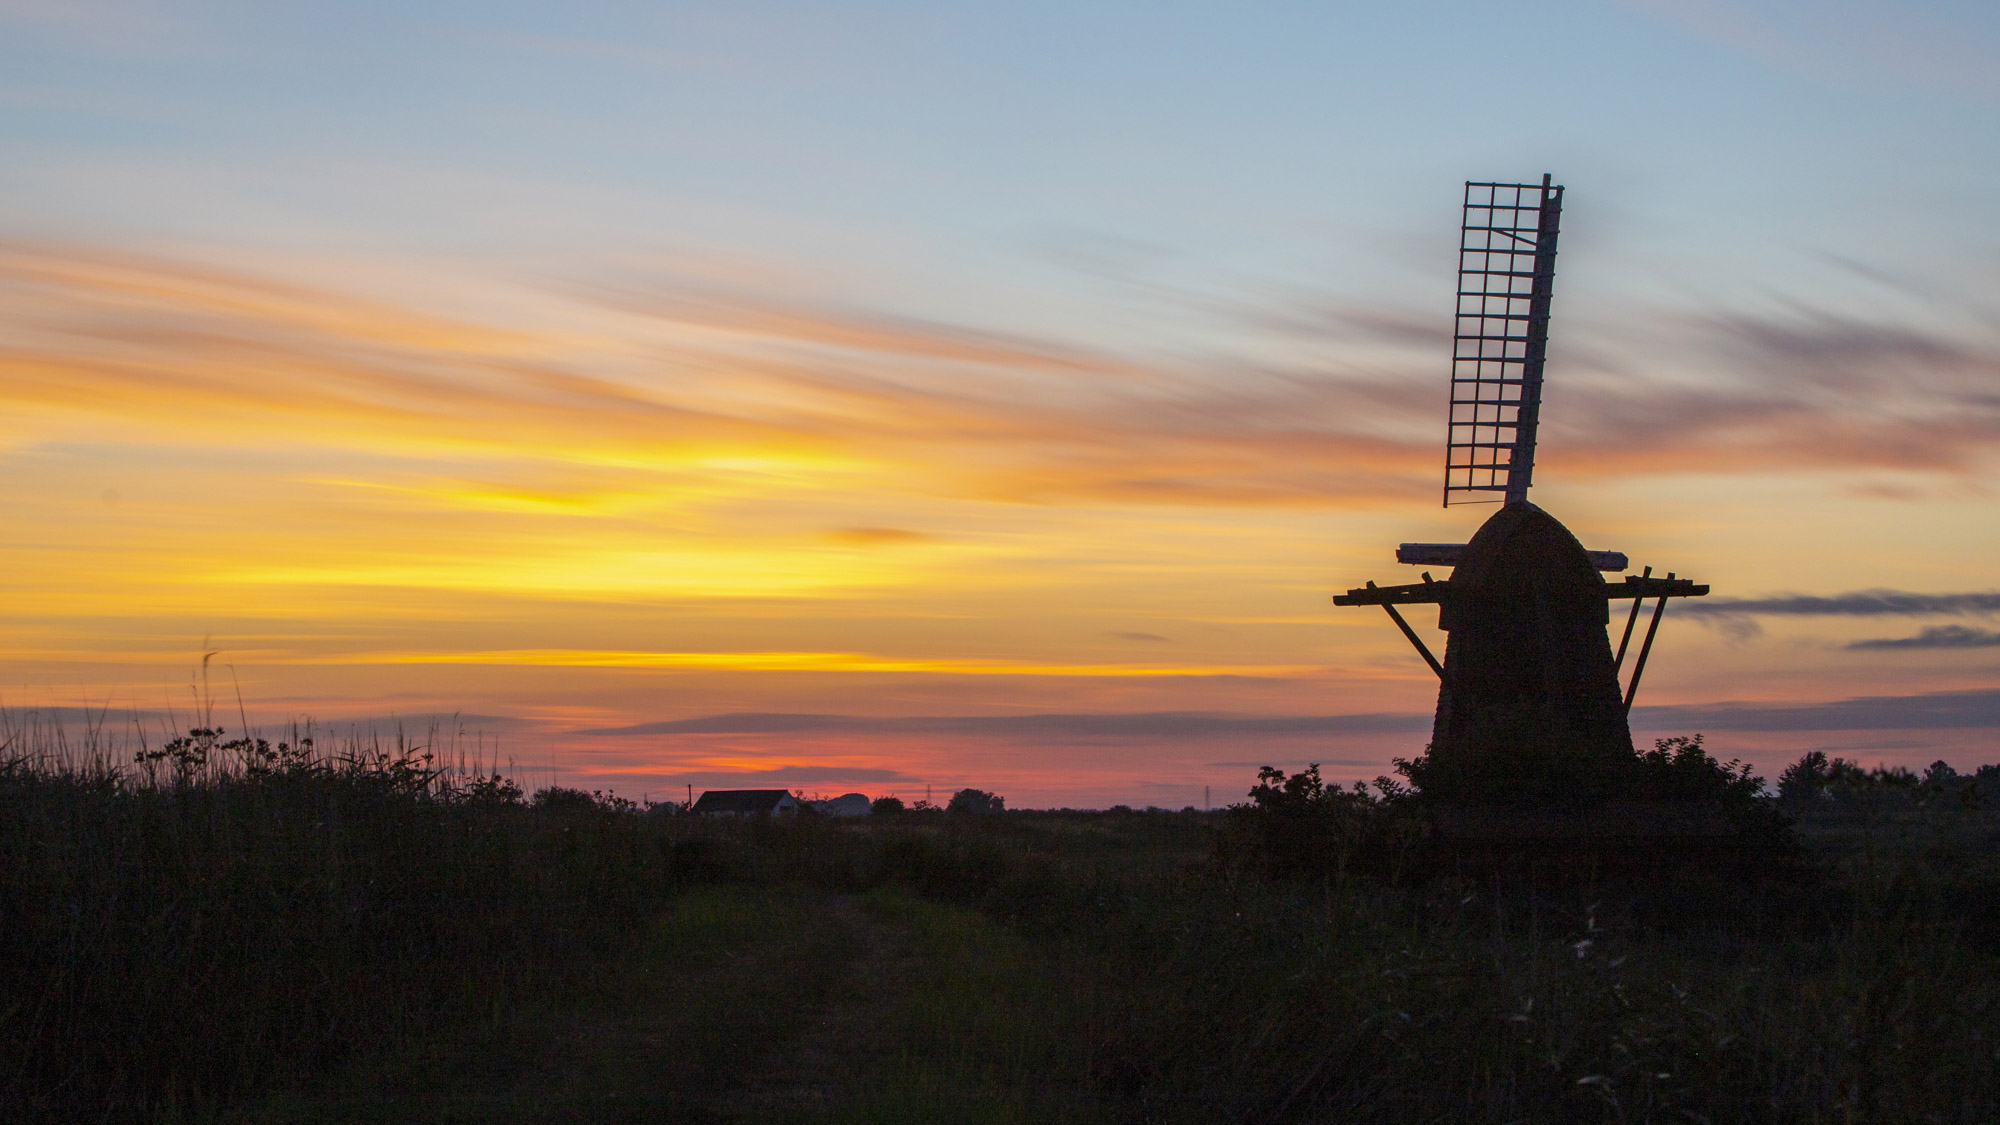
Shooting in strong sunlight can throw up some of the trickiest lighting problems when it comes to landscape photography. How do we capture such a bright light source? The trick is underexposing!
The best Canon camera will work out the exposure based on its metering mode; these are different algorithms that assess the scene in different ways to prioritize which tones become mid-tones. You’ll likely be set to the Evaluative metering mode by default, which usually does a good job of assessing the whole scene for a balanced exposure.
For scenes such as sunsets and sunrises, however, we’re going to go into Manual (or Bulb) mode, where the metering mode shows you whether it thinks an image will be under or overexposed, but ultimately you can override it to underexpose the scene and reveal the fantastic color palette and cloud detail in the sky.
To make the scene even more impressive, we’re going to use a strong neutral density (ND) filter to block out sun across the frame, which enables us to take a long exposure, giving us enough time to inject fantastic motion blur from the clouds as they move.
Usually, you could use an ND grad filter to darken down the sky and lift the shadows in the foreground; however, our mill is an awkward shape that wouldn’t work with such a filter, so instead we’ve intentionally kept the foreground dark so that it acts as a striking silhouette. Here’s how it’s done...
1. Get set up
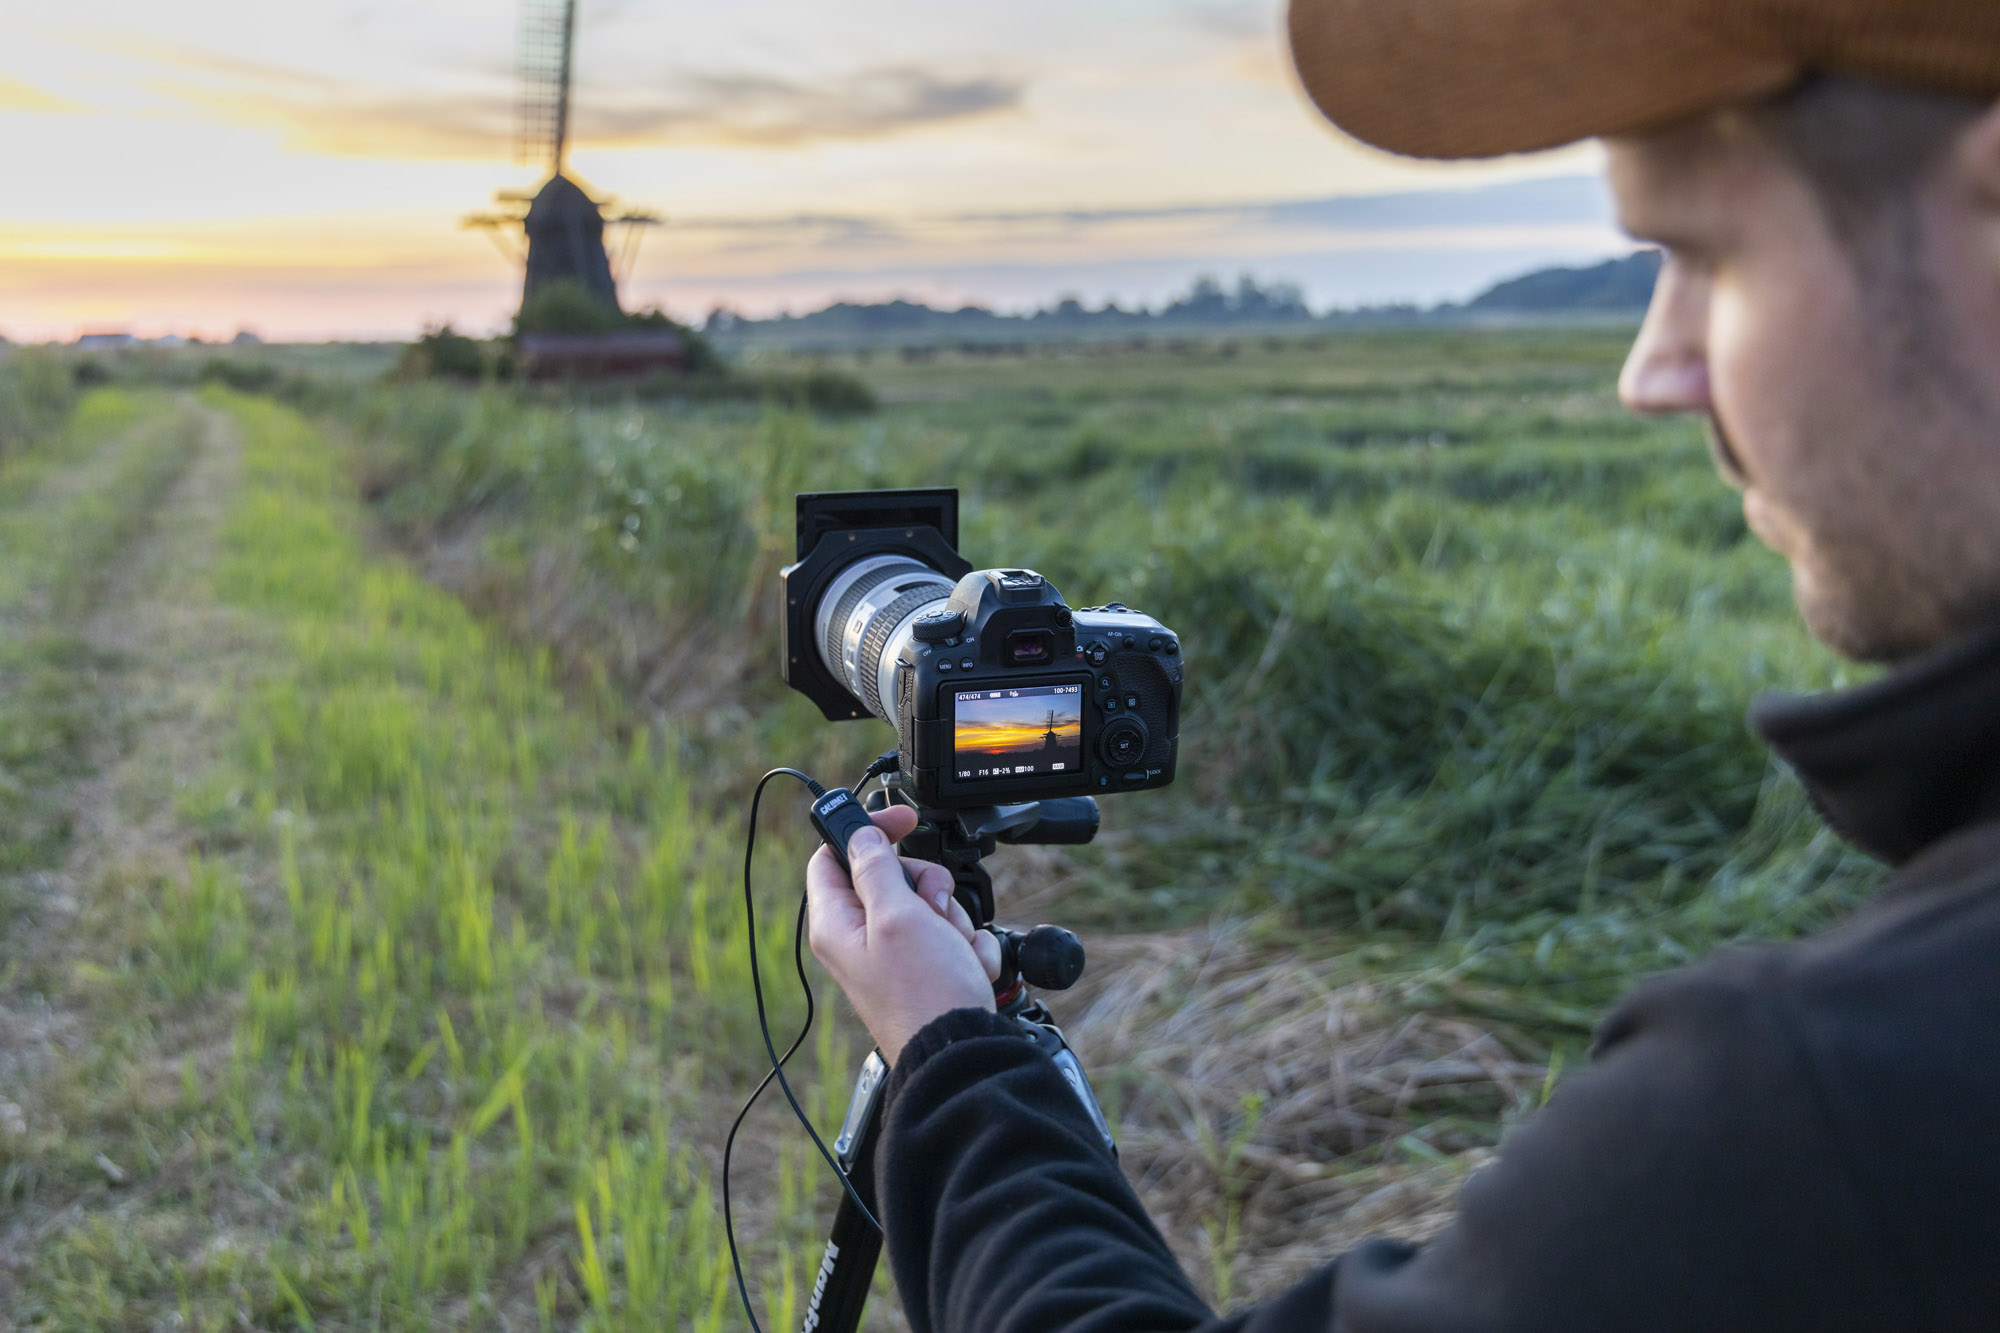
The first thing you need to do is set up on a tripod. Because you’ll be taking long exposures of several minutes, a tripod enables you to keep stationary parts of the scene, such as the windmill, and sharp but blurred moving elements, such as the clouds or moving water.
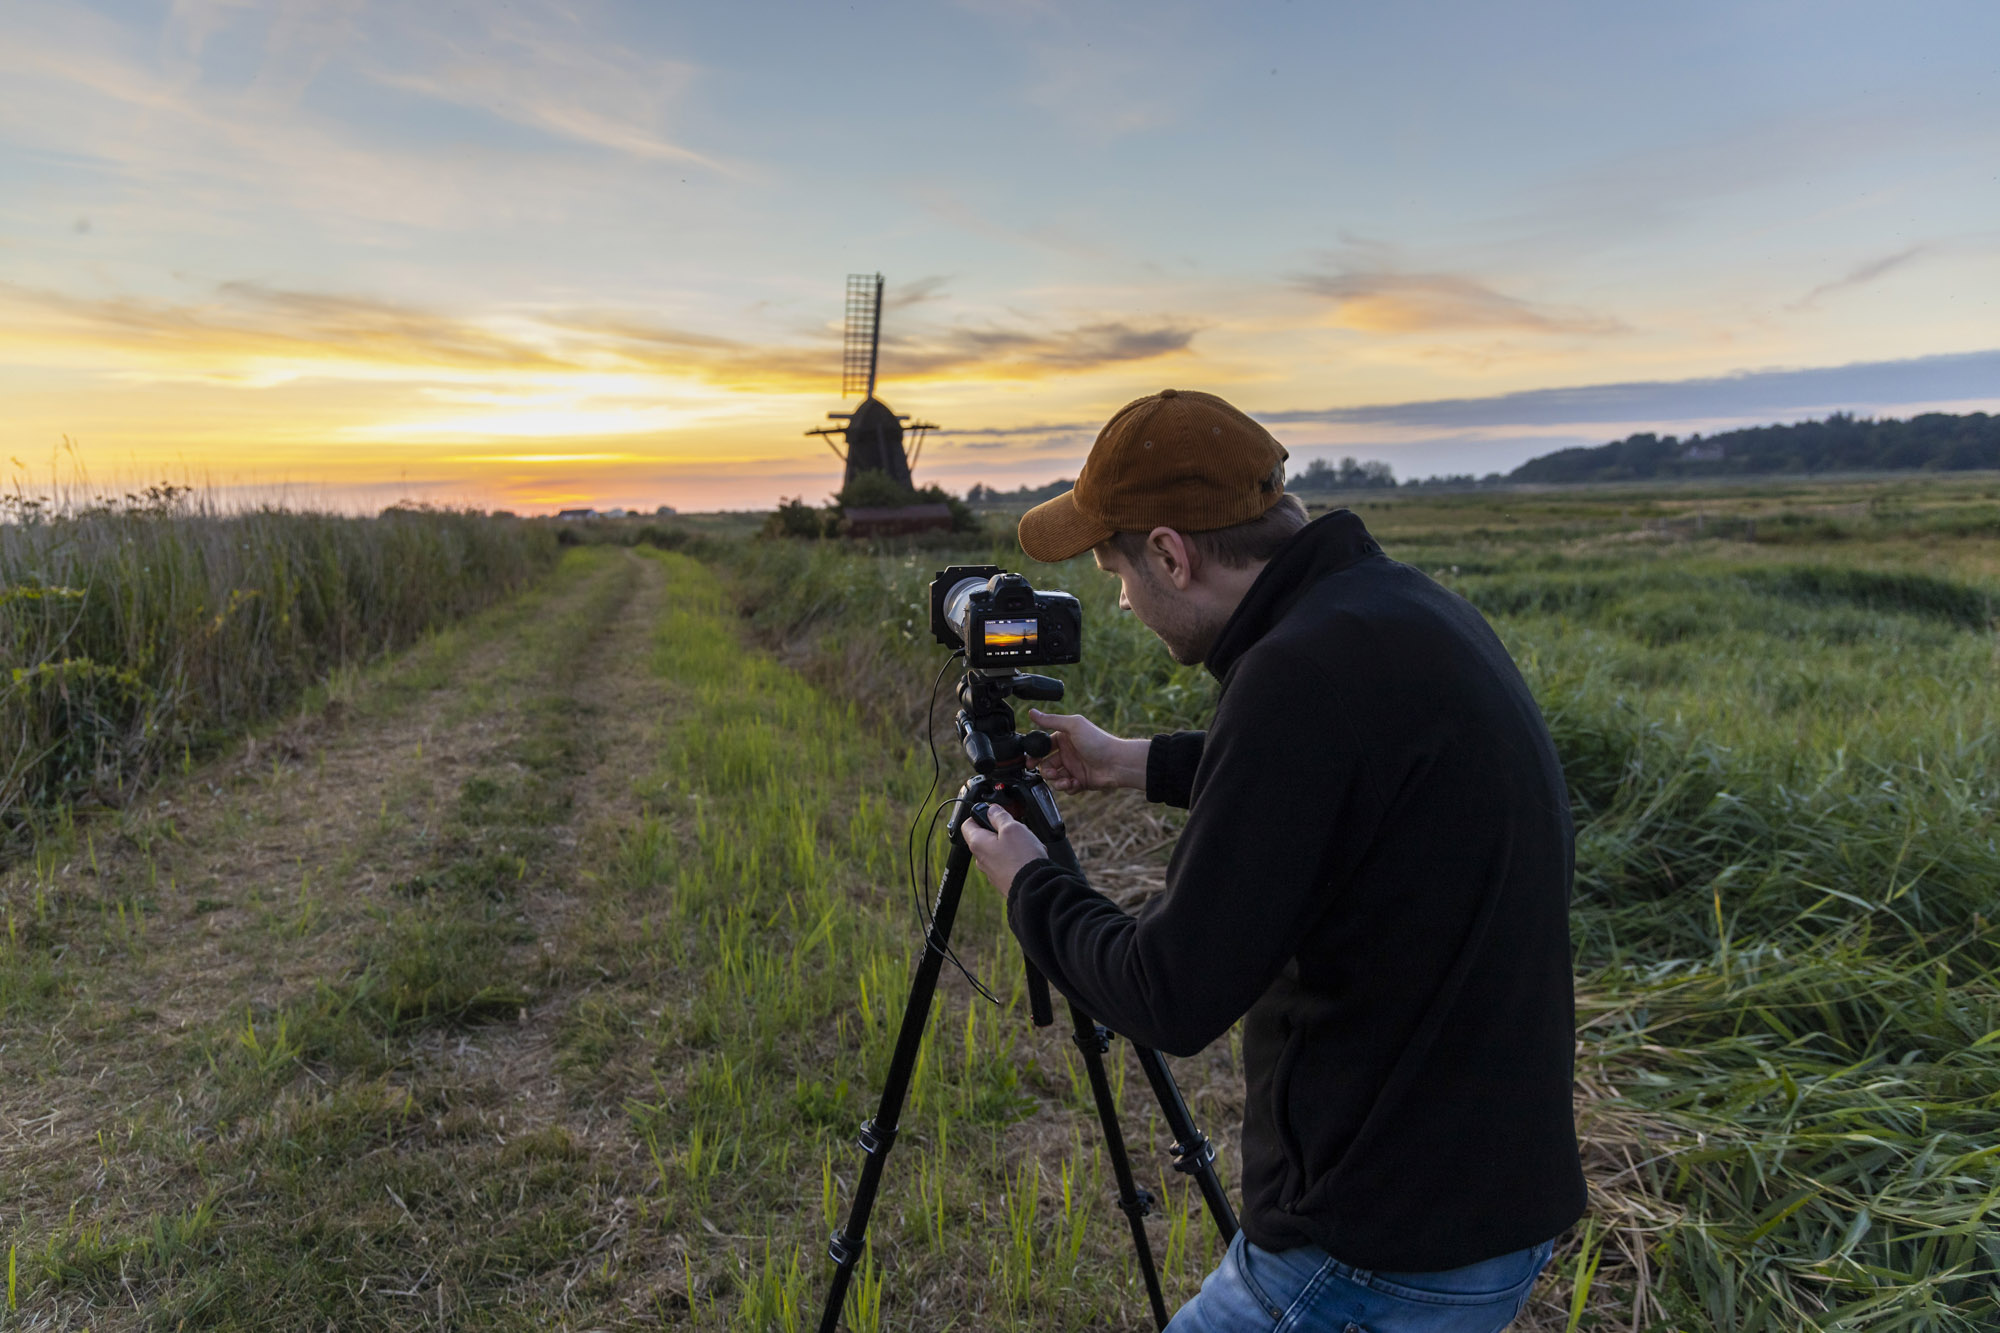
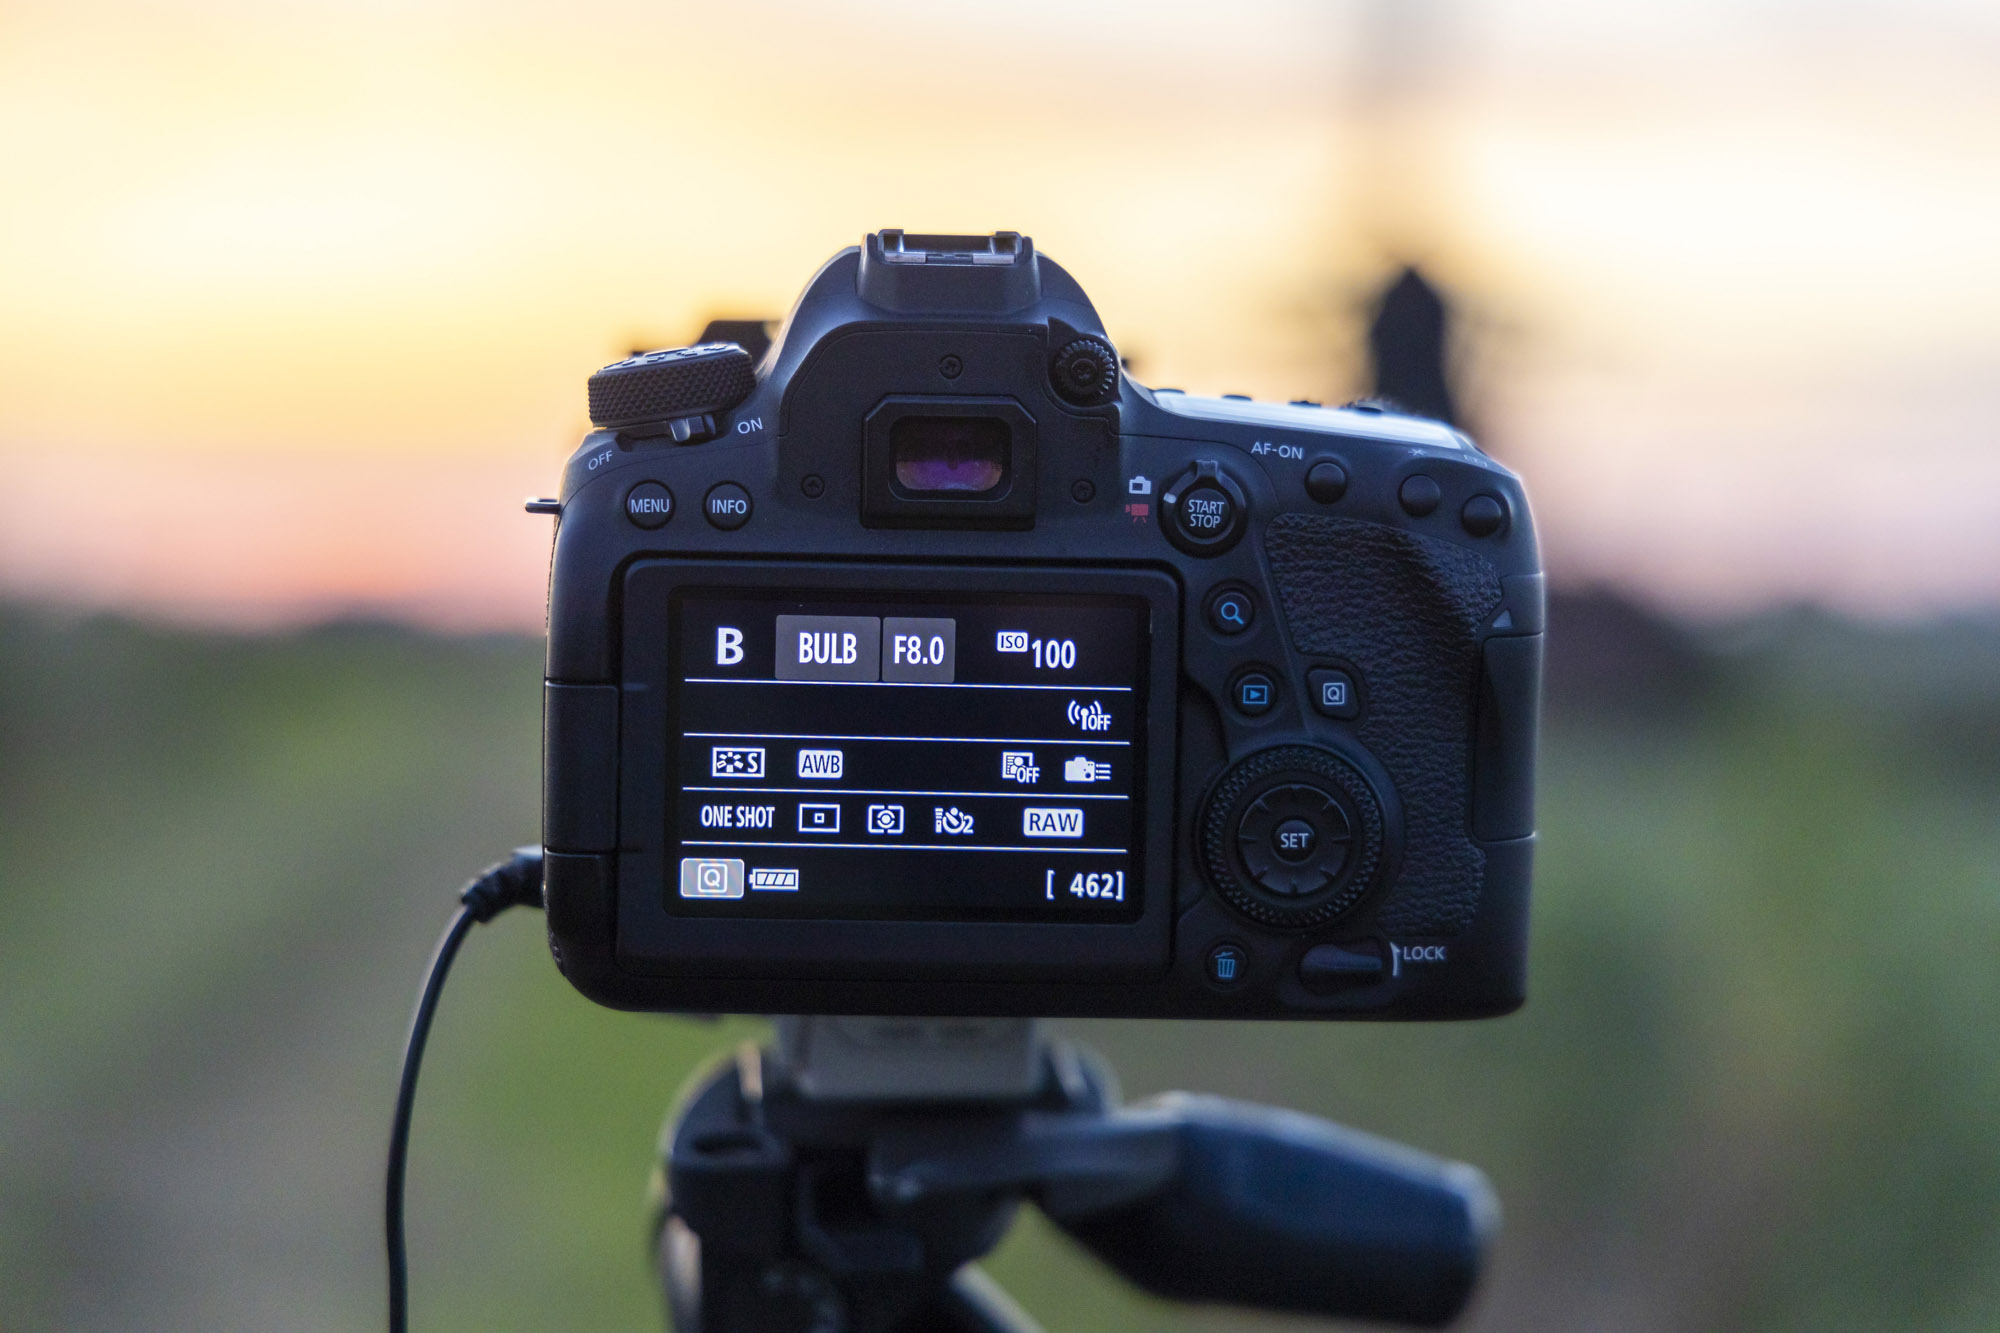
Next, you need to compose your scene. We shot towards the sun for the best sunset colors and to turn the windmill into a stark silhouette; however, we framed up with the sun just out of the shot to avoid a bright hotspot in the frame. You should also go into Manual mode (or Bulb mode if you wish to shoot longer than 30 secs). An ISO of 100 and aperture of f/8 is a good starting point, then make sure Raw shooting is enabled.
The best camera deals, reviews, product advice, and unmissable photography news, direct to your inbox!
• Raw vs JPEG images: what's the difference?
2. Use your ND filter
Because ND filters block out light, your camera finds it more difficult to autofocus once they’re in place, so it’s a good idea to compose and focus first. Then, set the focus mode to MF to lock it off and attach your ND filter. If it’s a circular screw-in ND filter, take care when screwing it on not to knock your zoom or focus rings on the lens.
• These are the best neutral density filters
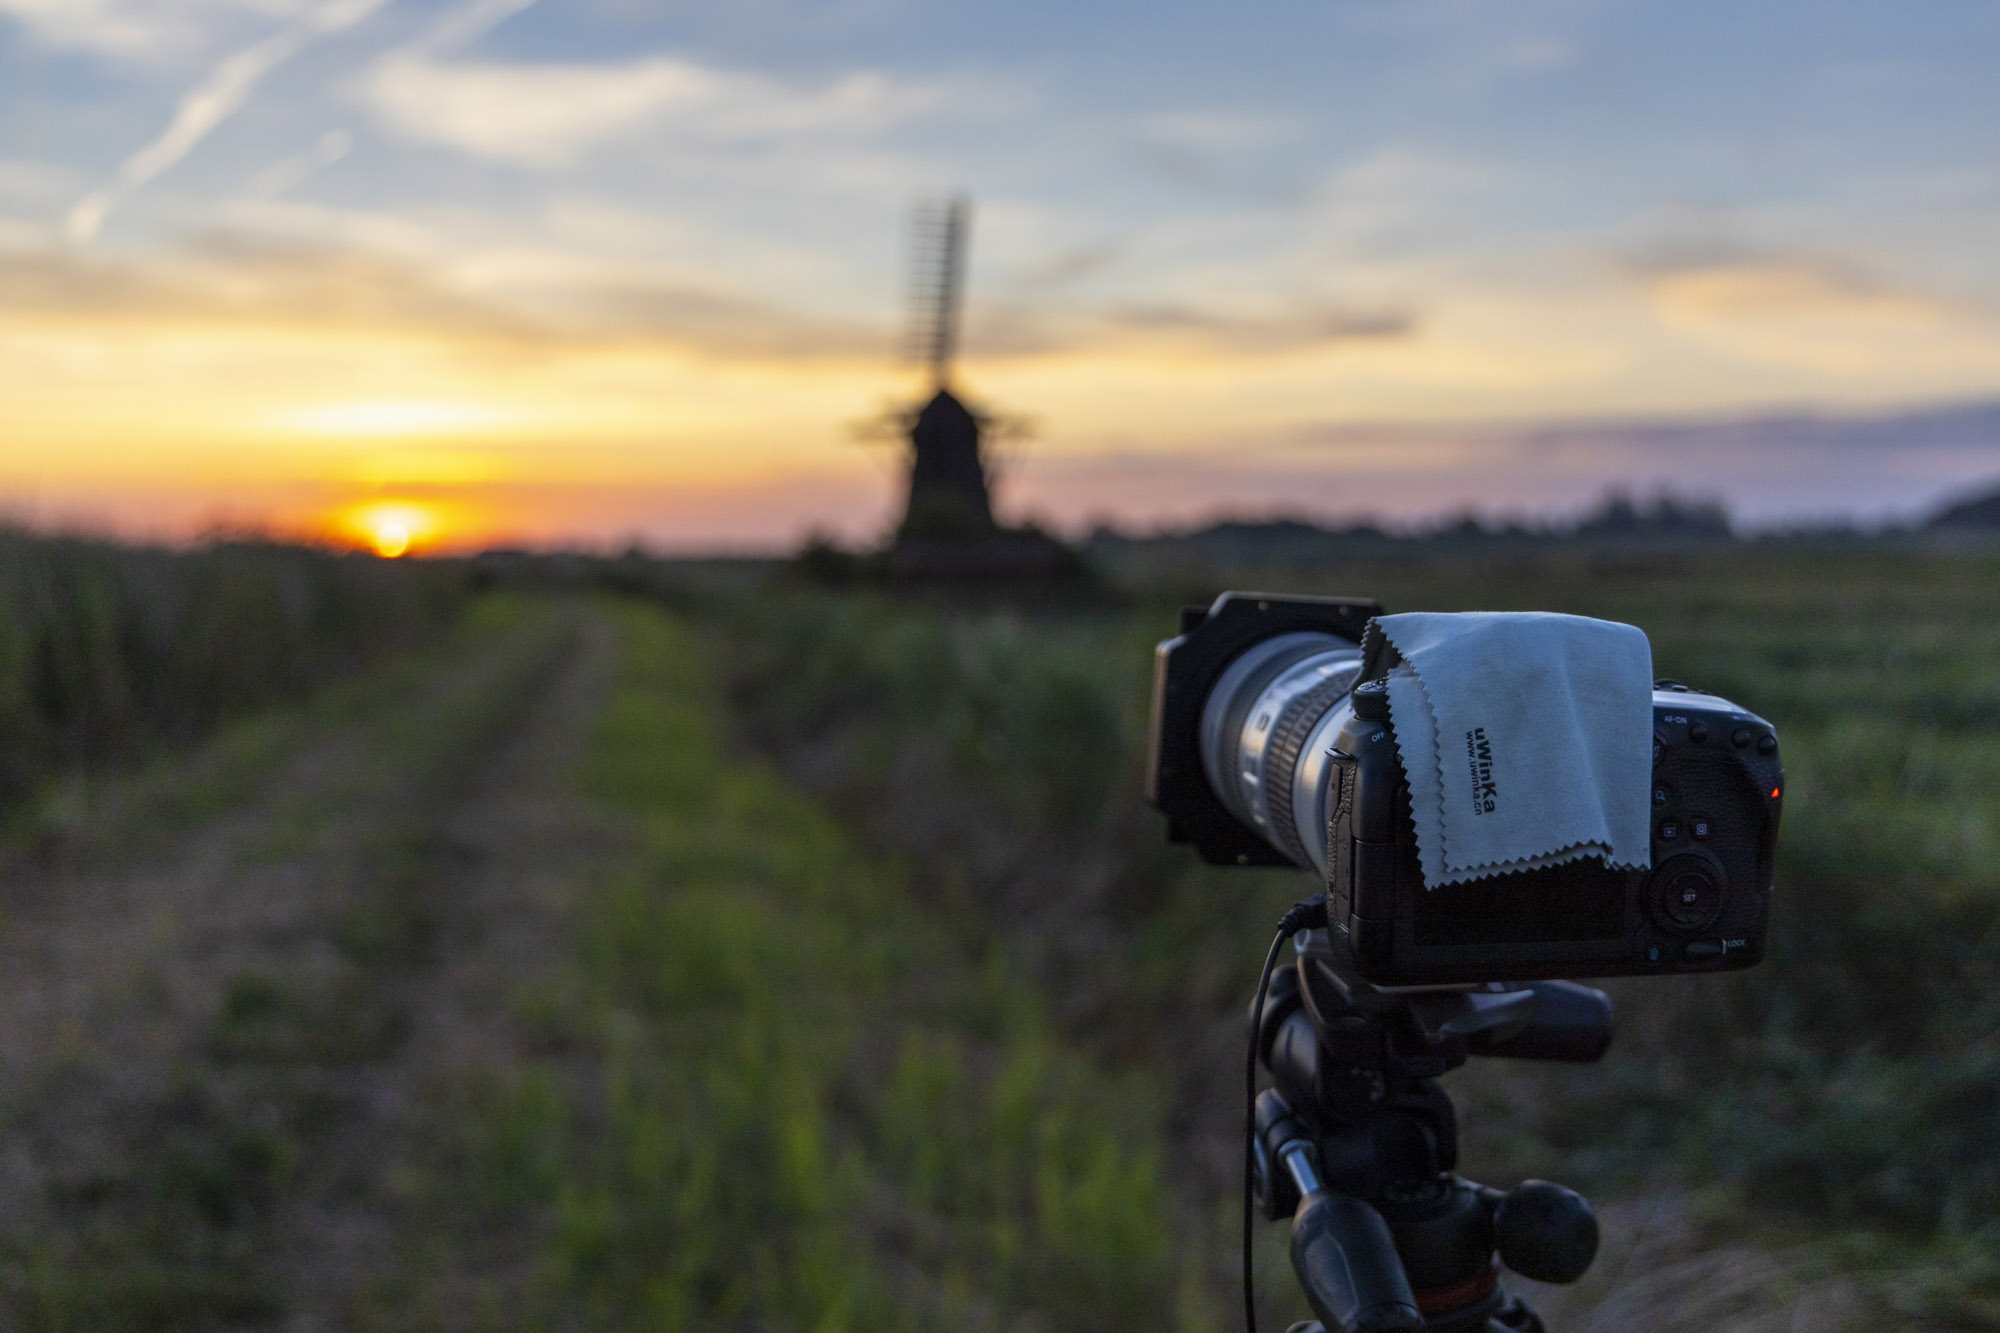
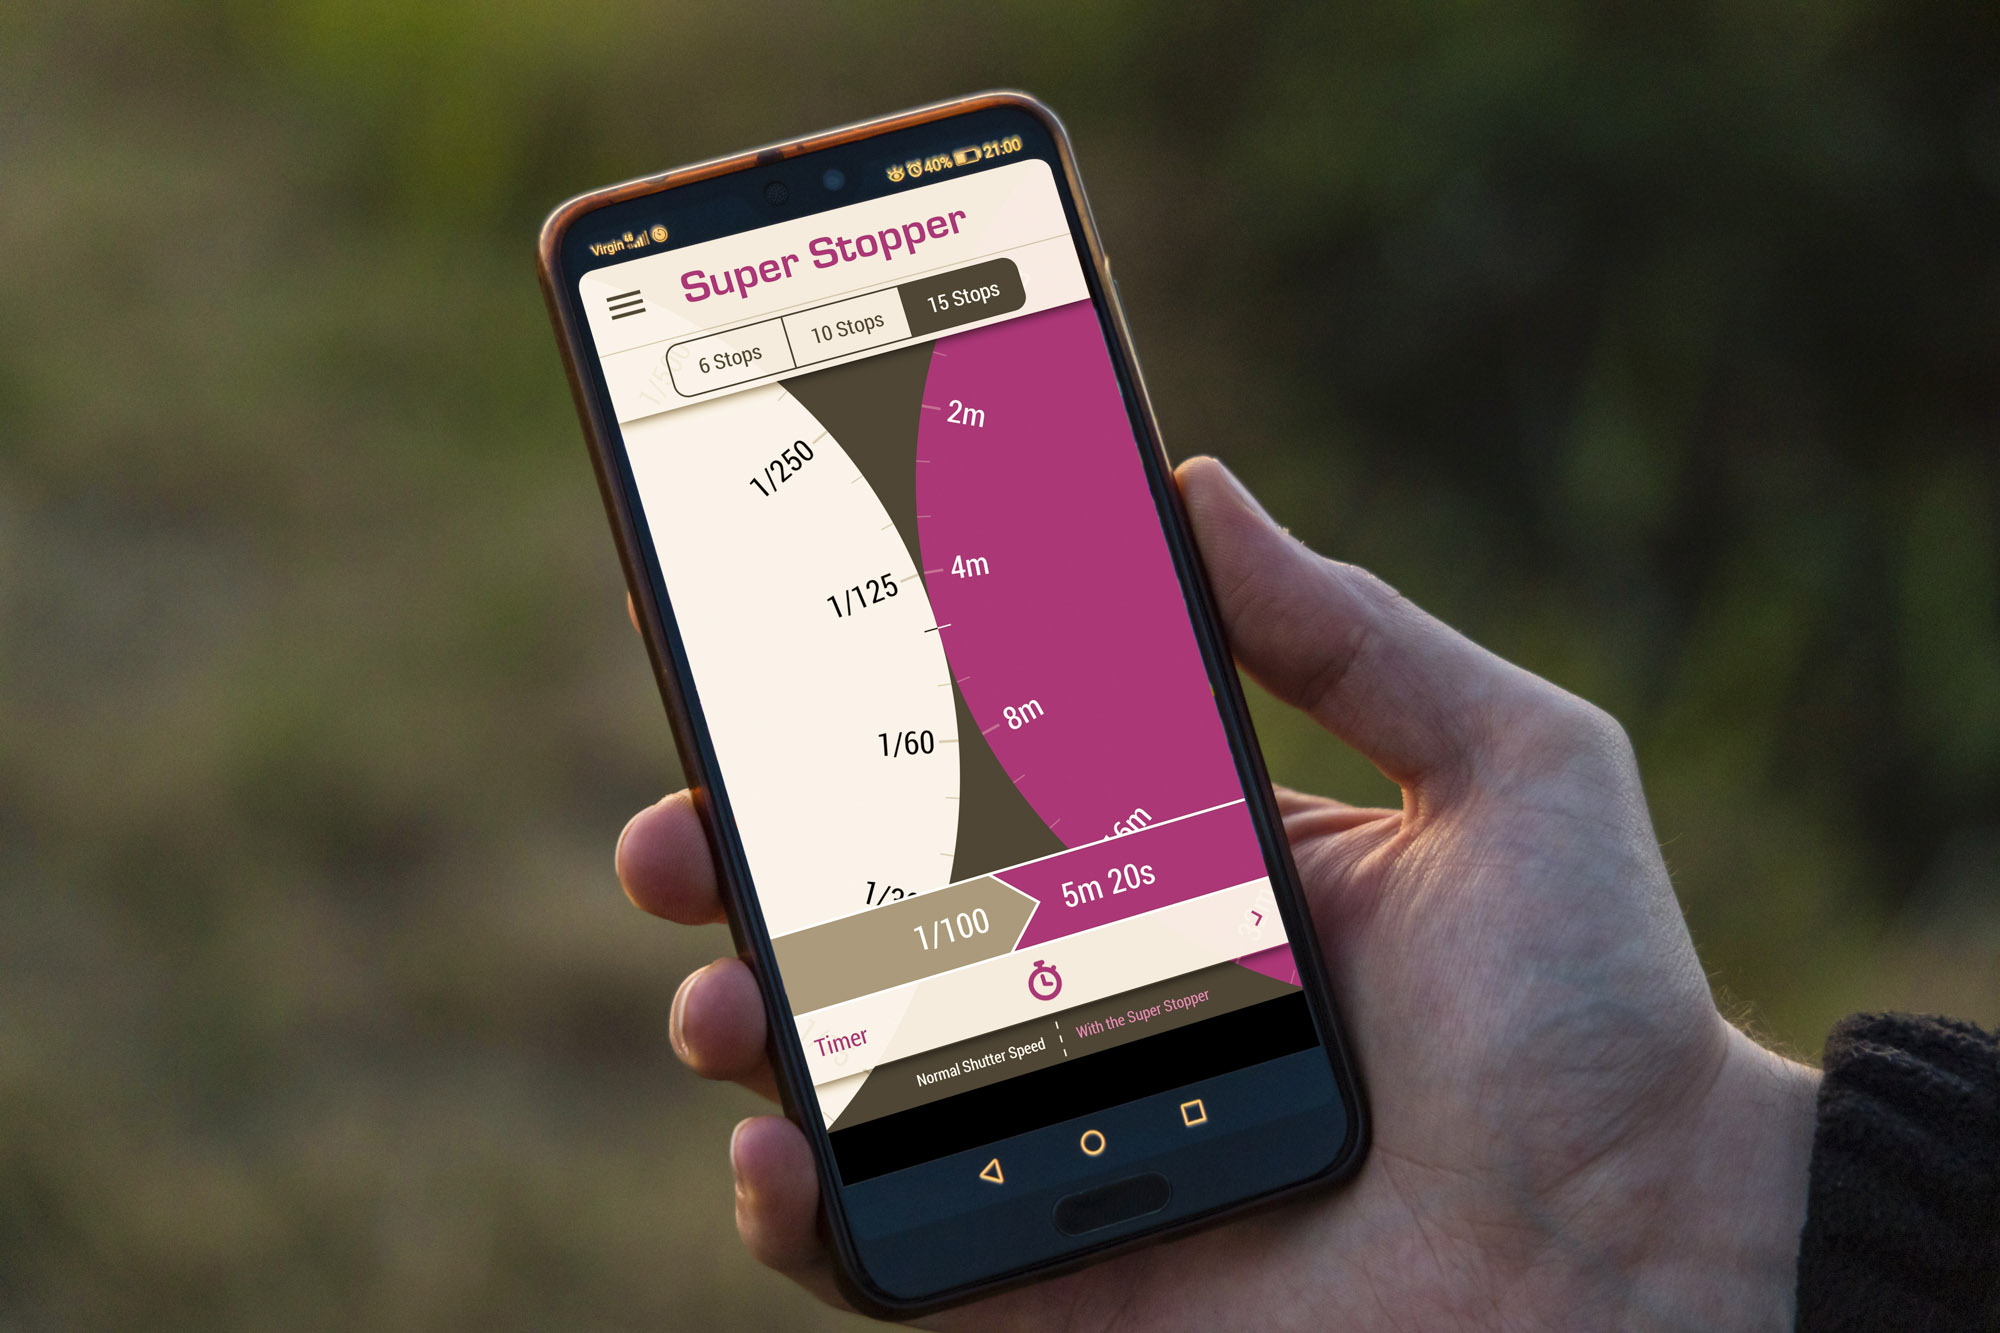
With filter holders, you can quickly whip the filter off if you need to recompose or focus, which makes them a little easier to use, and you can stack several filters together, too, such as a polarizer, ND and graduated ND filter. We used a 15-stop Super Stopper from LEE Filters and used the free LEE Stopper Exposure Guide smartphone app to work out our exposure, which was five minutes!
3. Time your exposure
Many Canon DSLRs and mirrorless cameras can only shoot for a maximum of 30 seconds in Manual mode. To keep the shutter open longer than 30 seconds for exposures several minutes long, you need to use the Bulb mode and a shutter release cable. Bulb mode means that as long as the shutter button is held down, the shutter remains open; use a shutter release cable that can be locked down to avoid camera shake.
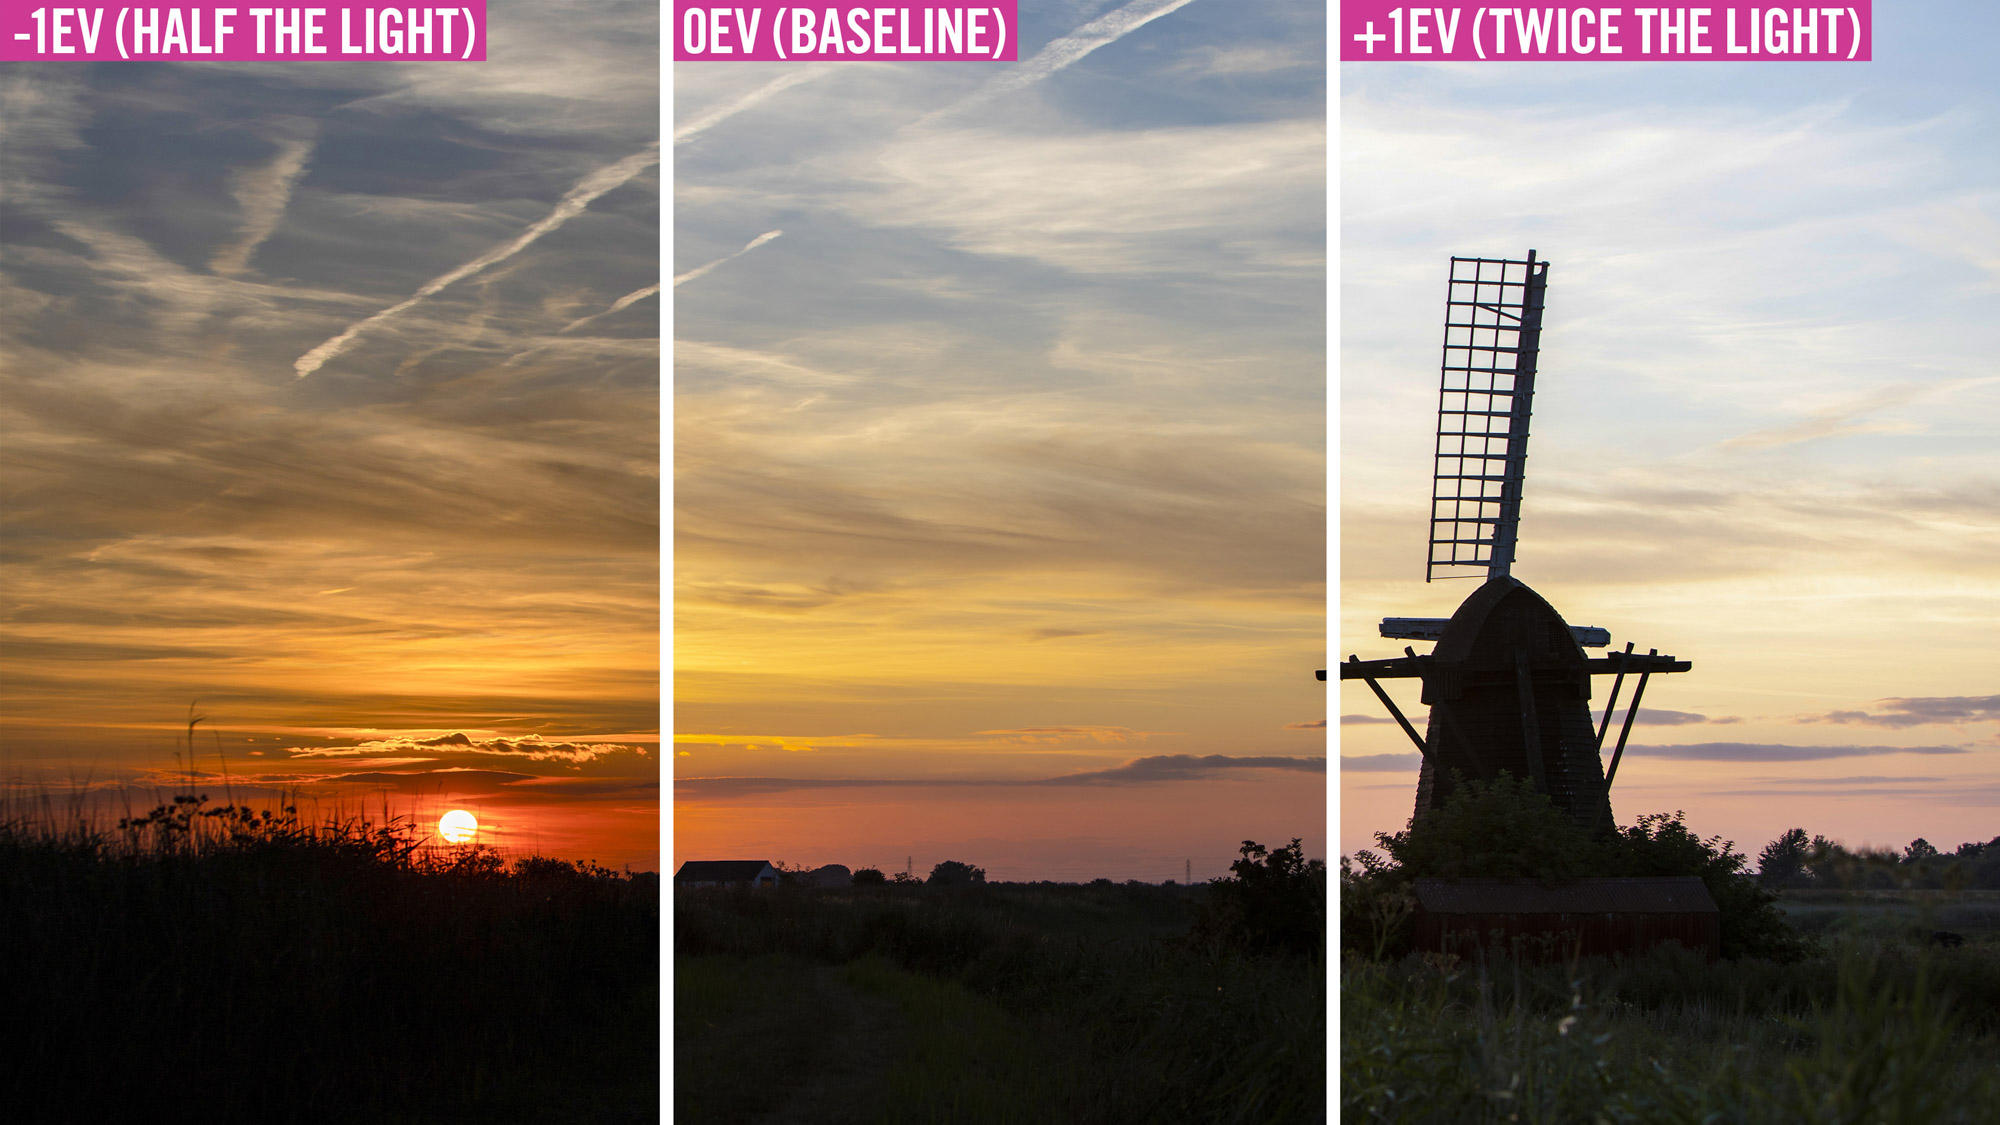
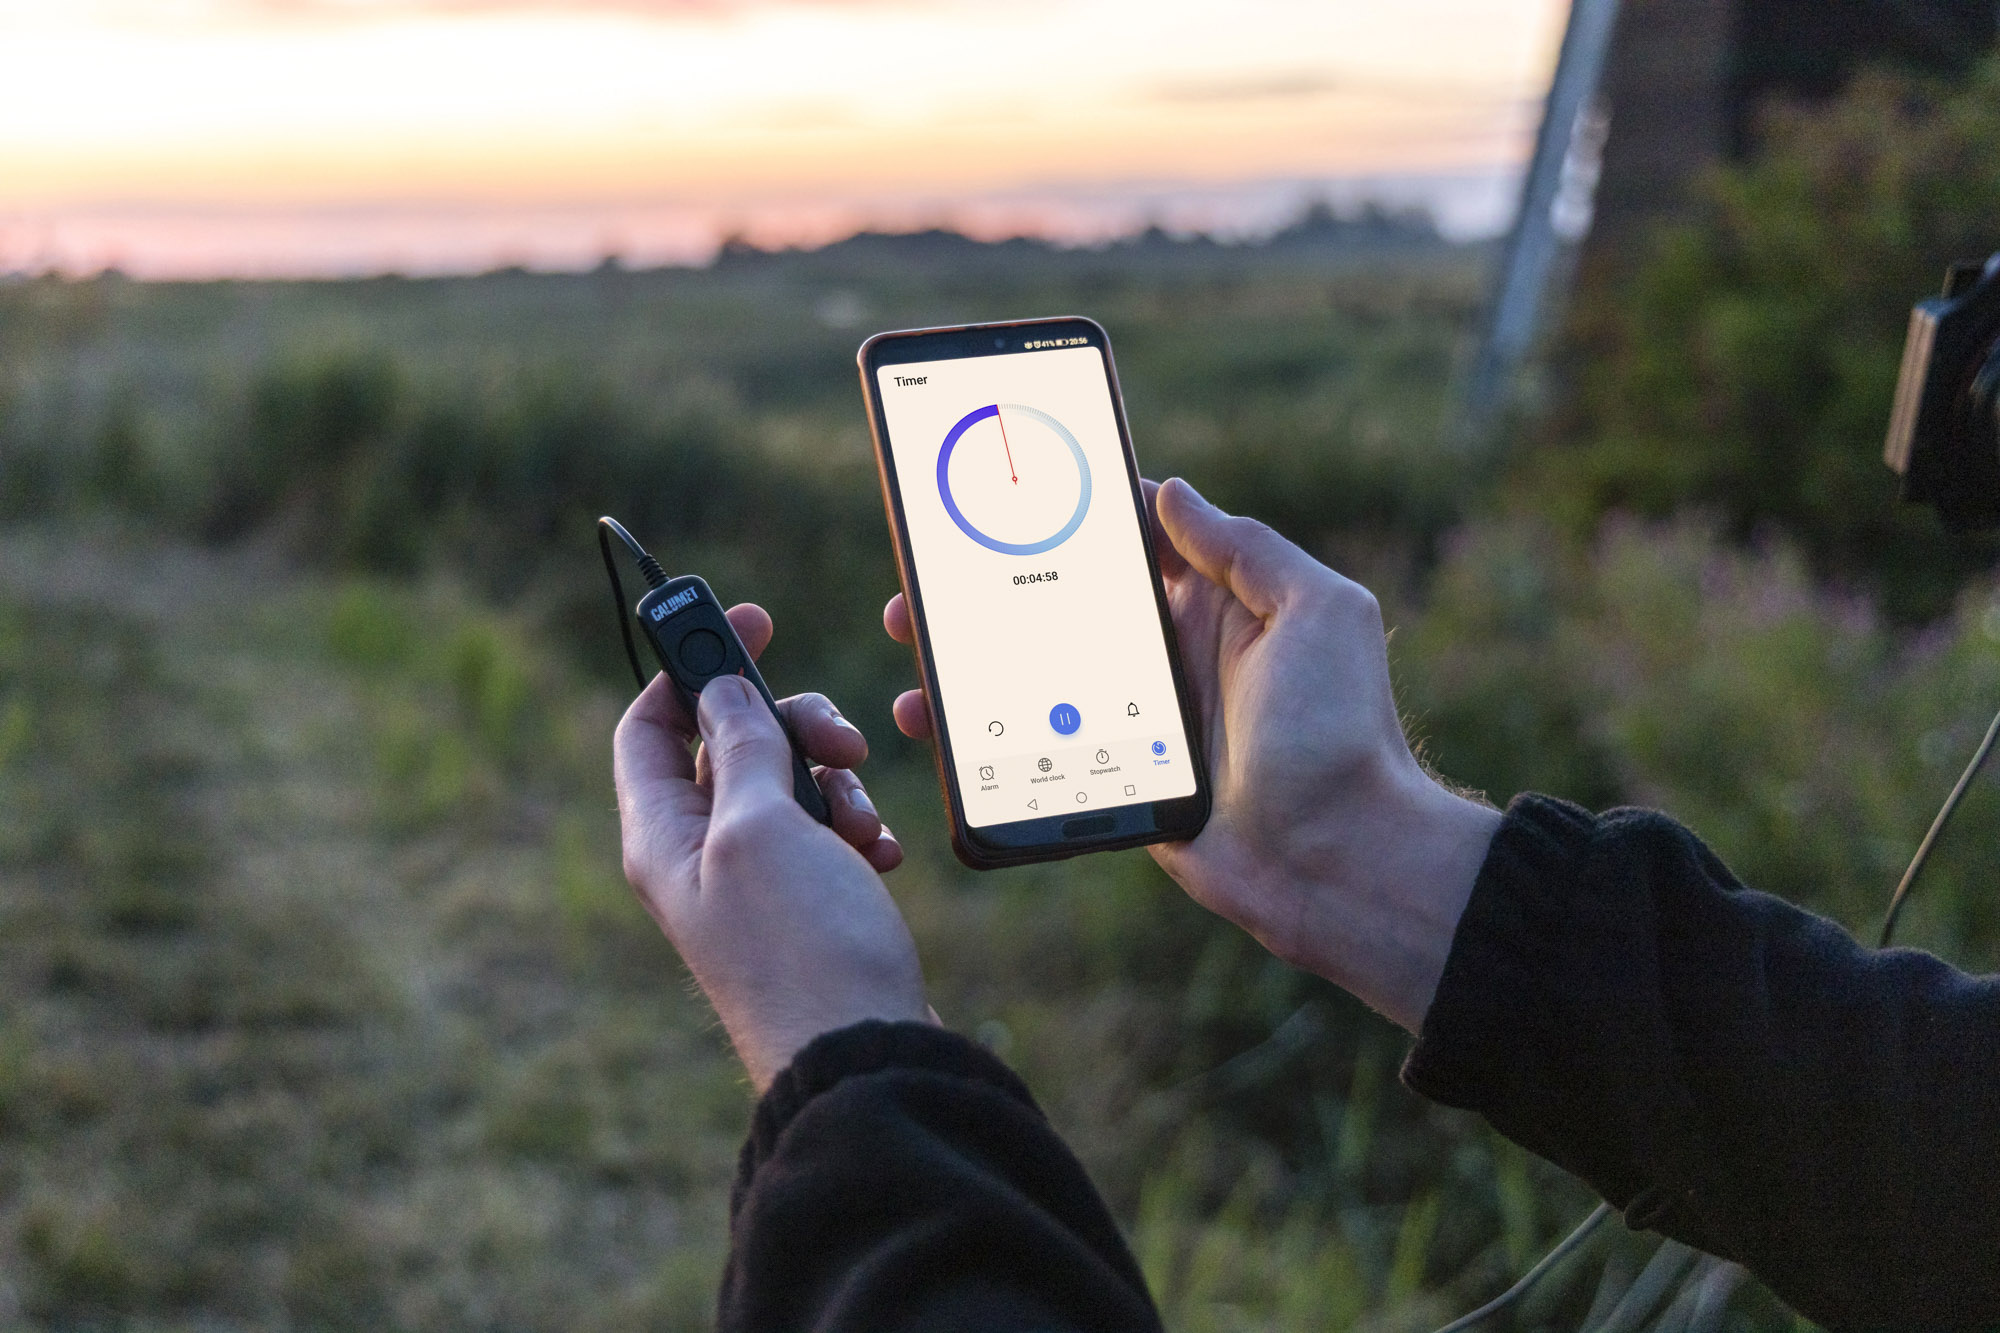
We also dialled in a five-minute exposure to record movement in the clouds and set a timer on our phone. Remember that three clicks of your command dial for aperture or shutter speed equals one stop of light, which is a halving or doubling of light.
4. Take the shot
Now it’s time to fully depress the button on your shutter release cable and push it up to lock it off until your timer goes off. After your first test shot has finished, review the image on your camera’s screen and assess whether it’s too dark or too bright. We wanted a really long exposure time of five minutes in order to add motion to the clouds, which were moving, but very slowly.
This meant we couldn’t change the exposure time, but the aperture and ISO values could be altered to make the scene either brighter or darker. You could also try using a different strength neutral density filter to block out more or less light. The only issue with adjusting the aperture is that it affects the depth of field in your scene, so try to keep this around f/8-f/16 if possible to achieve the best sharpness.
PhotoPlus: The Canon Magazine is the world's only monthly newsstand title that's 100% devoted to Canon, so you can be sure the magazine is completely relevant to your system.
These are the best cameras for portraits and the best portrait photography tips. You might also like the best photo editing software and the best photo-editing laptops.

In addition to being a freelance photographer and filmmaker, Dan is a bona fide expert on all things Canon and Adobe. Not only is he an Adobe-certified Photoshop guru, he's spent over 10 years writing for specialist magazines including stints as the Deputy Editor for PhotoPlus: The Canon Magazine, Technical Editor for Practical Photography and Photoshop Editor on Digital Photo.
