6 ways to get the most out of your kit lens
Don't write off your kit lens just yet – you can use it to produce great shots with a little know-how

The best camera deals, reviews, product advice, and unmissable photography news, direct to your inbox!
You are now subscribed
Your newsletter sign-up was successful
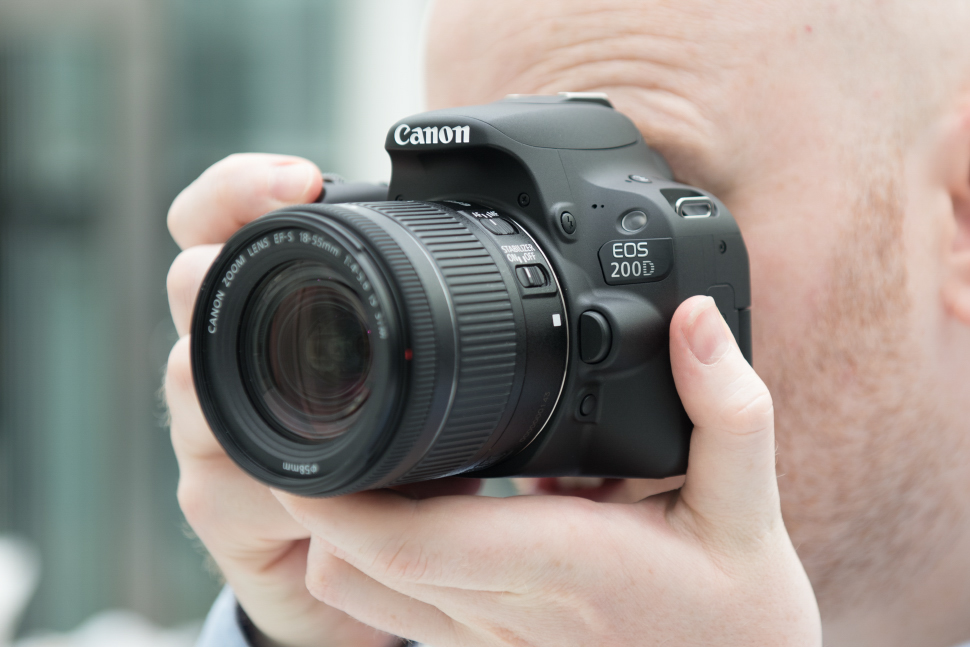
With their modest focal ranges and relatively narrow apertures, kit lenses are easy to dismiss as little more than just the lens that came with your camera – but that would be doing them a disservice.
They’re small and light enough to be taken anywhere, and their focal range is often perfectly sufficient for everyday shooting. Furthermore, once you learn a few things about their strengths and weaknesses you can push them to perform to their maximum capability.
Here are six ways to get the most out of them.
1. Use mid-range apertures where you can

It's easy to criticise a kit lens for producing slightly unsharp images, but most lenses can exhibit softness somewhere in their aperture range.
Typically, you'll find softer results at their maximum and minimum apertures; most lenses end up delivering sharper images at middle-of-the-range apertures such as f/5.6-f/11, so you should try to stick to these kinds of apertures where possible, particularly when you know you’ll be cropping or enlarging images later on.
Naturally there will be certain situations where you have to use a wider aperture, such as when shooting in sub-optimum lighting conditions or when trying to achieve a shallow depth of field. Nevertheless, if you feel like your image would benefit from it, and your shooting conditions allow you to, try to use apertures close to the middle of the available range. Even just a couple of stops can make a difference.
Read more: Cheat sheet - Narrow vs wide apertures
The best camera deals, reviews, product advice, and unmissable photography news, direct to your inbox!
It’s useful to know this as your camera will often choose a relatively wide aperture, such as f/3.5, when set to its Auto or Program modes. This is largely so that the camera can achieve a fast enough shutter speed, but in most conditions you may still have a fast enough shutter speed at a smaller aperture, particularly if using some form of image stabilisation (which most kit lenses, or the cameras on which they are used, now have – more on this below).
2. Get shallow depth of field by getting close to your subject

One of the most common reasons people upgrade their kit lenses is to be able to have a wider aperture at their disposal for creating images with shallow depth of field. It is, however, still possible to achieve shallow depth of field with a kit lens, which means you can still successfully use these for portraits and other subjects where you want some sharply defined details and other areas blurred.
As a general rule, the closer you are to your subject, and the further away the subject is from its background, the more background blur you will see in your images. So, pick the widest aperture you can – usually f/5.6 – and try to get close to the subject, all the while keeping the background distant.
Read more: How to get shallow depth of field effects with any camera
This applies to both the wide-angle and telephoto ends of the lens, although for portraiture and most other applications, you’ll achieve a more flattering result using the latter.
3. Know your safe zone for image stabilisation

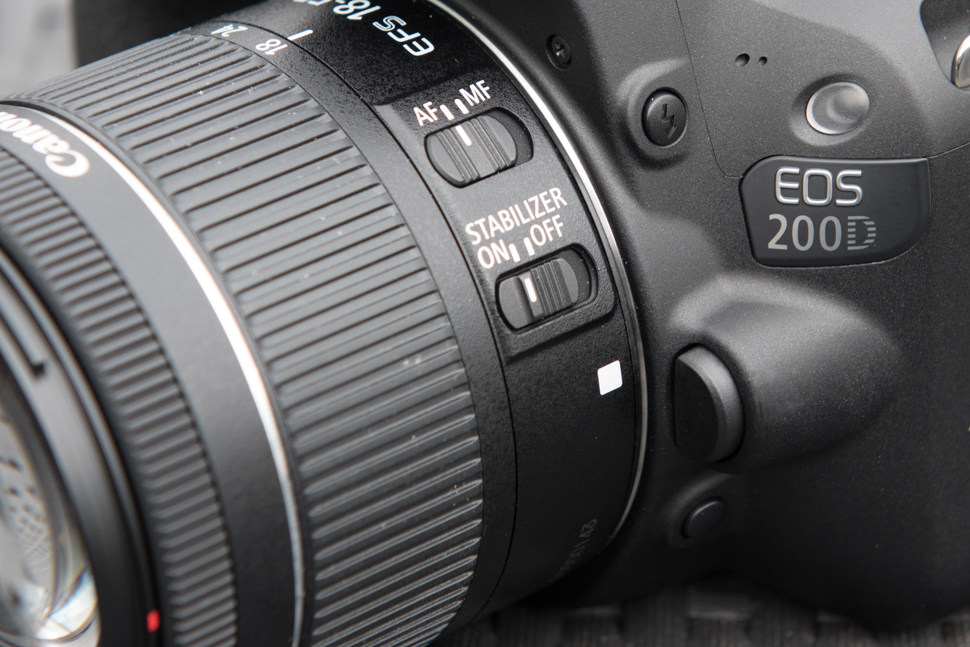
Image stabilisation, which can be found in both cameras and lenses, is a useful tool to help keep images sharp at slower shutter speeds, and the extent to which it’s effective will depend in part on your camera and focal length of your kit lens. It’s a good idea to calculate and remember what shutter speeds you can get away with so that you know not to drop below these.
Typically, such systems promise a 3-4EV stop advantage over non-stabilised systems. So, a 60mm lens used on a full-frame camera will generally allow you to safely use a shutter speed of around 1/60sec, but image stabilisation may extend this down to around 1/8 sec or 1/4sec.
Using image stabilisation, an 18-55mm kit lens used on a camera with an APS-C sensor will typically allow you to use a shutter speed of up to 1/4sec or 1/2sec at the wide-angle end and 1/10sec or 1/5sec at the telephoto end, when the size of sensor is taken into account.
Your technique is also important here, and the effectiveness of different systems varies, so check what kind of claims your manufacturer makes.
The former editor of Digital Camera World, "Matt G" has spent the bulk of his career working in or reporting on the photographic industry. For two and a half years he worked in the trade side of the business with Jessops and Wex, serving as content marketing manager for the latter.
Switching streams he also spent five years as a journalist, where he served as technical writer and technical editor for What Digital Camera before joining DCW, taking on assignments as a freelance writer and photographer in his own right. He currently works for SmartFrame, a specialist in image-streaming technology and protection.

