6 ways to get the most out of your kit lens
Don't write off your kit lens just yet – you can use it to produce great shots with a little know-how
4. Let the camera iron out any optical issues

Aside from softness, one of the most frequent criticisms of kit lenses is their less-than-impressive control over optical aberrations.
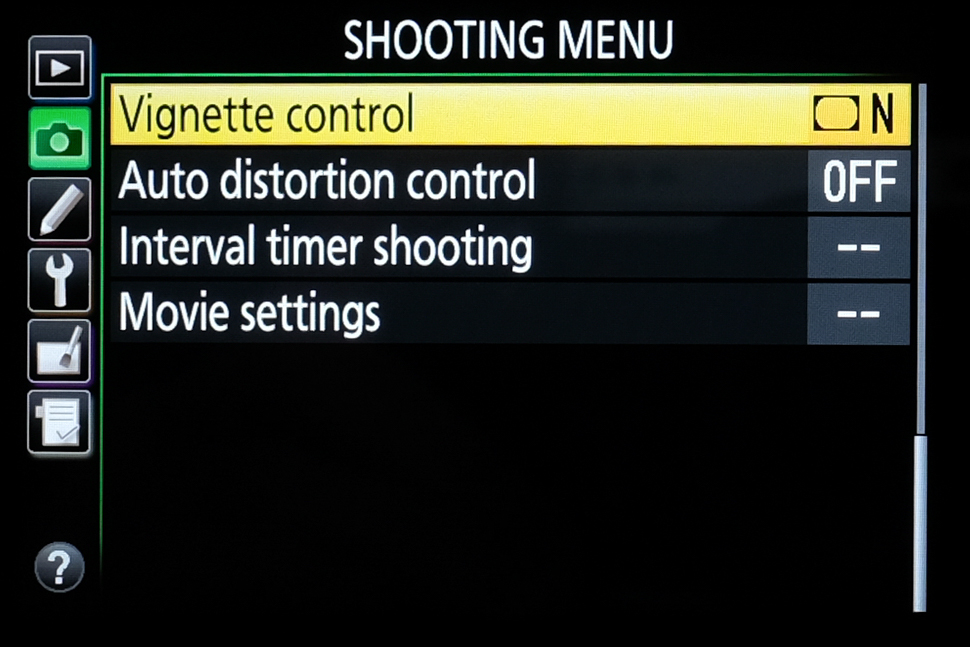
Vignetting, where the corners and edges of the frame darken slightly, and distortion, where details appear to take on a slight barrel- or pincushion-like appearance, are the most easily identifiable issues in cheaper lenses, but modern cameras can quickly and effectively deal with these.
Check your camera’s menu to see whether there are options for controlling distortion and vignetting, and maybe chromatic aberration too, and make sure they are activated so that they are applied automatically as you capture images. Not only will this save you processing time but it will also mean you can use your images straight away.
Bear in mind that some of these corrections might slow down your camera when it comes to burst shooting, so do a quick test with them on and off to compare any difference in performance.
If your camera doesn’t offer these kinds of corrections, the software you use to process them might. This is highly likely to be the case if you’re using the software that came with your camera, but third-party applications such as Adobe Lightroom and DxO Optics Pro may also know the characteristics of the lens used to capture the image and can apply these in an instant.
5. Extend close-focusing capabilities with an accessory

Like all optics, kit lenses have a minimum focusing distance that determines how close you can get to your subject, and it usually won’t be close enough for macro shots. This doesn’t mean, however, that you have to rush out and spend money on a macro lens if you want to home in on a subject’s finer details.
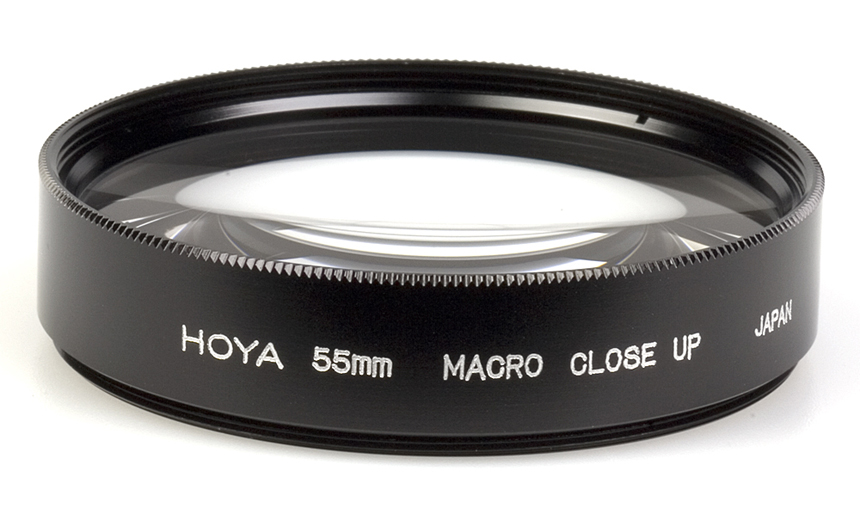
You could try a close-up lens, also known as a macro filter, which screws onto the front of your optic. These are available in a range of strengths and you can use a number at the same time, although make sure to get a high-quality type with a slim profile to avoid vignetting.
The best camera deals, reviews, product advice, and unmissable photography news, direct to your inbox!
Read more: The 37 best photography accessories
Alternatively, use a reversing ring to reverse-mount your lens on your camera for the same purpose. Although this will cause you to lose autofocus, and you may be forced to use your lens’s widest aperture, it’s a very cheap way to force a simple lens to focus closer than it otherwise would be able to.
6. Be wary of the widest focal length

The wideangle setting of your kit lens will usually be where barrel distortion is the worst. This makes straight lines appear curved or barrel-like, and is particularly noticeable when shooting buildings or other architecture.
Try to zoom into your scene a little if you can, possibly stepping back and recomposing your shot. Alternatively, make sure your distortion correction is activated if your camera offers it, so that if the lens is likely to produce this, the camera will quickly deal with it.
You can, of course, also rectify this with software, but it's better to try to get it right in camera, for convenience if nothing else.
Read more: 8 reasons to shoot JPEGs over Raw files
The former editor of Digital Camera World, "Matt G" has spent the bulk of his career working in or reporting on the photographic industry. For two and a half years he worked in the trade side of the business with Jessops and Wex, serving as content marketing manager for the latter.
Switching streams he also spent five years as a journalist, where he served as technical writer and technical editor for What Digital Camera before joining DCW, taking on assignments as a freelance writer and photographer in his own right. He currently works for SmartFrame, a specialist in image-streaming technology and protection.

