5 creative indoor portrait ideas - Part 3: Slit lighting effect
Create this dramatic lighting effect with a homemade light modifier and Tom Calton's six steps
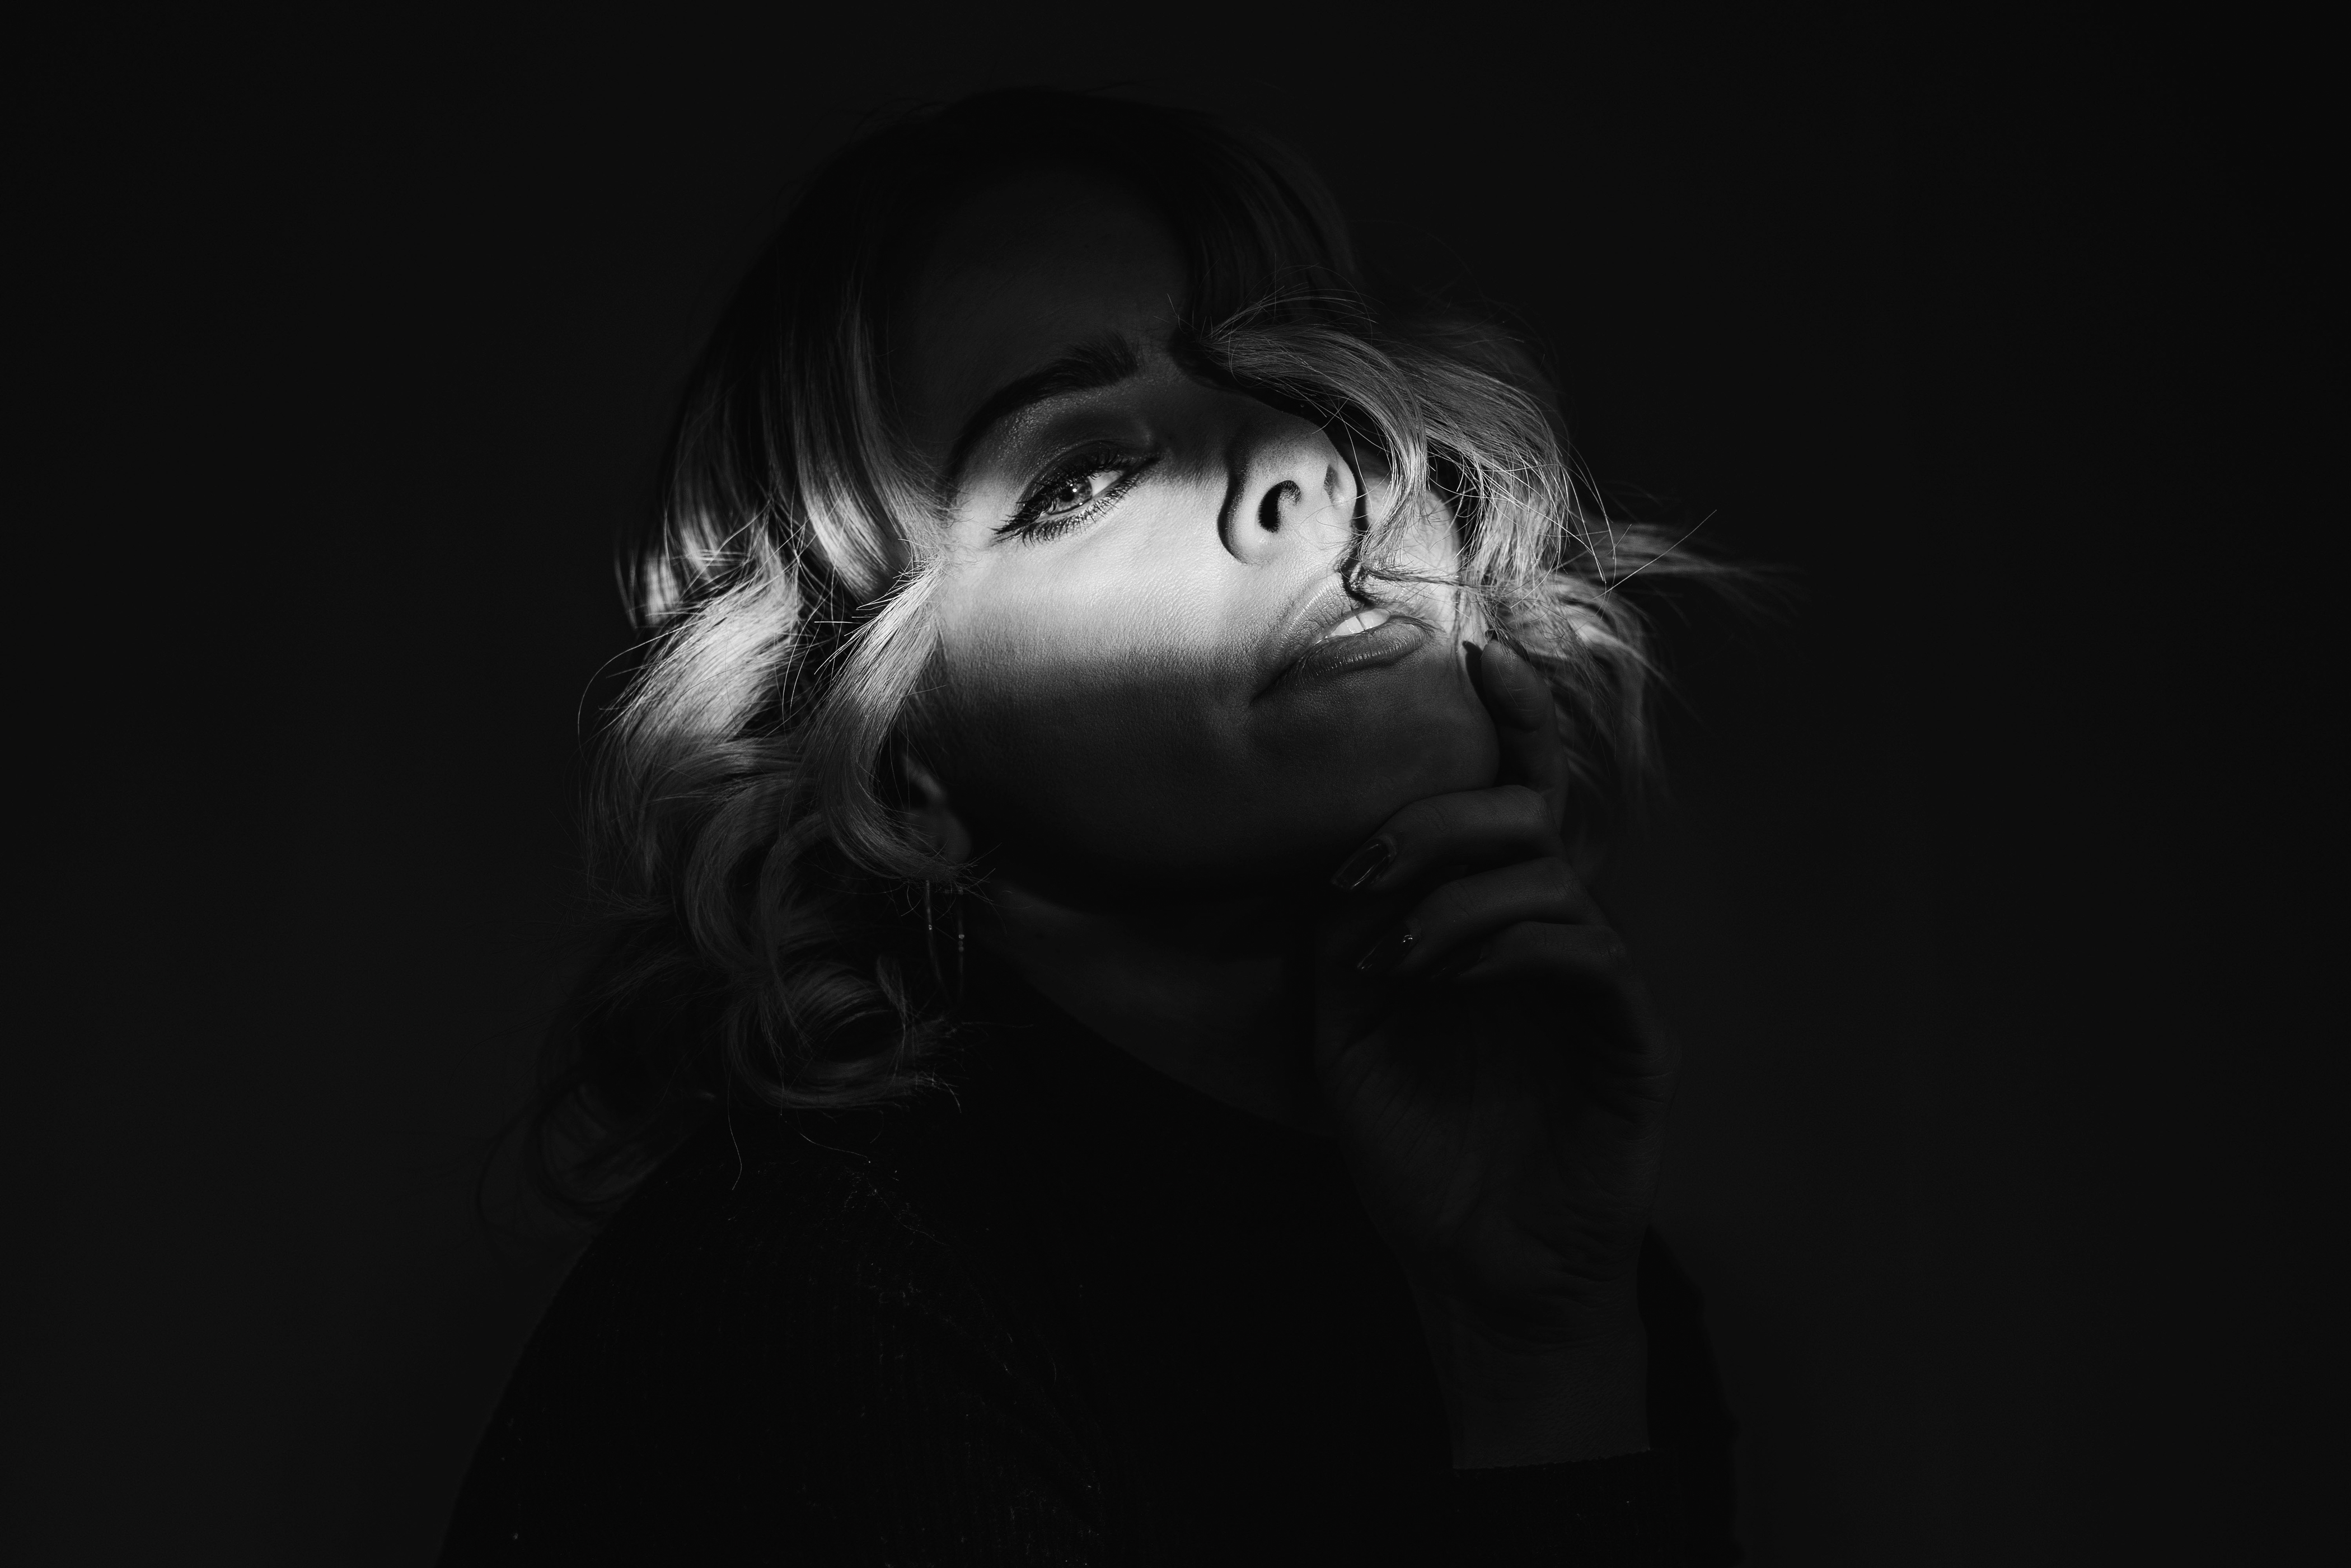
This style of moody, low-key lighting is normally created by placing a light modifier – commonly referred to as a gobo – in front of your flash. Gobos are available in a whole range of shapes and sizes, and can generate a variety of different patterns and shapes.
If you’ve never heard of a gobo before, then essentially this is a stencil or a template that is placed in front of a light source to modify the shape of the light. In our case we’re using a gobo to create a thin slit of light.
If you don’t have the budget to invest in a branded gobo kit, use your crafting skills and make your own. It’s incredibly simple: all you need is a small cardboard box that is large enough to fit over the front of your flashgun, a pencil, and a crafting knife or a pair of scissors.
With your pencil, trace around the flash head of your flashgun onto one end of the box, and use your crafting knife or scissors to cut out a hole so that your flashgun can slide snuggly into it. On the opposite side, make a small slit, which will narrow the band of light and create that slither of light.
Slit lighting effect in six steps
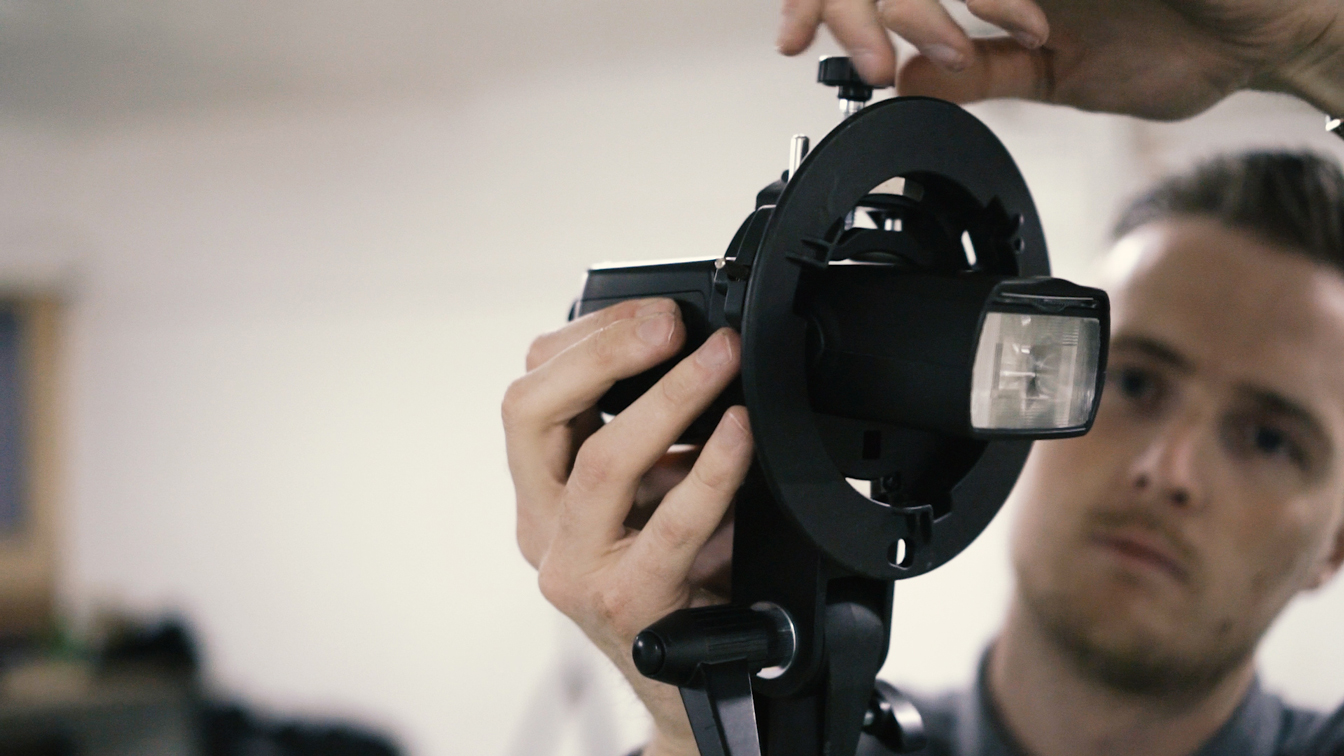
1. Set up your flash
Grab your flashgun, attach your wireless trigger, and secure it to a sturdy light stand. Make sure that the flash head is exposed enough so that you have plenty of room to slide on your DIY gobo

2. Attach the modifier
The best camera deals, reviews, product advice, and unmissable photography news, direct to your inbox!
Grab your DIY gobo light modifier and slide it over the end of your flashgun. Ensure that it is a snug fit, so that all of the flash head is enclosed within the box.
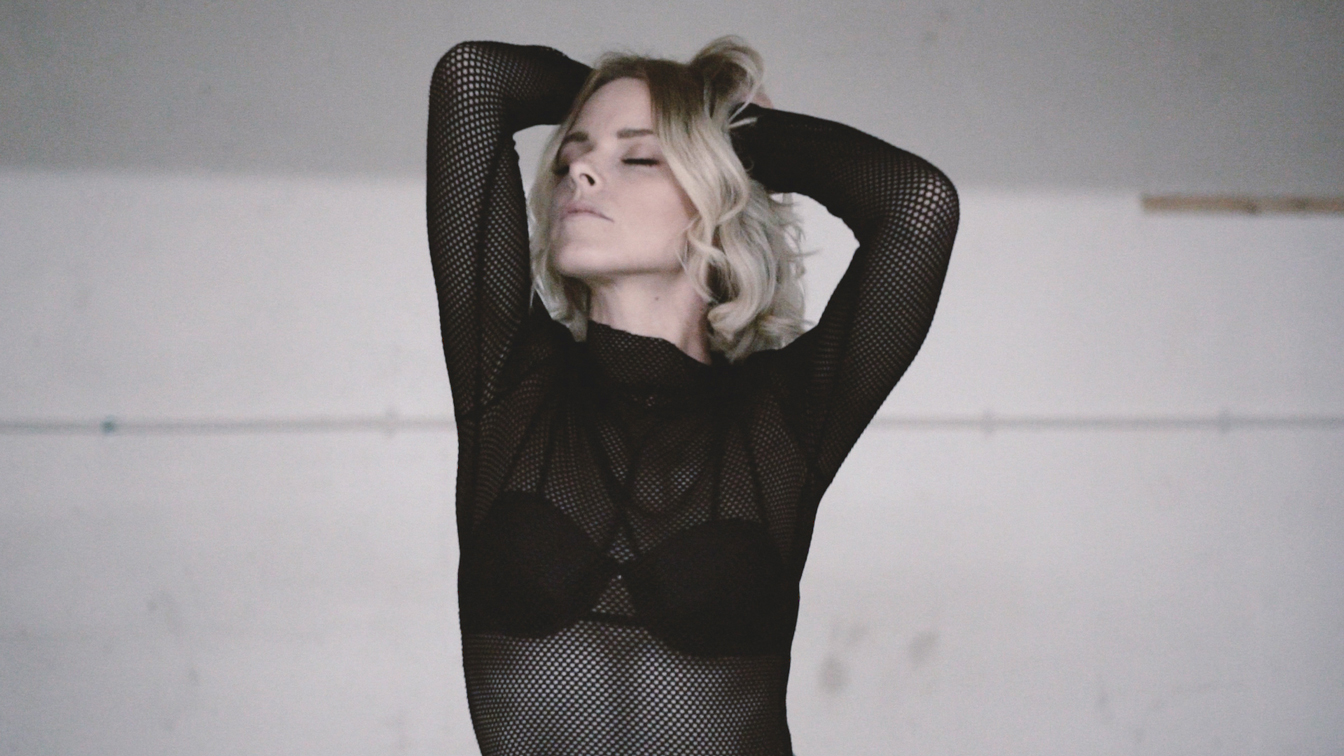
3. Position your model
Ask your model to get into position in front of the flash. It’s important that they don’t move around too much, so it might be beneficial to ask them to sit on a chair or a stool.
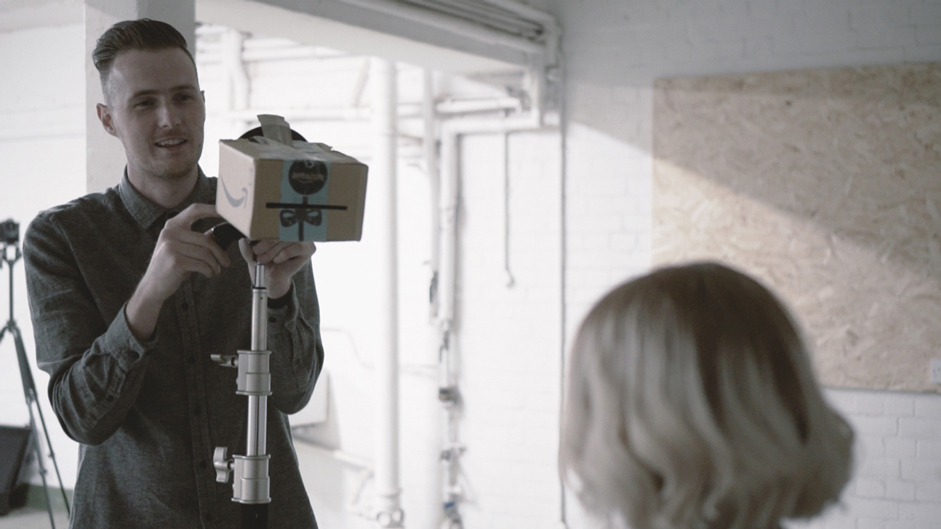
4. Aim the flash
Unless your flash has a modelling light, you’re going to have to guess where to aim the flashgun. Do this by looking over the top of the box and lining it up with your model’s face.
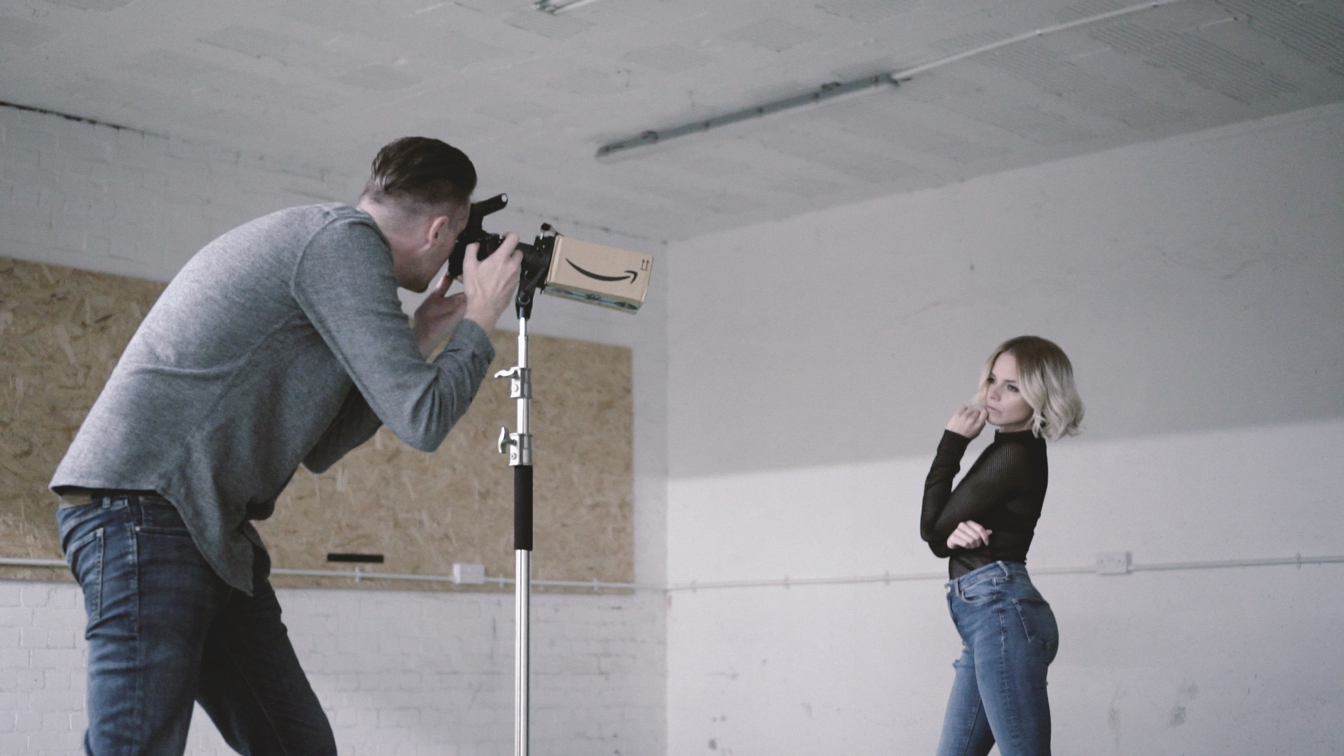
5. Test shot
Take a quick test shot, and then review the image. You may need to adjust the position of the light until the thin slit of light is in exactly the right position on the model’s face.
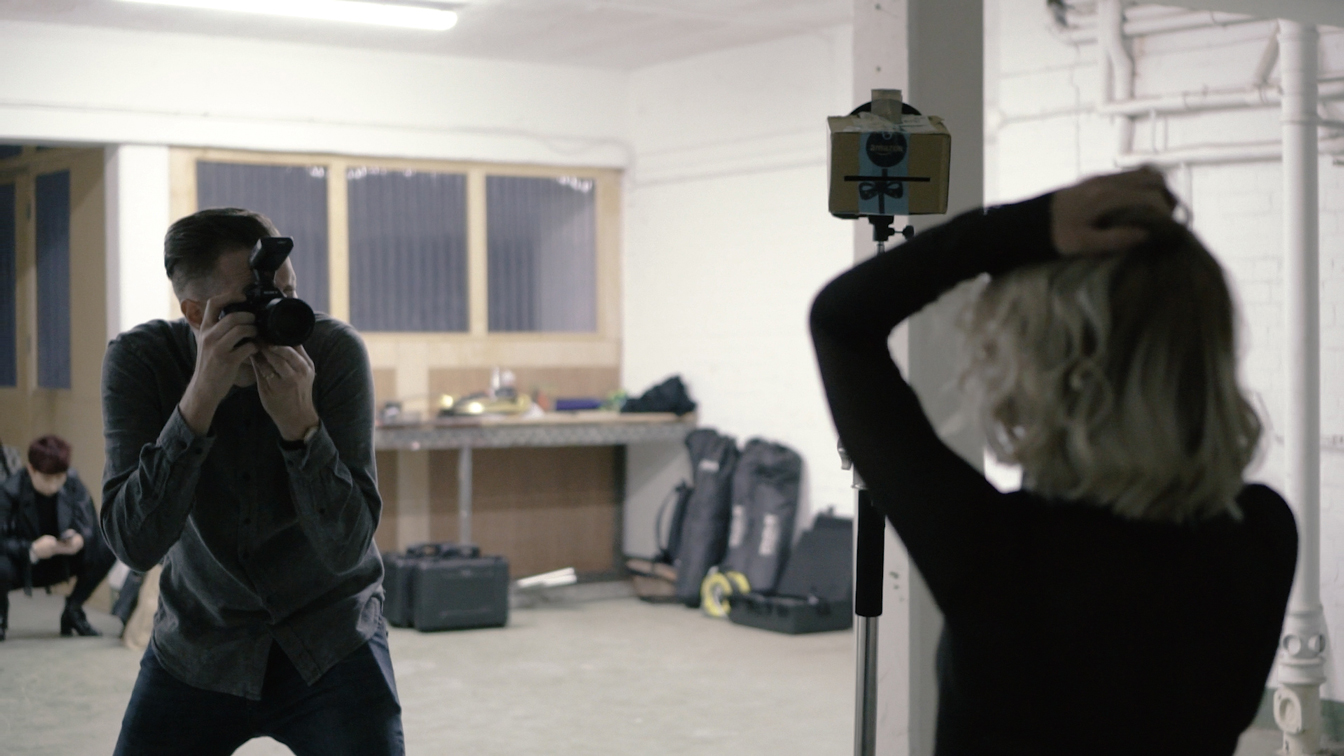
6. Shoot and review
Once you’re happy with the position of the flash, it’s time to bag the shot. Review your shots regularly to ensure that the light is in line with the model’s face. Adjust their position again if necessary.
Read more:
Best 85mm lenses for portraits
Portrait photographers to follow this year
Home photography ideas
5 creative indoor portrait ideas - Part 1: One-light portraits

Lauren is a writer, reviewer, and photographer with ten years of experience in the camera industry. She's the former Managing Editor of Digital Camera World, and previously served as Editor of Digital Photographer magazine, Technique editor for PhotoPlus: The Canon Magazine, and Deputy Editor of our sister publication, Digital Camera Magazine. An experienced journalist and freelance photographer, Lauren also has bylines at Tech Radar, Space.com, Canon Europe, PCGamesN, T3, Stuff, and British Airways' in-flight magazine. When she's not testing gear for DCW, she's probably in the kitchen testing yet another new curry recipe or walking in the Cotswolds with her Flat-coated Retriever.
