The best camera deals, reviews, product advice, and unmissable photography news, direct to your inbox!
You are now subscribed
Your newsletter sign-up was successful
Watch video: 4 astrophotography tips
Just because the sun goes down doesn’t mean you should pack up your gear and head home! Some of the most fun you can have with a camera happens after dark. From shooting starry skies and capturing whirling star trails to painting with light, you can get creative – and even shoot the elusive Northern Lights if you’re far north enough to see them.
After-dark photography is a great string of techniques to add to your bow, and I will help you get that hang of shooting in low light, mastering settings such as high ISOs and fast apertures, and getting to grips with wide lenses, shutter release cables and tripods.
• If you want to get stargazing, you'll need the best cameras for astrophotography
In this project, I’ll run through four of my favorite techniques to try when the skies are clear and the stars are out…
1. Pin-sharp stars
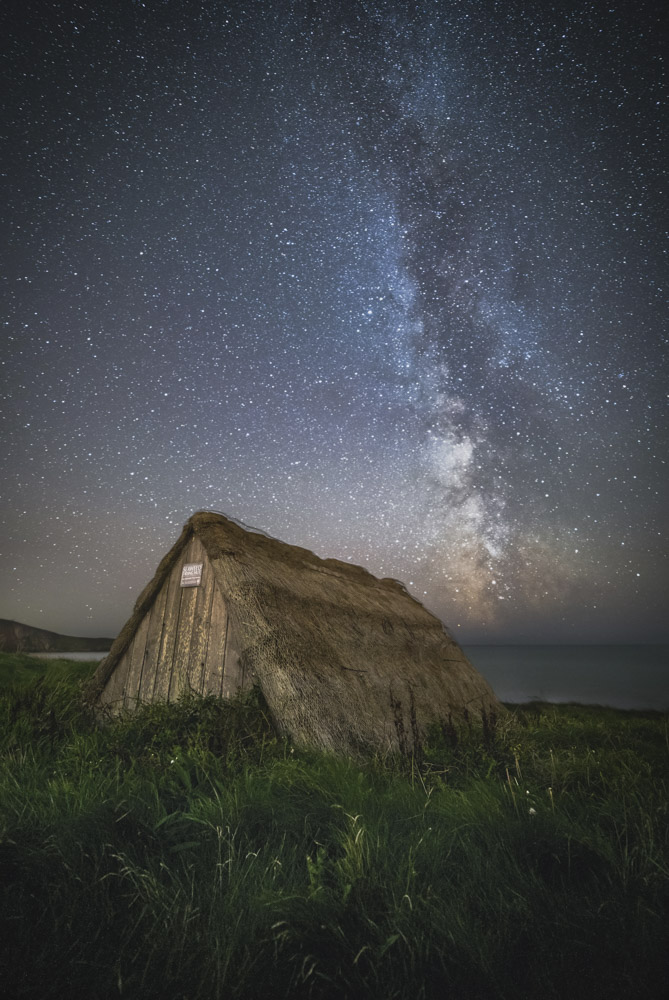
You want the stars to appear as little pin-points of light, but if your exposure is too long then you’ll record the motion of the Earth’s rotation – which will turn your stars into streaks.
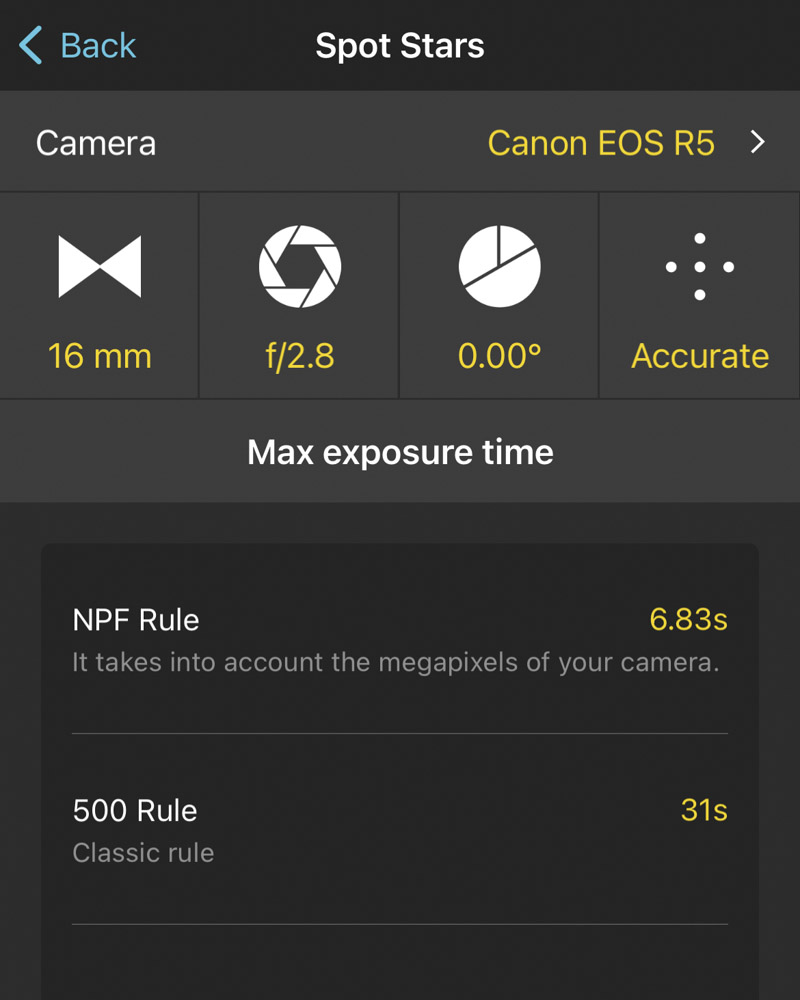
To keep the stars sharp, use the ‘500 rule’. This is where you divide 500 by your focal length, such as 16mm – which would give us a shutter speed of 30 secs, and lets us know that an exposure longer than this is likely to turn our stars into trails. You’ll need to adjust this value if you use a cropped sensor camera, due to the crop factor increasing the equivalent focal length. We also like to use the Spot Stars mode on the PhotoPills smartphone app to calculate the exposure time.
The best camera deals, reviews, product advice, and unmissable photography news, direct to your inbox!
2. Shoot a star trail
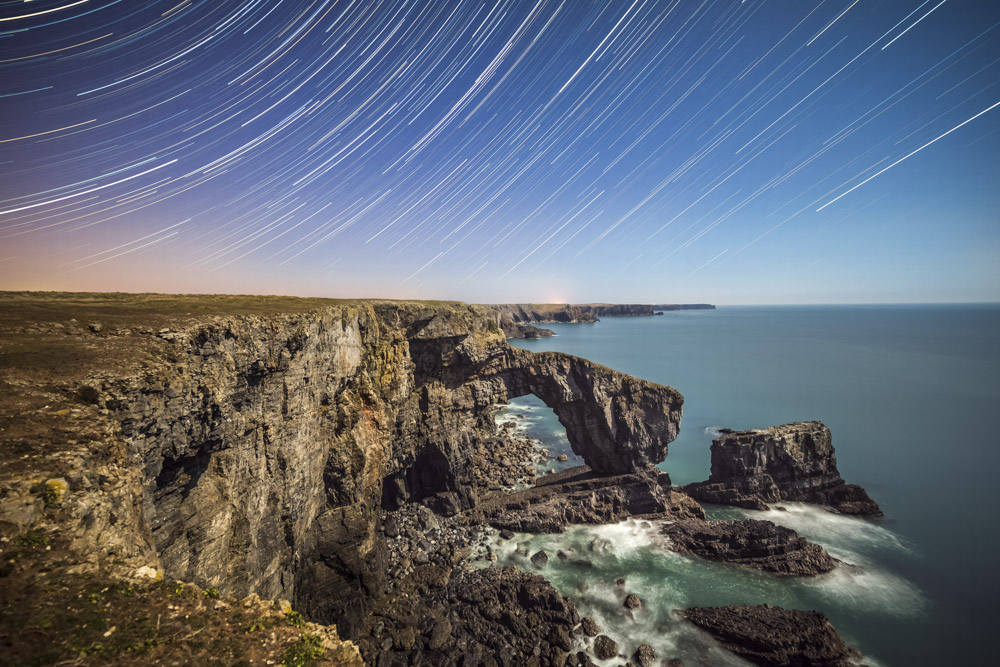
A star trail image is a photograph of the night sky taken over an extended period, with the main aim to capture the movement of the stars thanks to the rotation of the Earth. The best way to create these is to take a series of consecutive images over time – at least an hour – and then merge all the images in software, such as StarStaX, for epic star trails.
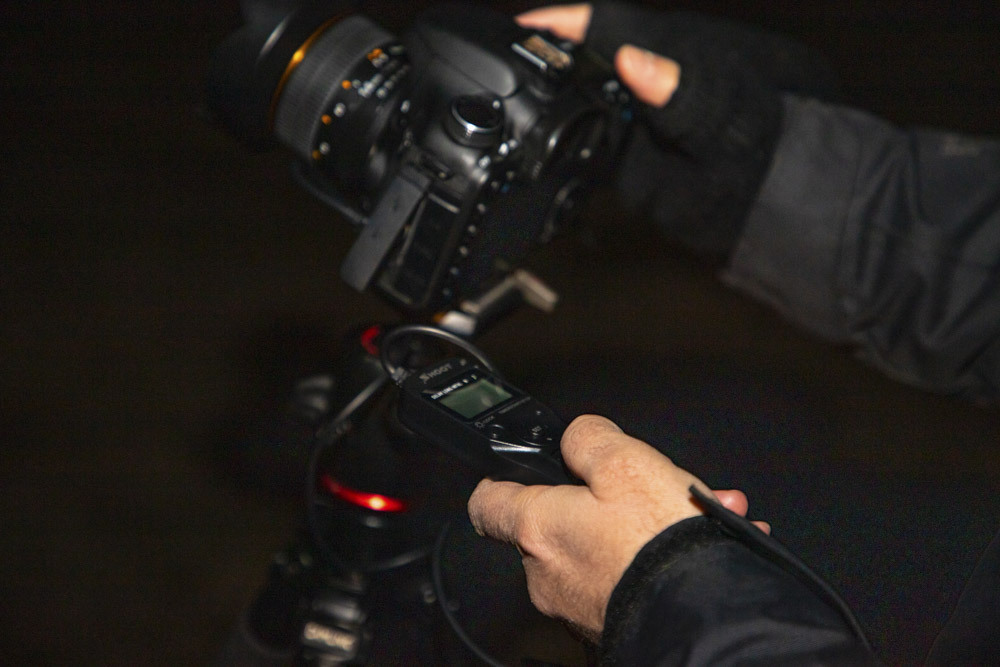
Set up your camera with a shutter speed of 30 secs, then open your lens aperture to f/2.8 or f/4, dial in an ISO of 3200 and take a test shot. If the image is too bright or dark, you’ll need to lower or increase the ISO respectively. Use your camera's continuous burst mode and plug in your cable release, then lock it down so it takes 120 images back-to-back for an hour.
• Check out the best camera remotes and cable releases
3. Paint with light
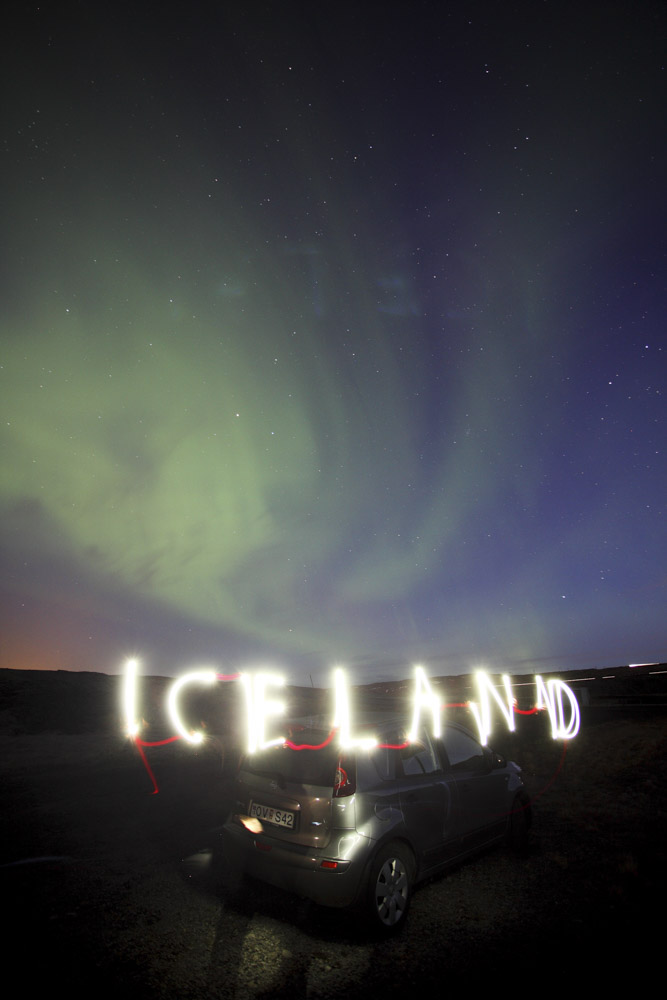
While star-filled images can be a sight to behold, adding in a complementary lit-up foreground can really take your pics to another level. We’ll use the same settings as the first tip, but this time paint with a torch facing towards the camera to draw text such as our "Iceland". It will take a few attempts to get used to writing backwards, as it’s not as easy as it seems!
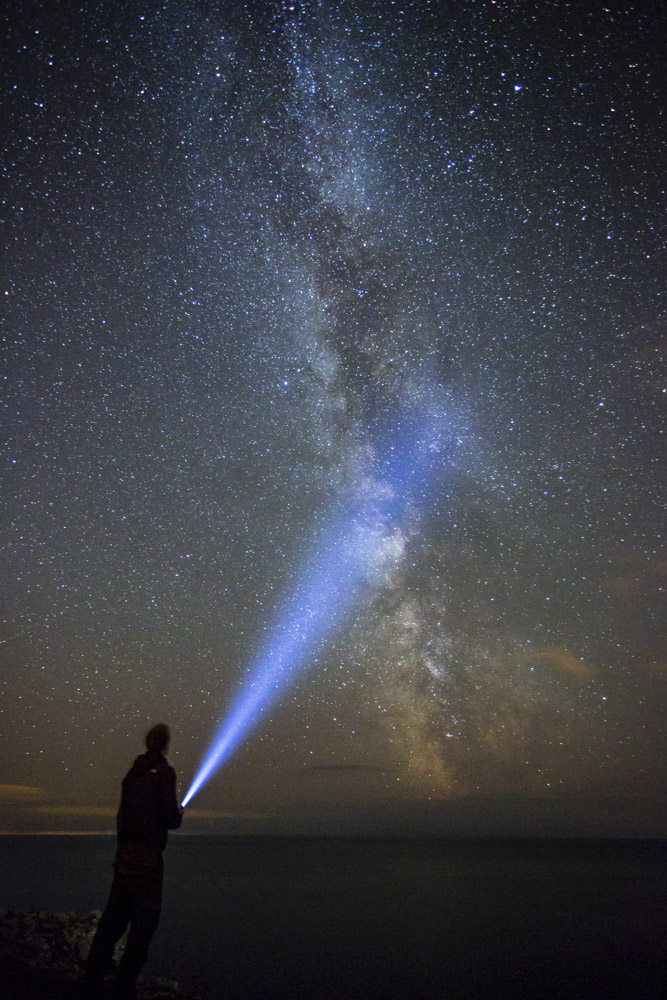
You could take separate exposures for each letter of your word, to make sure they’re not joined together. Another use for your torch would be to shine it on your foreground, to illuminate it and bring out some details. There’s loads of ways you can get creative with painting with light; even standing in the scene and pointing your torch up is effective.
4. Photograph the Northern Lights
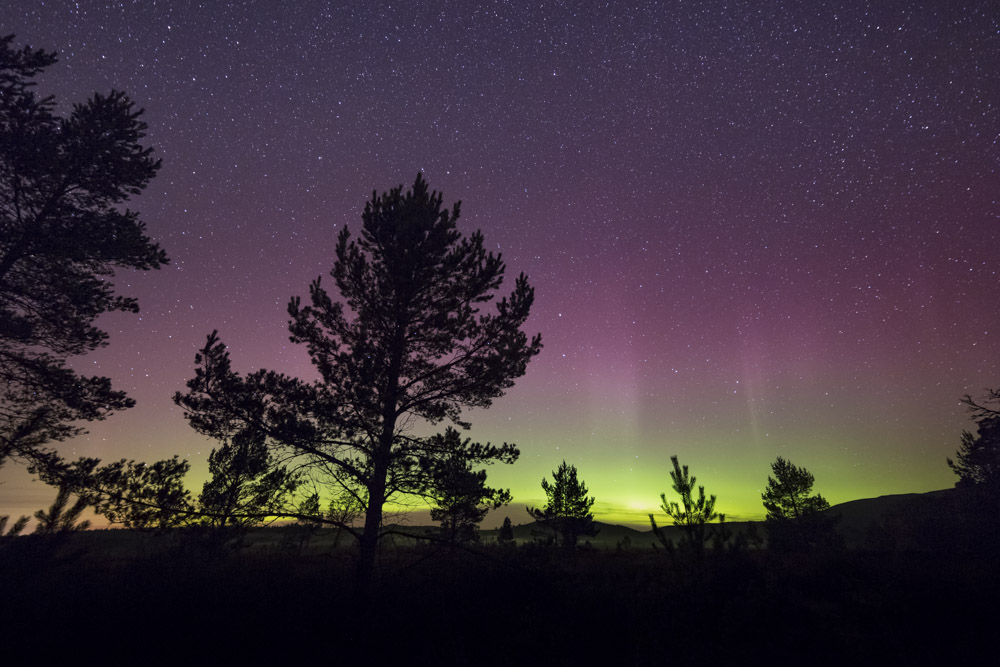
The Northern Lights occur when a strong solar flare hits the atmosphere. They are usually strongest in particular parts of the Northern Hemisphere, yet you can see the Aurora Australis in the Southern Hemisphere. Drew has managed to capture it a few times, even in Wales!
The technique is again similar to the first tip, for pin-sharp stars, using a fast wide lens, although keep checking the exposure. If the aurora is motionless, you may want a long 30-second exposure; if it’s moving quite quickly, you may only want 10 seconds, which will require a higher ISO.
Shoot Raw and keep checking your shots, and keep taking photos until the display is over so you have plenty of chances to capture a cracking shot. It’s also worth shooting at regular intervals, so you can turn your images into a time-lapse video.
You might like the best photo editing software and the best photo-editing laptops. Check out these landscape photography tips, too.
PhotoPlus: The Canon Magazine is the world’s only 100% Canon-focused title on the newsstand. Launched in 2007, for 14 years it has delivered news, reviews, buying guides, features, inspirational projects and tutorials on cameras, lenses, tripods, gimbals, filters, lighting and all manner of photography equipment.
Aimed squarely at enthusiast photographers who use the Canon DSLR or mirrorless camera systems, all content is tailored to Canon users – so everything from techniques to product tests are tailored to those using the EOS camera system.
Editor Peter Travers brings 14 years of experience as both a journalist and professional photographer, with Technique Editor Dan Mold shoring up the magazine with his 6 years of expertise.
