Landscape photography is an incredibly varied, exciting and accessible genre that is hugely popular. Nothing beats heading into the great outdoors with your camera, not knowing what you might come across or what light you'll be faced with.
However, taking a fantastic landscape can be more difficult than just setting up your camera on tripod, there's a whole host of intricacies and details that would be easy to overlook. So we met up with landscape pro Drew Buckley to find out his pearls of wisdom.
• Read more: Best lenses for landscapes
Drew is a professional photographer based in Pembrokeshire, Wales. Making a living from photography, Drew happily turns his hand to all sorts of genres with landscapes, wildlife and weddings to name a few. He runs workshops throughout the year and has been published in a wide range of publications. He also wrote and took the images for his book, Photographing South Wales, and took the pictures for the book, Wilder Wales.
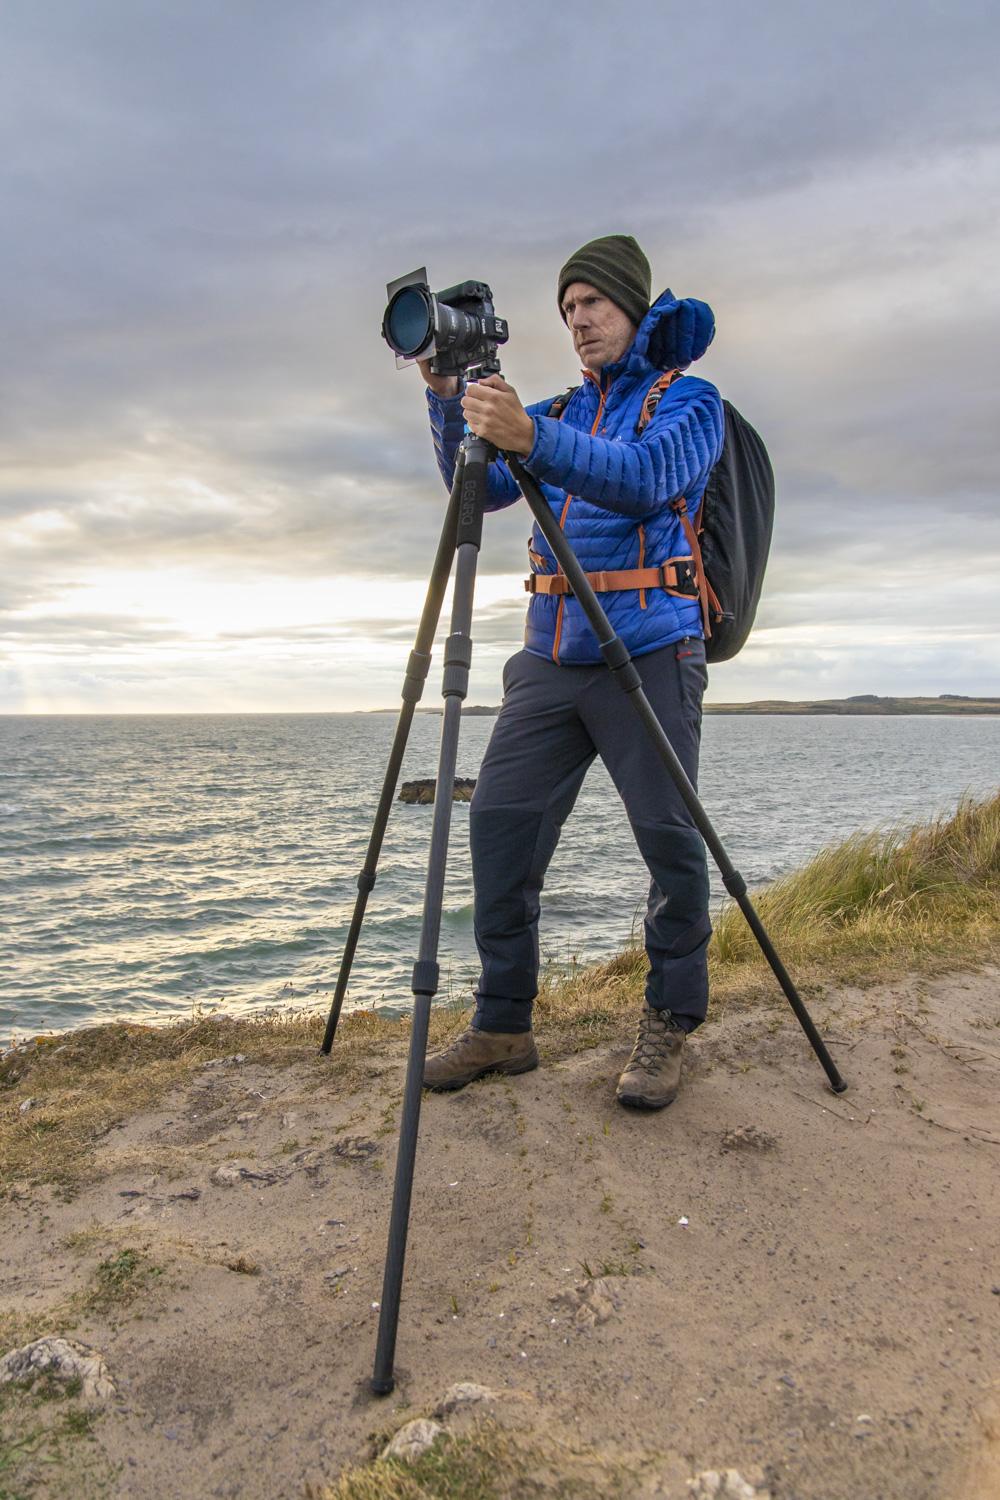
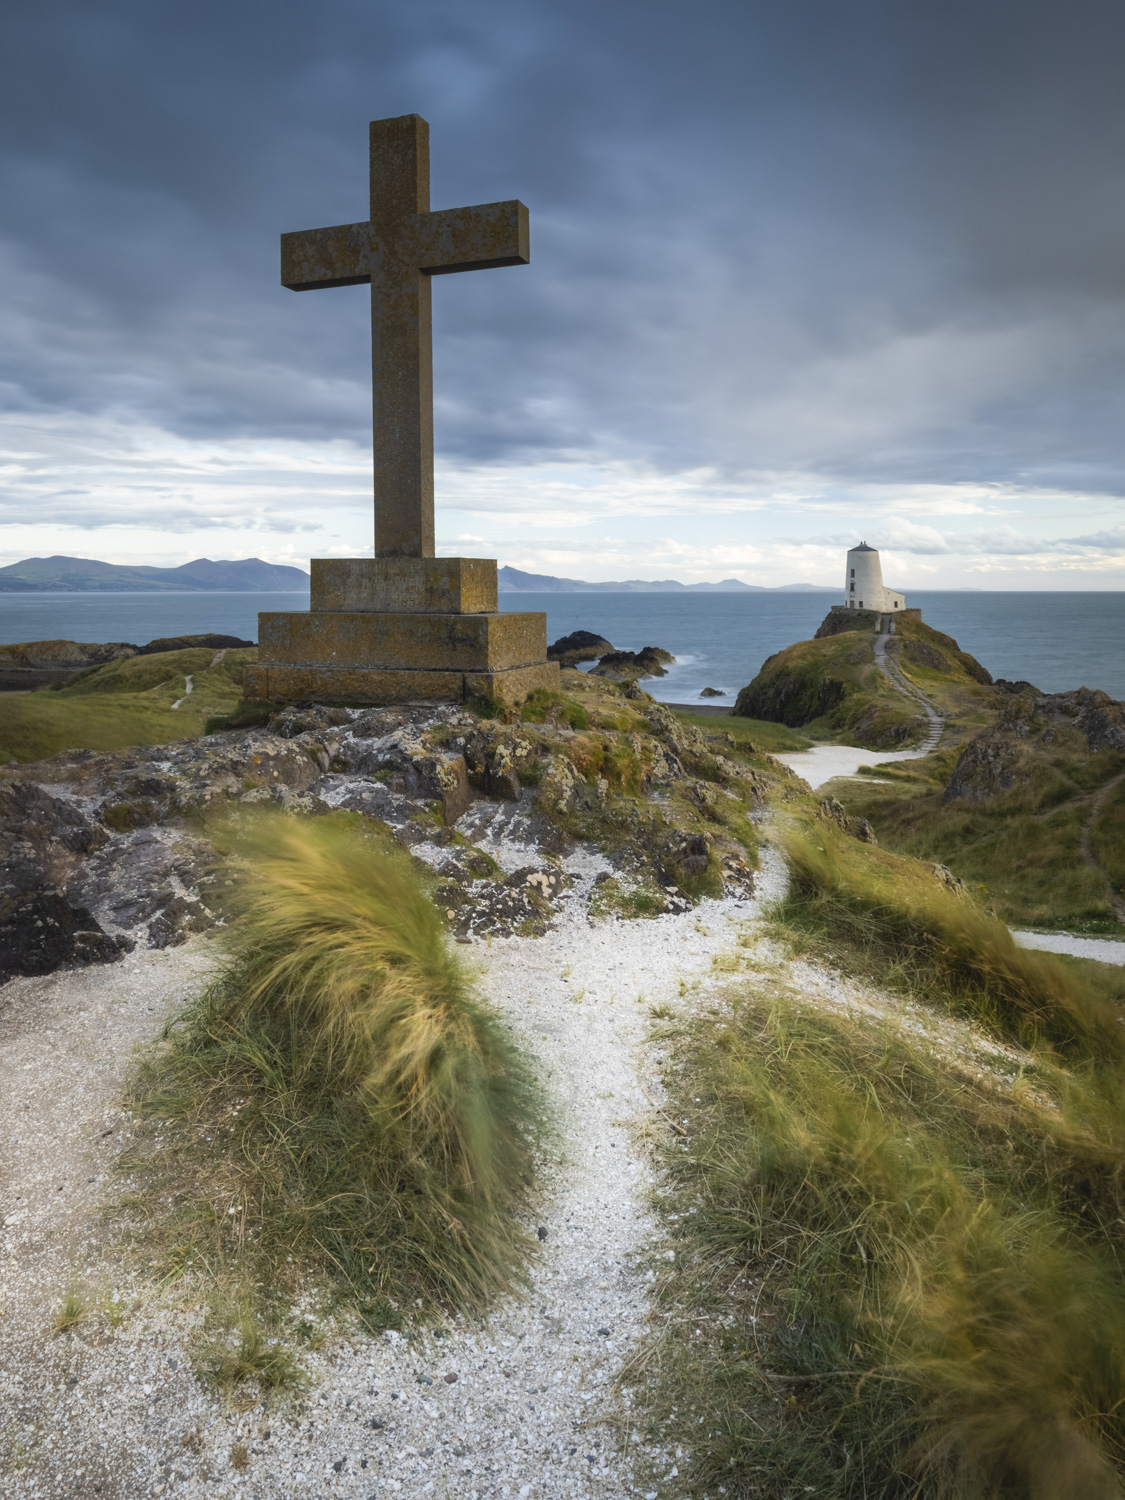
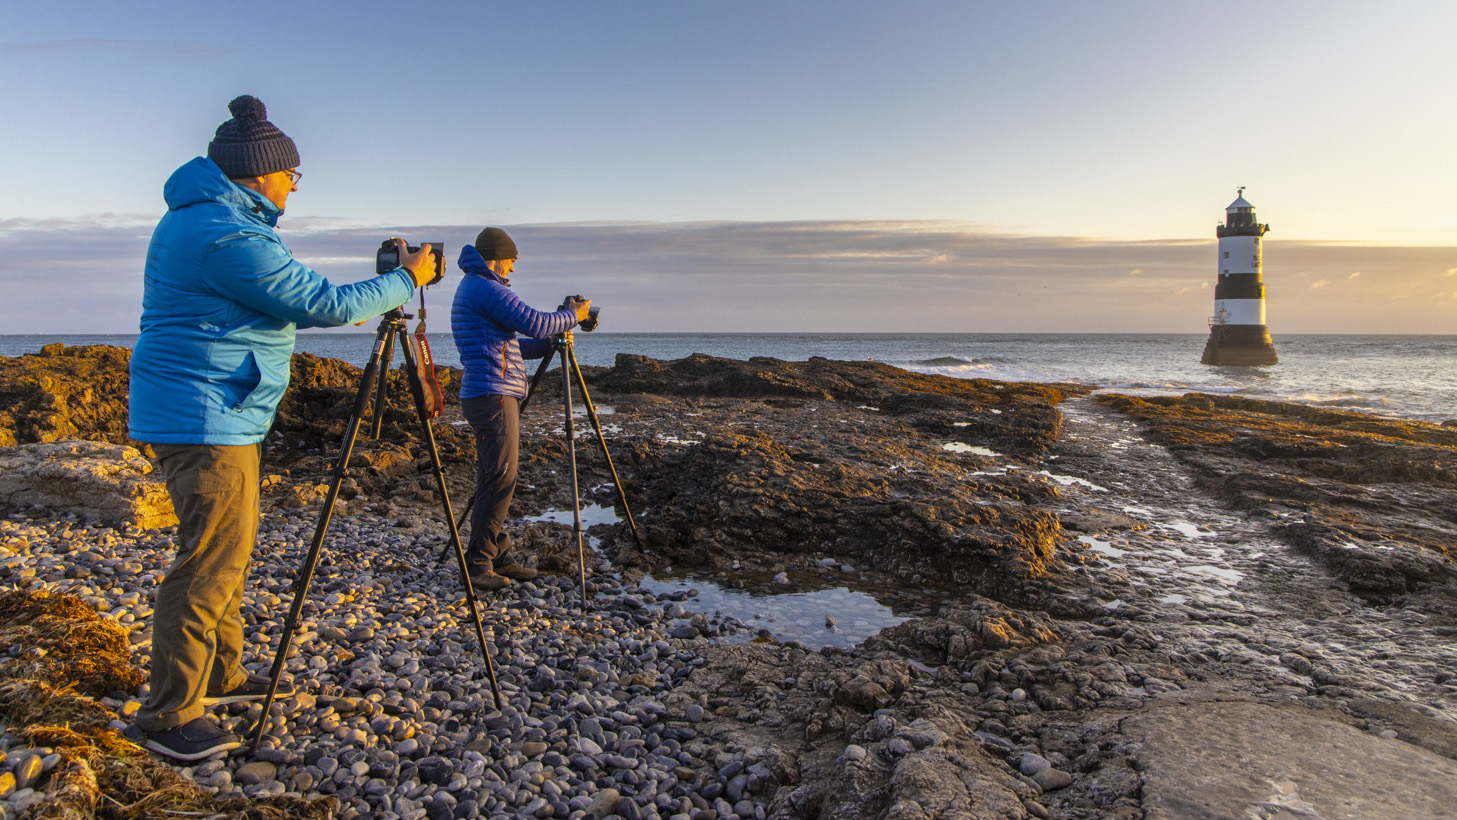
We teamed him with reader of PhotoPlus: The Canon Magazine, Andy, for a masterclass in coastal landscape photography around the stunning shores and seaside of Angelsey in North Wales. Here, you'll find Drew's top 10 tips for seascapes, along with some of the images that Andy was able to take by applying them to his own photography.
You can find out more about Drew's work on his website.
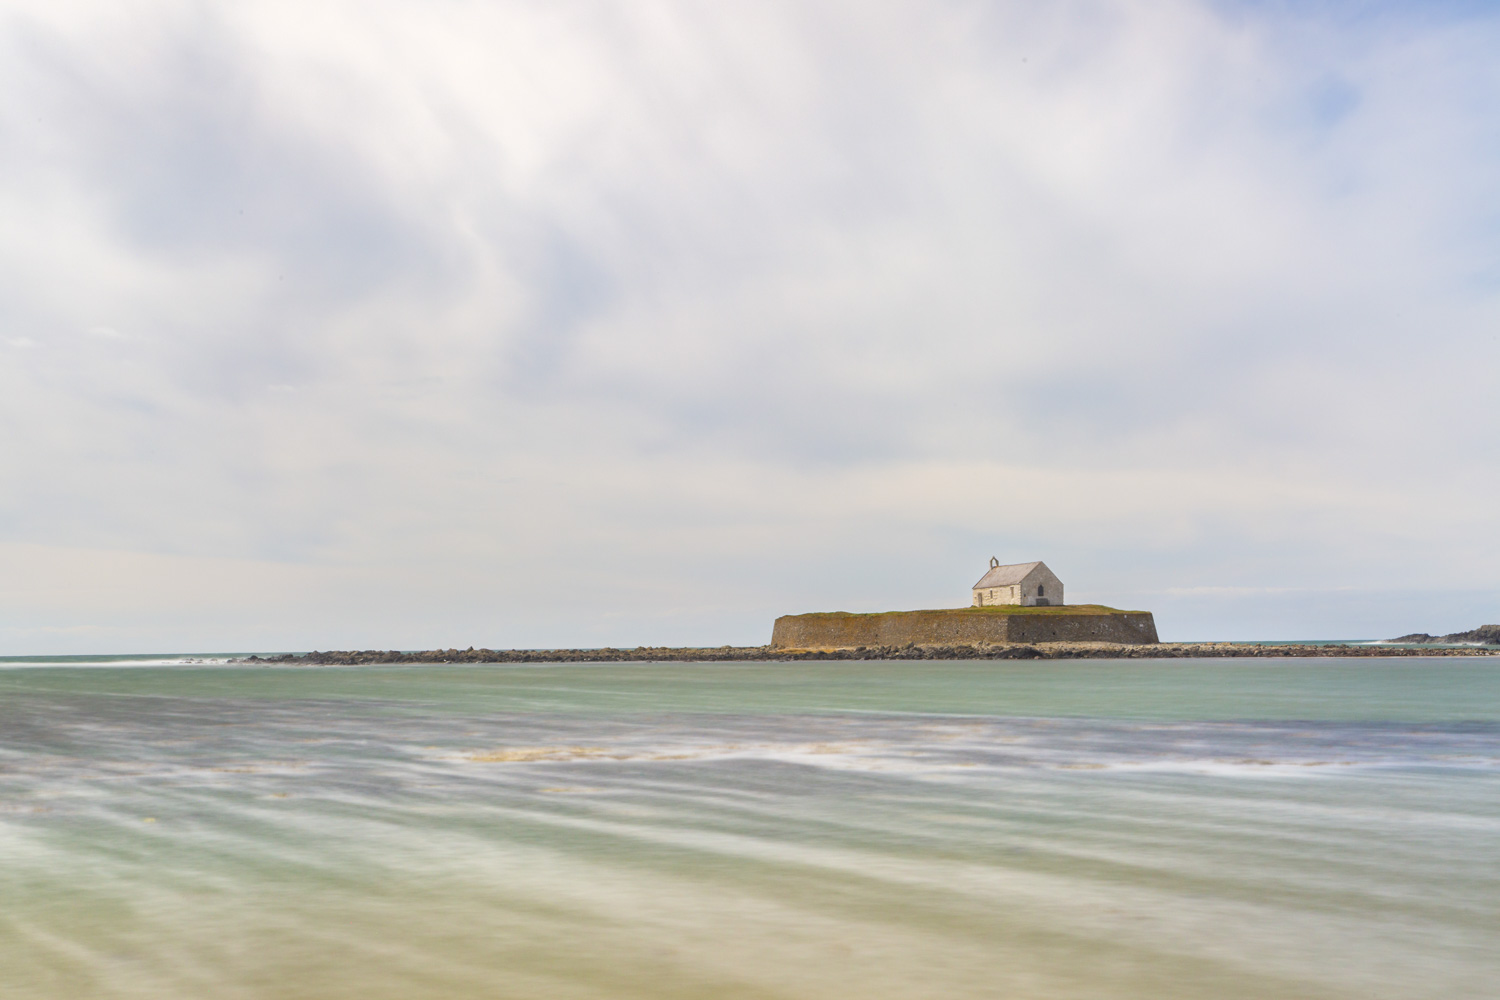
01 Long exposures
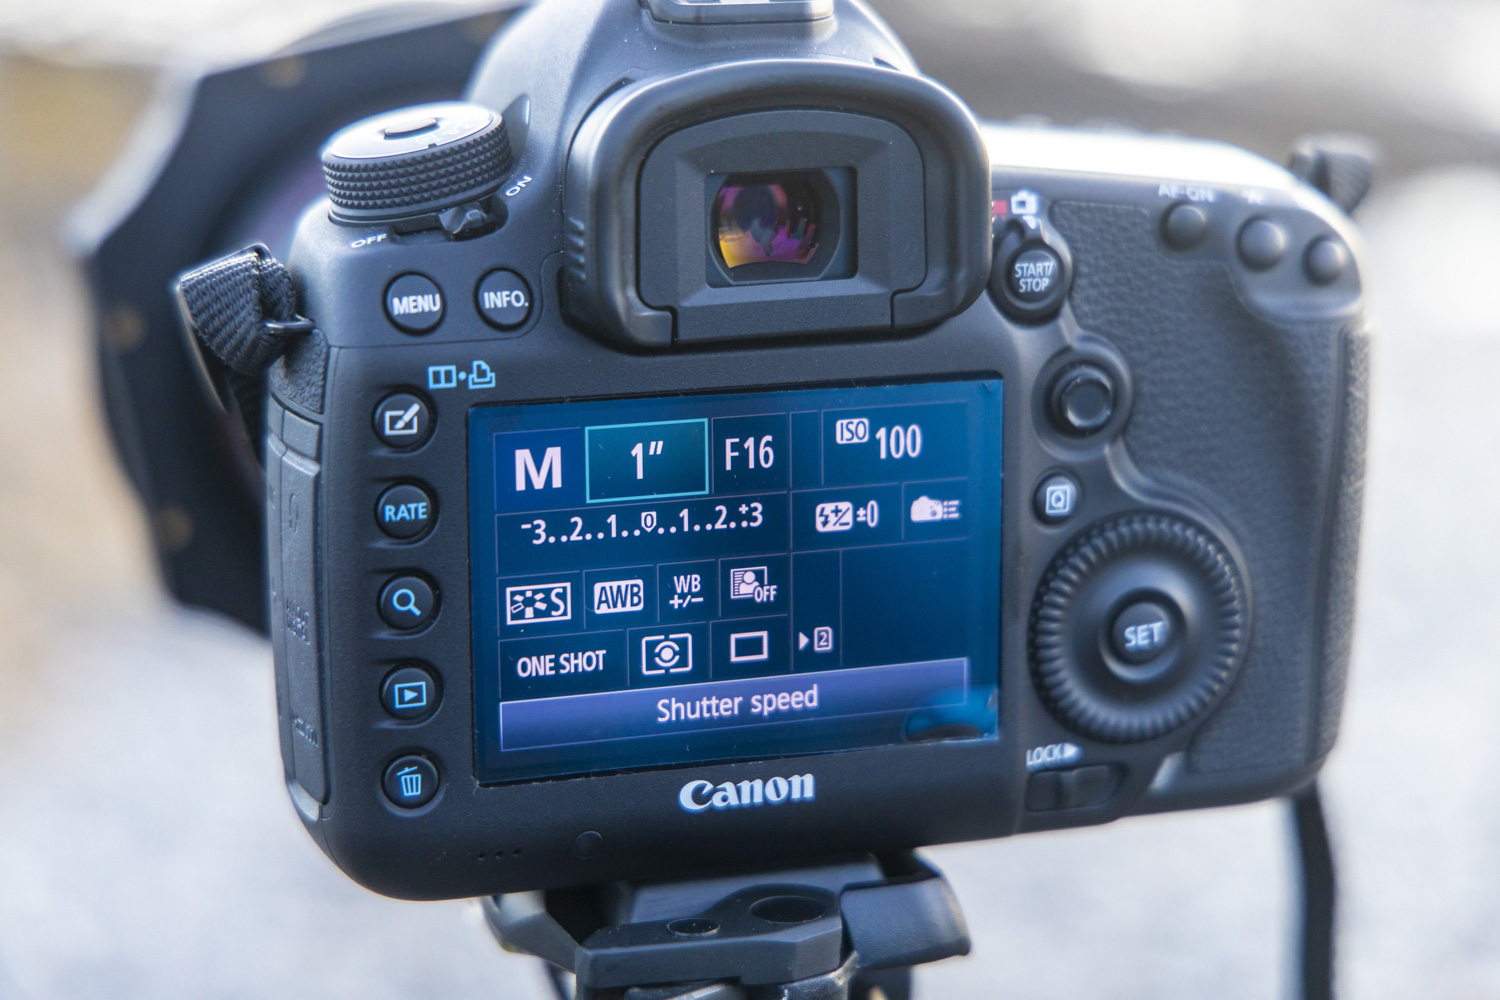
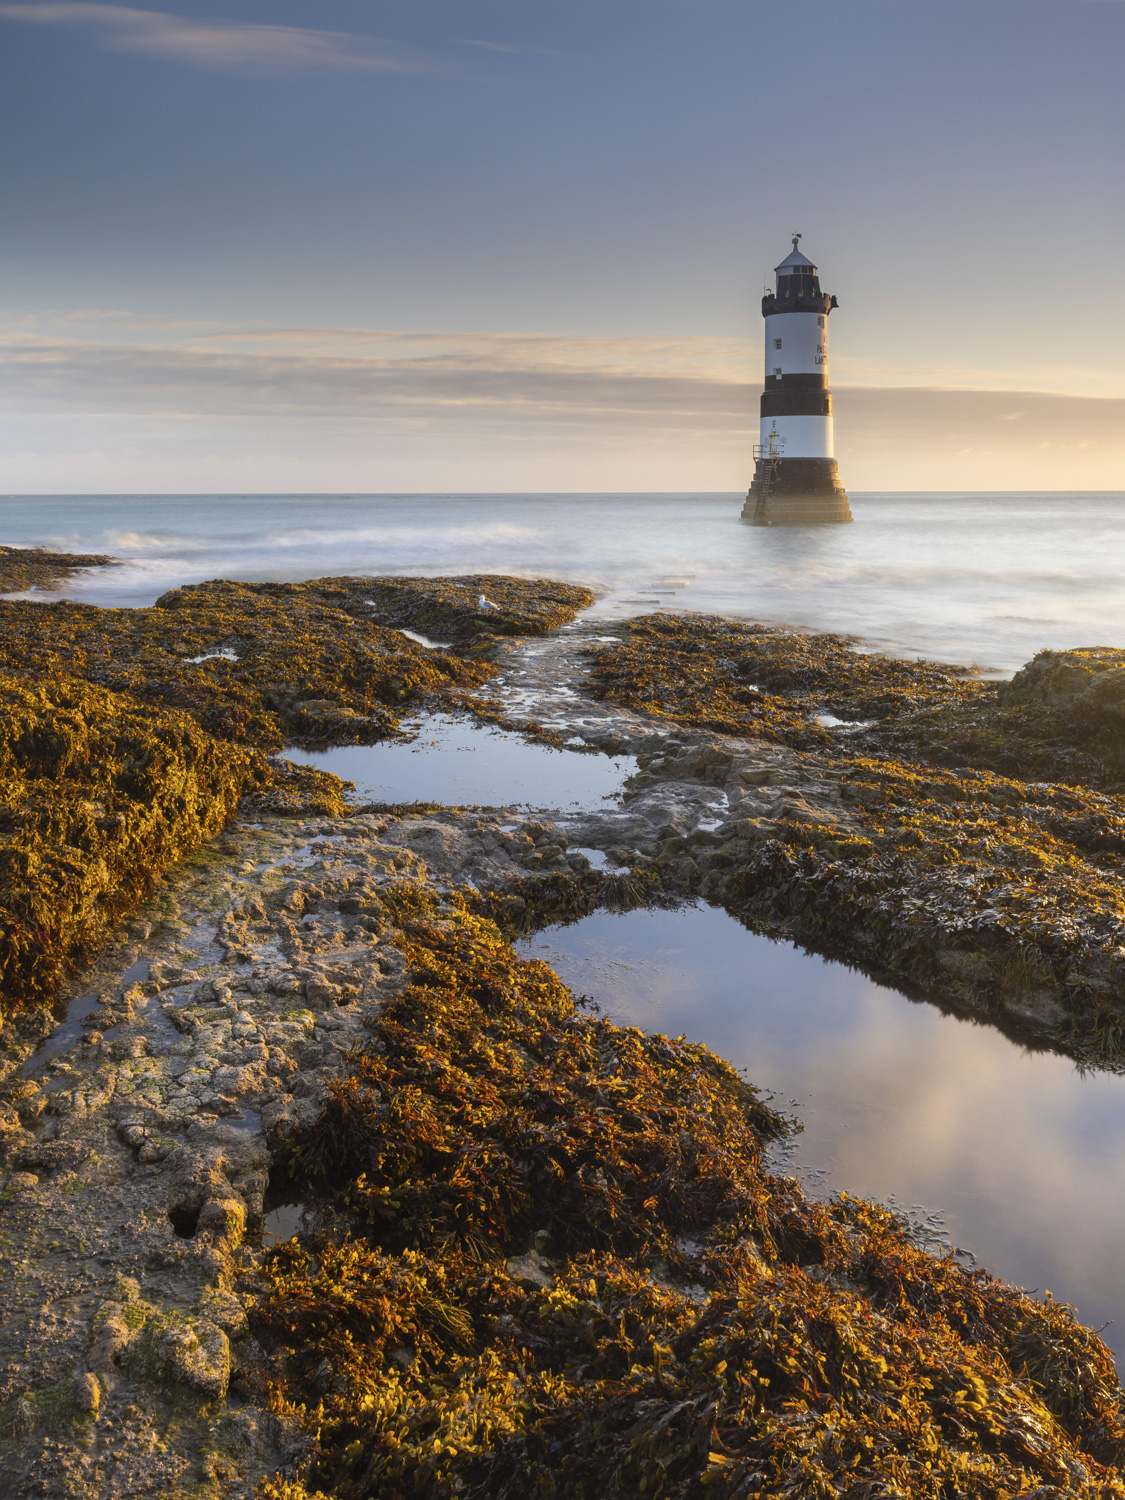
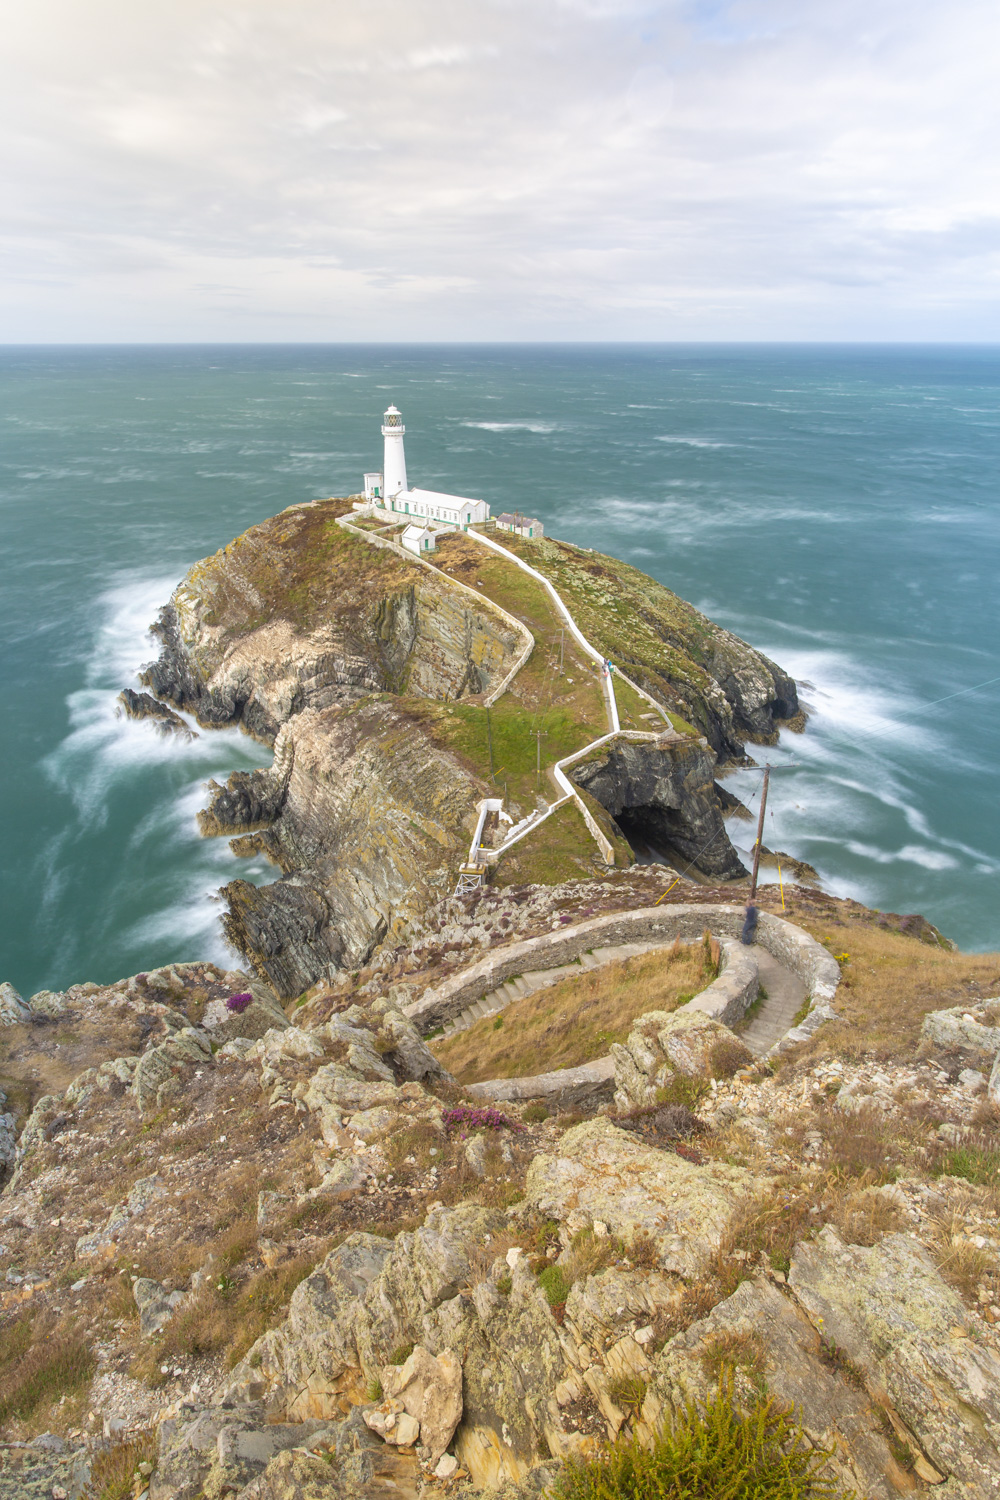
Using Manual mode, Drew locked the aperture at a narrow value of f/16, which would let in a small amount of light and set the ISO to 100, meaning that the camera sensor was at its lowest sensitivity level. This gave him an exposure time of one second, long enough to capture a bit of motion in the moving waves, though he’d use a neutral density filter if needed to get even long exposures of several seconds or even minutes.
The best camera deals, reviews, product advice, and unmissable photography news, direct to your inbox!
02 Get a telephoto lens
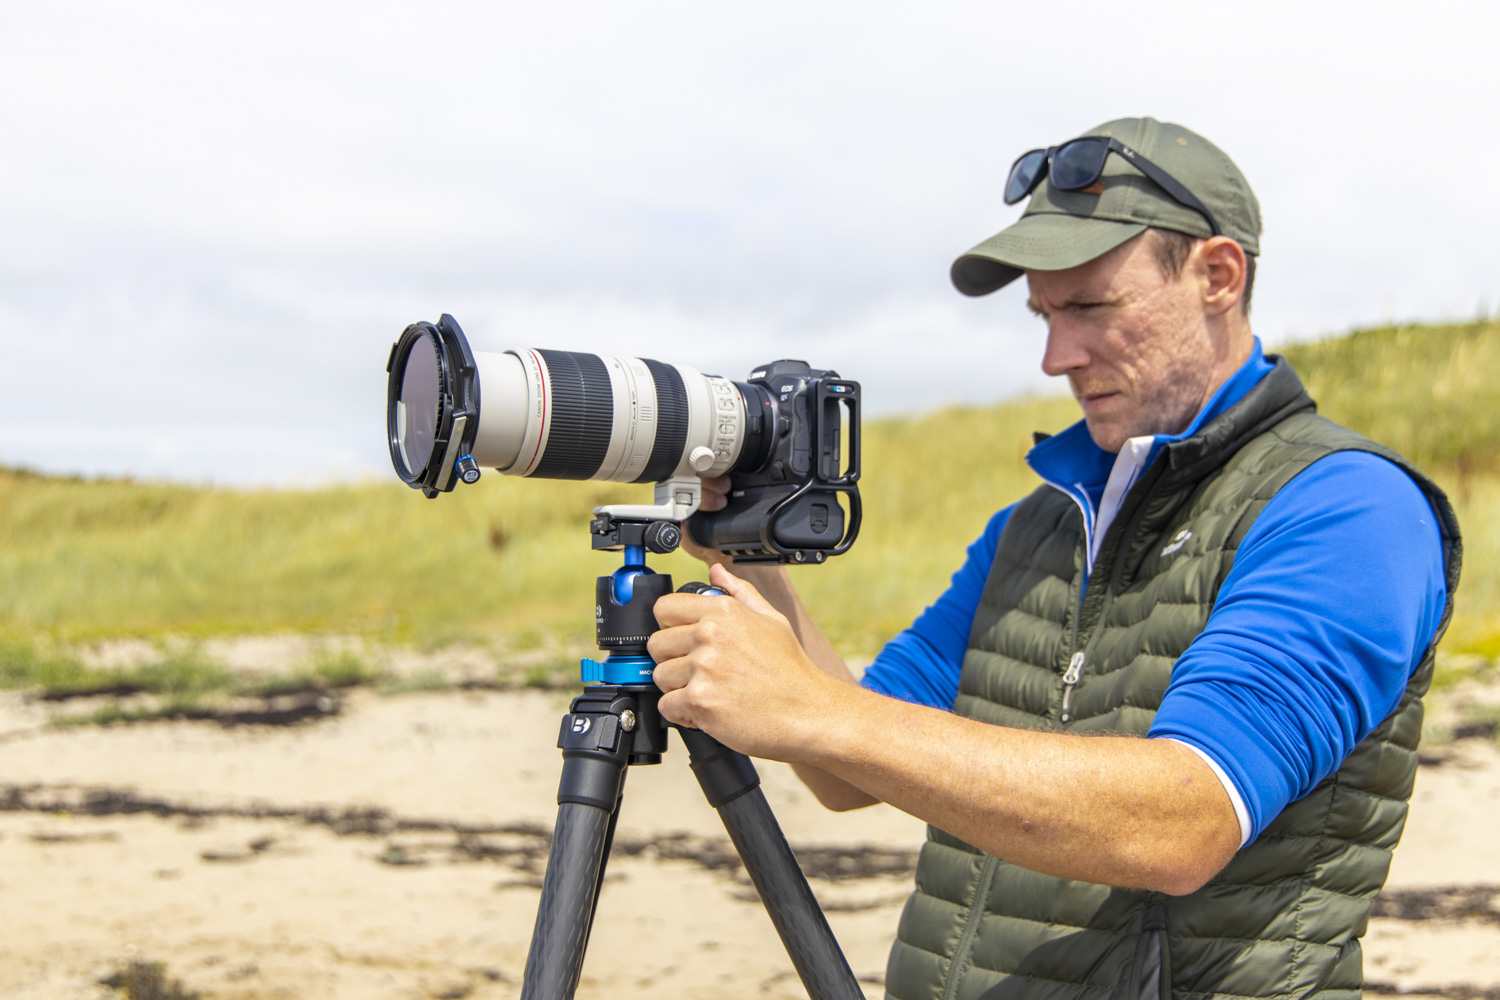
A telephoto lens might seem like an odd choice for landscapes, but the narrower field of view can be beneficial, allowing you to zoom in to find a ‘scene within a scene.’ You can also zoom in precisely on the details you want to be in the frame. Drew’s telephoto lens of choice is the Canon EF 100-400mm f/4.5-5.6L IS II USM lens, which he often uses to compress the perspective and cut out distractions that might pull the eye away from his focal point.
• Best telephoto lenses
• Best 100-400mm lenses
03 Change lenses safely at the beach
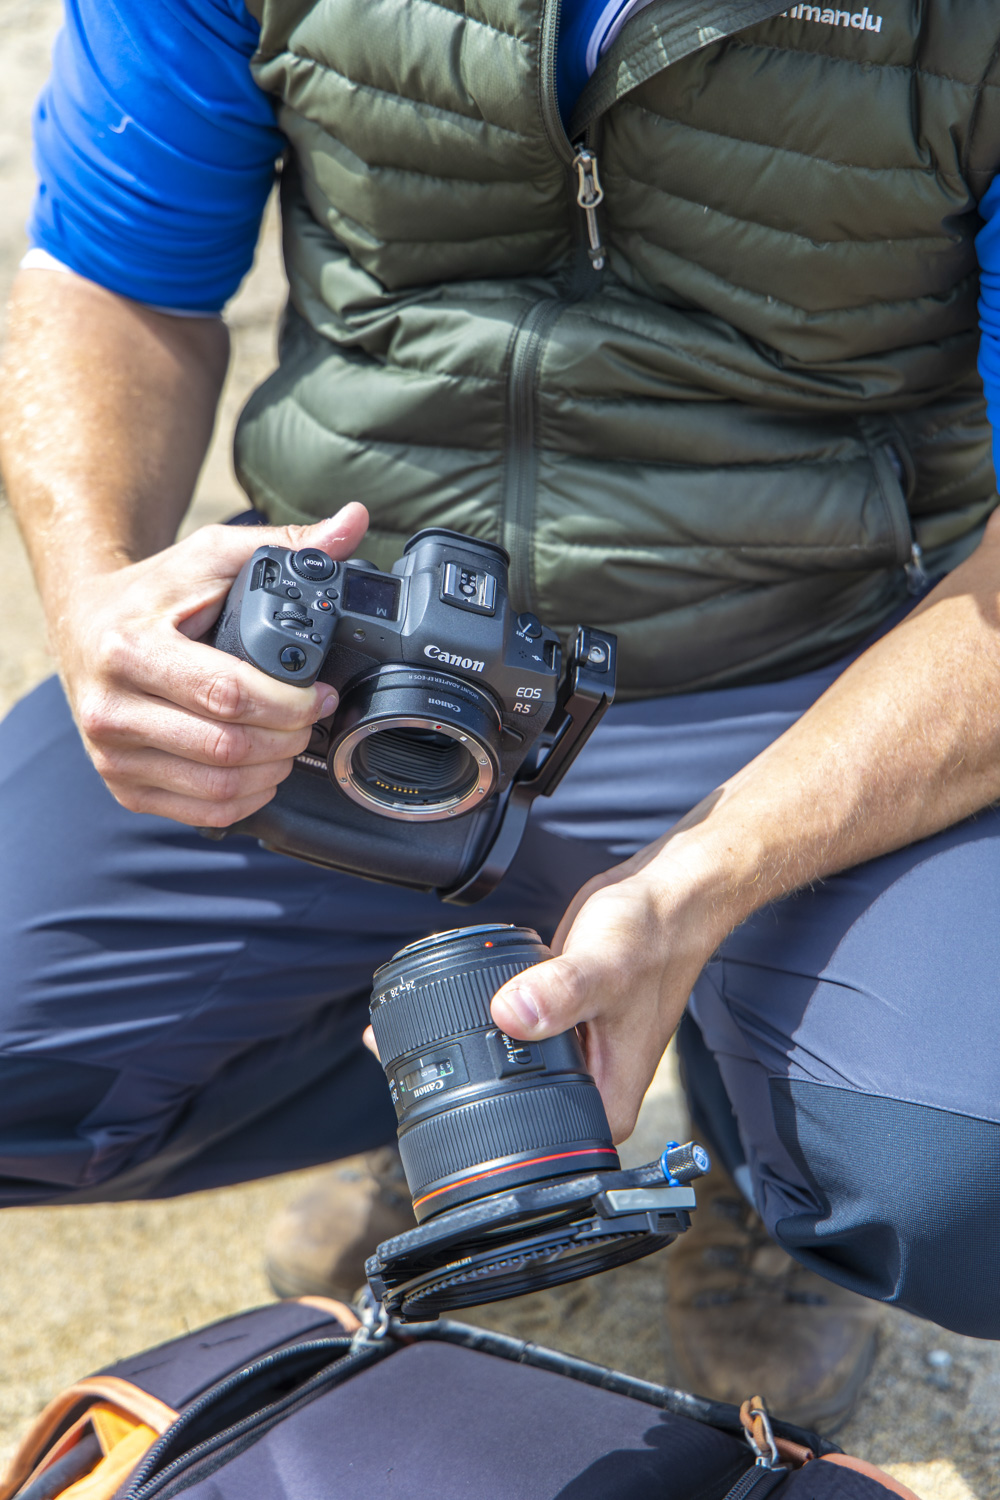
Drew switches between his wide-angle and telephoto lenses when shooting landscapes, but taking the lens off on a sandy beach isn’t without issues. To avoid sand getting into the camera, which could cause dust spots or damage the sensor, he finds a good place so he’s shielded from the wind, puts his back to the wind, and points his camera body down to avoid dust or sand getting blown onto or into the camera. He then switches his lenses as fast as possible to reduce the chance of dust and dirt getting in to the system.
04 Professional carbon fiber tripod
Drew uses a Benro TMA48CXL Mach3 Mg Carbon Fiber Tripod for his landscape and seascape work, as it can be extended to over two meters at maximum extension and is capable of handling up to 20Kg worth of equipment – this means it can handle even his largest telephoto zoom lenses. Because it has a carbon fibre construction, it’s also very light compared to its metal counterparts, tipping the scales at 2.62kg.
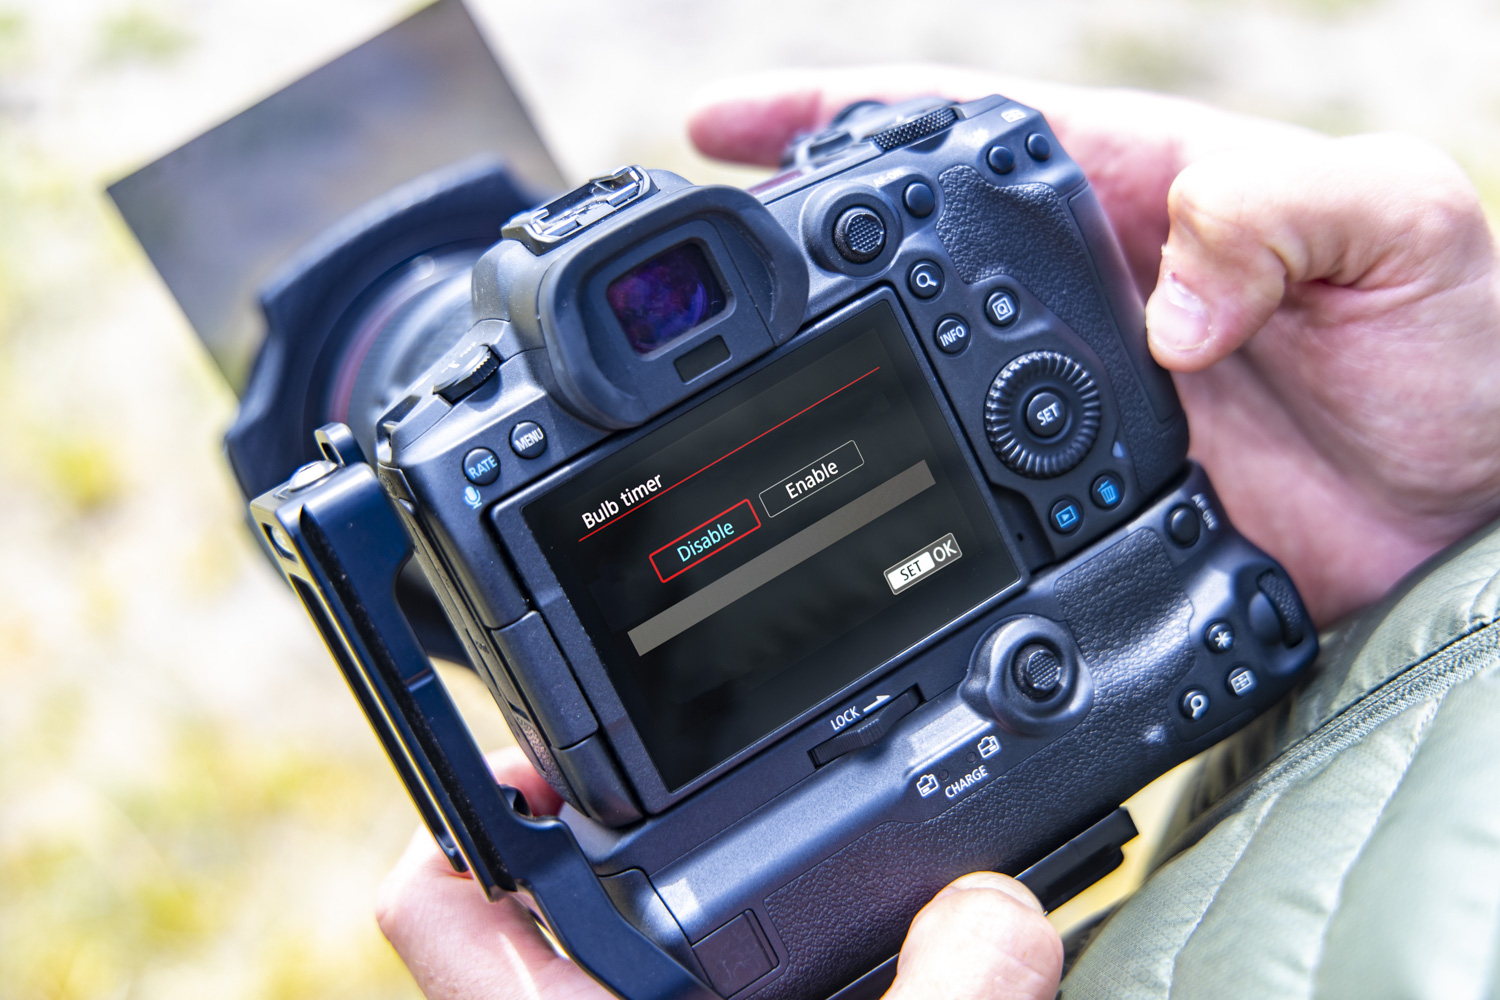
05 Bulb timer
For most digital cameras, 30 seconds is the longest exposure time possible. To take longer exposures of up to several minutes long, you would normally use Bulb mode and a remote shutter release cable to lock the shutter down for your desired length of time. Drew’s Canon EOS R5 enables him to set the Exposure Time in the Bulb Timer menu, this means he no longer carries the extra shutter release cable, which can be a faff.
• Best camera remote and shutter releases
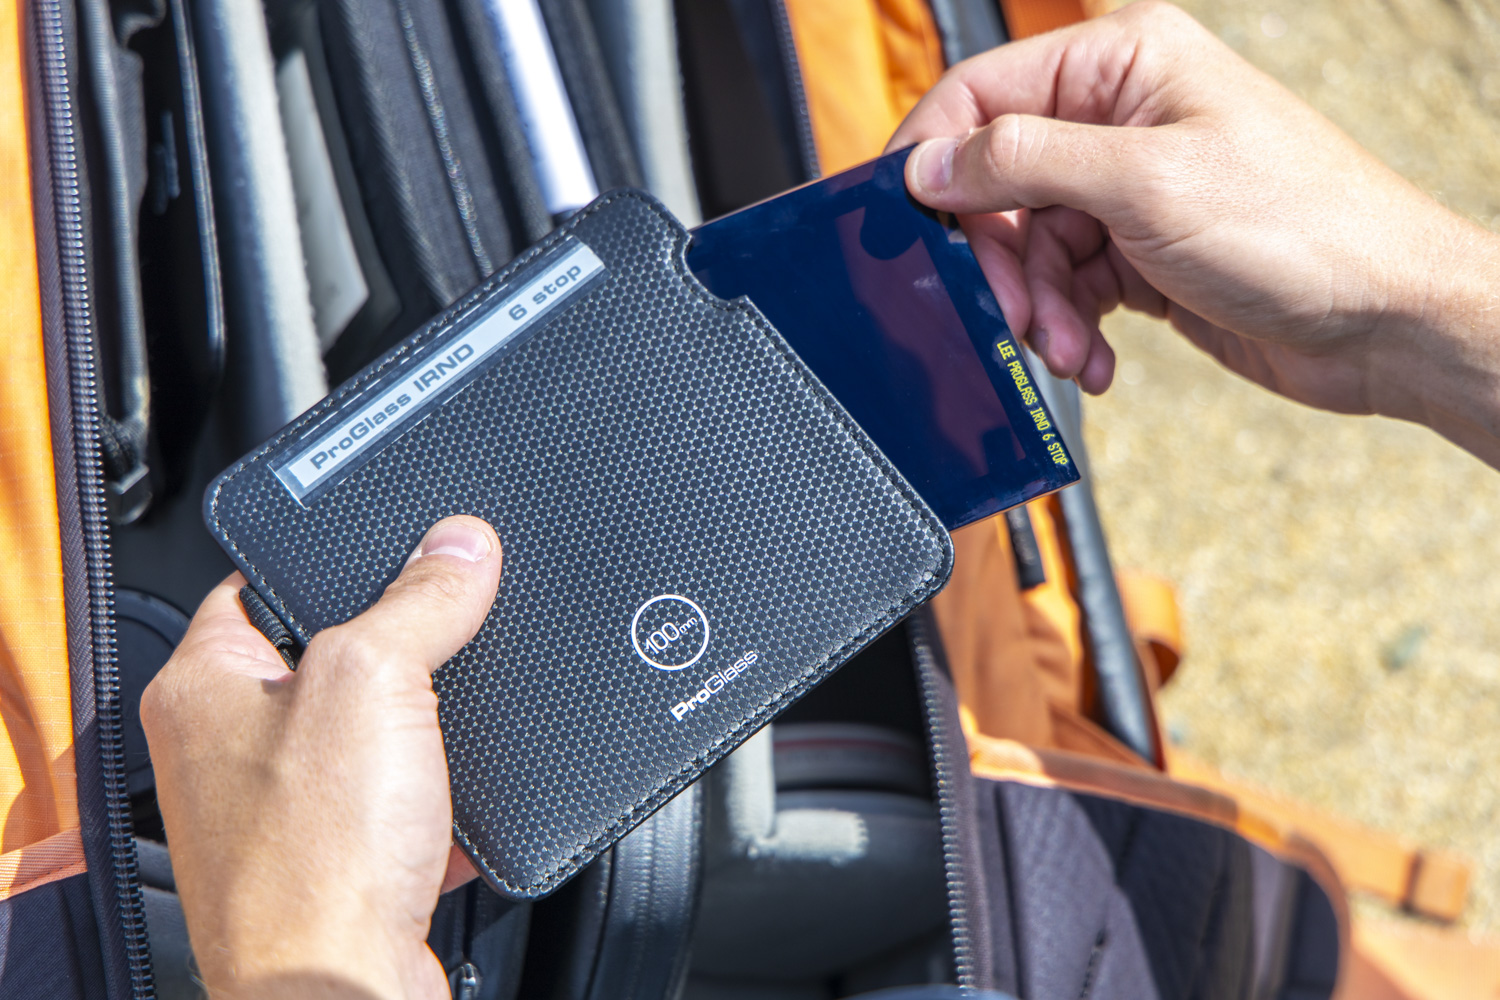
06 Neutral density filters
Neutral density filters (also called ND filters) act like sunglasses for your camera’s lens, blocking out some of the available sunshine and allowing you to shoot with longer exposure times, enabling you to add dynamic blur to moving elements like the clouds or water. Drew uses Lee Filters ProGlass IRND, which are infrared filters resulting in better colors. He has these in a variety of strengths, like 6 and 10 stops.
• Best neutral density filters
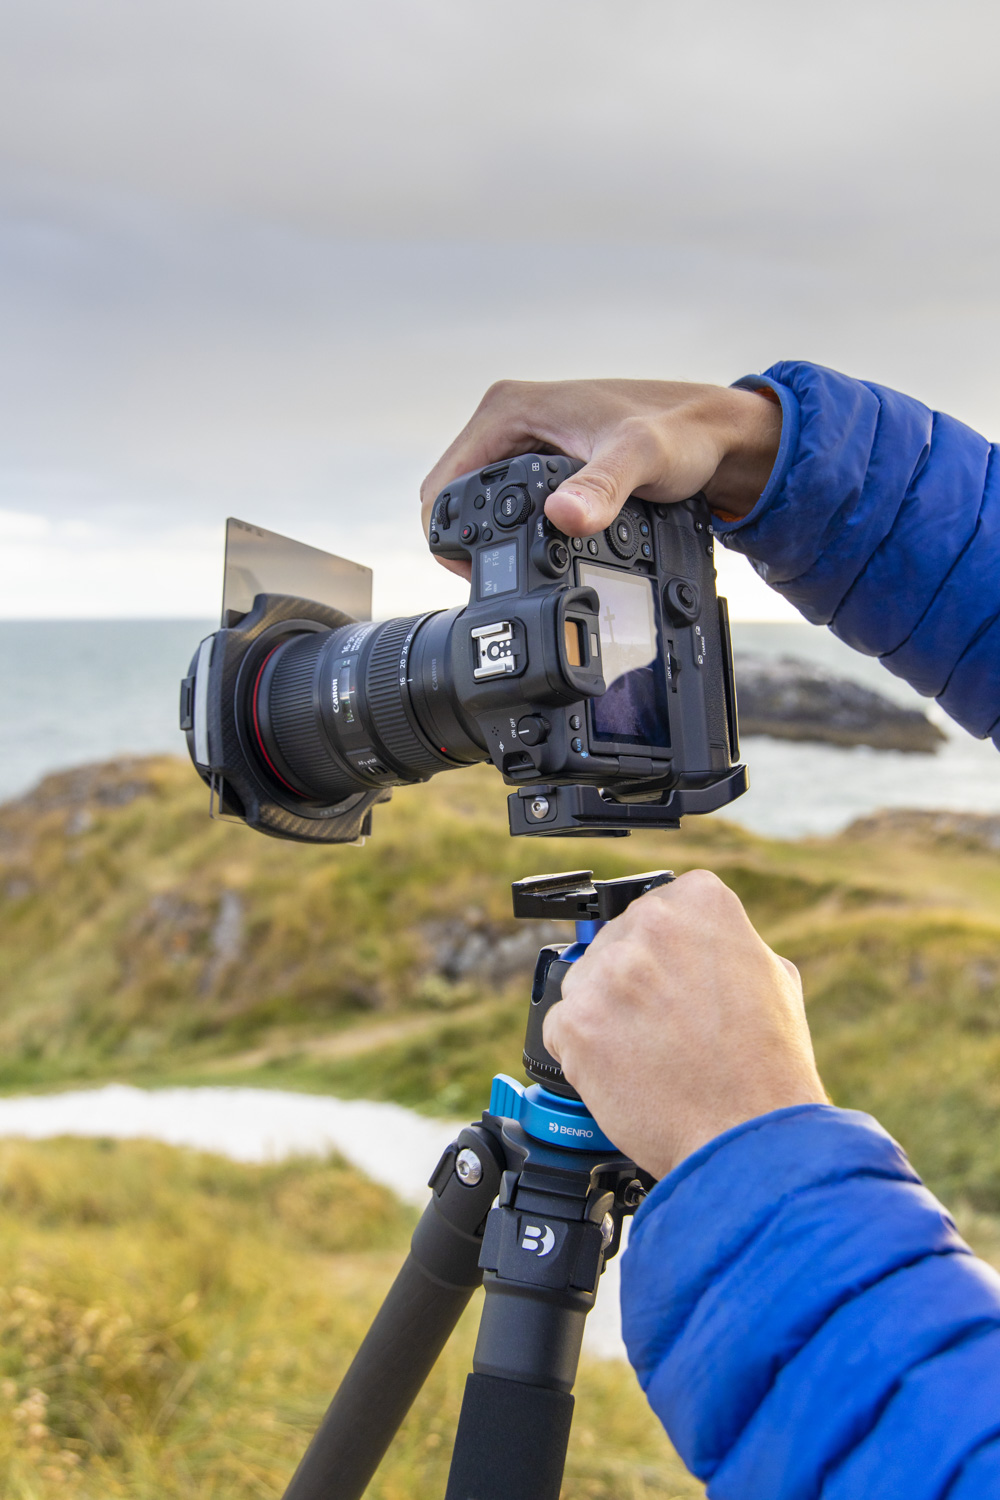
07 Use an L-bracket
Drew uses an L-bracket on his Canon EOS R5 to mount it to his tripod. He’s currently using a Kirk L bracket designed to fit his Canon EOS 5D Mark IV DSLR, but he finds it works well enough on his mirrorless R5 to not warrant splashing out on a new upgrade. The big advantage of an L-bracket is that you can quickly switch your camera’s orientation from portrait or landscape and keep the centre of gravity directly above the tripod’s head, helping to compose more quickly and balance tripods more effectively.
08 Try composing with the Rule of Thirds
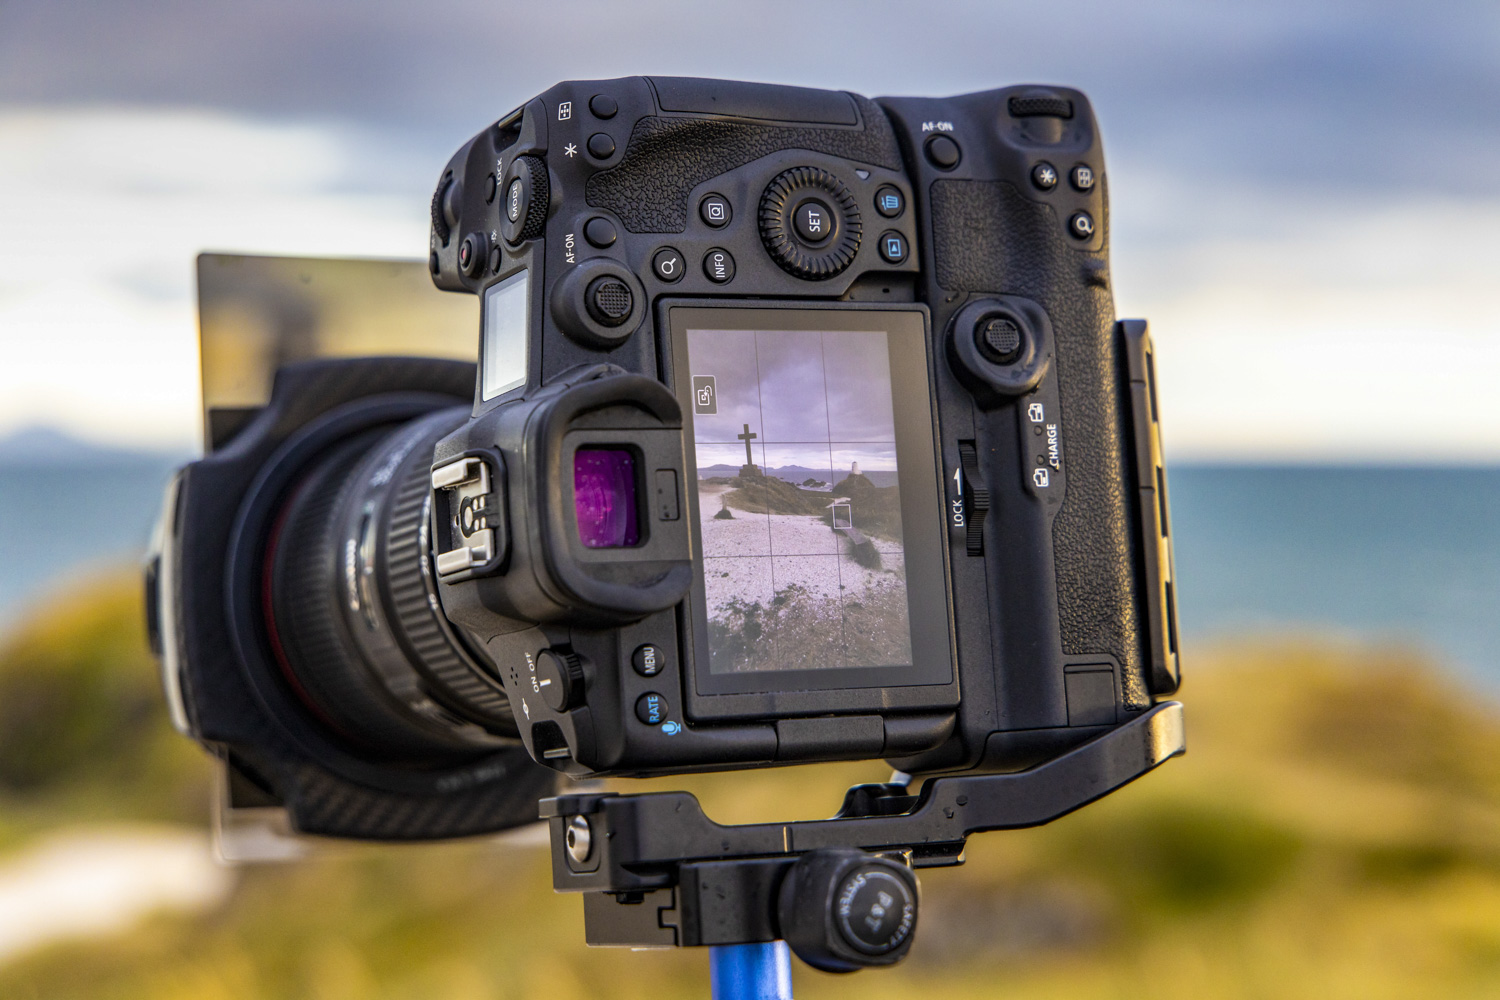
Achieving the perfect composition of the scene in front of you can be tricky, so if you’re ever stuck for ideas Drew suggests using the rule of thirds. This is where you divide your frame up into nine equal boxes and position points of interest within your frame on the intersecting lines or ‘power points’ on the grid. You can change the Live View grid display to a 3x3 grid in most camera menus.
09 Inspect the histogram
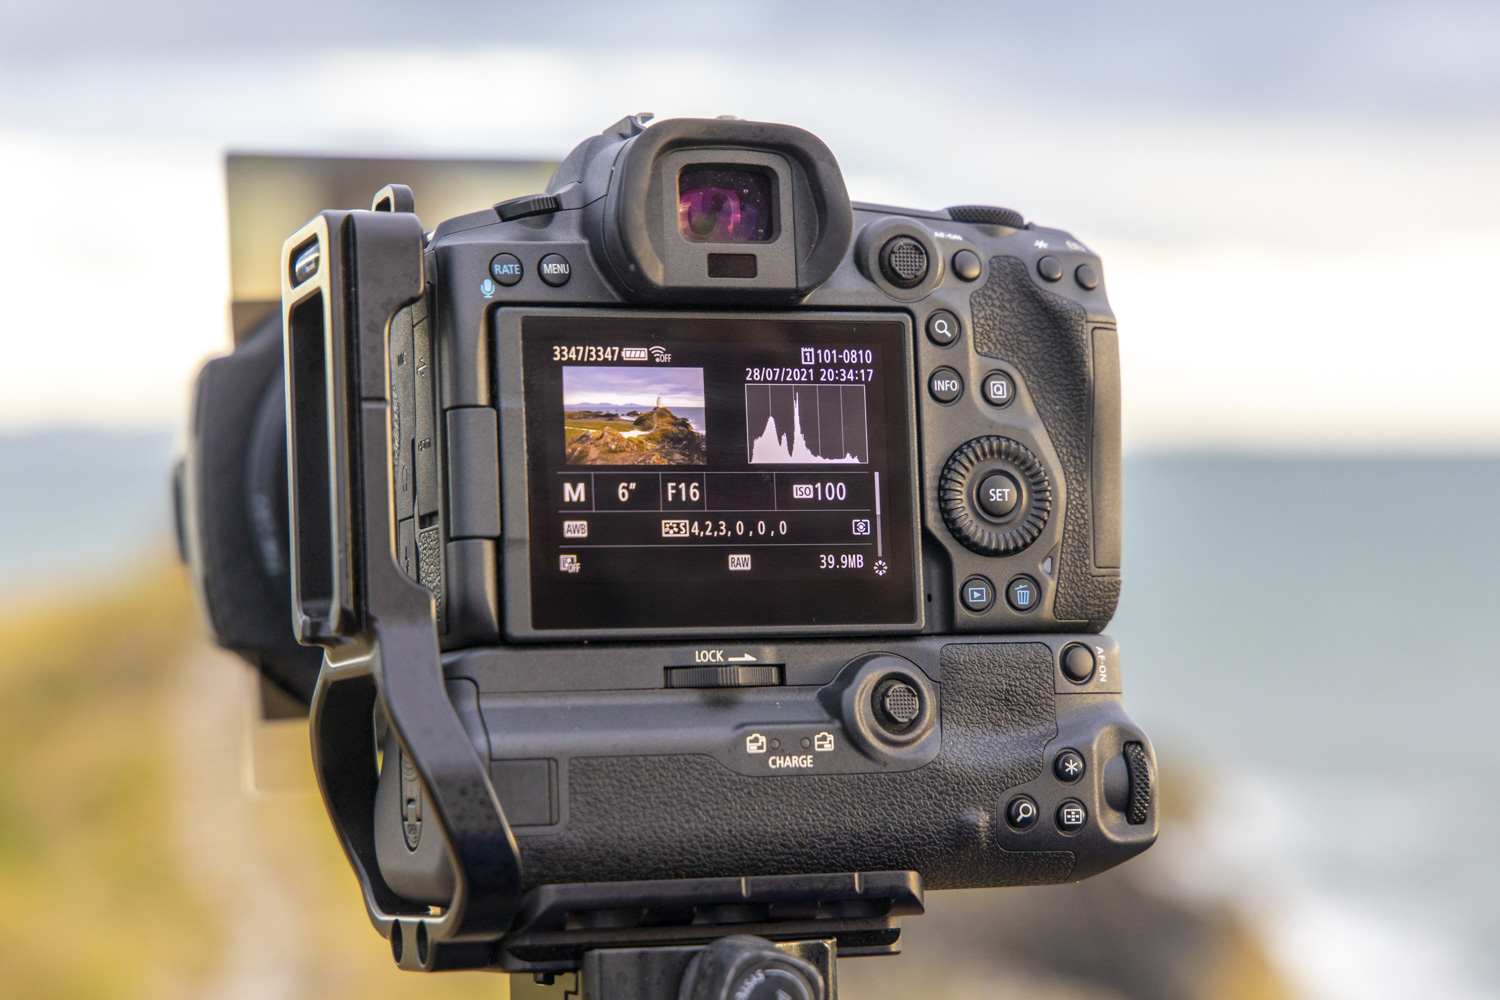
Drew shoots in Manual mode and checks his images on the rear LCD to make sure the exposure looks good. As a bright or dark LCD screen can be a bit misleading, he also refers to the histogram, which shows him a graph with all of the tones from his scene. If they’re all bunched up to one side of the graph he knows that the image is either overexposed (to the right) or underexposed (to the left) and he’ll make adjustments to correct his exposure accordingly.
• What is a histogram and when would you use it?
10 Top photo apps
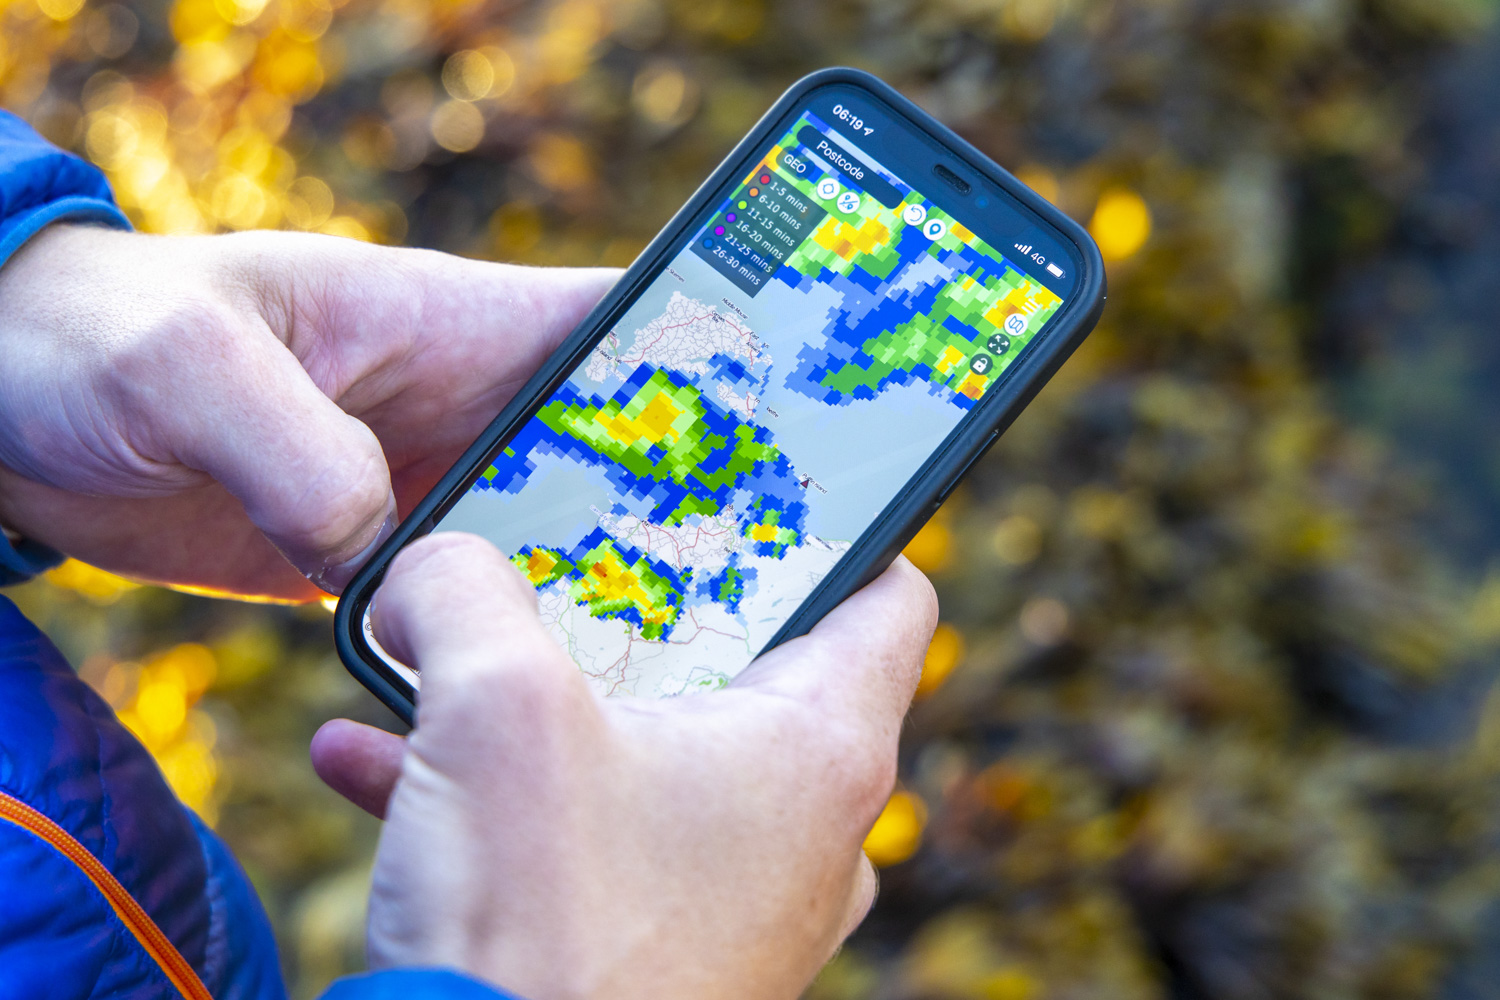
There are a range of photography apps that Drew has on his smartphone, from ones that show live weather and cloud coverage moving across the UK throughout the day, to apps that show him the tide times.
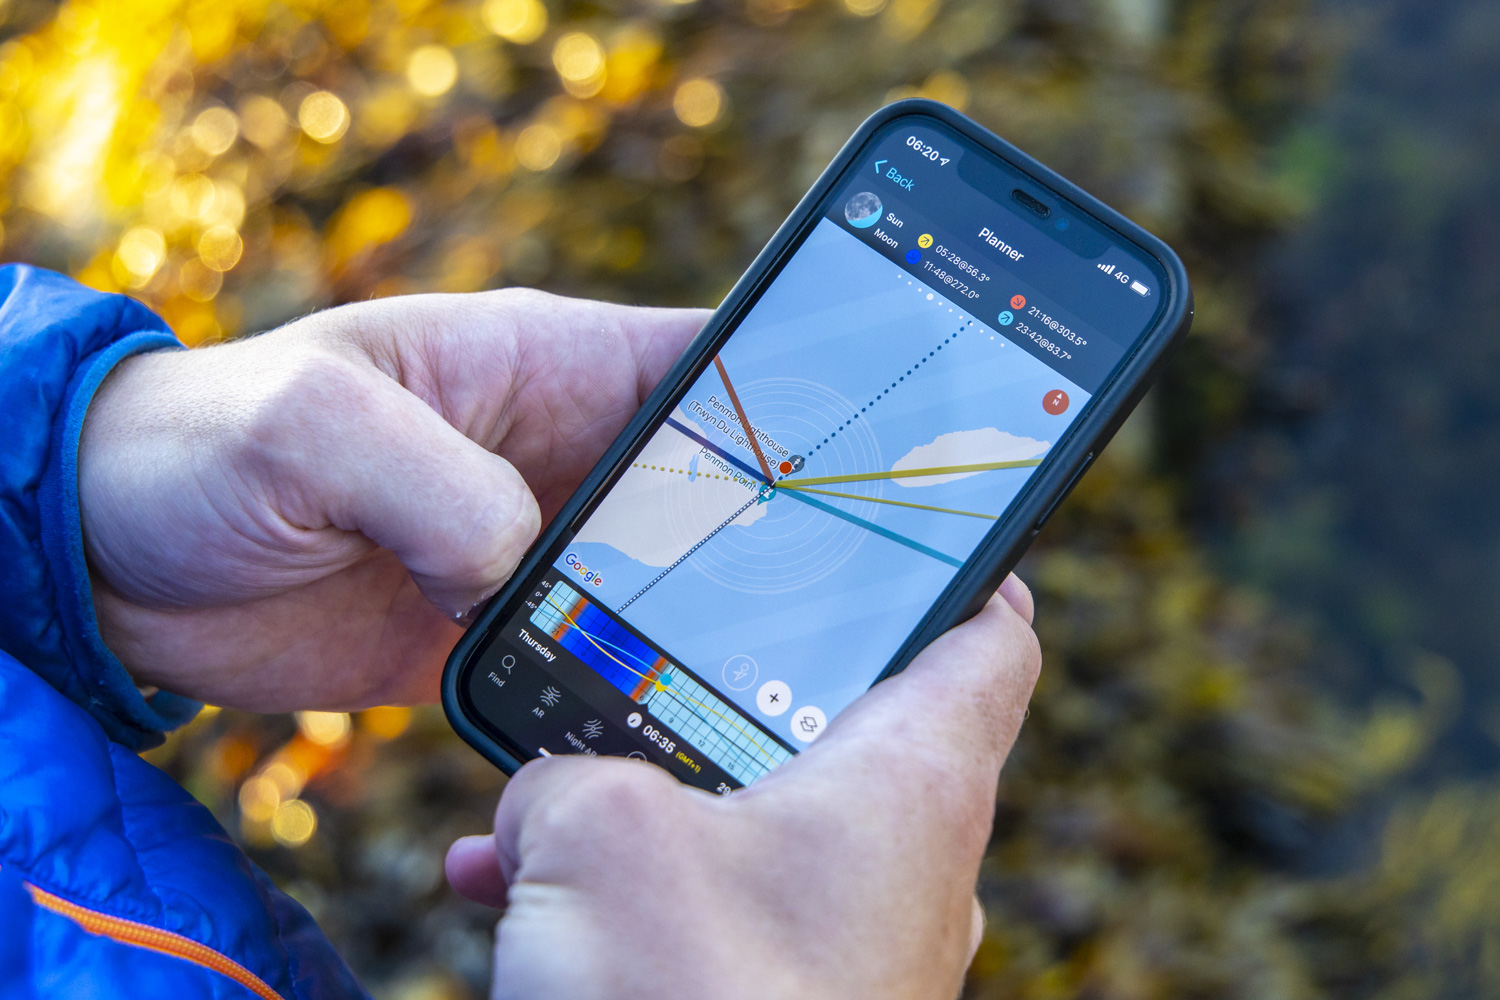
He also uses PhotoPills, which shows you the direction of the sun throughout the day. You can drop a pin precisely on the location you plan to shoot at to get a clearer idea of where to position yourself at sunrise or sunset for the best angle.
PhotoPlus: The Canon Magazine is the world's only monthly newsstand title that's 100% devoted to Canon, so you can be sure the magazine is completely relevant to your system.
Read more:
Landscape photography tips
Best cameras for landscape photography
Best lenses for landscapes
Canon EOS R5 review

In addition to being a freelance photographer and filmmaker, Dan is a bona fide expert on all things Canon and Adobe. Not only is he an Adobe-certified Photoshop guru, he's spent over 10 years writing for specialist magazines including stints as the Deputy Editor for PhotoPlus: The Canon Magazine, Technical Editor for Practical Photography and Photoshop Editor on Digital Photo.
