The best camera deals, reviews, product advice, and unmissable photography news, direct to your inbox!
You are now subscribed
Your newsletter sign-up was successful
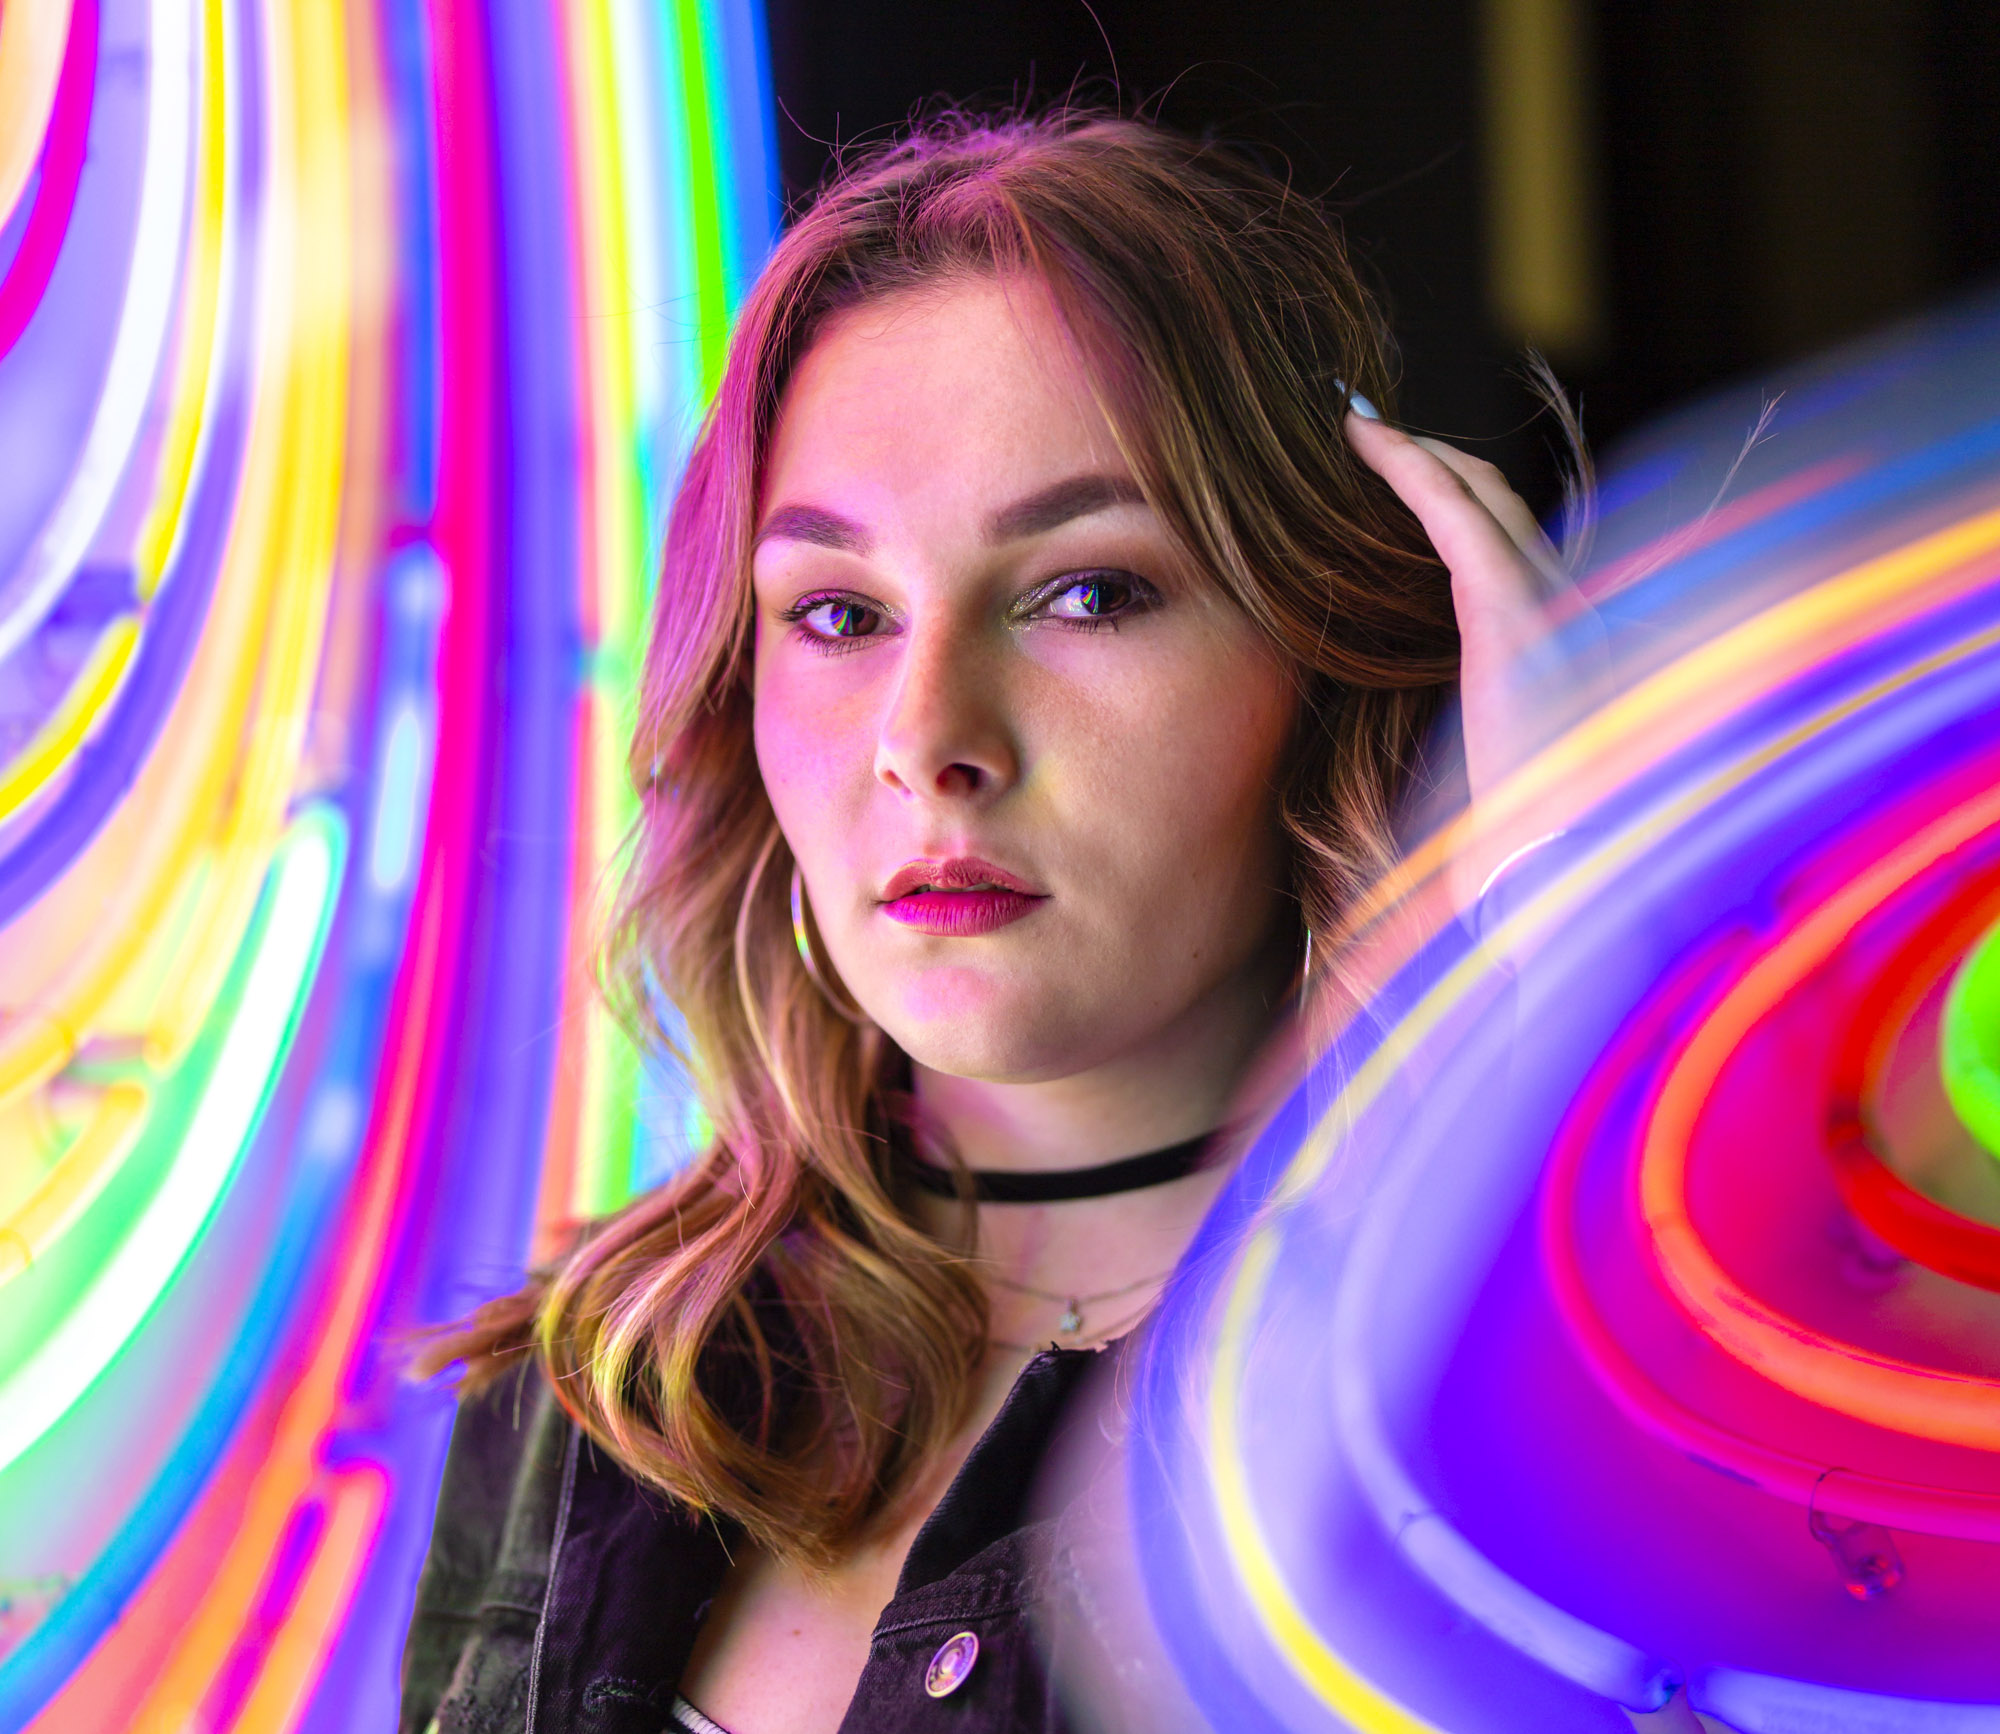
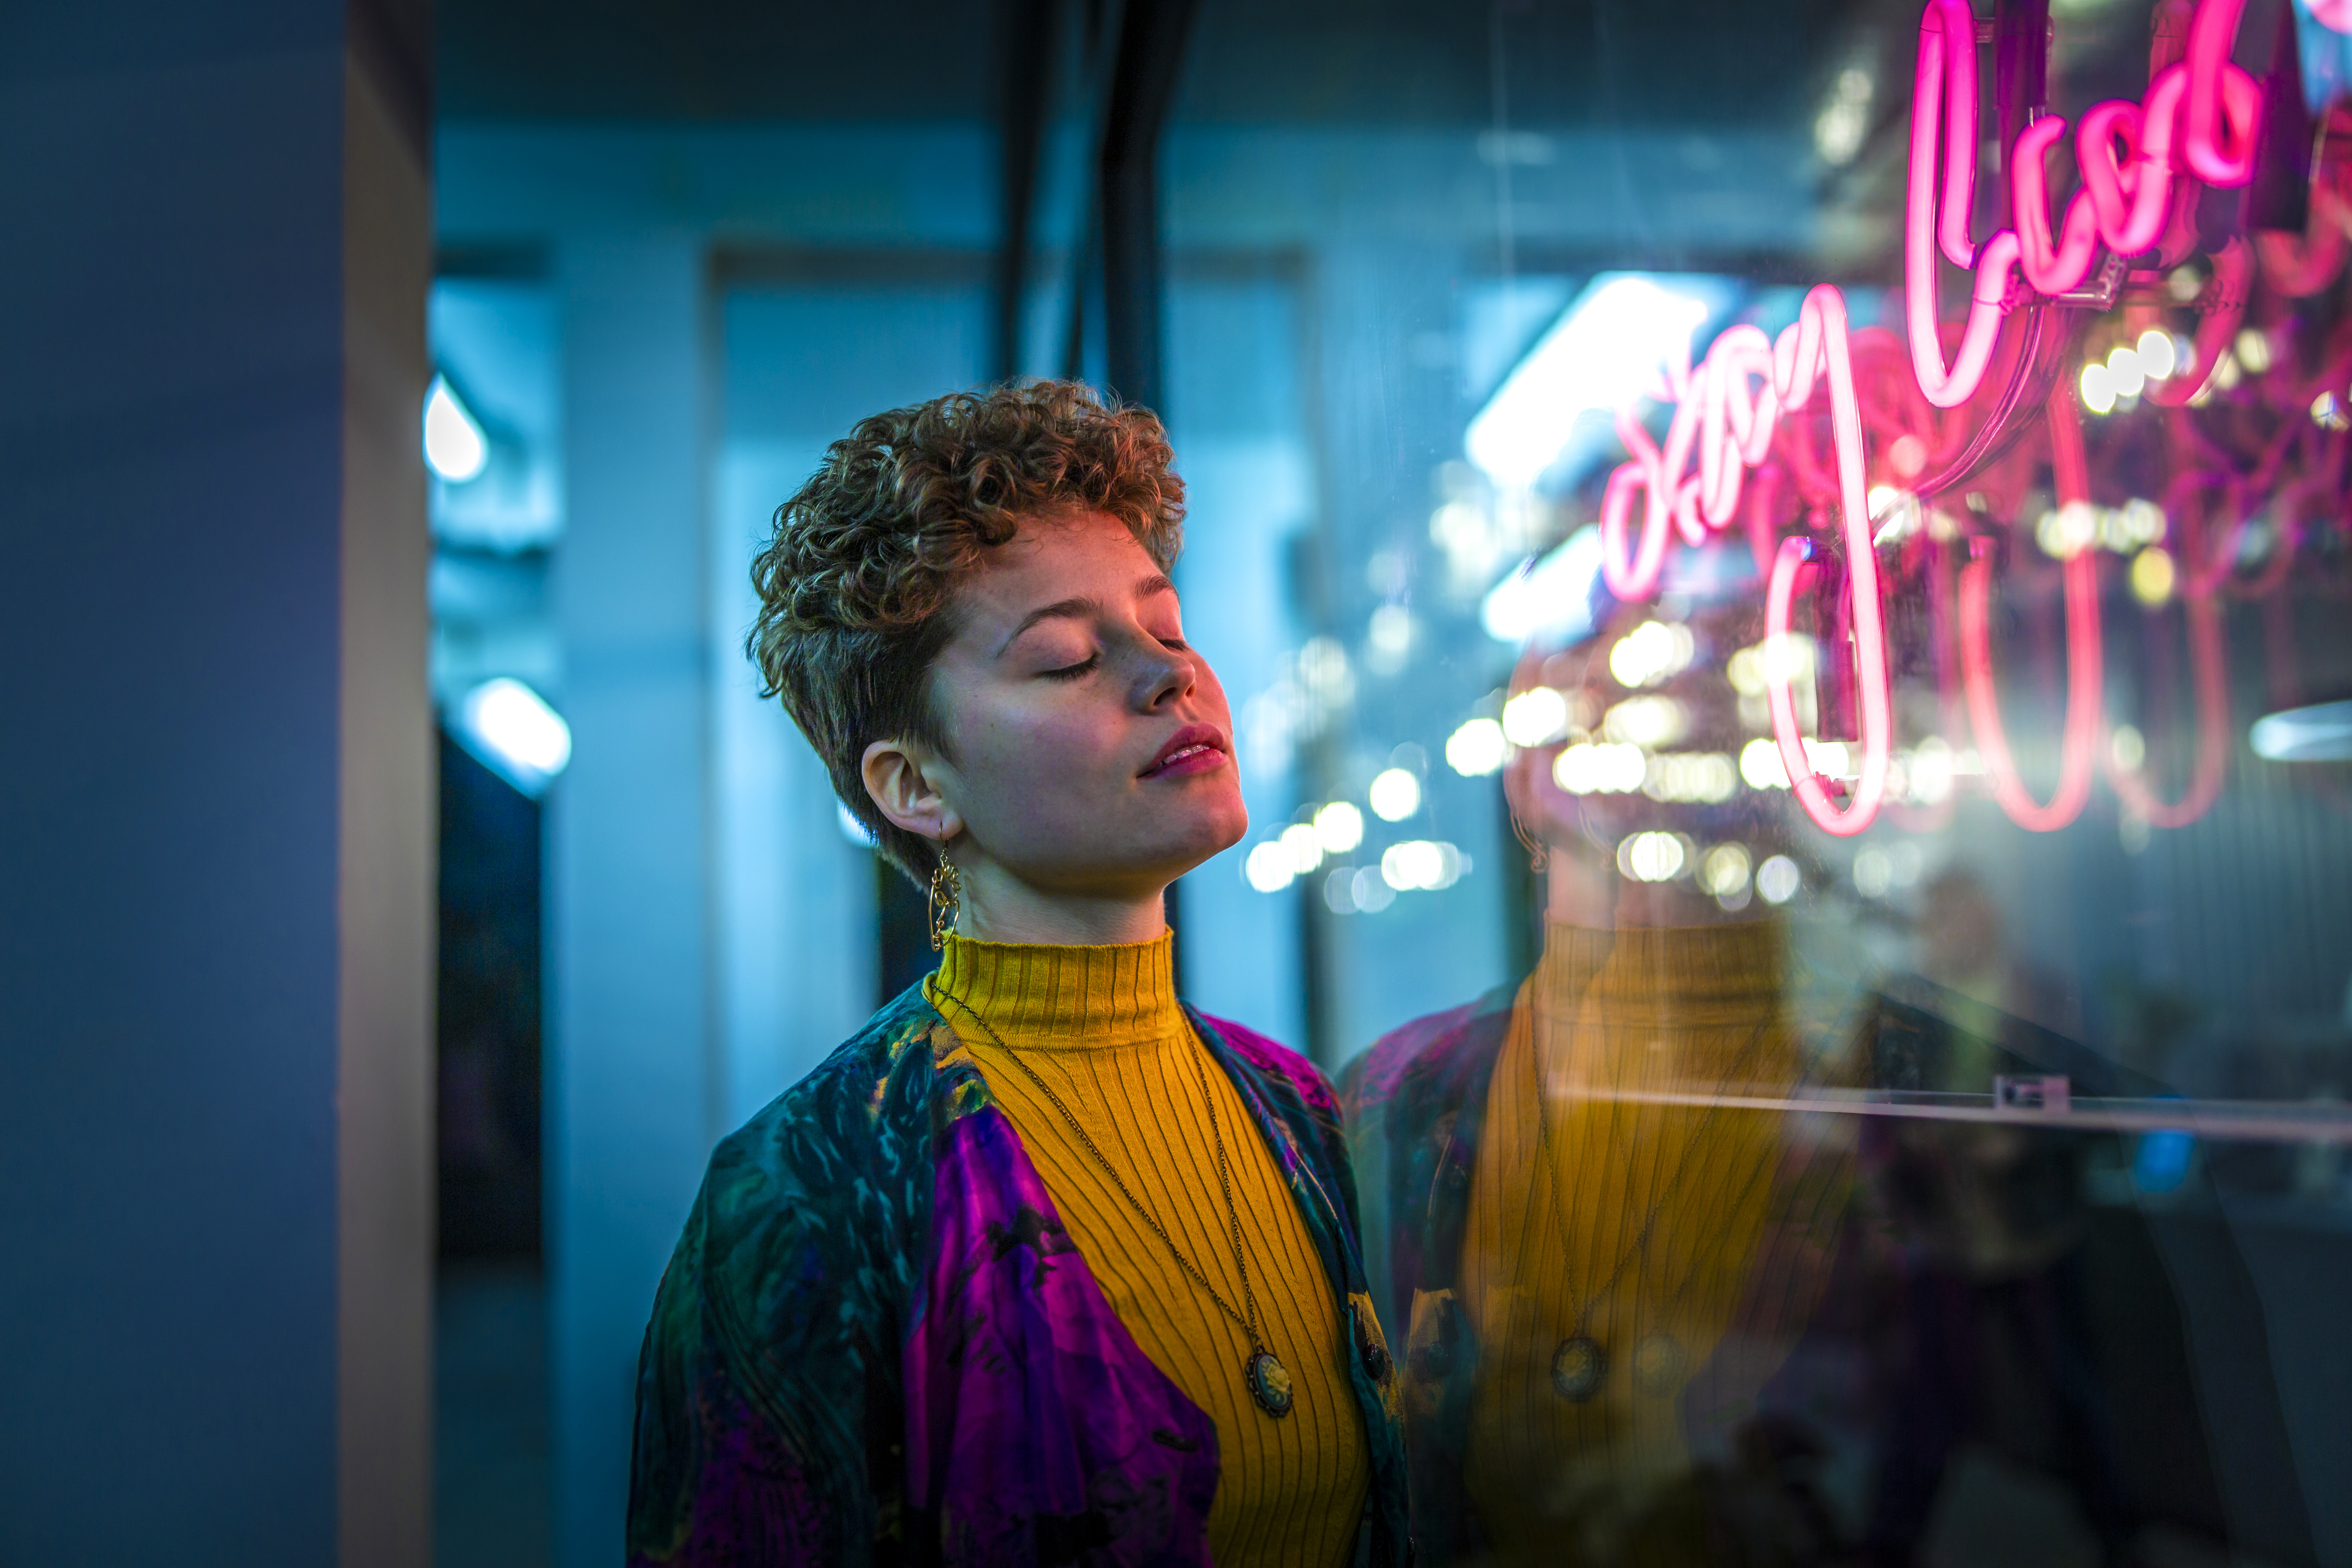
When the sun goes down, the magic of artificial illumination can literally light up your photographs like never before. And with these low light portrait tips, you can get that neon-drenched, cinematic Blade Runner aesthetic in-camera.
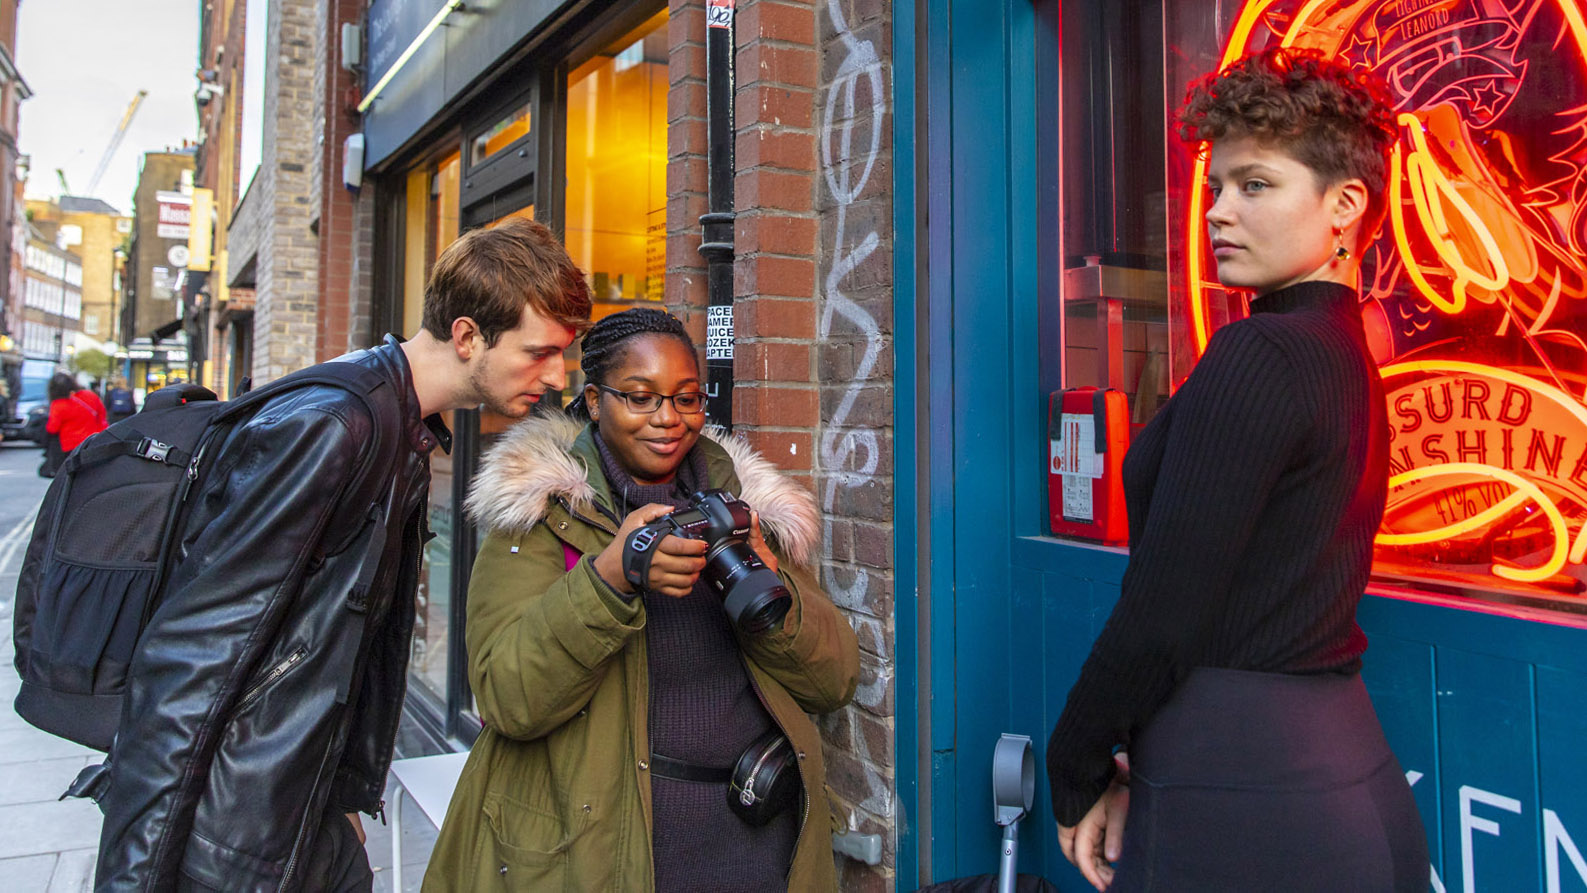
Before the lockdown went into effect, we paired PhotoPlus reader Shana-Rochelle Gravillis up with professional portrait photographer Alastair Batchelor, for a photo walk around London's vibrantly lit Soho area.
Here you'll find Alastair's top 10 portrait photography tips, along with some of the images that Shana-Rochelle was able to capture by taking them on board and applying them to her own photography.
Provided that you keep about two meters apart, you can try these techniques yourself by meeting up with friends or even booking models – or, of course, by twisting the arm of the people you live with!
• Newborn photography tips
• Get more photoshoot ideas
01 Check your shots
After any important shot it's worth reviewing your image on the rear LCD of your camera so you can double-check the exposure and also the focus. If it's not right, now is the time to fix it and take another – as it may not be possible to correct back at your computer. That being said, it's definitely worth shooting in the Raw format to have more control over the exposure and White Balance during the editing stage.
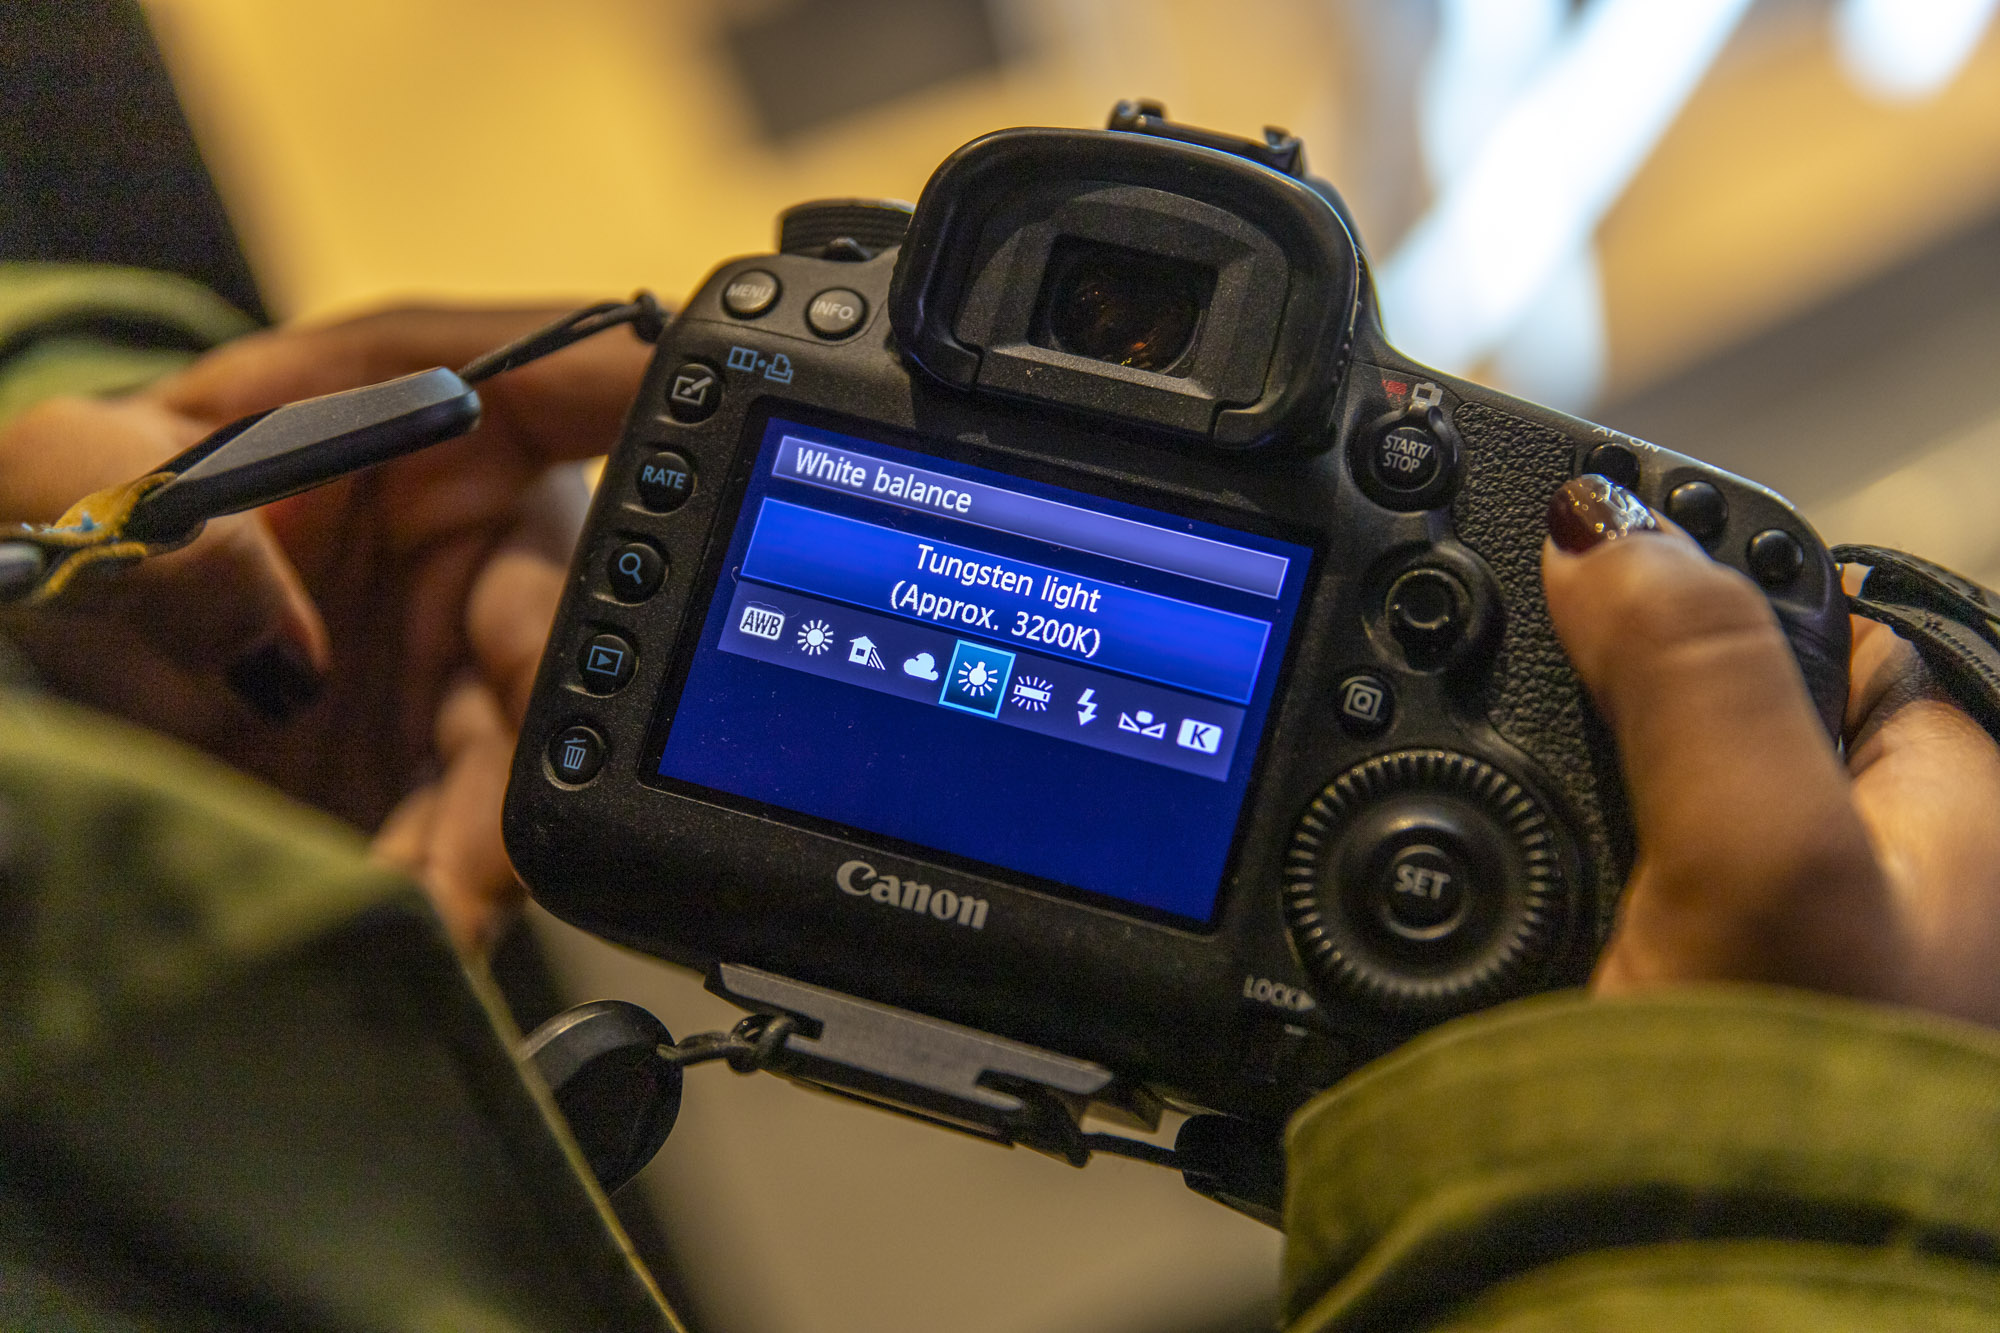
02 Set a custom white balance
"A quick way to give your images a totally different feel is to go into your camera menu and change the white balance," says Alastair. "If you’re shooting a ‘true’ white neon light, this will make it cooler and more blue or warmer and more yellow. You can also do this in post-processing if you shoot in the Raw image format."
The best camera deals, reviews, product advice, and unmissable photography news, direct to your inbox!
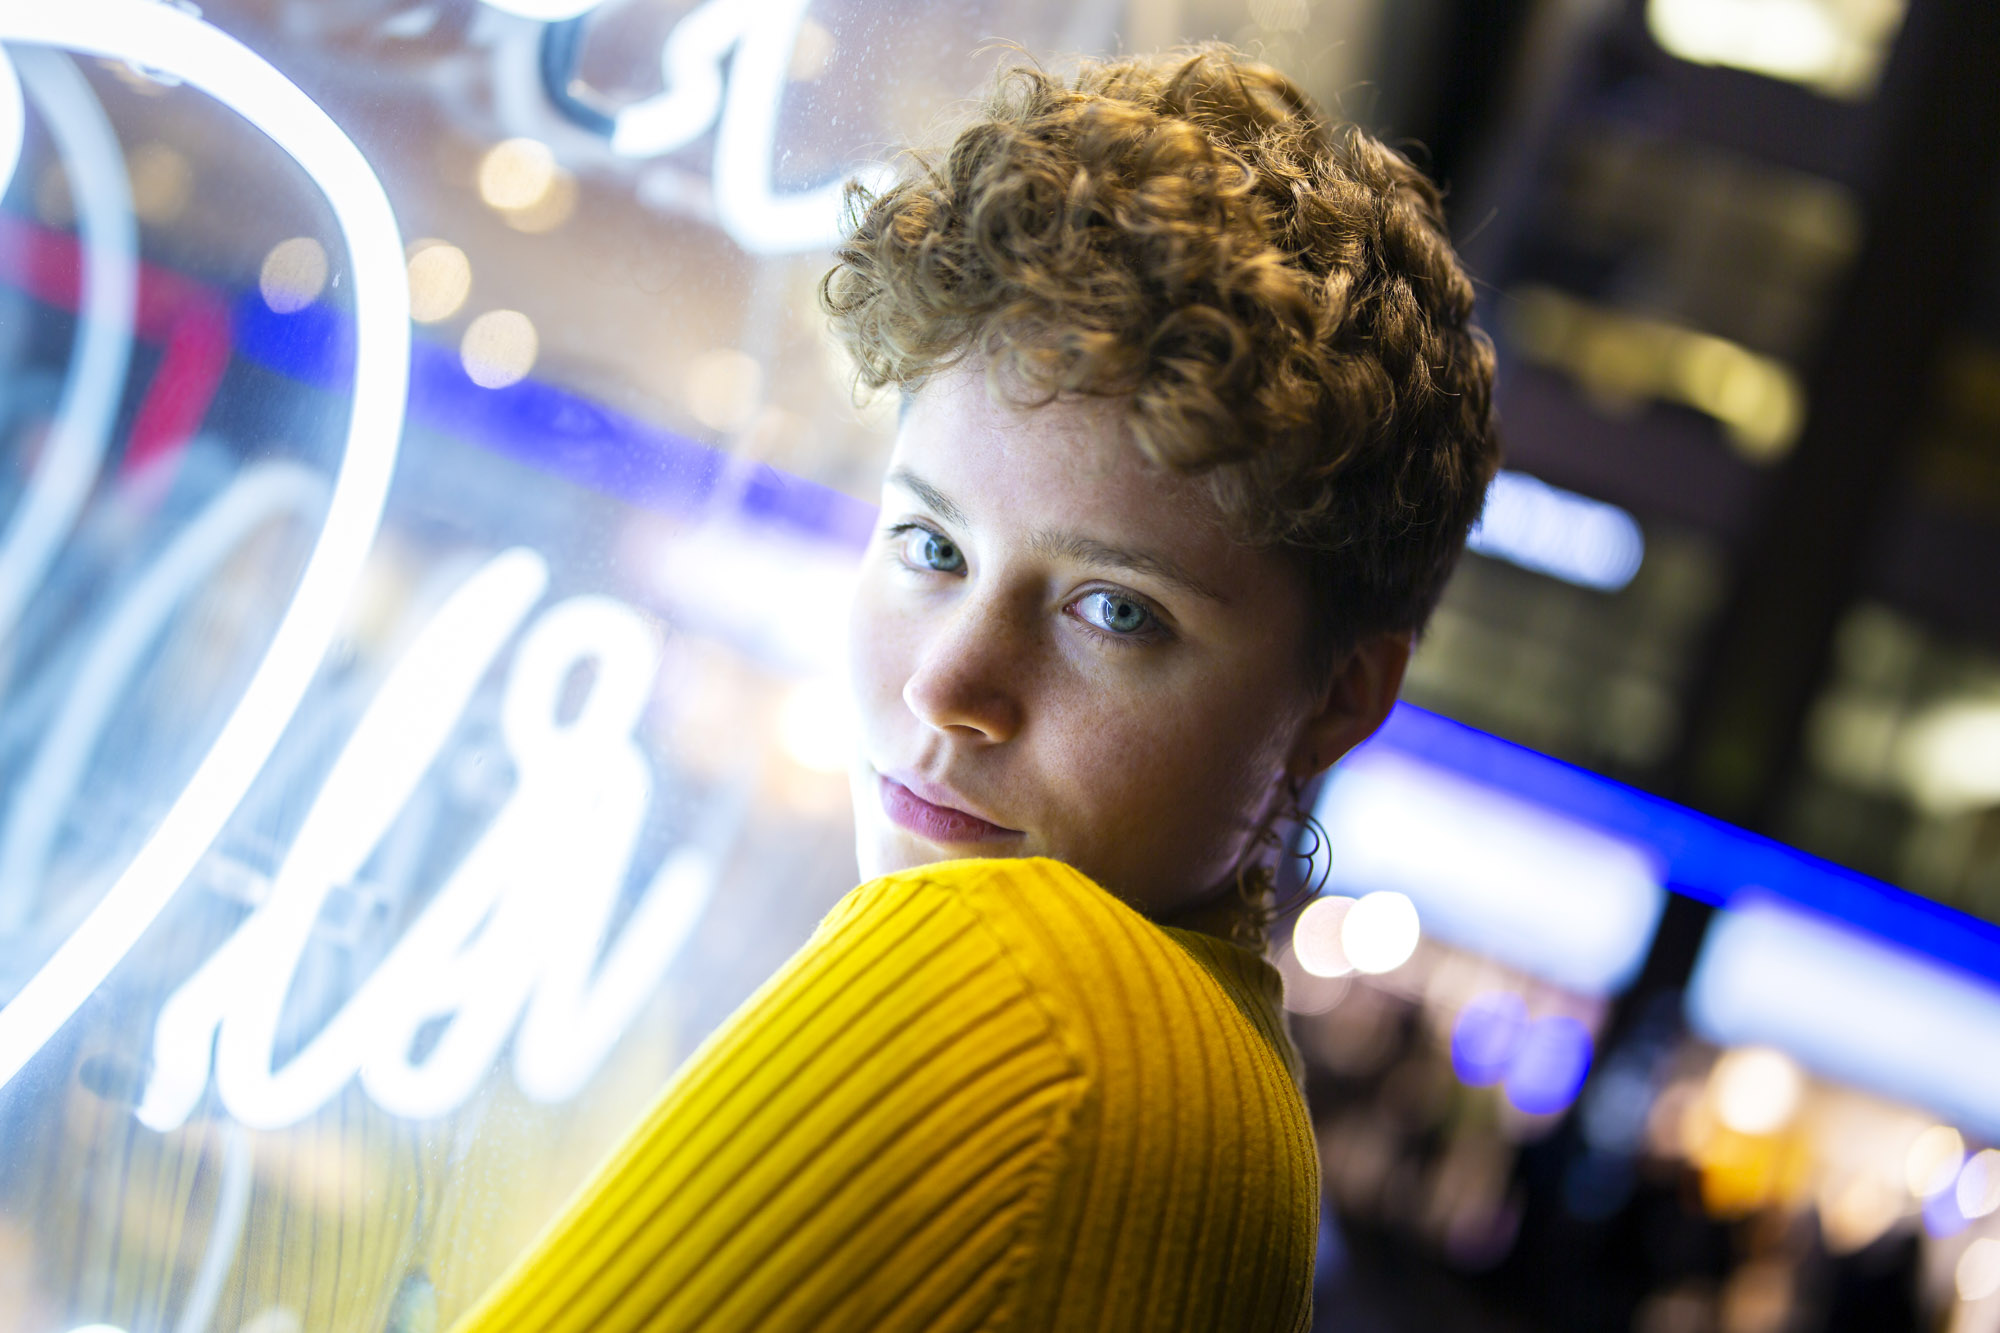
03 Focus on the closest eye to the camera
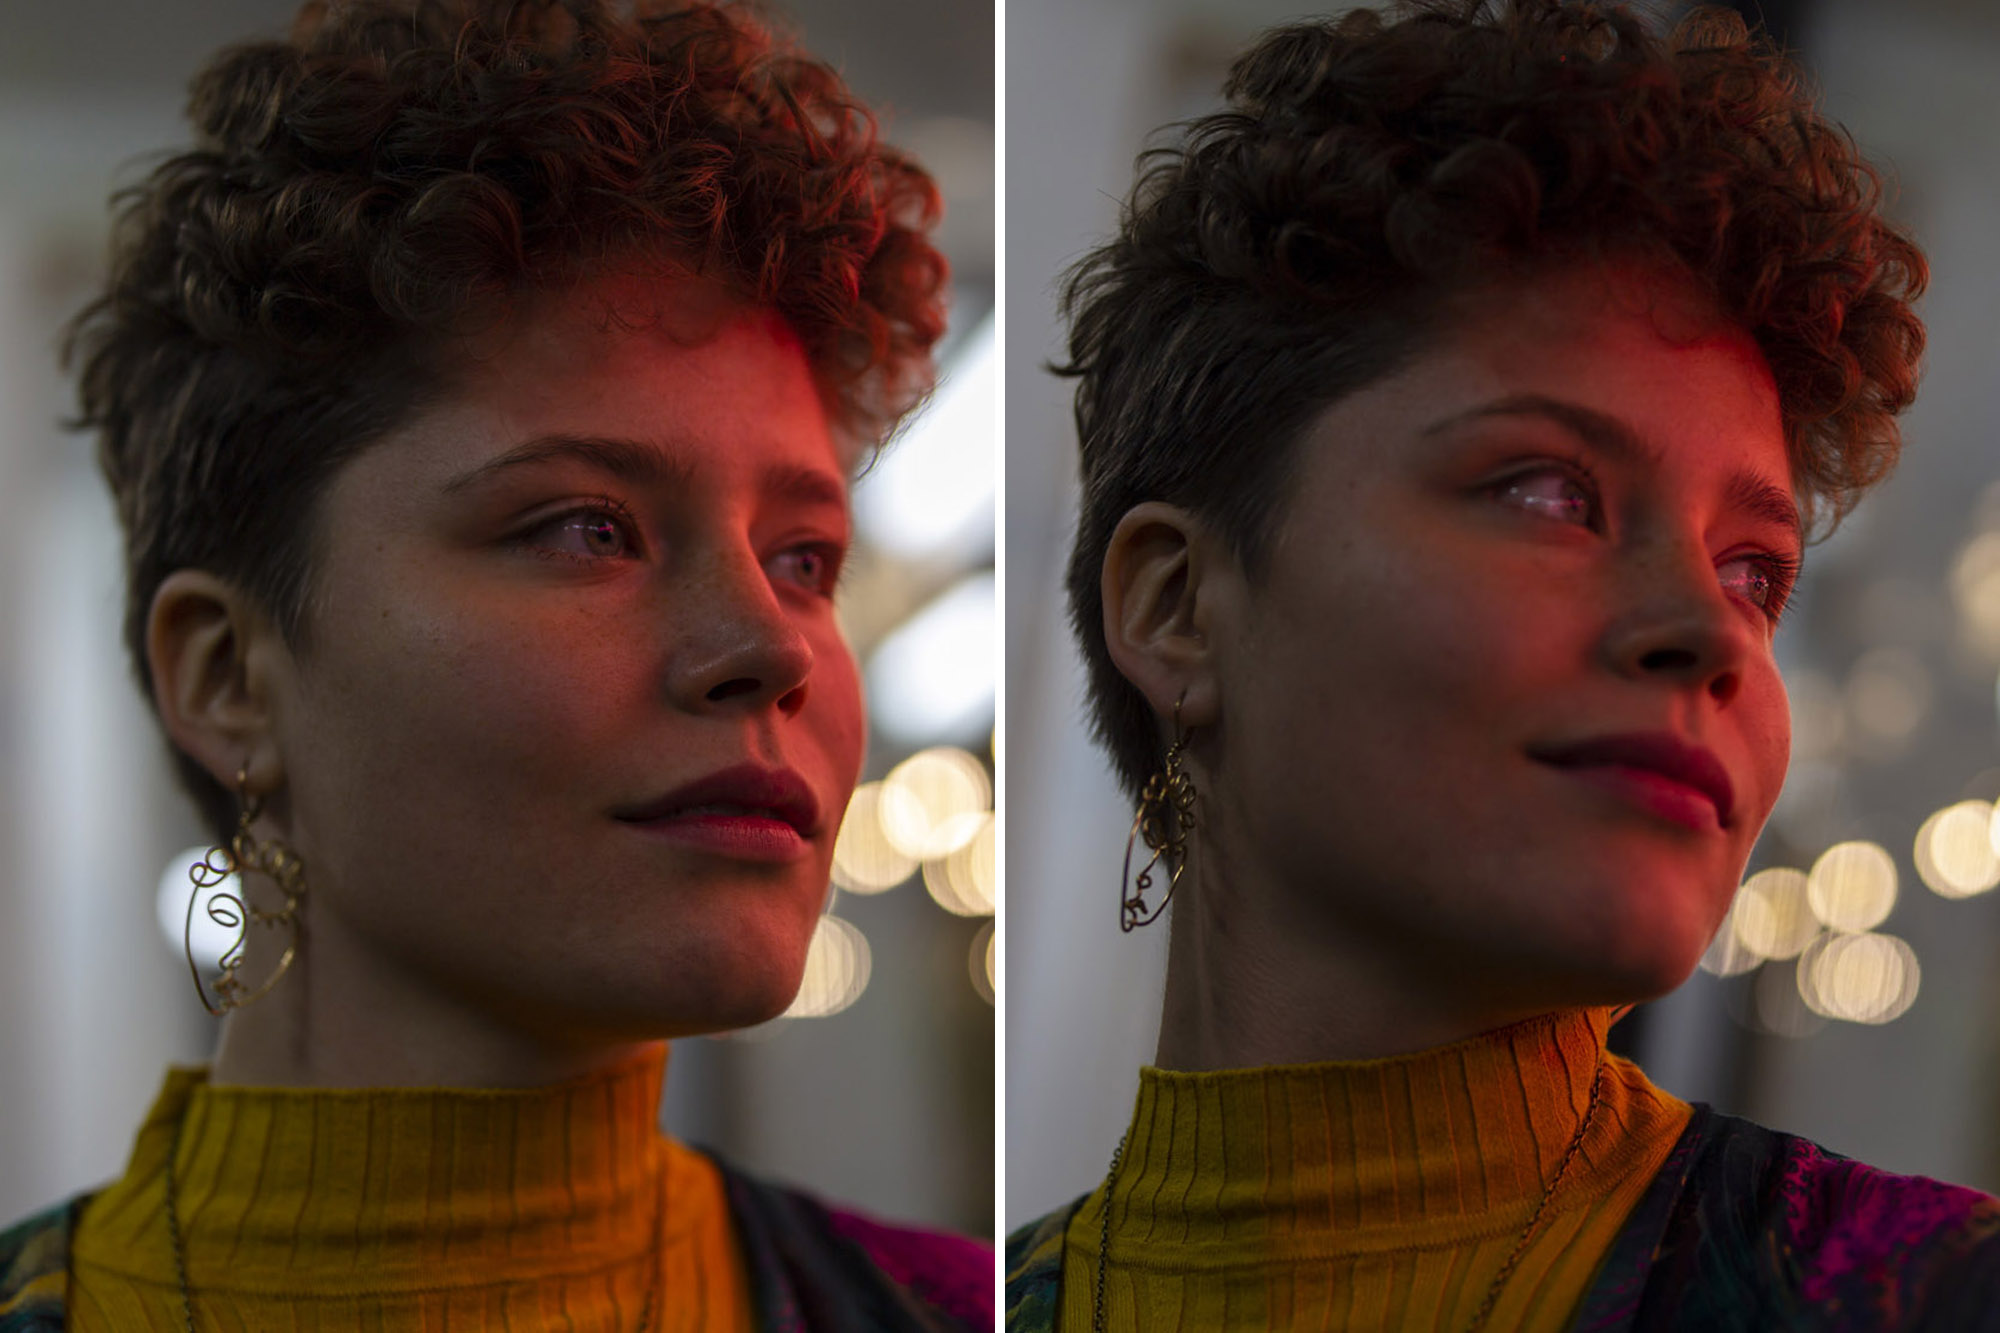
"The eyes are the window to the soul and they’re also the key to great portraits. Make them your focal point by focusing on them. When using super wide apertures such as f/1.8, or f/1.4, your zone of sharpness is often not large enough to get both eyes sharp if the model isn’t looking straight-on to you. Portraits tend to look their best if you focus on the eye closest to the camera, so make sure this is where your active AF point is."
04 Share your shots
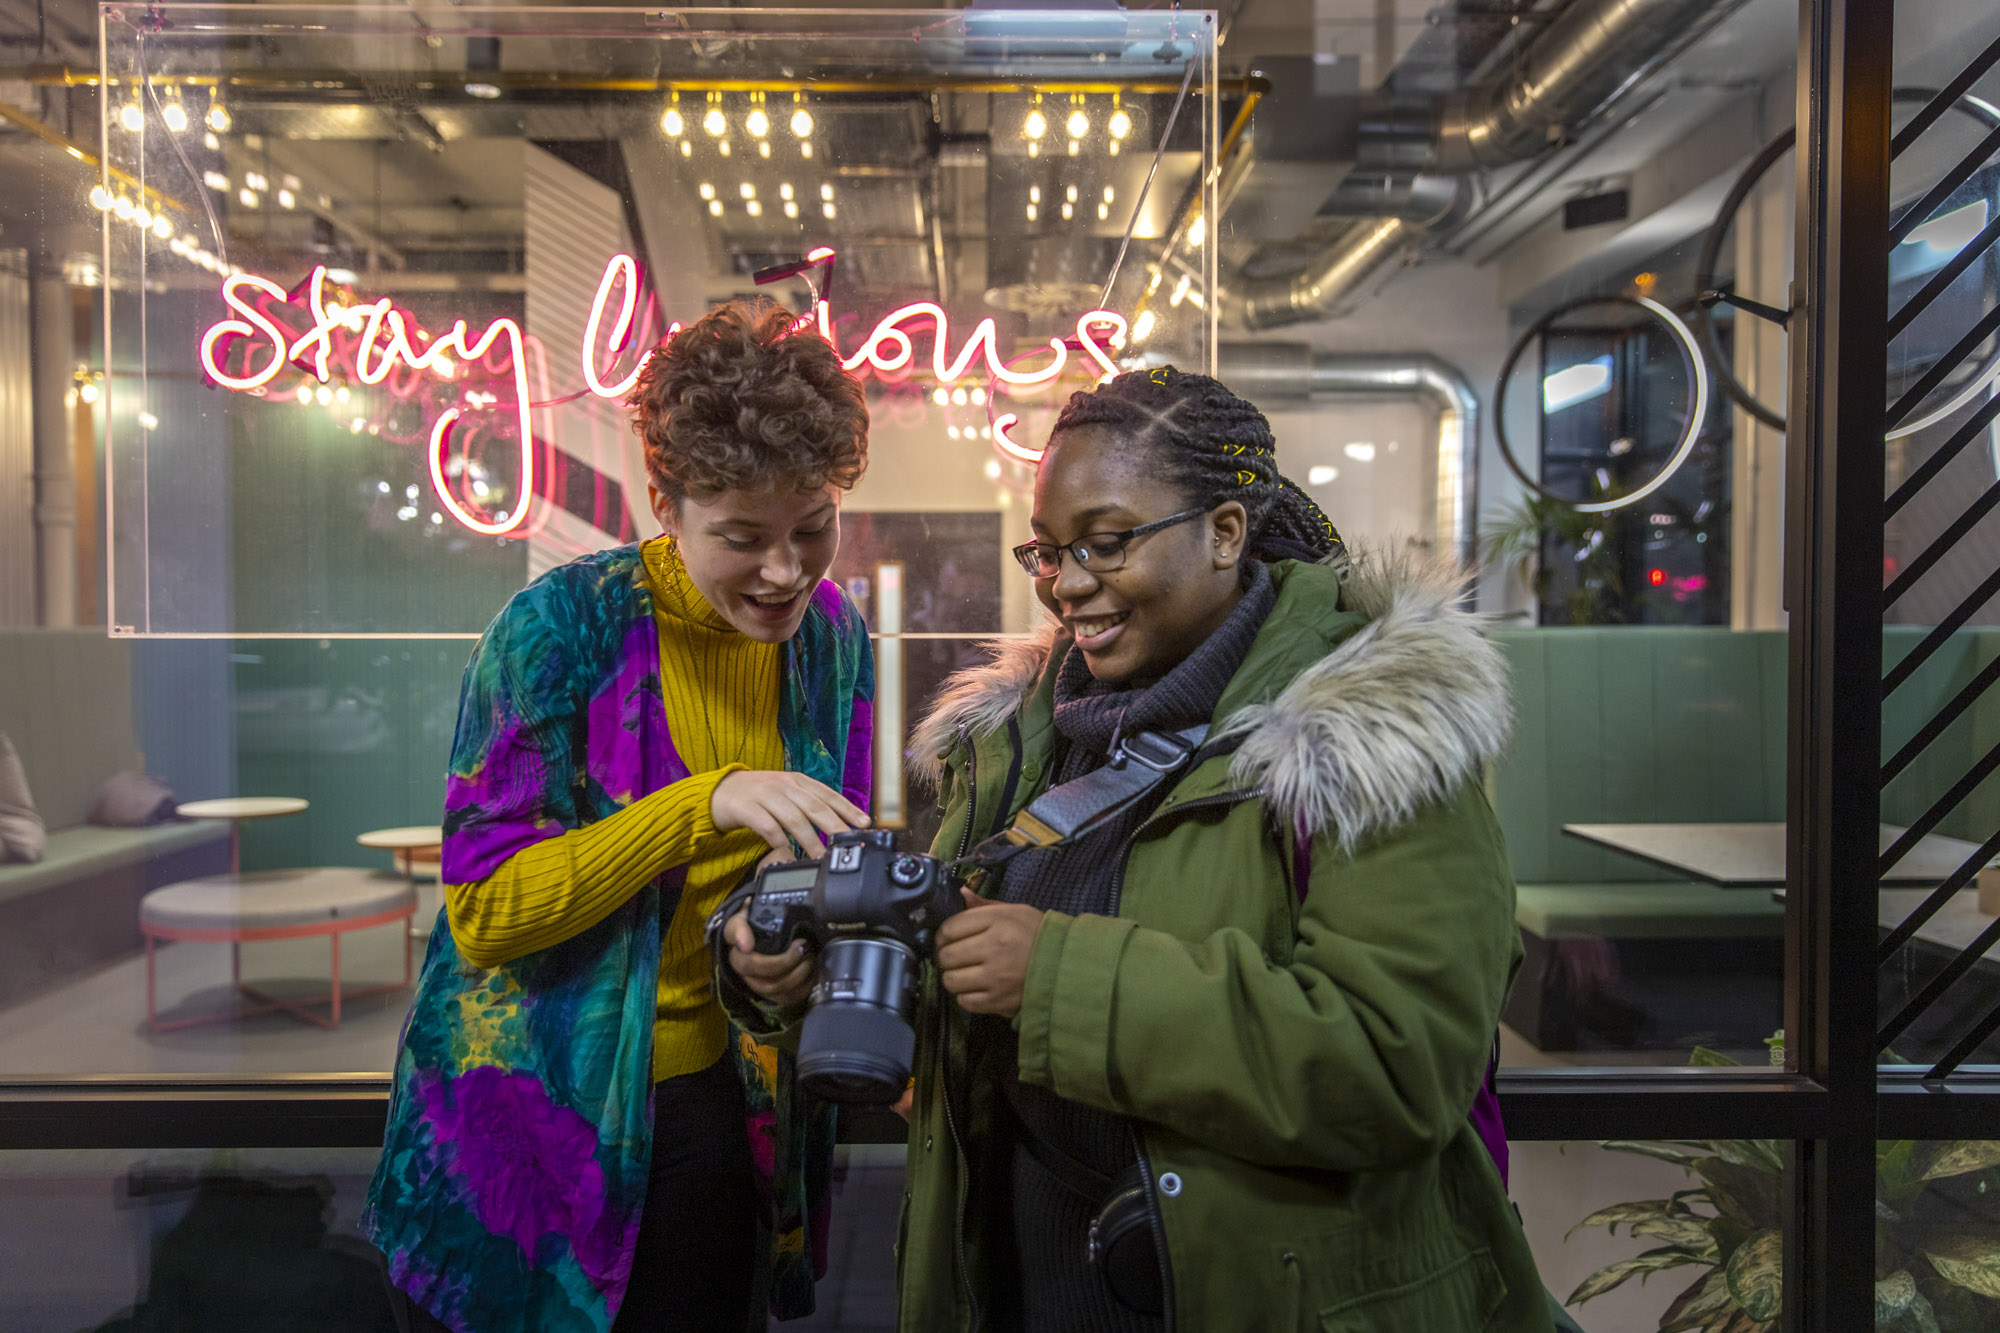
"As well as checking your images to make sure you’re happy with them, it’s a good idea to show your model some of your favourite pictures. This helps build a rapport and get them excited about the pictures. After looking at the pictures you and the model can come up with and suggest different poses or looks."
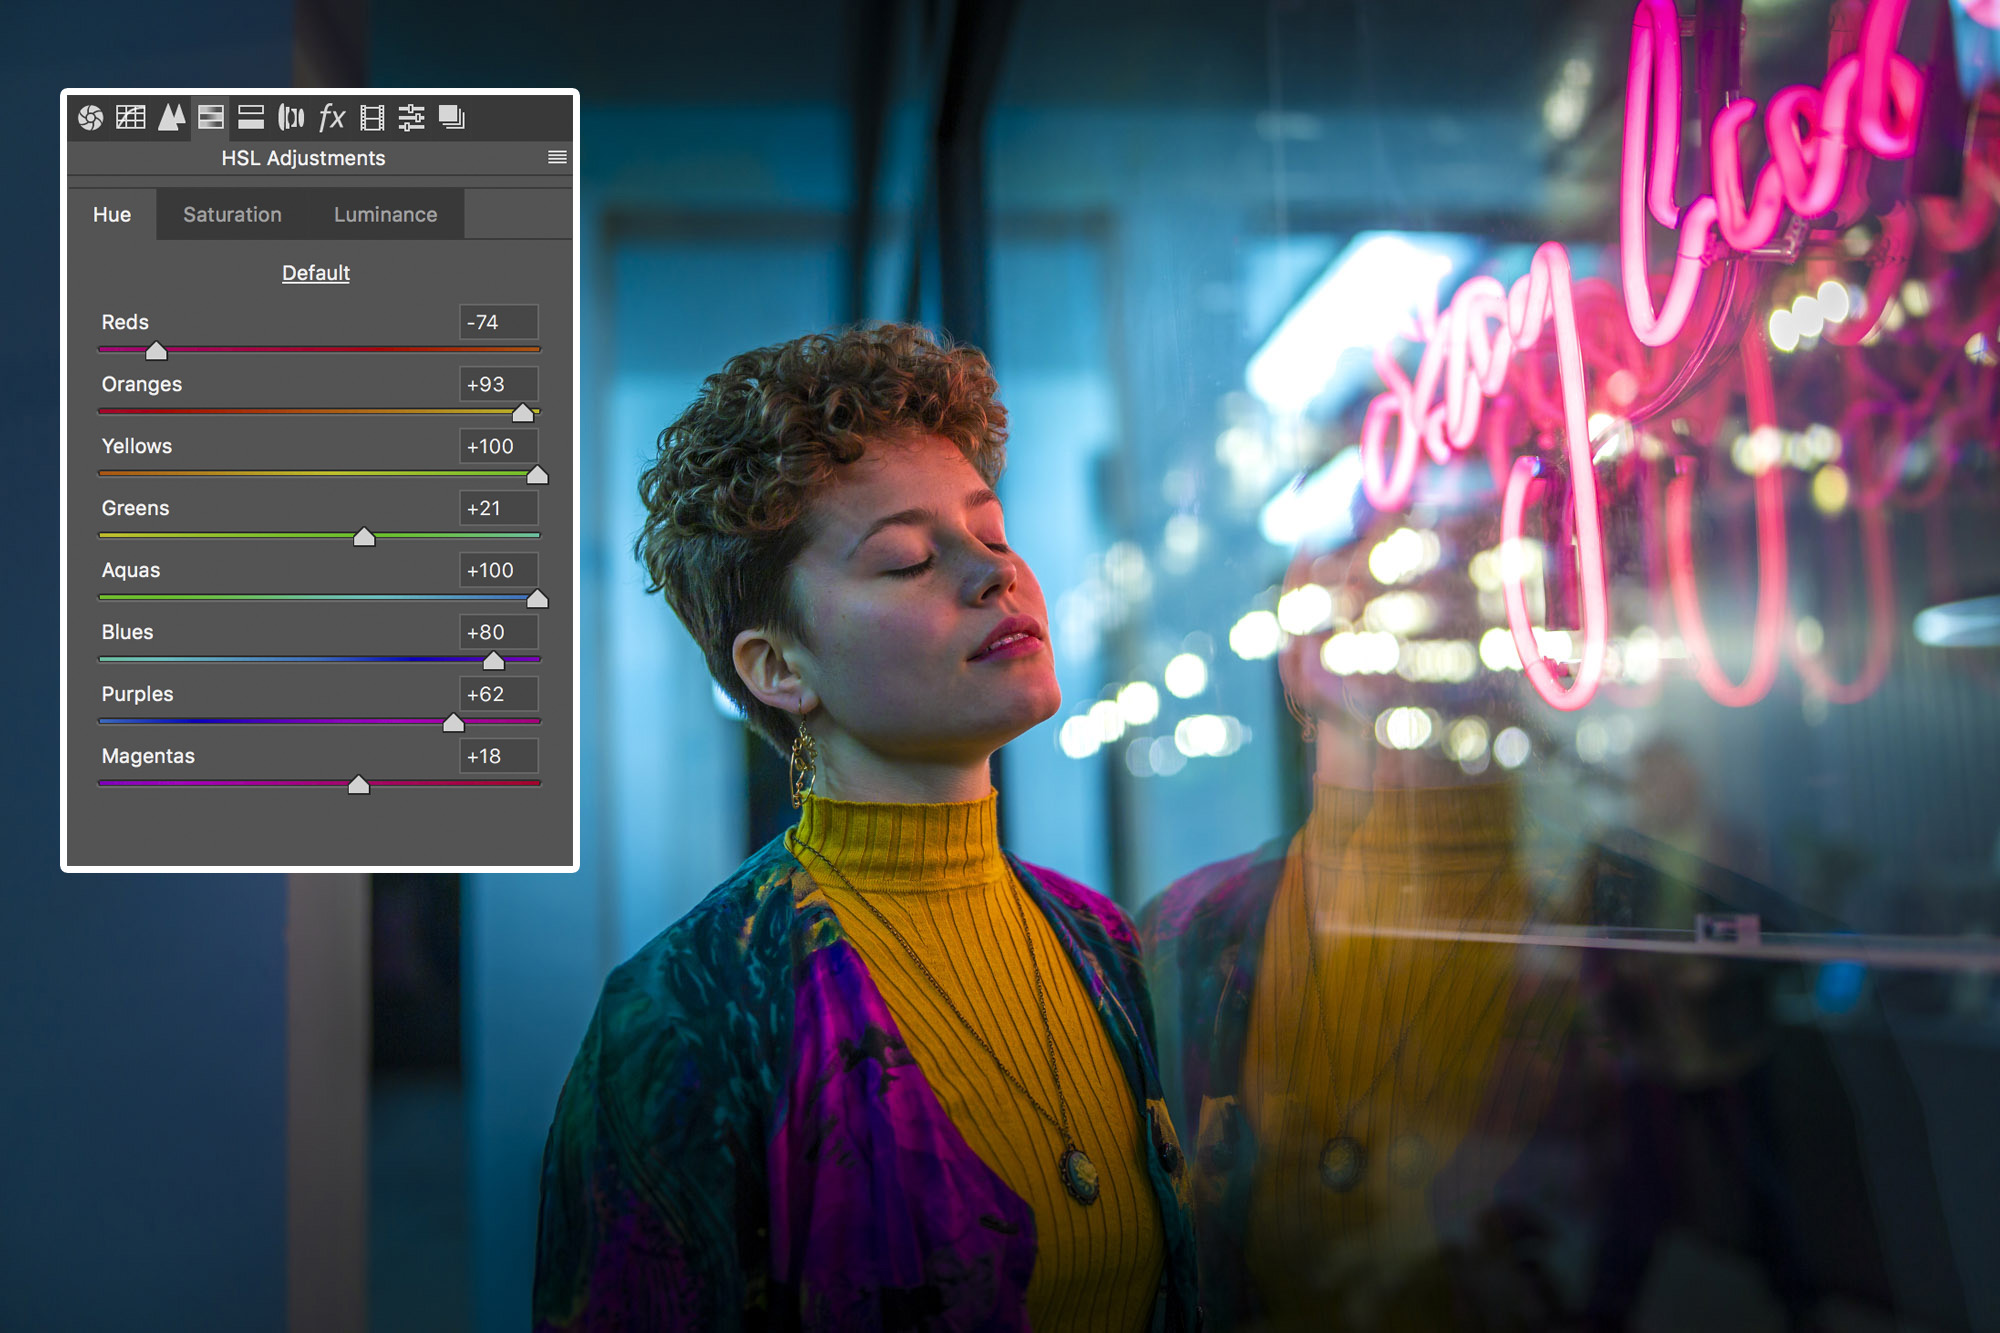
05 Experiment with HSL adjustments
Alastair shoots in the Raw file format for extra exposure data and works up his images in Adobe Lightroom Classic CC. He tells us "a large part of the editing process is tweaking the colors when shooting with neon lights, which is done through the HSL Adjustments panel, also available in Adobe Camera Raw. This panel makes it easy to tweak the hue, saturation and luminance of each color channel to get a totally different feel, so if you haven’t tried it experiment and see what does what!"
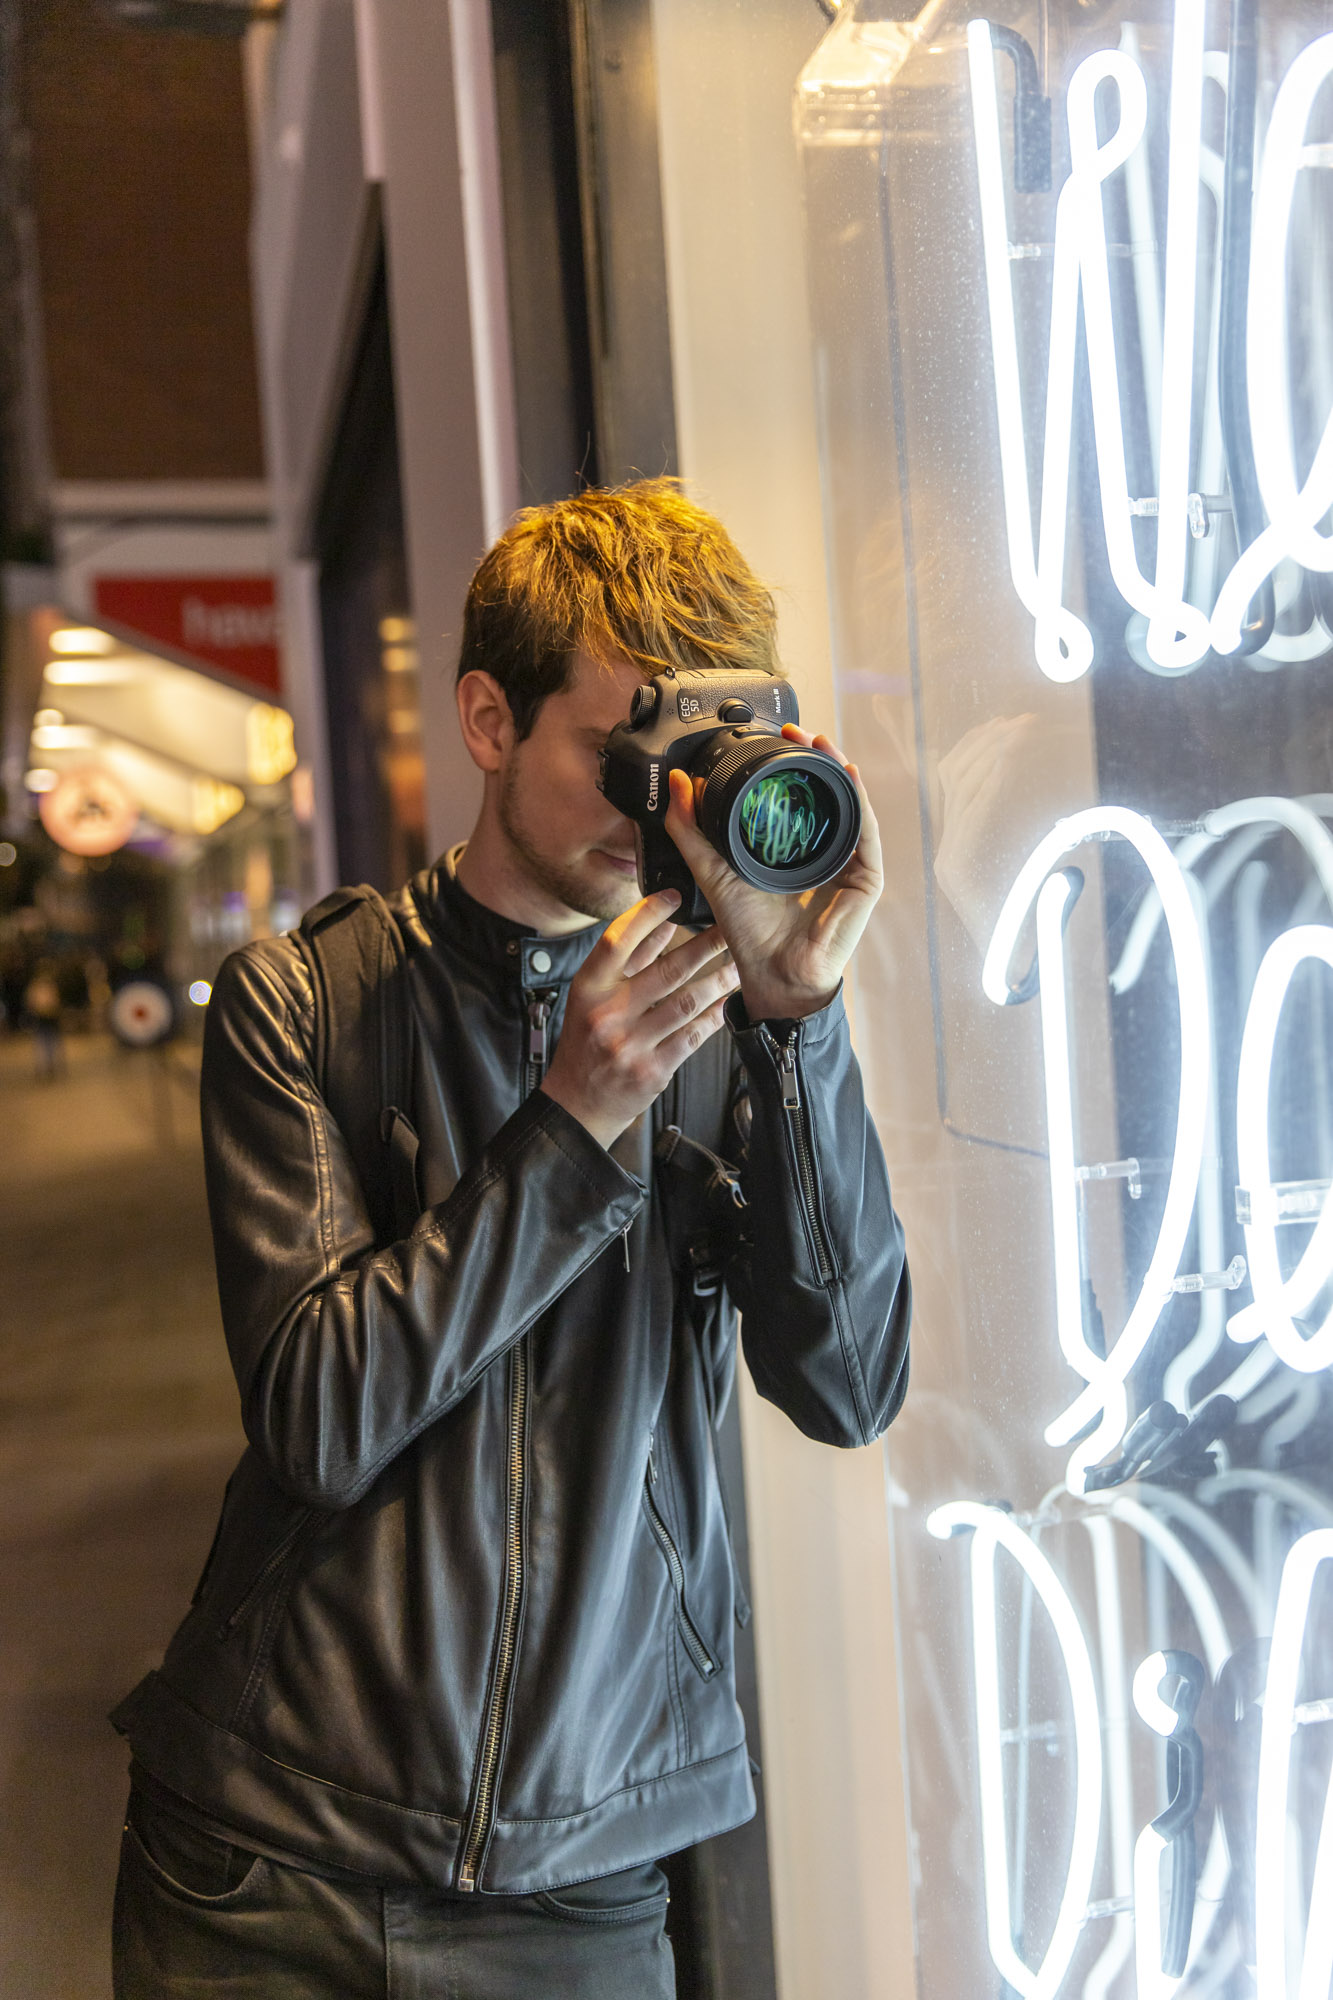
06 Hug the wall
"Sometimes I’ll need to get the camera right up to the wall or window to get the shot I’m after. Thankfully, I’ve developed a technique for this. I’ll hold the camera lens with my left hand, then look through the viewfinder with my right eye and carefully press the shutter with my right hand – it’s a bit of a balancing act and takes some getting used to, looking through the viewfinder with my right eye, but it gets results every time."
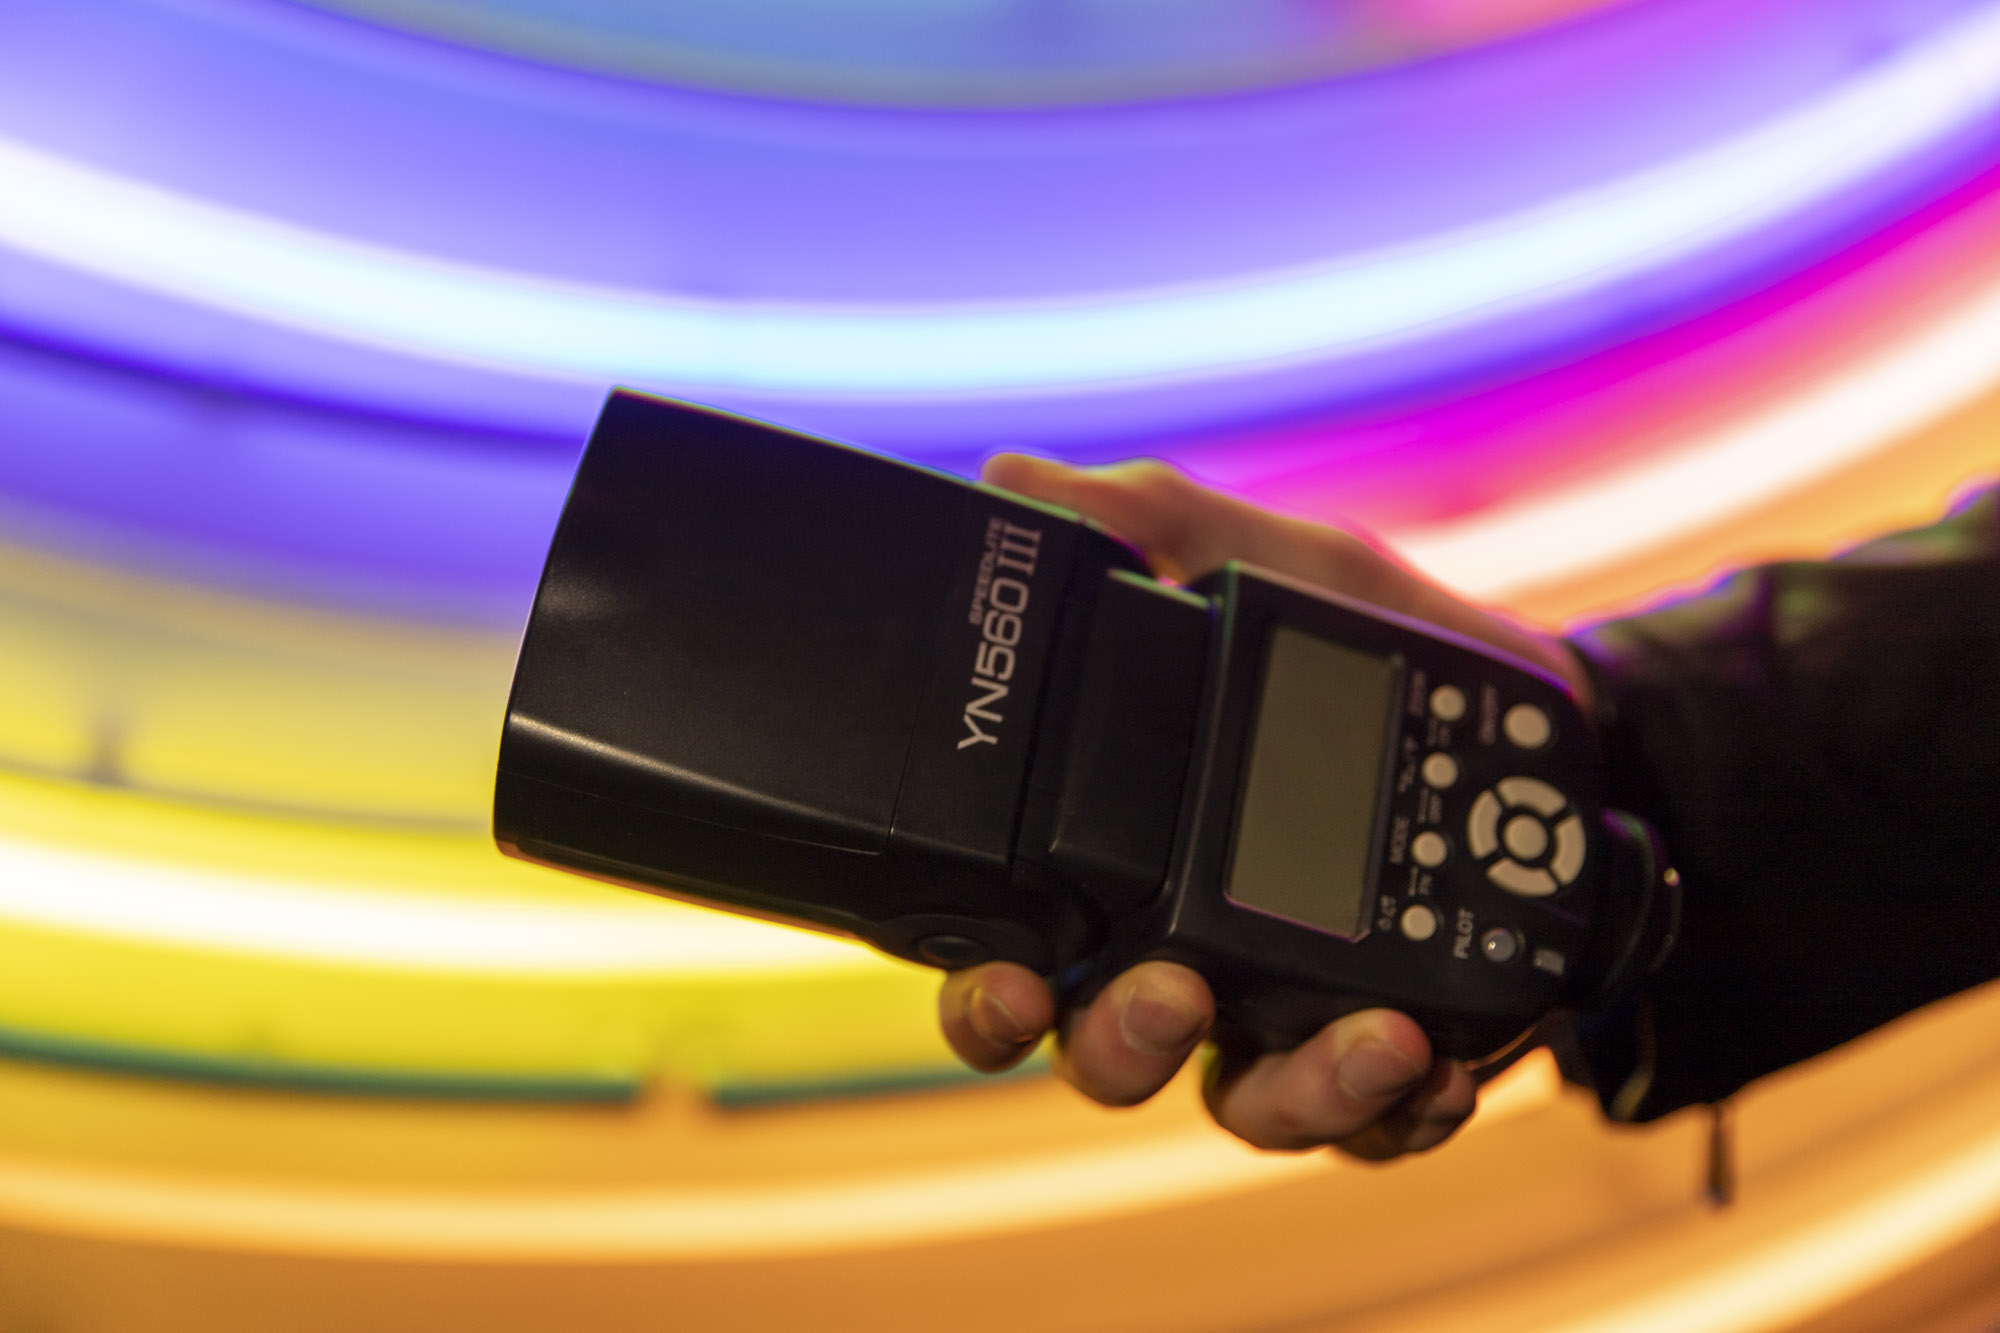
07 Fill in shadows with a flashgun
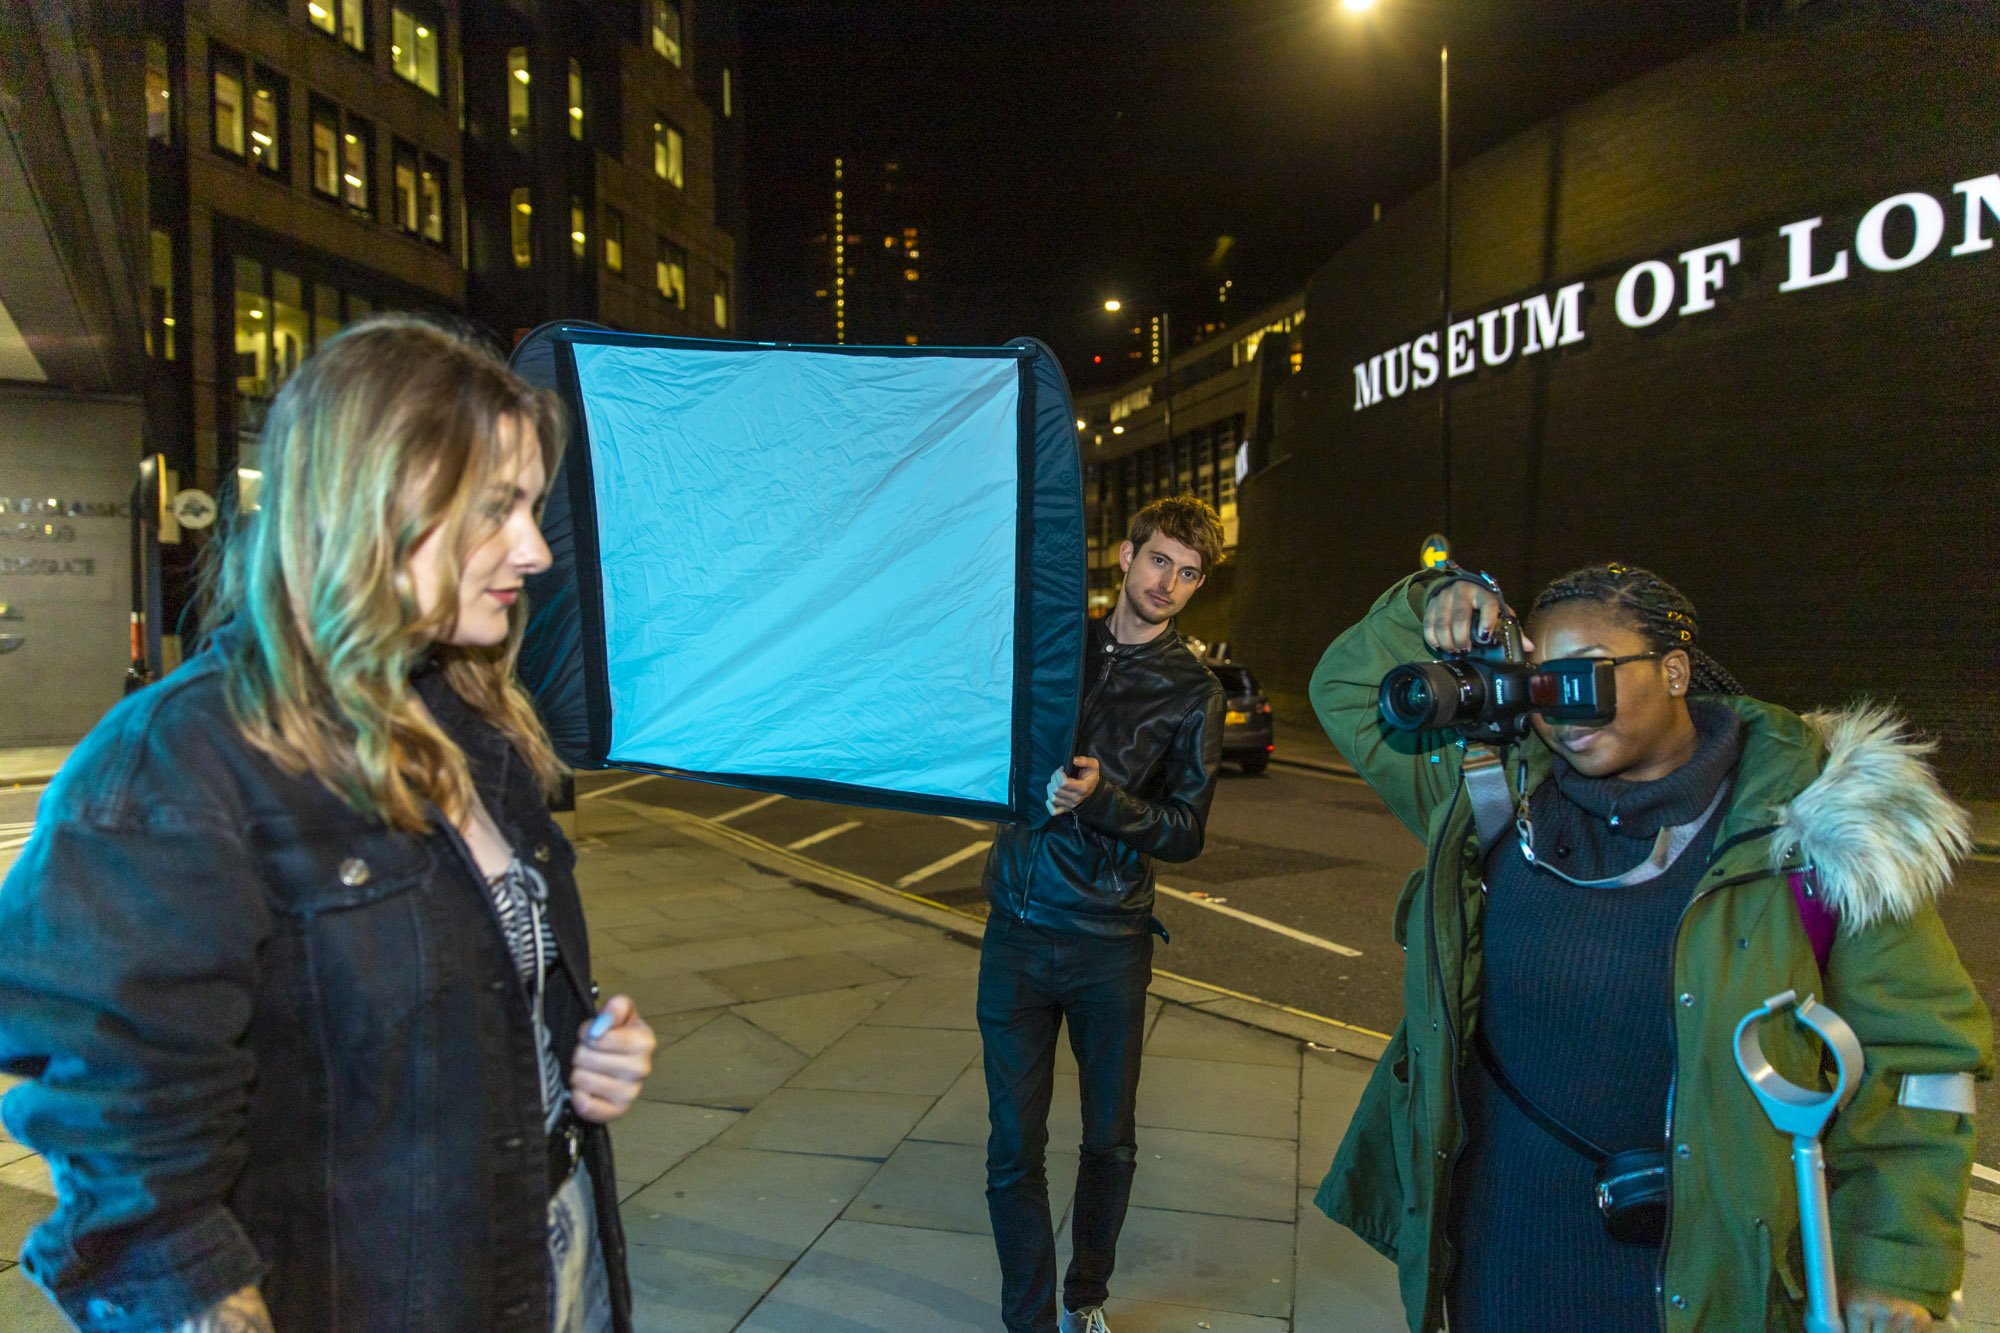
"The vibrant colors in my images are from the neons, so I sometimes use my flashgun off-camera with triggers to inject a little fill. The light from the flash is white, unless I add colored gels. It helps the subject pop out and stop them looking so dark without altering the colors."
When using flash Alastair tells us, "I sometimes use a Lastolite Ezybox Pro Square Large 90cm softbox, which makes the light from the flashgun less harsh and gives a studio look. I can attach my flashgun to the softbox using the Lastolite Ezybox Pro Speedlight Bracket. This makes it possible to use on a light stand, but also works well with somebody holding it like I am here."
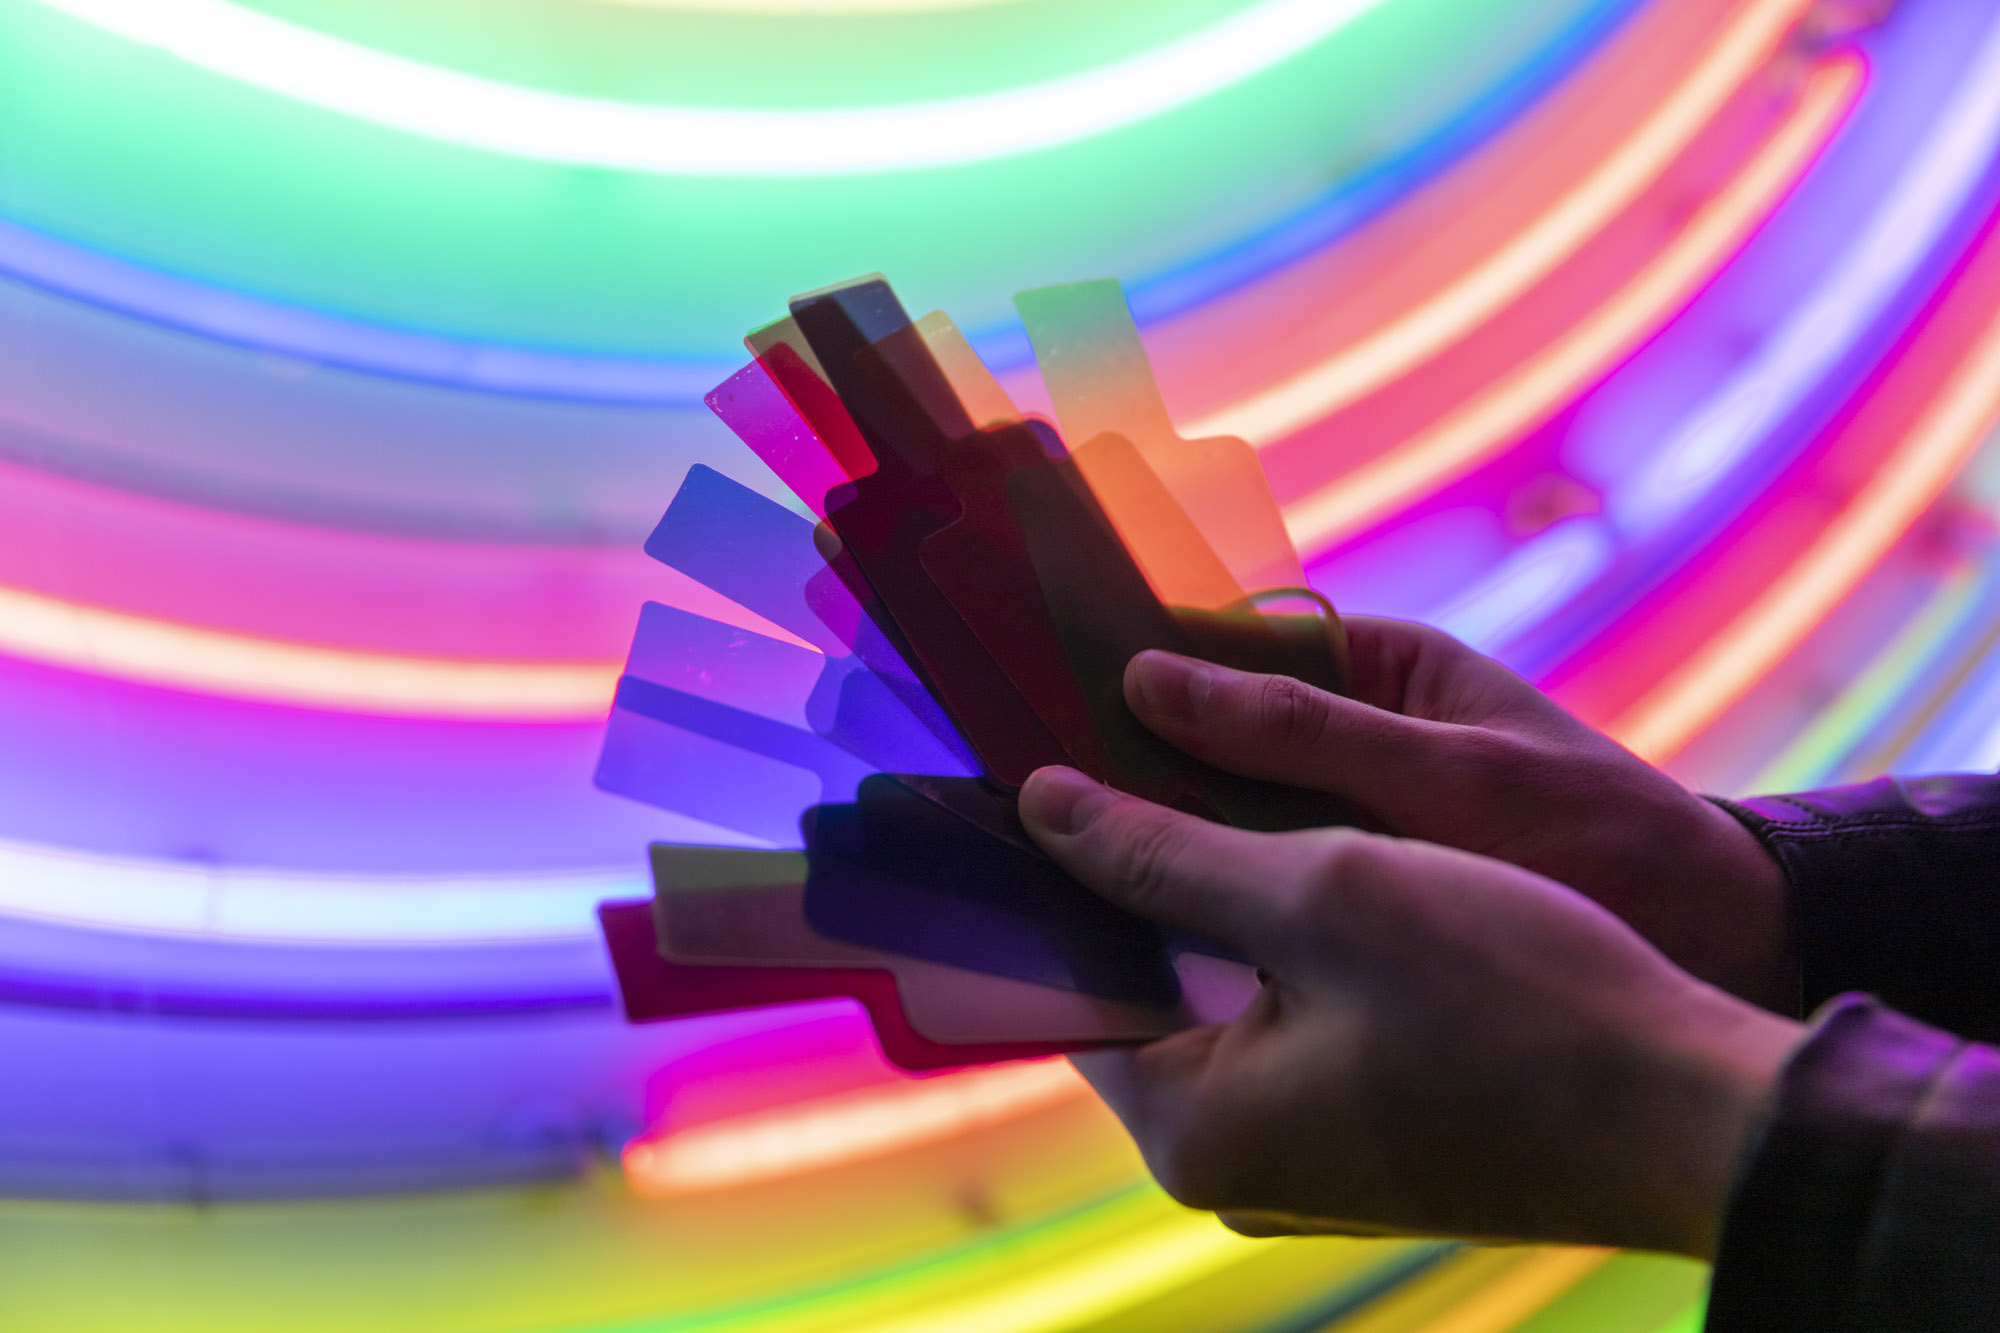
08 Use flash gels
"Flash gels are probably the most basic and unexciting bits of kit to look at, as they’re just clear strips of translucent coloured acrylic! But using one or more of these on flashguns will open up a world of creative opportunities. These are unbranded gels that I picked up online for a minimal amount of money but make a big difference to the colours in my images".
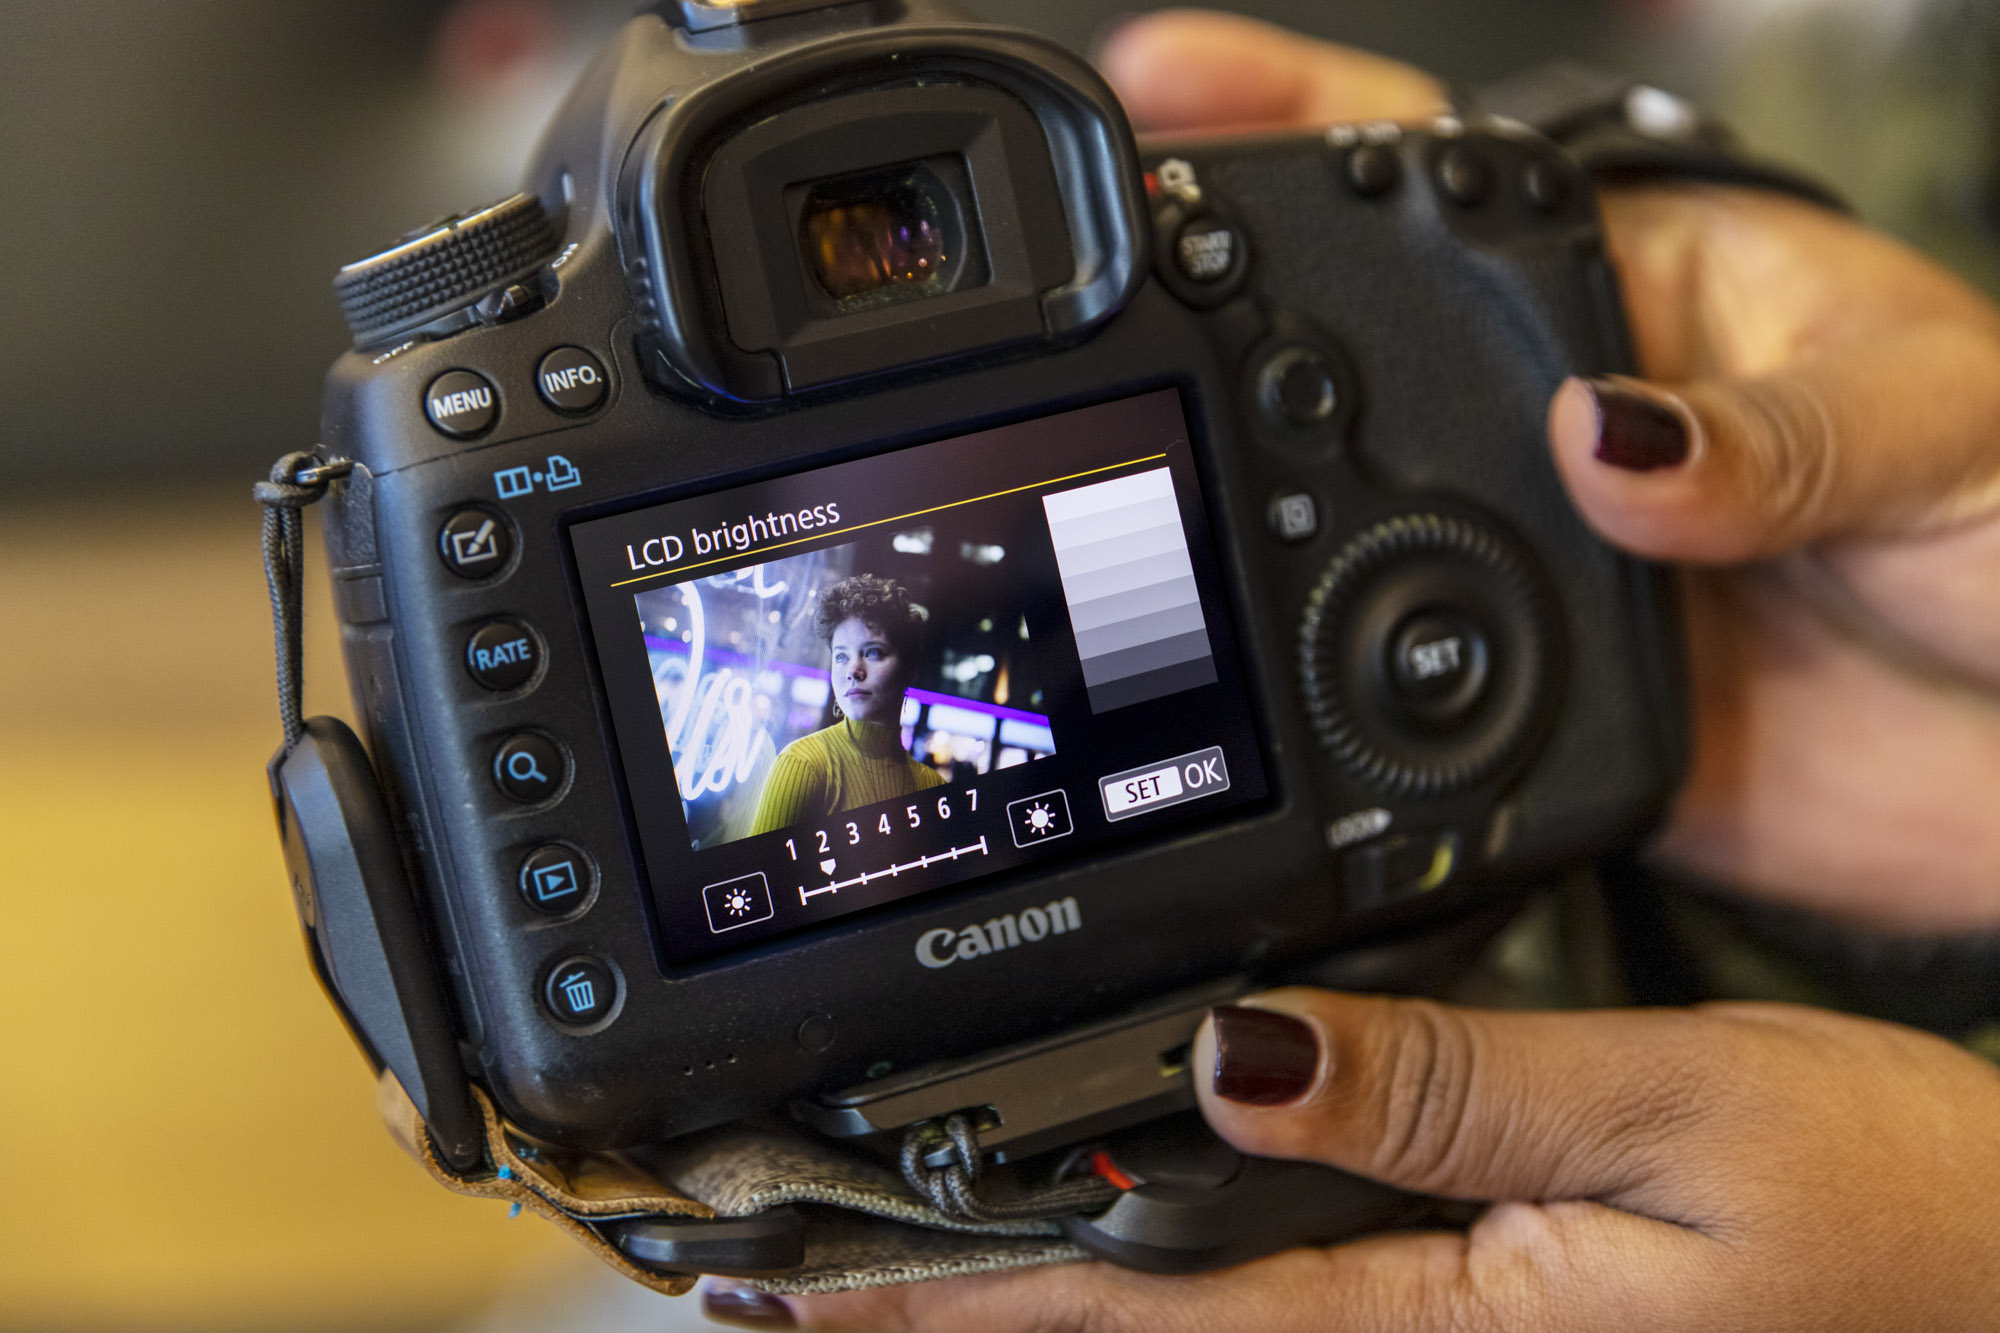
09 Dim the lights
When you’re working in low-light conditions looking at a bright camera screen can ruin your night vision. If you go into the Settings section of your camera’s menu, which is denoted by a spanner icon, you’ll see the LCD Brightness option. Click this and then dial it down to a low value like 1 or 2. This will put less strain on your eyes at night.
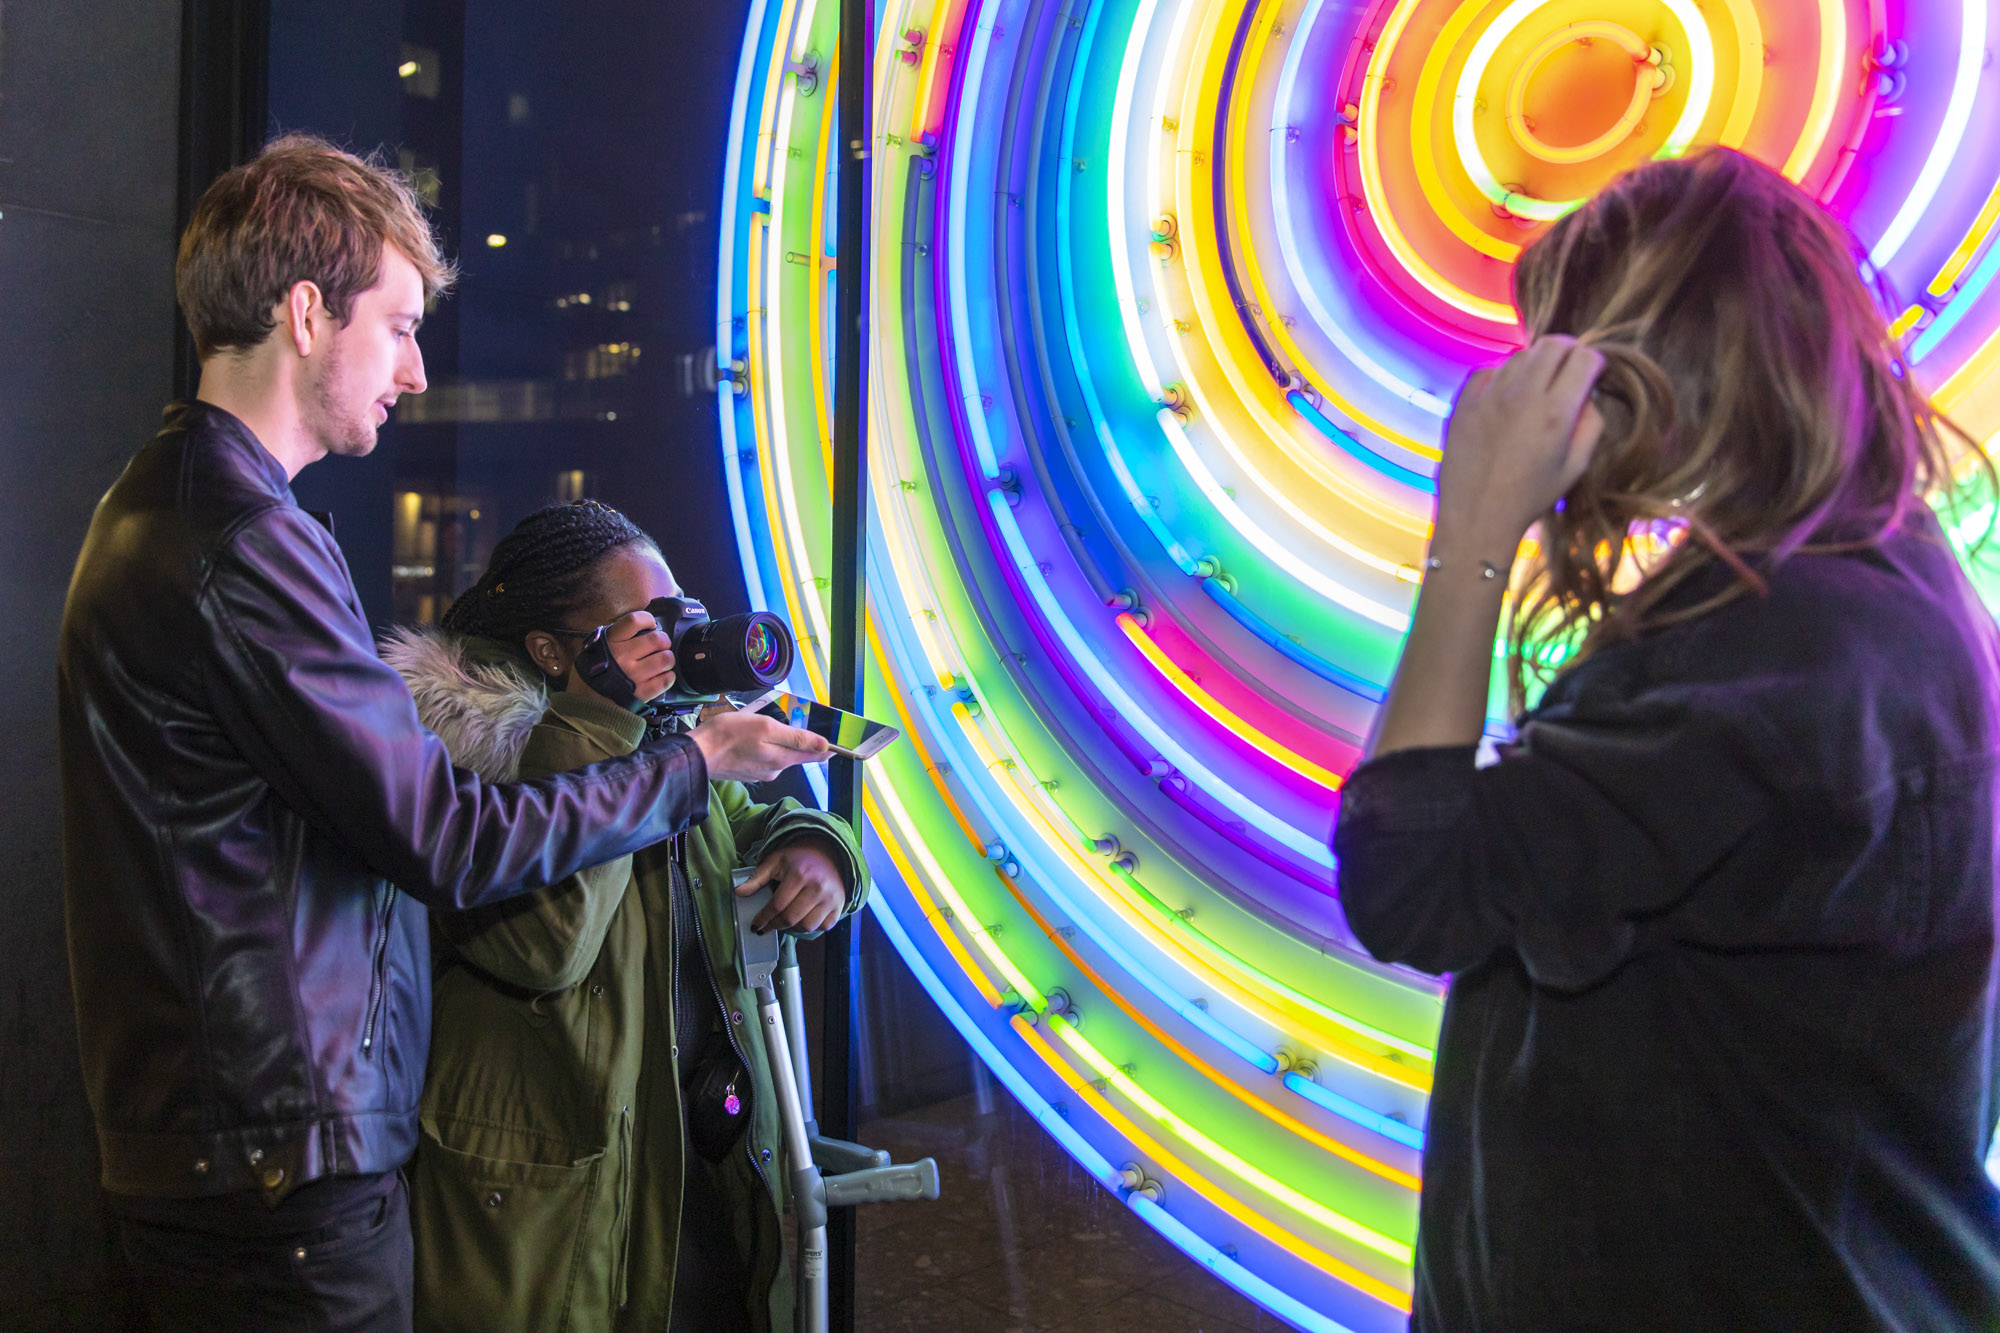
10 Embrace reflections
Use the glossy black mirror of a smartphone screen to create a reflection of the lights in your composition, injecting even more neon goodness. Hold your phone at an angle close to the front of the lens and use a wide aperture, so that the phone becomes out of focus and then look through the viewfinder to position the phone’s reflection where you want it to appear in the frame.
Alastair Batchelor Alastair's photographic journey began in London at 19 when he would shooting the city’s abandoned architecture. He loves portraiture, and shooting headshots for actors, promo work for bands and artists, or for editorial purposes. He’s built up an ace collection of locations around London, including neon signs in Soho that make for amazing low light portraits. For more info visit www.alastairbatchelor.com
PhotoPlus: The Canon Magazine is the world's only monthly newsstand title that's 100% devoted to Canon, so you can be sure the magazine is completely relevant to your system.
Read more:
The best lens for portraits: our pick of the best 85mm lenses right now
Best light-light cameras
The best camera for portraits: cameras and lenses perfect for portraits
215 photography tips, techniques and tricks for taking pictures of anything
PhotoPlus: The Canon Magazine is the world’s only 100% Canon-focused title on the newsstand. Launched in 2007, for 14 years it has delivered news, reviews, buying guides, features, inspirational projects and tutorials on cameras, lenses, tripods, gimbals, filters, lighting and all manner of photography equipment.
Aimed squarely at enthusiast photographers who use the Canon DSLR or mirrorless camera systems, all content is tailored to Canon users – so everything from techniques to product tests are tailored to those using the EOS camera system.
Editor Peter Travers brings 14 years of experience as both a journalist and professional photographer, with Technique Editor Dan Mold shoring up the magazine with his 6 years of expertise.
