Digital Camera World Verdict
Sound more like a professional audio broadcaster or podcaster thanks to the combination of the Vocaster Two Studio’s DM14v dynamic voice microphone and a sleek and functional audio mixing desk. Use XLR cable or Bluetooth inputs to add guests and co-hosts to your podcast and share your audio feed to a DSLR, speakers, and a computer via a range of sockets on the back of the Vocaster desk. This is the kit you need if you want to elevate your podcast (or voiceover) audio production values to a more professional level.
Pros
- +
Professional DM14v microphone
- +
Comfy and high-quality headphones
- +
Auto Gain for perfect audio
- +
Clean, strong, and intimate voice recordings
Cons
- -
Latency of three frames
- -
Preset voice effects don’t make much difference
- -
Software Bluetooth slider doesn’t affect the audio levels from smartphone
Why you can trust Digital Camera World
When it comes to capturing video for a YouTube channel or corporate production it’s a simple matter to record great-looking High Definition footage thanks to devices such as the iPhone 14 Pro (which is what we used to record this review’s supporting video). However, your production’s sound quality can often be comparatively subpar, especially if you use your computer’s built-in mic. Focusrite’s Vocaster Studio series is designed to elevate your audio production values so that their quality matches that of your project’s HD video footage.
The Vocaster One Studio and Vocaster Two Studio kits enable you to record your voice via dynamic vocal mics that have an XLR connection. This three-pin connection will be familiar to audio and video industry professionals. Unlike desktop condenser USB mics such as the Simorr Wave U1 which picks up sound from a relative distance, the Vocaster Studio’s dynamic vocal mic is designed to be placed close to your mouth. This physical proximity gives your voice a more intimate presence than you tend to get with desktop condenser USB mics such as the Blue Yeti.
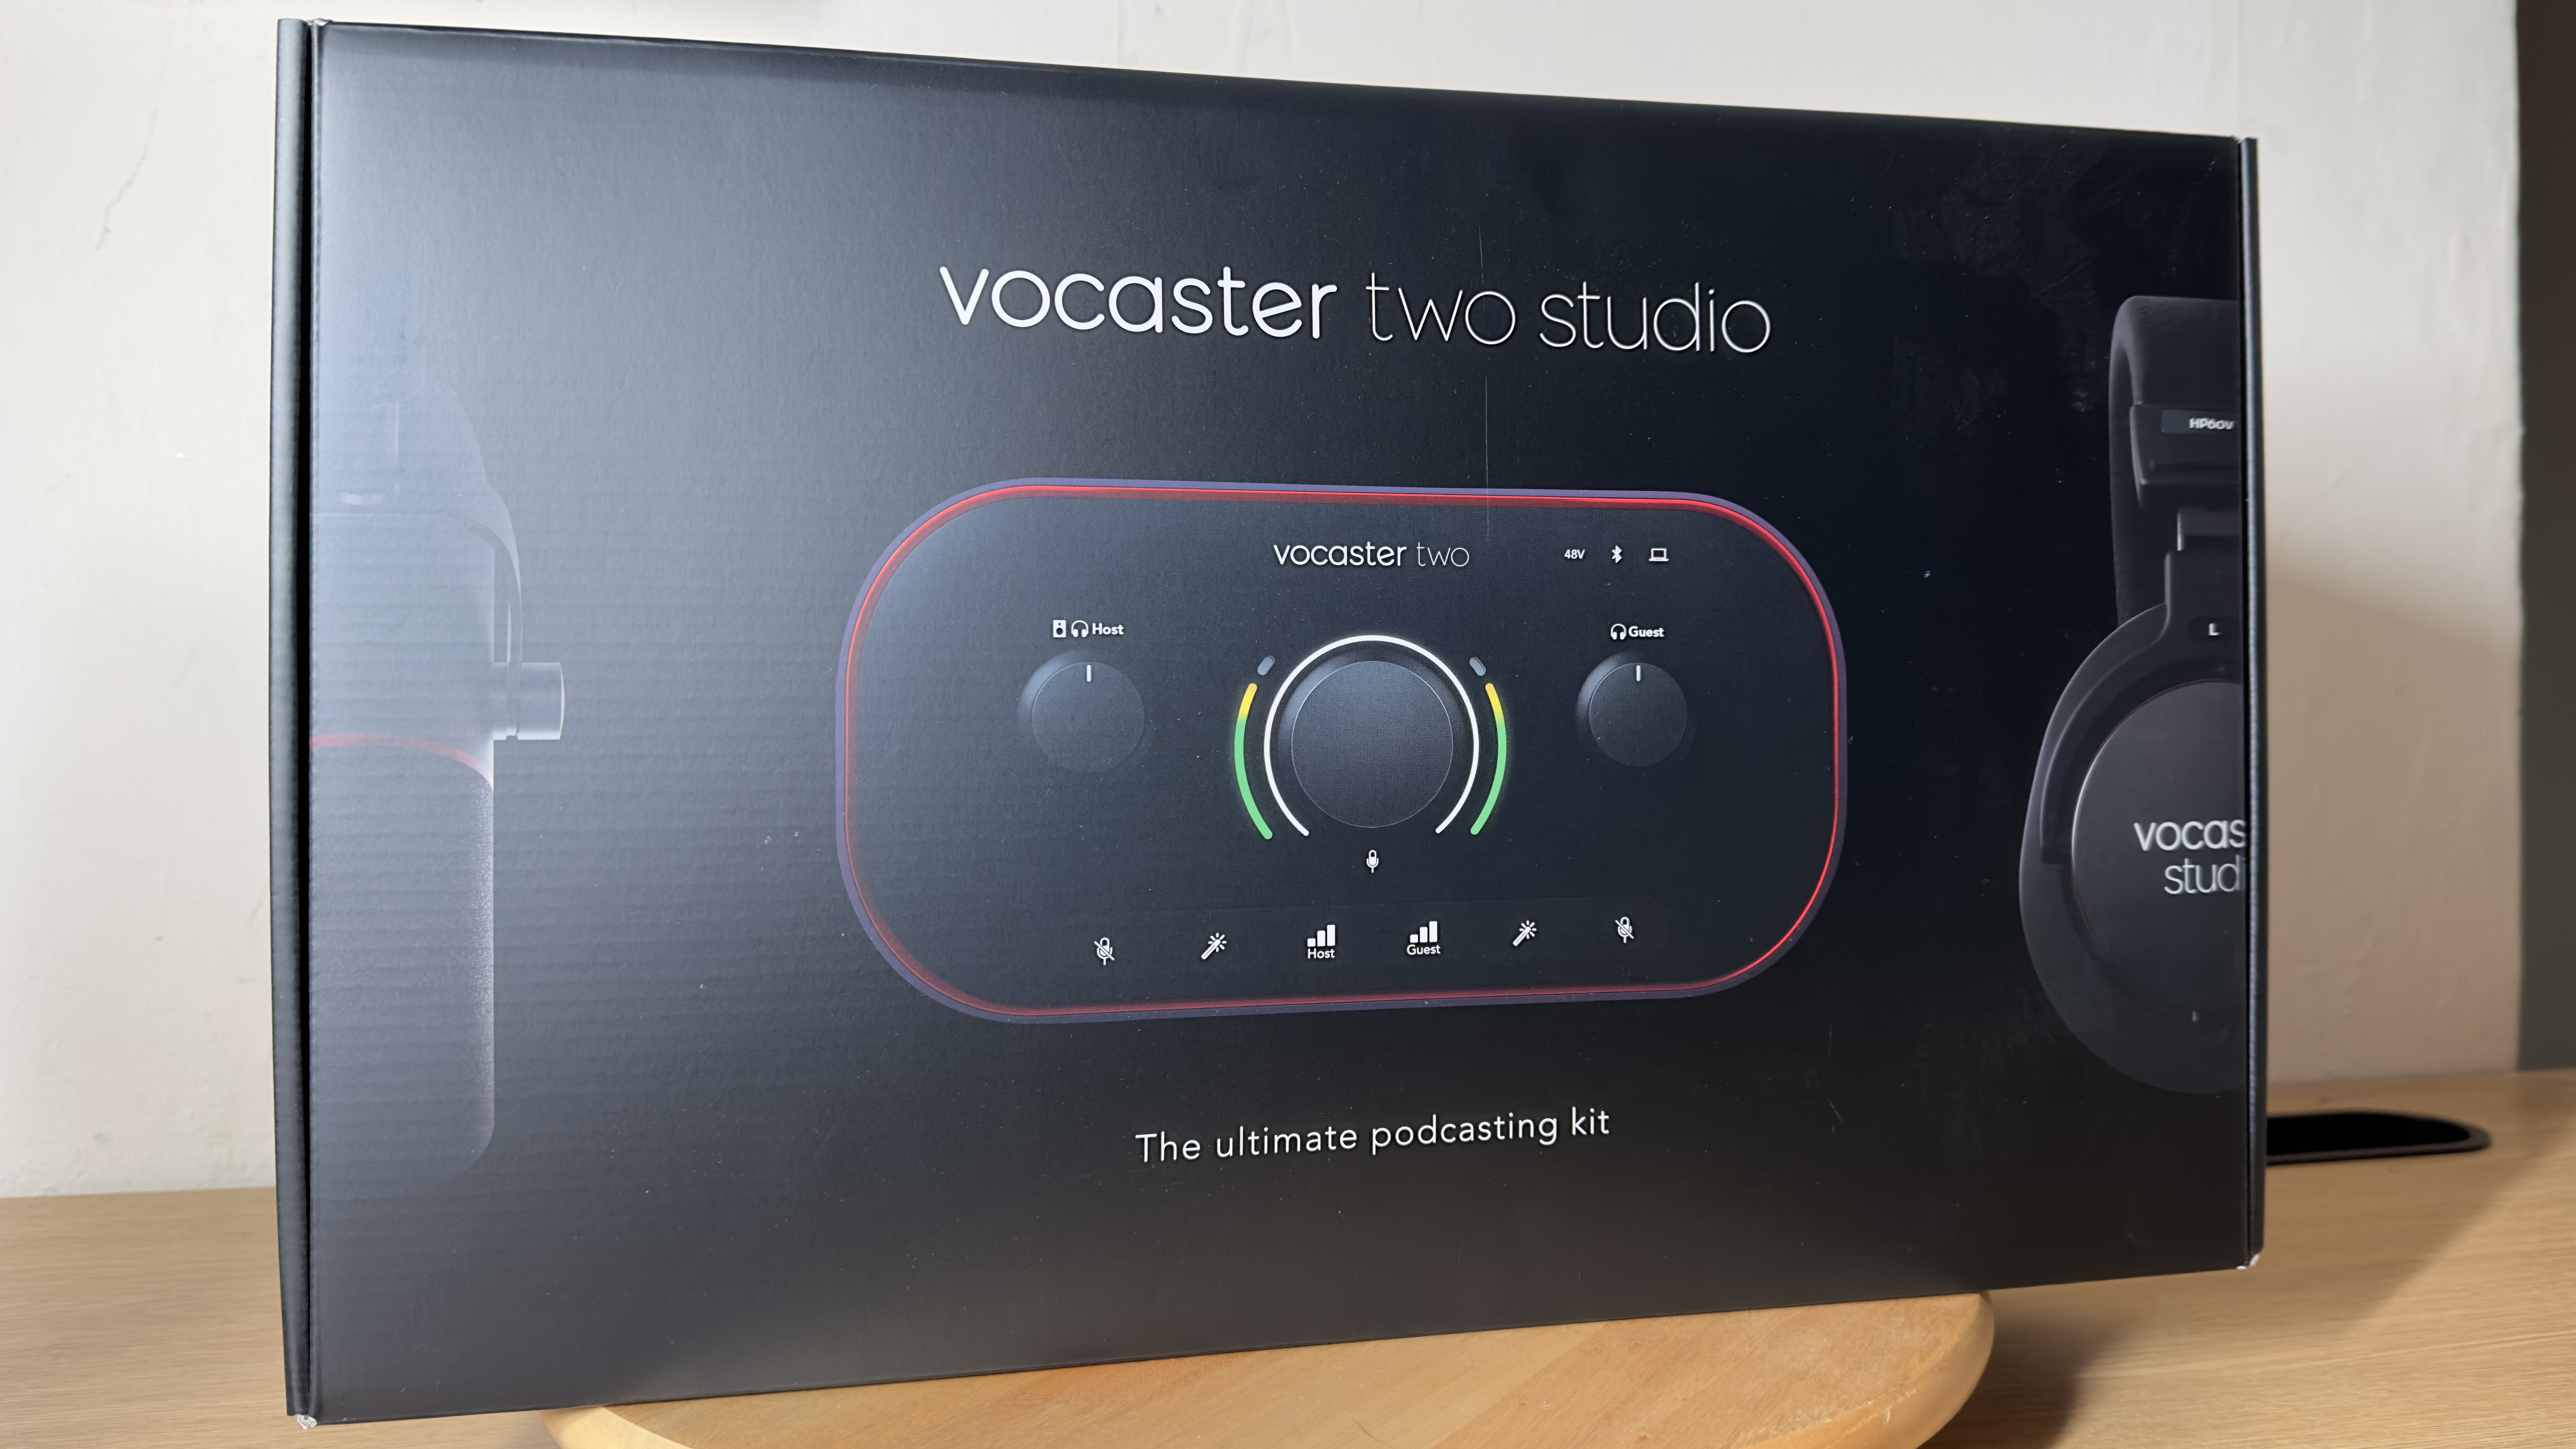
The cheaper Vocaster One Studio set contains a DM1 XLR mic and a beautifully designed mini Vocaster mixing desk which makes it perfect for capturing voiceover work (check out the end of our video review to see and hear the Vocaster One in action). However, in this review, we’ll focus on the more expensive Vocaster Two Studio kit as it contains all a podcaster needs to capture professional quality audio from a range of sources - such as interviewees via a second XLR mic or from a smartphone via a Bluetooth connection into the Vocaster Two mixing desk.
Specifications
Microphone: Vocaster DM14v microphone
Headphones: HP60v closed-back studio headphone
Cable: 3m XLR cable
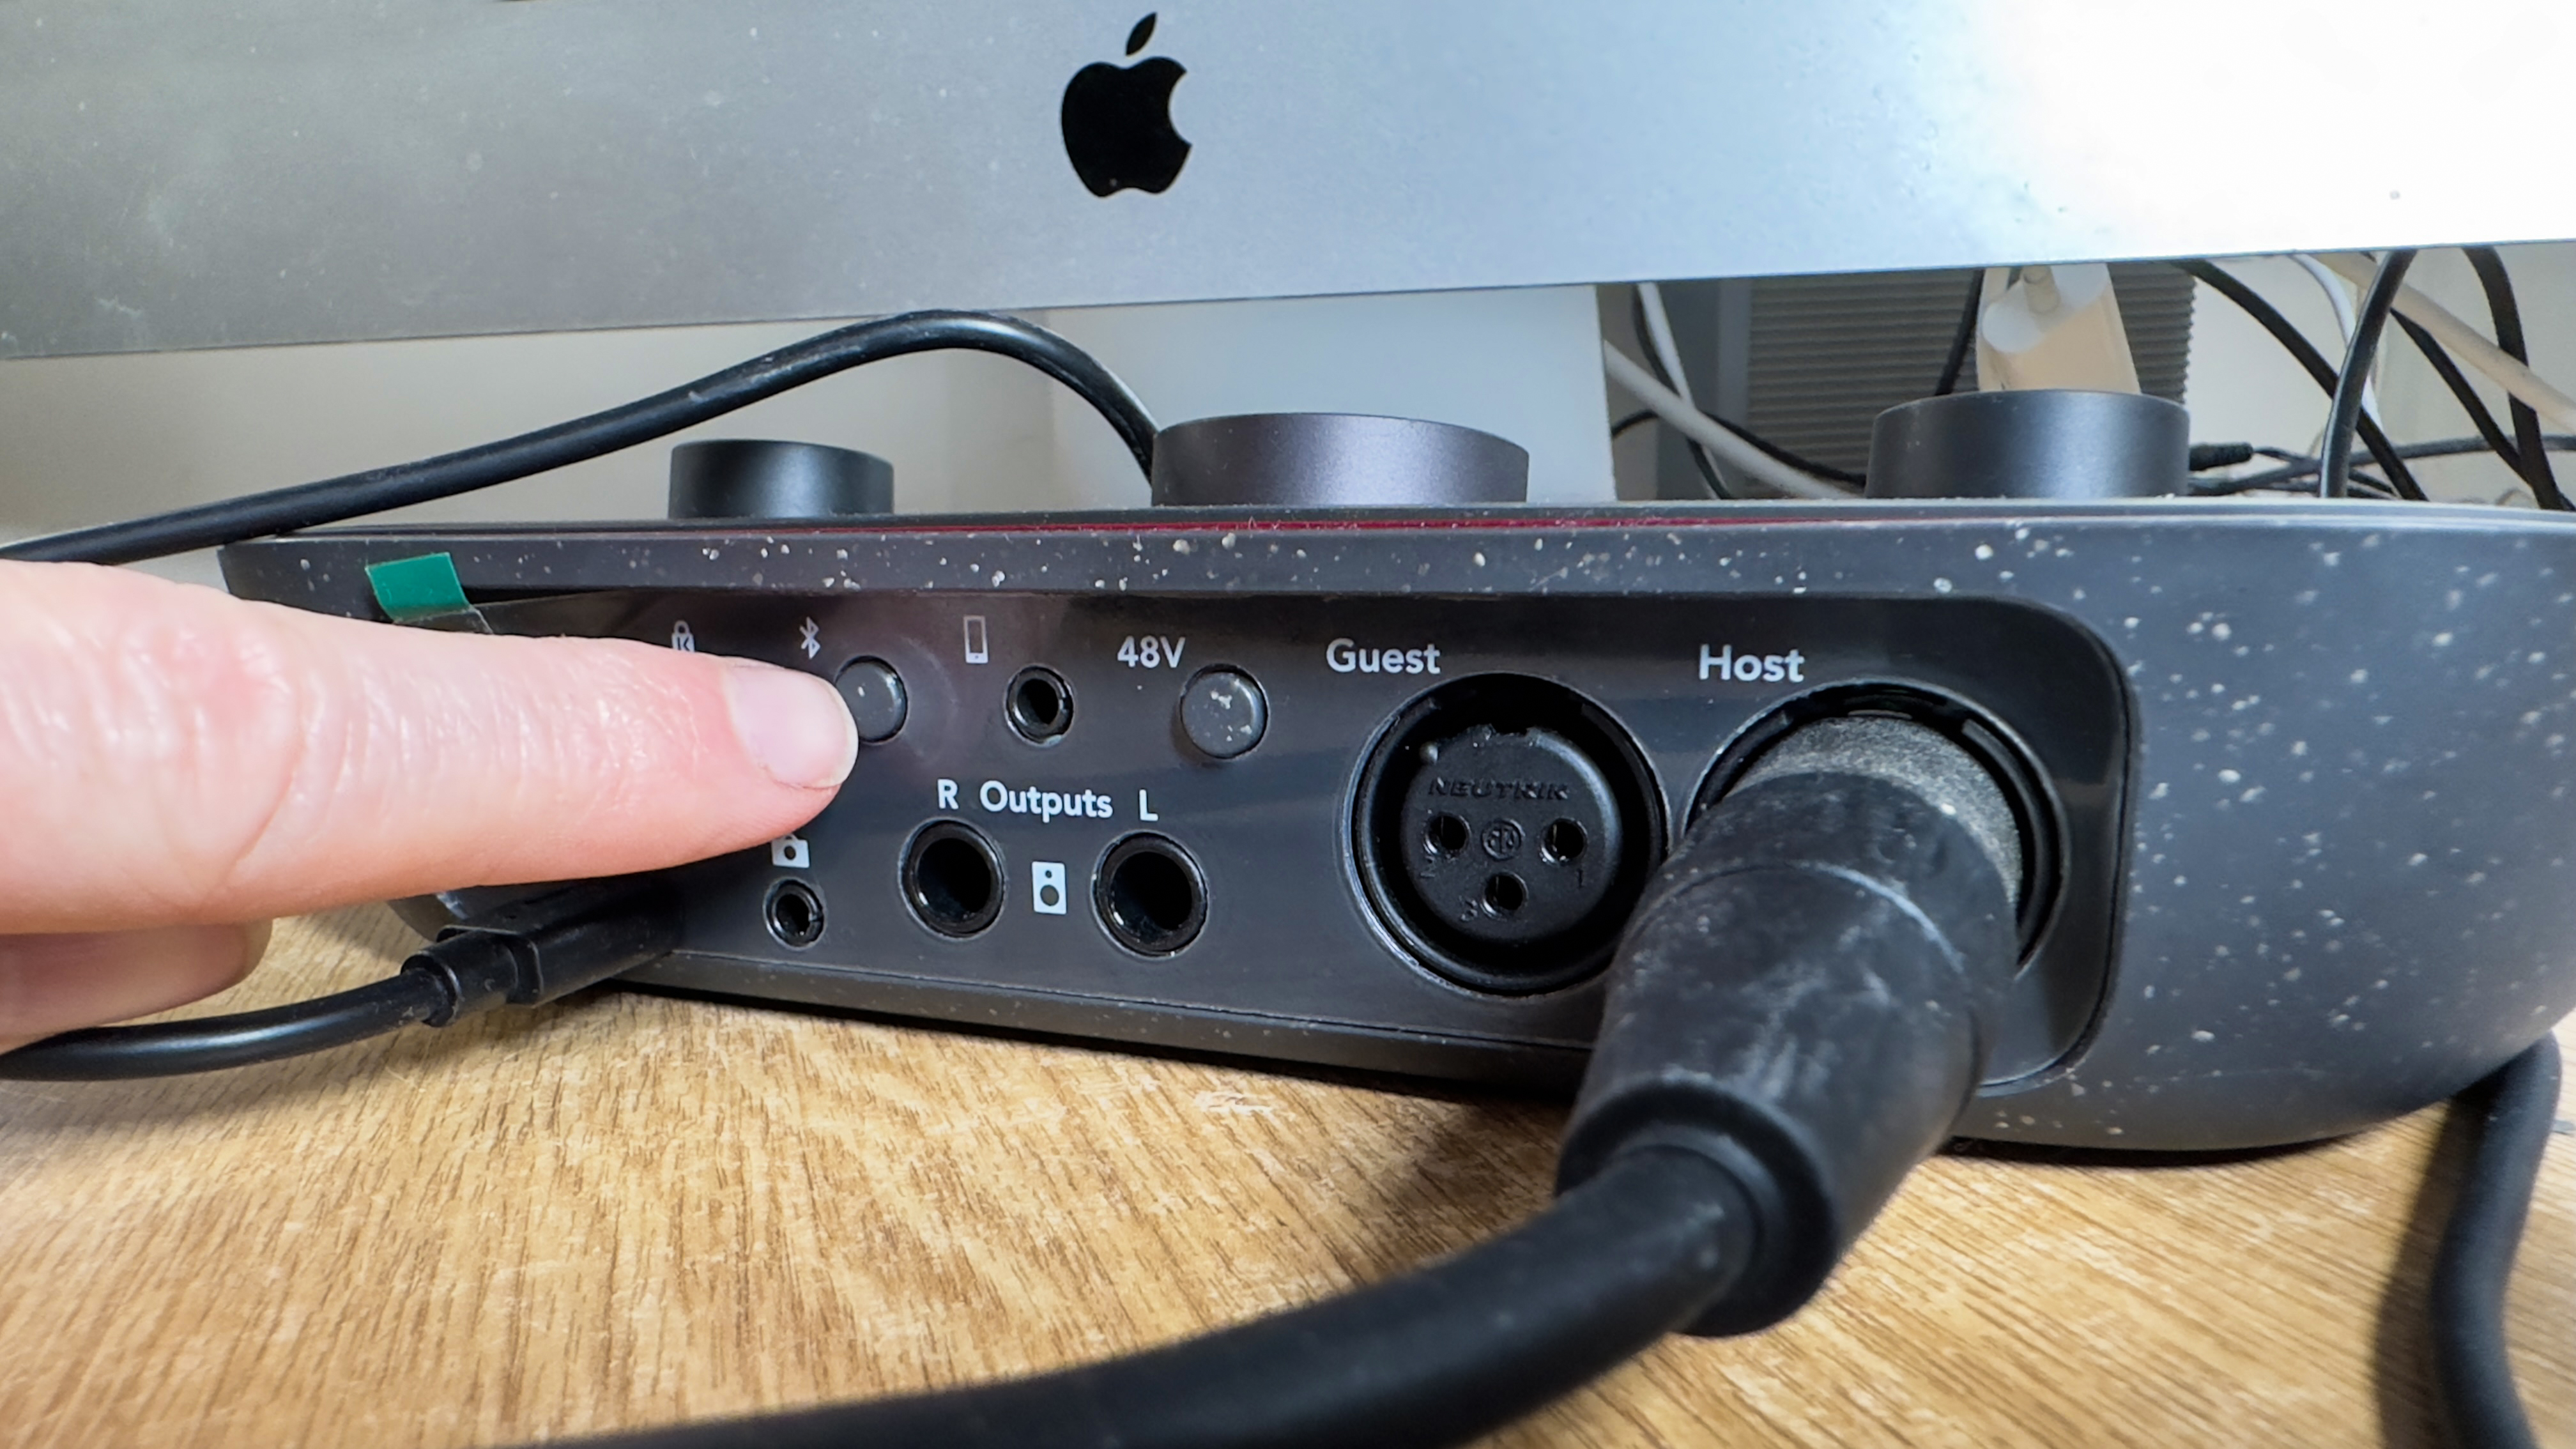
Connections: 2 XLR microphone inputs, 1 x 3.5mm TRRS phone connection, 1 x 3.5mm TRS camera out, USB-C socket, 2 x 1/4" headphone outputs, 2 x 1/4" balanced speaker outputs
Wireless: Bluetooth send and receive audio from smart devices
Key features
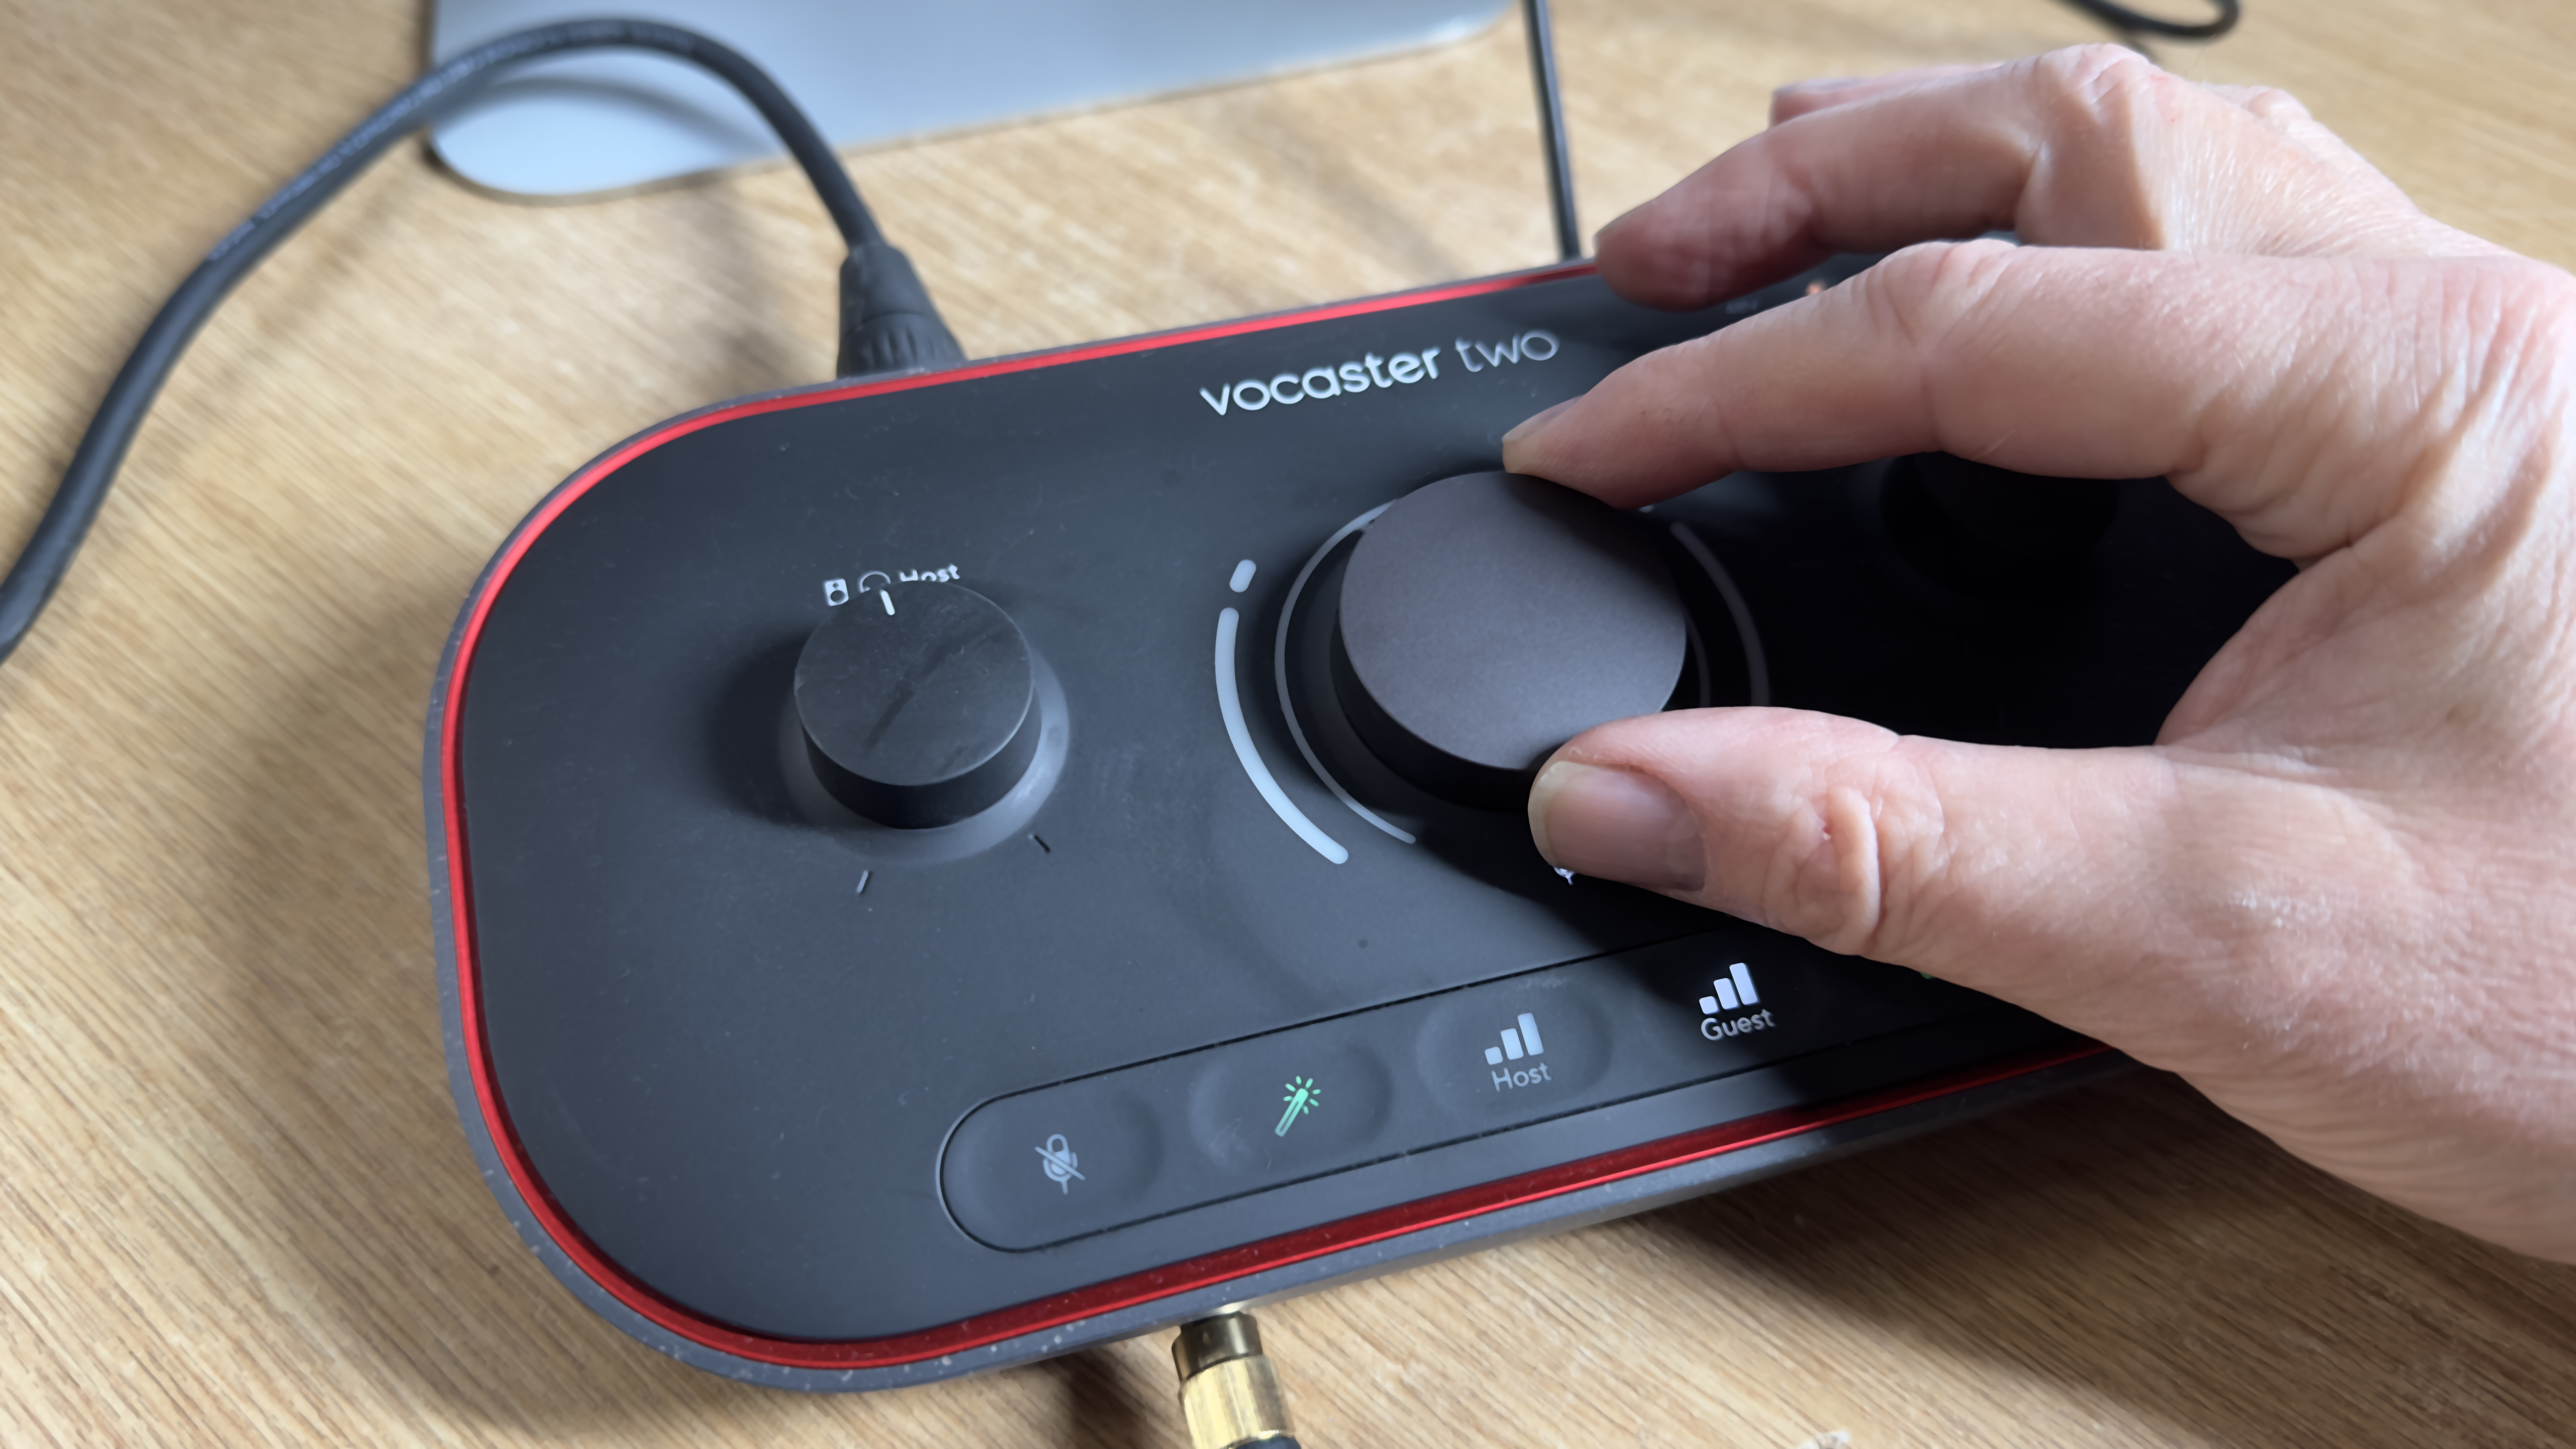
The Vocaster Two makes it easy for you to capture a strong audio signal courtesy of an Auto Gain button. Tap this button and then speak for 10 seconds. The Vocaster Two will adjust the mic’s input levels to capture your voice loud and clear but without peaking (distorting). If you do need to go 'off air' for a quick cough then there’s a handy Mute button on the Vocaster desk.
The Vocaster Two desk is split into two sections - the Host controls are on the left of the desk and the Guest controls are on the right. If the guest plugs their own XLR mic into the back of the desk you can tap the Guest button and use the main dial to control their audio input levels.
There’s also a Mute and Auto Gain button on the right-hand side of the Vocaster Two so you can control the guest’s mic input audio independently of yours (the host). You can also twiddle a separate dial to adjust the level of sound in the guest’s headphones (as long as their ‘cans’ are plugged into a connect a smartphone to the Vocaster Two via Bluetooth. You can then host a guest via a phone-in to join your podcast recording (as you’ll hear in our supporting video review).
The best camera deals, reviews, product advice, and unmissable photography news, direct to your inbox!
If you don’t need guests to join your podcast then consider the cheaper Vocaster One Studio as this lacks the second XLR input and the additional Bluetooth connectivity provided by the Vocaster Two Studio. However, we do have some reservations about the cheaper mic that ships with the Vocaster One Studio as we’ll explain in due course.
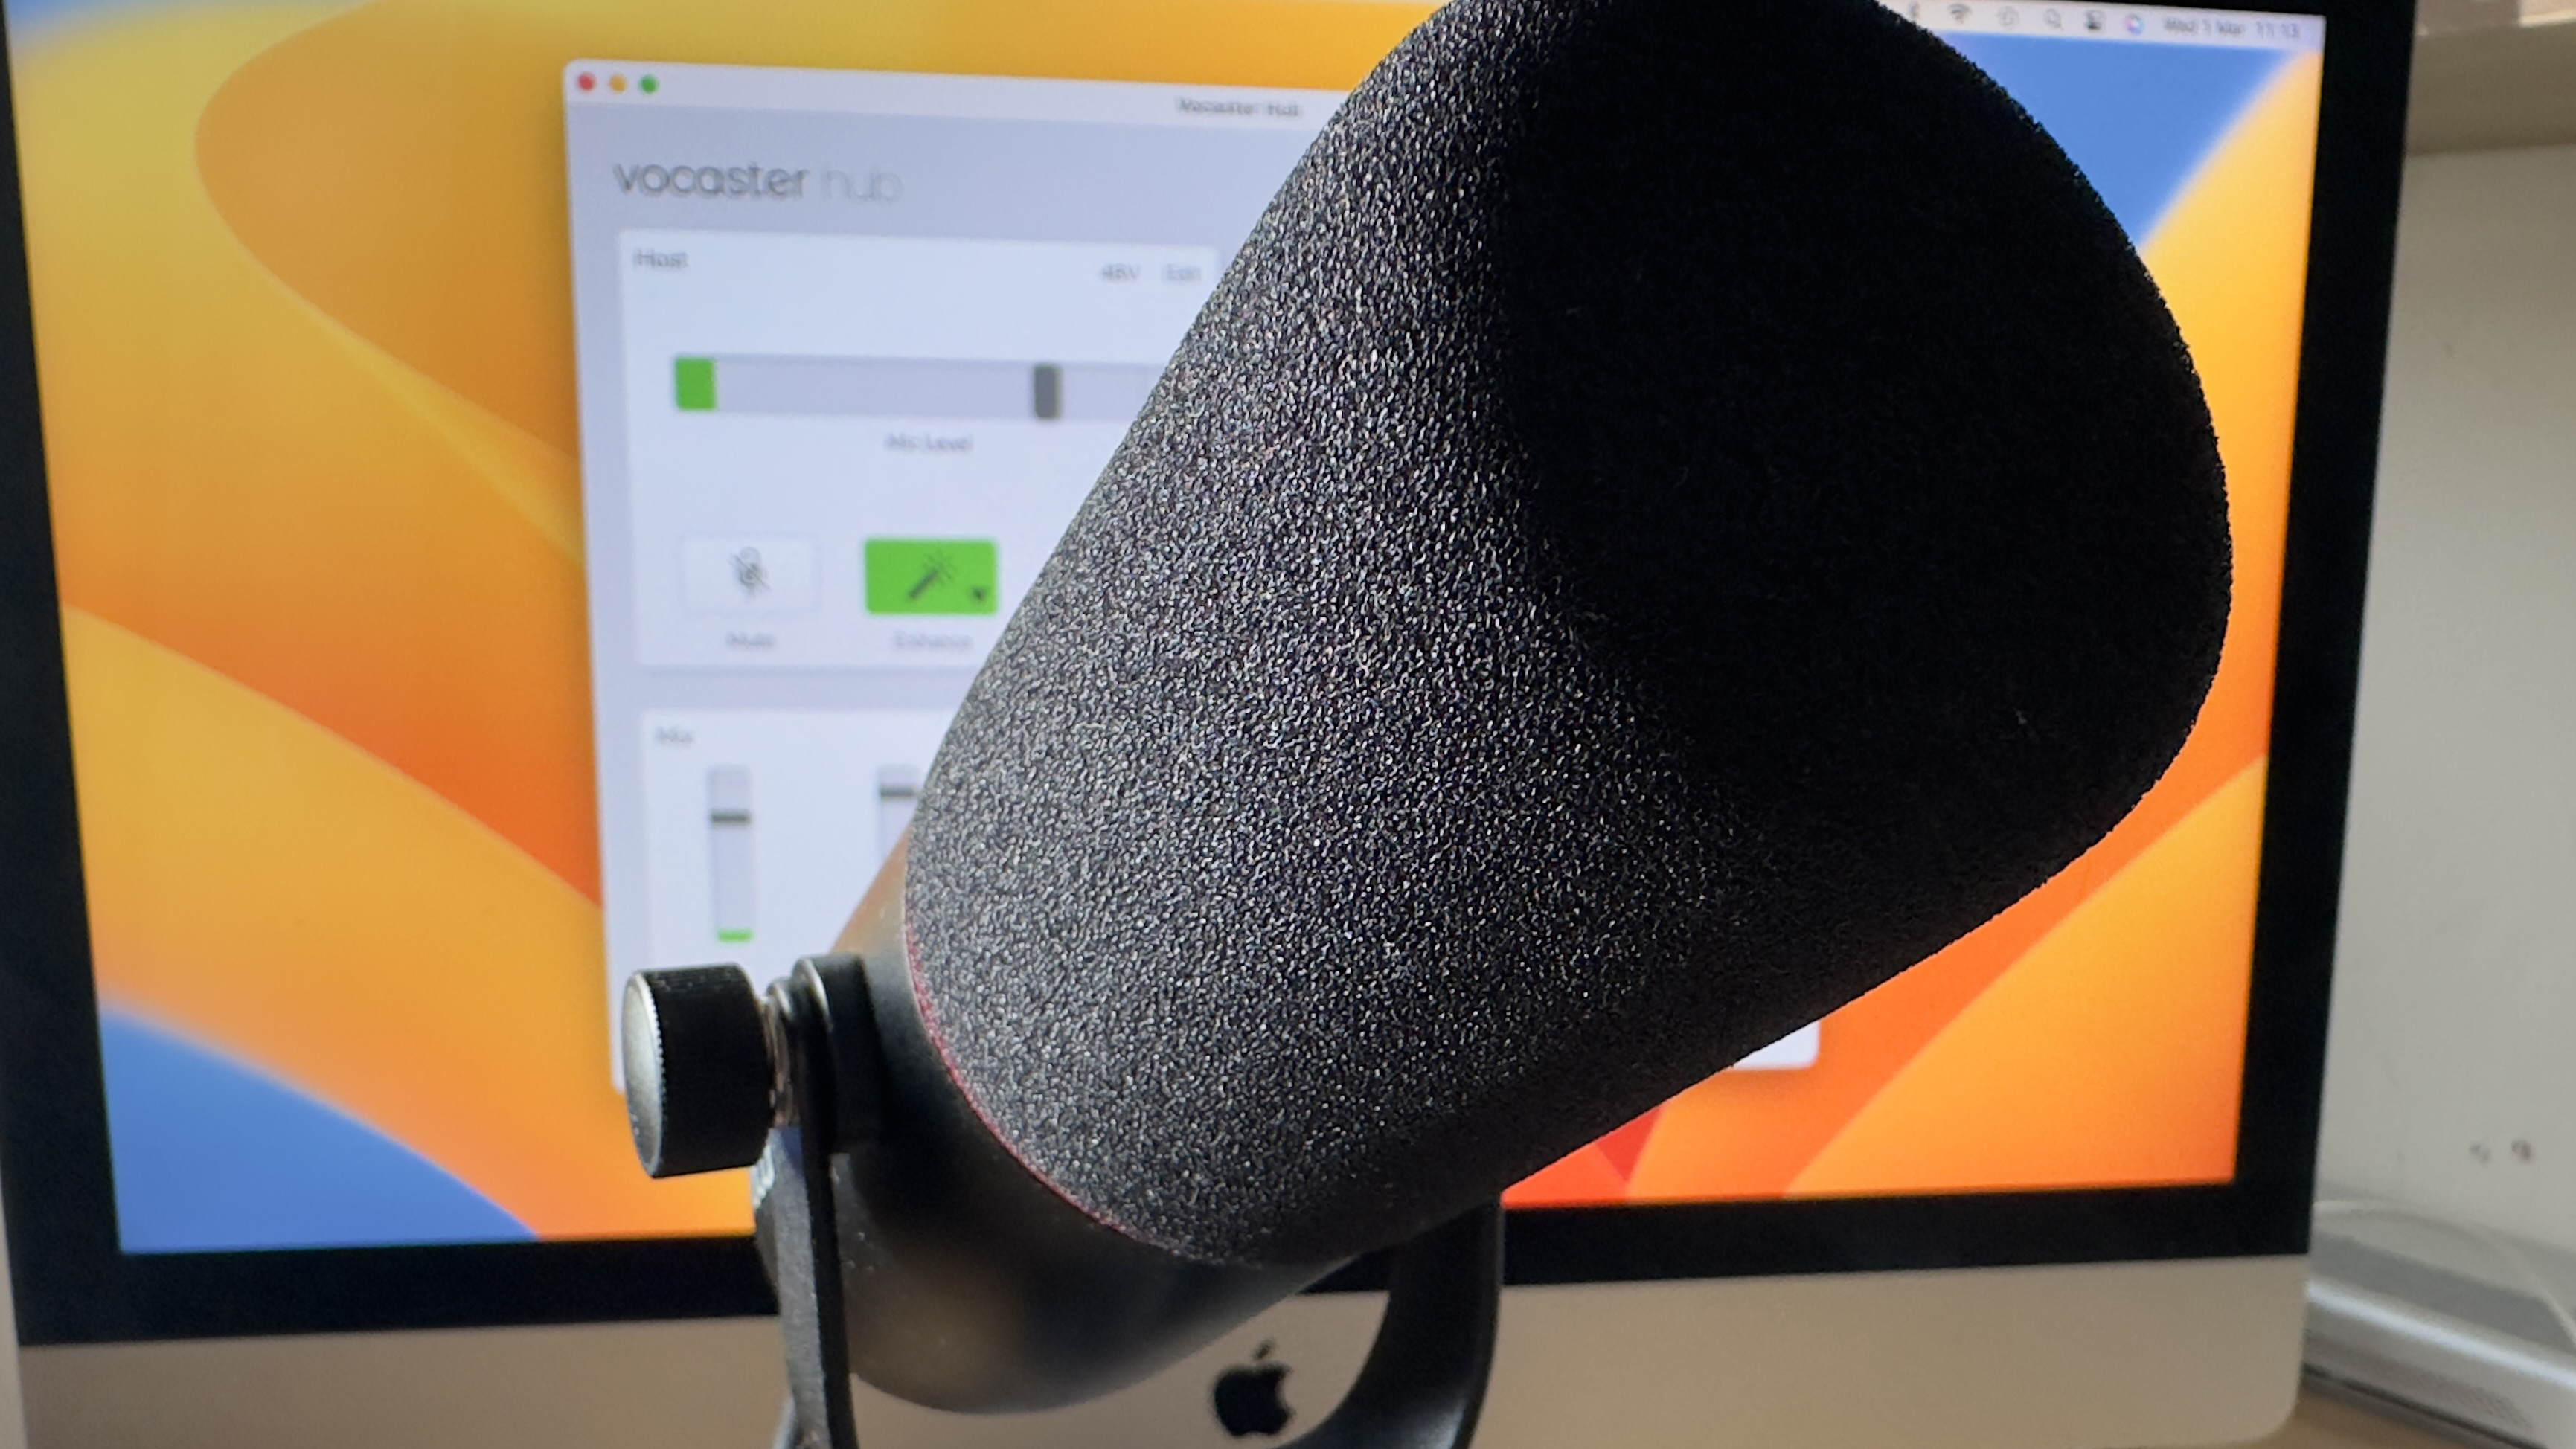
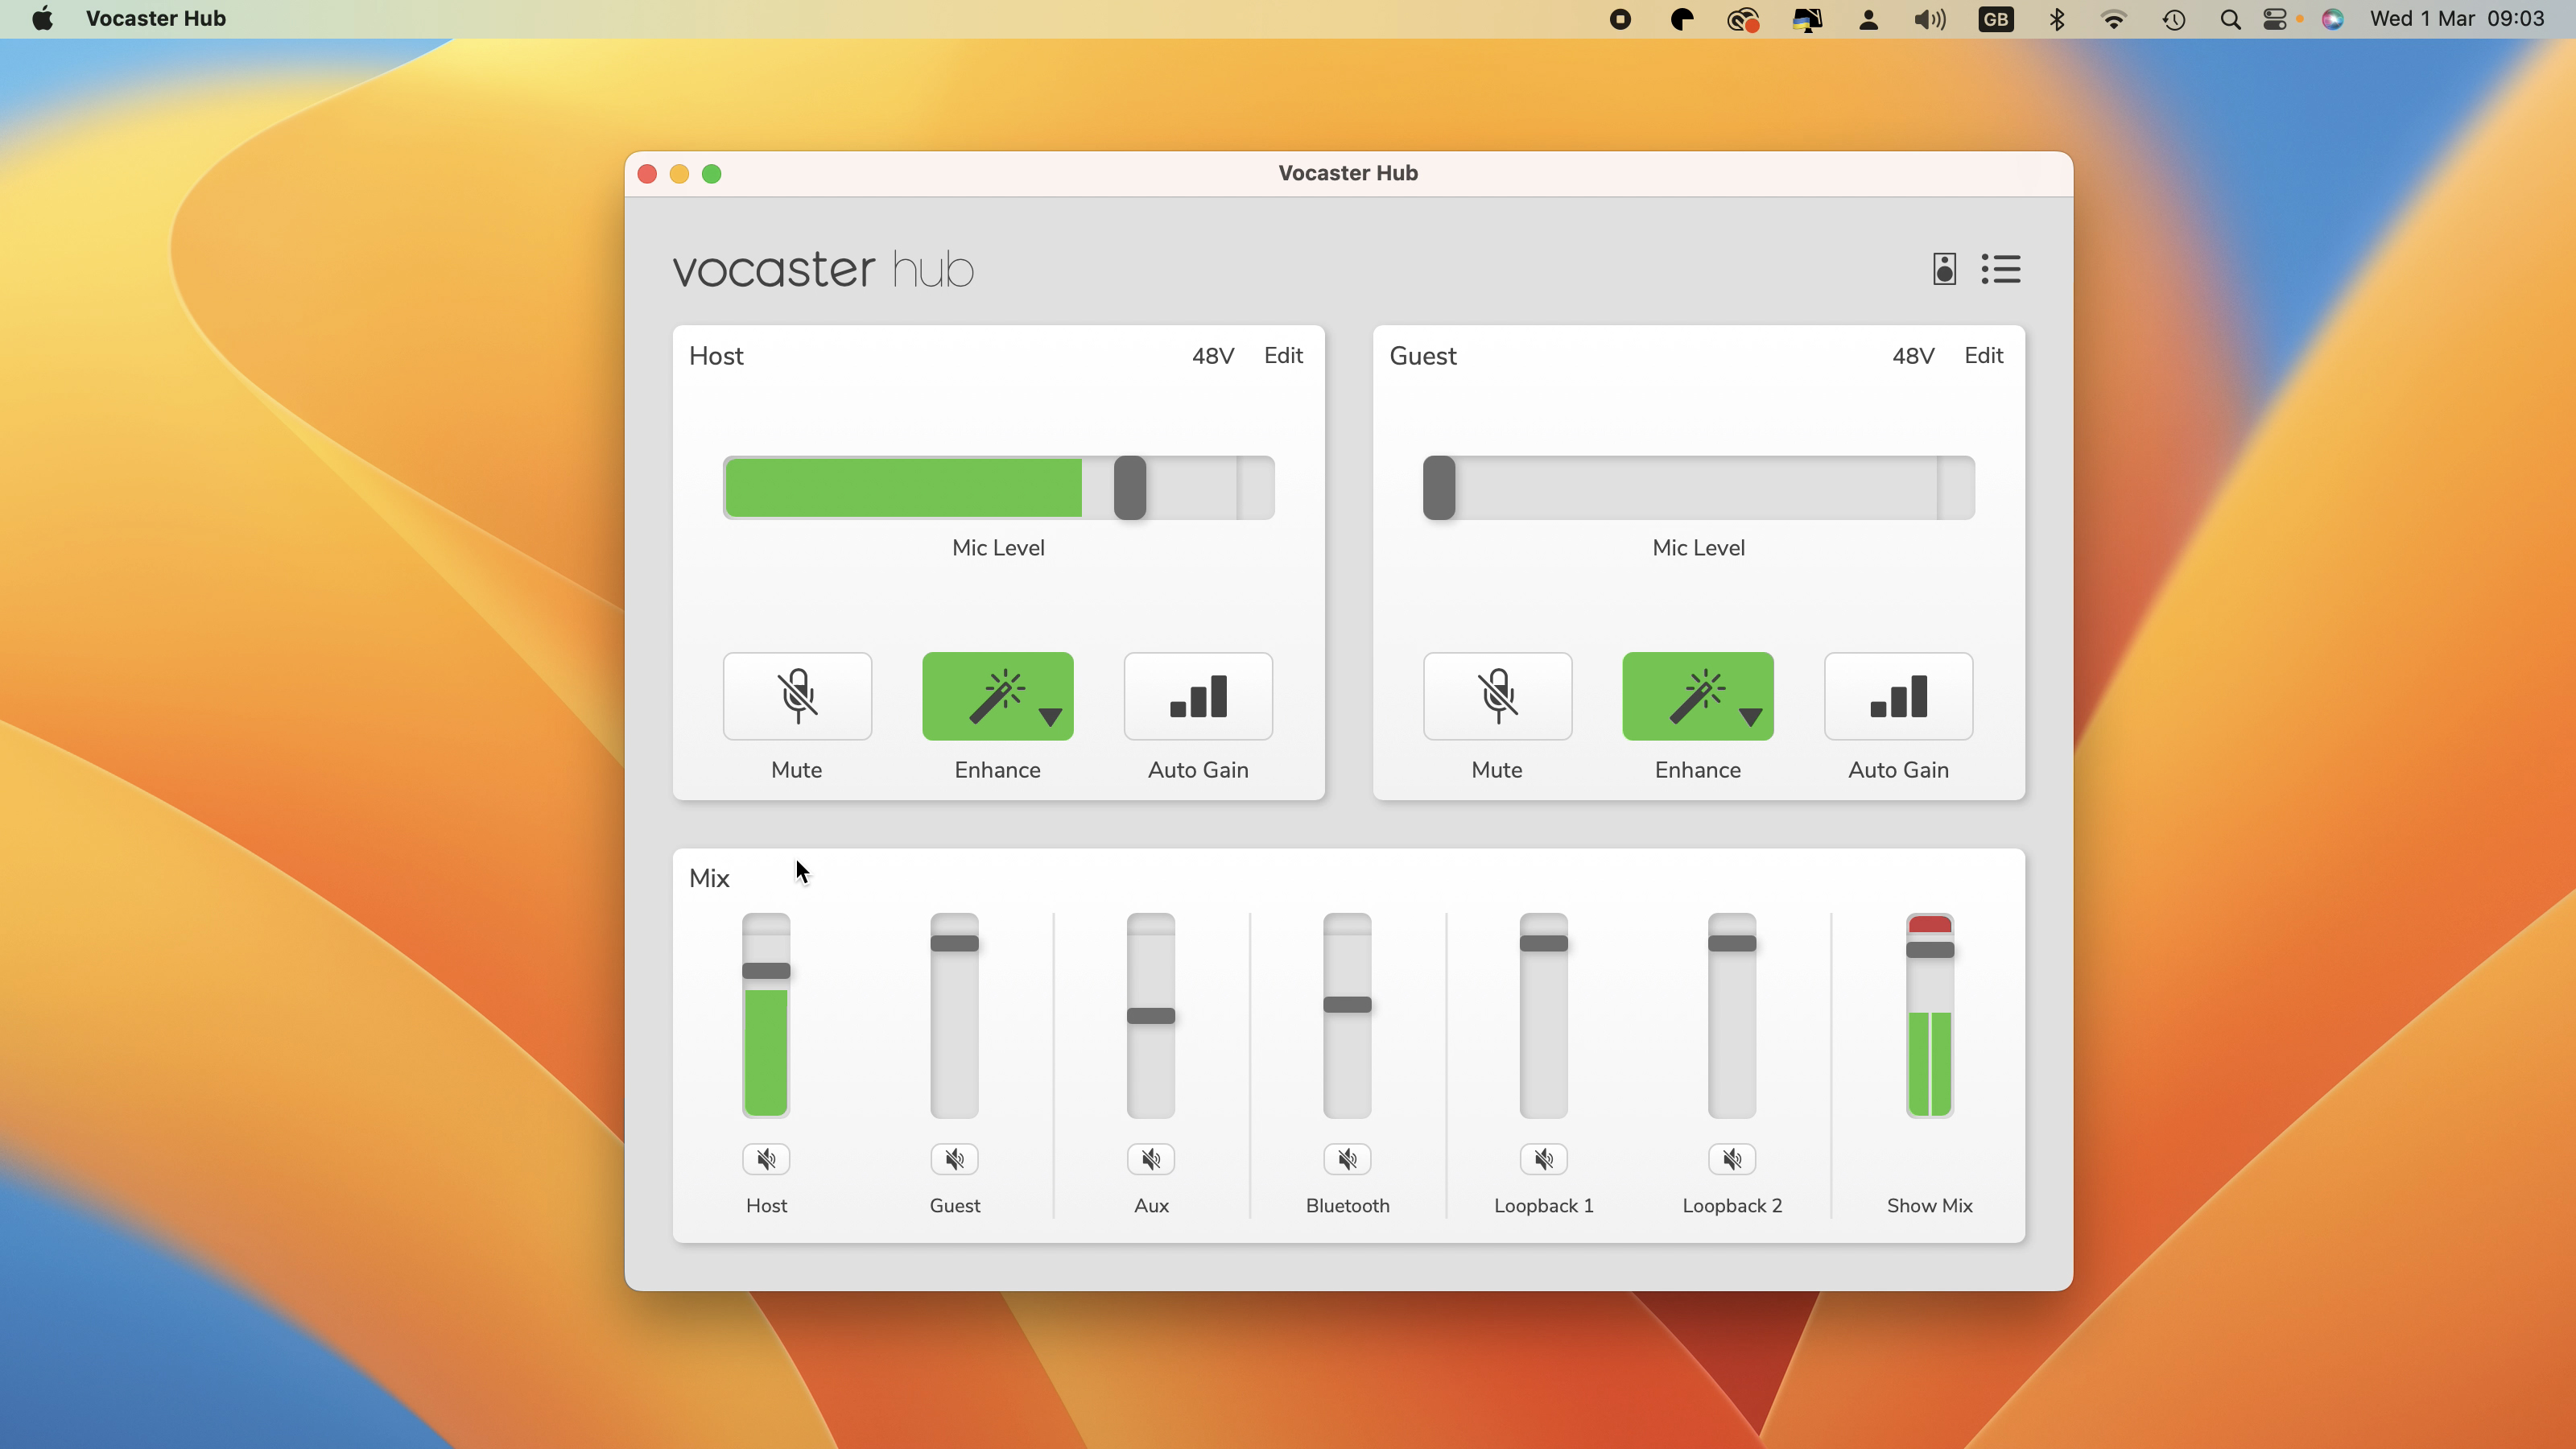
The Vocaster Two Studio kit is supported by a free Vocaster Hub app. This app provides an alternative collection of clickable icons that do the same job as the buttons on the Vocaster Two. We found it most useful in turning on the Auto Gain feature to capture decent sound levels.
You can also use it to try our different podcasting voice presets such as Clean or Bright. We found that while the presets didn’t sound any different from each other the overall enhanced voice quality did sound clearer and sharper (while still having a pleasing Bass presence). If you own the more basic Vocaster One Studio then the Vocaster Hub’s graphics are reduced to reflect its simpler status.
Build and handling
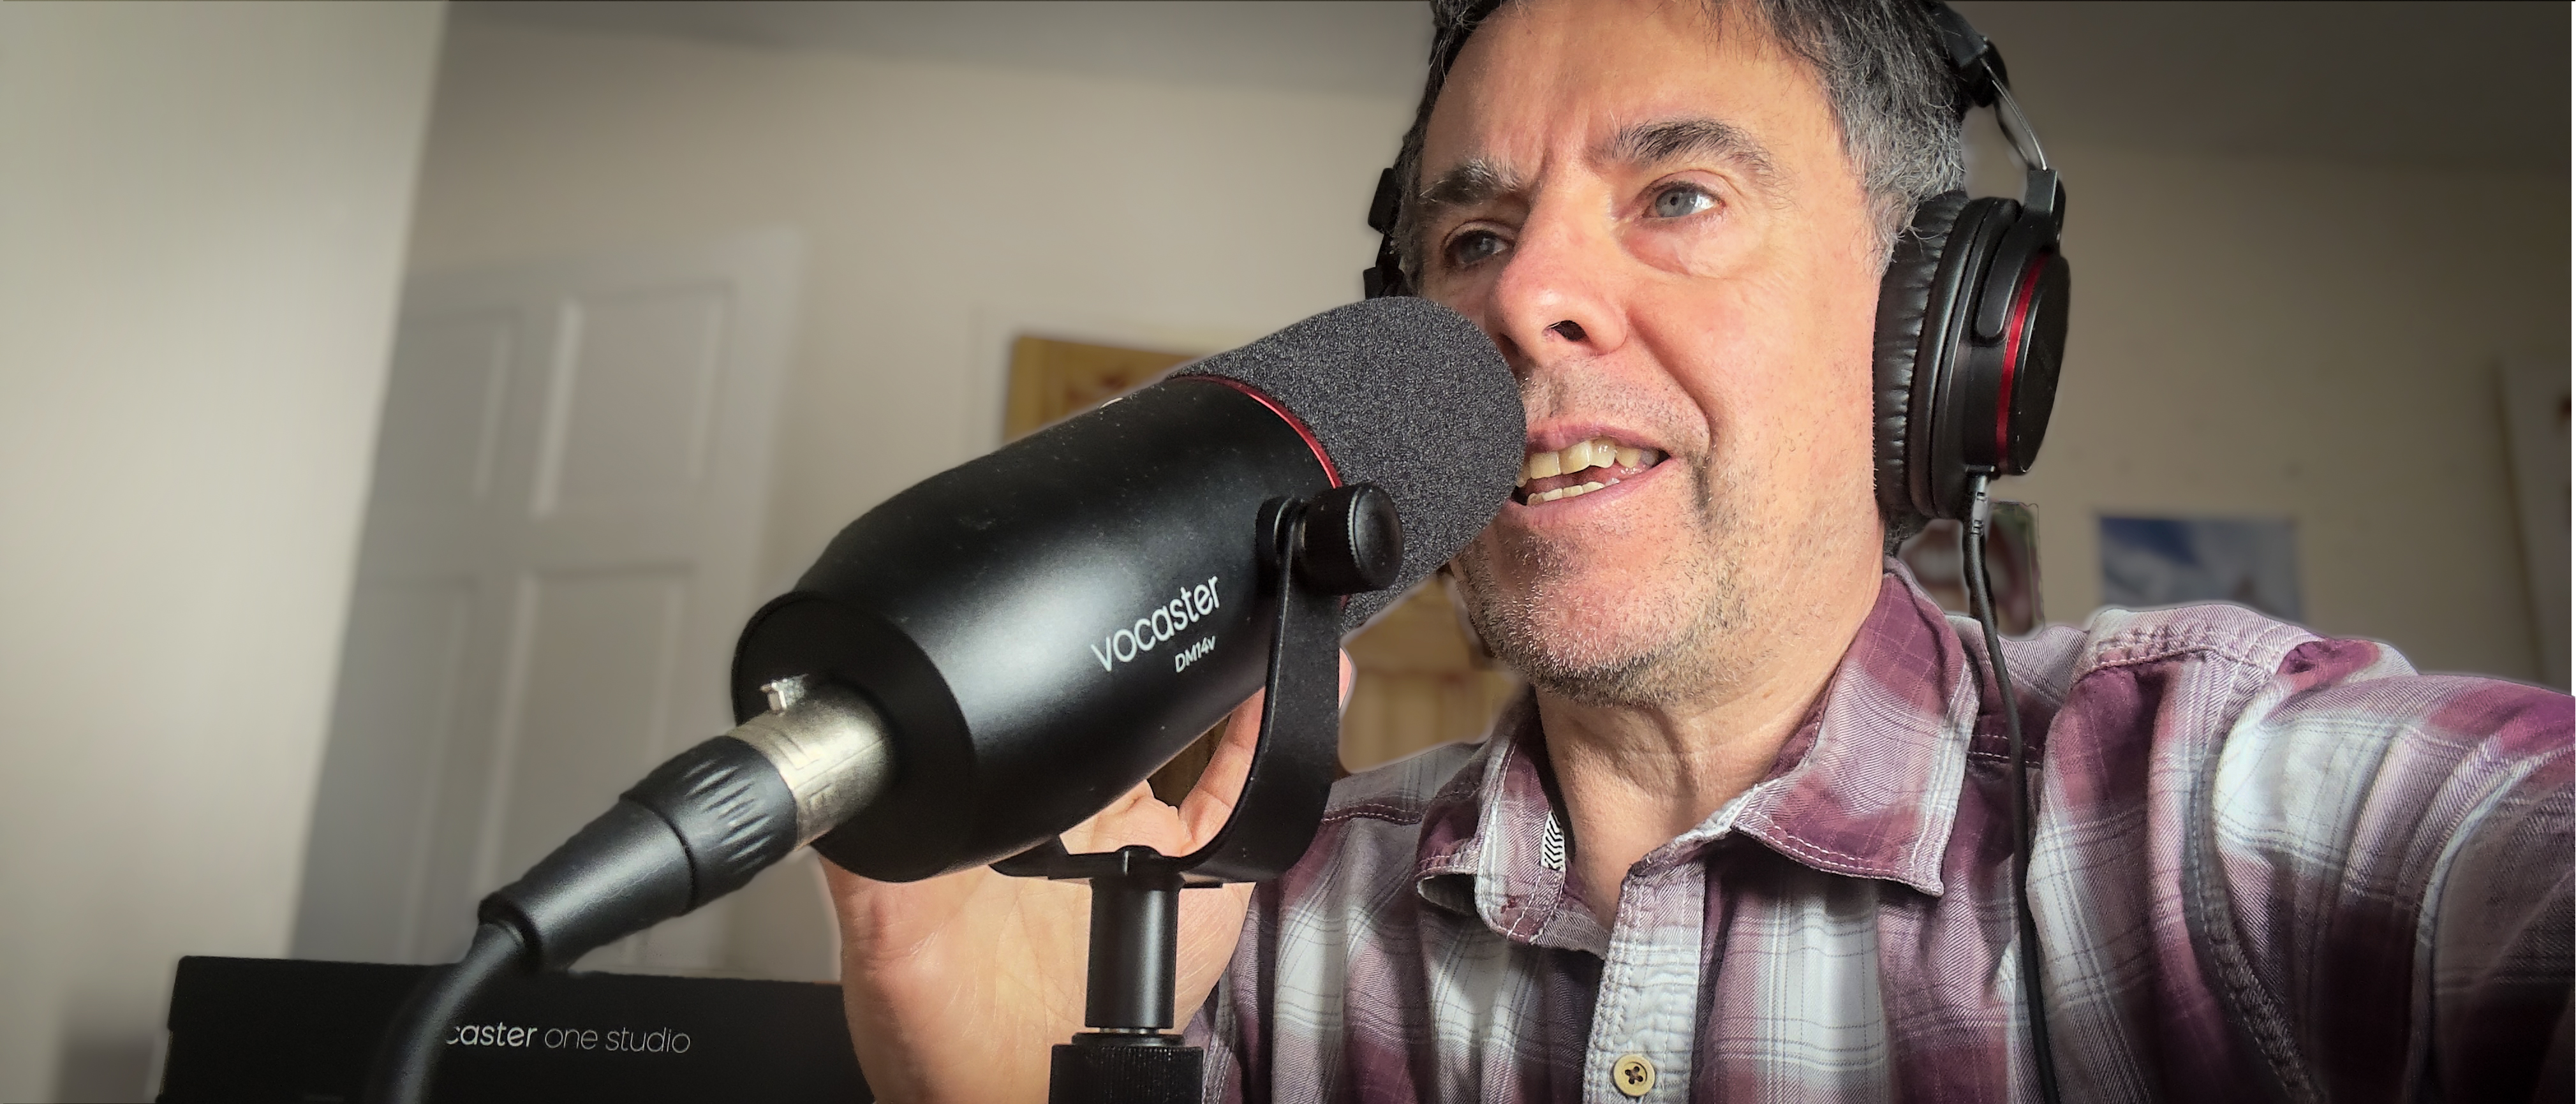
The Vocaster Two Studio kit’s professional DM14v microphone plugs via a generously long 3-meter XLR cable directly into the Vocaster Two mixing desk. The black metal mic is reassuringly solid and is branded with the Vocaster logo so it’ll look good in your video podcasts (and it’s complemented by the branded pair of closed-back HP60v studio headphones that ship in the Vocaster Two Studio box).
When you speak into the microphone a color-coded level indicator flickers into life on the Vocaster Two desk. The level indicator is curved to follow the shape of the circular level input dial at the center of the Vocaster Two - an attractive and functional design feature. If your voice is too loud then the indicator peaks into the red. A quick tweak with the large input level dial soon gets your sound levels back into the green.
Performance
The supplied DM1 dynamic vocal mic in the cheaper Vocaster One Studio kit isn’t as good as the DM14v XLR microphone that ships with the Vocaster Two Studio.
The Vocaster One Studio’s DM1 mic lacks a pop shield which can lead to the presence of annoying plosive sounds polluting your podcast. The foam pop shield on the Vocaster Two’s DM14v is very effective and you can say ‘Peter Piper picked a peck of pickled peppers’ without fear of popping. Because both kits’ mics are designed for voice, you can speak directly into them and get a close and intimate sound that’s perfect for podcasts (as you’ll hear from our accompanying video).
While recording our test video of the Vocaster Two’s mic in action we were concerned by the sound of neighboring builders hammering away. However, because the mic was so close to our mouth we were able to capture excellent quality sound while keeping the builders’ noisy banging at bay!
Although the Vocaster Two Studio kit allows you to use a professional XLR mic you still need to connect the Vocaster Two desk to your computer via a USB cable. This extra link in the hardware chain could explain why our test recording suffered from a little latency (delay). The Vocaster Two’s audio was 3 frames out from the video that was streaming from our iPhone 14 Pro to our iMac.
We captured the sound from the Vocaster Two and the video footage from the iPhone’s camera directly into a QuickTime movie on the iMac. It’s possible that the streaming iPhone footage caused the latency instead of the Vocaster’s XLR to USB audio chain.
Whatever the case of the latency it was a simple matter to detach the Quicktime footage’s audio from its video in Final Cut Pro and offset it by three frames to get the sound and vision in sync (see our accompanying video). As a sidebar, by using the iPhone’s camera to wirelessly stream footage into QuickTime on the iMac we were able to add an attractive Portrait Mode style background bokeh to our review’s video clips.
One niggle occurred when we recorded an audio interview on the Vocaster Two desk via Bluetooth. The Vocaster Hub app has a Bluetooth slider that should enable you to adjust the levels streaming from the iPhone. However when we adjusted the slider the iPhone interviewee’s levels still sounded the same. While listening to the iPhone interviewee from the headphones they sounded fine in the Show Mix but their voice was louder in the QuickTime movie that we recorded. Fortunately, we were able to reduce the phone-in subject’s levels by tapping the volume down button on the iPhone.
And finally, although the mics in both Vocaster Studio Kits ship with a clamp and a mount you’ll need to purchase a microphone stand to attach the mic too. We picked up a Billion stand from Amazon for next to nothing.
Verdict
The Vocaster Two Studio will certainly improve the audio production values of a podcaster’s production and it provides easy ways to feed in the voice of your show’s guests - either from a phone-in via Bluetooth or from an XLR hardwired co-host (as long as they bring their own XLR mic to the party).
I’ve used a Blue Yeti USB mic for years to record my voice for various projects and reviews but the superior audio quality produced by the Vocaster Two Studio means my Blue Yeti’s days are numbered. There’s a new kit in town!
Read more:
• Best microphones
• Best USB mics
• Best iPhone mics
• Best lavalier microphone
• Best shotgun mics
• Best XLR mics
• The best microphone isolation shields
George has been freelancing as a photo fixing and creative tutorial writer since 2002, working for award winning titles such as Digital Camera, PhotoPlus, N-Photo and Practical Photoshop. He's expert in communicating the ins and outs of Photoshop and Lightroom, as well as producing video production tutorials on Final Cut Pro and iMovie for magazines such as iCreate and Mac Format. He also produces regular and exclusive Photoshop CC tutorials for his YouTube channel.
