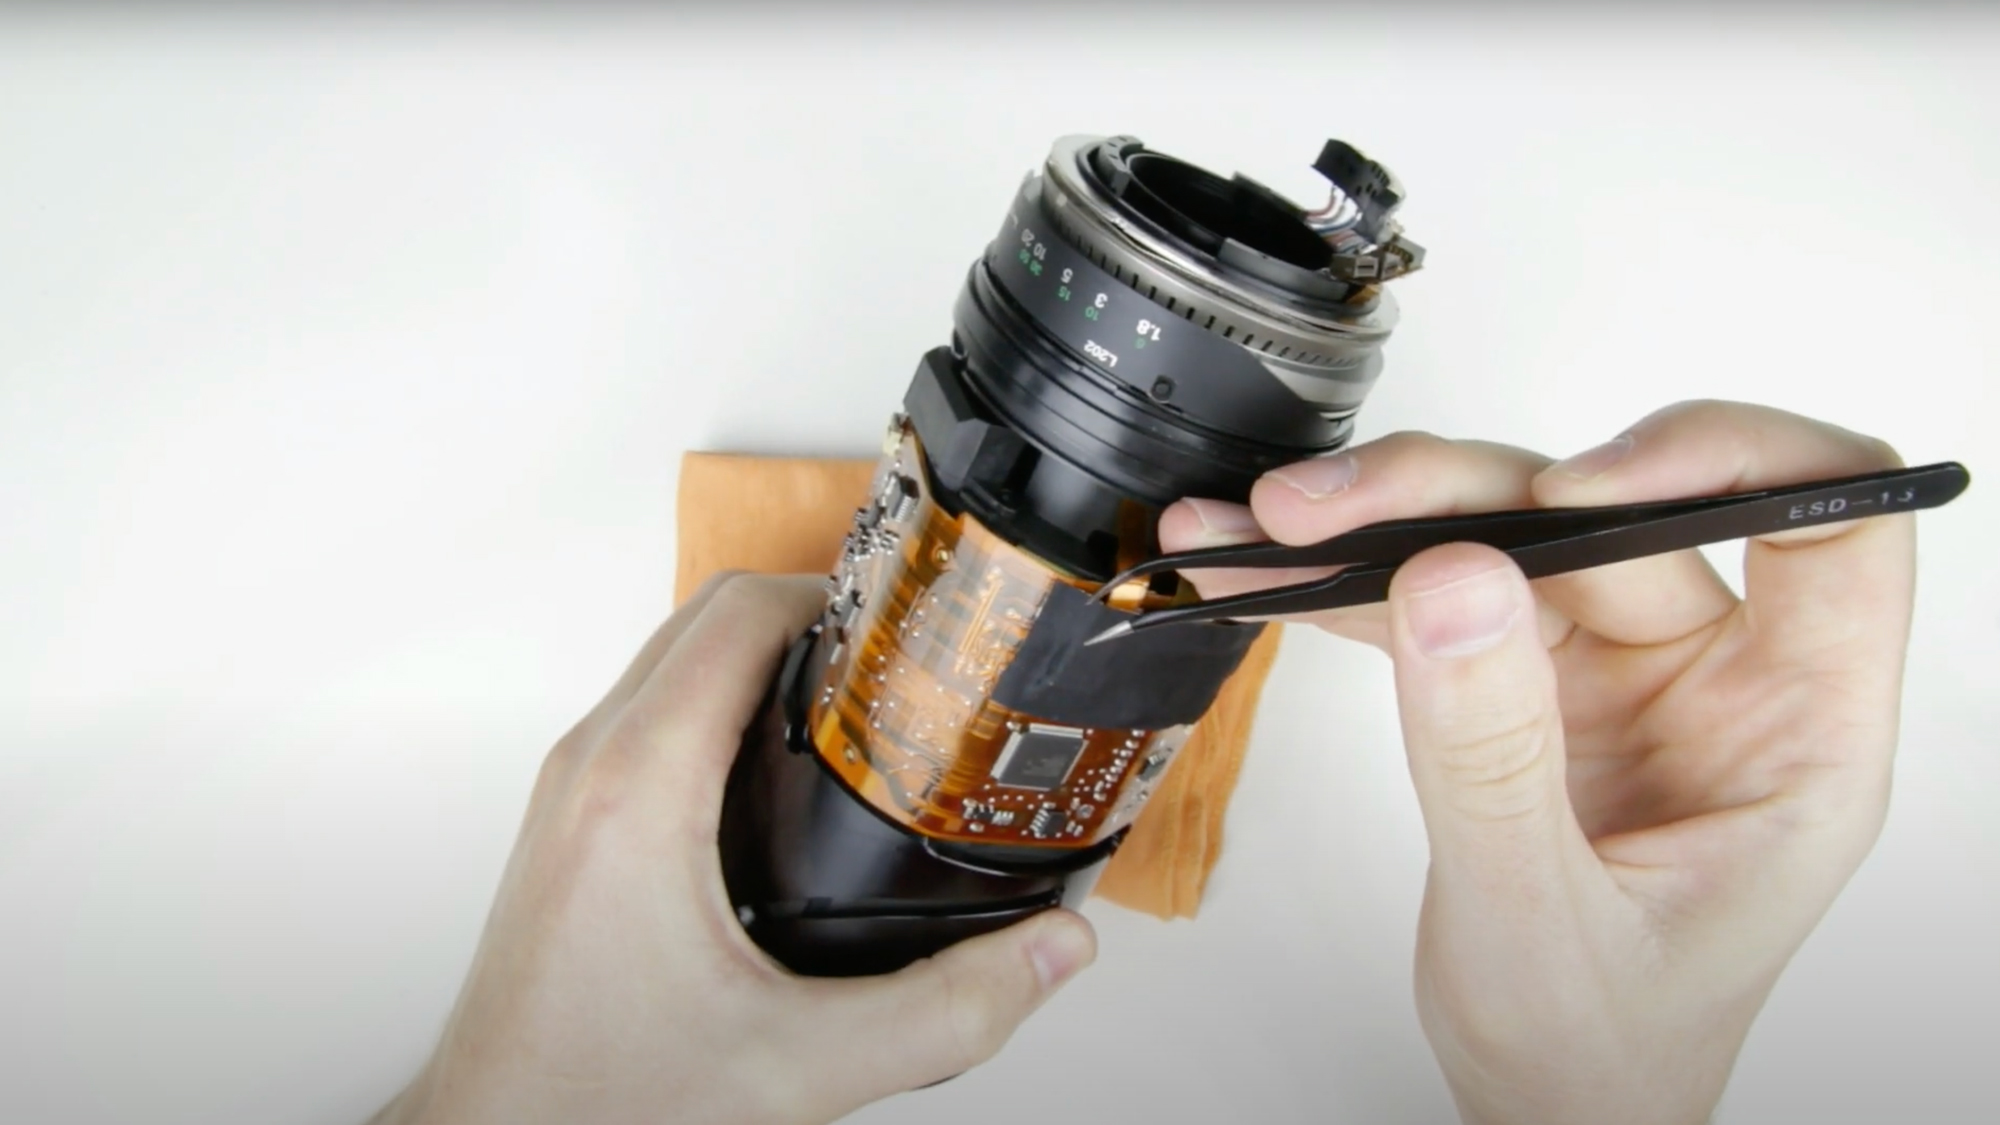
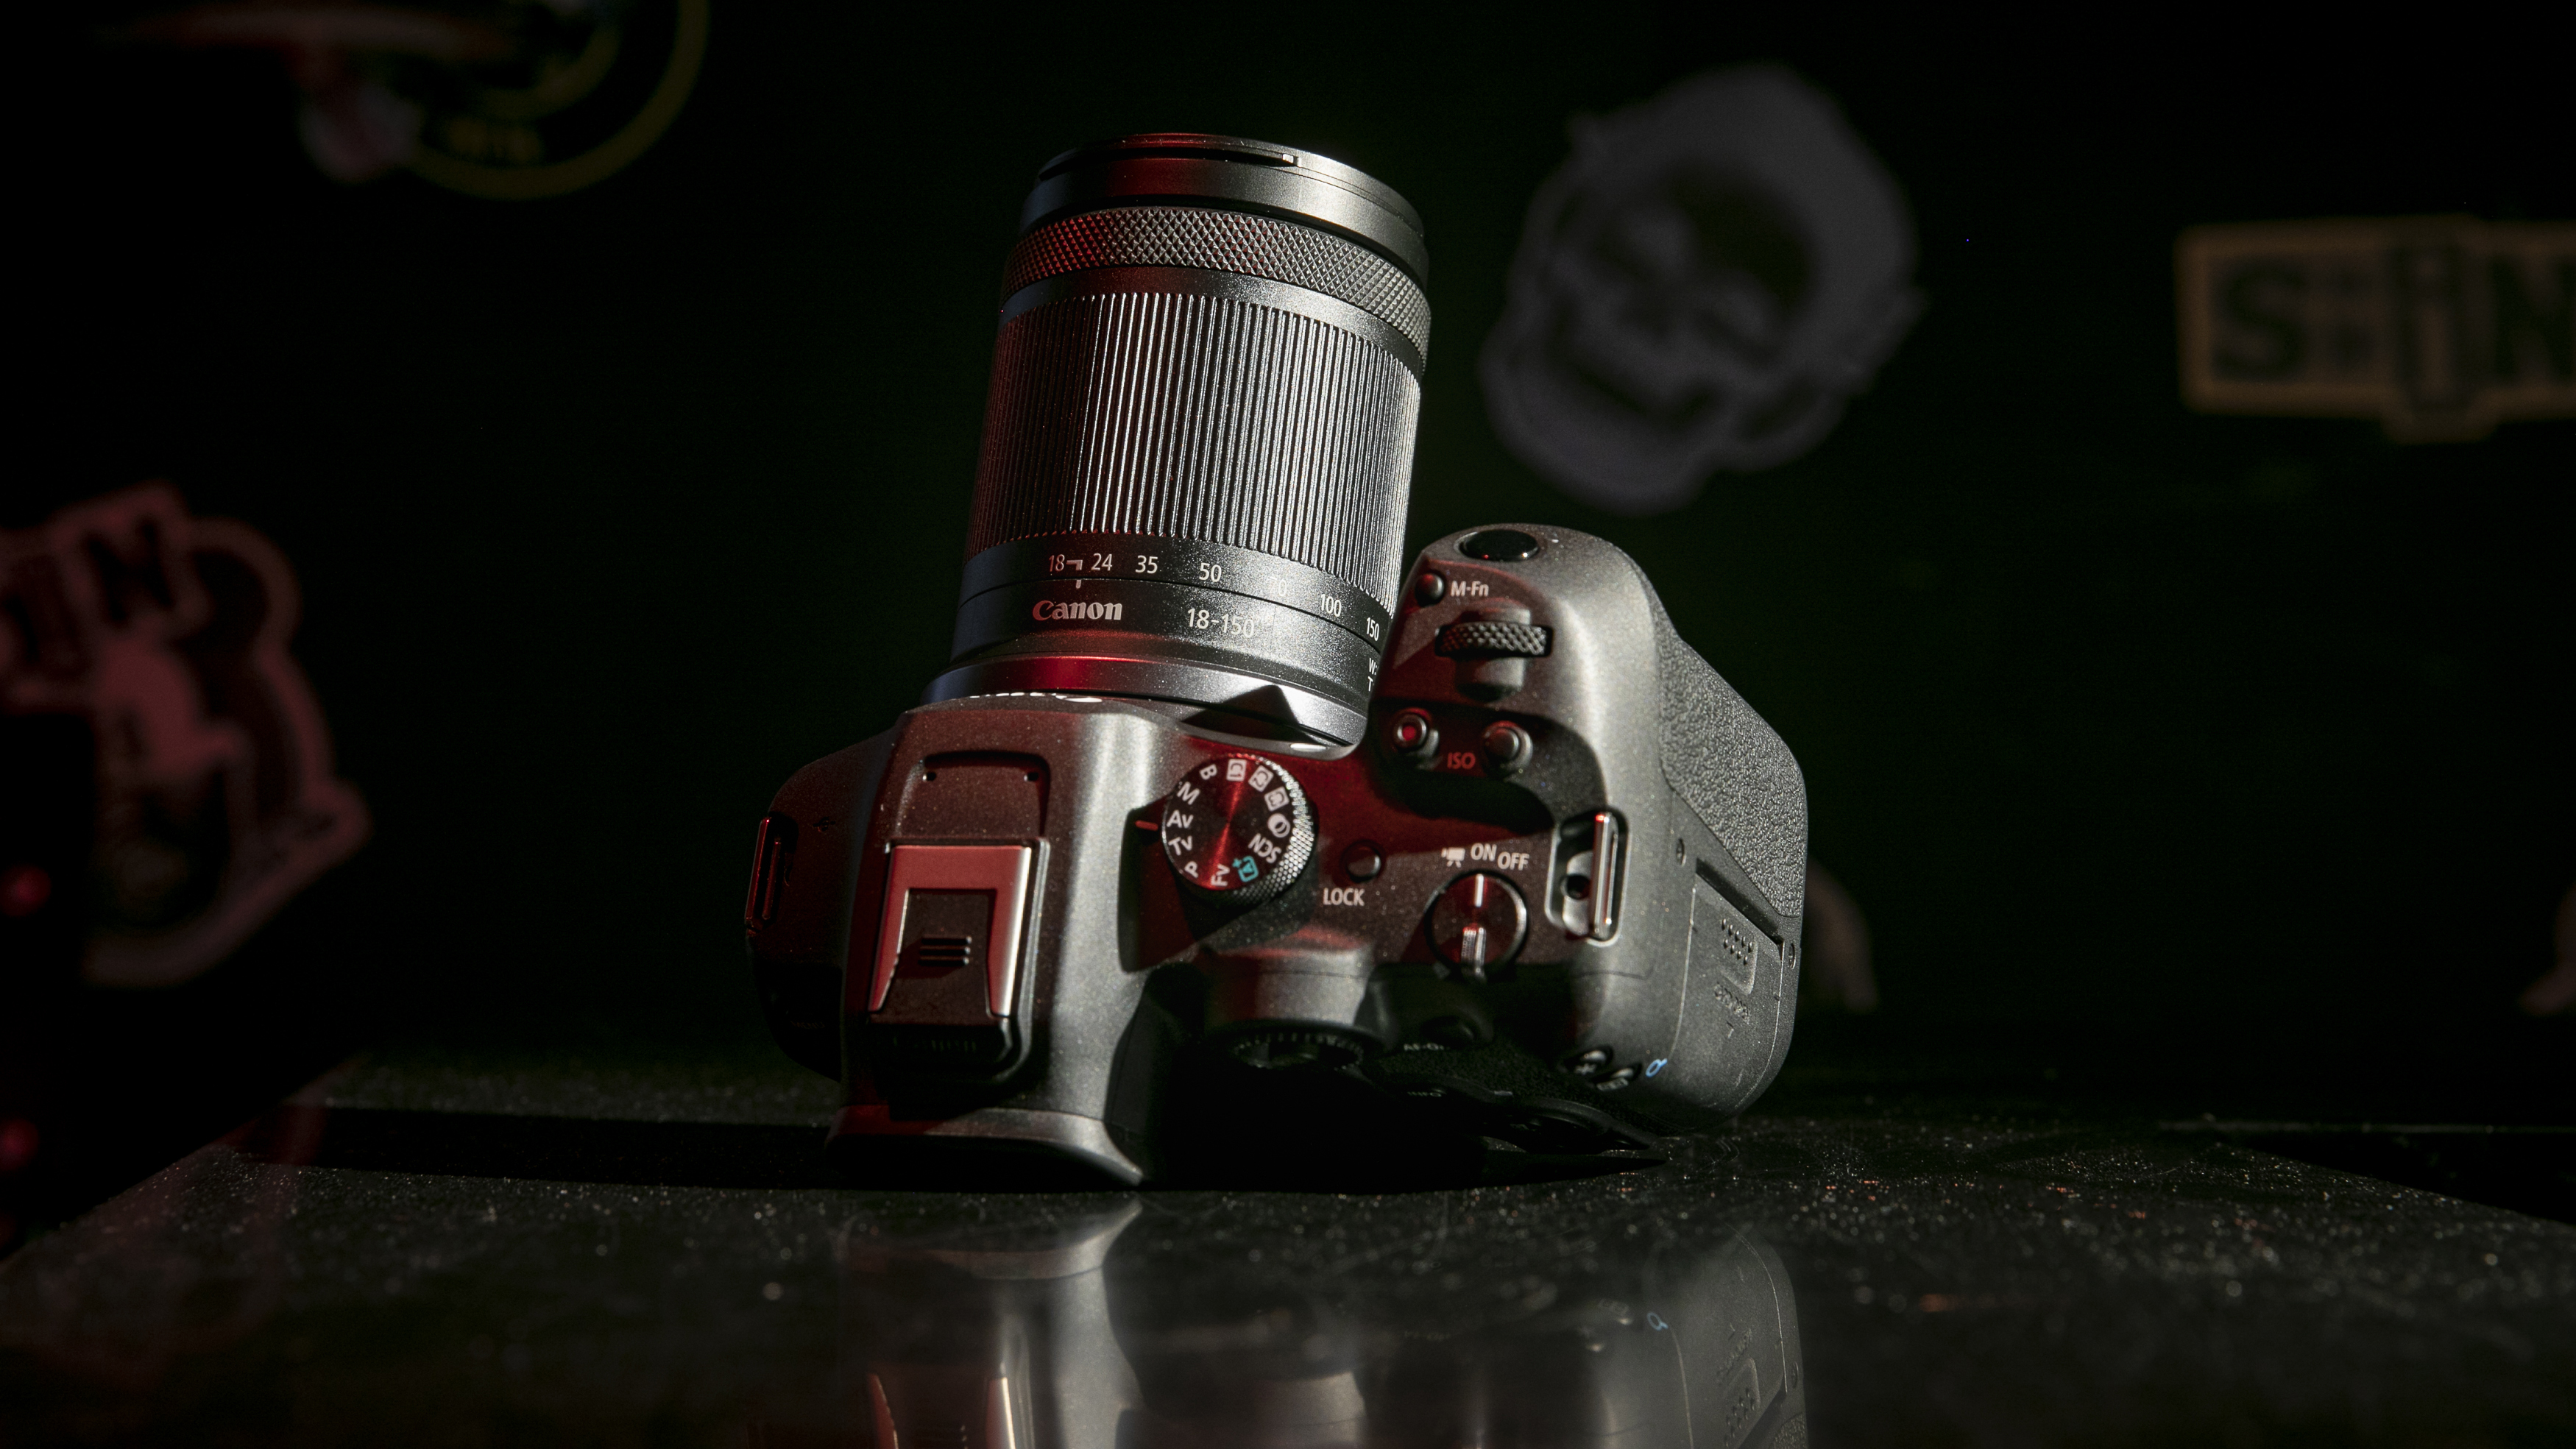
Learn how to fix a Canon telephoto lens on YouTube
With a little patience and determination, you could save yourself some money by following this step-by-step YouTube tutorial

The best camera deals, reviews, product advice, and unmissable photography news, direct to your inbox!
You are now subscribed
Your newsletter sign-up was successful
Disclaimer: We don't advise you to take apart your lens. Any repairs done by an unofficial technician will make the warranty invalid – it’s always best to take your gear to a Canon-certified repair center.
The Canon EF 100 - 400mm f/4.5-6.3 IS USM is probably one of the most popular telephotos zooms of all time. Although it has now been superseded by the Canon EF 100 - 400mm f/4.5-6.3 IS II USM, it's still a popular Canon lens among many photographers who haven't made the upgrade.
Released in 1998, it’s hardly surprising that a 24-year-old lens might need the odd repair every now and then. When YouTuber, CamerasLensesetc found that his lens' image stabilization had stopped working, he decided to have a go at fixing it himself. We know that it's not a new video, but one we discovered on a YouTube trawl and thought it would be helpful to share.
• These are the best telephoto lenses for shooting far-away subjects
Taking apart a lens comes with its risks. With so many small screws and components that need to be put back in a very specific order. It’s a good idea to keep track of what goes where otherwise you might be left with a lens that doesn’t work at all. However, if you think you have the patience, determination, and skill, this half an hour video could save you a lot of money.
To complete the repair, you’ll need two small Pozi head screwdrivers, two flathead screwdrivers, metal tweezers, pliers, and a wood screw. Start by removing the metal bayonet (the section of the lens that attaches to the camera). Once you’ve removed all the screws, take out the flex cables and loosen the zoom ring - you’ll need to use the pliers to remove each of the cables.
With the zoom ring and black rubber ring missing it starts to look much less like a lens. Continue to remove screws in the lens casing until you are down to the inner workings of the lens and can see the circuit board but don’t get excited just yet, there is still more to remove to reach the Image Stabilization mechanism.
The best camera deals, reviews, product advice, and unmissable photography news, direct to your inbox!
Although in the video there is little talking, it records stage by stage and is very easy to follow. Filmed from the perspective of the guy doing the repair, it’s clear to see what screws need to be removed and how each component comes apart.
Unfortunately, the video doesn’t show you how to put the lens back together but if you repeat the process in reverse you should be able to get back to what you started with. If you’re up for a challenge and have experienced the same issues with your IS, this is a very useful video but we would still recommend taking it to an official repair center, just to be on the safe side. At least if they do something wrong you’re covered!
Check out the best Canon cameras including top-of-the-range mirrorless models and a few of our favorite DSLRs.

Having studied Journalism and Public Relations at the University of the West of England Hannah developed a love for photography through a module on photojournalism. She specializes in Portrait, Fashion and lifestyle photography but has more recently branched out in the world of stylized product photography. Hannah spent three years working at Wex Photo Video as a Senior Sales Assistant, using her experience and knowledge of cameras to help people buy the equipment that is right for them. With eight years experience working with studio lighting, Hannah has run many successful workshops teaching people how to use different lighting setups.

