What is a pinhole camera? (And how to make a pinhole camera of your own!)
Ever wondered what is a pinhole camera? We'll explain, and show you how to make a pinhole camera yourself

The best camera deals, reviews, product advice, and unmissable photography news, direct to your inbox!
You are now subscribed
Your newsletter sign-up was successful
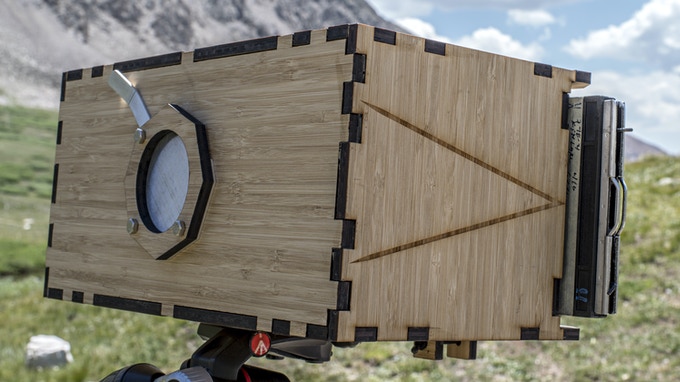
You may be asking what is a pinhole camera (or how to make a pinhole camera!). In short, it's a camera that is stripped back to its most fundamental elements. Basically it's nothing more than a lightproof space with a hole – which is the aperture – perforated into it.
Light passes through the aperture, which projects the scene from outside the camera onto the opposite internal side. Curiously this image will be inverted, and cast onto a light-sensitive surface to capture the photograph.
A pinhole camera may also be referred to as a camera obscura – the two words being Latin for ‘dark chamber’. This rudimentary form of photography has been known about since ancient times, although the actual invention of the camera obscura is credited to an 11th Century scientist called Alhazen. In essence, it is how photography first started.
You can also find out how to make a pinhole lens in our separate tutorial, but for now here is how to make a pinhole camera of your own…
How to make a pinhole camera
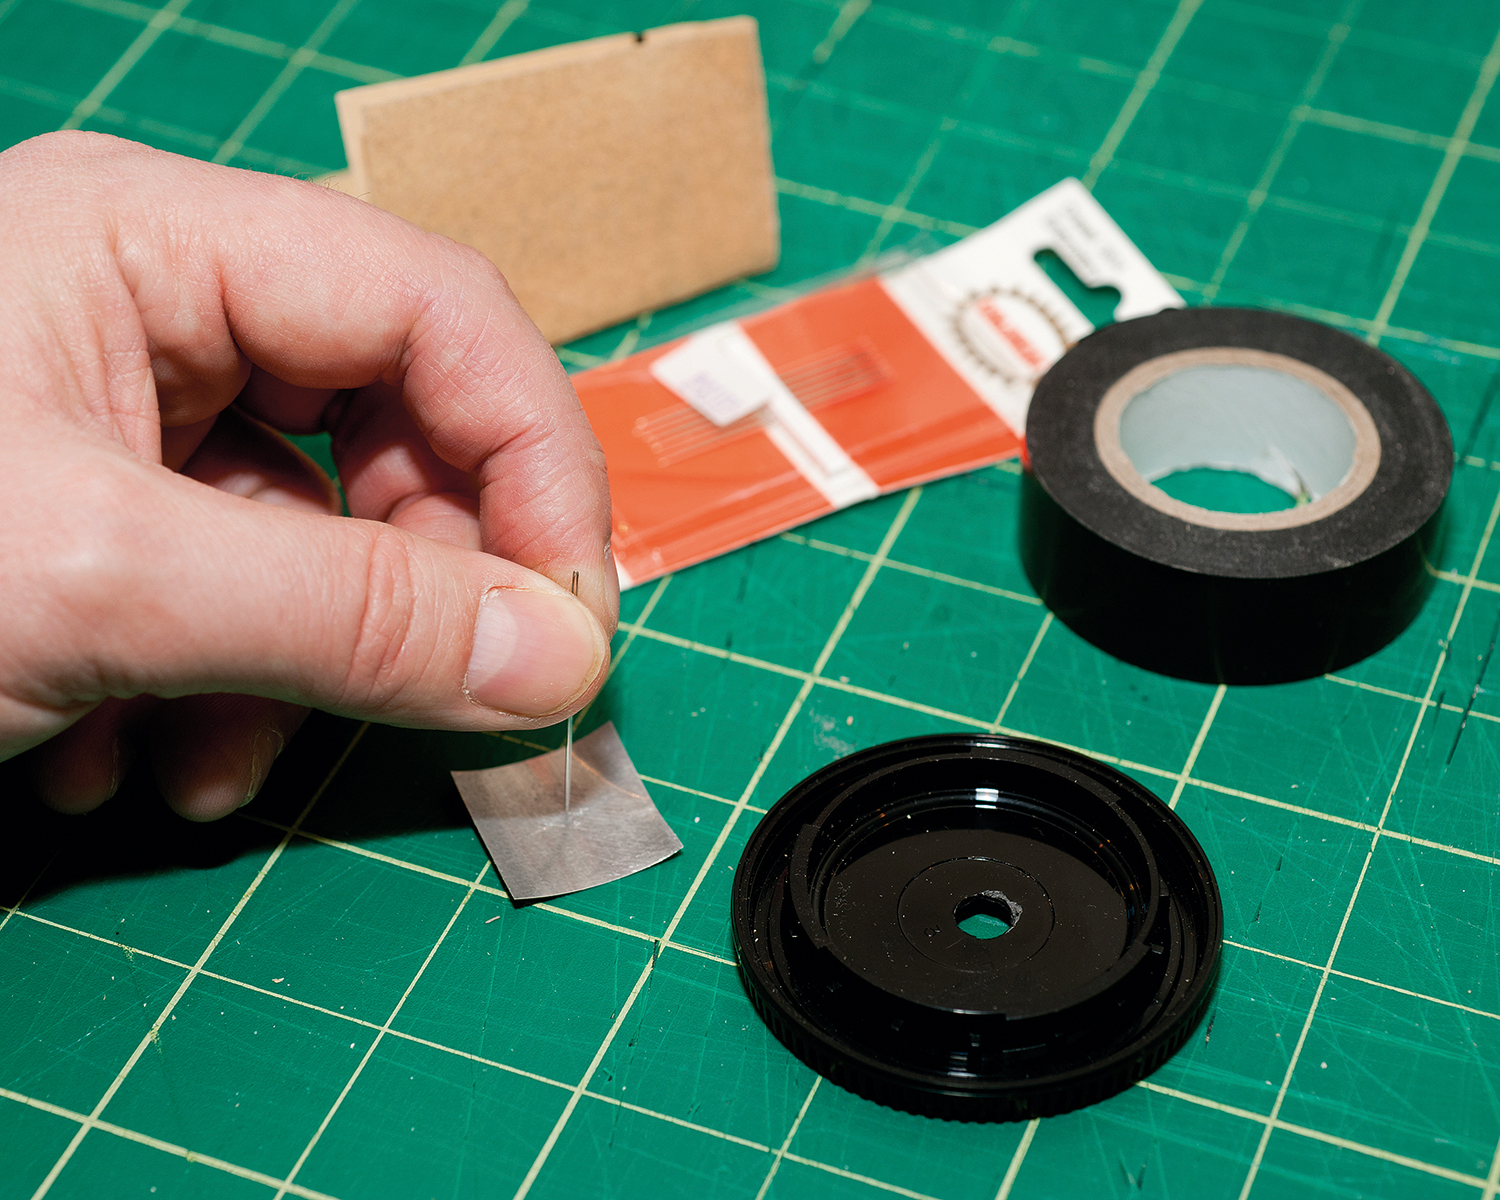
A pinhole camera can be made with little more than a shoebox and a needle to add your aperture, although it pays to paint the inside of your box black, so that the light entering through the aperture isn’t then bounced back around the space.
Of course, you also need a means to add some light sensitive material to the side opposite of the box without exposing it to unwanted light. If you prefer to take a less hands-on approach to pinhole camera creation, you can buy them too, although half of the fun of a pinhole is the DIY approach – even if it does necessitate a bit of trial and error.
As you’d expect, an exposure made with a pinhole camera is going to be relatively long, ranging from several seconds to hours, even in normal daylight conditions. It is possible to work out the exposure based on aperture size and the sensitivity of the film being used, but trial and error is also a good way to unravel its exposure mysteries. Just think how small that needle-punctured aperture is and how little light is going to be able to pass through.
The best camera deals, reviews, product advice, and unmissable photography news, direct to your inbox!
Once you have constructed your pinhole camera (with a manual ‘shutter’ made from tape) and intend to start an exposure, make sure it is in a fixed position that cannot be moved. The ground is often a good starting point!
Pinhole image quality
Focal length is simply the distance between the aperture and the light sensitive material at the back of the box. While a pinhole camera image is never going to be perfect, its quality will improve the cleaner and more circular you can make the hole.
However, to think of a pinhole camera as a way of getting a technically excellent image is rather missing the point. Really, it’s a great way of understanding how even the most sophisticated modern cameras are little more than a lightproof chamber with a hole at one end and something light sensitive at the other.
The soft, vignetted image that you achieve by exposing with a pinhole camera is very much part of the nature of this most basic form of photography. The sense of mystery as to what you’ll get, plus the satisfaction of simply capturing an image without a lens or any other modern technology, more than makes up for its low-fidelity results.
Read more:
• DCW dictionary of photography
• Best DSLRs
• Best mirrorless cameras

James has 25 years experience as a journalist, serving as the head of Digital Camera World for 7 of them. He started working in the photography industry in 2014, product testing and shooting ad campaigns for Olympus, as well as clients like Aston Martin Racing, Elinchrom and L'Oréal. An Olympus / OM System, Canon and Hasselblad shooter, he has a wealth of knowledge on cameras of all makes – and he loves instant cameras, too.


