How to take great photos: Understanding light
Part 1: In the first part of a brand new series, we take a look at why it's so important to understand light when taking images

Over the next three weeks, we’ll be showing anyone how they can take great photos.
The way we'll be doing this is by exploring ten key concepts and principles that every photographer should get their head around. By the end of it, you'll be fully prepared to tackle new subjects and use the options on your camera that may have always seemed too complicated.
So what’s the single most important thing to understand about taking great photos? How to focus on your subjects correctly? Which camera settings to use? Both of these and many other things are important for sure, but arguably the most important thing to understand is light.
Understanding light
Light is what makes photography possible. For you to be able to photograph a subject, light needs to interact with it in some way, either by reflecting it or emitting it. And it’s precisely what kind of light we’re talking about, and what happens when it interacts with a subject, that can make all the difference to your results.
Read more: How to always get your exposure right
This might seem daunting, but don’t fret. As fascinating as light is to understand from a scientific perspective, it’s not necessary for you to do so in order to understand what works and what doesn’t for photography.
Different types of light
There are many different types of light that you may be working with when taking pictures.
The best camera deals, reviews, product advice, and unmissable photography news, direct to your inbox!
You could, for example, be dealing with the soft, warm glow of a sunrise or sunset when photographing very early in the morning (or much later in day), or the harsh light that you get when trying to take pictures at midday. You could also be taking pictures in overcast conditions, which gives you a much different and considerably flatter kind of light to work with.
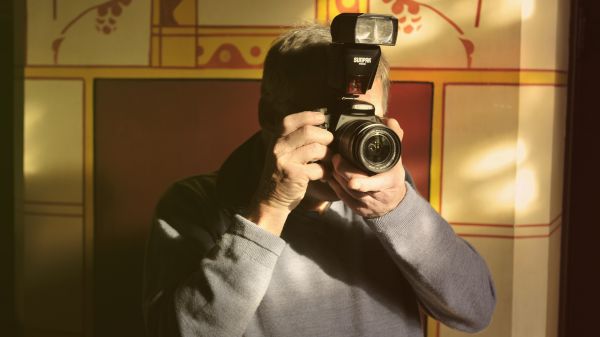
Alternatively, instead of natural light mentioned above, you could be dealing with a scene lit with artificial lighting sources. So, the fluorescent strip lighting you get inside shops and bars, or the light from an everyday household lightbulb at home, or even the illumination from the flashgun on your camera.
The light itself may be intense and directional, and it may come from a small source; think about a spotlight that’s shinning on a performer on stage.
Alternatively, it could be spread over a wider area and softened in some way, such as when it spills out from a lampshade or through a pair of curtains.
This is just the tip of it all, but you should get the idea: light changes, and understanding what this means for your images will help you to take the best approach.
Sometimes it will be a case of trying to light your subject in a different way, such as with a different kind of light, or by modifying it in some way, something we’ll get to a little later on. When using natural light, it may simply be a case of waiting for the sun to disappear behind a cloud, or waiting for it to be lower in the sky, that makes all the difference.
At this point, you may be wondering: how do you know what kind of light you need?
What kind of light do you need?
When you first start shooting, however, you should expect a little trial and error to fully understand what works and what doesn't. The kind of light that best suits your subject all depends on what it is you want to photograph and what you want the end result to be. The range possibilities of subject, light and effect lie well beyond the scope of this article, so let’s just take one example, namely portraiture.
Usually with portraits, the most flattering type of light is typically a soft light, such as that which comes from a low sun. This tends to give a pleasing and natural result.
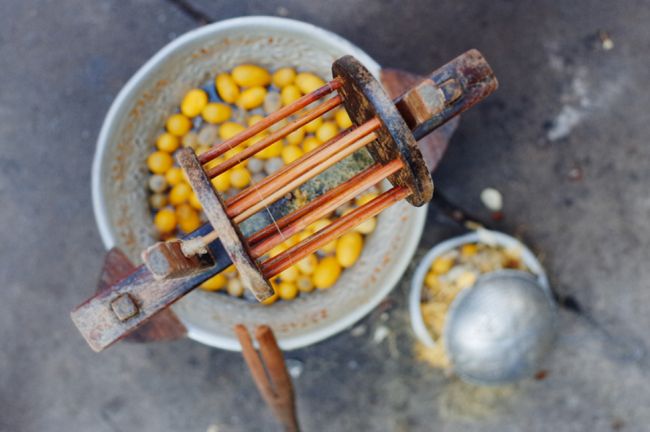
Take the same image when the sun is directly above the subject in the middle of the day and what do you get? Harsh shadows and lots of contrast, with more obvious definitions between light and dark areas. (This isn’t quite the case when shooting on an overcast day, however, as the sun’s light will be diffused through clouds).
If using an artificial light source in a photographic studio, the photographer will typically use a large translucent cover that diffuses the light, or an umbrella which reflects the light from its larger internal surface area. In either case, rather than hit the subject directly, light is scattered so that it’s not as harsh against the subject.
Read more: Cheat sheet: Wide vs narrow aperture
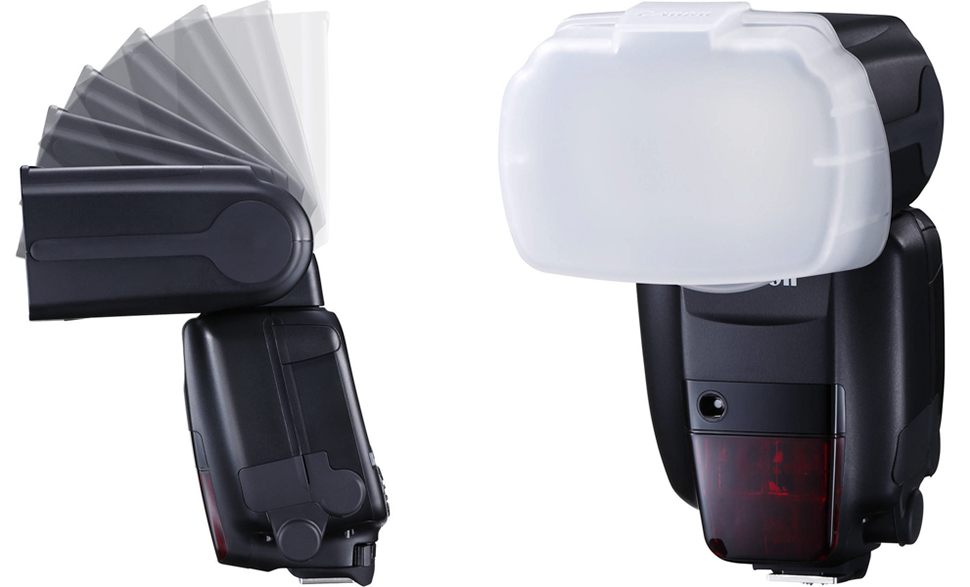
Similarly, if using a flashgun, the photographer won’t necessarily point it at the subject directly as this rarely provides the most appropriate kind of illumination. Instead, they may attempt to soften it in some way, either by angling it towards a wall or ceiling (from which it can bounce off to the subject) or by placing a panel of some kind over it, which again softens its output and makes it more flattering.
The position of the light also makes a big difference with portraits. Harsh light coming from directly above a subject is not very flattering, as it can create noticeable shadows from the subject’s nose or hair. These shadows would not necessarily form if the subject is facing the light, which is possible to achieve when the sun is lower in the sky.
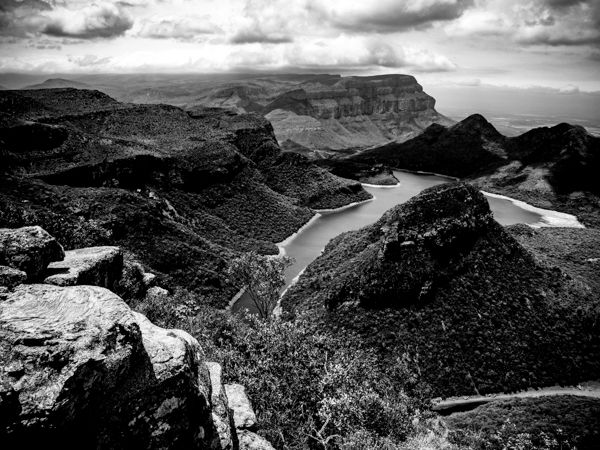
Harder types of light can also highlight wrinkles and blemishes on the subject’s face, which may be less apparent when using a softer source, although, of course, this may be precisely what you’re gong for. Let’s say you’re working on a character study where you want to highlight the wrinkles on a person’s face, the texture of a beard or other facial hair. An intense, ‘hard’ light source can be used to do this, and it can also be used to render part of their face in shadow, which can look very good in black and white.
What can you change?
Whether it's natural daylight or light from an artificial source of some kind, you have the option of changing the way light interacts with the subjects in your scene. Here are some of the most common ways of doing so.
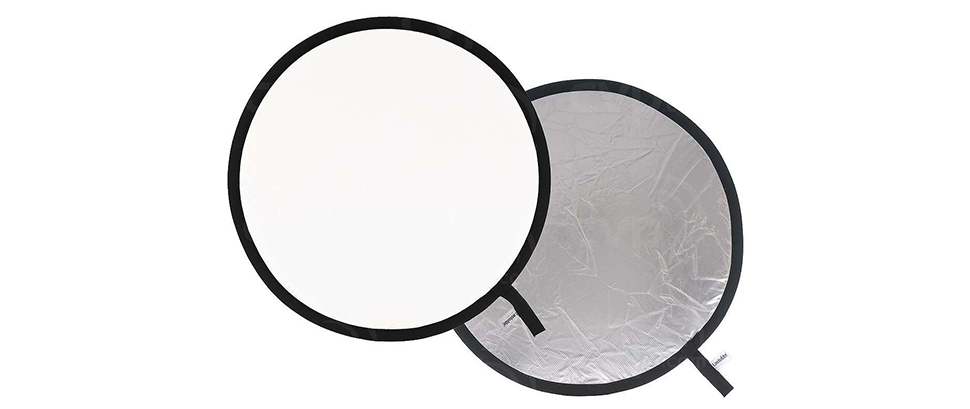
Reflectors bounce light from the sun or an artificial light source (such as a flashgun) back towards a subject. By doing so they can be used to fill in shadowy areas of the scene, such as shadows on a face. You can find these in different finishes such as white, silver and gold, and these all have an effect on the light.
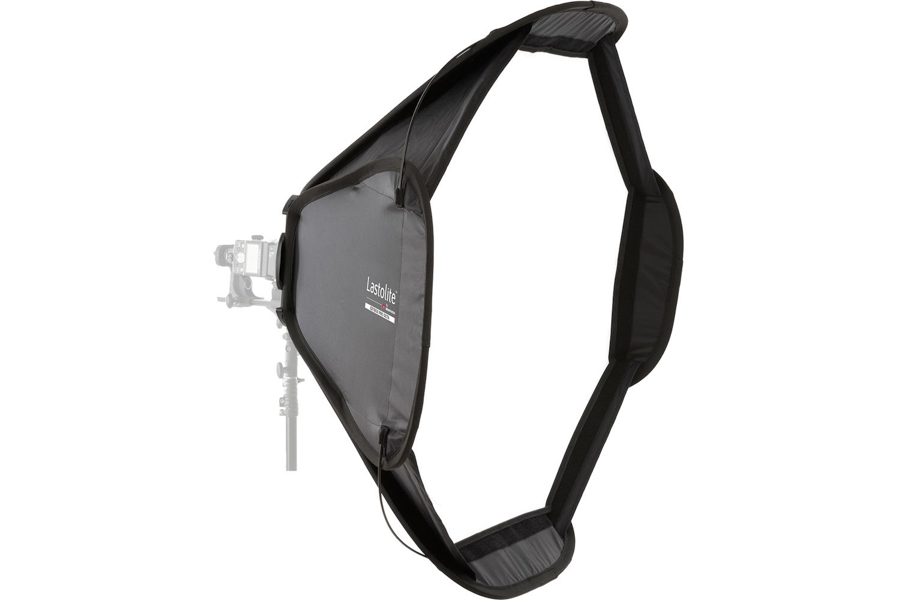
Diffusers help to spread and soften light, and these take on many different forms. In the photographic studio, a light can have a large box fitted to it and a diffusing panel, and this is known as a softbox. You can also buy mini softboxes that fit onto standard flashguns, and most flashguns come with small plastic covers which also diffuse light.
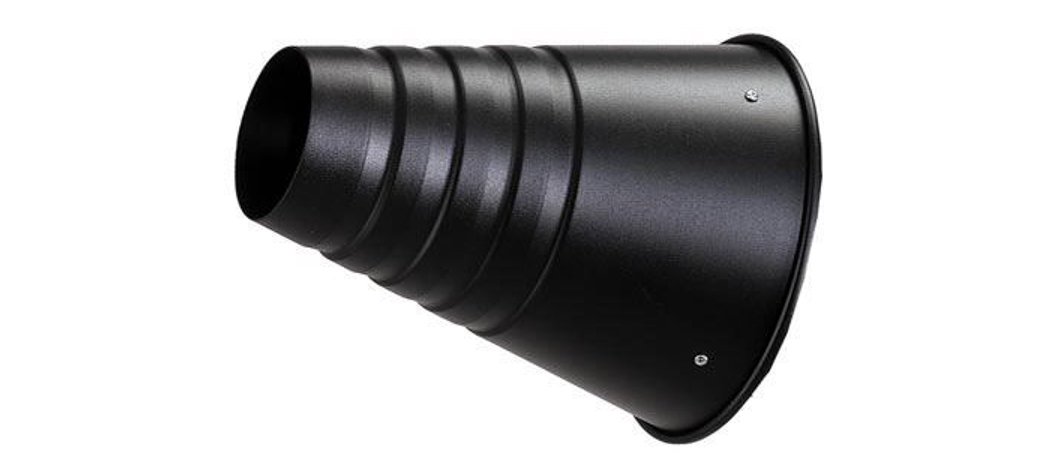
There are also snoots, which channel light from a larger area into a small one, as well as umbrellas which can either reflect light or be used as diffusers, depending on their design.
Takeaways
- The same subject can look very differently depending on how it is lit, where the light is coming from and the light’s intensity among other things.
- When shooting outdoors, you will find you get very different results depending on the sun's position and whether it is shining directly on your subject or if it's diffused through clouds.
- Whether it's natural of artificial light, modifying light will change how it interacts with your subject, and thus the final result.
In Part 2, we’ll be looking at subjects
Read more: The 10 best cameras for beginners
The former editor of Digital Camera World, "Matt G" has spent the bulk of his career working in or reporting on the photographic industry. For two and a half years he worked in the trade side of the business with Jessops and Wex, serving as content marketing manager for the latter.
Switching streams he also spent five years as a journalist, where he served as technical writer and technical editor for What Digital Camera before joining DCW, taking on assignments as a freelance writer and photographer in his own right. He currently works for SmartFrame, a specialist in image-streaming technology and protection.

