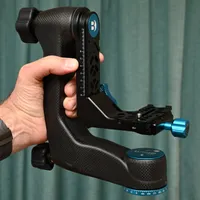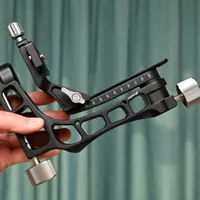




Digital Camera World Verdict
The Sirui PH-10 Gimbal Head has a sufficient payload rating for the kind of big telephoto lenses for which it’s designed. I like that it’s relatively compact and lightweight for its breed, but that comes with a catch. To my mind, it’s not tall enough for most lenses to be ideally placed, so the horizontal center-line of the lens barrel fails to line up with the gimbal’s tilt pivot. In other respects, the Sirui performs very well and is great value for a carbon fiber gimbal head.
Reasons to buy
- +
Luxury carbon fiber build
- +
Fairly compact and lightweight
- +
Smooth, free-flowing movement
Reasons to avoid
- -
Arguably too short
- -
Relatively modest max payload
Why you can trust Digital Camera World Our expert reviewers spend hours testing and comparing products and services so you can choose the best for you. Find out how we test.
Sirui is a Chinese company that’s been going since 2001, building a solid reputation for tripods and support gear, anamorphic and cine lenses, and photographic lighting along the way. More recently, Sirui has added camera lenses to its catalog. Somewhat typical of relatively high-end Chinese brands, Sirui’s products are generally cleverly designed, nicely made, and deliver good performance at very reasonable prices.
The gimbal head that I’m reviewing here isn’t to be confused with stabilizers for run-and-gun video shooting. It’s the more conventional type of ‘gimbal head’, designed to support big telephoto lenses and attached cameras on a tripod, delivering weightless operation with a free-flowing range of movements for tilting and panning. As such, it aims to be one of the best gimbal heads on the market.
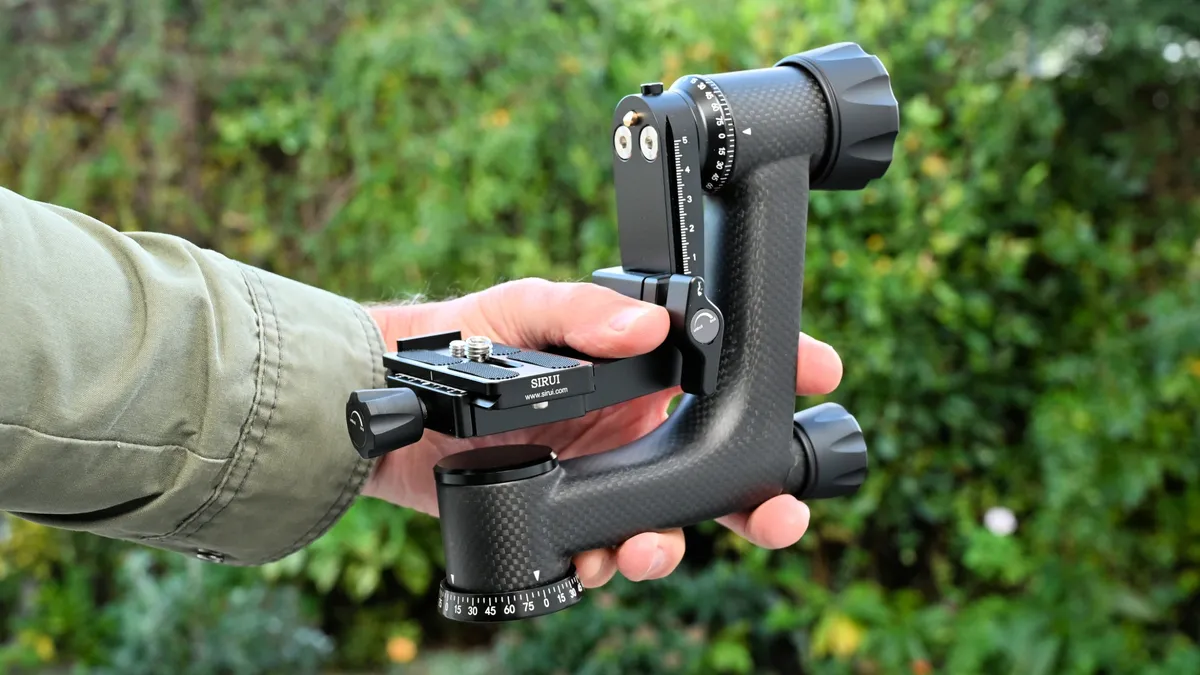
Sirui PH-10 Gimbal Head: Specifications
Material |
Carbon fiber |
Max load |
15kg / 33lb |
Weight |
0.98kg / 2.2lb |
Height |
20.8cm / 8.2in |
Base diameter |
50mm / 2in |
QR plate |
Arca-Swiss type |
Sirui PH-10 Gimbal Head: Price
You can pick up a gimbal head very cheaply at any number of online retailers. But as they say, if something looks too good to be true, it probably is. I bought a sub-£100 gimbal head in the UK a while ago and it was rubbish. It lacked any smoothness in its pan and tilt movements, and went straight back where it came from.
This Sirui gimbal head is more expensive, at around $249 / £229 / AU$404 although at the time of writing this review, it was discounted to just £179 / AU$215 at many retailers in the UK and Australia. Either way, that makes it potentially excellent value for money, compared with the likes of the carbon fiber Benro GH5C Gimbal Head at $435 / £485 / AU$900 and the aluminum Leofoto PG-1 Gimbal Head at $458 / £420 / AU$789, both of which are also made by Chinese companies. Naturally though, it all boils down to quality and performance.
Sirui PH-10 Gimbal Head: Design & Handling
First impressions aren’t always correct, but sometimes they are. Taking the Sirui gimbal head out of its padded soft case, it looked and felt much better than I’d expected, based on the relatively low-budget price tag. The main 8-layer carbon fiber L-shaped bracket certainly looks the business and feels luxurious. The lens bracket and other supporting parts are made from aluminum and feel of similarly good quality. So far, so good!
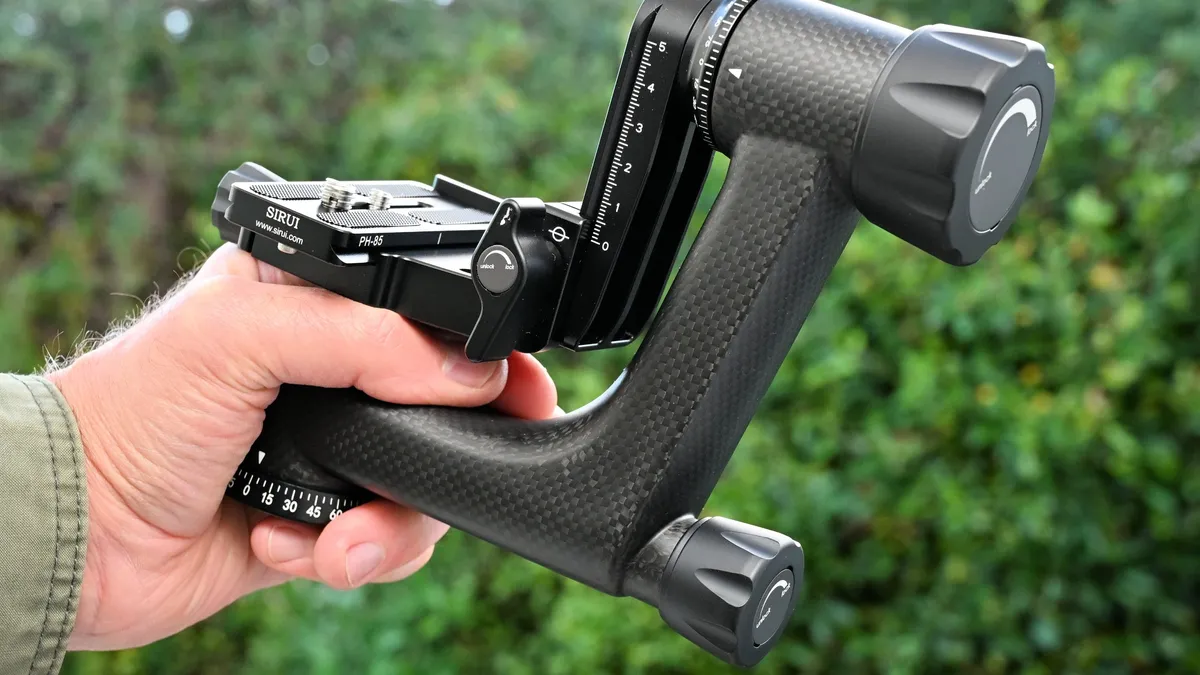
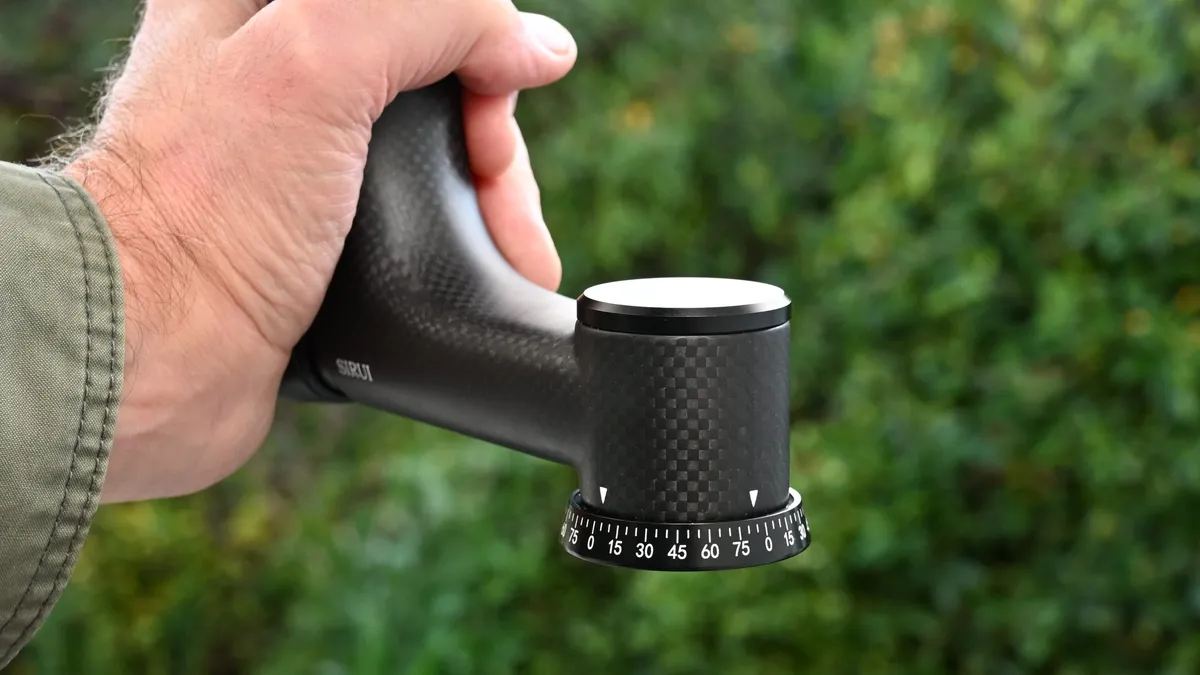
The panning base that screws to a tripod via a standard 3/8-inch thread (or 1/4-inch adapter) looks similarly impressive. It features the usual full 360-degree rotation and has position markers at three points, placed at 90-degree intervals. These line up with a calibrated scale that’s numbered at 15-degree intervals, along with white lines at intermediate 5-degree increments.
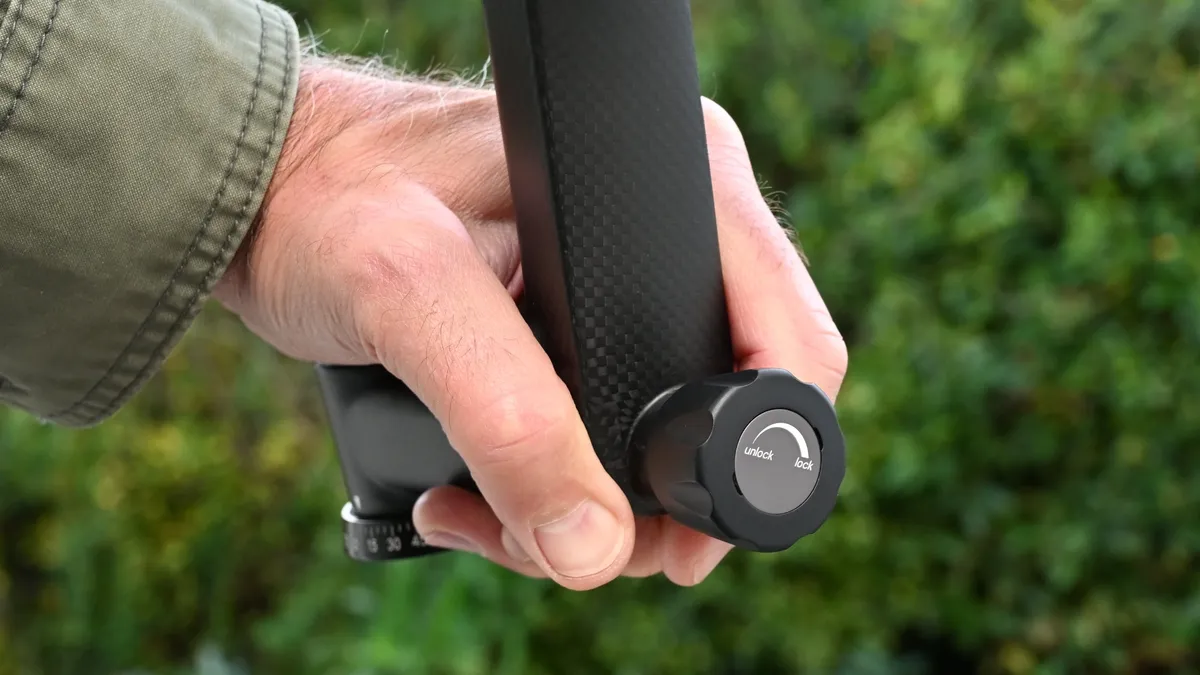
While the tripod mount is at the front end of the lower, horizontal section of the L-shaped bracket, the lock/release knob for panning is at the rear of the same section, which is a typical layout for gimbal heads. The grippy knob is clearly marked with lock and unlock lettering, along with a kind of volume scale symbol that signifies increasing friction towards the ‘lock’ position.
The swinging arm that enables you to tilt the lens and its attached camera is attached to a pivot at the top of the upright section of the main L-shaped bracket. Again, it’s clearly labelled in 15-degree intervals, along with white lines at 5-degree sub-increments. This time, instead of a full 360-degree scale, it’s mirrored in both directions from 0 up to 75 degrees, then descending back to 0 degrees again. Although technically it can rotate through a full 360 degrees, you can only really expect to get around 150 degrees of vertical tilt upwards and 60 degrees downwards, in practice.
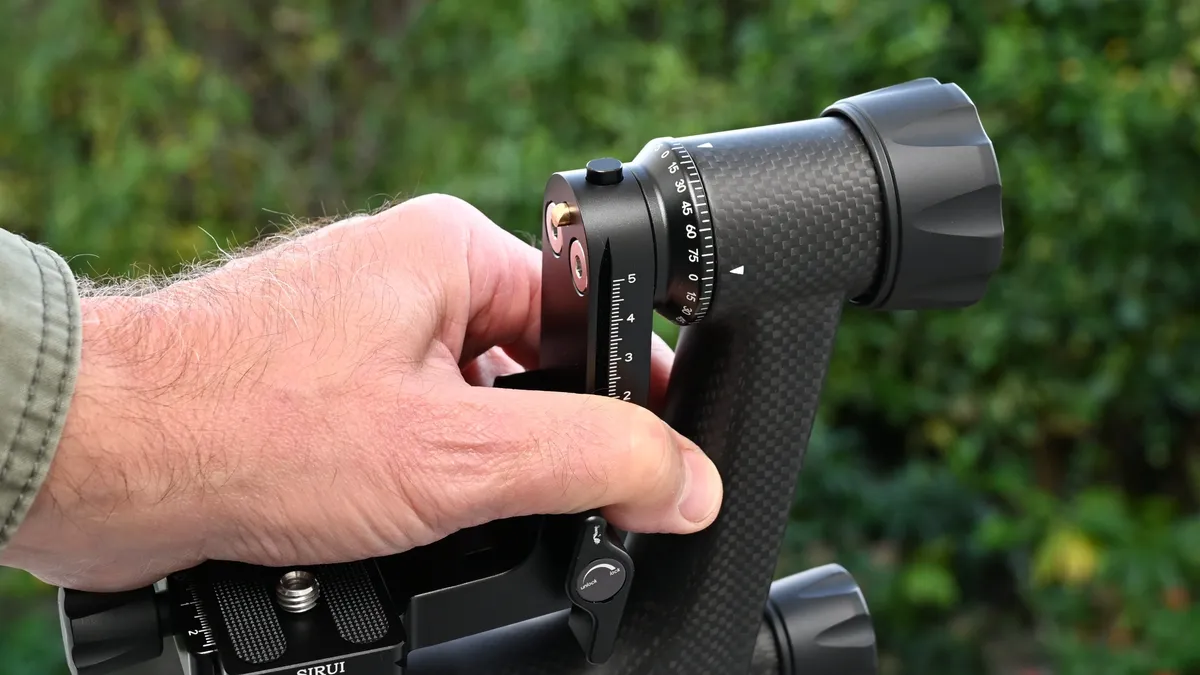
The Sirui is relatively compact and squat, compared with most gimbal heads that I’ve used in the past. I’m all for compactness and a lightweight build, but there’s a problem here. To enable the best balance, so that you can tilt the assembled lens and camera to any angle, let go of it and it should stay put, you really need to align the longitudinal center line of the lens with the tilting pivot point at the top of the L-bracket. With my telephoto lenses on their tripod mounting collars, I found that this was simply impossible, because the upright of the L-section simply wasn’t tall enough.
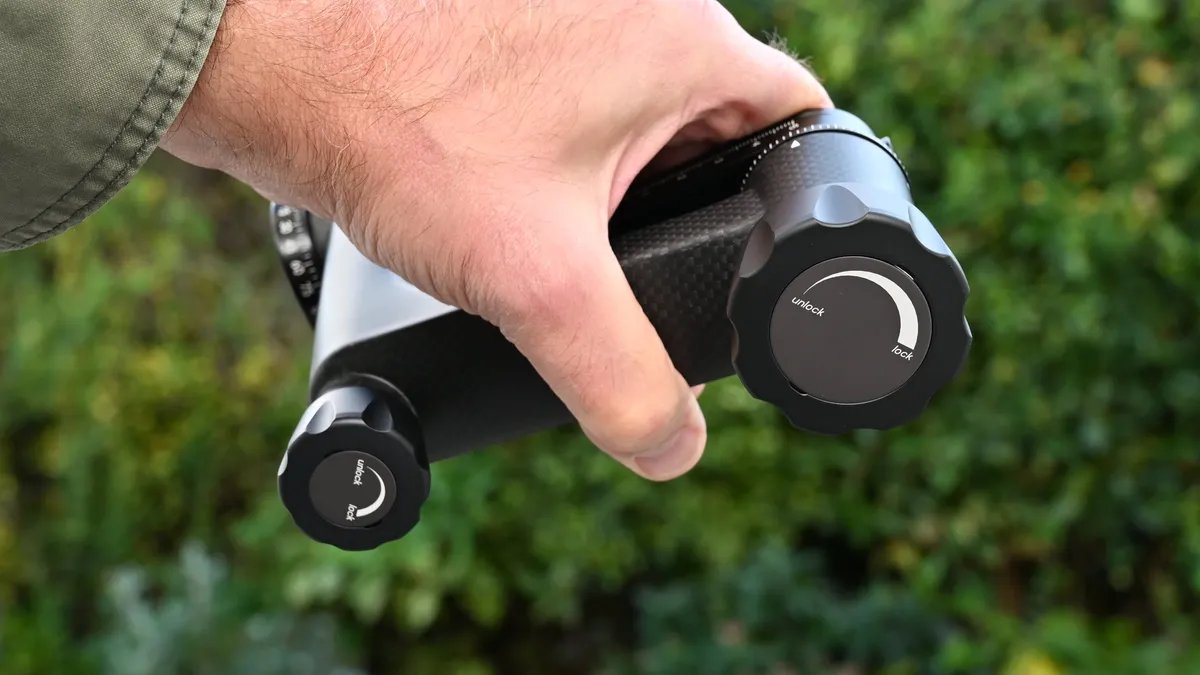
The lens bracket has the usual facility of a mounting platform that slides up and down a calibrated scale and locks in place with its own locking lever. Unlike the other locking knobs, this one has a flat profile rather than being circular, and it’s spring-loaded so that you can pull it out, rotate it on its six-sided shaft, and position it for the most convenient orientation. However, as I mentioned above, I found that due to a lack of height, the central plane of my lenses ended up being positioned above the top pivot point, even with the mounting bracket in its lowest possible position.

As is often the case with gimbal heads, you can separate the mounting plate from the lens bracket. To do this, there’s a pushbutton at the top of the bracket that retracts a brass safety pin. With the pin retracted, you can slide the mounting plate right up to the top and out of its guide channel, as shown in the image below.

The mounting platform has a standard Arca-Swiss style clamp and a chunky lock/release knob. There are cutouts at each end of the platform, which accommodate safety screws fitted to the bottom of the quick-release plate. This ensures that if you loosen the clamp or it works loose accidentally, the QR plate and its attached lens can’t slide out of the clamp.

As well as the two small security screws in the bottom of the QR plate, there are two standard 1/4-inch screws on the top plus a 1/4in to 3/8in adapter. Both screws and the adapter are removable, enabling you to attach the QR plate to a lens, camera, or cage using one or both screws of the same or different sizes, depending on the fit of what you’re attaching.

To help keep the gimbal head safe and sound in transit, it’s supplied with its own padded soft case, complete with carrying handles and a removable shoulder strap, as shown below.

Open the carrying bag, and you’ll find white foam padding, which is pre-cut to exactly fit the components of the head. Most of the assembly fits in one piece, with a separate cutout for the QR plate.

Sirui PH-10 Gimbal Head: Performance
Performance is very good up to a point. The bearings for both the tilt and panning pivots work with smooth efficiency. This makes it easy to track even erratically moving objects in the likes of action, sport, wildlife, and bird photography, with fluid, free-flowing movements for any combination of pan and tilt.
As with any good gimbal head, the Sirui makes even a really heavy telephoto lens and attached camera feel virtually weightless. And despite the head weighing only 0.98kg / 2.2lb itself, it has a strong 15kg / 33lb payload rating. Sure, that’s not as beefy as some gimbal heads that go up to around 25-30kg / 55-66lb, but it should prove more than sufficient for most of us.

A nice touch is that the QR plate has a detachable lip at one end that secures with two small screws. You can butt this up against the front or rear of a lens’s tripod mounting foot, as shown above, and it avoids any unwanted twisting of the foot on the mounting plate while you’re panning, especially in an anti-clockwise direction. Moving to the image below, you’ll see that the central horizontal axis of my telephoto lens is higher than the tilt pivot point near the top of the gimbal head, even with the lens bracket at its lowest setting. As previously discussed, this is certainly less than ideal.

I found that if my camera and lens were leveled and perfectly balanced on the gimbal head, they’d naturally stay level when I released the tilt lock. However, due to the shortness of the main L-bracket and the center of gravity being above the tilting pivot point, the camera tends to fall backwards to its maximum upward tilt position. At least, that’s the outcome if you let go of it while it’s already pointing upwards, without first tightening the locking knob. That’s not the way that gimbal heads are really supposed to work, in a perfect world. Interestingly, in Sirui’s online instructional video about how to use the head, they suggest mounting the lens even higher, so that the bottom of the camera body doesn’t impact the head when fully tilted backwards, but this results in much more of an imbalance.

Sirui PH-10 Gimbal Head: Verdict
I haven’t developed a love/hate relationship with the Sirui PH-10 Gimbal Head; it’s more of a love/not-so-fond partnership. I love the relatively compact and lightweight yet premium build, based on an 8-layer carbon fiber body and aluminum hardware. I also love that the tilt and panning bearings enable a smooth-flowing, fluid feel that makes it effortless to track even erratically moving objects with a big, heavy, and otherwise cumbersome telephoto lens.
The only real spoiler to my mind is that the comparatively short upright section of the main L-shaped bracket doesn’t allow sufficient space for centering the lens on the tilting pivot point. The net result is that the lens becomes unbalanced when it’s not in a perfectly horizontal orientation, and tends to drop down to the extremity of the tilt range when you let go of the camera, unless you first lock off the tilt knob each and every time.
If you don’t mind working around this glitch in the design, the Sirui looks and feels a high-quality gimbal head that’s great value at the price.
Features ★★★★☆ |
It’s got pretty much all of the right features in all of the right places, with lockable pan and tilt mechanisms and an adjustable lens bracket and mounting plate. |
Design ★★★★☆ |
The design is mostly very good, along with convincing carbon fiber build quality, but is let down by a lack of height in the head’s main L-shaped bracket. |
Performance ★★★★☆ |
There’s a nice fluid, free-flowing feel to pan and tilt movements, which is exactly what you want from a gimbal head, but lenses can become unbalanced when they’re not on the level. |
Value ★★★★★ |
Although a little too short to be ideal, this high-quality, carbon fiber gimbal head is pretty epic value for money. |

Alternatives