Photography cheat sheet: What are f-stops and how to understand them
What are the f-stops on your camera or lens? And what kind of effect does changing them have? Our chart explains all
Even if you've never manually adjusted the f-stop on your lens or camera, you've likely come across this setting before. While it's possible to let the camera handle it automatically, mastering the f-stop is crucial if you want to conquer the exposure triangle and fully control your photography.
Scroll down for your cheat sheet
Definition: What are f-stops?
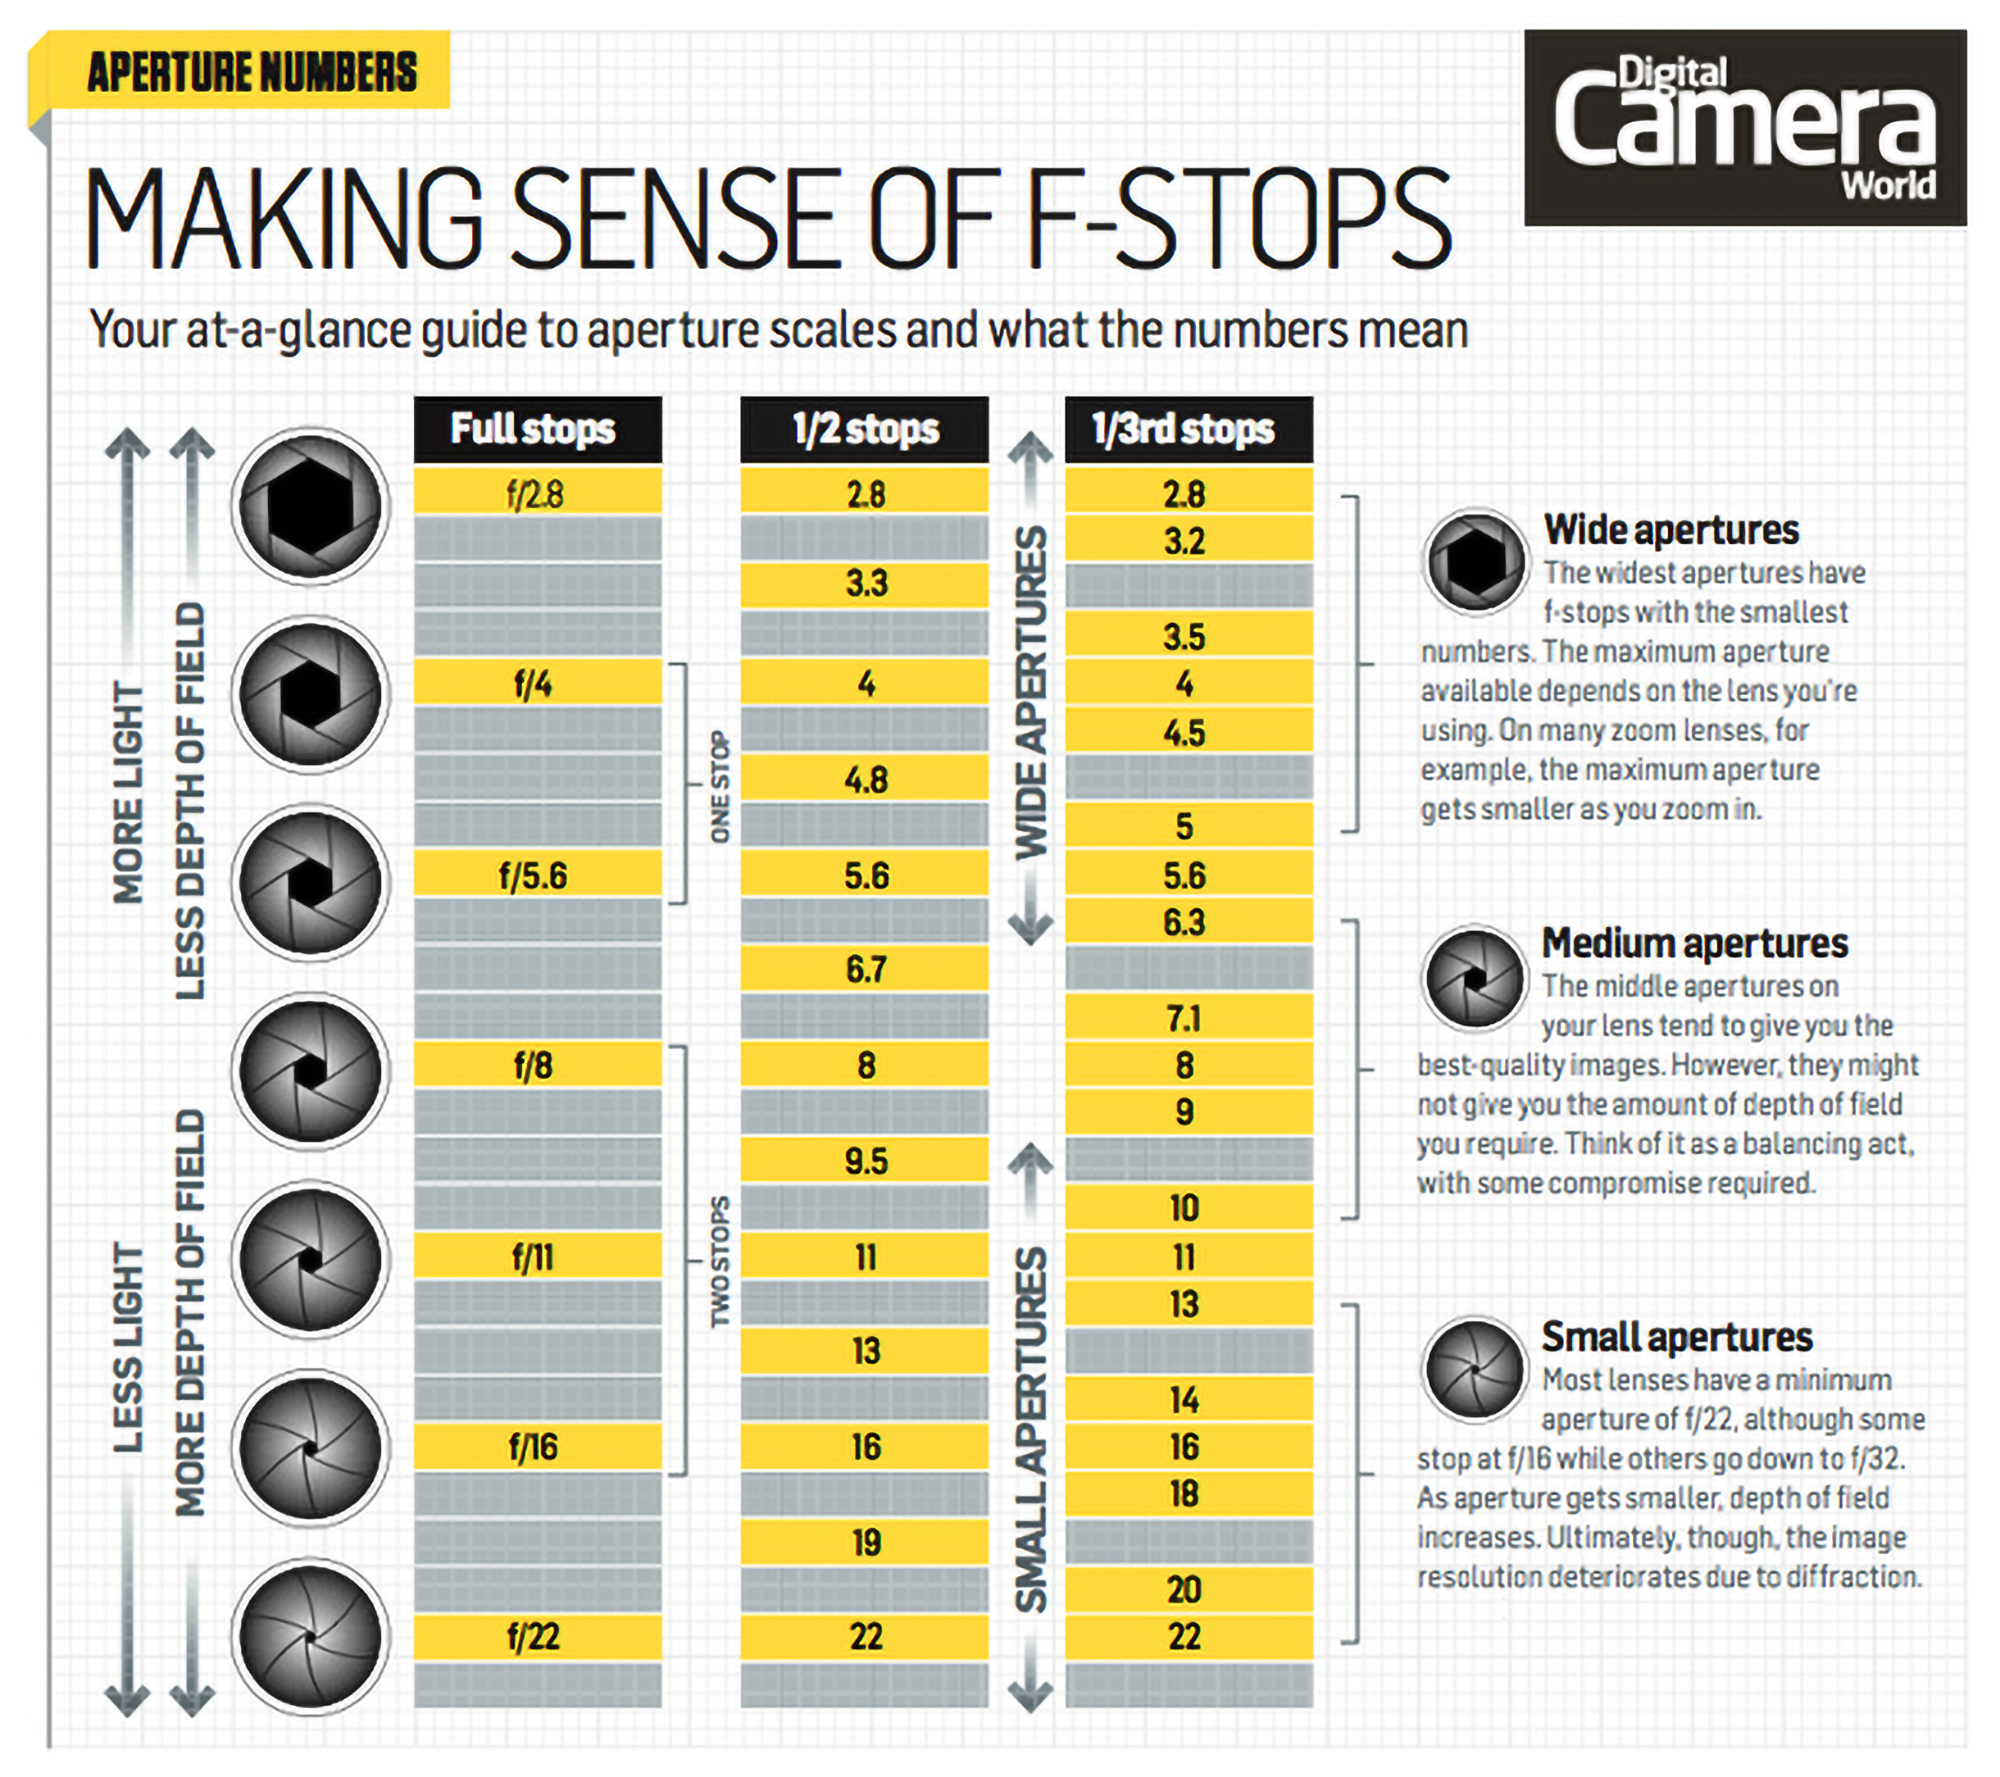
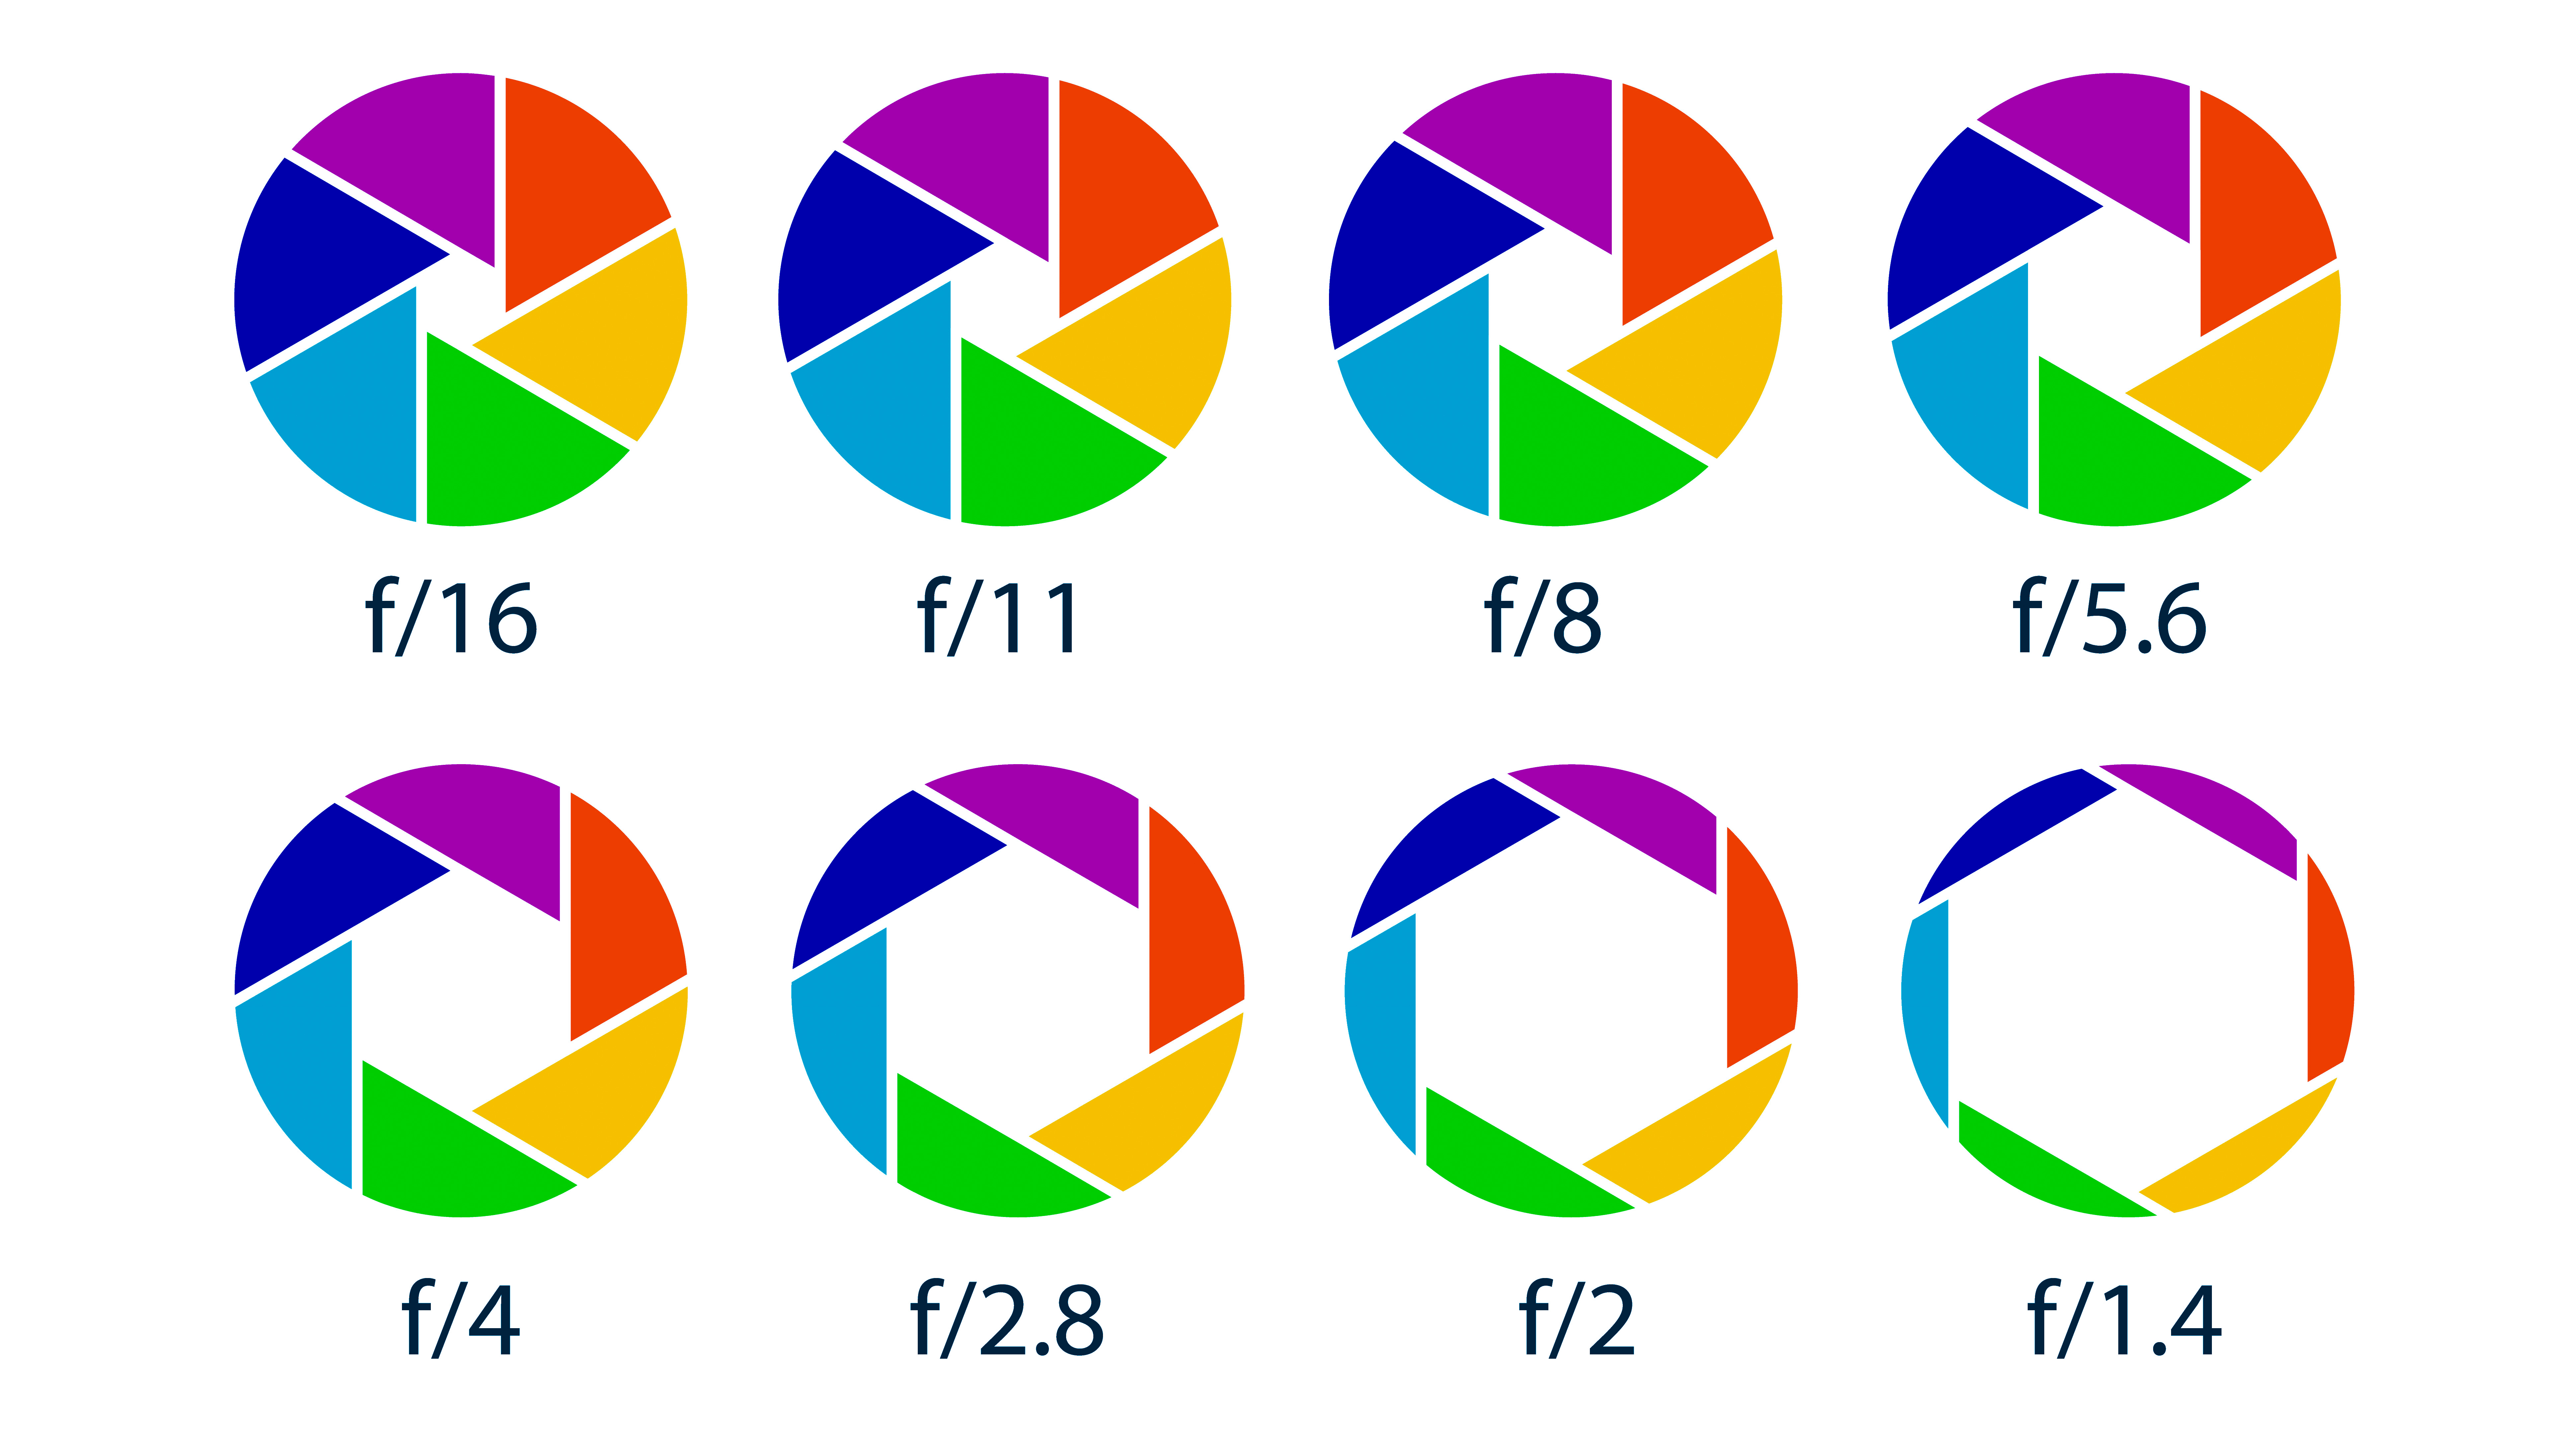
Also known as aperture size, the f-stop controls the amount of light that passes through the lens at a given shutter speed. All else being equal, a smaller aperture (like f/16) allows in less light than a larger one (like f/4), meaning it takes longer for the same amount of light to reach the sensor. It's similar to how an hourglass works: the size of the opening between the chambers determines how long it takes for the sand to flow from top to bottom.
So, the smaller the aperture, the longer the shutter speed you'll need in a given situation. You can observe this by setting your camera to Aperture Priority mode and adjusting the aperture; the shutter speed will change with each adjustment.
One thing that often confuses beginners is that small physical apertures have high f-stop numbers like f/16 and f/22, while large (or "wide") apertures have low f-stop numbers like f/1.4 and f/2. The reason is that f/16 represents one-sixteenth, not sixteen, and f/4 represents a quarter, not four.
• Why do small apertures have large f-numbers?
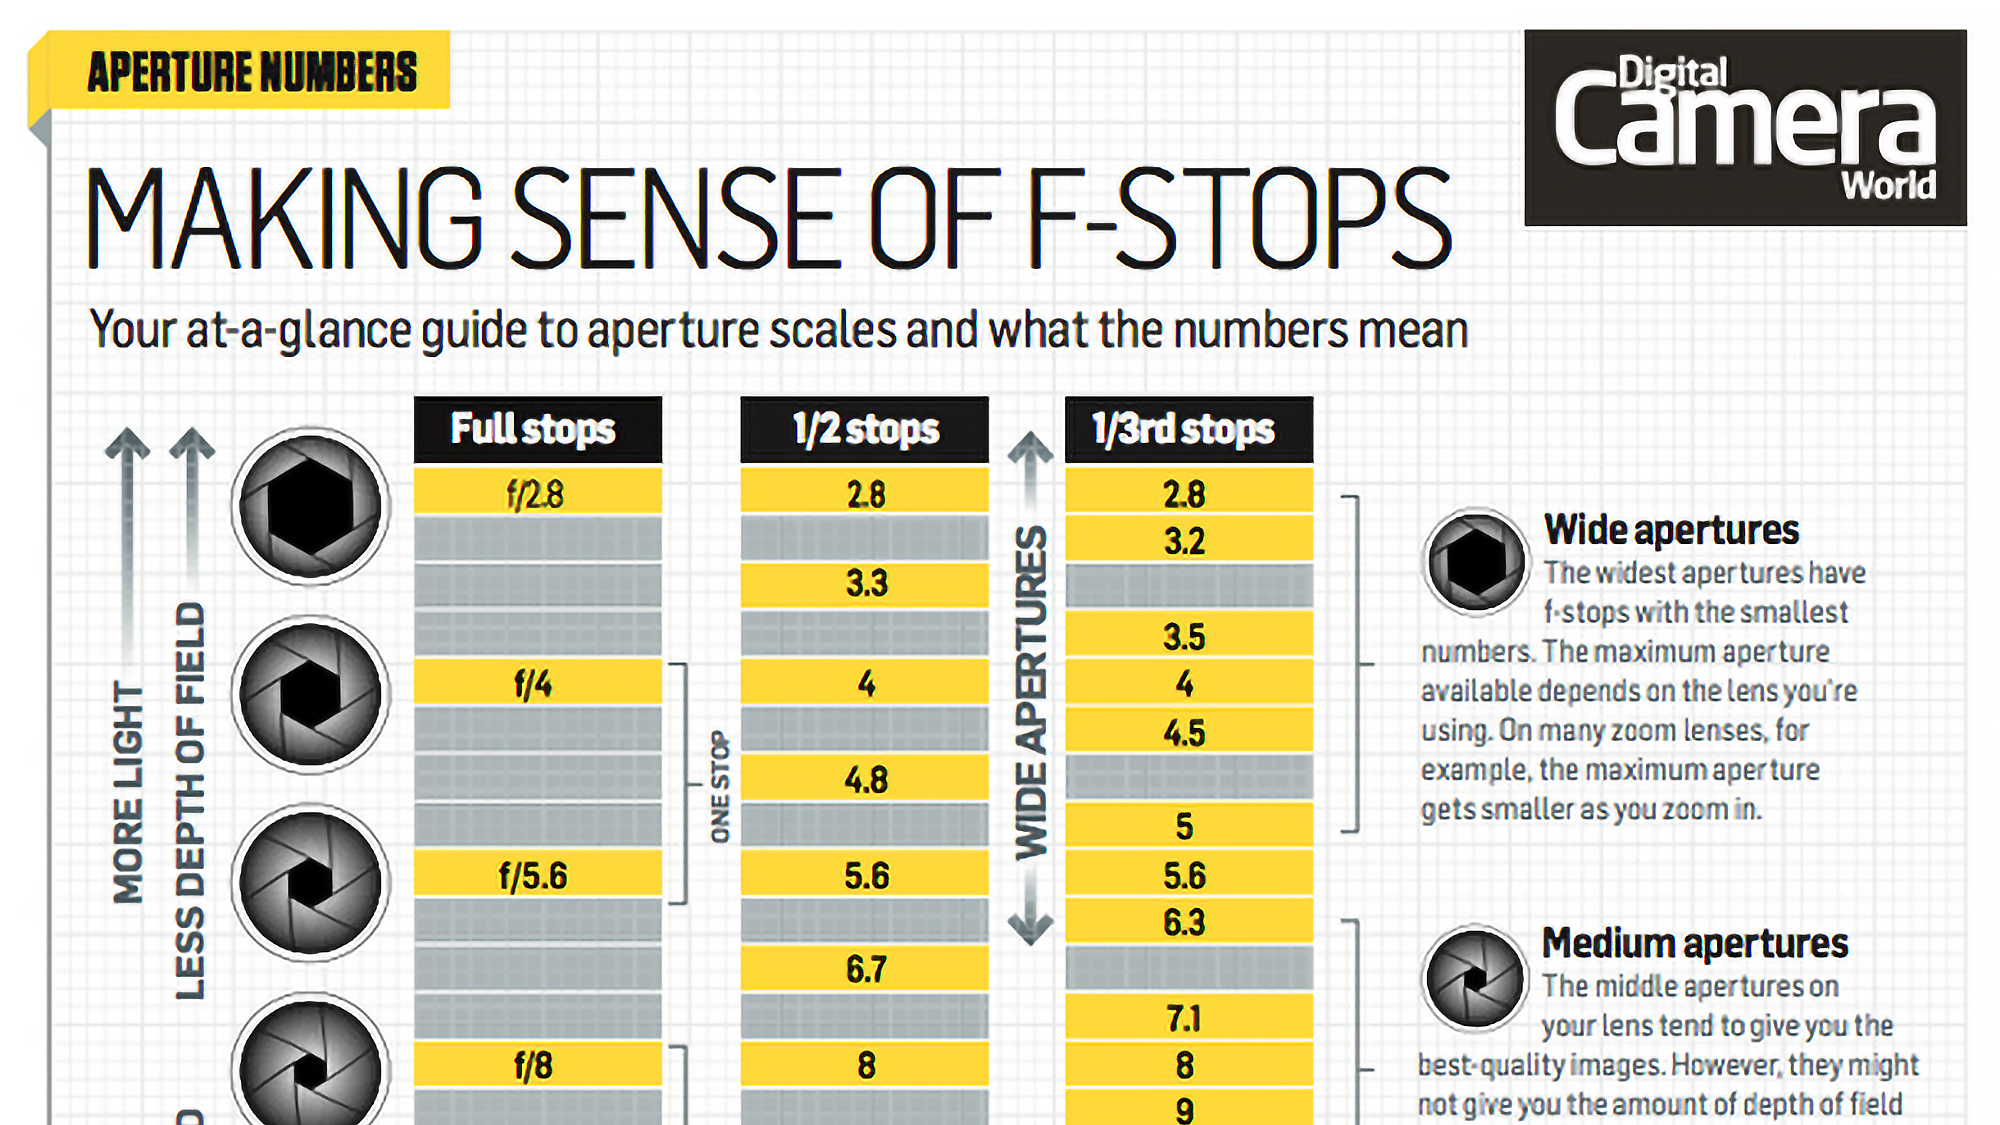
F Stop cheatsheet
The f-stop number actually refers to the size of the aperture opening, calculated by dividing the lens's focal length by the f-number. For example, with a 200mm lens, an f/4 aperture would have a diameter of 50mm (one-quarter of 200mm).
The best camera deals, reviews, product advice, and unmissable photography news, direct to your inbox!
So, how does the f-stop, or aperture, impact your image? Primarily, it influences exposure, though the effect depends on the exposure mode you’re using. In Manual mode, if you change the aperture without adjusting the shutter speed, your image will either become darker or lighter depending on your adjustment. In Aperture Priority mode, however, your camera automatically adjusts the shutter speed as you change the aperture, maintaining a consistent exposure.
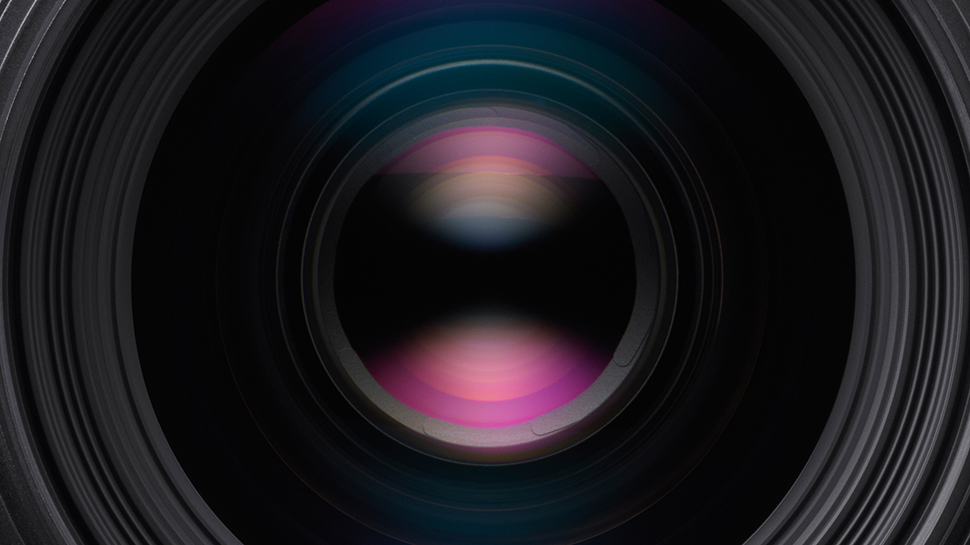
Ever hear these terms? Stopping down the lens or aperture simply means to make the aperture smaller, such as from f/8 to f/11. Opening up, meanwhile, means doing the opposite.
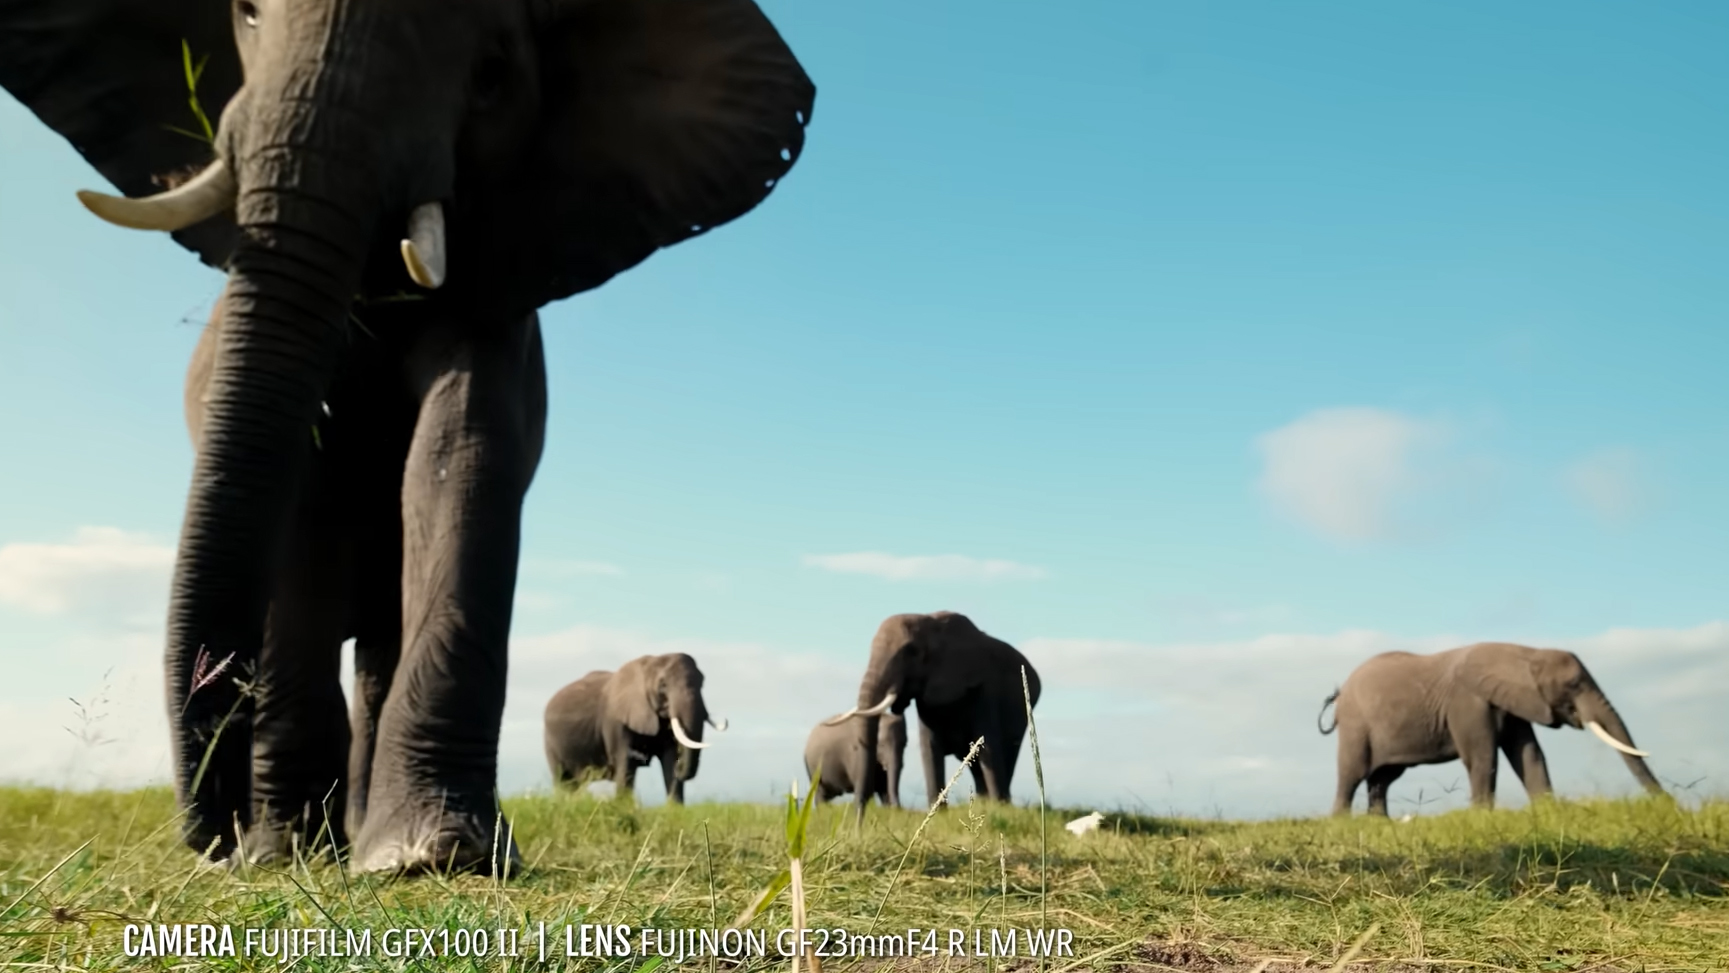
No matter which mode you choose, adjusting the aperture will impact the depth of field. Depth of field refers to the range within a scene that appears in focus, and photographers often use medium to small apertures to achieve greater sharpness throughout the image. However, depth of field also depends on factors like where you focus within the scene.
Read more: Cheat Sheet: How to Affect Depth of Field
Both very small and very wide apertures have their challenges, so it's important to evaluate each scene to determine the most appropriate setting. Wide apertures are excellent for isolating subjects from their backgrounds, but they can lead to softer images due to an effect known as spherical aberration.
Extremely wide apertures can also be difficult to manage in bright conditions, as your camera may not be able to use a fast enough shutter speed to prevent overexposure unless you use an ND filter.
On the other hand, small apertures can make diffraction more noticeable, which can also soften images. These apertures are also more challenging when hand-holding the camera, as the smaller the aperture, the longer the shutter speed required—eventually making it difficult to hold the camera steady enough for sharp images. In such cases, a tripod or a good image stabilization system can be helpful.
• More photography cheat sheets
• More photography tips
Chris George has worked on Digital Camera World since its launch in 2017. He has been writing about photography, mobile phones, video making and technology for over 30 years – and has edited numerous magazines including PhotoPlus, N-Photo, Digital Camera, Video Camera, and Professional Photography.
His first serious camera was the iconic Olympus OM10, with which he won the title of Young Photographer of the Year - long before the advent of autofocus and memory cards. Today he uses a Sony A7 IV, alongside his old Nikon D800 and his iPhone 15 Pro Max.
He is the author of a number of books including The Book of Digital Photography, which has been translated into a dozen different languages.
In addition to his expertise in photography and videomaking, he has written about technology for countless publications and websites including The Sunday Times Magazine, The Daily Telegraph, What Cellphone, T3 and Techradar.
