
It's easier than ever to find publications and companies who may have an interest in buying a licence to your images. With photographers worldwide vying for commissions, however, competition is higher too.
Keeping in mind the things that editorial and commercial entities are looking for as you take your photos, and the things that designers hate, will give you the best chance of making a sale.
Here are the most important elements to consider before you shoot, and some methods to avoid the most common pitfalls photographers often make.
1. Get the basics right
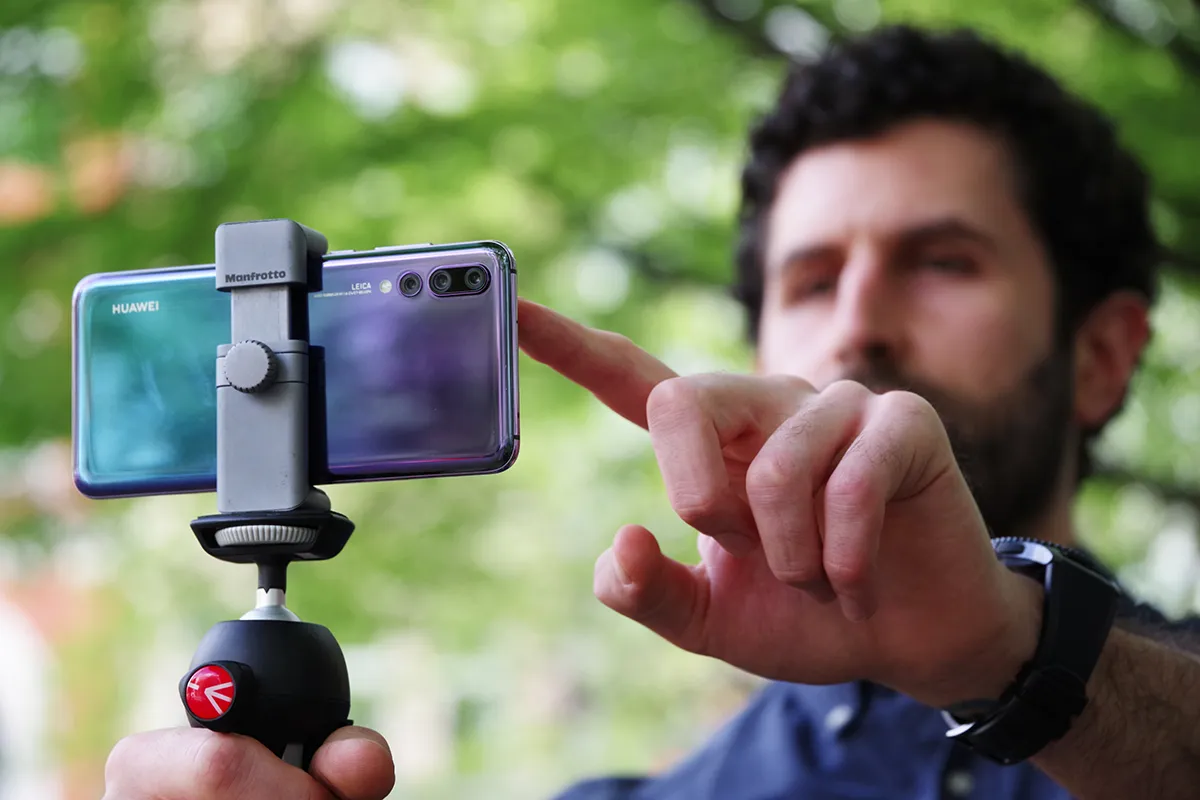
You may be surprised to hear that even photos produced by mobile phones these days can be good enough for use in the average advert or article. In fact, some newspapers have even trained their reporters in phone photography for that very reason.
Unless you’re pitching your images as part of a major commercial campaign, you probably won’t ever need files captured on a sensor with 35MP or more. What's more important than your specific camera is whether you've got the basics of a good photo perfected.
First, your image’s focal point should be clearly identifiable and in focus. Confusing scenes with unclear subject matter and numerous distractions aren’t going to appeal to anyone who’s trying to convey a message or highlight something important.
Your image should also be well-exposed, requiring little additional editing before its use, and free of image noise that would make its quality seem poor. If you get all of the above right, your images won’t have fallen at the first hurdle.
2. Capture a variety of compositions

When it comes to composition, variety is often key. When you’re shooting for yourself, one photo of a subject or scene may suffice your interest in it. Designers working on a project, however, will normally appreciate a choice of compositions and orientations that they can experiment with in their layouts.
Take a few landscape images, a few portrait ones, some with the subject filling the frame and some with them as a smaller element within it. While you shouldn’t bombard anyone you’re pitching to with a million variants of the same thing, it’s good to give them a choice, and to have a selection on file that you can provide upon request.
Read more: Cheat sheet – How to take the perfect landscape shot
One element to consider incorporating in your photos is the idea of negative space. This is a featureless area around your subject (s) that doesn’t draw attention away from it. Examples of negative space could be a clear blue sky behind a floating hot air balloon, or a clean white wall in the background of a portrait.
These distraction-free elements not only contrast with subjects increasing their impact (and in some cases emphasising rudiments such as scale), but in editorial or commercial use, also enable designers to run clearly readable text over them, which is highly desirable.
3. Don’t take classic stock images

In the past, imagery of people used commercially often had a staged and artificial look to it, with models pulling unnatural grins and overacting to the most mundane activities. Unsurprisingly, this kind of image is no longer on-trend, and image buyers now want the photos they use to look more authentic.
For this reason, try to capture your people pictures with a candid, lifestyle look, showing your models in real scenes that tell everyday stories that everyone can relate to. A couple of good techniques are to get at eye-level and close to subjects for a more intimate image, and to try incorporating visual artefacts such as lens flares and haze, for an image with a sense of lo-fi honesty.
4. Think ahead when pitching

It’s well worth bearing in mind that most publishers and companies think several months ahead when commissioning images. In fact, magazines dated January can sometimes be signed off at the end of October!
This means that, while it’s good to be seasonal with your work, that amazing snowy landscape is probably going to be better placed for sales next September, rather than halfway through December. Build up an archive of shots all year round and you’ll be well placed to supply an image when it’s in demand again.
Of course, if you take images in a more controllable genre, such as food photography or still-life, you’ll have the luxury of being able to take your images at any time. So, block out the sun, get the decorations out, and make Christmas in June.
5. Don’t over-edit shots

While every image needs a bit of tweaking to make it look its finest, it’s normally best to avoid heavily stylised processing unless you know the people you’re approaching have a particular taste for it.
Designers are well experienced in giving images a lift of some sort if they feel it needs one, but if send nothing but HDR and colour-popped images, some will run for the hills.
Read more: 15 of the best photo apps
Remember, with publishers and companies, you’ll often be selling a photo that illustrates something that they want to talk about, and not a work of art for their office wall. Play it safe, keep your post-processing clean and simple, and you’re more likely to bag yourself a sale.
6. Make sure your images are legally sound
Normally, you own the copyright to an image as soon as you take it, and you can legally sell it to whoever you like, for whatever they like. However, there are exceptions, and the onus is on you to get the relevant permissions for an image before selling it.
Model releases are necessary for anyone clearly identifiable in an image that’s being sold for commercial purposes, where it’s going to be used for advertising or marketing, but not for editorial or artistic purposes (unless you’re defaming the subject). For this reason, it’s always worth getting anybody featured in an image that you may one day sell commercially, to sign a model release form at the time.
This form is necessary even if you have paid the subject and took their image as part of an organised shoot. In addition to this, you’ll also need a license from a local authority to pay a model who is under 16 before carrying out a shoot.
While it’s not illegal to sell photos that feature other copyrighted work incidentally – a company’s billboard, for example, or a logo in a street scene – it shouldn’t be the focus of your image for it to be legal. For the same reason it often makes sense to request any models you’re working with to wear non-branded clothing where possible.
Read more: How to add copyright and website information to every image you take
