Use a printed backdrop to do a location shoot from your own home!
Locked down? Can’t get to a suitable location? Use a printed backdrop to bring any location to your home studio
The best camera deals, reviews, product advice, and unmissable photography news, direct to your inbox!
You are now subscribed
Your newsletter sign-up was successful
Watch video: Use a printed backdrop to do a location shoot at home
Getting to suitable locations for a shoot can be easier said than done in these uncertain times – and for overseas locations, you might as well forget about it. So if you can’t get to Japan, then why not make Japan come to you?
With a pre-printed photo backdrop you can transform a home studio into all manner of exotic locations, from enchanted forest glades and tropical paradises to grungy backstreets or industrial scenes. The best backdrops for photography are usually made from hard-wearing rolls of thick vinyl that, unlike traditional paper backdrops, can easily be wiped clean when you’re finished.
• Read more: Best photography lighting kits
You’ll need some form of artificial lighting, as well as a backdrop support. A home studio kit, consisting of a pair of flash heads on stands, is ideal, enabling you to construct controlled lighting setups.
You could always use a couple of the best flashguns instead, but whatever you use take note that vinyl has a much more reflective surface than paper – so care needs to be taken with your lights to avoid glare on the backdrop spoiling your shot.
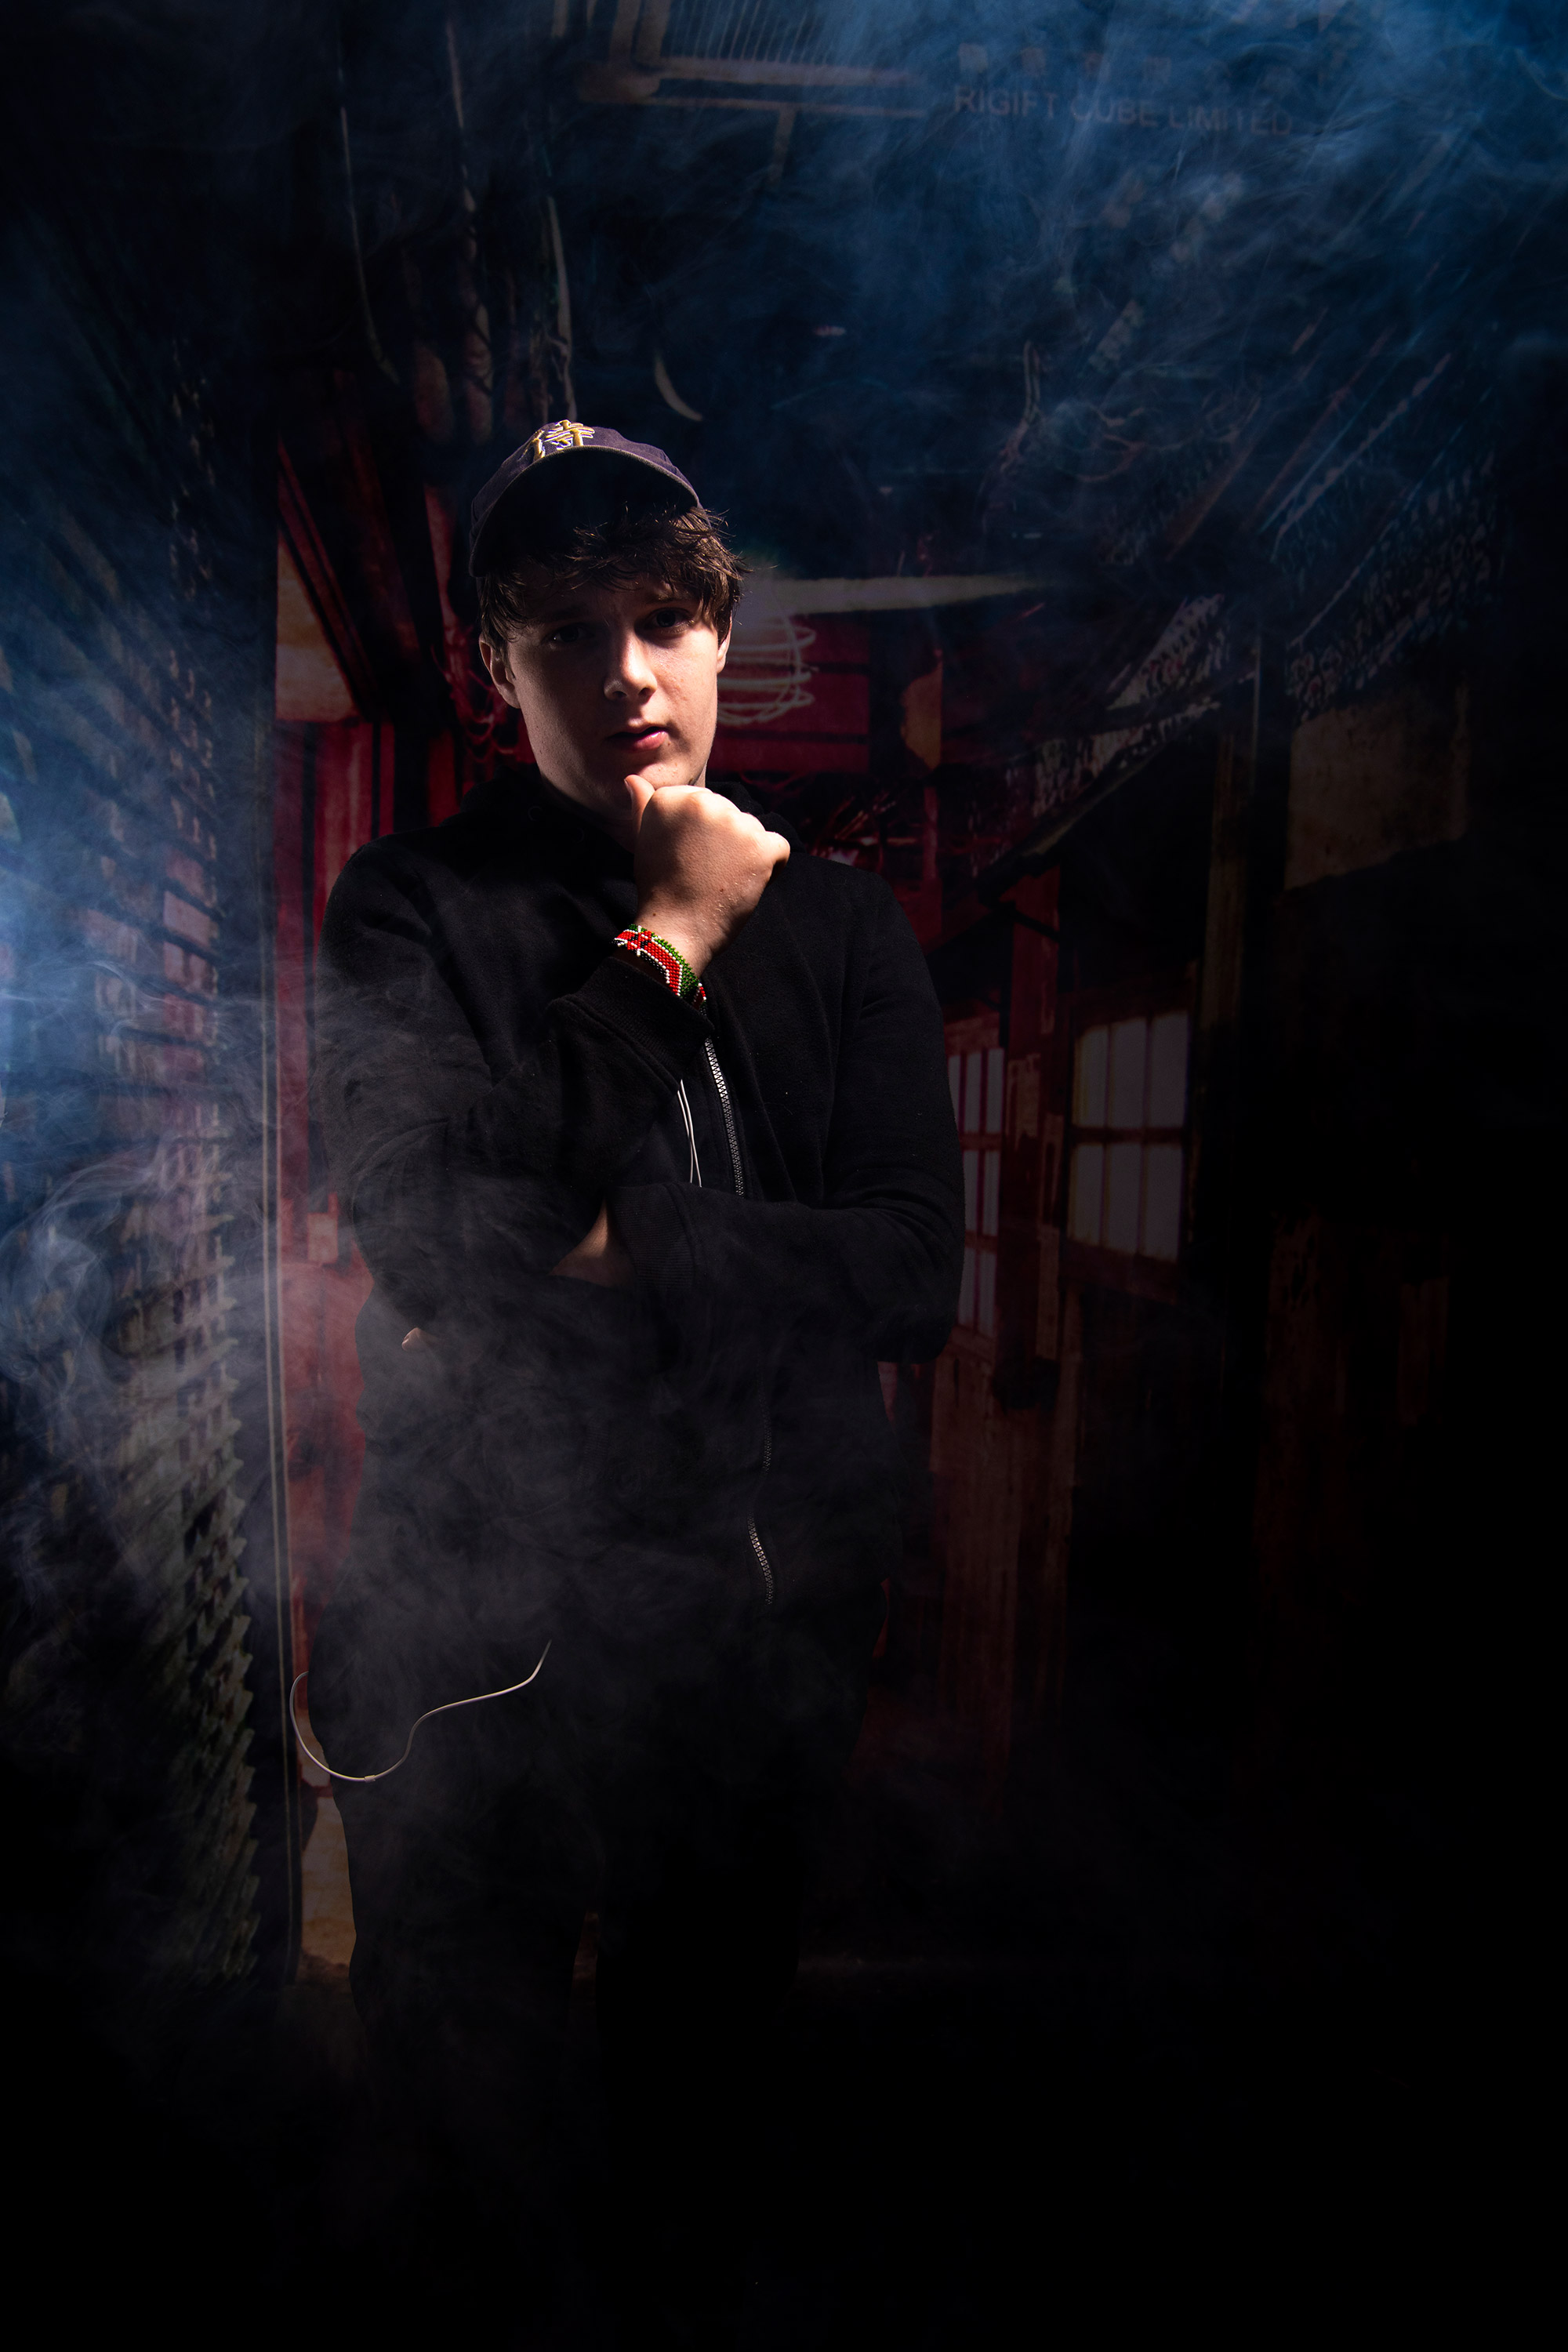
For our Tokyo street scene we used a low key lighting setup, and asked our subject to dress in ‘street’ garb and pull a series of moody poses – not difficult, when the only choice of model you have to hand is a sulky teenager!
The best camera deals, reviews, product advice, and unmissable photography news, direct to your inbox!
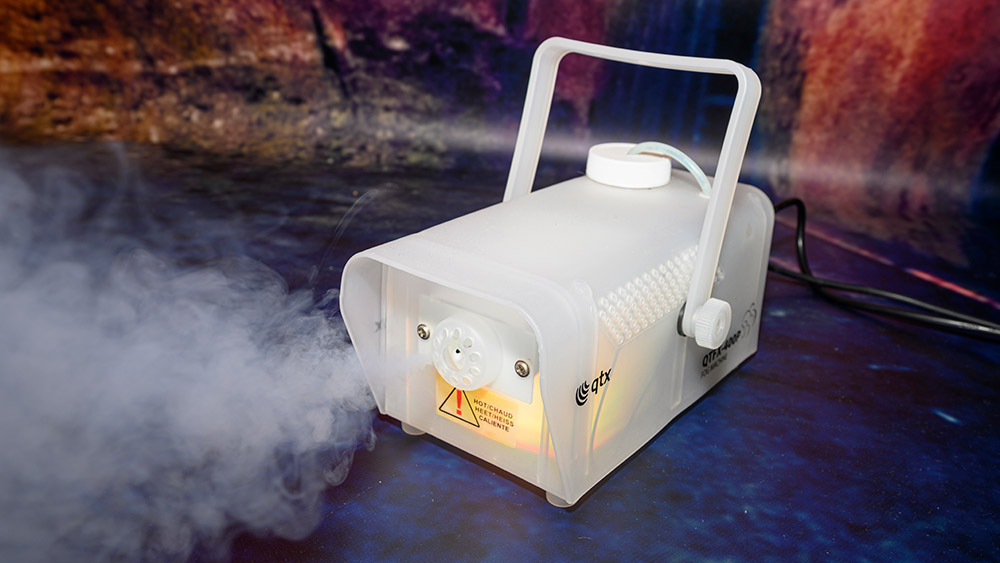
We also employed the use of a smoke machine to add some extra atmosphere to our shoot. Here’s how we got on…
Set up your home studio with a printed backdrop
1) Set up key and fill lights
The ratio of power between your lights dictates the feel of the shot –experimentation is key. Set the key light first, then the fill light, tweaking both until you’re happy. To keep with the feel of our moody street scene, we kept the power low on both, ending up with 1/4 power on the key and 1/8 on the fill.
2) Choose the right design and size for your shoot
There are hundreds of designs and dimensions to choose from, suitable for everything from home studios to commercial setups. As well as outdoor locations there are plenty of options when it comes to interior shots, from stately homes to abandoned factories.
3) Don’t forget the floor!
Remember that sometimes less is more: sometimes backdrops with relatively simply textured walls also have extended sections that cover the floor, with printed floorboards help to continue the illusion.
4) Add some props
Including a selection of foreground props can really add a feeling of depth to your scene. So, if you've got an industrial-looking printed backdrop, think about adding a length of chain, an old tyre or a broken section of piping to complement it.
Got your backdrop? Get shooting!
1) Set the scene
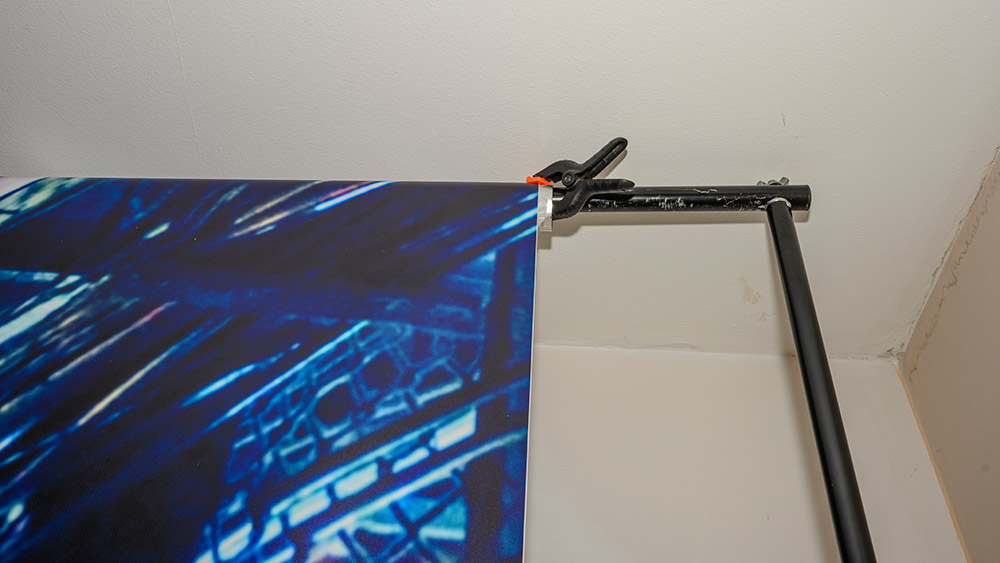
We chose an urban Tokyo backdrop, and used a backdrop roll holder to secure our vinyl, carefully unrolling it to form a curve where the floor and wall met. Ensure that it hangs flat – kinks ruin the illusion! We used a couple of sturdy alligator clips to lock the backdrop firmly against the holder.
2) Settings
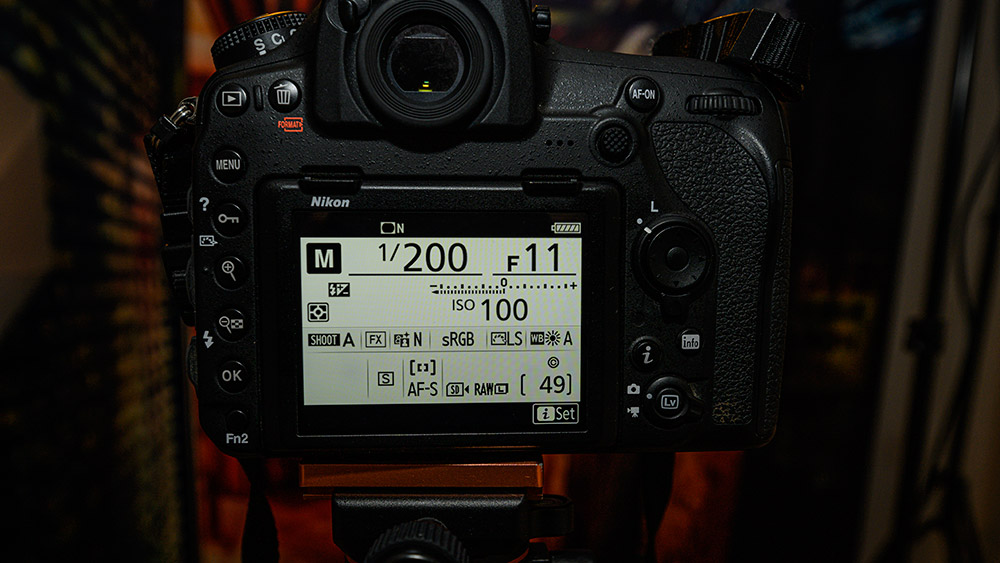
When working with studio lights, it’s crucial that you work in manual mode. You’ll also have to set the shutter speed below your camera’s max sync speed – 1/200 sec on most cameras, or 1/250 sec on some high-end models. We set 1/200 sec, f/11 and ISO100. Taking a test shot without the lights should result in a black (or near-black) frame, so you'll only see the effect of the lights when everything fires.
3) You’ve been framed
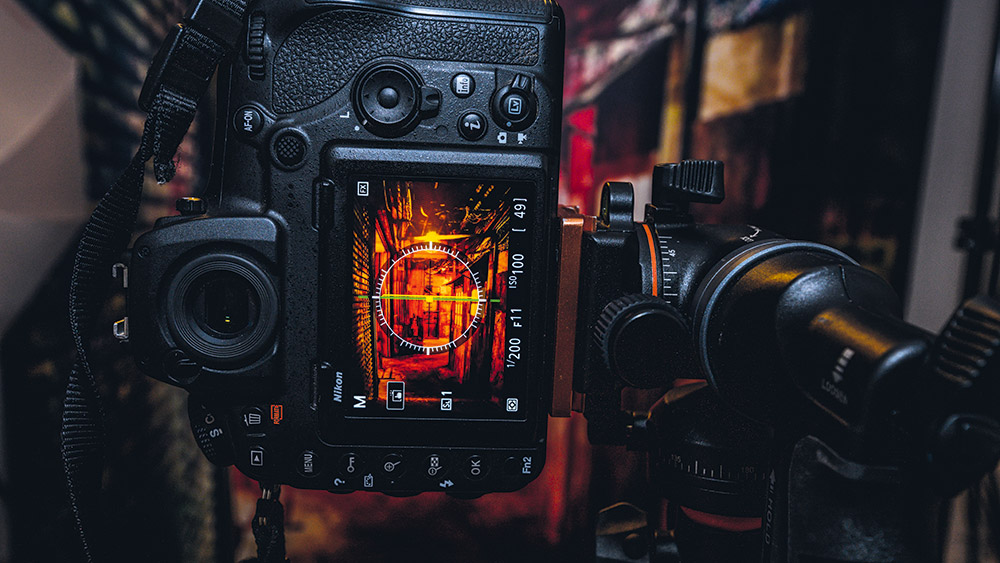
We used a tripod to ensure that our backdrop was perfectly framed, and checked it was level using the in-camera display (alternatively, use the spirit level on the tripod if it has one) and no bits of lighting kit were sticking in the frame. After autofocusing on our model, we set manual focus, confident that f/11 would keep him sharp as he moved between poses.
4) Key worker
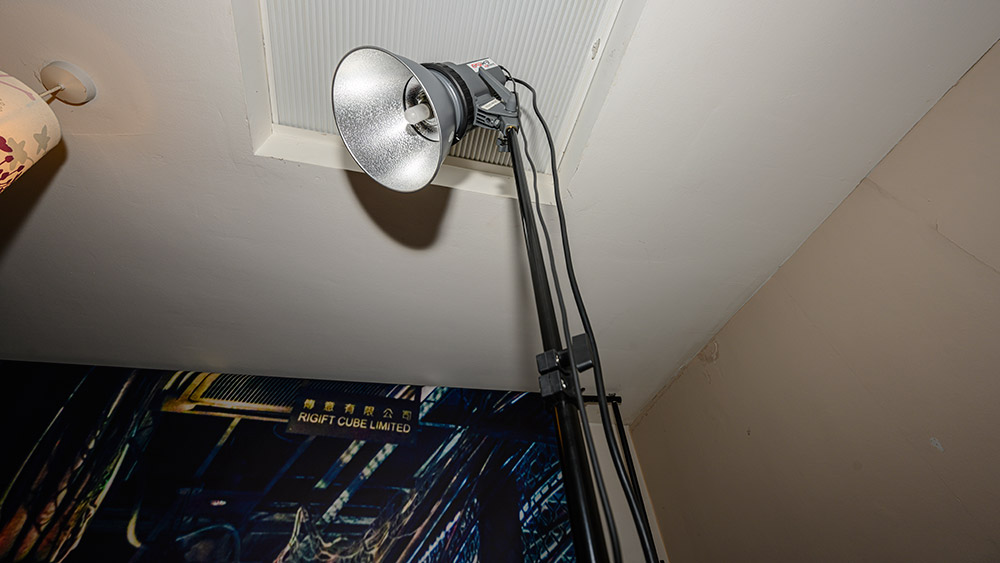
To amplify the urban look, we set our key light up high, pointing downwards to mimic a streetlight. We didn’t use any modifiers to soften the light – we wanted plenty of harsh shadows. Connect the light to the camera’s flash sync socket (or use a wireless trigger) and fire a shot, adjusting the power to light your subject without bleaching them out.
5) Flash dance
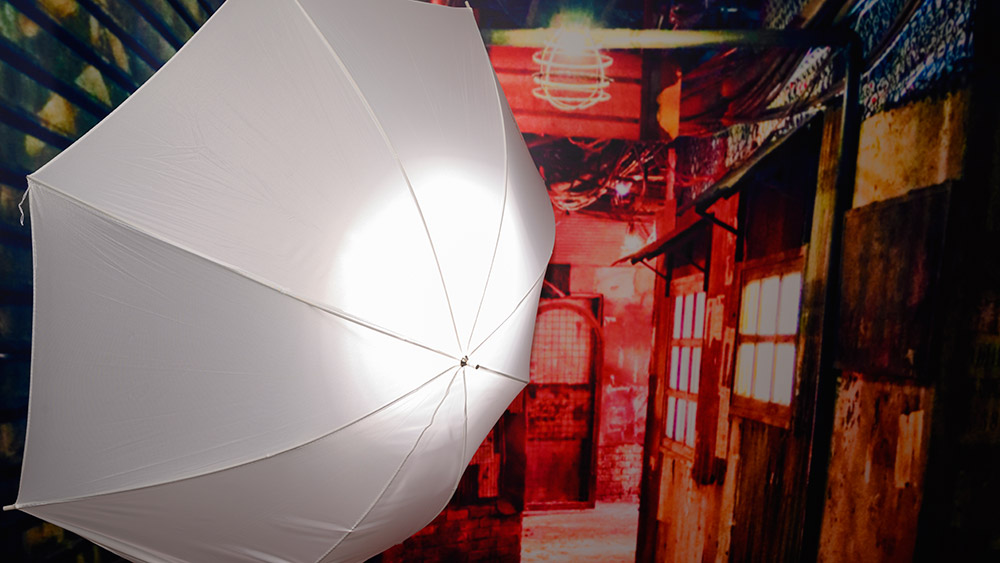
We placed our second, fill, light to the other side of and slightly behind our subject, pointed towards their back to give a bit of rim light (helping to separate them from the background). We used a white shoot-through umbrella to soften the light and help it spread around their outline. We set this light to receiver mode, so it fires instantaneously on detecting the flash from the key light.
6) Where there’s smoke…
We also used a smoke machine to create the look of steam rising from storm drains in our scene. A quick blast around your model should do it – too much smoke can bounce the light from the flash. We asked our model to pull a variety of moody poses – as we had pre-framed the shot, we were free to direct them as we were firing off the shots, without being stuck behind the viewfinder.
Read more:
Best LED light panels
The best flashguns for your camera right now
Portrait lighting tips: Key lighting and fill lighting photo techniques
Best green screen backgrounds
Prior to joining digitalcameraworld.com as Guides Editor, Adam was the editor of N-Photo: The Nikon Magazine for seven years, and as such is one of Digital Camera World's leading experts when it comes to all things Nikon-related.
Whether it’s reviews and hands-on tests of the latest Nikon cameras and lenses, sharing his skills using filters, tripods, lighting, L brackets and other photography equipment, or trading tips and techniques on shooting landscapes, wildlife and almost any genre of photography, Adam is always on hand to provide his insights.
Prior to his tenure on N-Photo, Adam was also a veteran of publications such as PhotoPlus: The Canon Magazine, so his wealth of photographic knowledge isn’t solely limited to the Big N.
