Take your landscapes up a notch with creative flare
Introduce attractive washes of light and colour for an airy back-lit atmosphere
The best camera deals, reviews, product advice, and unmissable photography news, direct to your inbox!
You are now subscribed
Your newsletter sign-up was successful
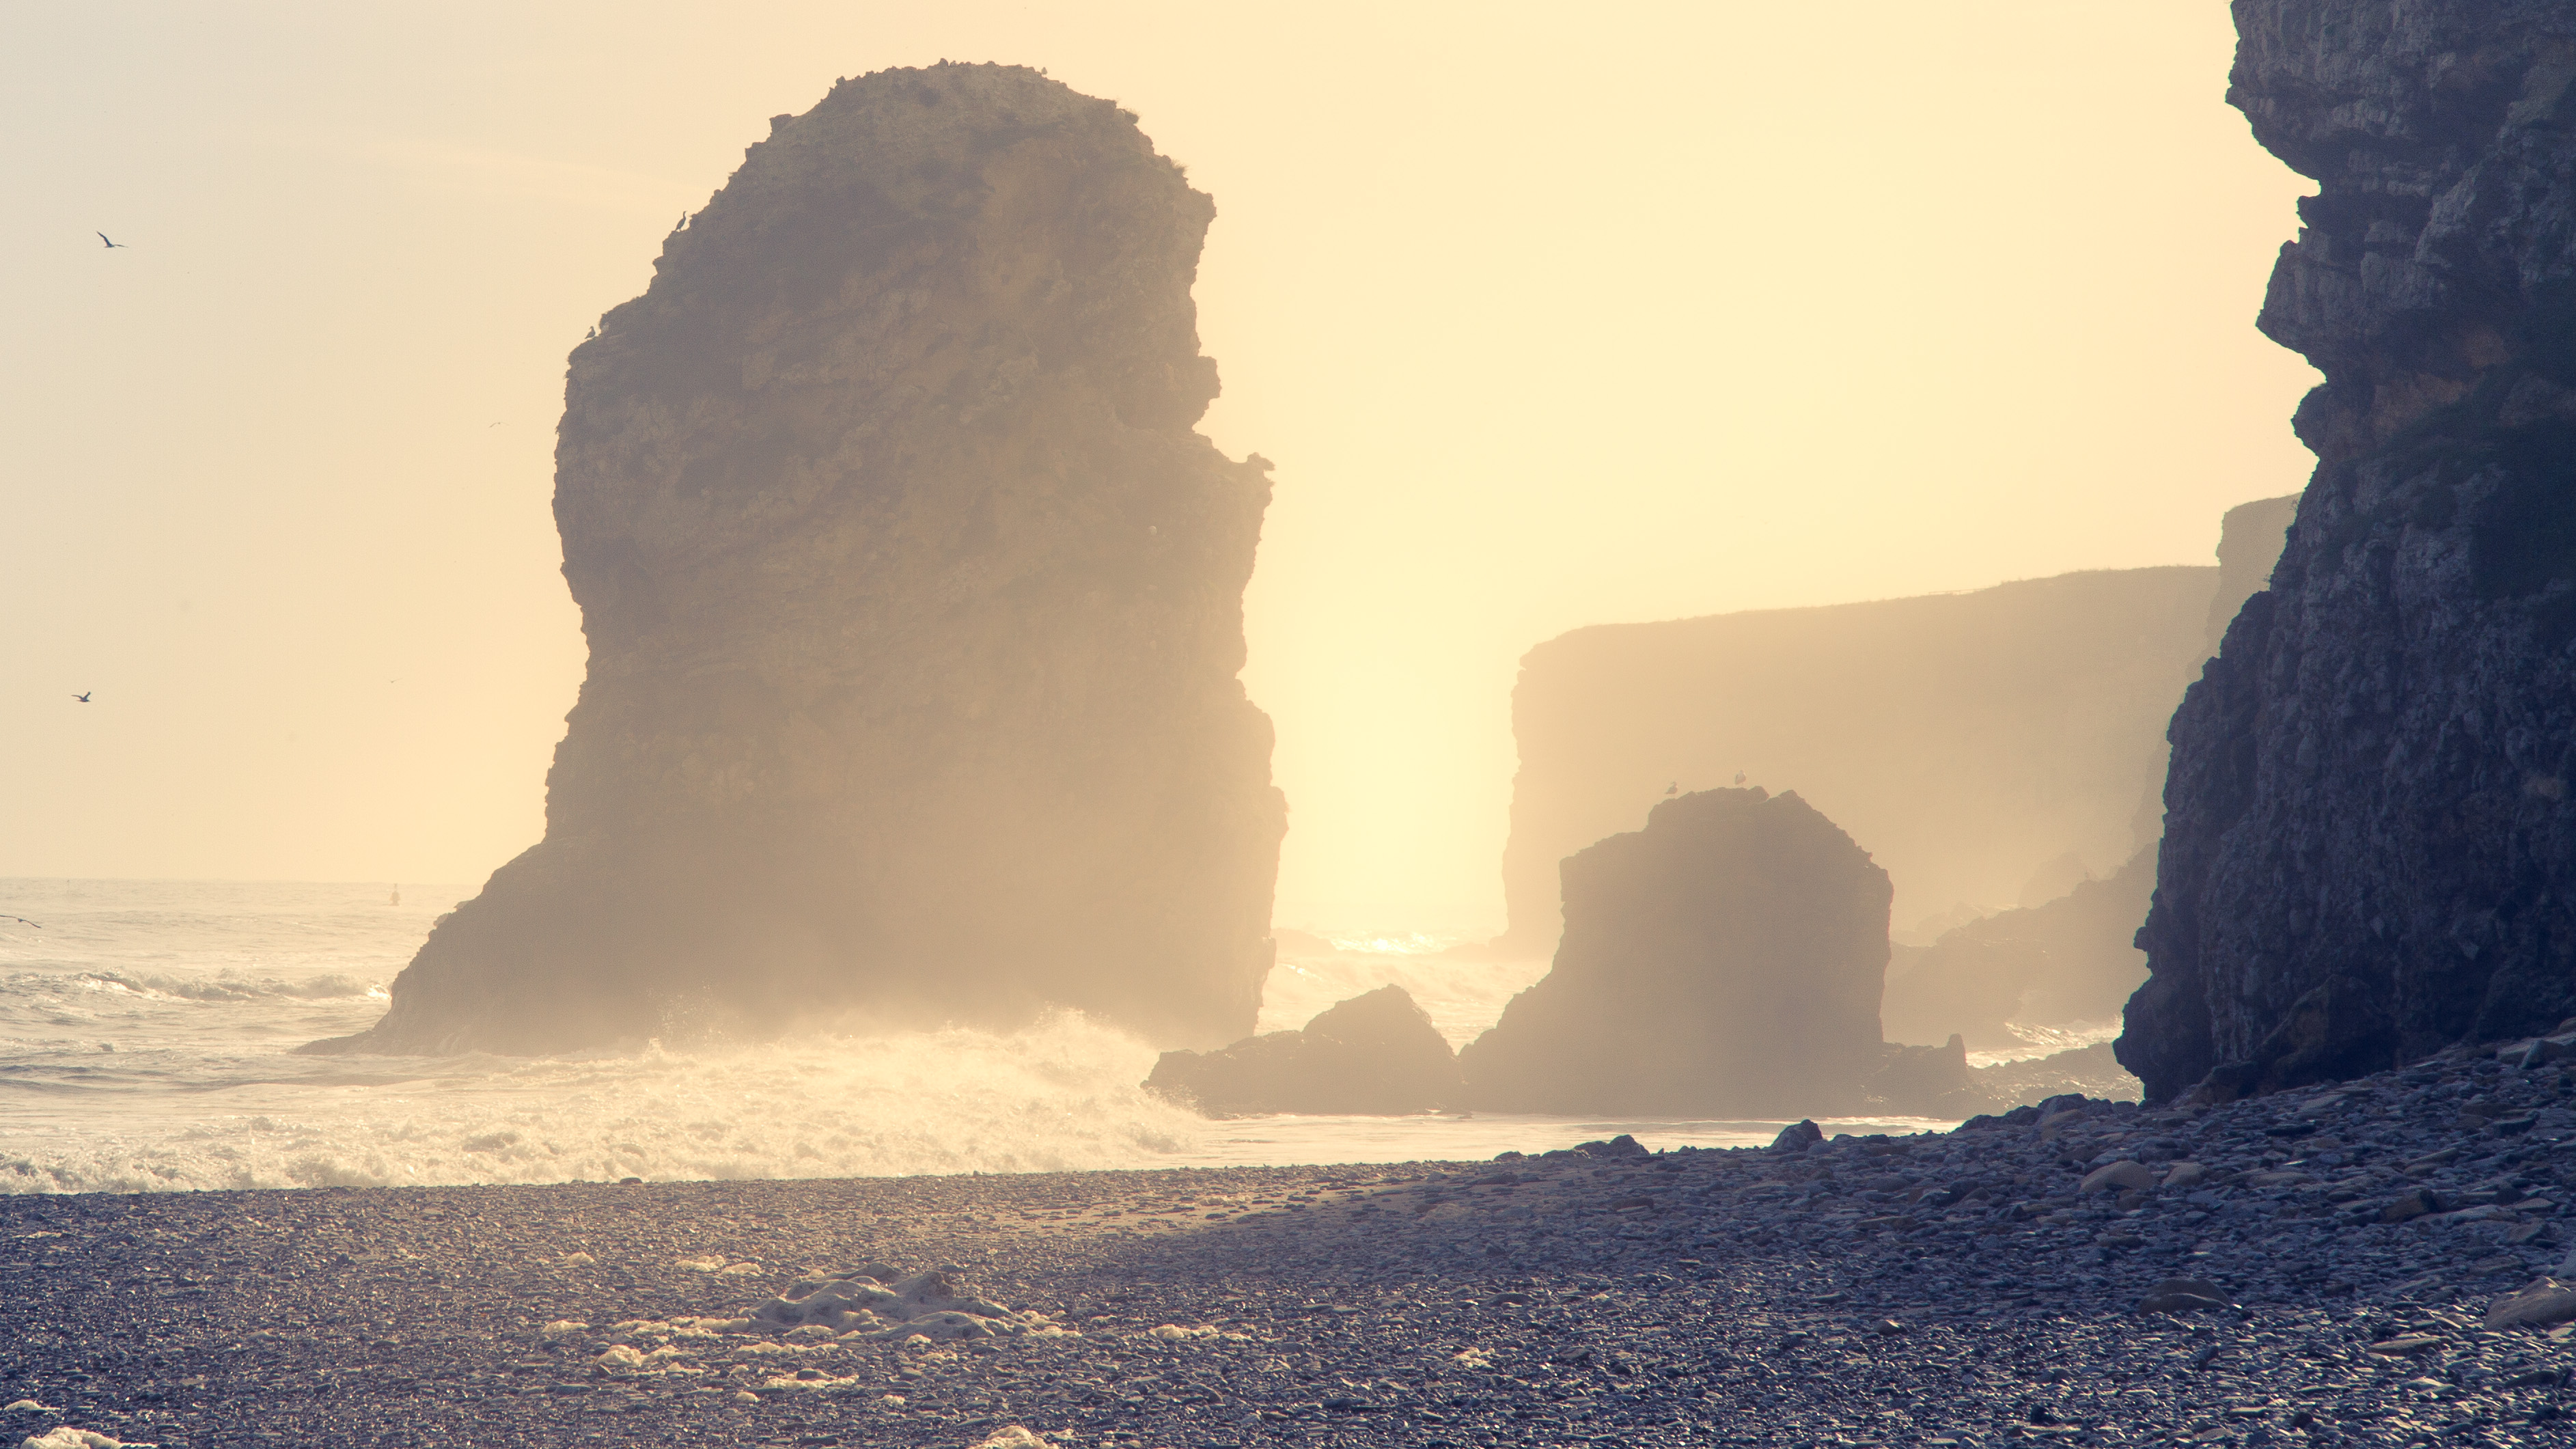
Landscapes are one of the most popular genres in photography, so it goes without saying that there are lot of landscape photos shot every day. Therefore it can be really quite tricky to stay ahead of the competition. It's useful to introduce some simple and attractive extra elements, to make your images stand apart from the crowd.
One such technique is to use aperture artistically and introduce some light flare into sparsely detailed scenes - such as in this coastal landscape.
1- Choose the right optic
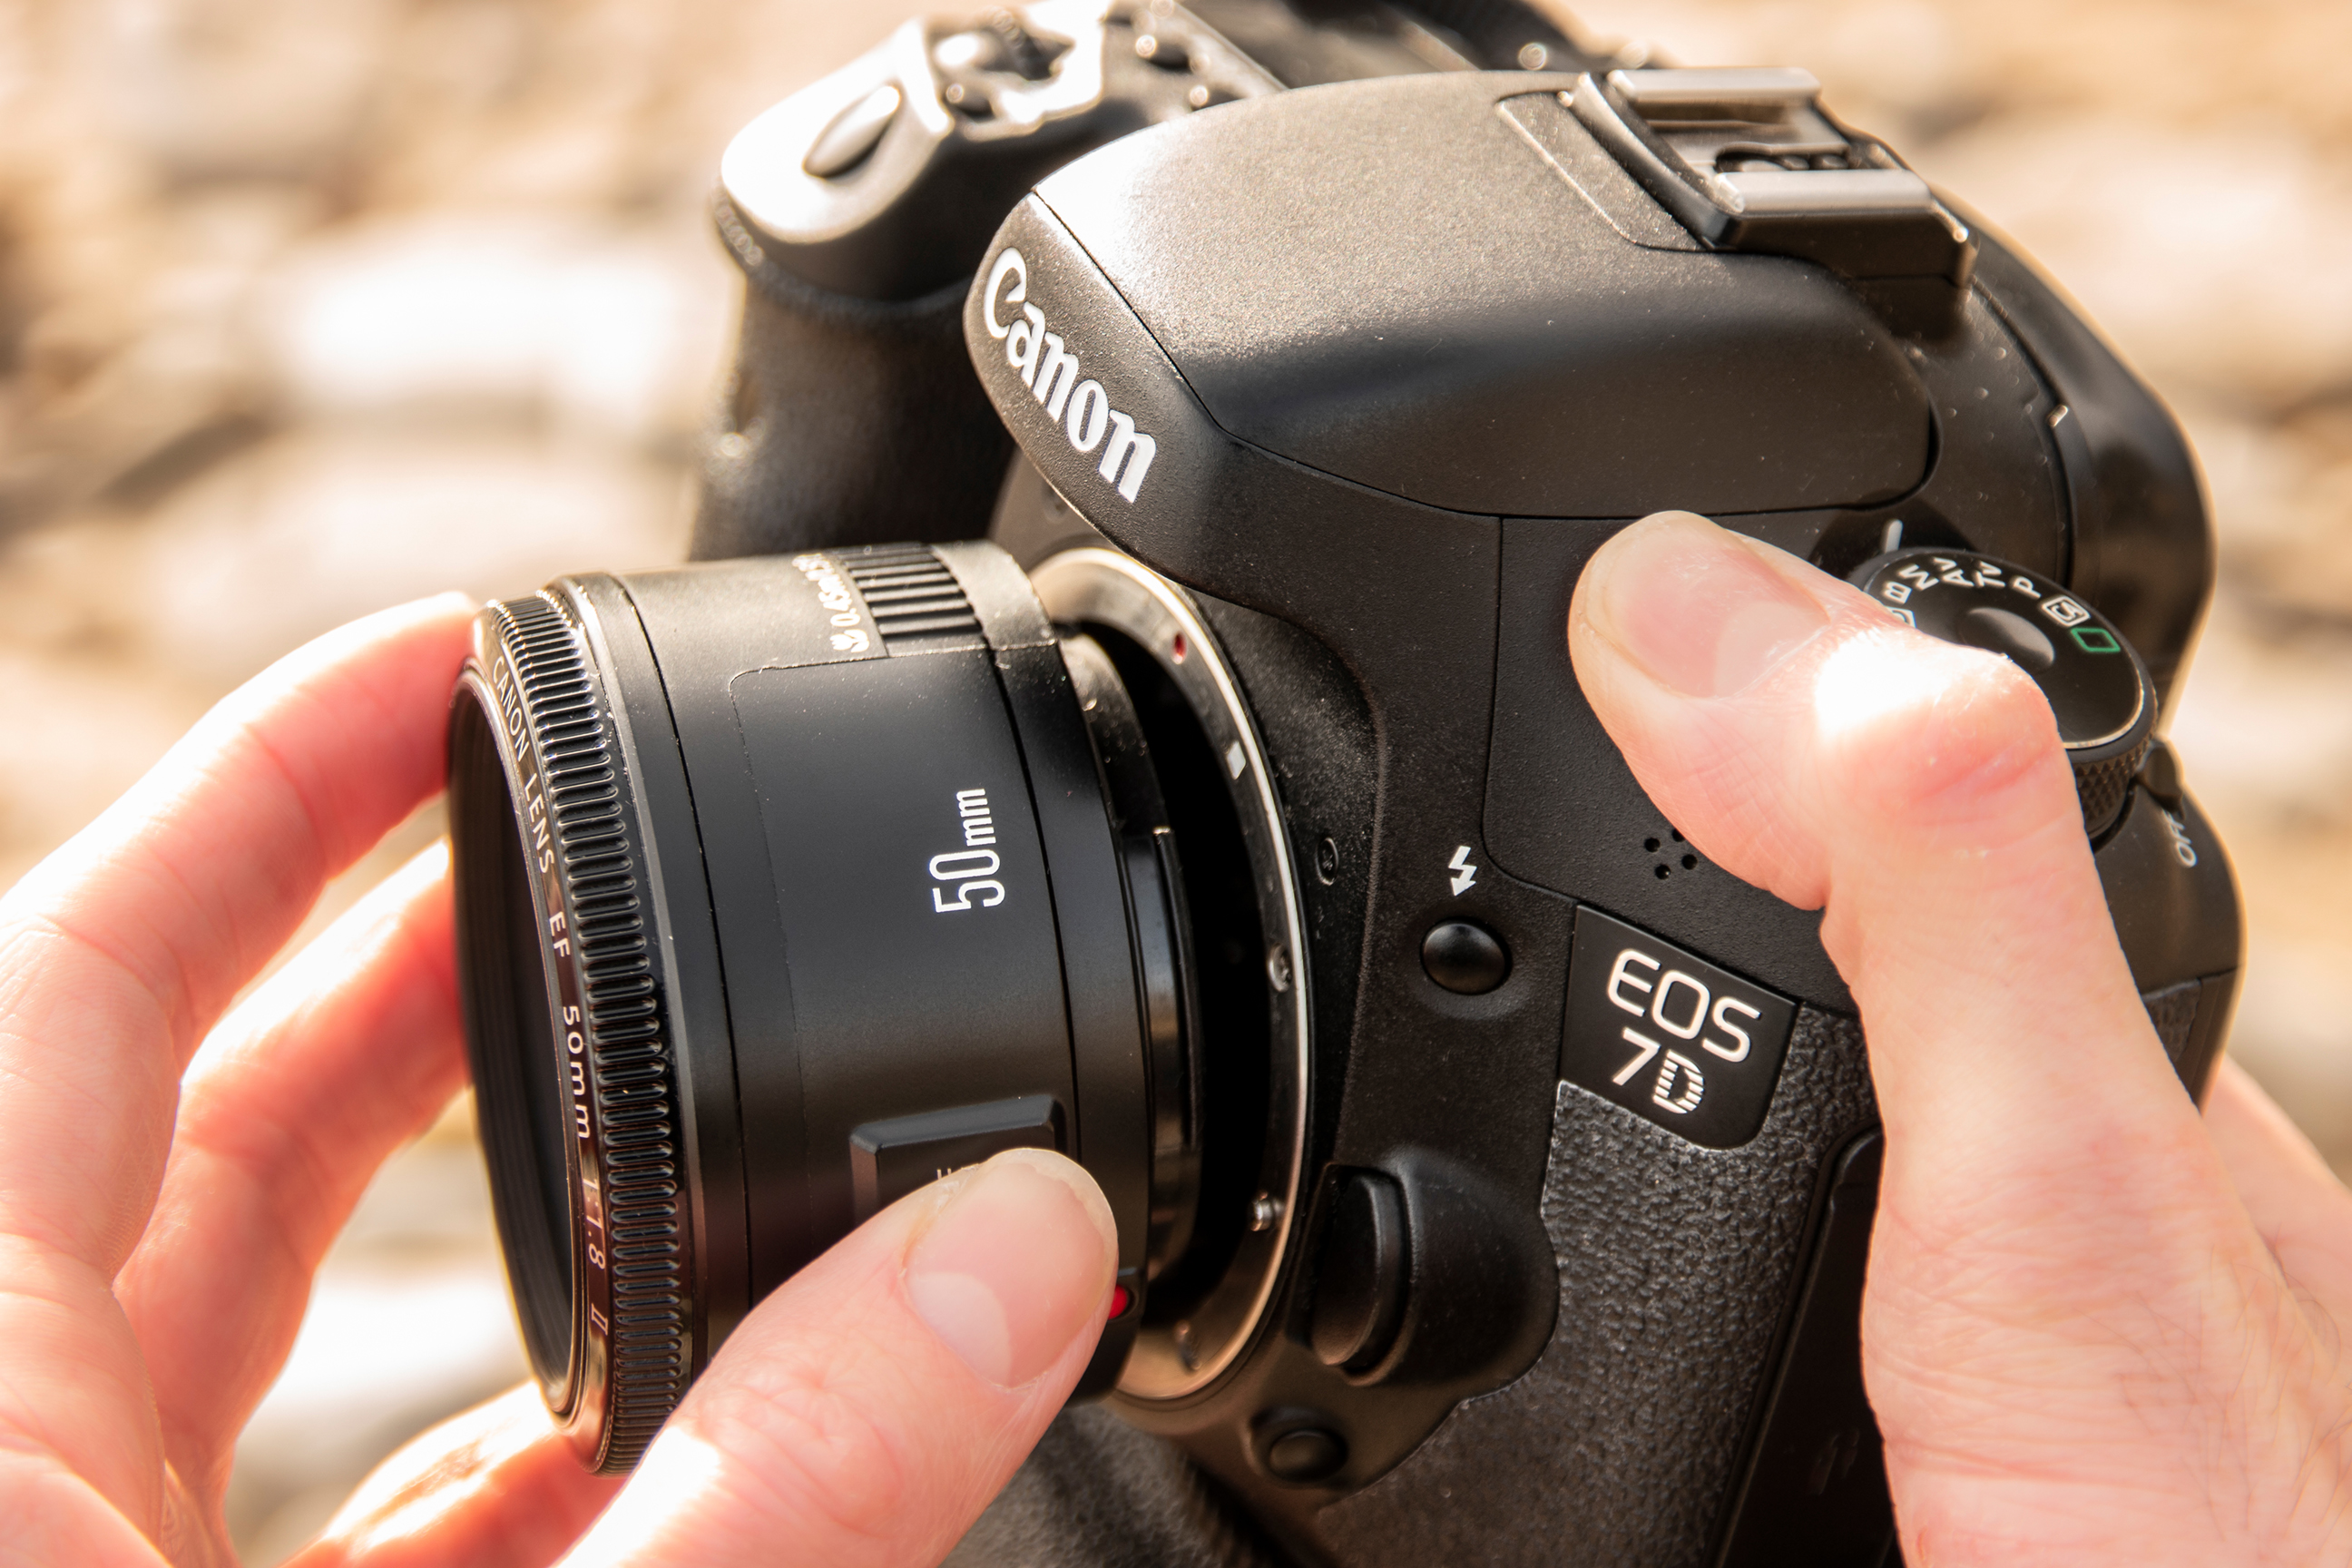
Your lens selection will depend on the intensity of the sunlight - if it is visible in the scene itself a wideangle lens will suffice, but if the sun is out of the frame a longer lens is needed. A wide aperture is also required.
2- Select your angle
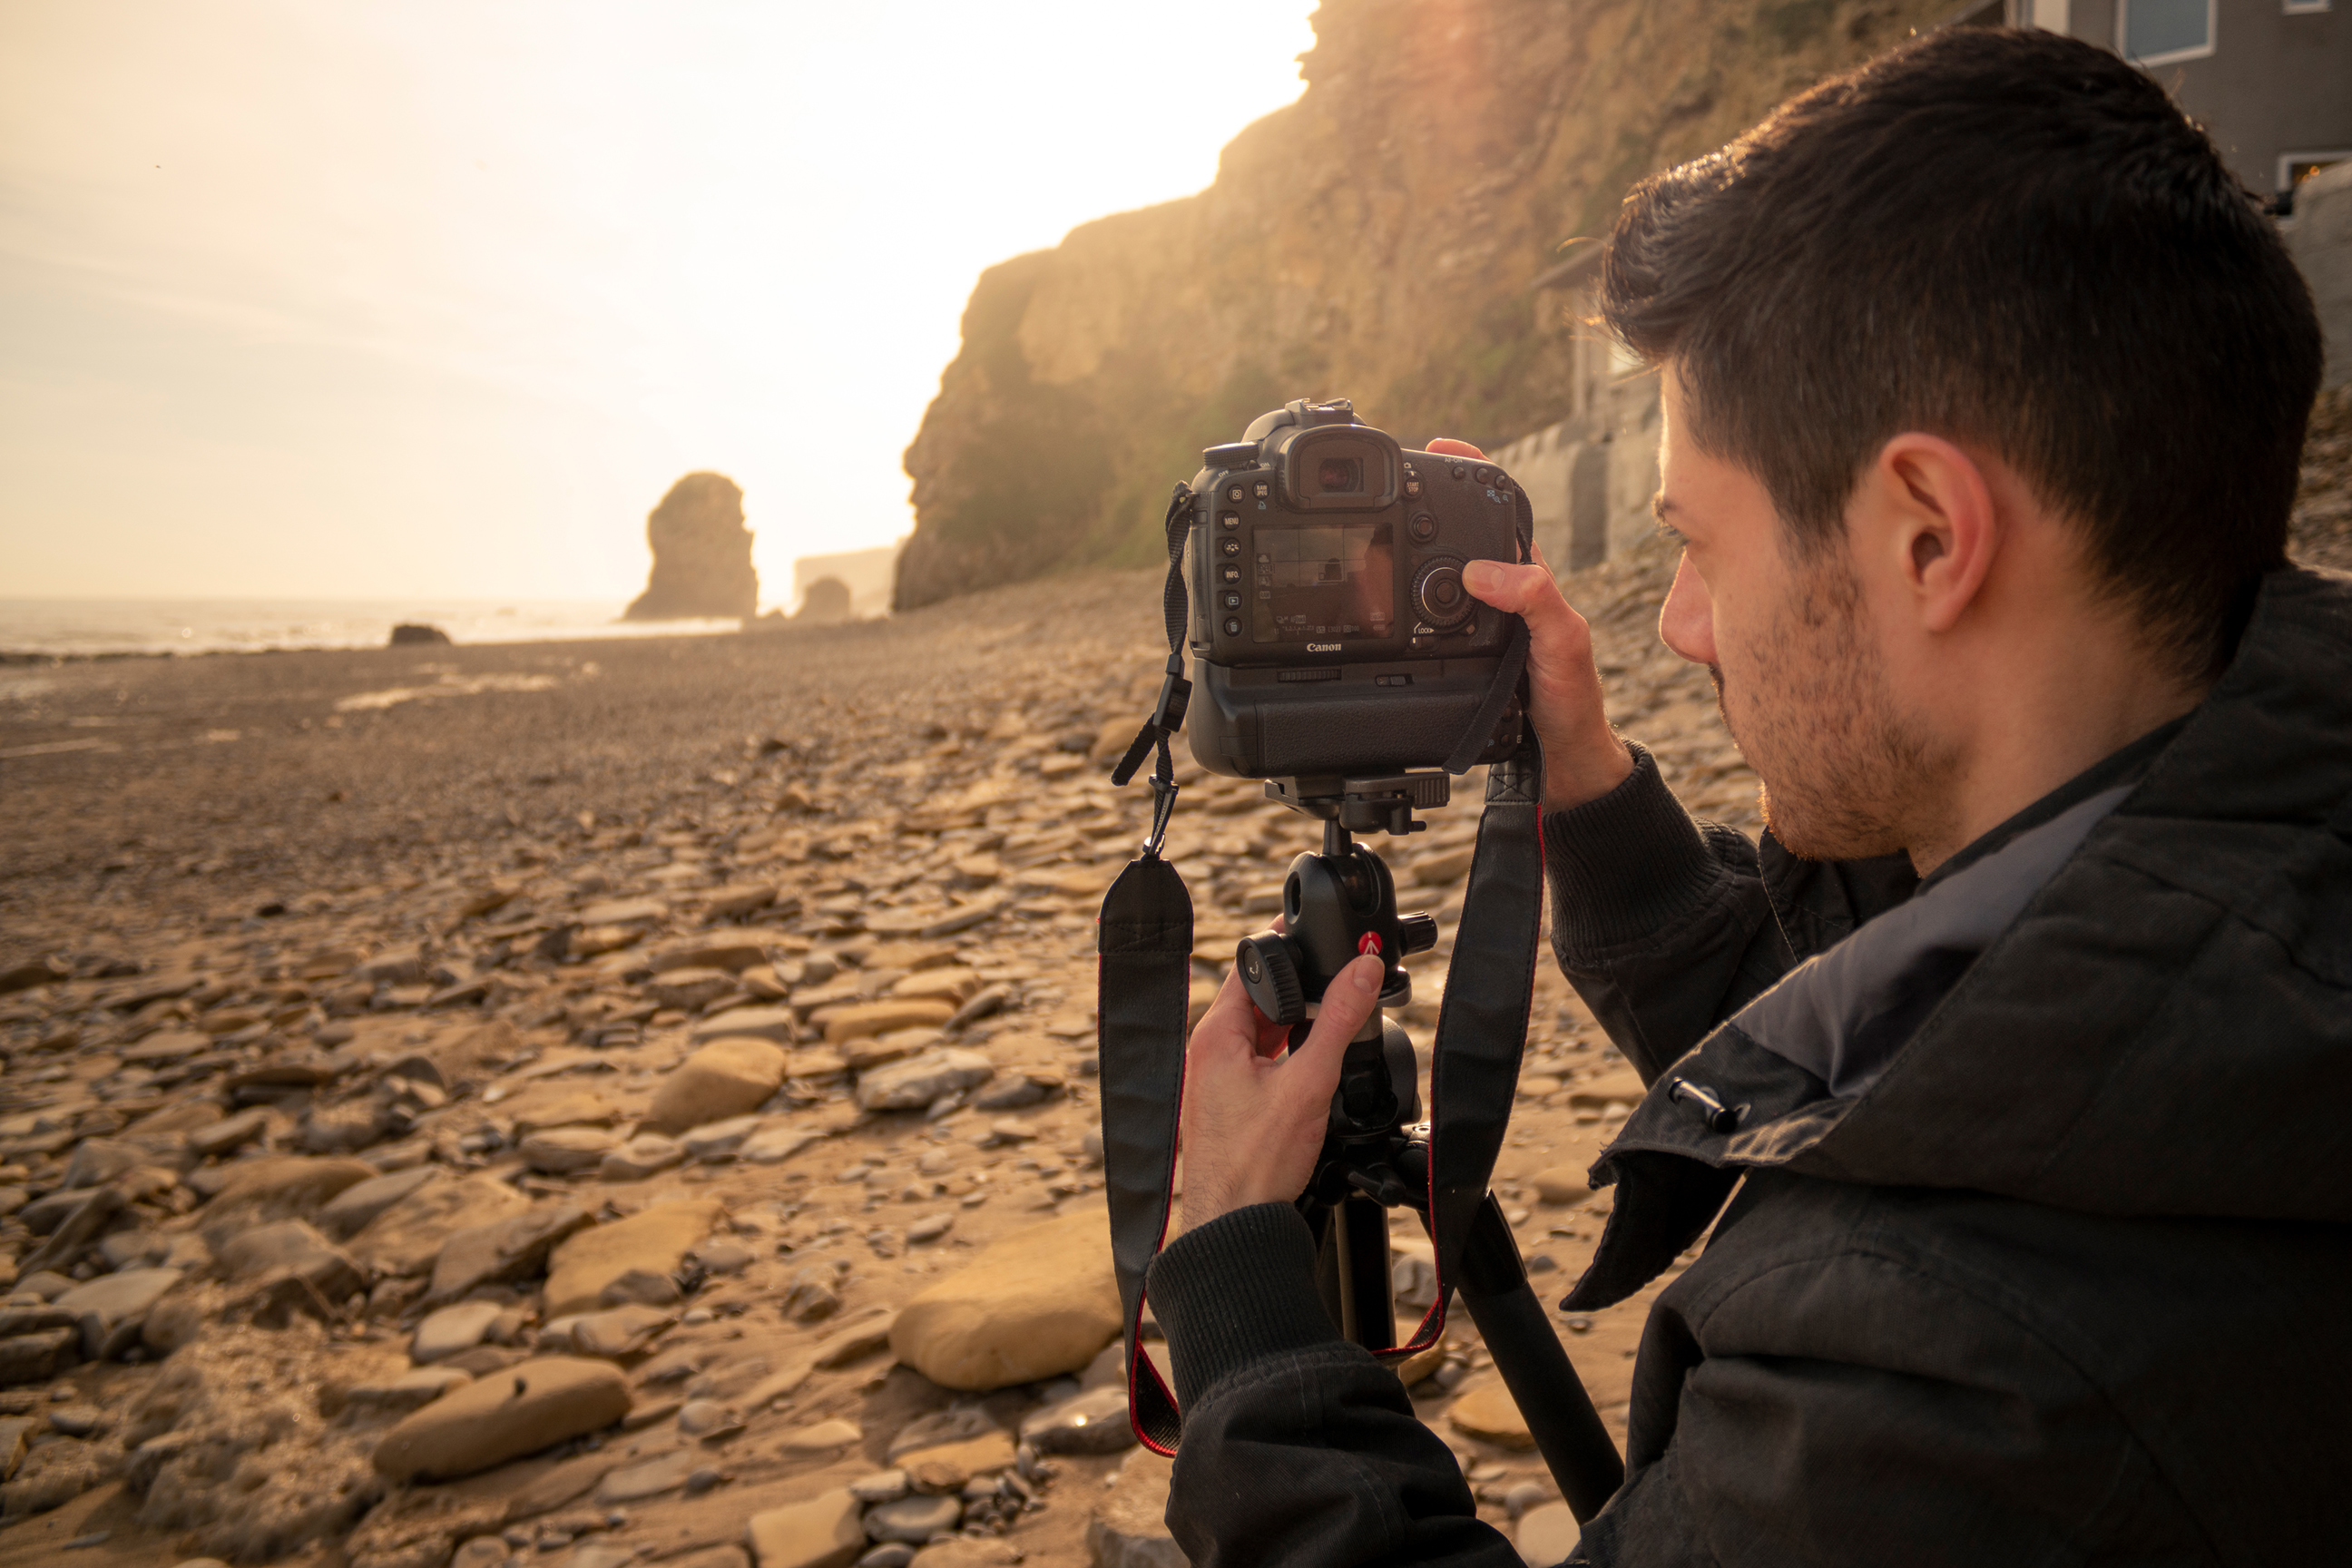
Aim the camera so that the sun is positioned to one side of the frame, or just out of shot, illuminating the scene from an angle. Be sure that you consider safety and do not look directly at the sun through the viewfinder.
3- Set the aperture

Set an aperture of around f/5.6 to begin, incrementally opening up towards the maximum - ideally f/2.8 or wider - to find a balance of depth-of-field and flare. The wider lens opening gives the light a less defined shape, for the washed-out effect.
4- Find a base exposure
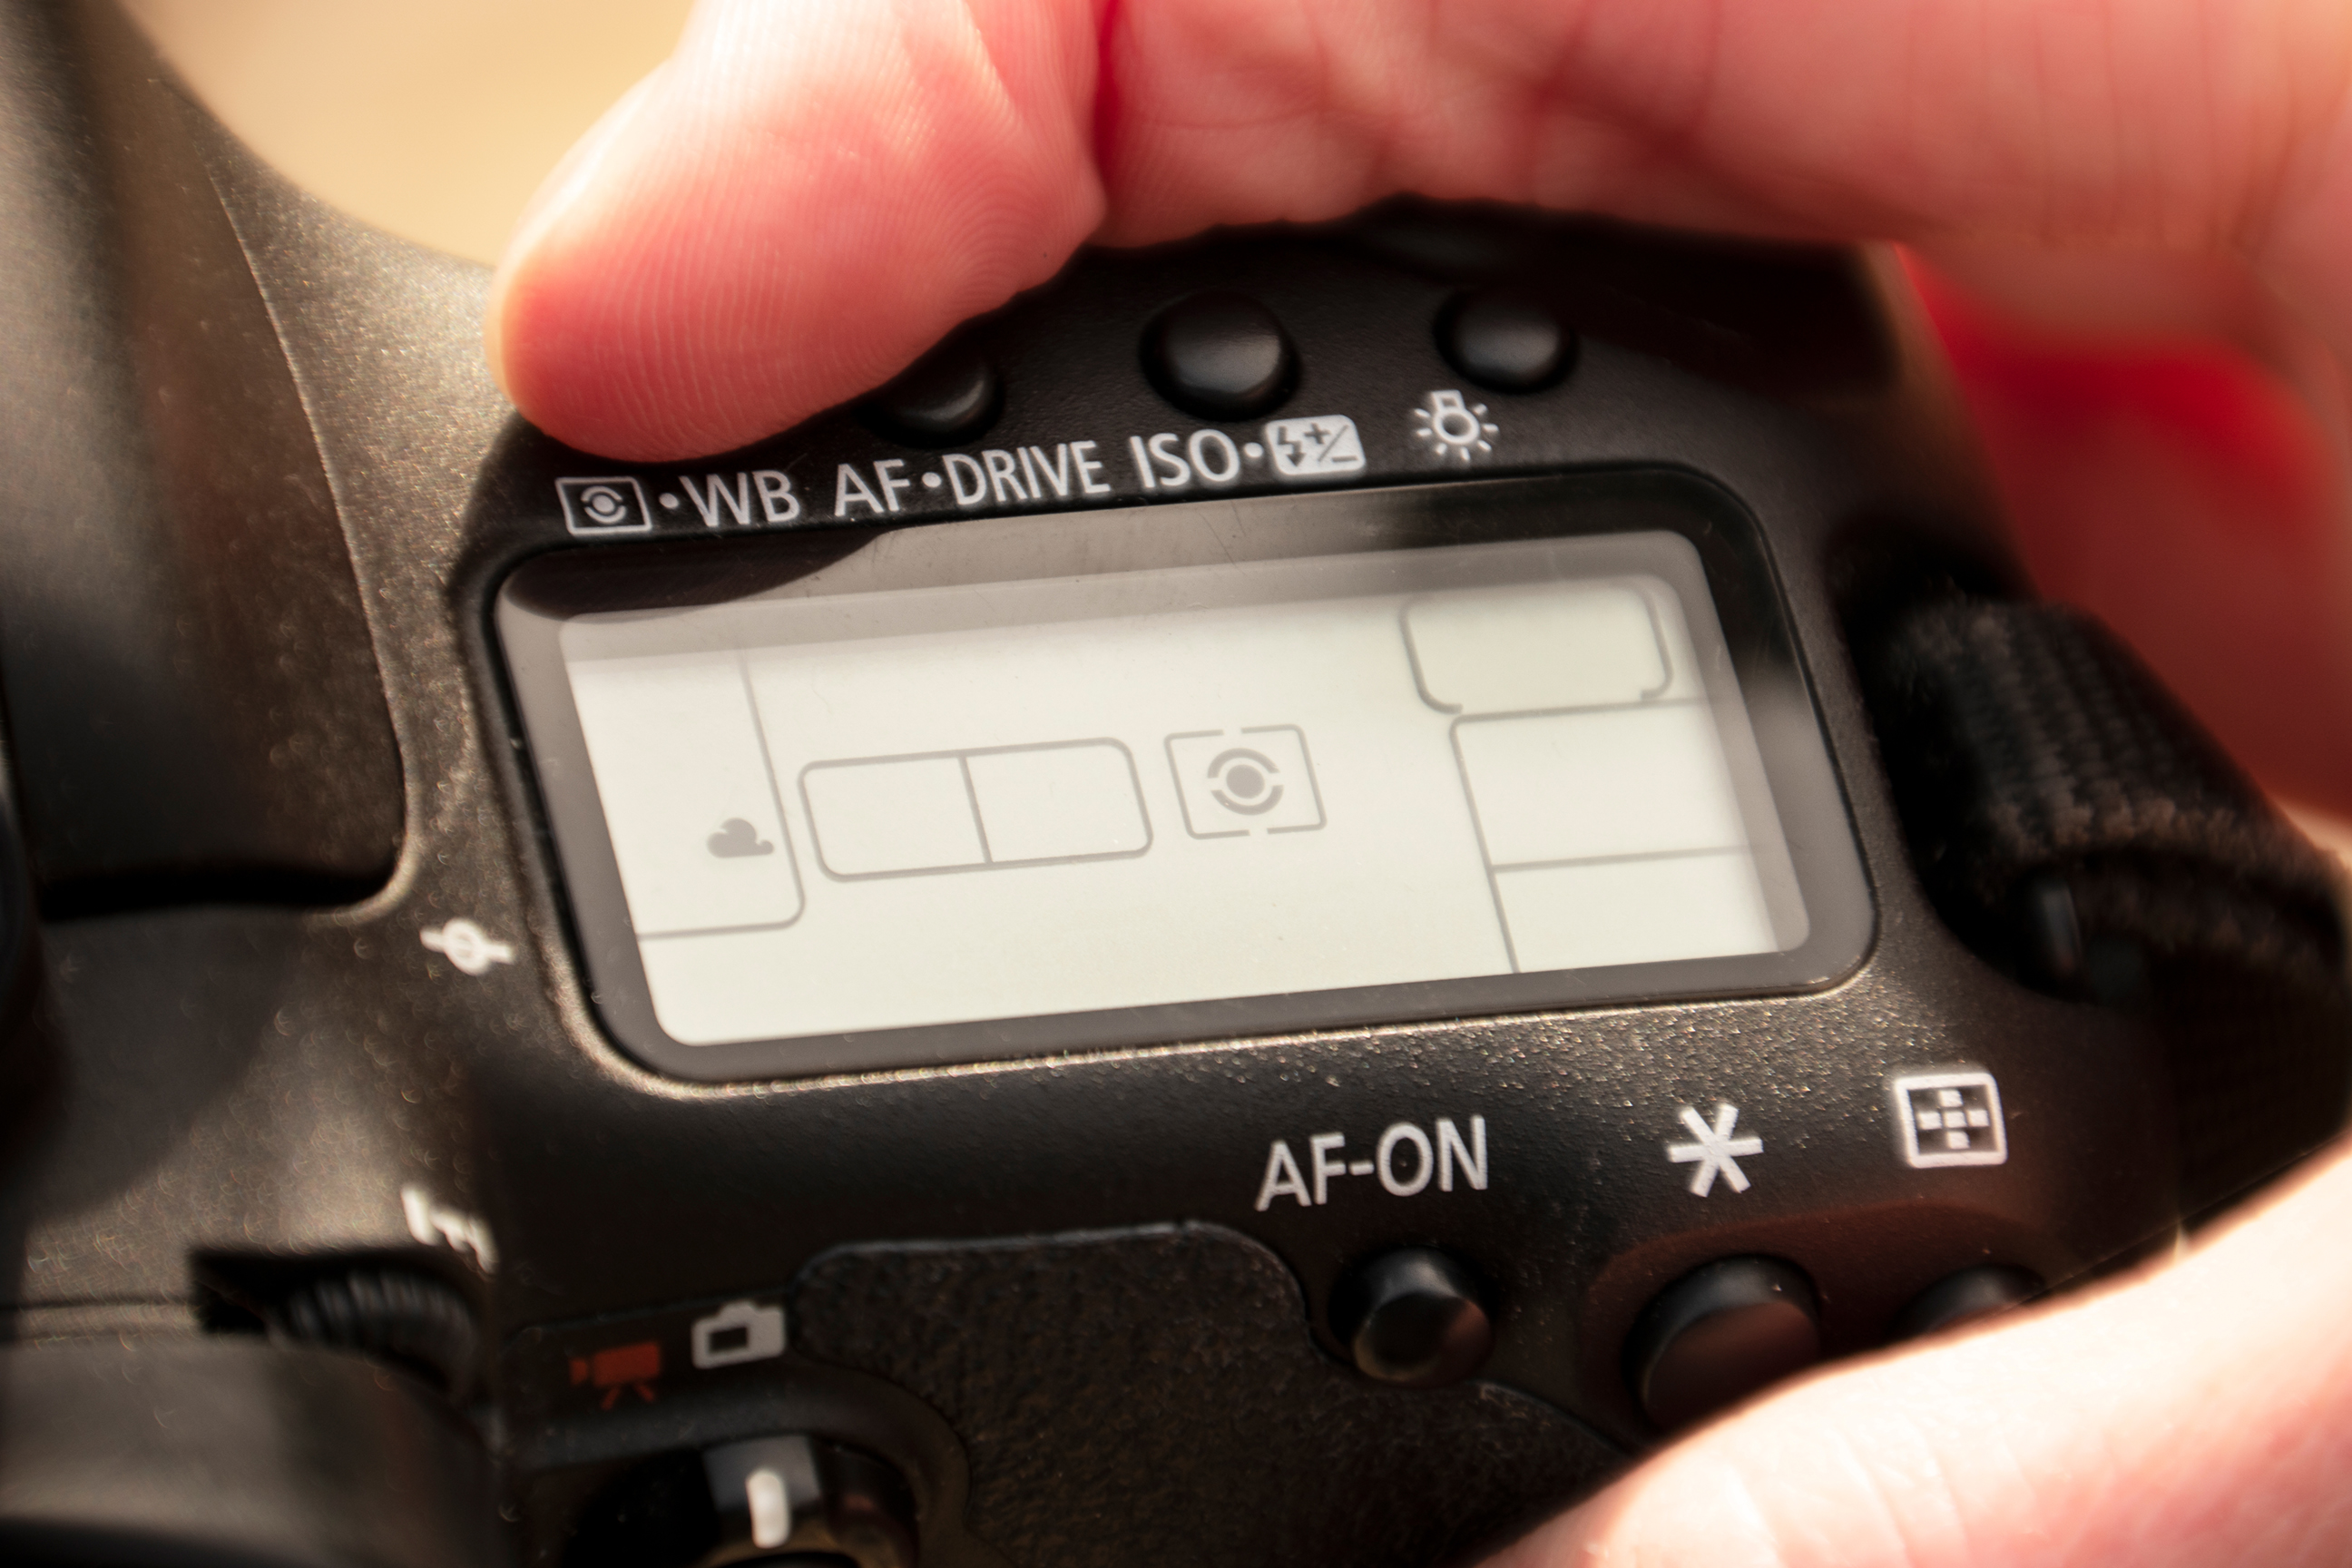
It is still important to avoid too many blown highlights or blacked shadows, although some clipping near the sun is acceptable. Change metering mode to Partial and measure from foreground highlights to create a bright image, while keeping the tonality mostly in range.
5- Arrange composition
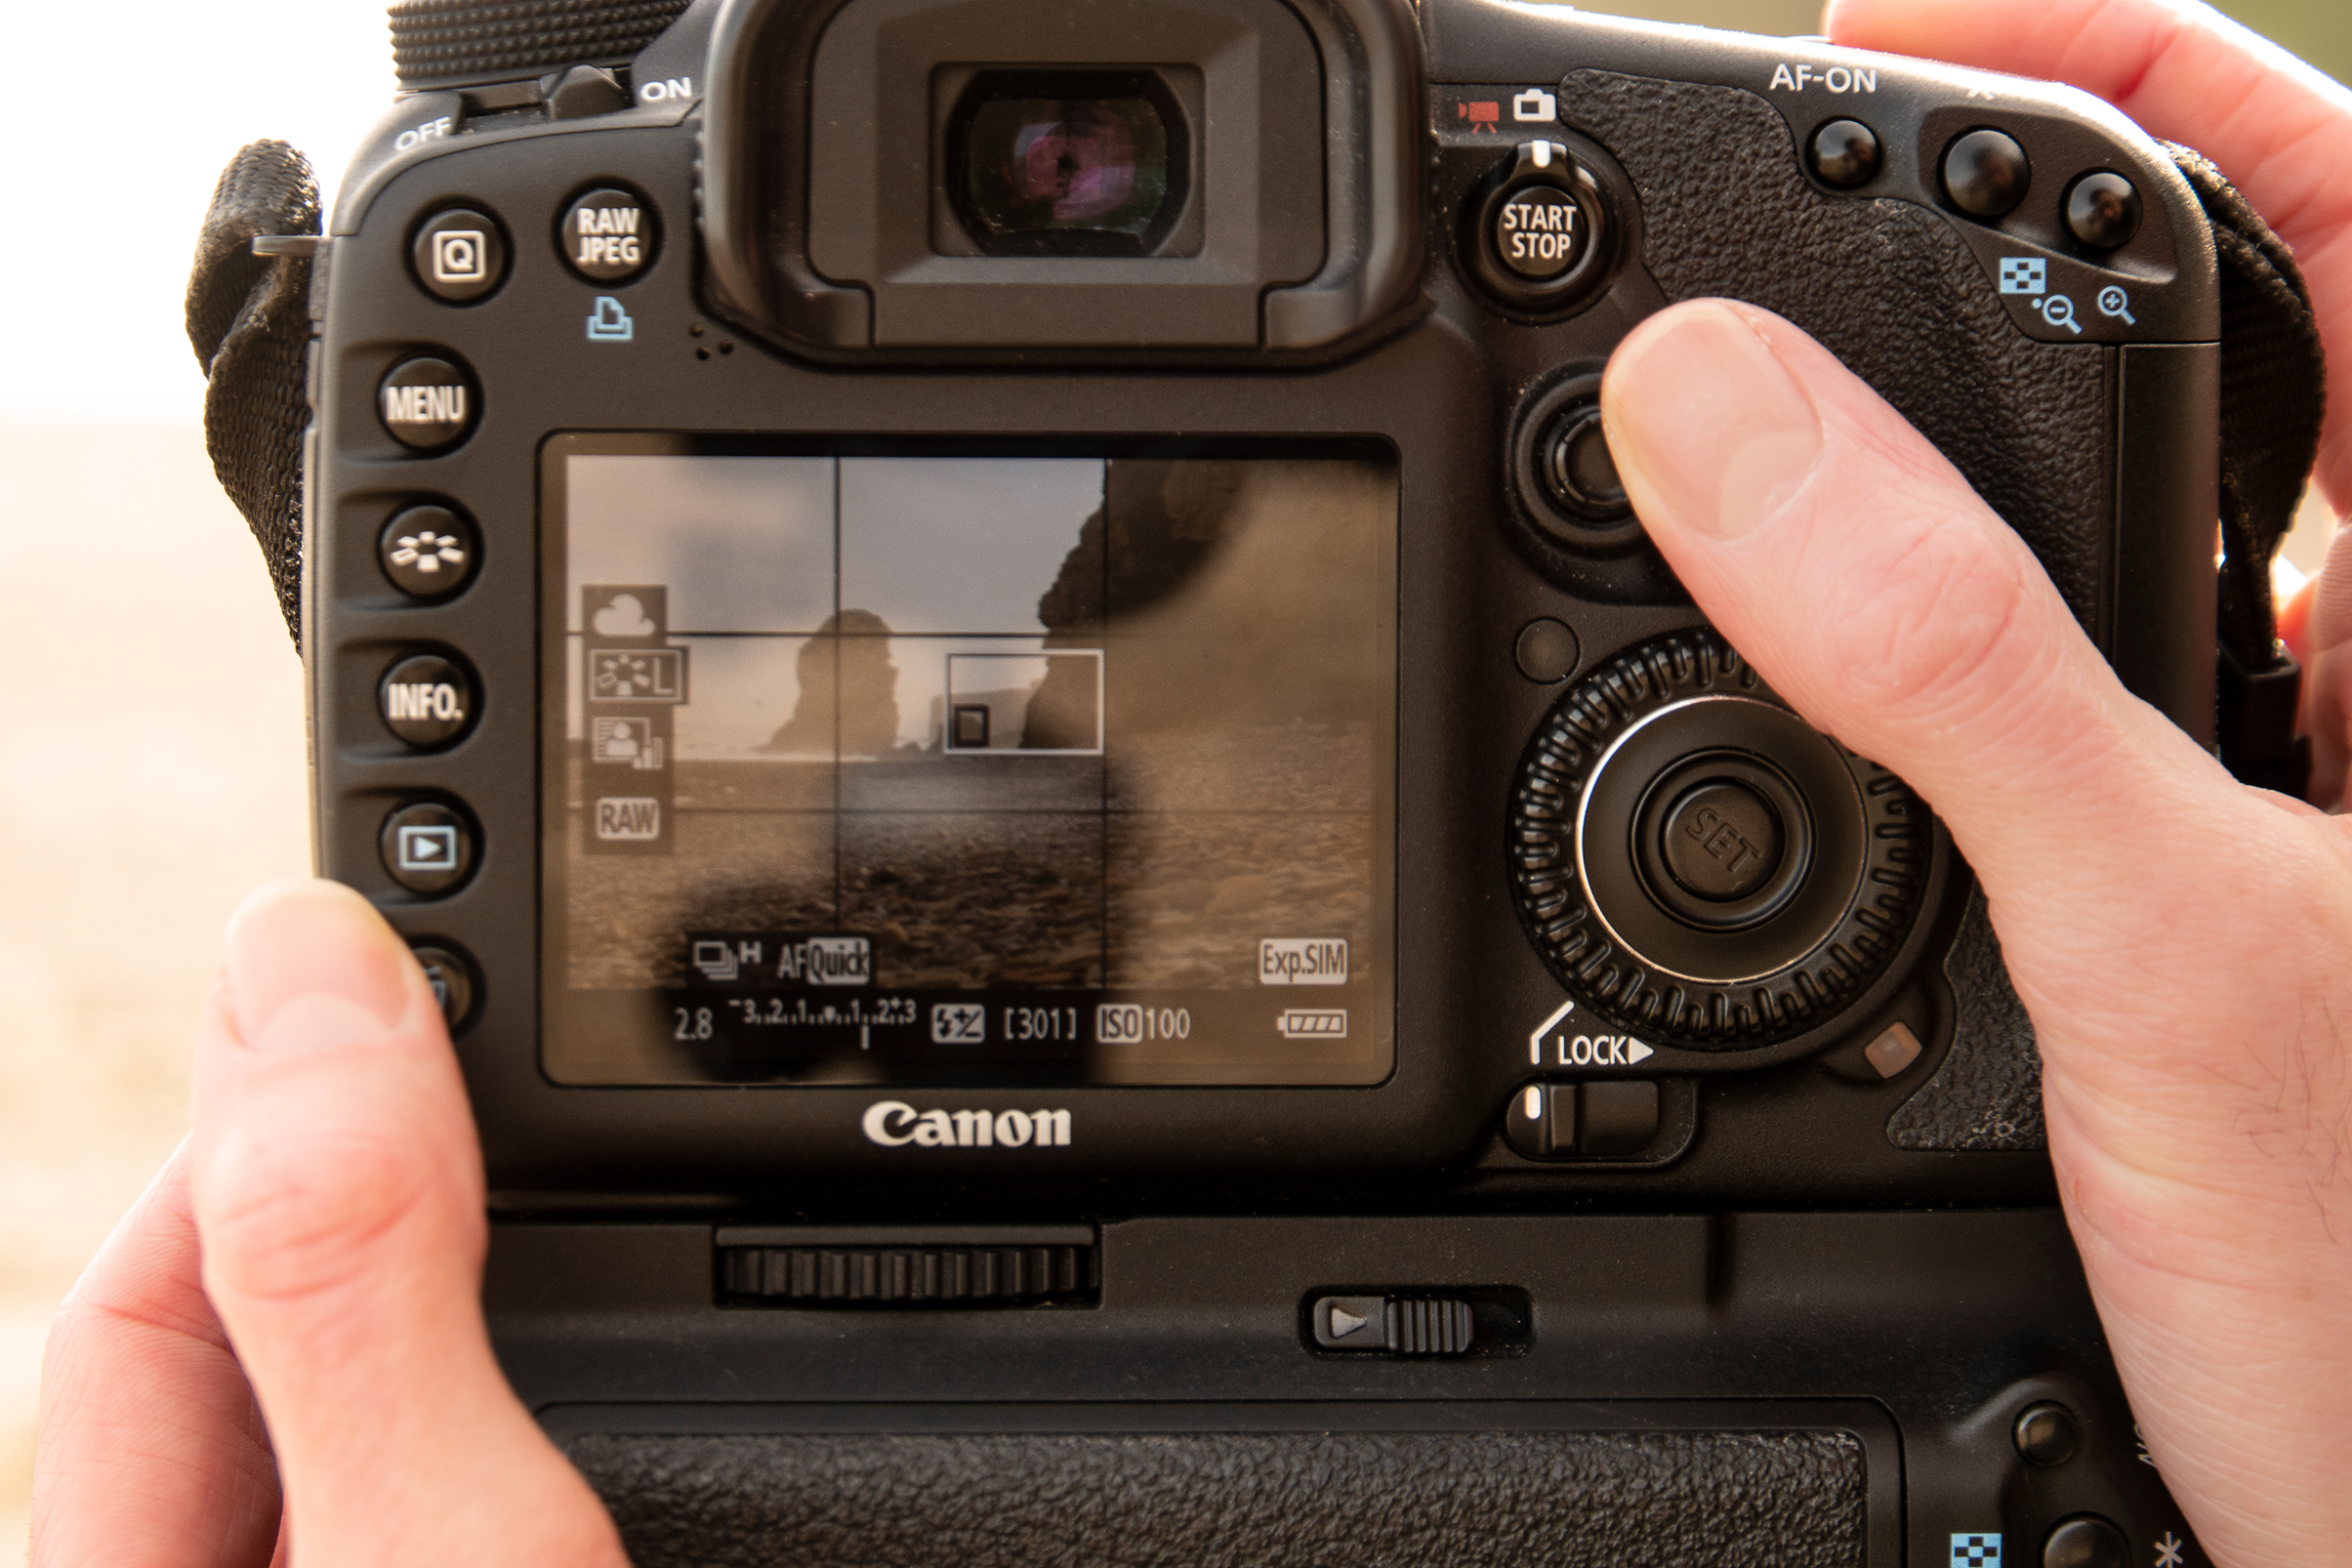
It is critical to retain a strong subject so check that your choice of angle compliments the scene elements. The attraction of this effect us that the soft lighting contrasts with sharp coastal features, so look for framing which subtly balances these opposing textures.
The best camera deals, reviews, product advice, and unmissable photography news, direct to your inbox!
6- Adjust exposure
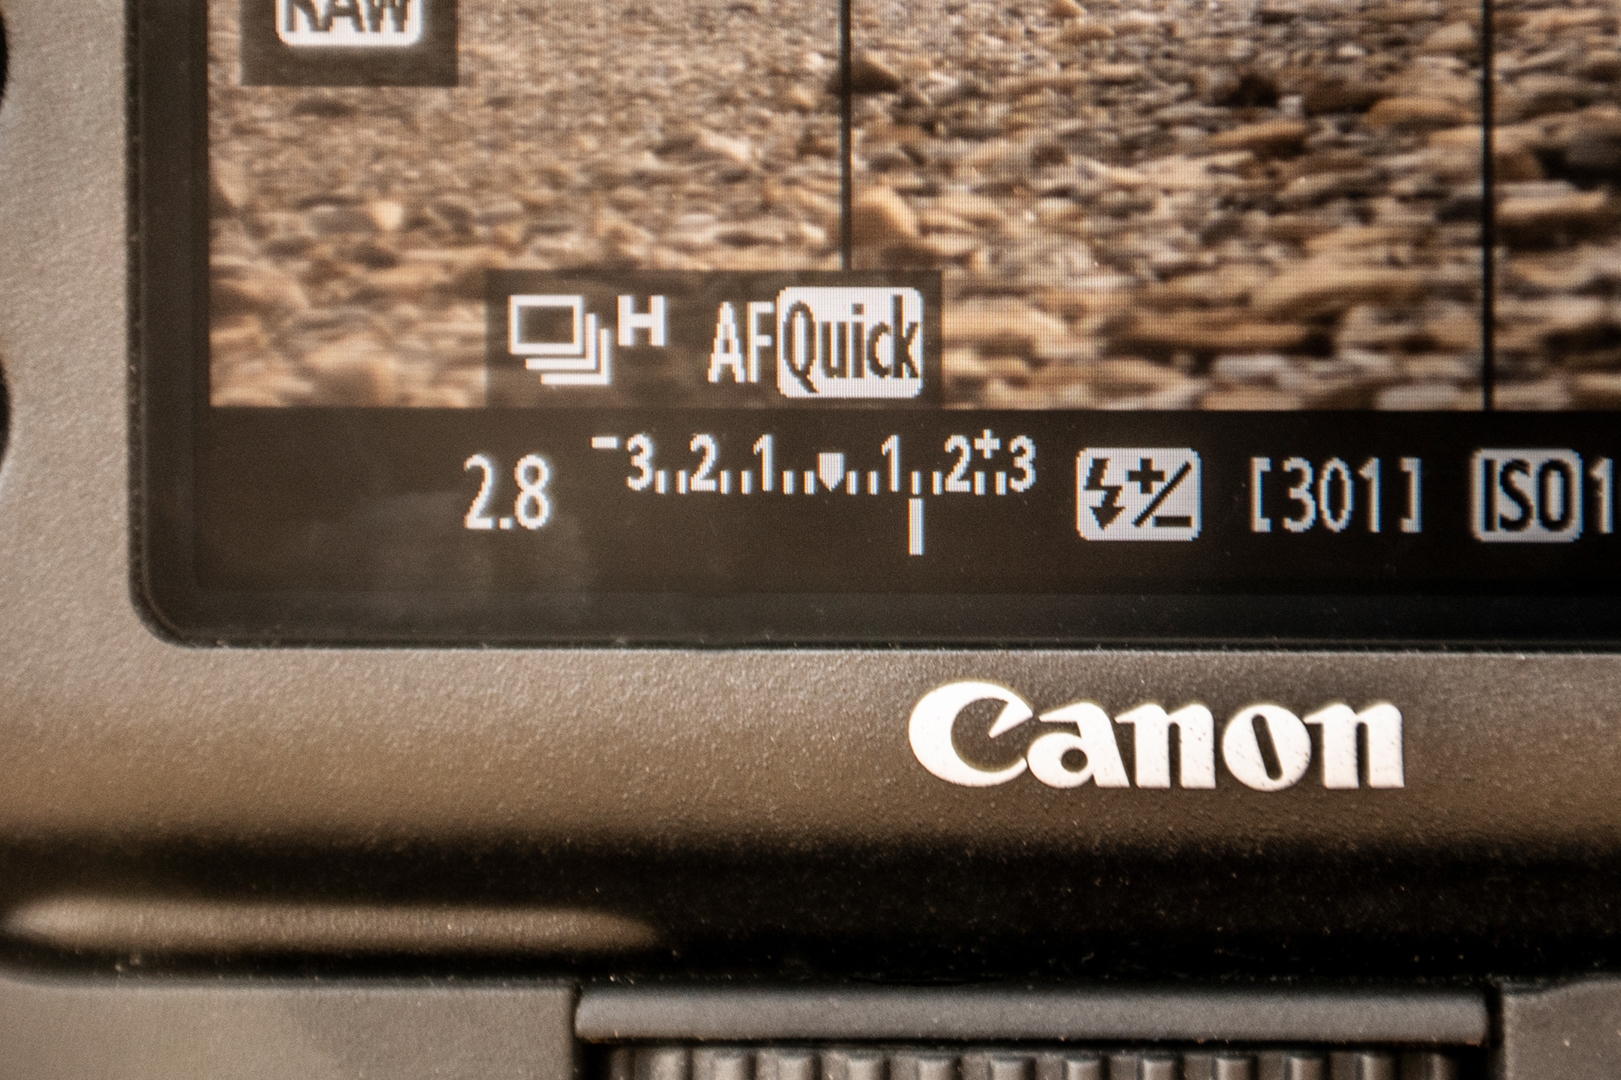
Use exposure compensation to brighten or darken the image to taste. A brighter exposure will often emphasise the washed-out style, but this can be at the expense of colour saturation. Use negative compensation to boost colour strength if necessary and to prevent widespread highlight clipping.
Read more:
The 10 best camera sensors on the market (sorry, Canon users)
What you need to succeed in landscape photography, by top pro Jeremy Walker
Fisheye fantastic! Use a fisheye lens for 'serious' landscape photography
Digital Photographer is the ultimate monthly photography magazine for enthusiasts and pros in today’s digital marketplace.
Every issue readers are treated to interviews with leading expert photographers, cutting-edge imagery, practical shooting advice and the very latest high-end digital news and equipment reviews. The team includes seasoned journalists and passionate photographers such as the Editor Peter Fenech, who are well positioned to bring you authoritative reviews and tutorials on cameras, lenses, lighting, gimbals and more.
Whether you’re a part-time amateur or a full-time pro, Digital Photographer aims to challenge, motivate and inspire you to take your best shot and get the most out of your kit, whether you’re a hobbyist or a seasoned shooter.
