Photography cheat sheet: low light photography
Master the challenges of capturing darker scenes and get high-quality, creative imagery – using our infographic to help
The best camera deals, reviews, product advice, and unmissable photography news, direct to your inbox!
You are now subscribed
Your newsletter sign-up was successful
Low-light photography is an enchanting genre, capable of producing images that are unrivaled in their emotive power. The deep shadows, directional lighting and strong, cool color bias can either be unnerving or tranquil, depending on how you approach the creative process.
Low light can give unique image styles that are impossible to create at any other time of day – unlike in daylight hours, the foreground can often be brighter than the sky after the sun has set.
Of course, shooting with low levels of ambient light can make it tricky to get the right exposures. As good as the best cameras for photography now are at capturing photons and converting these into an electrical signal, they still have their limitations. Let's look at how you can use your camera equipment to its full potential and achieve stunning photos in the hours of darkness.
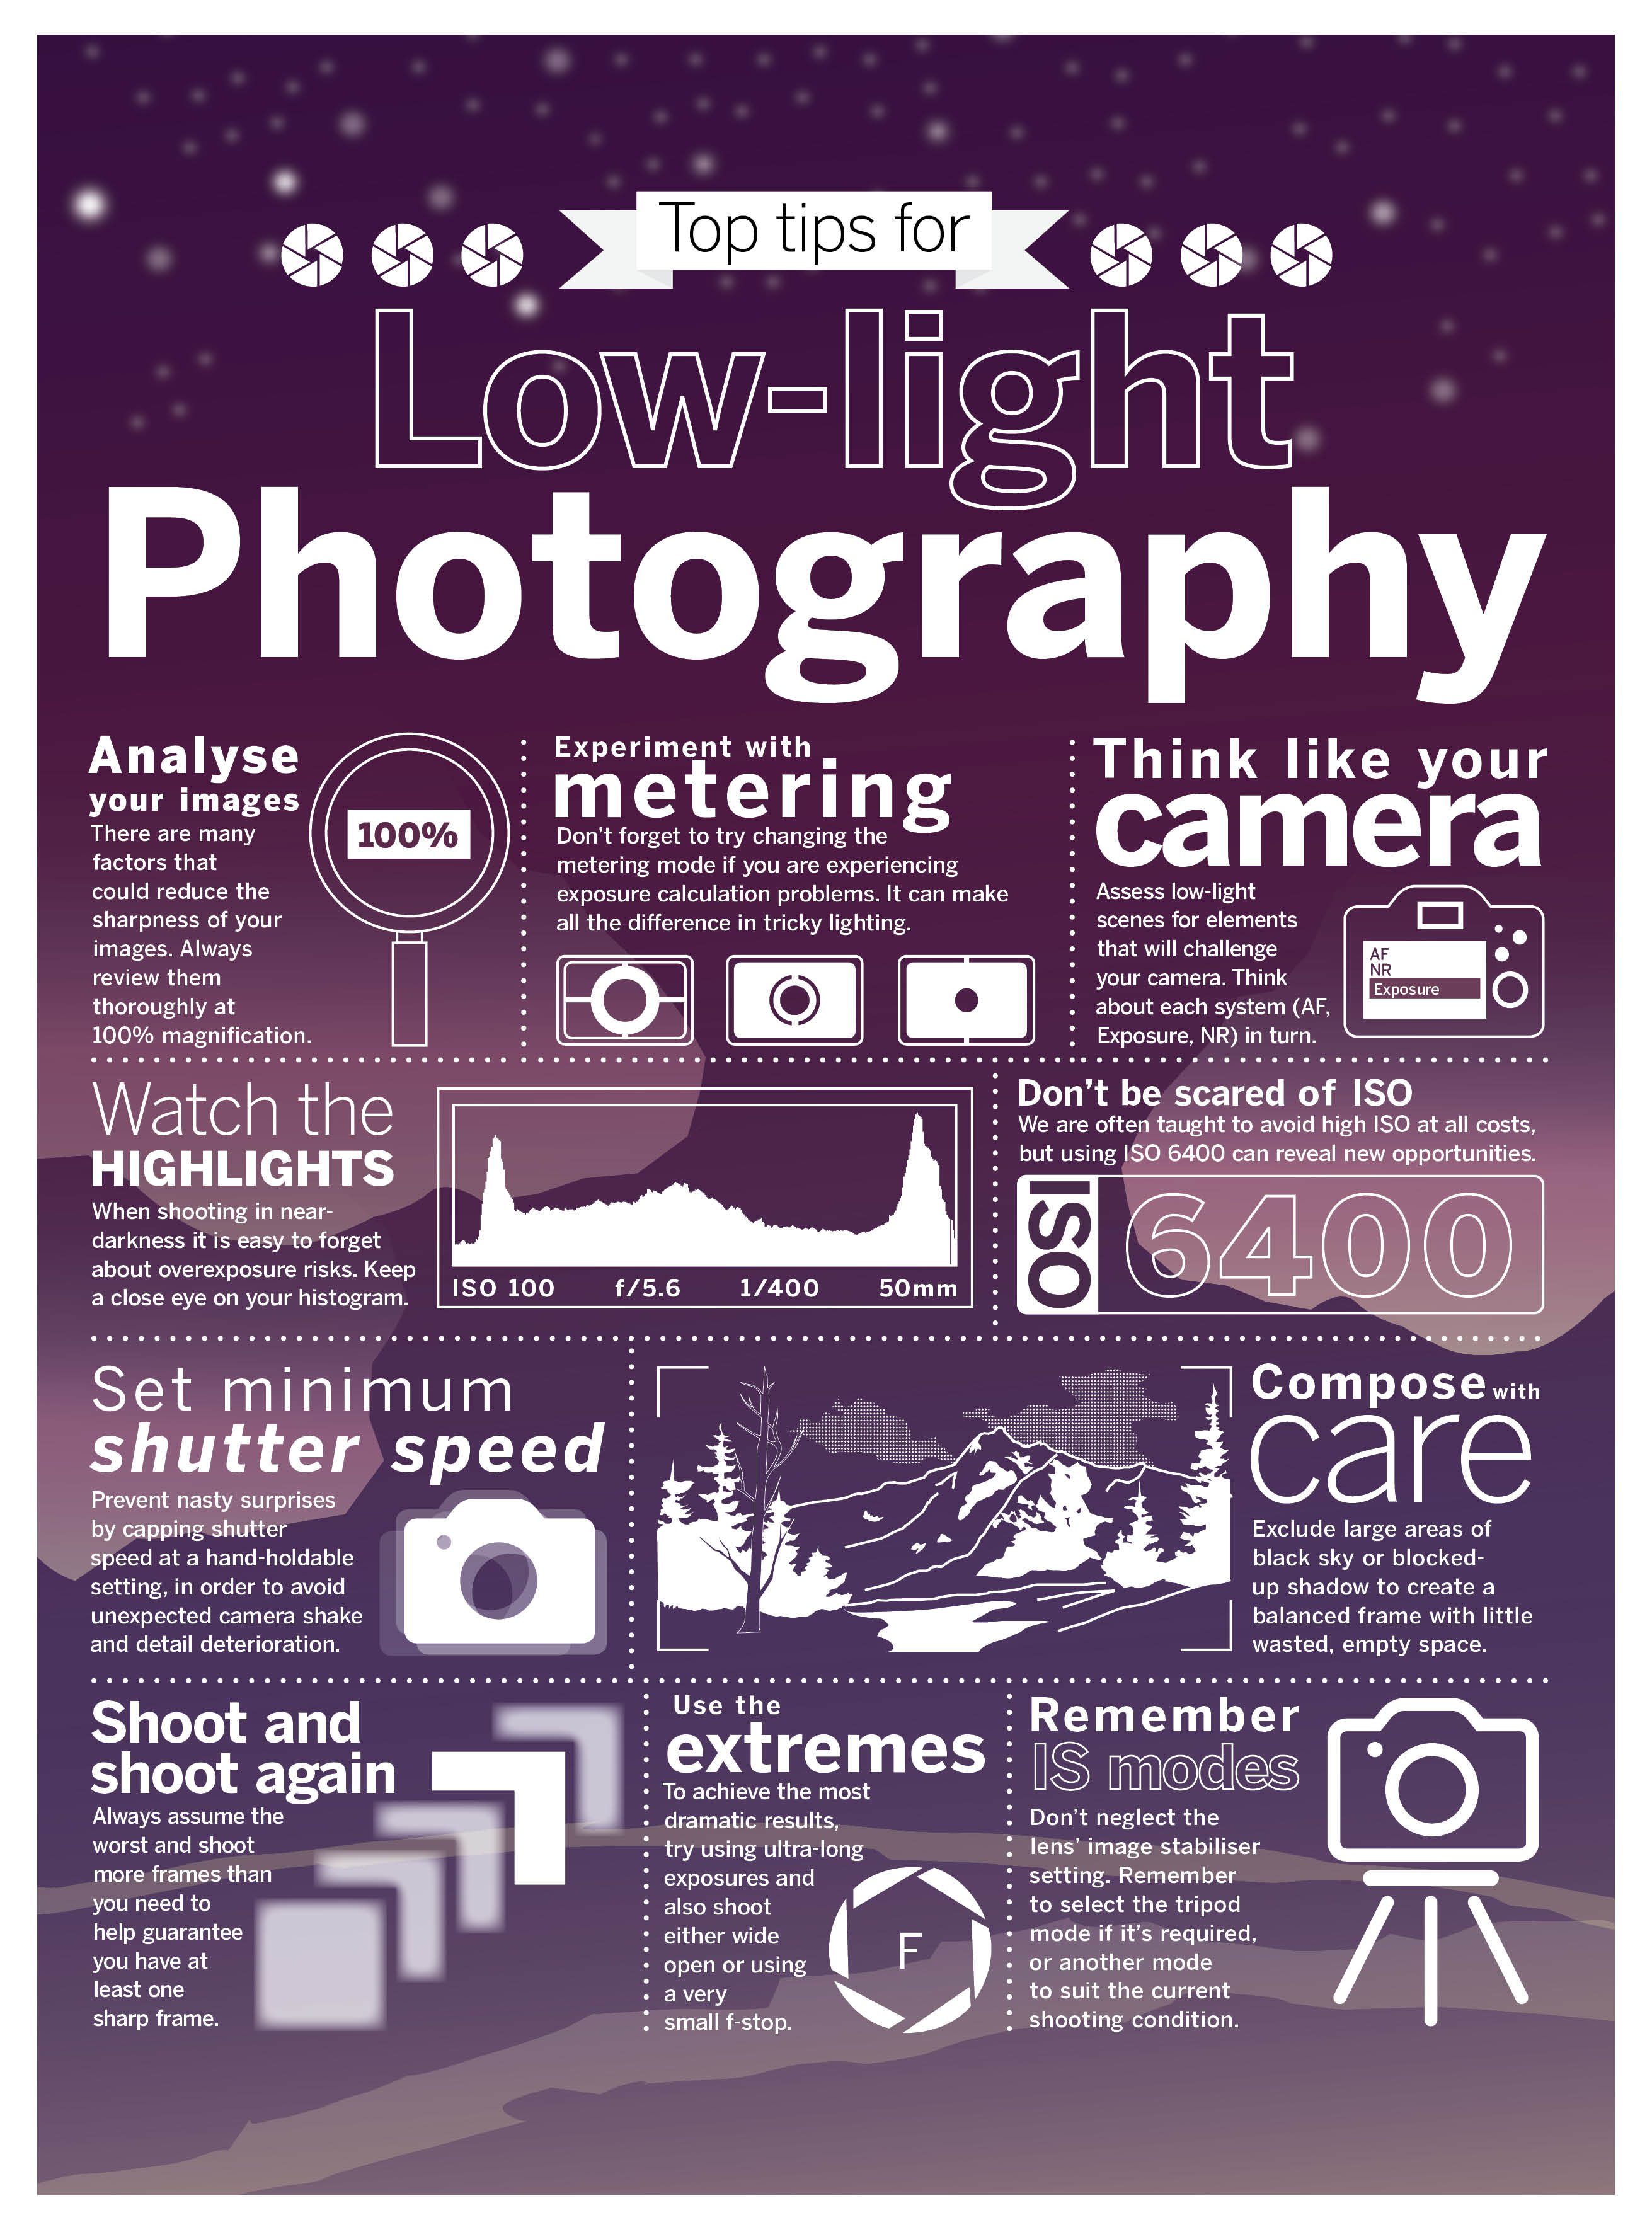
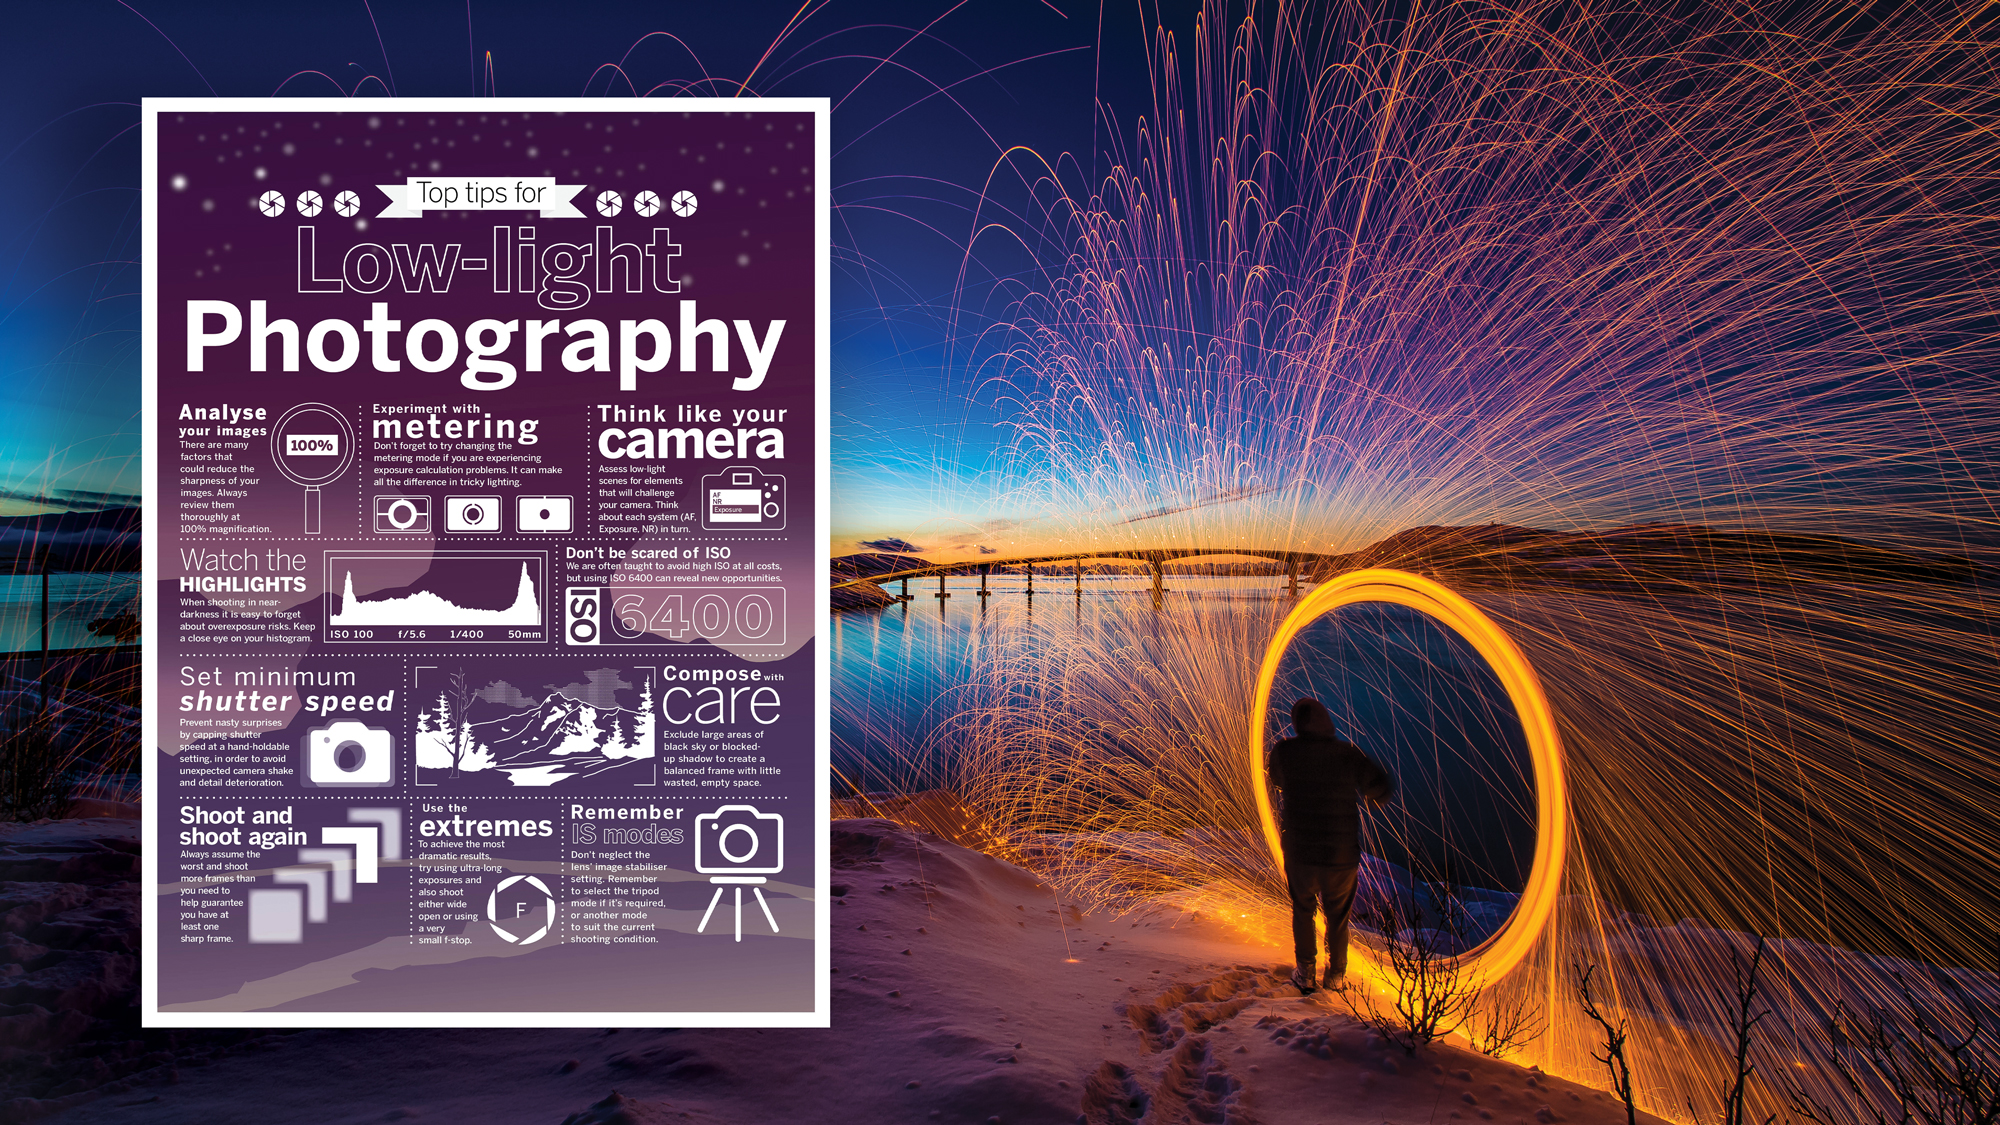
Don't forget to scroll to the bottom of this page and save our low-light photography cheat sheet for some at a glance tips when it comes to shooting in darker scenes.
A ‘correct’ exposure isn't always the best option
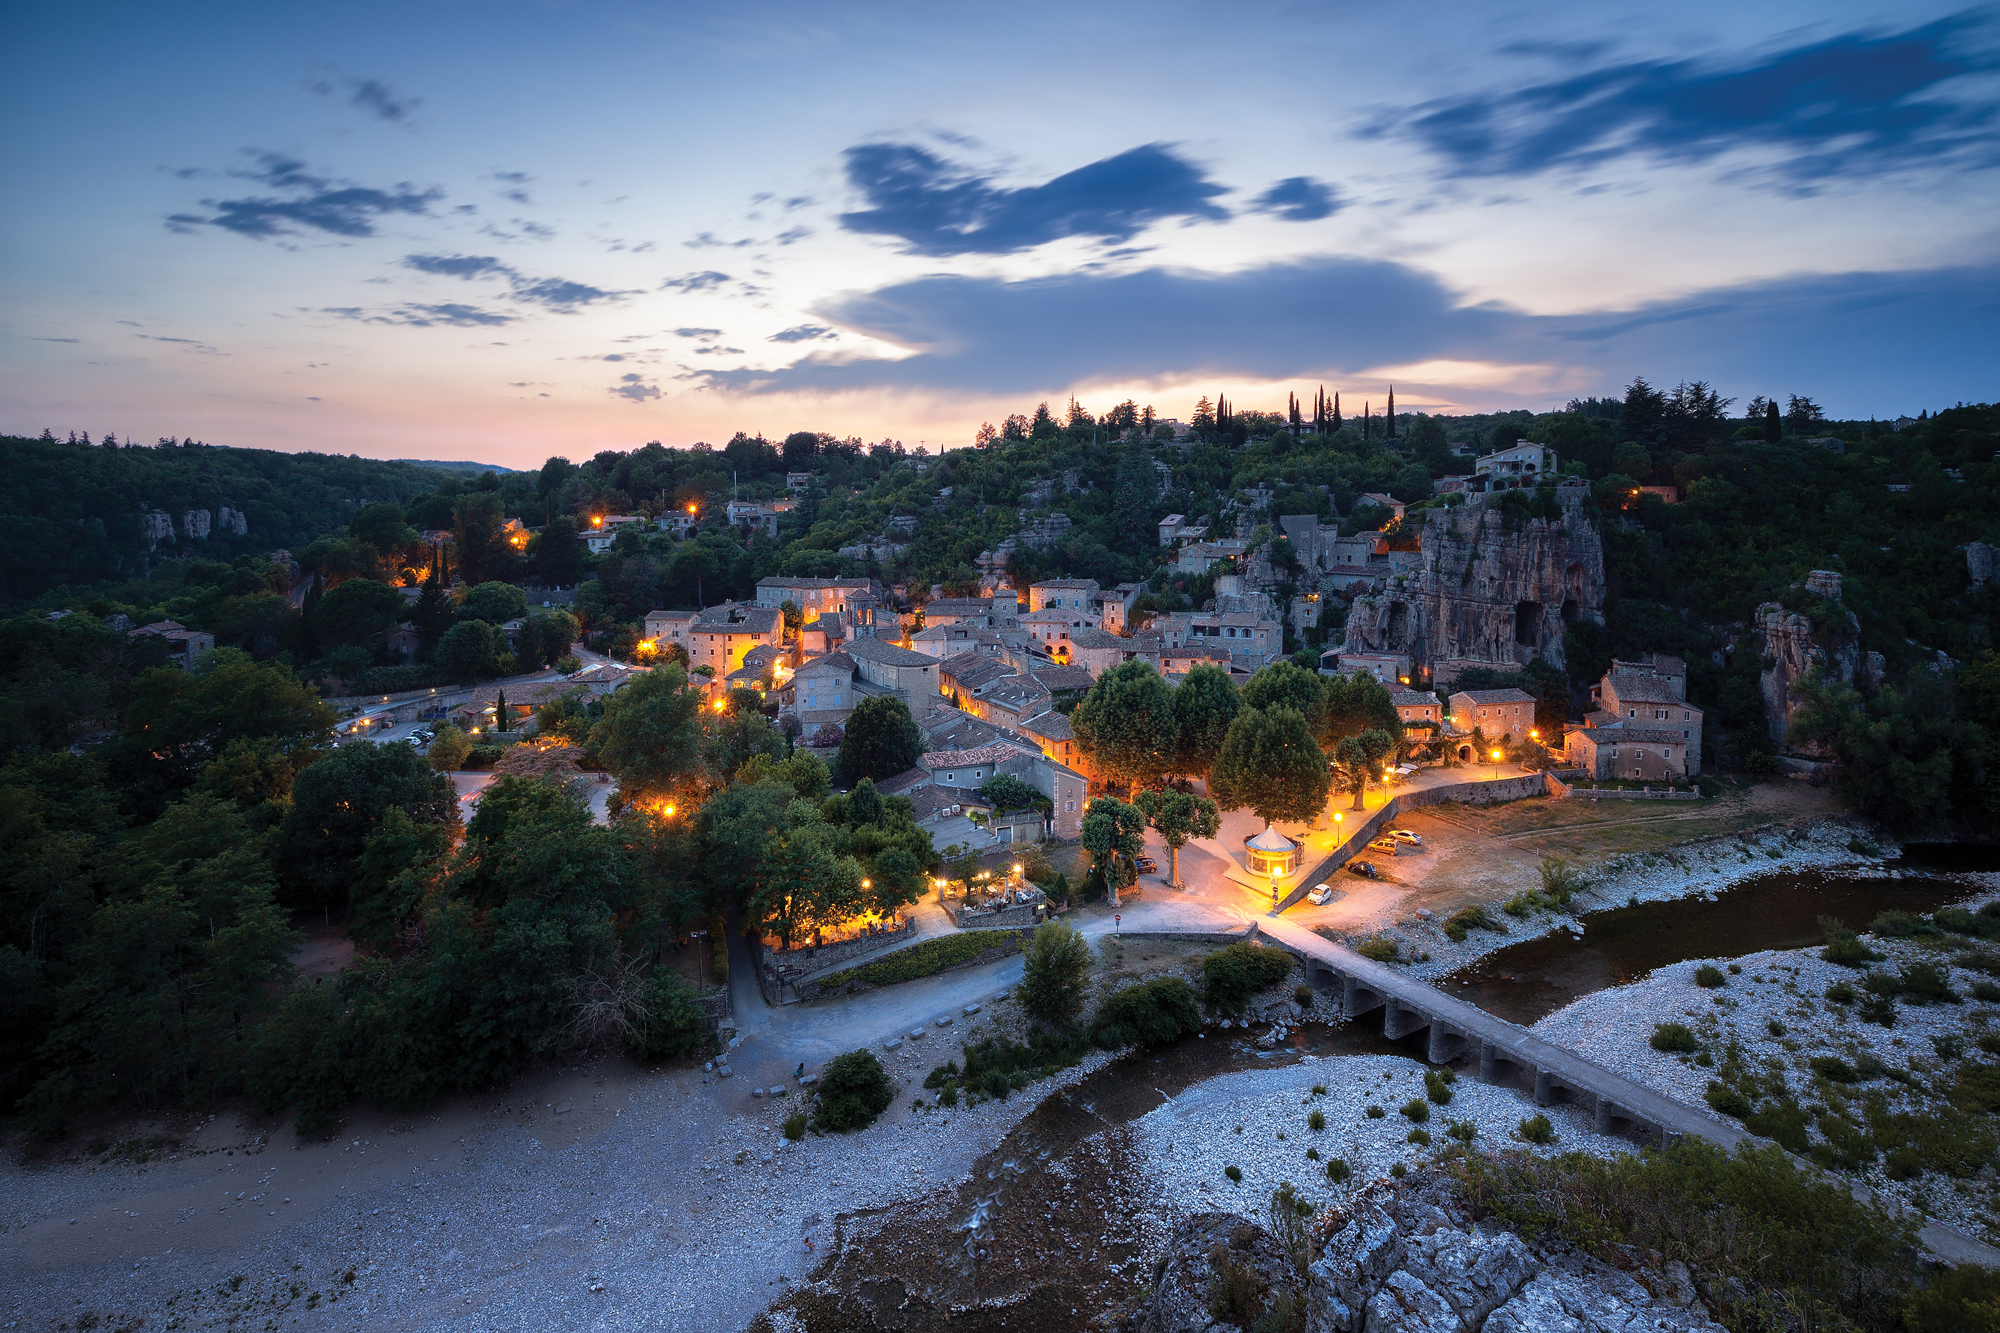
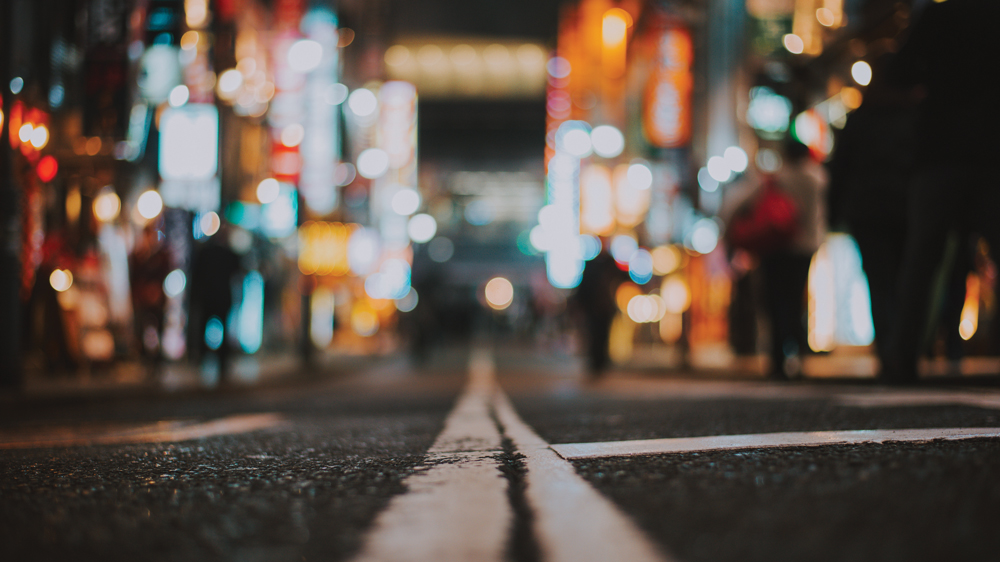
Working in low light intensities is a great time to use your lens’ wider aperture settings. This is practical, but there are also creative reasons to make use of low f-numbers. Use a standard 50mm lens or a wider 35mm optic with an f/1.4 maximum aperture, and shoot from a low perspective to show a fall-off in focus, as the eye moves into the frame. Closer working distances will also make the most of this shallow depth of field, reducing background lights to attractive blurred highlights.
One of the biggest mistakes new photographers make when shooting low-light images is their choice of exposure. Many will look at their images and wonder why they lack the drama of the scene as they remember it. The likely reason is that exposure is too bright.
When shooting a dark scene you’re likely trying to capture this dark atmosphere, while maintaining digital information where required. Leaving the camera to choose a ‘correct’ exposure will make the scene unrealistically bright, lowering contrast and making it difficult for the viewer to identify when in the day the frame was taken.
Once you have metered the scene, use negative exposure compensation until the real brightness is reflected in the tonality of the photograph.
The best camera deals, reviews, product advice, and unmissable photography news, direct to your inbox!
Which camera metering mode is best in low light?
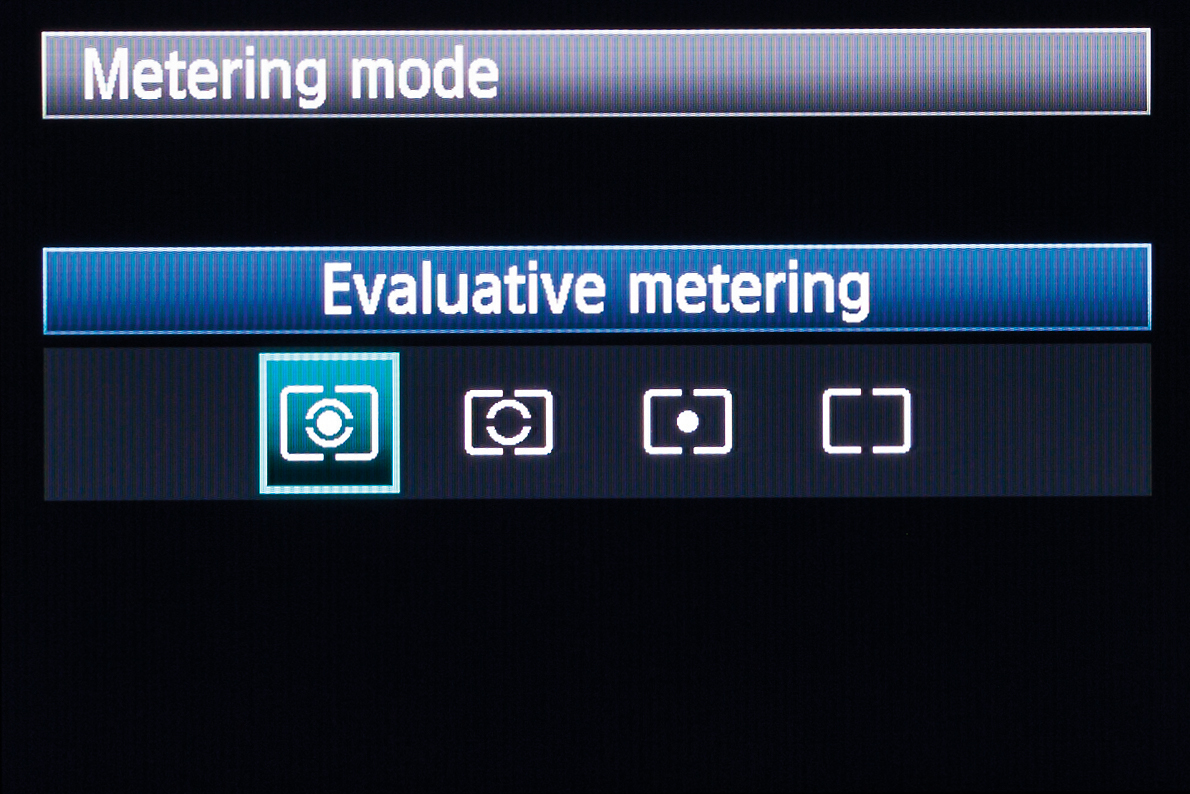
Low light and night photography sometimes poses a challenge to a camera’s exposure metering systems, and this is because the extremely high contrast can make it difficult to read and produce an exposure that maintains detail in all areas.
You can set yourself up for success by choosing the best camera metering mode. If you need a refresher, our camera metering modes at a glance can help there.
Spot metering is an advisable choice in street scenes with extreme local brightness gradients. Place an AF point near a highlight, such as a street lamp, to hold information in all but the brightest zones, then use exposure compensation accordingly. Partial metering is best for natural landscapes with flatter contrast.
Download our low-light photography cheat sheet
Read more
Photography cheat sheets
The best professional cameras
What are the best camera lenses to buy?
Lauren is a writer, reviewer, and photographer with ten years of experience in the camera industry. She's the former Managing Editor of Digital Camera World, and previously served as Editor of Digital Photographer magazine, Technique editor for PhotoPlus: The Canon Magazine, and Deputy Editor of our sister publication, Digital Camera Magazine. An experienced journalist and freelance photographer, Lauren also has bylines at Tech Radar, Space.com, Canon Europe, PCGamesN, T3, Stuff, and British Airways' in-flight magazine. When she's not testing gear for DCW, she's probably in the kitchen testing yet another new curry recipe or walking in the Cotswolds with her Flat-coated Retriever.
