Photography cheat sheet: What is directional light?
Learn how lighting direction affects your photography – and the three main types of directional light you can use

The best camera deals, reviews, product advice, and unmissable photography news, direct to your inbox!
You are now subscribed
Your newsletter sign-up was successful
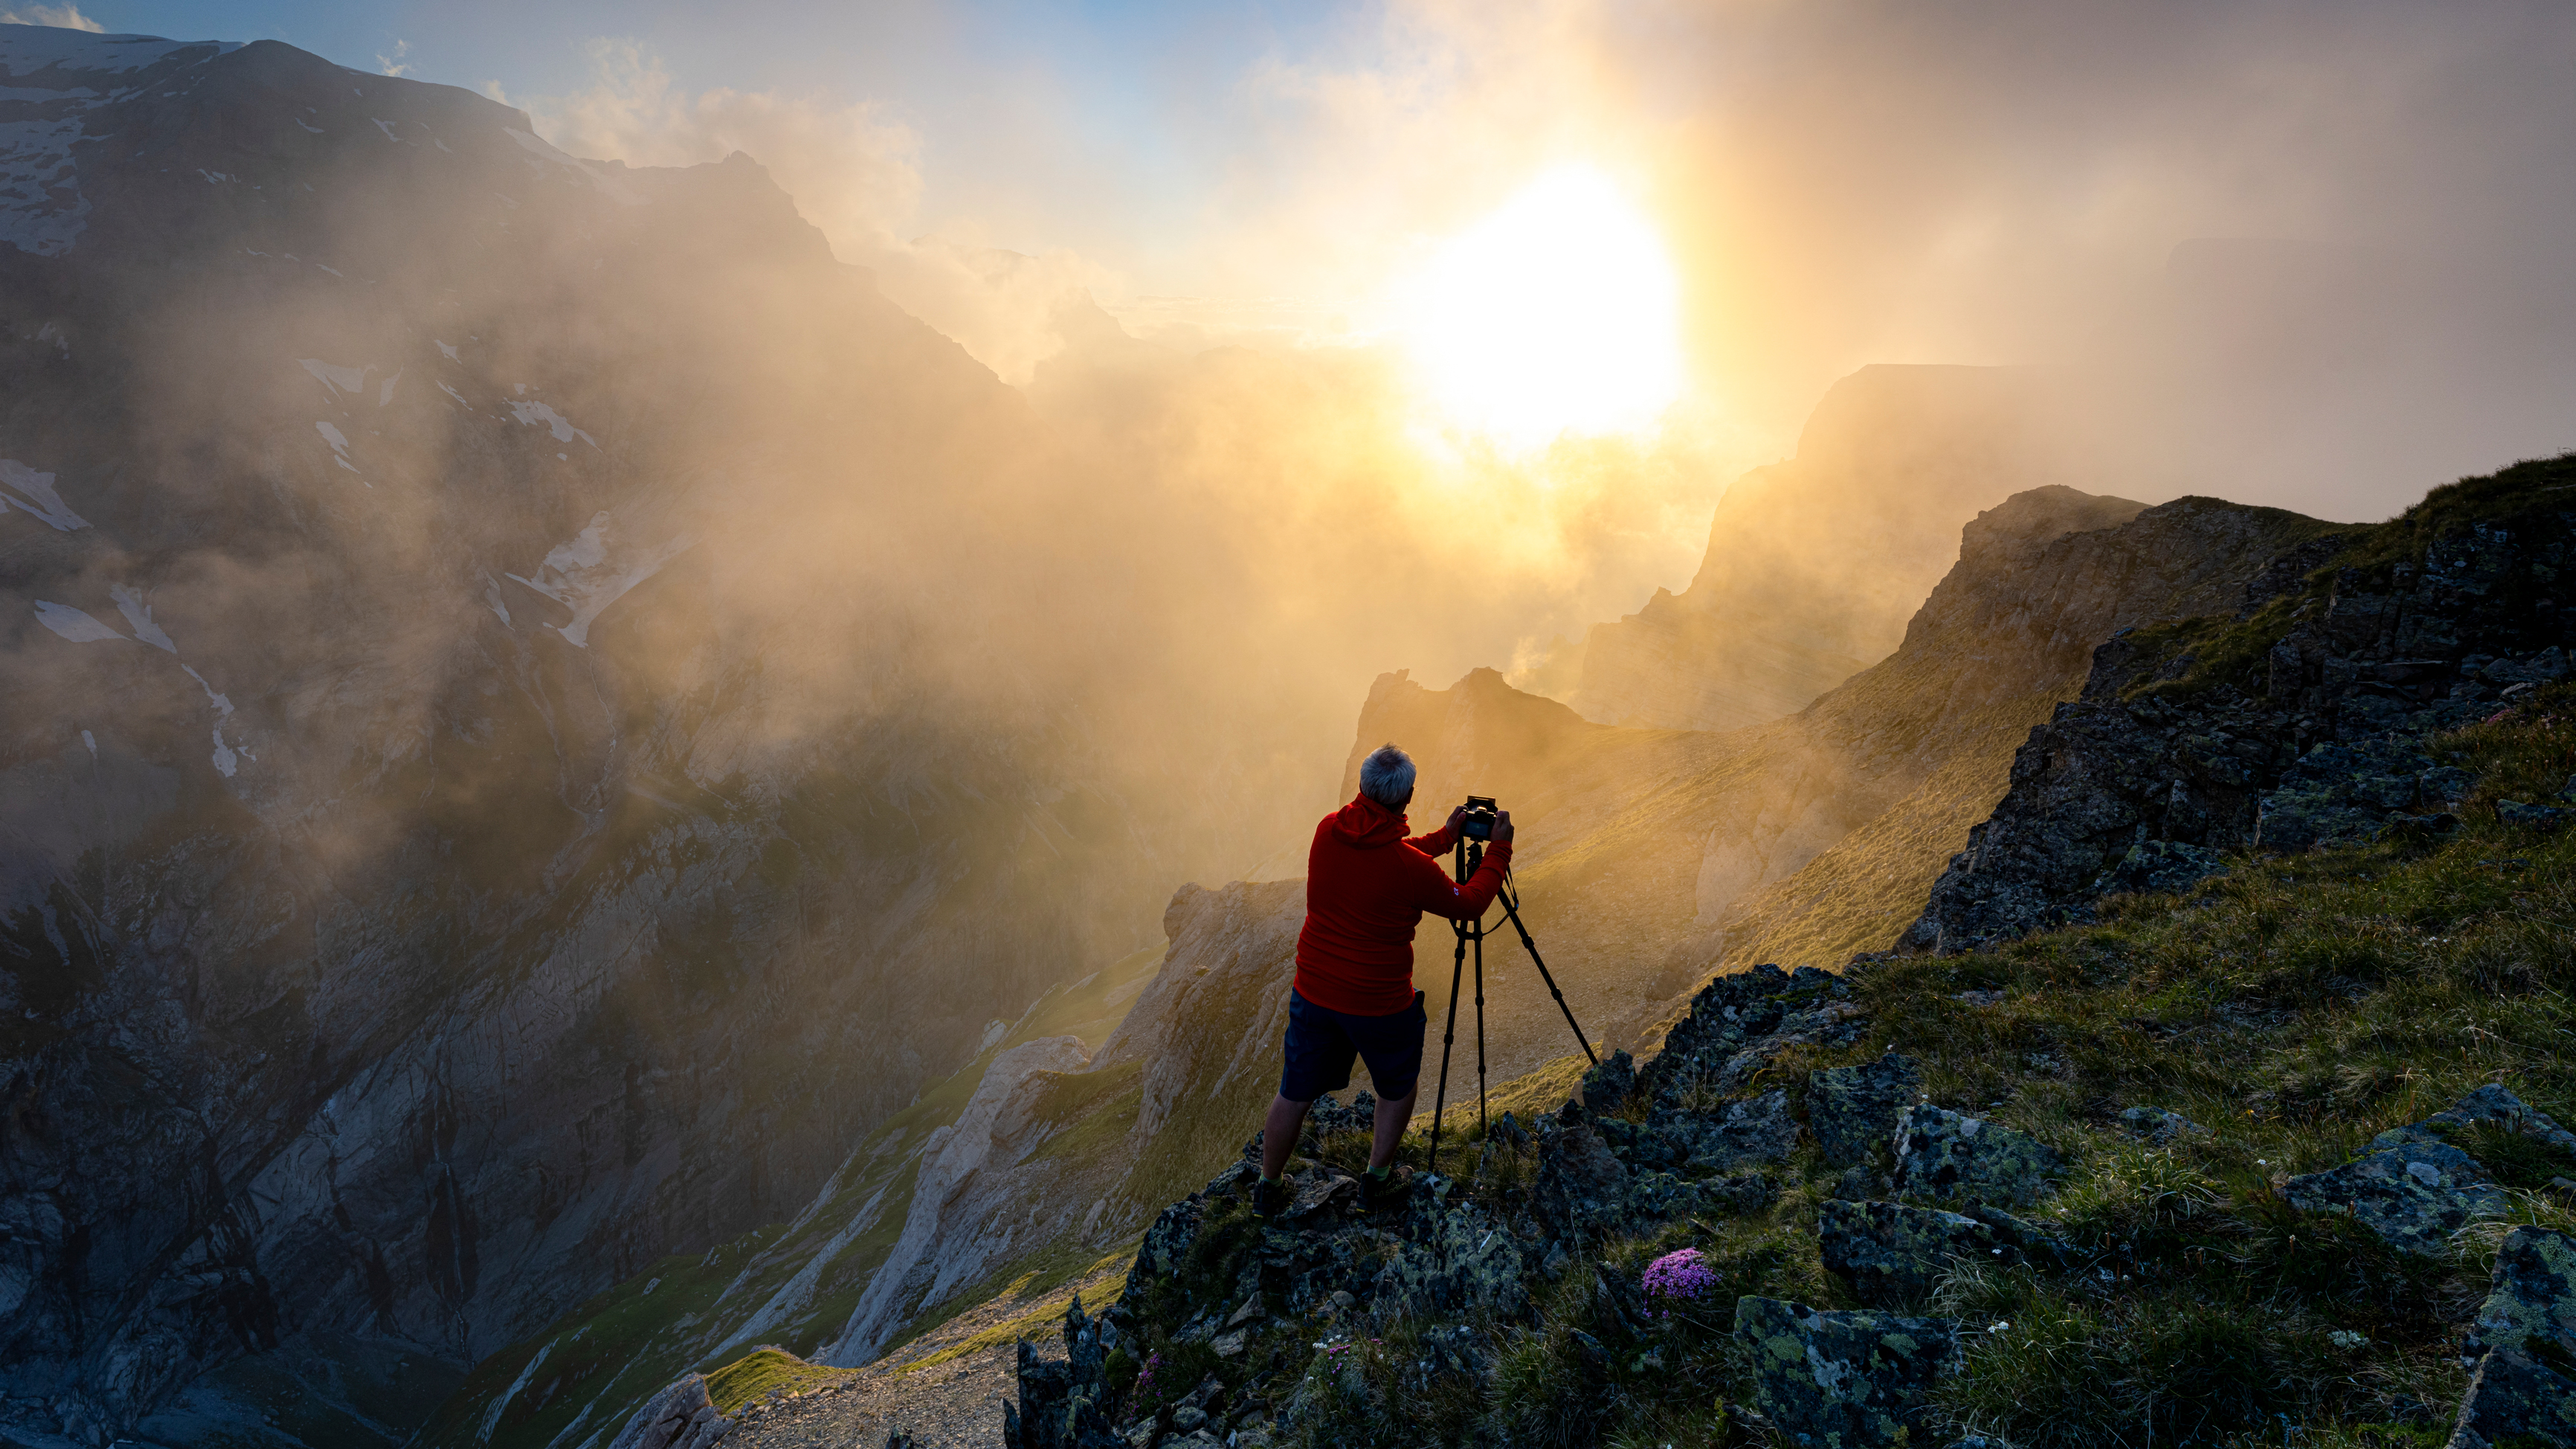
It's common to hear of landscape photographers waking up early to get the softest and most flattering light, and photographing during the golden hour is one way to ensure attractive scenes. But the position of the sun also has a significant say on the end result of your images.
Whether you're using one of the best low-light cameras or a camera for beginners, the direction of light hitting the subject affects your image just as much as the quality does. Shoot with the sun behind you and you'll see a very different result to one where it's to the side of you, or directly ahead of you.
Read more: Why do we have better light for photography earlier and later in the day, rather than at midday?
There's no right or wrong position for the light to be in – it depends, after all, on the result you're after – but knowledge of what happens as it changes will help you to plan so you can be in the right place at the right time.
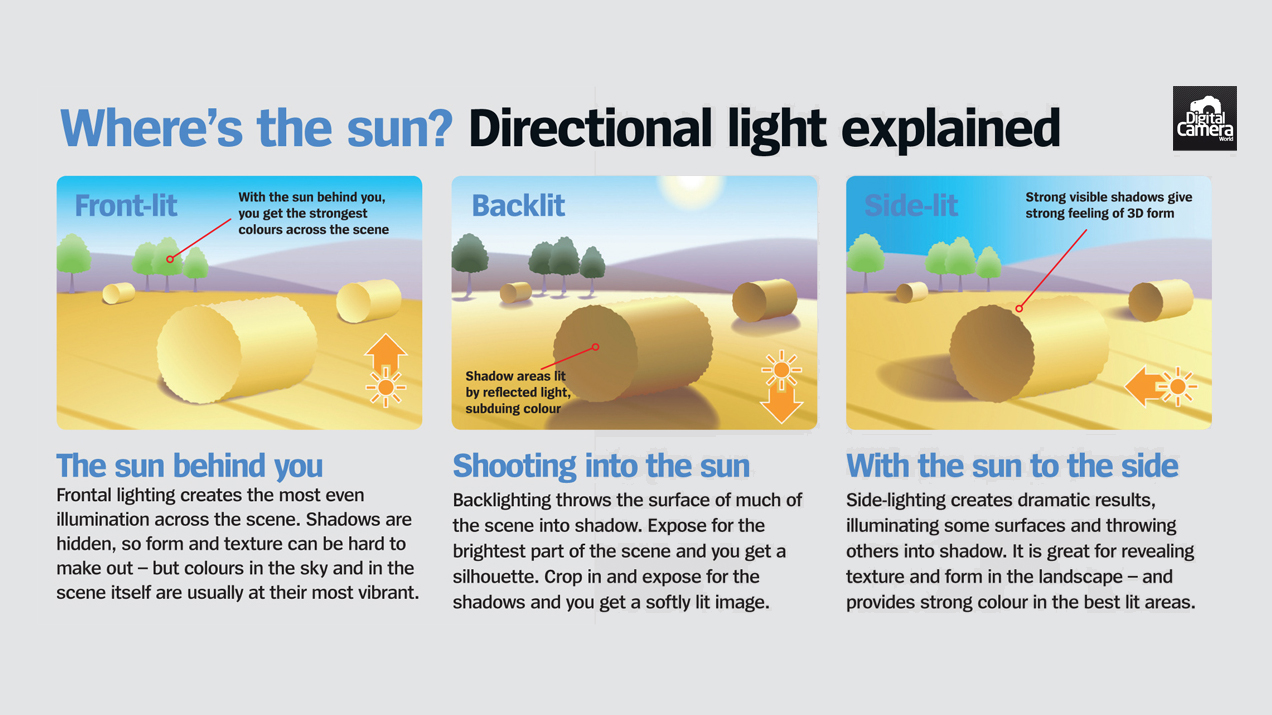
With our photography cheat sheet below, we explain the three main types of directional light, and how they affect an image. Why not save it to the camera roll on your phone to use it later?
1. Shoot with the sun behind you
If you shoot with the sun directly behind you, you'll find illumination to be even across the scene. The sky is more likely to be balanced from one side to the other, and this is important when shooting a landscape with a wide-angle lens, particularly when using a polarizing filter to give depth to the sky, as any gradual changes across the scene are likely to be more noticeable.
This option is a favorite of landscape photographers and is particularly suitable in scenes where there aren't too many significant foreground details. Here, you may prefer one of the other options that will help to accentuate the form of such elements.
The best camera deals, reviews, product advice, and unmissable photography news, direct to your inbox!
2. Shoot into the sun
Shooting with the sun directly ahead of you isn't suitable for every scene, particularly as your camera will naturally be inclined to underexpose many details. Adjusting your exposure will help to bring these back up, but you risk losing too much detail in the sky.
That said, it's great if you want to render darker subjects as a silhouette, and so it's particularly useful when shooting in black and white, with dominant subjects contrasting against their background.
3. Shoot with the sun to the side
Side lighting is great when used to its full potential. Not only can it help give your subjects definition, but longer shadows of trees and other elements stretching over the scene can look very dramatic.
It's particularly effective in scenes where only a small portion of a subject is lit well, and the rest is rendered as a shadow. The fact that you're more likely to use this very early in the day, or later as the sun is setting, is also great as you'll have a softer light to work with.
Interested in learning more about lighting? You might also like the best diffusers and the best photography lighting kits. Make sure to check back for more photography cheat sheets.
The former editor of Digital Camera World, "Matt G" has spent the bulk of his career working in or reporting on the photographic industry. For two and a half years he worked in the trade side of the business with Jessops and Wex, serving as content marketing manager for the latter.
Switching streams he also spent five years as a journalist, where he served as technical writer and technical editor for What Digital Camera before joining DCW, taking on assignments as a freelance writer and photographer in his own right. He currently works for SmartFrame, a specialist in image-streaming technology and protection.


