Photo therapy: why shooting at the coast is so damn difficult
Overcome some of the biggest challenges of shooting coastal images for the best possible results
The best camera deals, reviews, product advice, and unmissable photography news, direct to your inbox!
You are now subscribed
Your newsletter sign-up was successful
Shooting at the coast can be both a fun experience and stressful one depending on how you approach it! For landscape photographers there are few environments as satisfying as a seascape - coastlines provide almost everything you could want in an image: great light, clear levels in the composition, hard and soft textures to contrast. A wonderful combination.
That is until you take a closer look at your images and spot burnt out highlights you can't seem to shake, then notice how difficult it is to perfectly frame the scene within in a 3:2 or 4:3 shot. Exposure and composition are two of the major challenges newcomers to coastal photography (and some more experienced shooters) find can hold back the quality and impact of their photographs.
• 16 essential landscape photography tips
Regarding exposure, the difficulties arise from the vast difference in reflectivity of each surface within the scene. On some parts of your image you have textured rock and sand, which reflects very little light back towards the camera. In other parts of the location you have wet surfaces, which can create 'glints' or localized bright spots, which are tricky to expose for. Then, making up a large area of the shot, the ocean itself is highly reflective, which can be problematic when the sun is low in the sky.
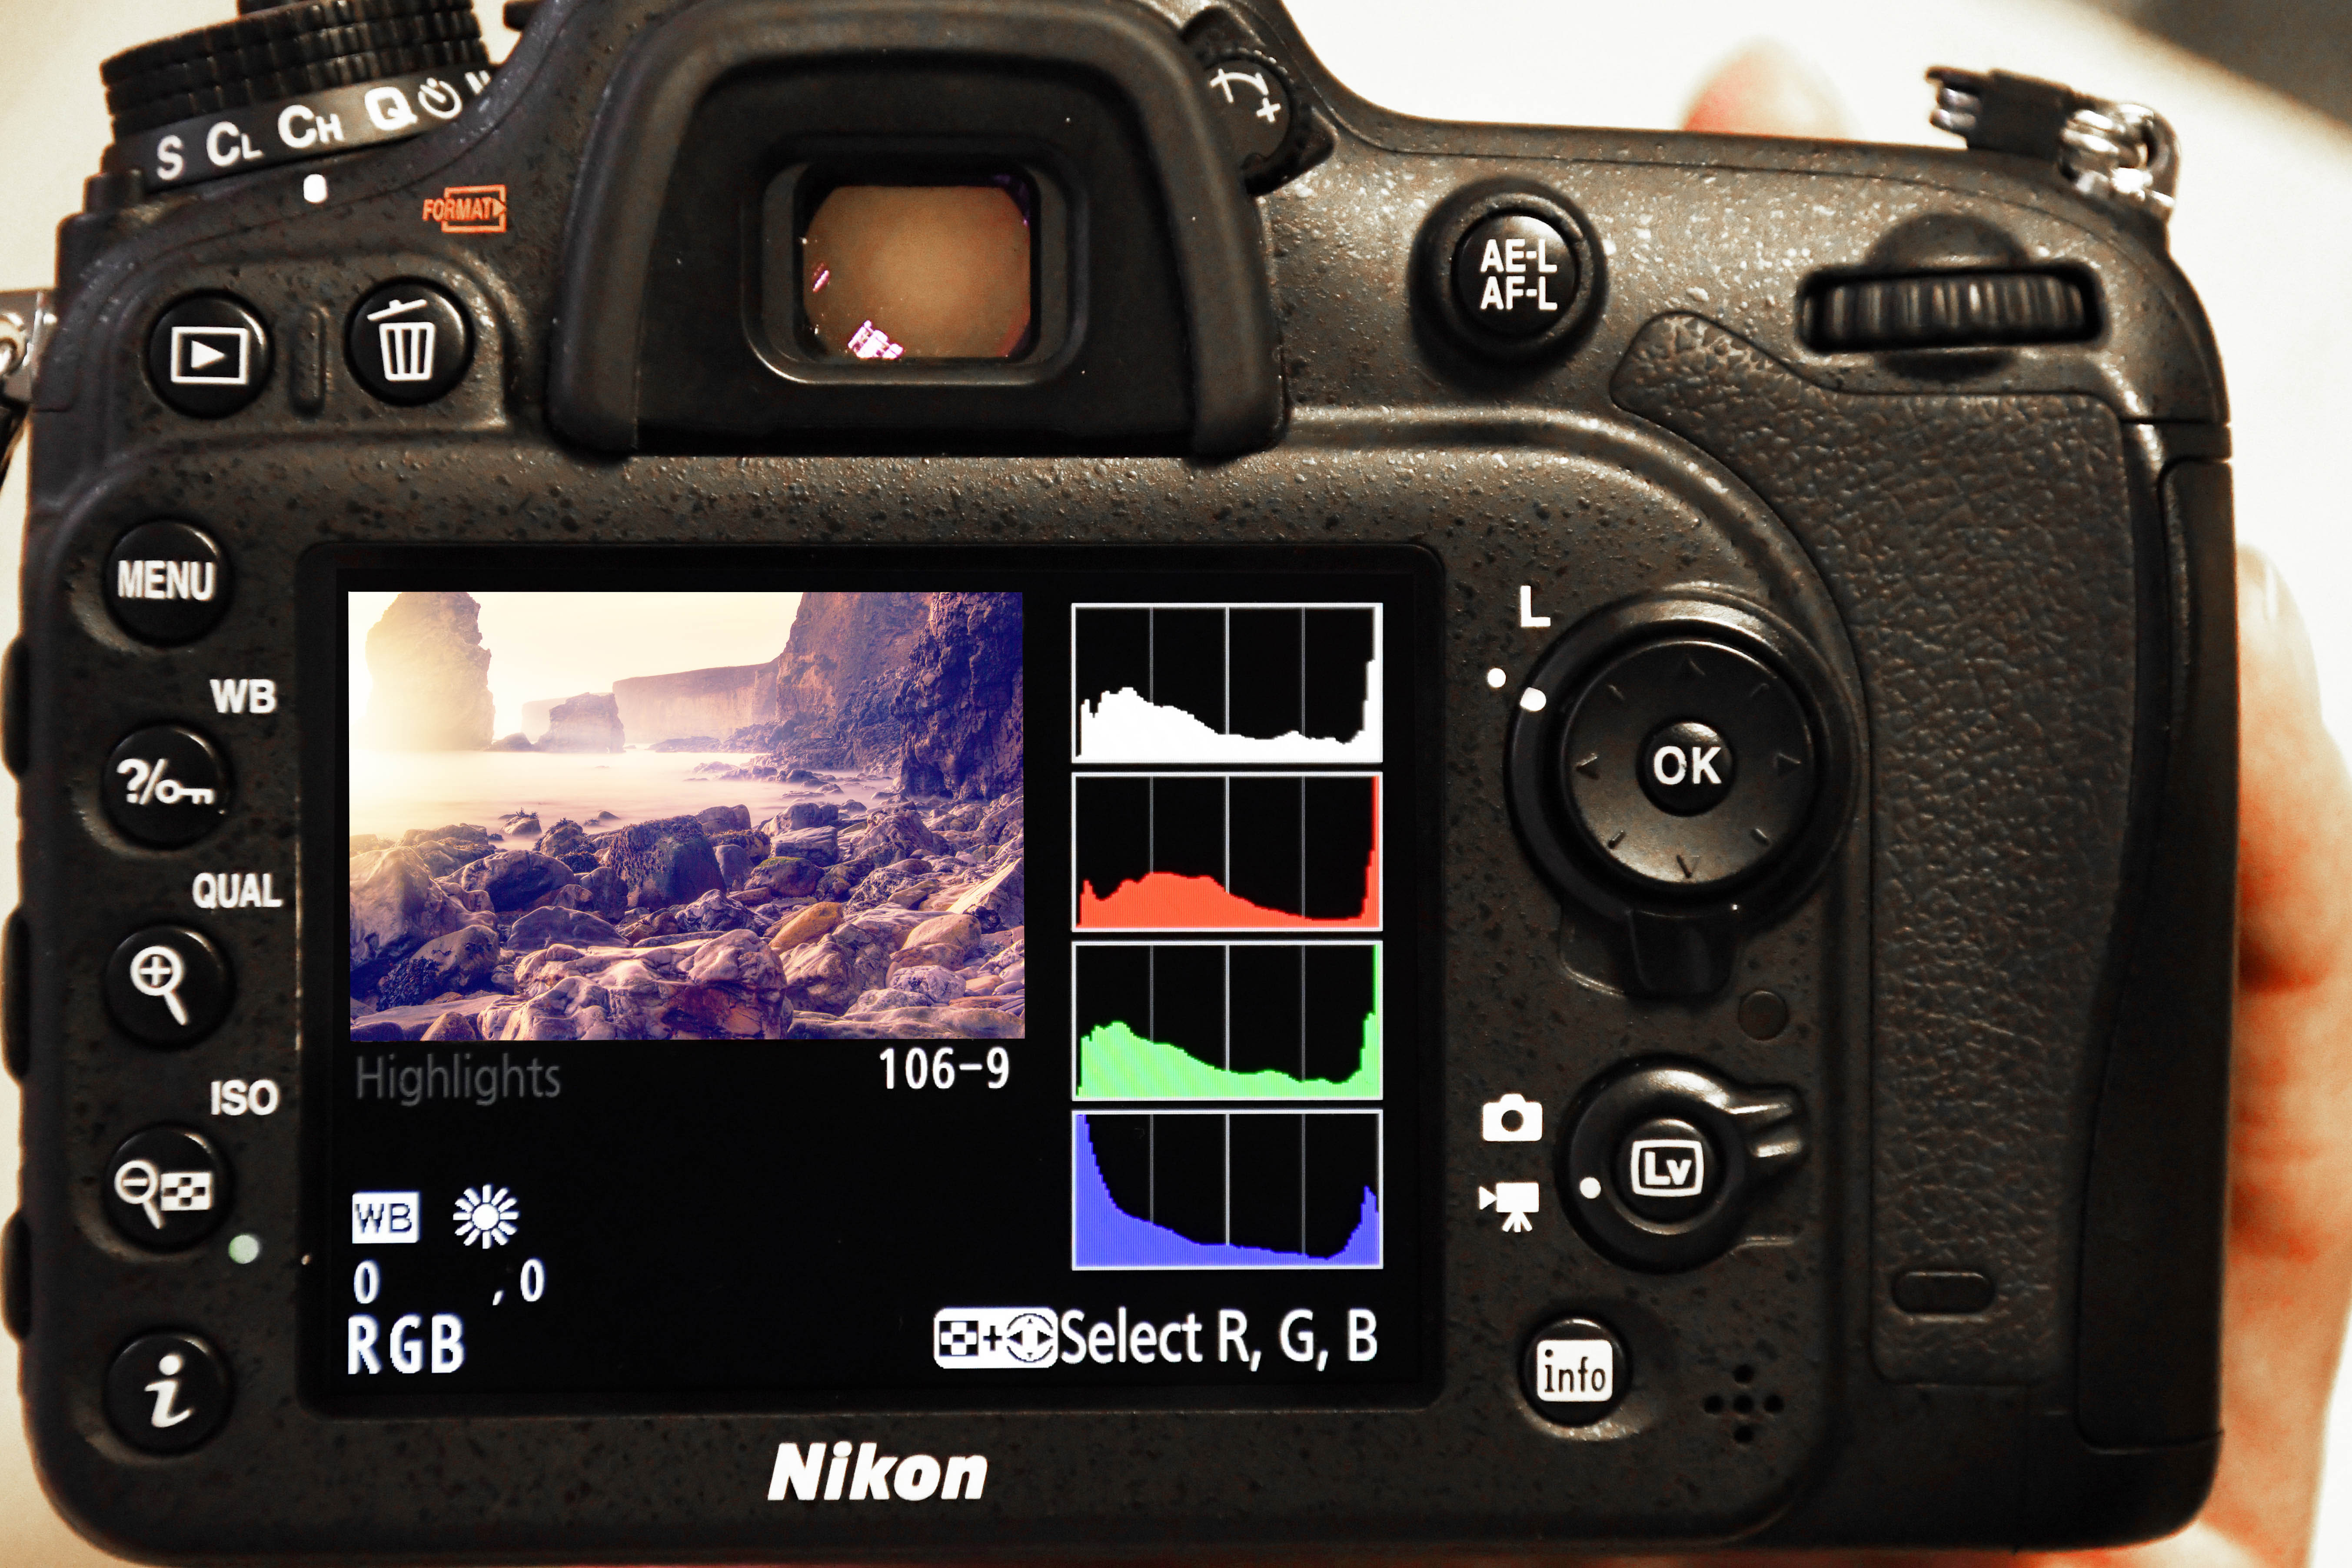
For coastal photography essential camera features are the histograms and highlight alert warnings. Both of these help identify when detail is being lost from the highlights, turning them solid white. Histograms provide the most detail while the 'blinkies' provide a quick visual reference for where clipping is occurring.
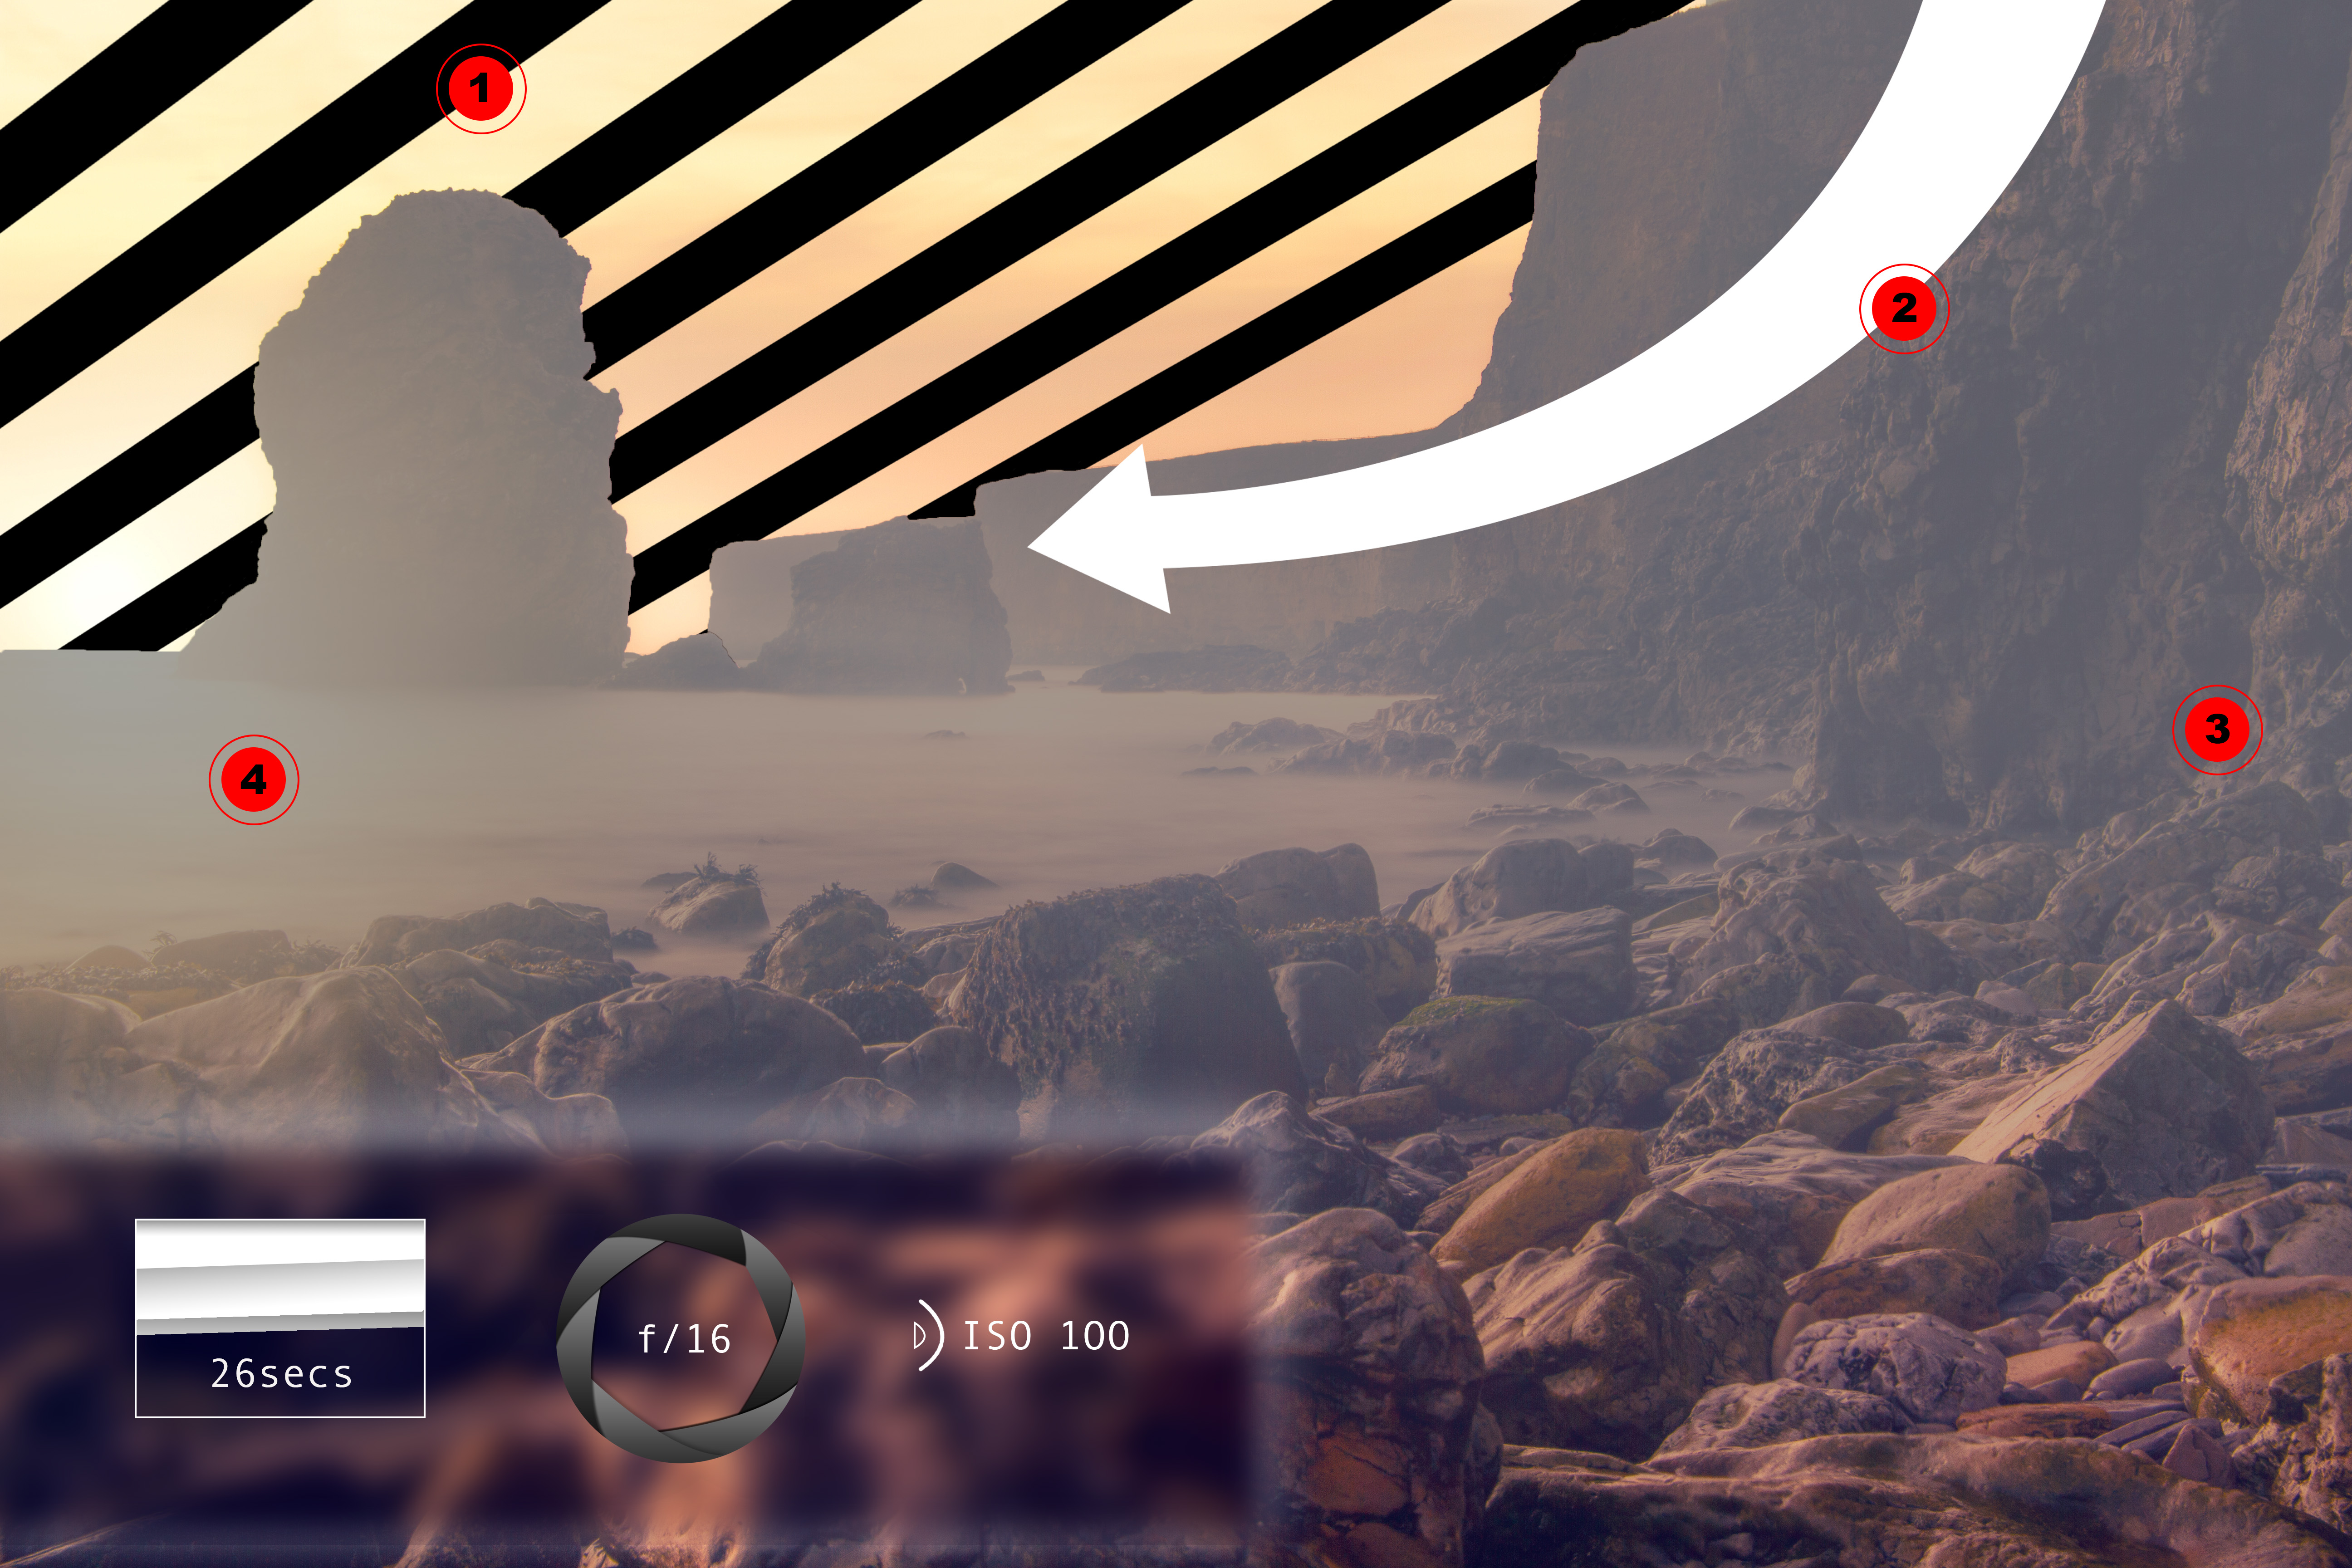
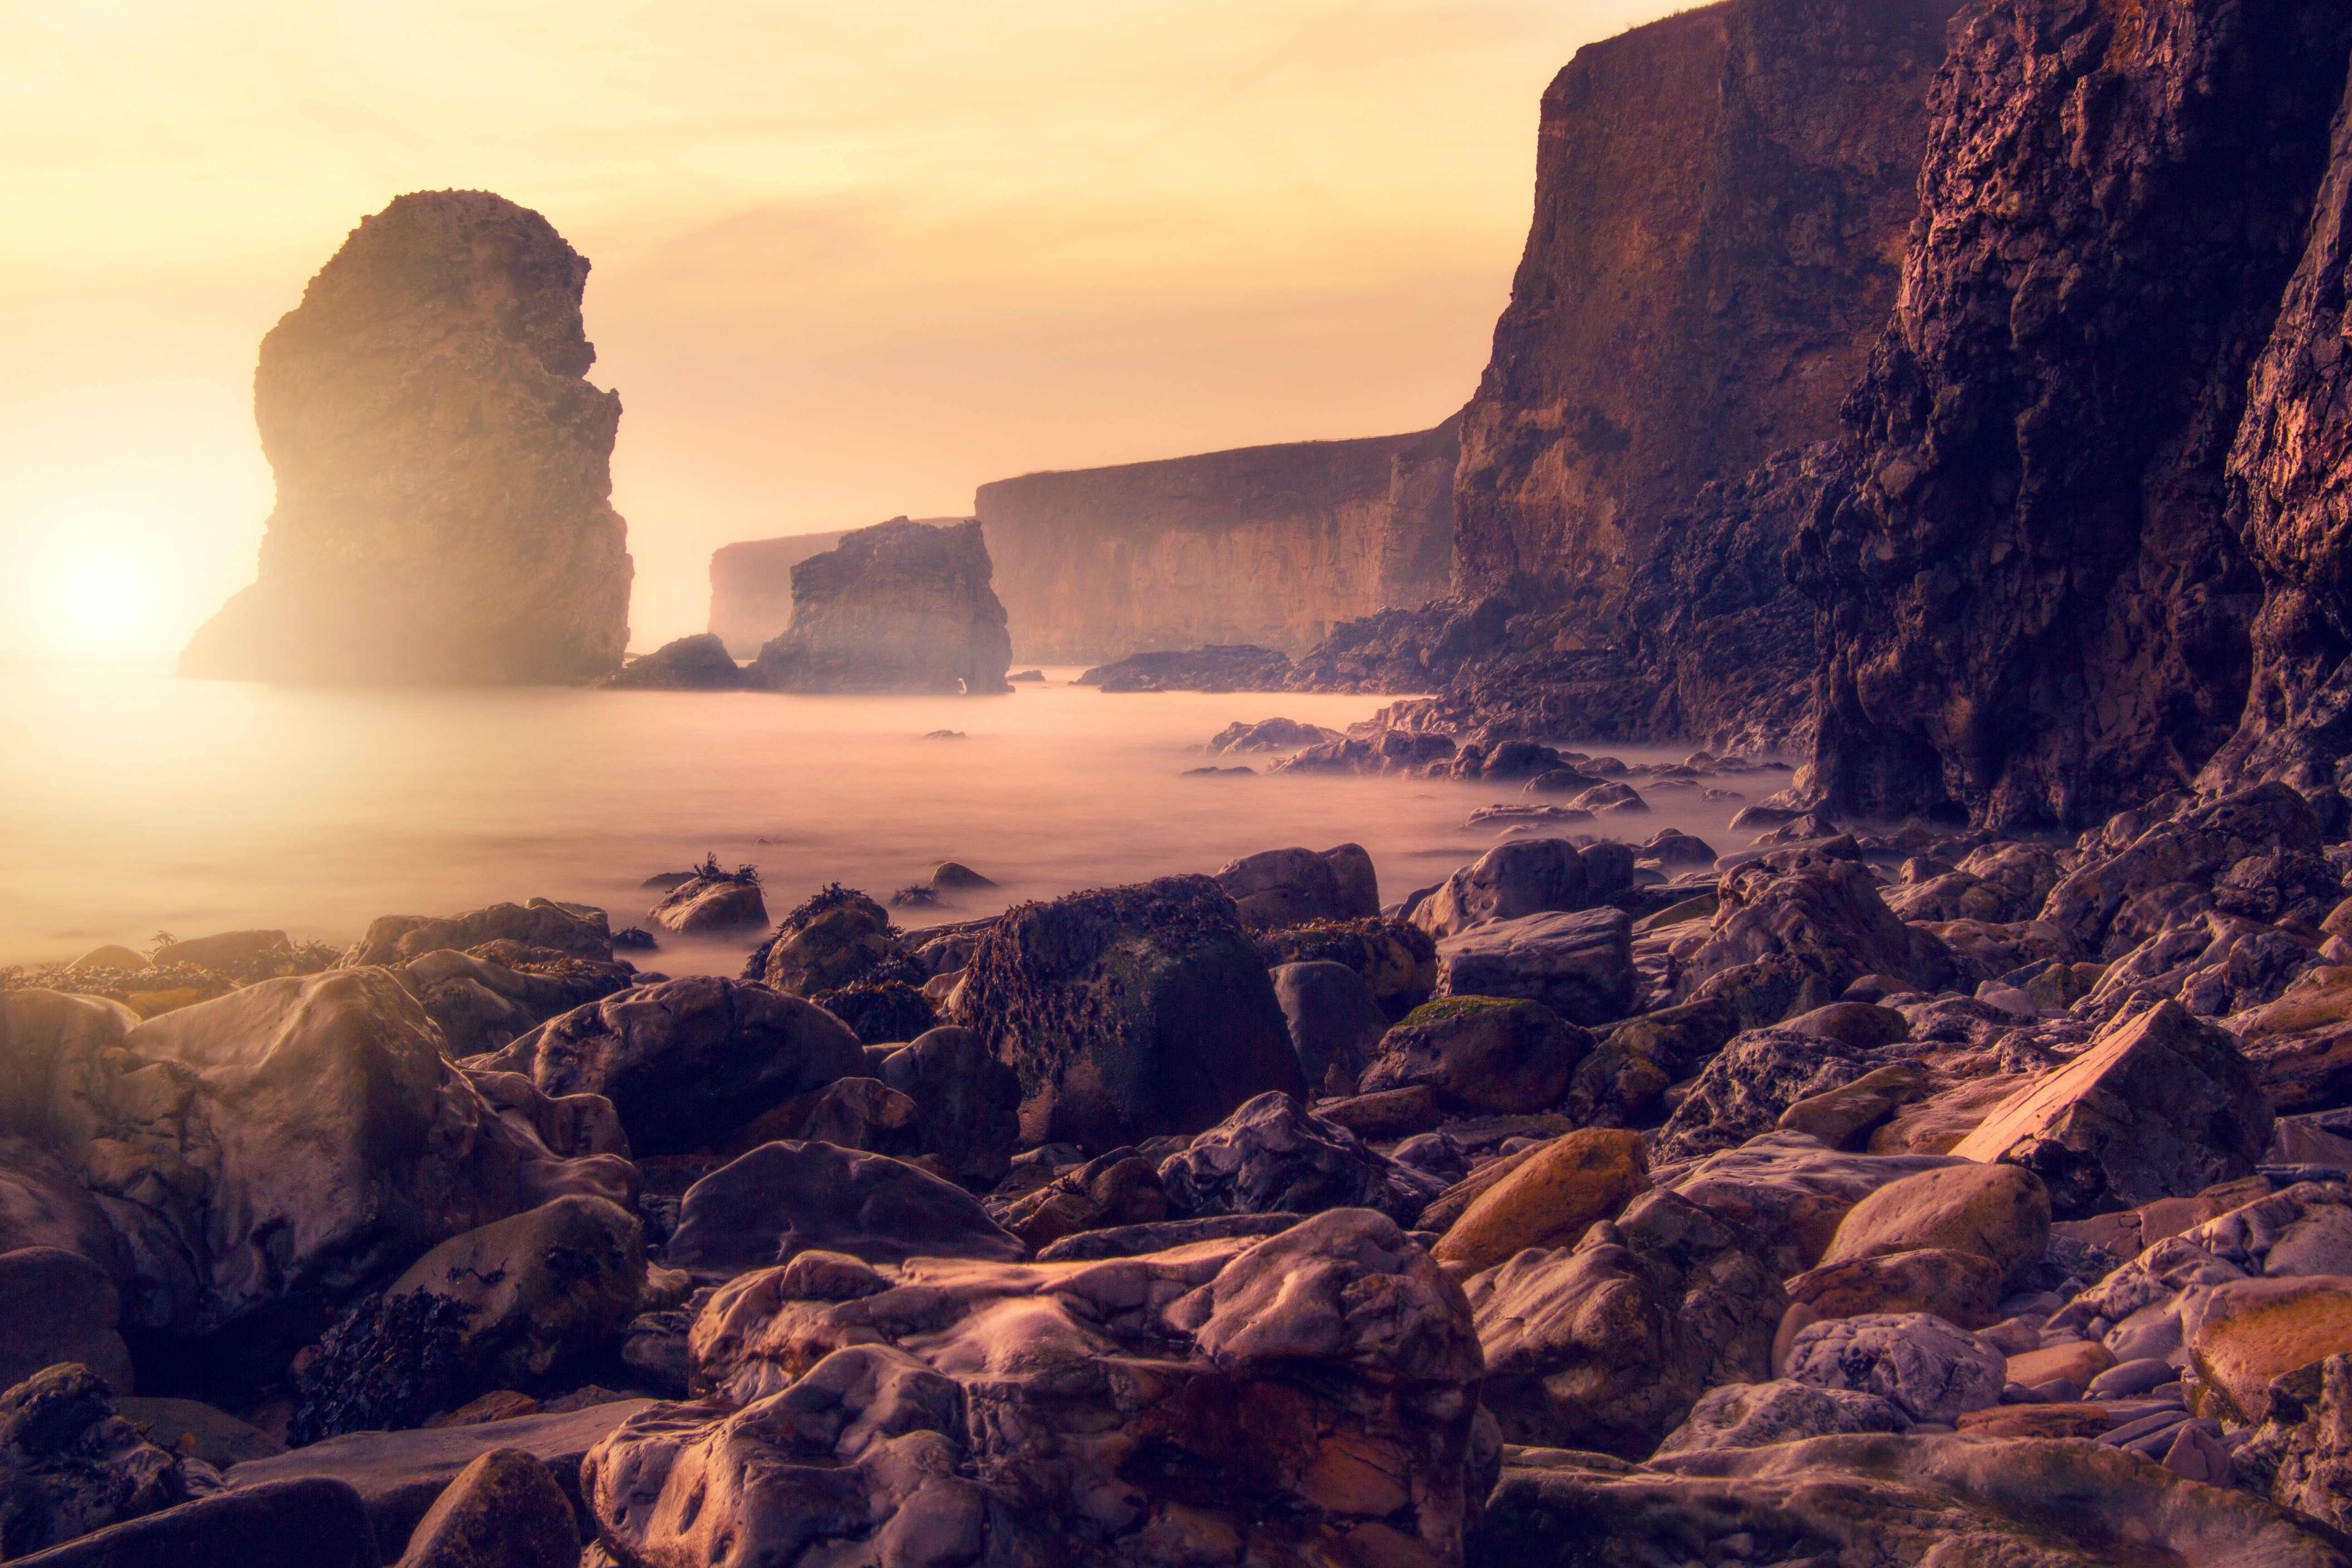
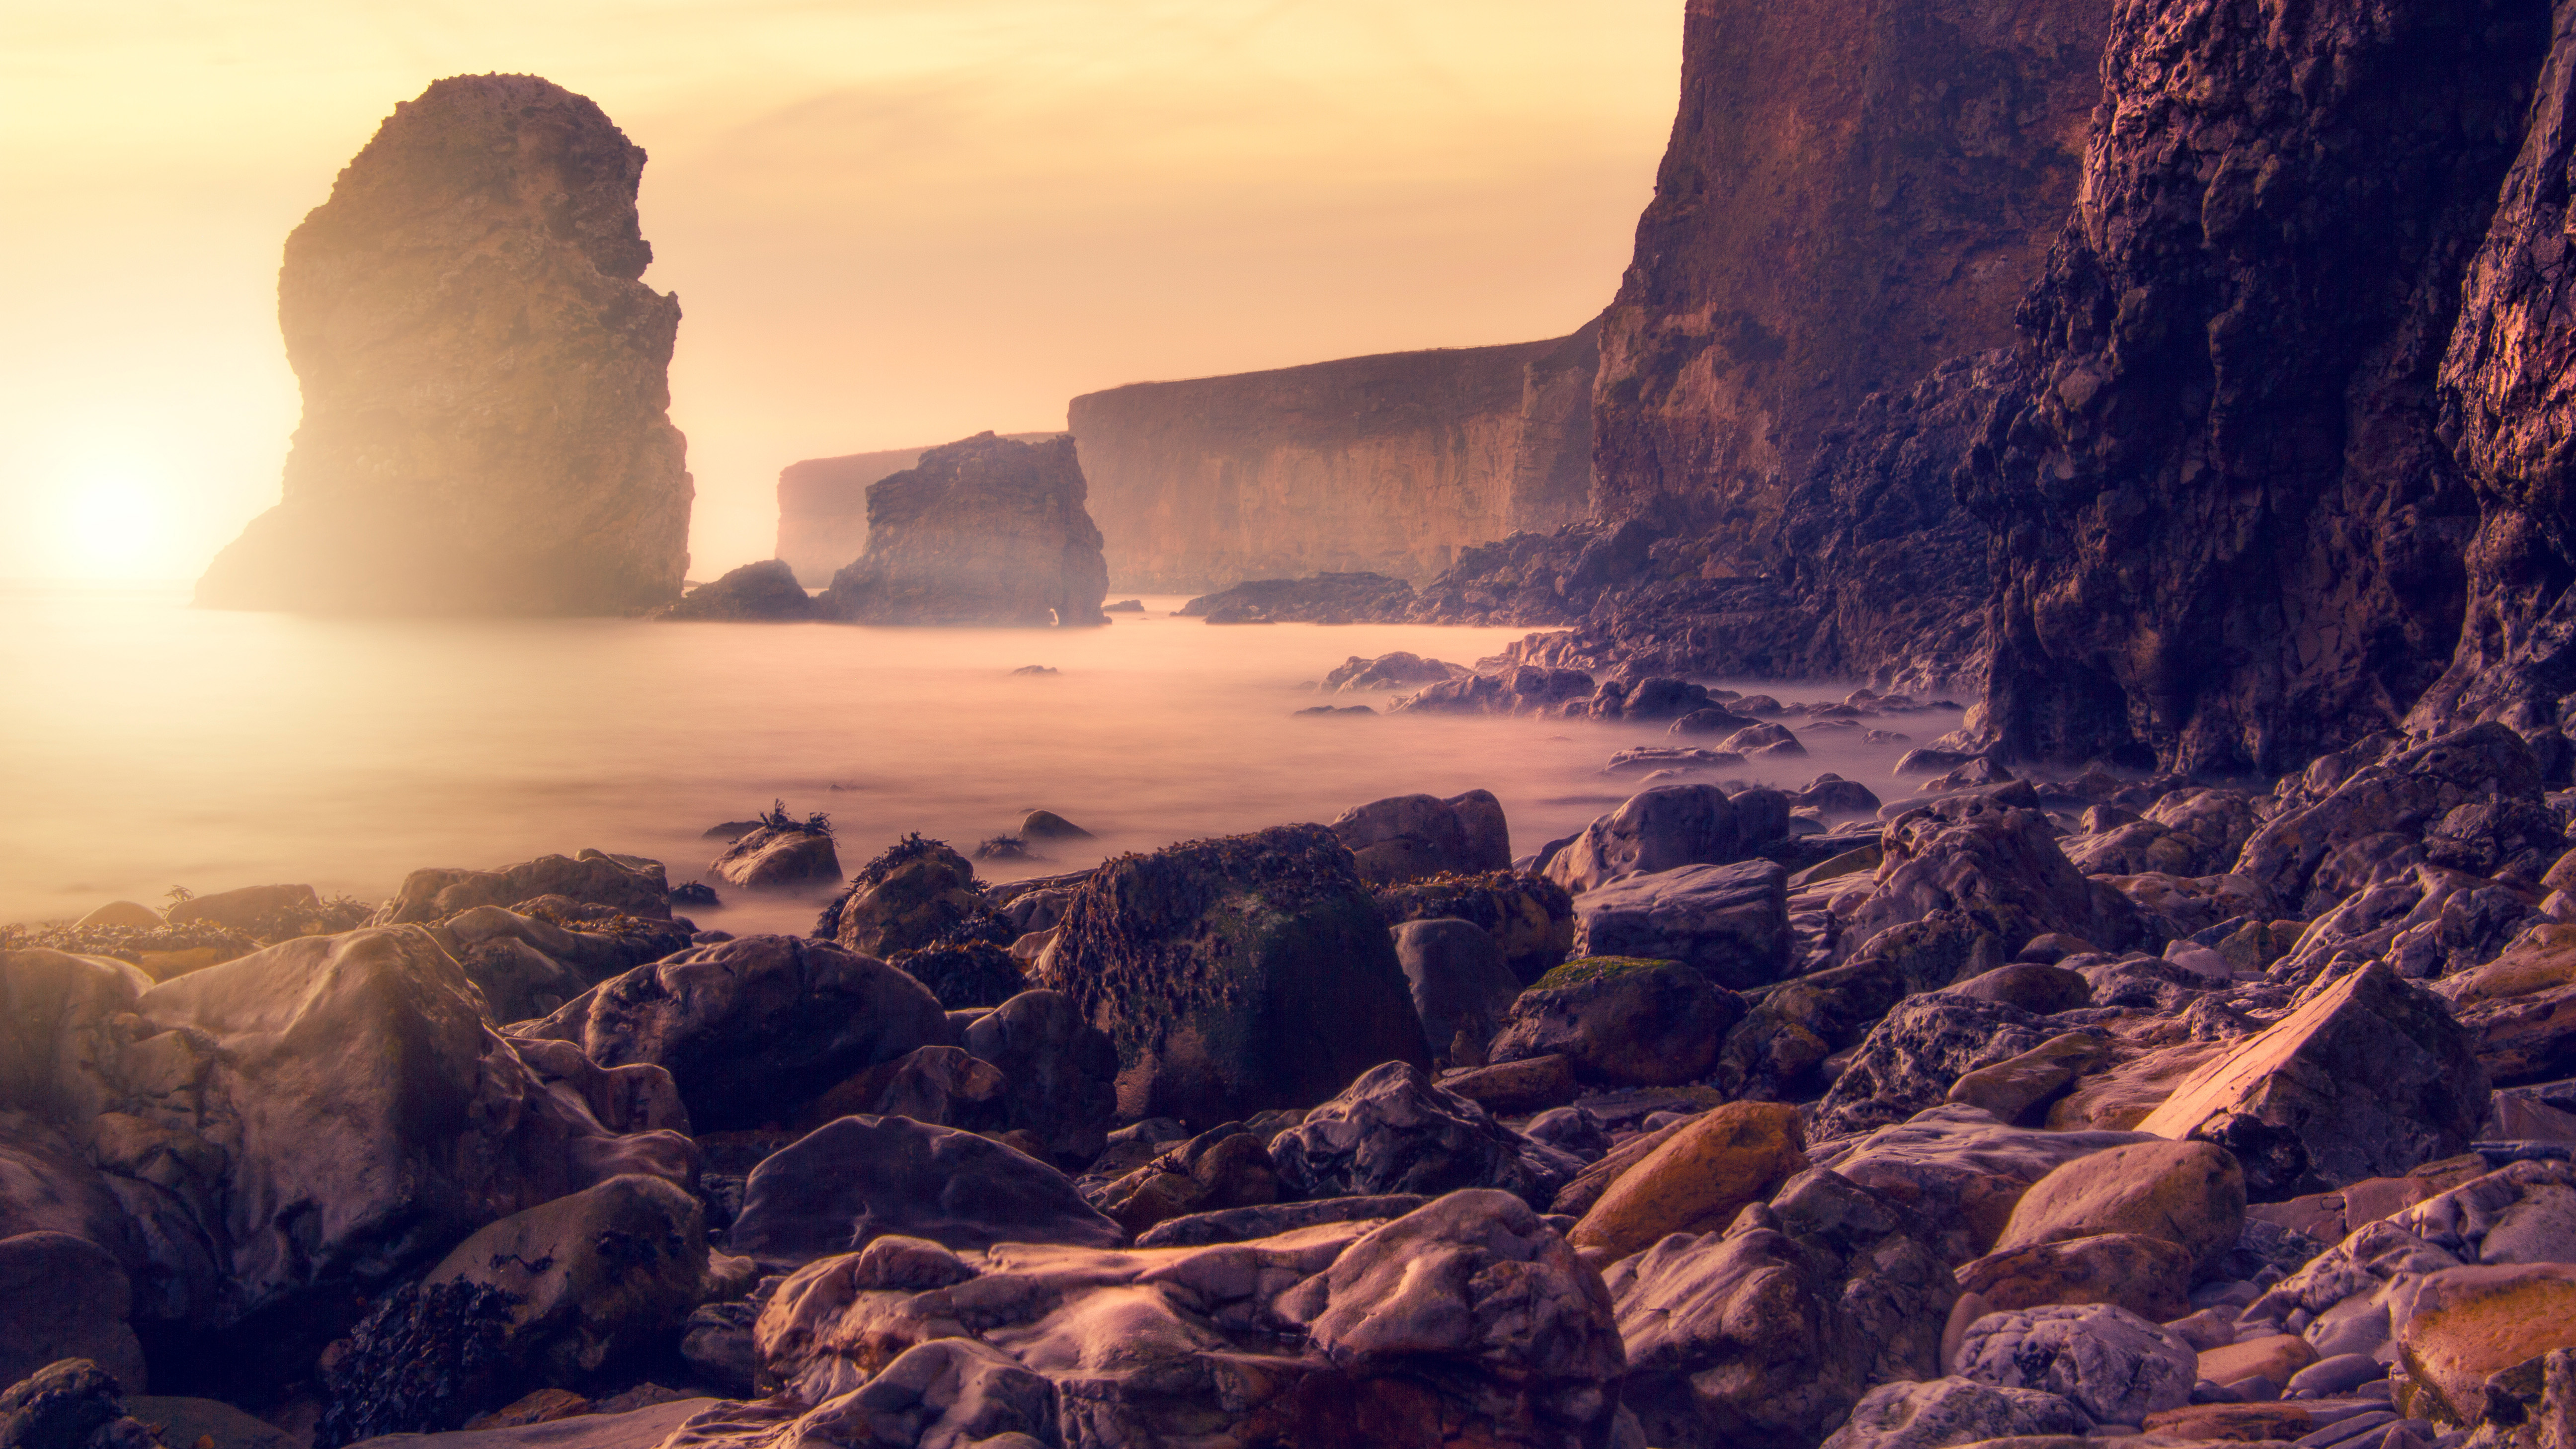
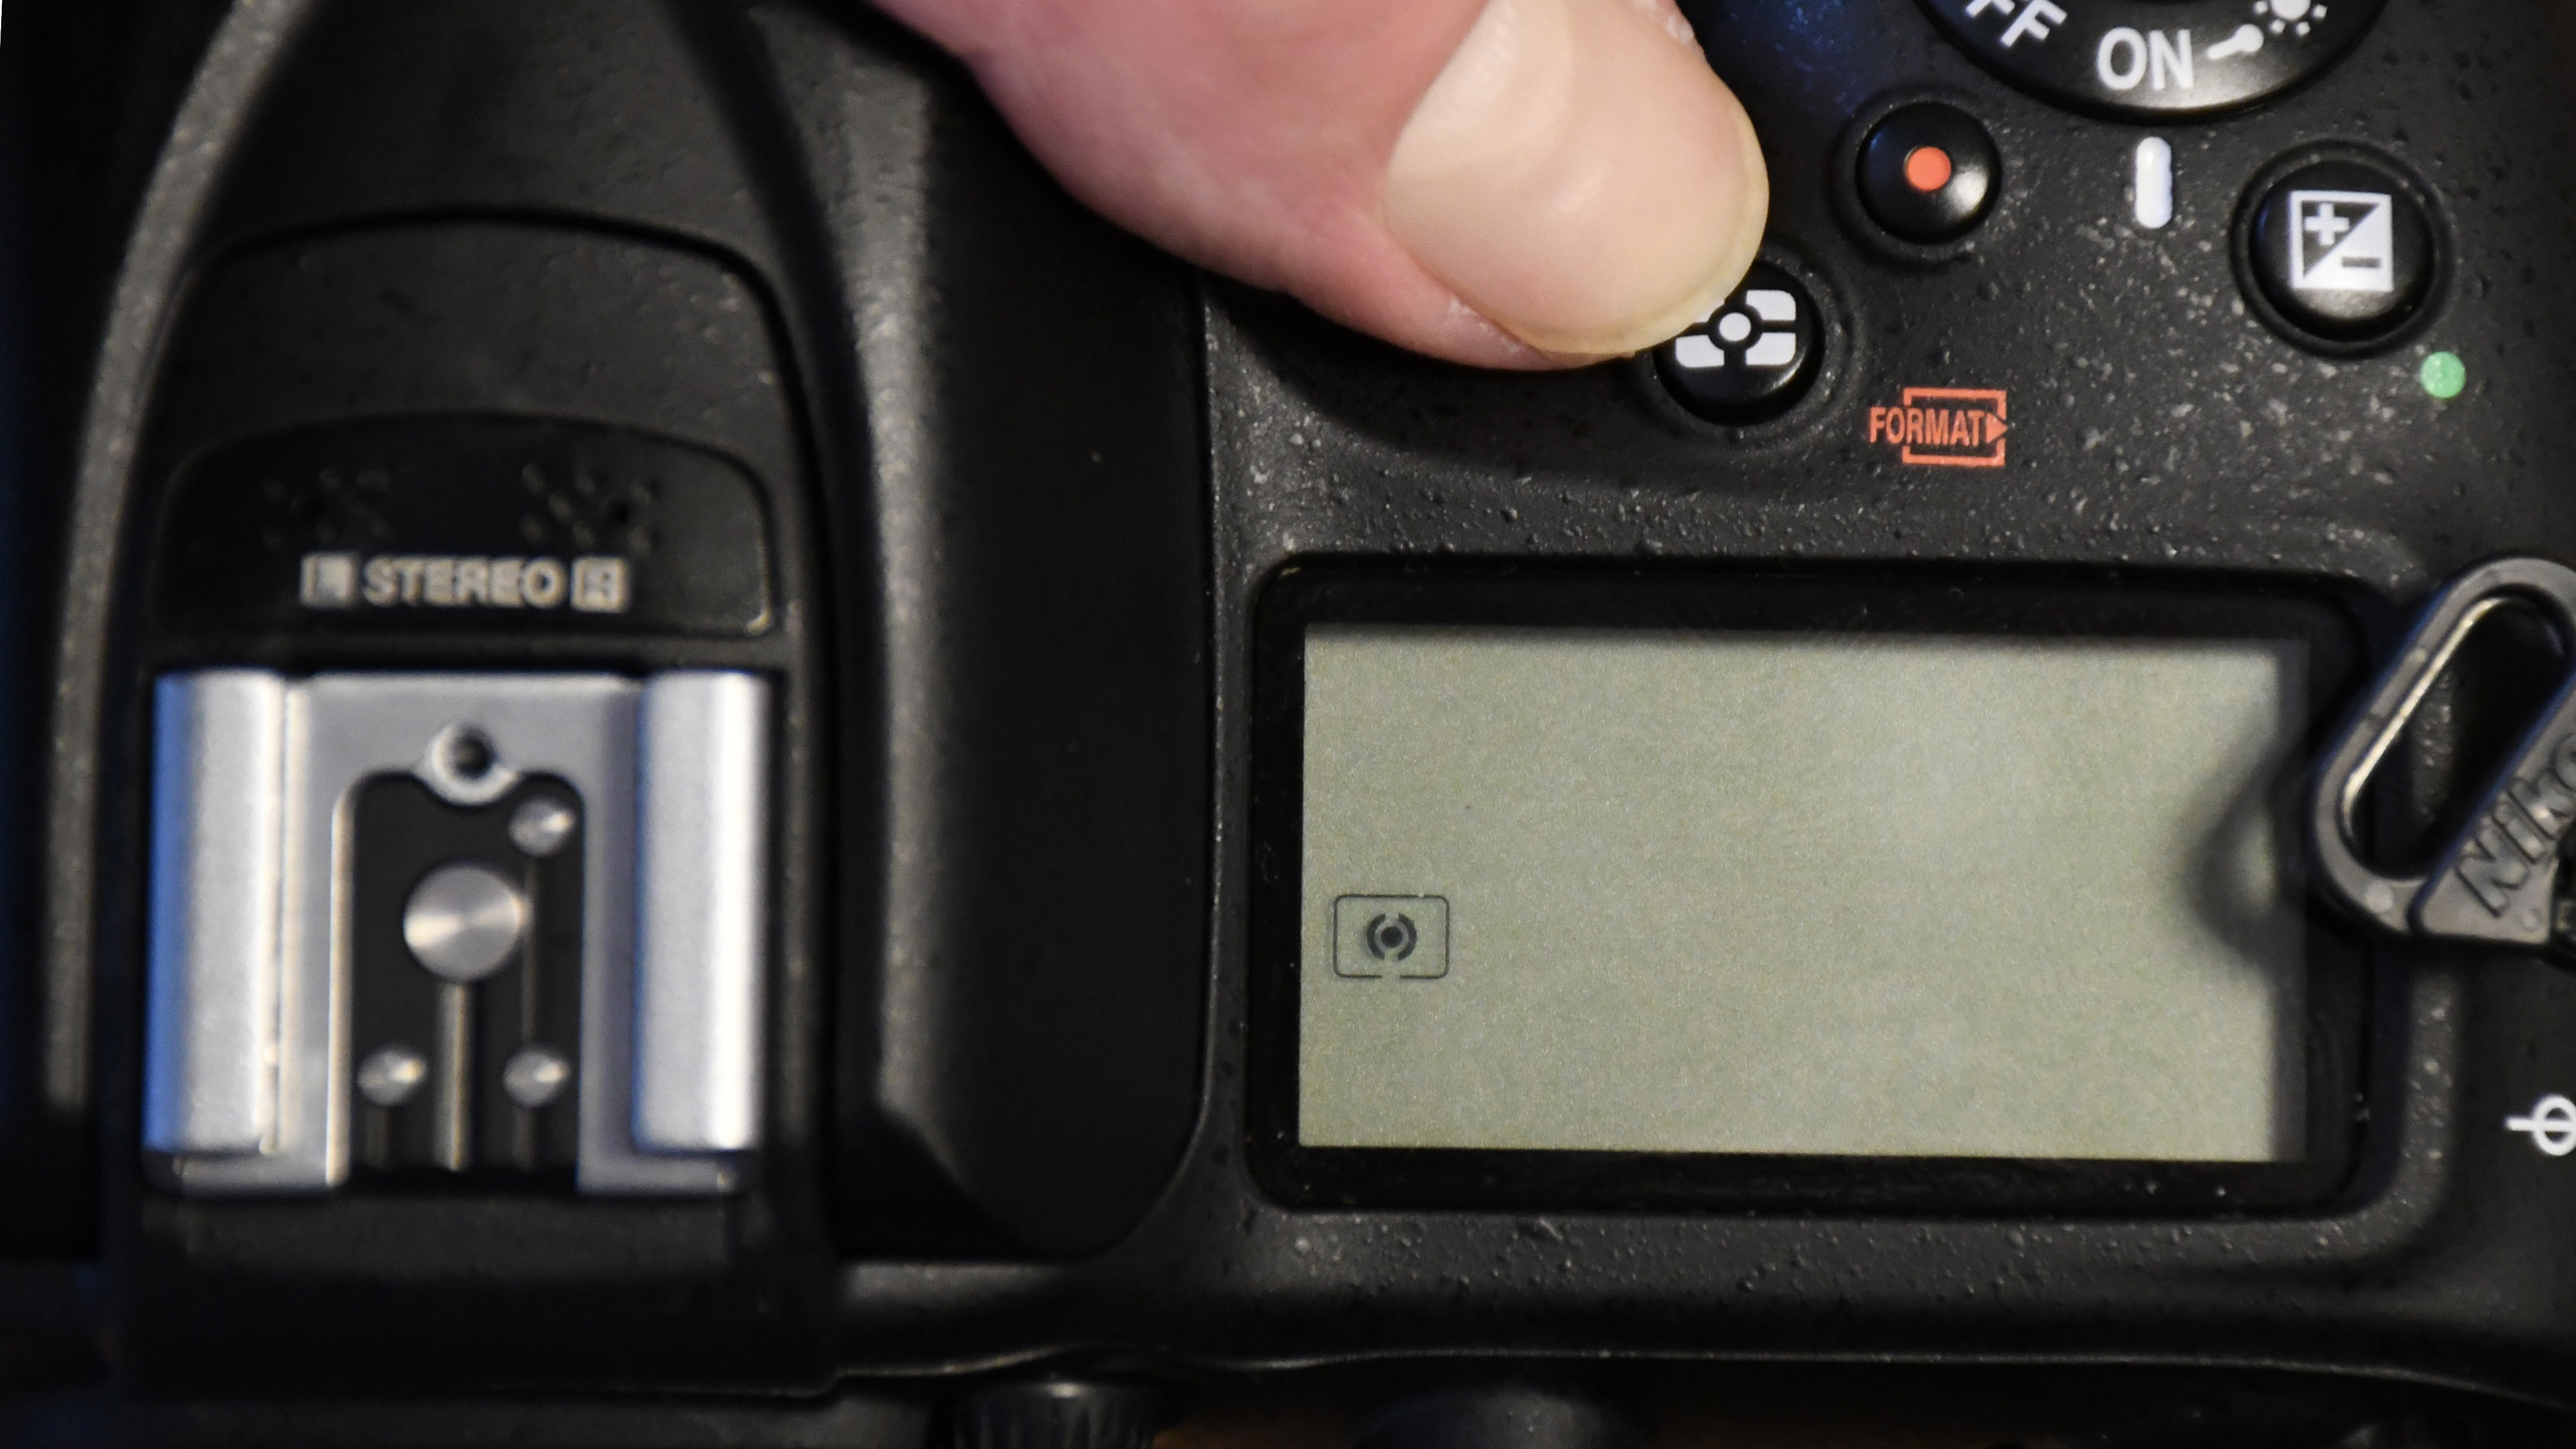
To solve some of these exposure issues, changing your metering mode to Spot or Partial, will restrict where your camera looks to source exposure information. In the case of this image Centre Weighted metering mode was chosen and an exposure reading was taken from the highlights on the water. This gave a more inclusive reading that Spot, which avoided serious underexposure.
Once the majority of highlight detail had been recovered I pushed the exposure up to expose to-the-right (ETTR), which meant as much shadow and highlight information as possible could be squeezed out of the camera's dynamic range.
The best camera deals, reviews, product advice, and unmissable photography news, direct to your inbox!
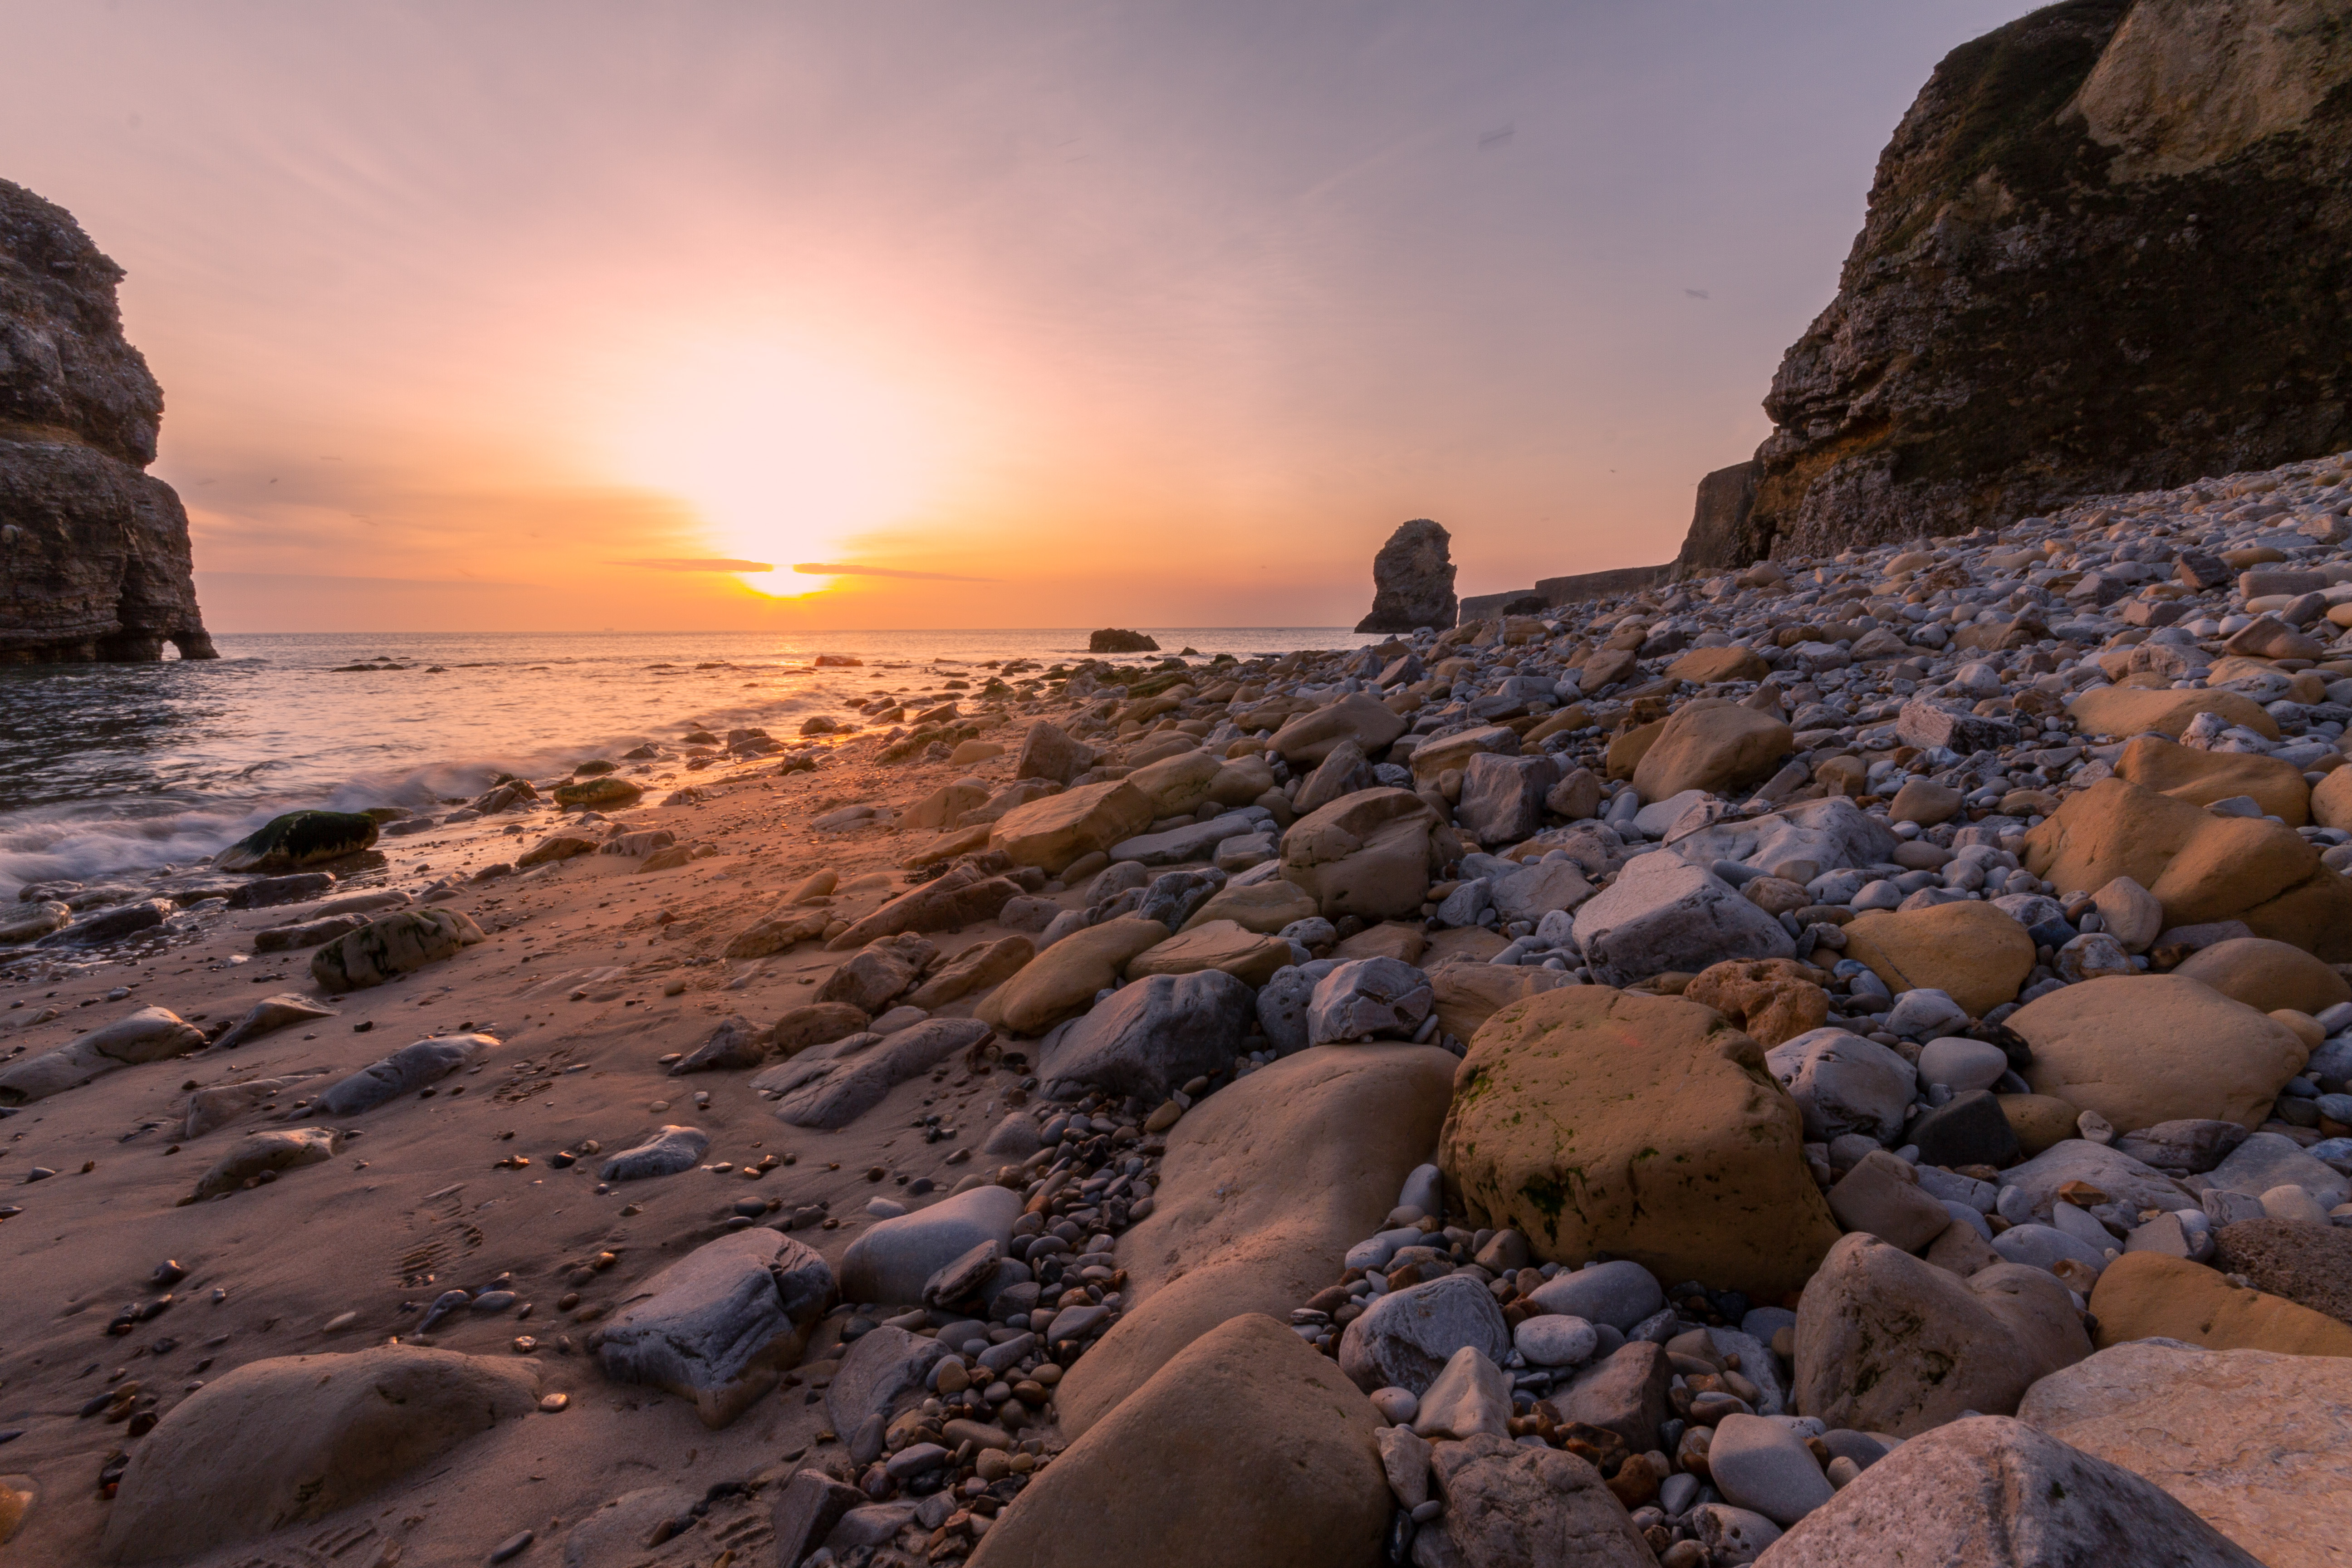
As for composition, the big problem with coastal scenes is that they tend to be quite linear - the major points of interest are centralized along the horizon. While cliffs do create layers, there is a problem - they can be so tall they tempt the photographer into using an ultra-wide lens to get them all into the shot. This means foreground detail becomes very small and you also end up with large areas of empty sky on one side of the frame.
They key is to try and arrange the elements of the scene so that they seem closer together. For this image the effect was achieved by using a telephoto lens - the opposite strategy many new photographers might try. By zooming in to around 200mm the scene was compressed. This allowed the cliffs to be included in the frame, to provide a sense of height, without revealing too much sky. It also brought the rocky foreground and distant sea stacks together.
Why the image works
- Reduced sky: using a longer lens helps keep empty space to a minimum
- Leading lines: the cliff top guides the eye to a clear subject, despite the busy environment
- Layers: Including the cliffs adds levels to the image and creates a sense of scale in an otherwise flat scene.
- Bright spots: Metering from the highlights and using ETTR helps provide a balanced exposure. Image blending was also used for a wider tonal range.
Conclusion: when shooting coastal scenes remember to check for small areas of blown highlights. These are easy to overlook but can reduce the impact of your shot, by distracting your viewers. Use Spot or Partial metering modes to make your exposure calculation more precise, but watch for underexposure too. Try bracketing your images and blending the exposures later, since hardware filters are often unsuitable, due to artificial darkening of cliffs.
Next, always make sure you have a clear subject for the eye to settle on and use the terrain to guide the eye to it. Don't always reach for a wide optic, as this can create large empty areas of the shot.
Digital Photographer is a monthly magazine, and the kitbag essential for enthusiasts and amateurs alike!
Inside, you'll find practical guides, shooting tips and techniques from working photographers, plus all the latest industry news.
Read more
New Adobe Super Resolution is great… if you are ready for 400MB image files
Landscapes with a difference: shoot amazing shallow scenics
The best full-frame compact cameras in 2021: a short list, but a great one!
As the Editor for Digital Photographer magazine, Peter is a specialist in camera tutorials and creative projects to help you get the most out of your camera, lens, tripod, filters, gimbal, lighting and other imaging equipment.
After cutting his teeth working in retail for camera specialists like Jessops, he has spent 11 years as a photography journalist and freelance writer – and he is a Getty Images-registered photographer, to boot.
No matter what you want to shoot, Peter can help you sharpen your skills and elevate your ability, whether it’s taking portraits, capturing landscapes, shooting architecture, creating macro and still life, photographing action… he can help you learn and improve.
