Landscapes with a difference: shoot amazing shallow scenics
While having front-to-back sharpness is a common trait of landscapes it isn’t the only option for creative photography
One of the first things we learn in photography is that, when shooting a landscape image, it is vital that sharpness extends from the very front of the scene to the furthest background detail. While in most cases this will produce a reliably high-quality image, it is not an unbreakable rule.
The need for a small aperture is to ensure that there is an equal degree of sharpness across the whole frame - to guarantee that we won’t overlook a soft background by accident. If you do not want every zone to be equally detailed however, due to creative reasons, don’t be scared to experiment.
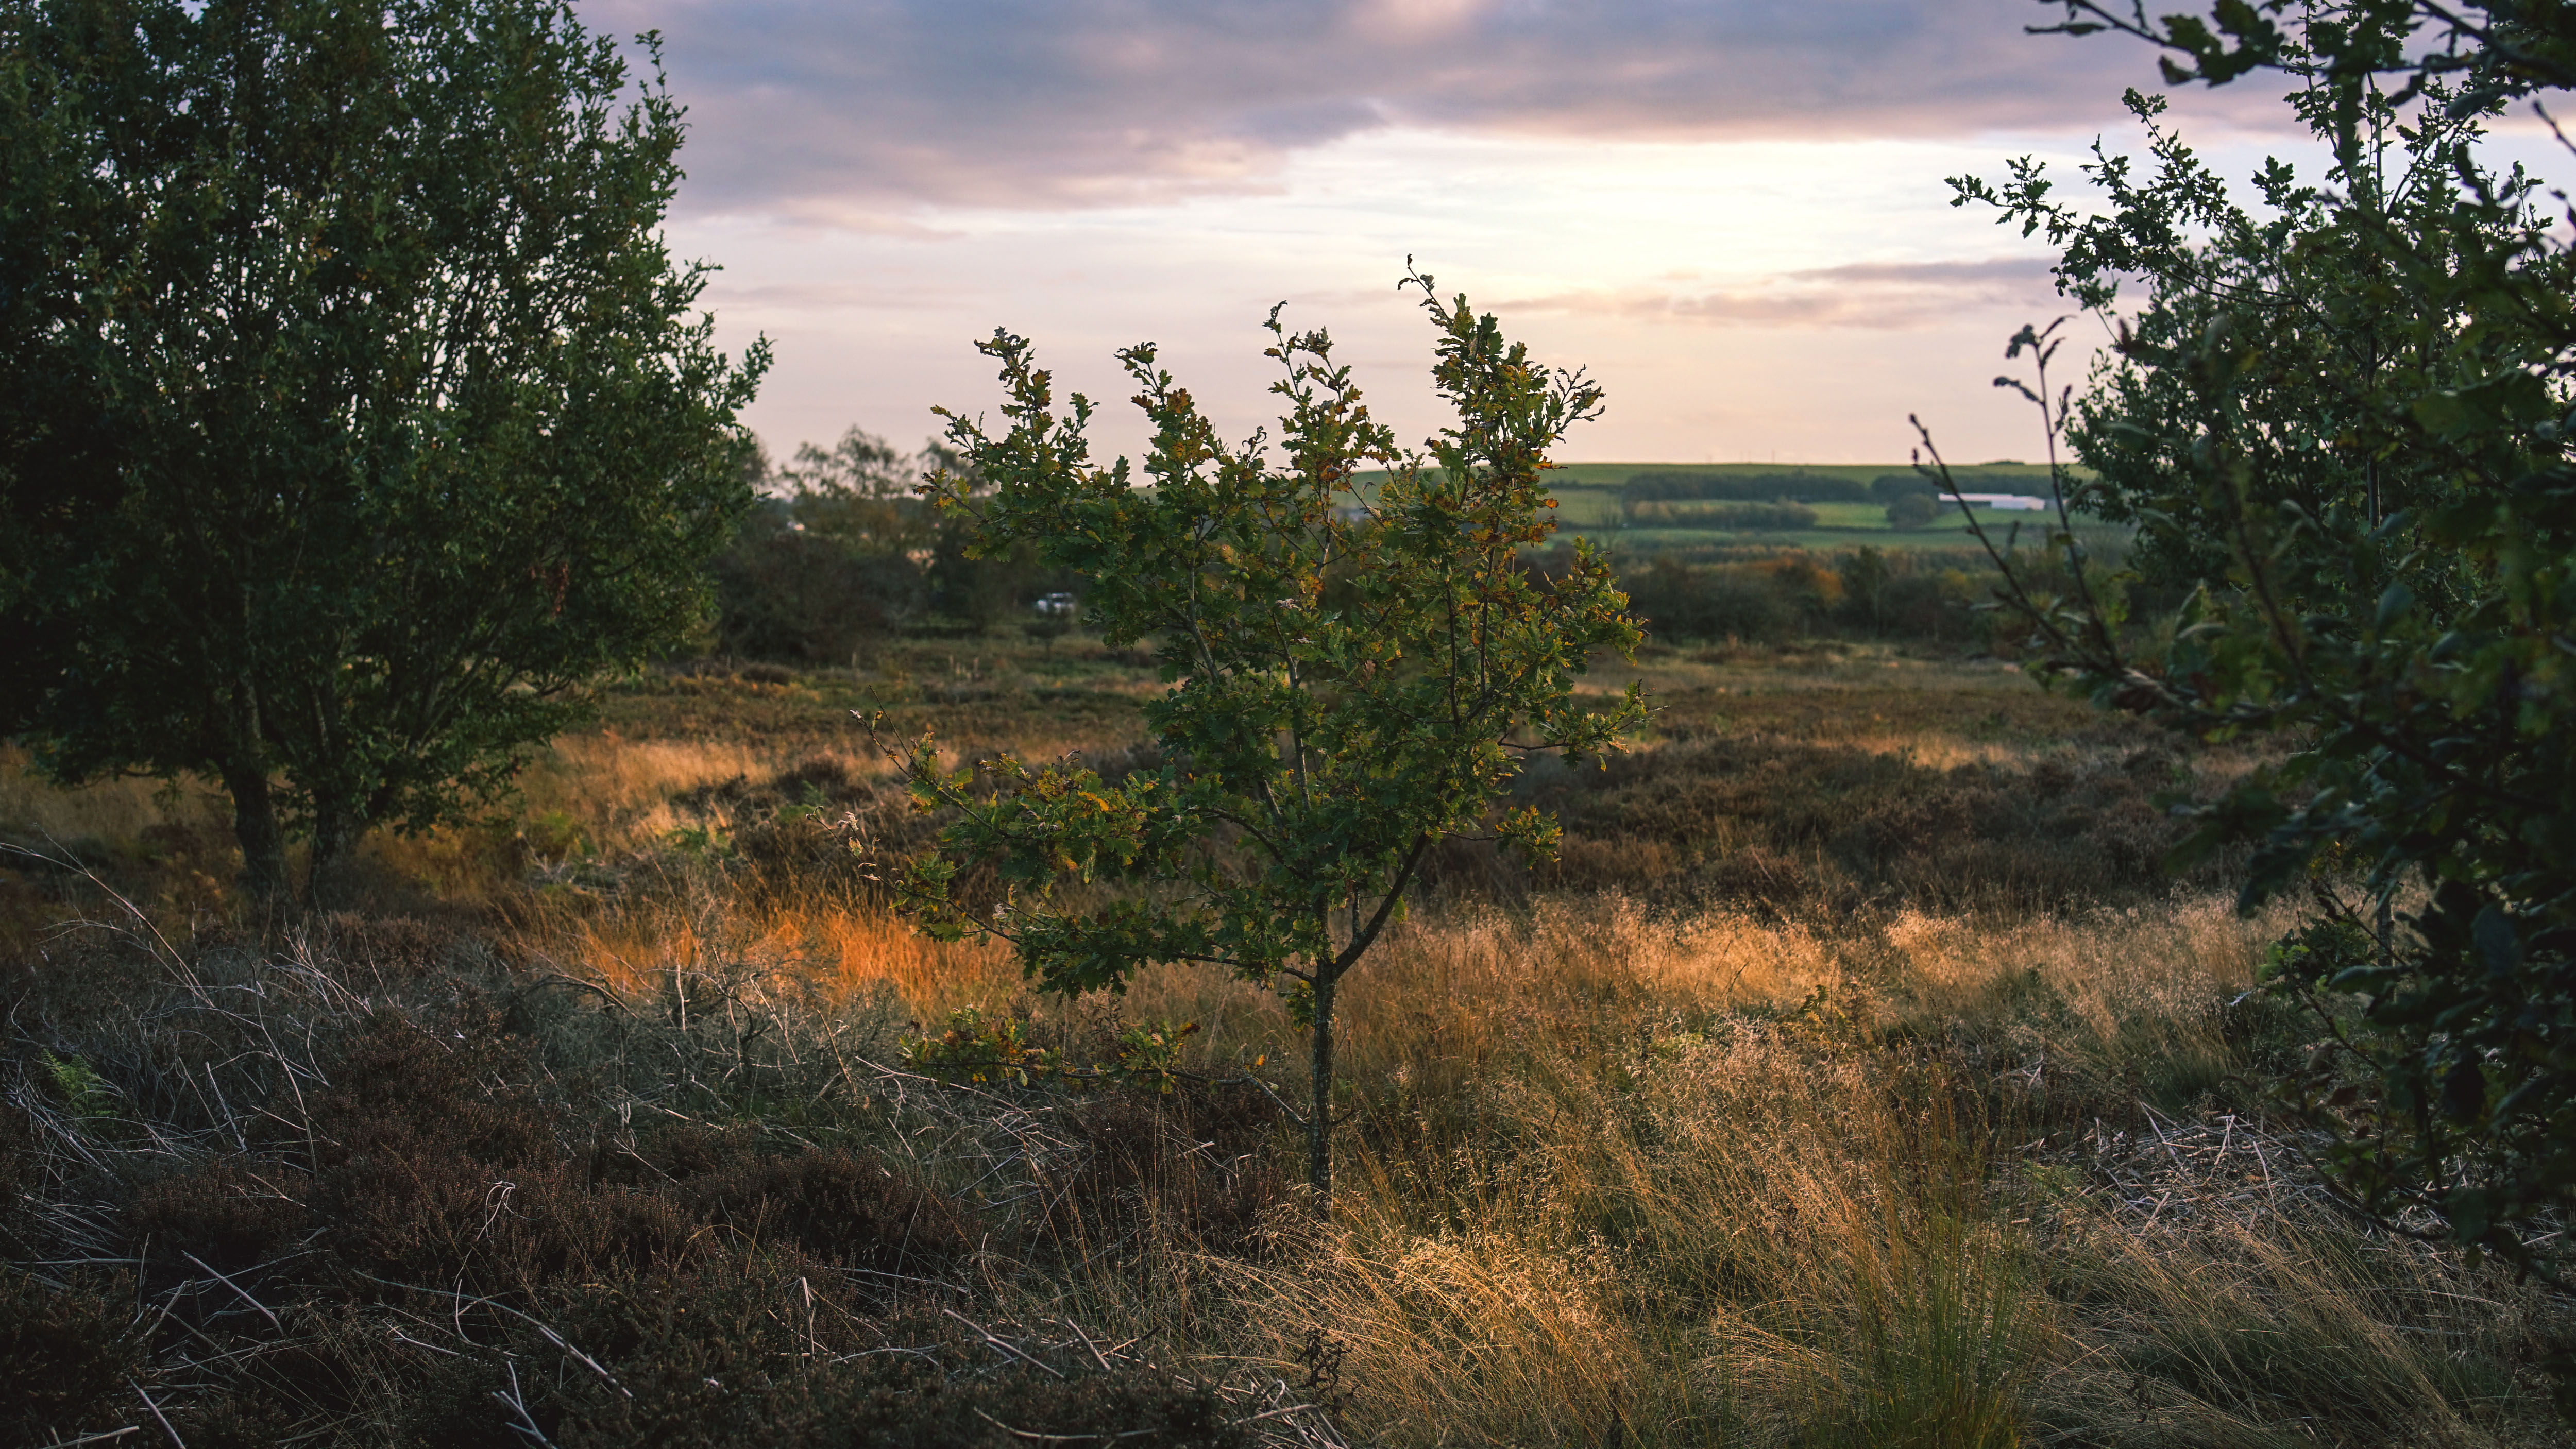
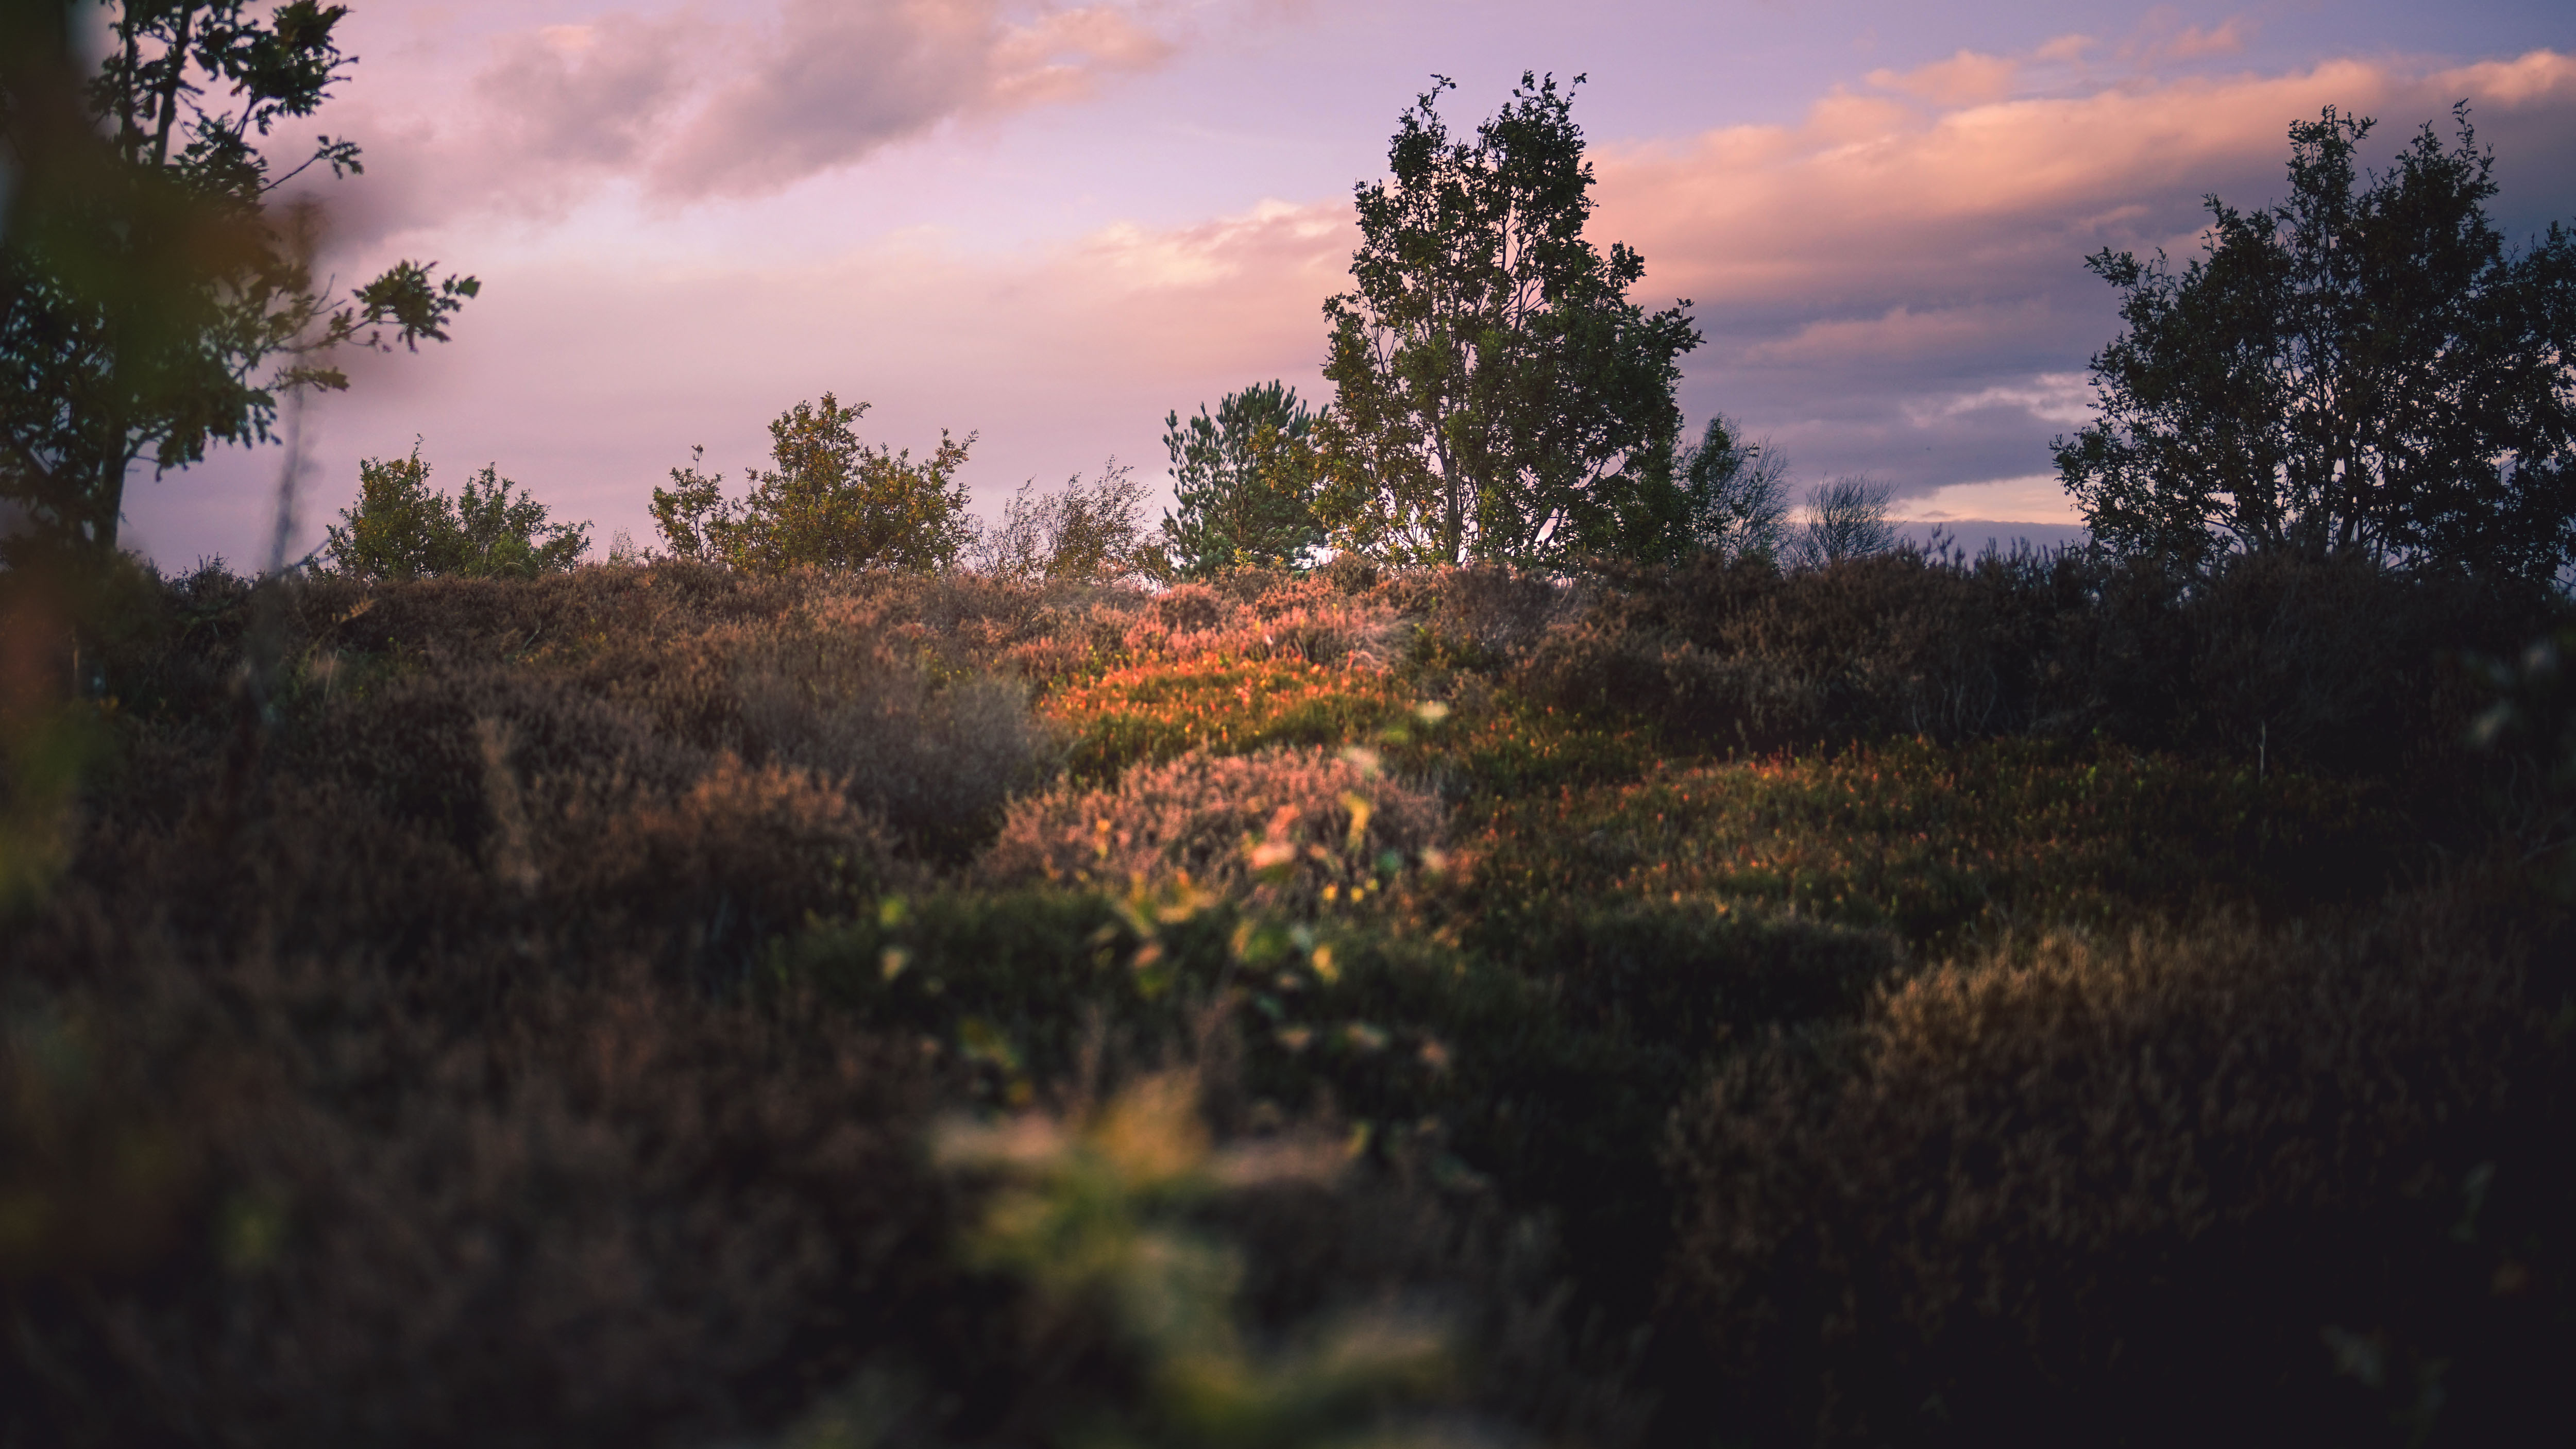
Wide aperture landscapes can possess a huge amount of visual appeal. They have a painterly appearance which can be missing when every detail is perfectly resolved and, when using a very fast lens, can actually start to adopt a miniature look. This is far from a gimmicky effect however, as might be introduced through overuse of a Lensbaby optic. When done correctly a shallow depth-of-field scenic can adopt an organic style, closer to how our own eyes might interpret the location.
Read more:
• Best fast primes
• Best cameras for landscapes
• Best lenses for landscapes
The biggest danger with this technique is a misunderstanding of the intent - if you don’t choose the correct settings the effect can quickly start to look like an unintentional mishap.
Set camera height
This plays a big role in emphasizing an intentional shallow look. Arrange the elements of the scene to show depth and the focus gradient in front of and behind the focussed point, softening foreground and background.
The best camera deals, reviews, product advice, and unmissable photography news, direct to your inbox!
Shoot wide-open
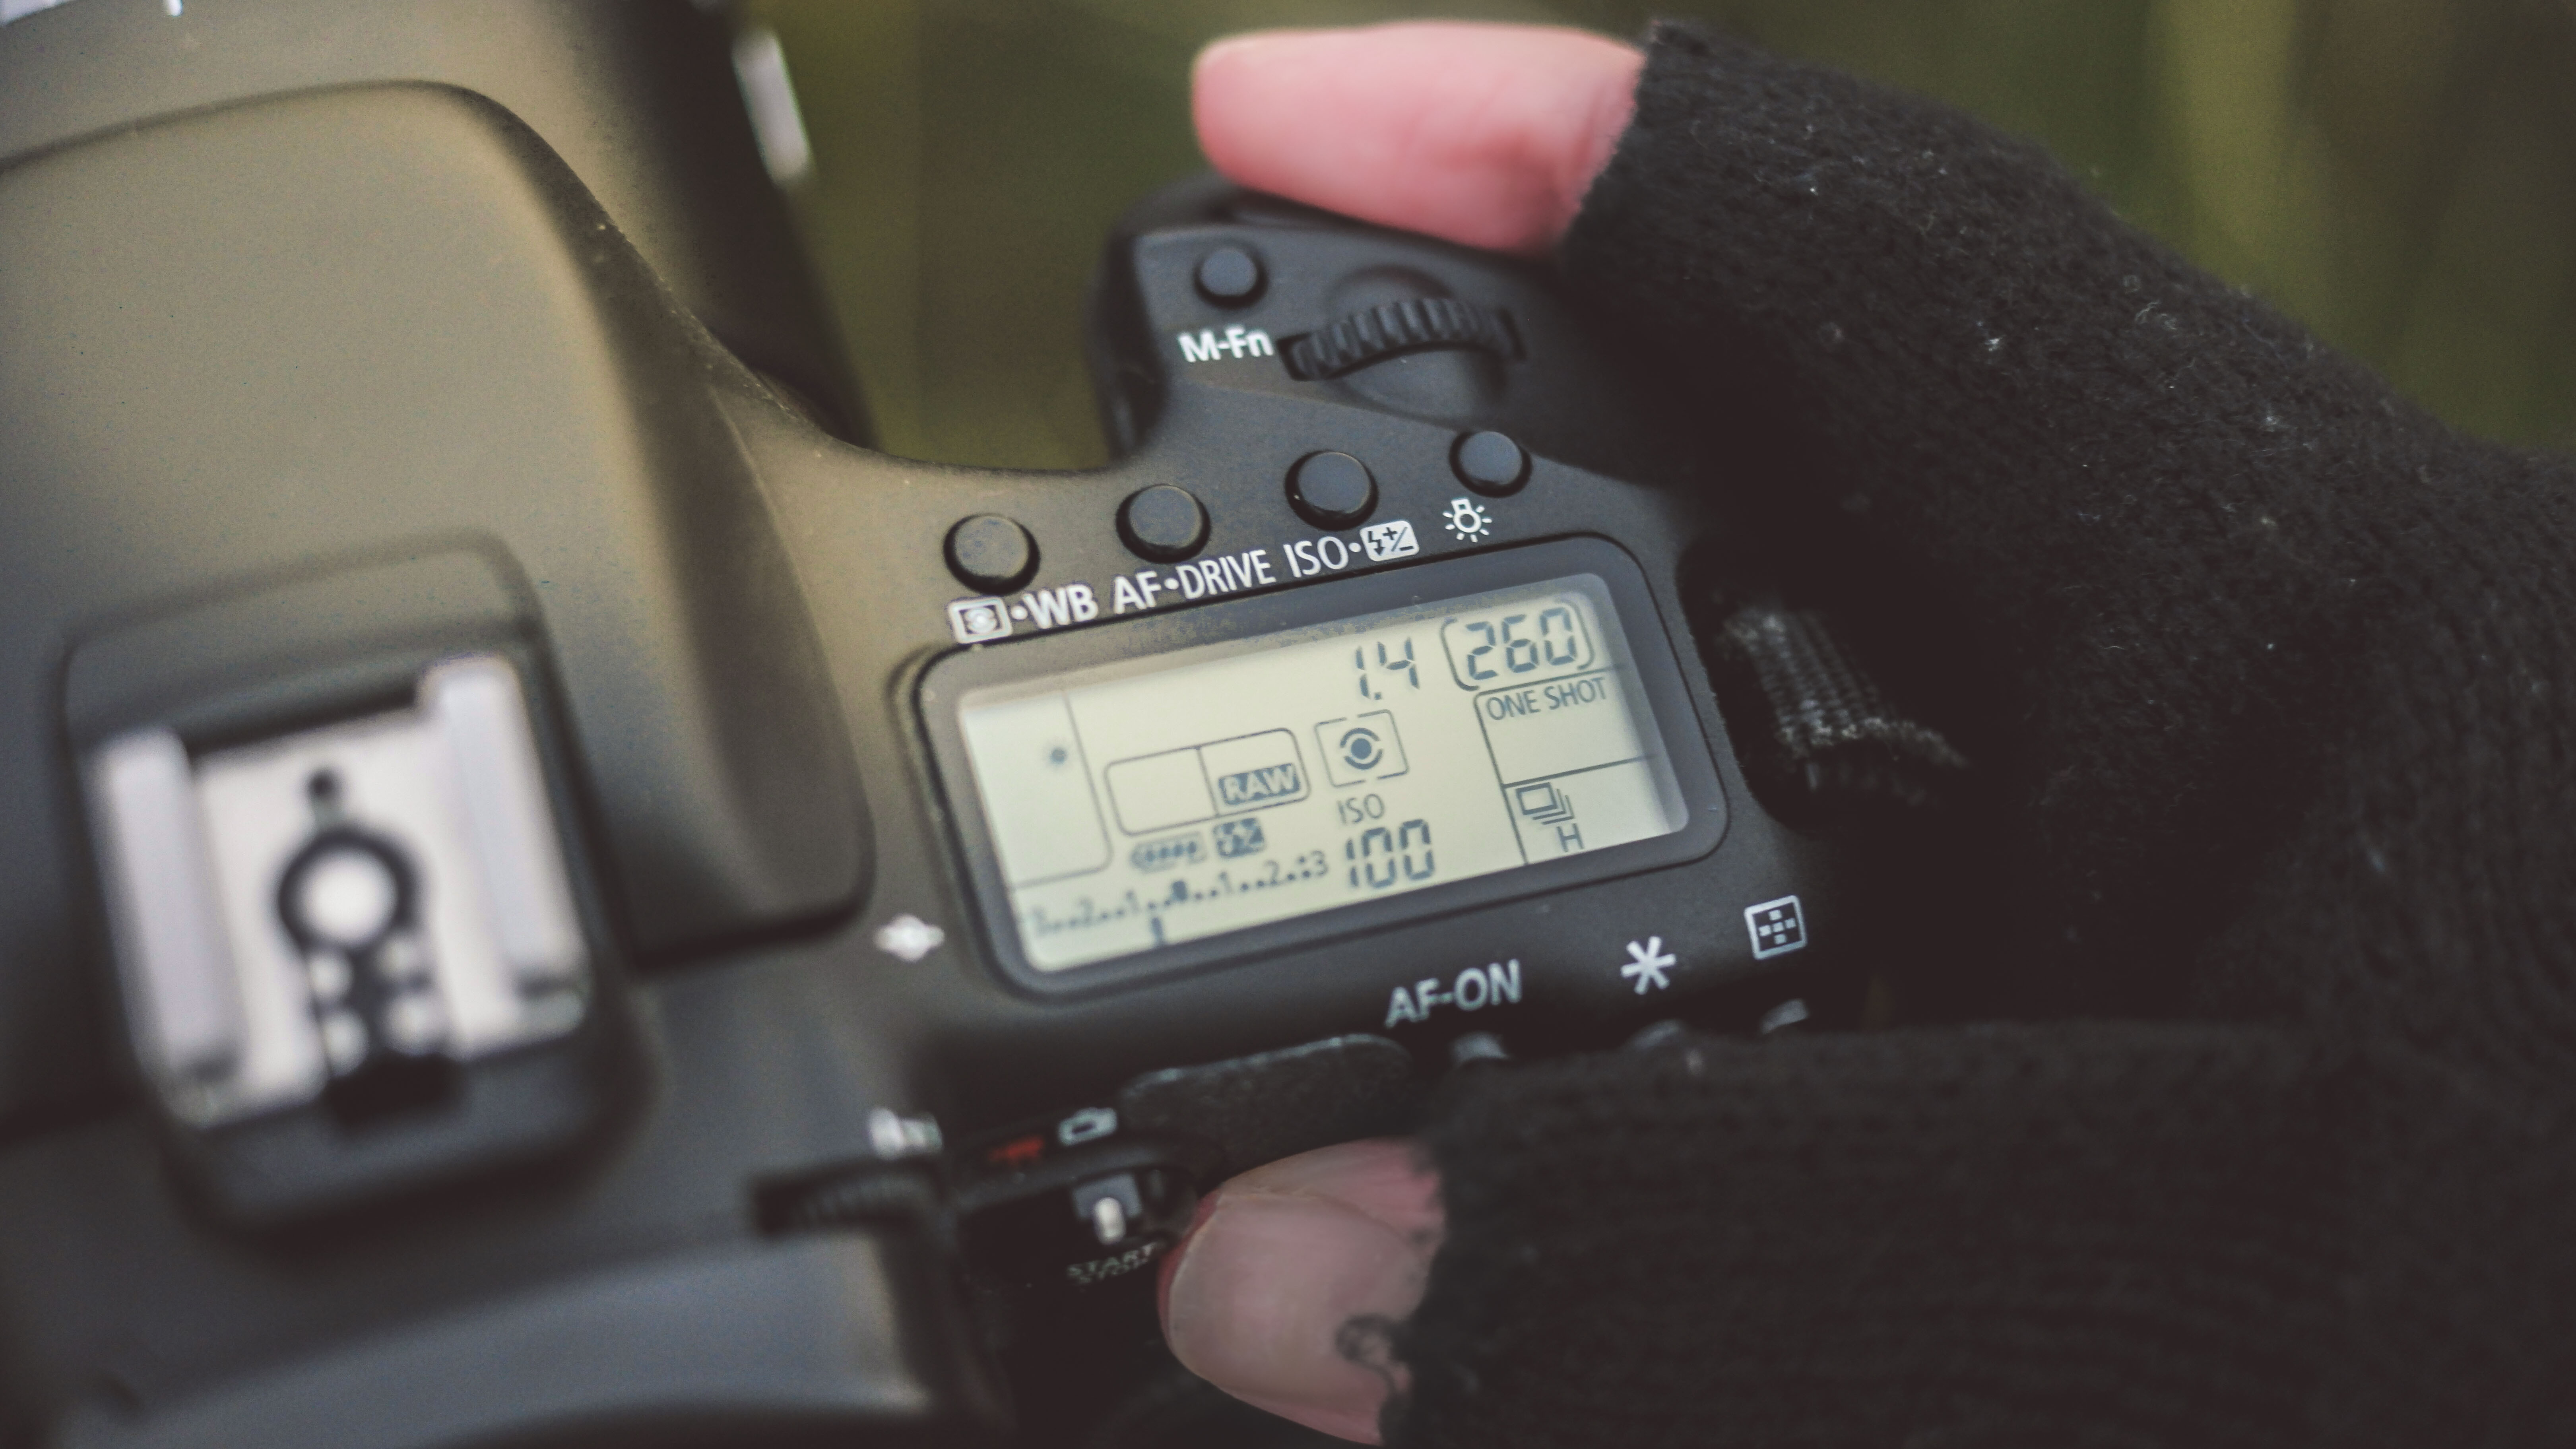
We need to make the shallow focus strong enough that it becomes clear the reduced depth-of-field is an intentional creative effect. The easiest way to guarantee this is to use maximum aperture, in this case f/1.4.
Vary focus distance
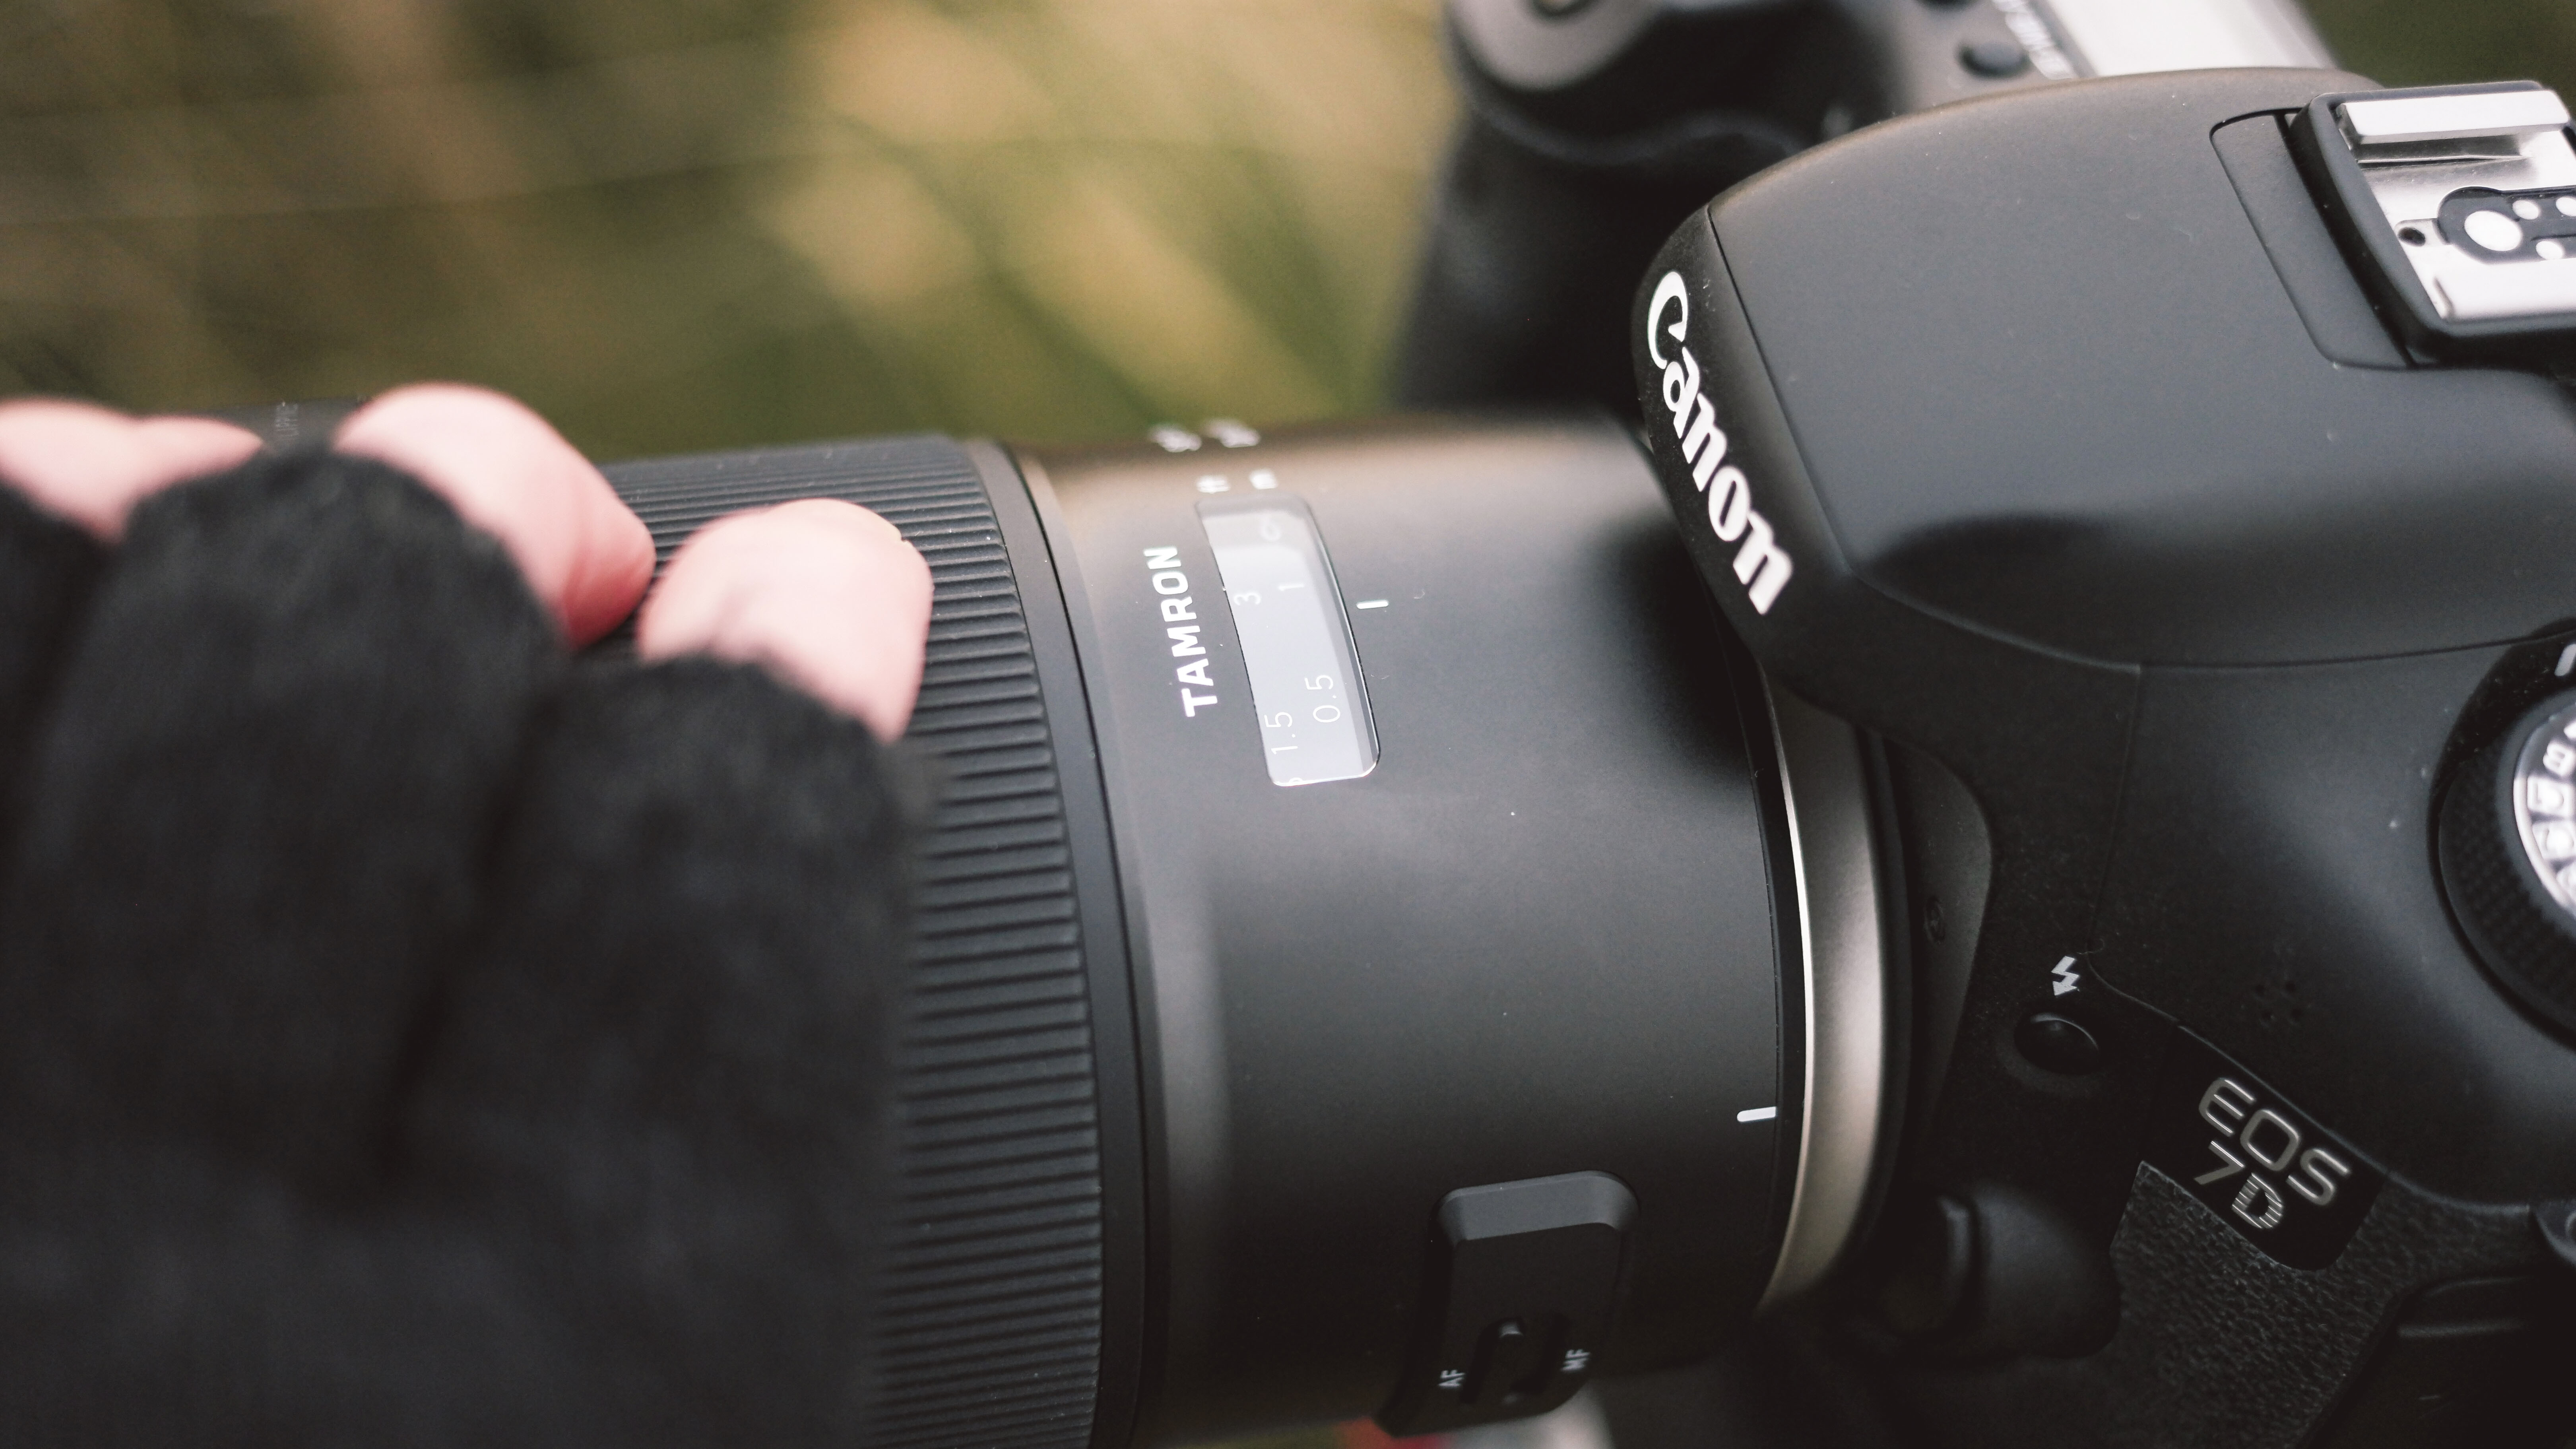
Experiment with the fall-off in focus in the near foreground and background by moving the point of focus. Try rendering the foreground sharp and then focussing further back to change the feel of the shot.
Adjust brightness
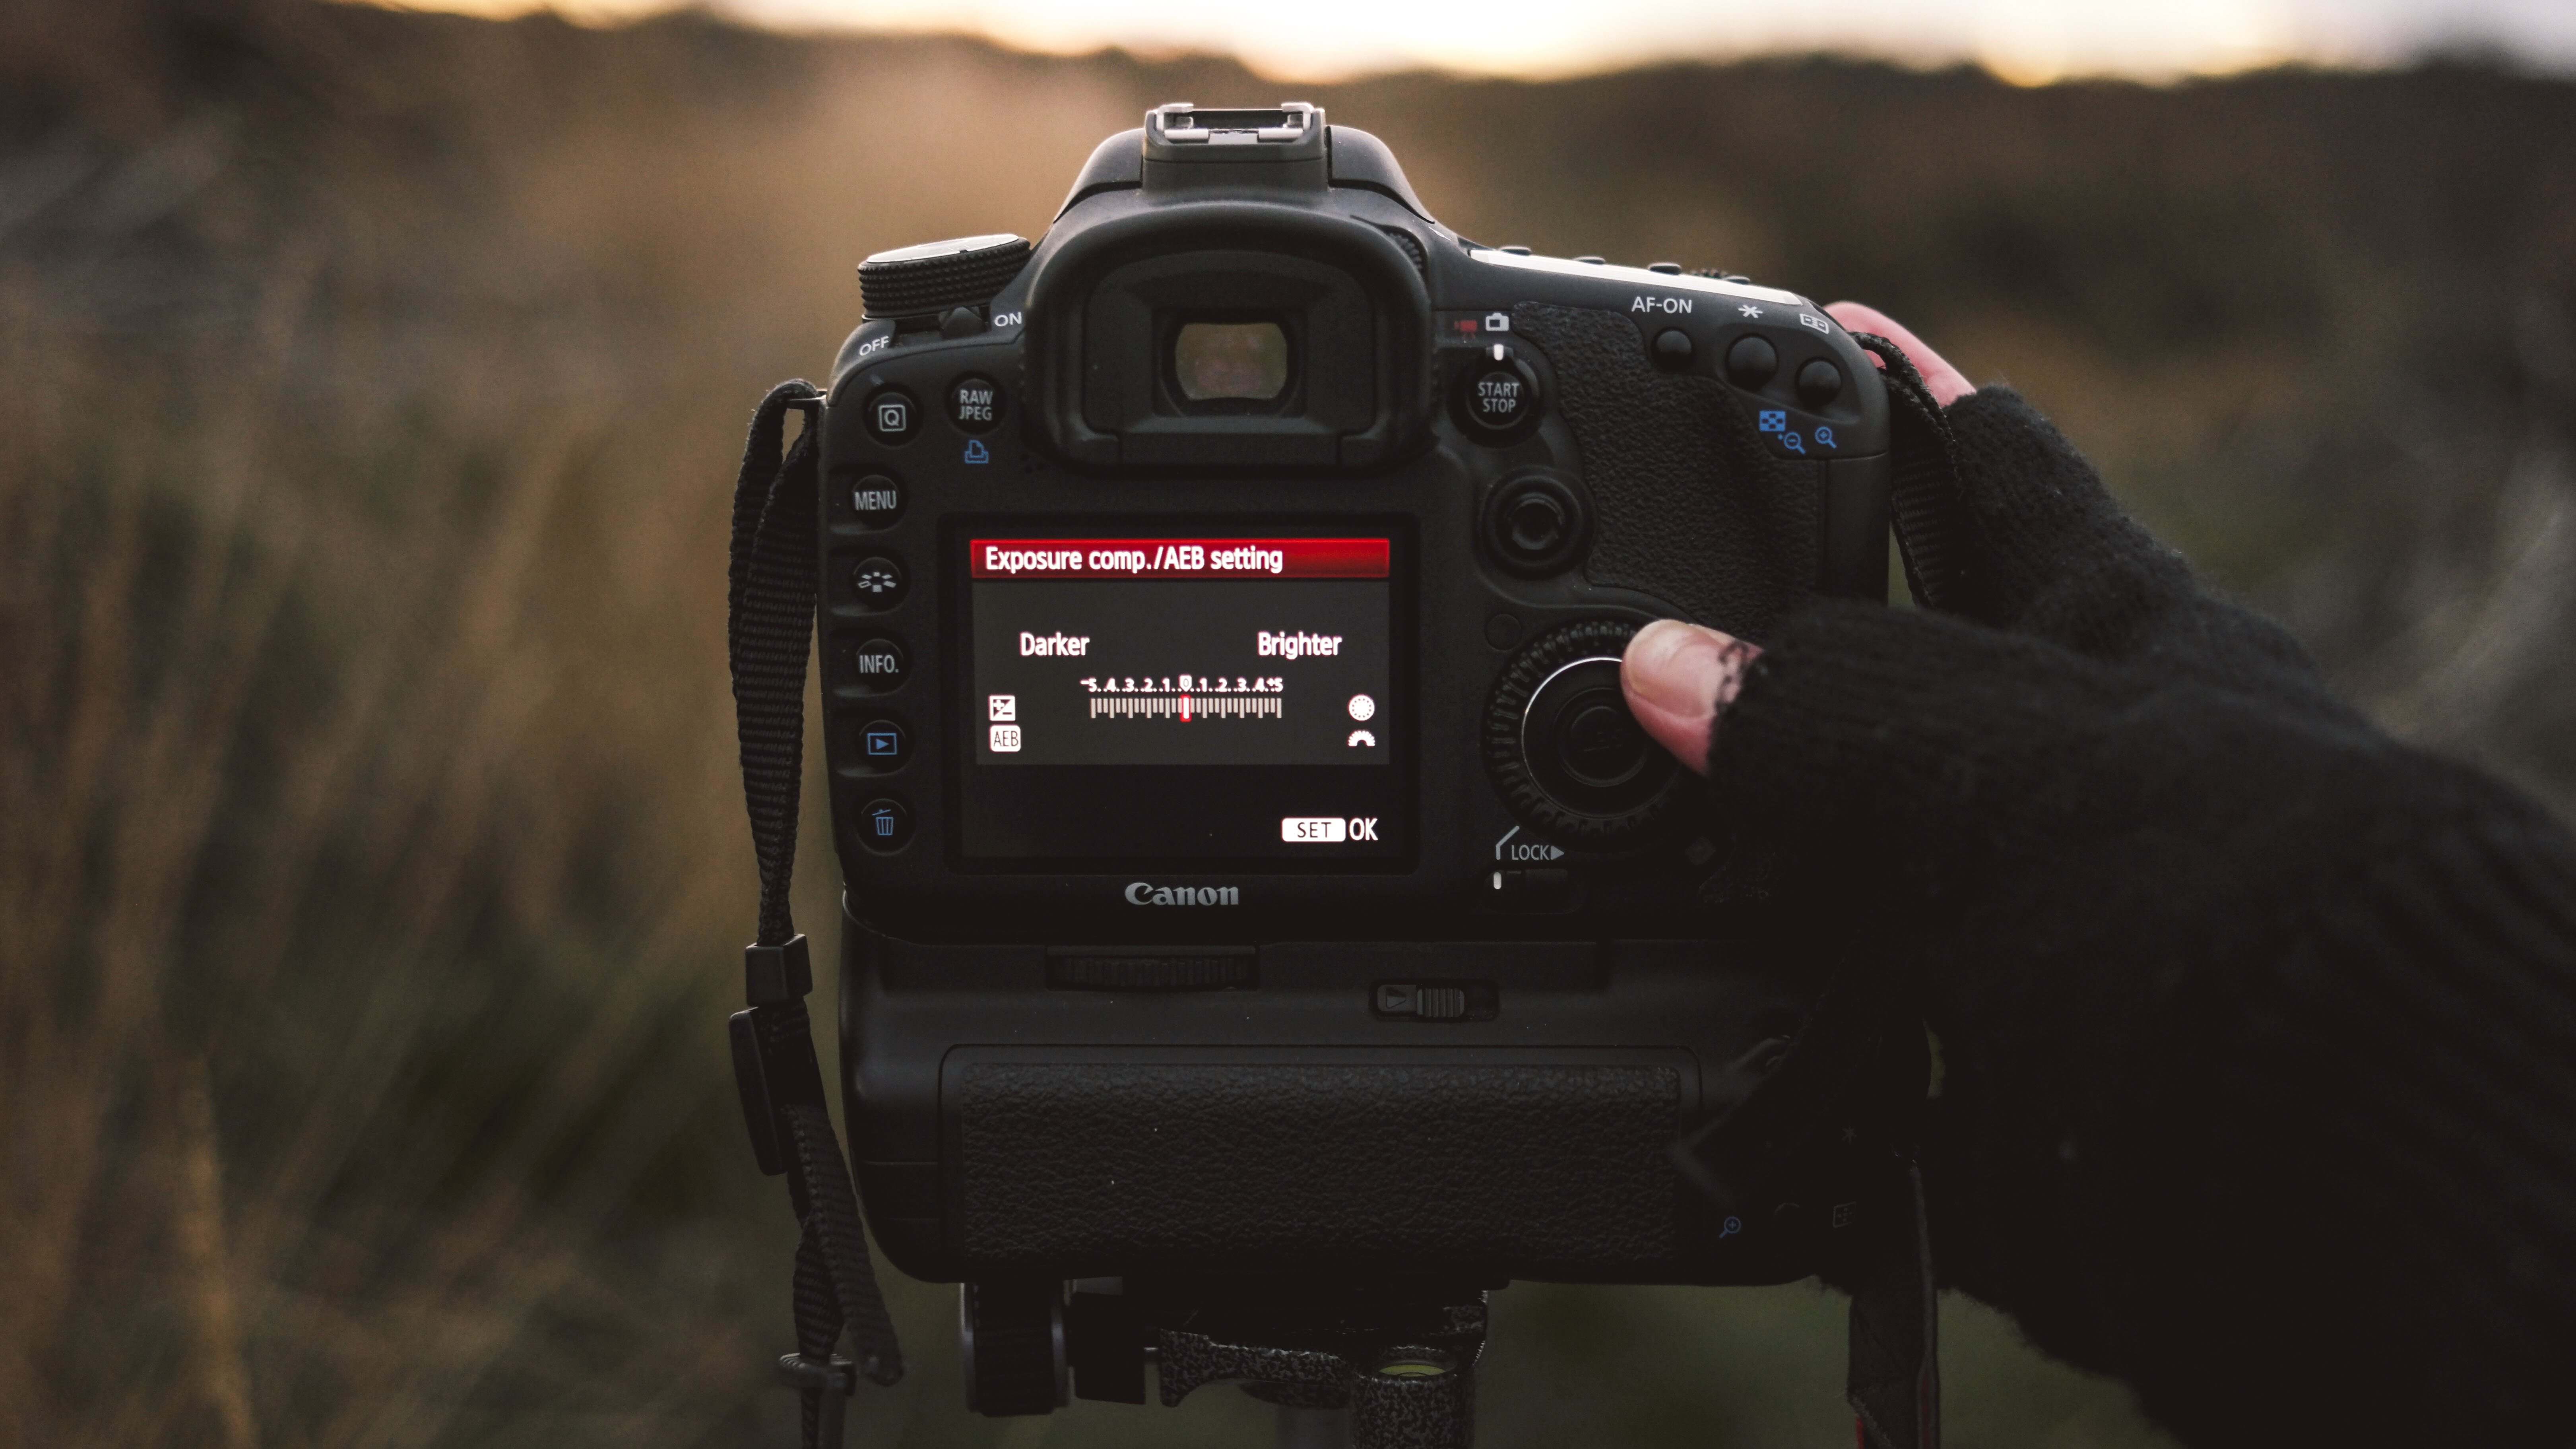
With f/stop set, use shutter speed (in this case controlled through exposure compensation, in Av mode) to alter image brightness. Pay attention to how defocused highlights are rendered, altering mood.
Experiment with POV
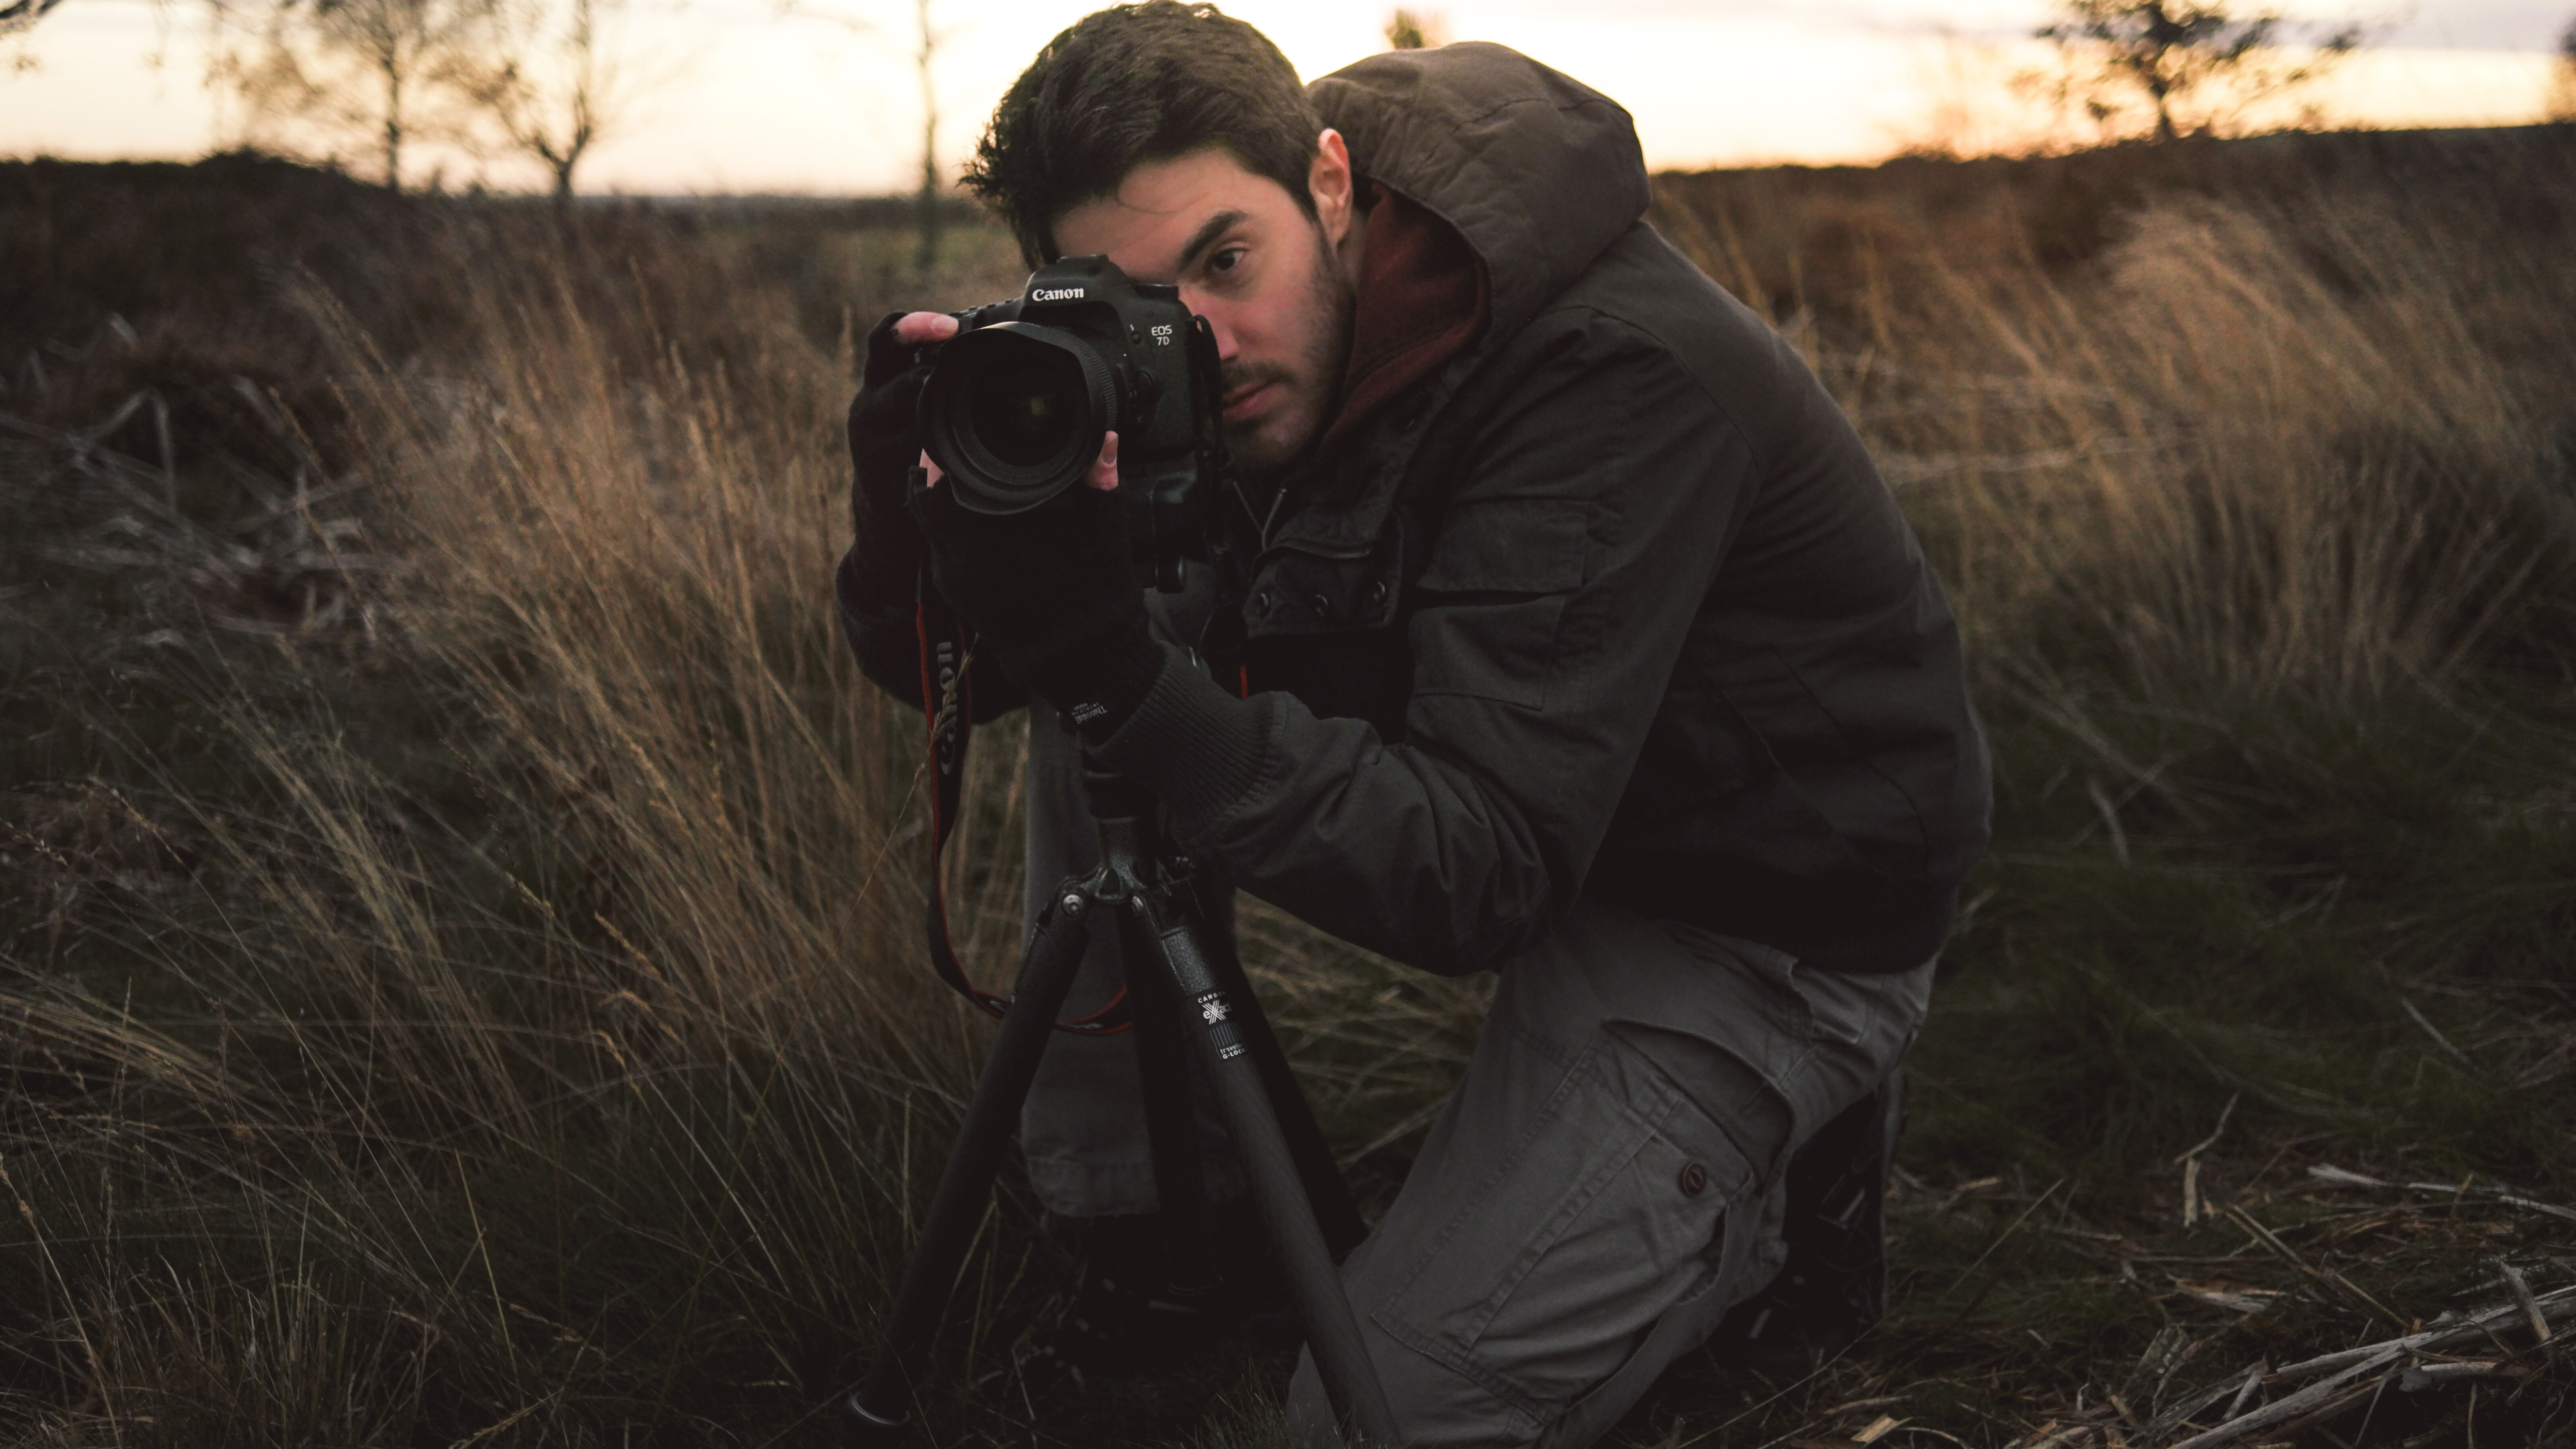
With low sun comes opportunities for lighting experimentation. Shooting into the sun will often create washes of colour and light, while shooting away will produce richer, painterly colours, with less flare.
Check sharpness
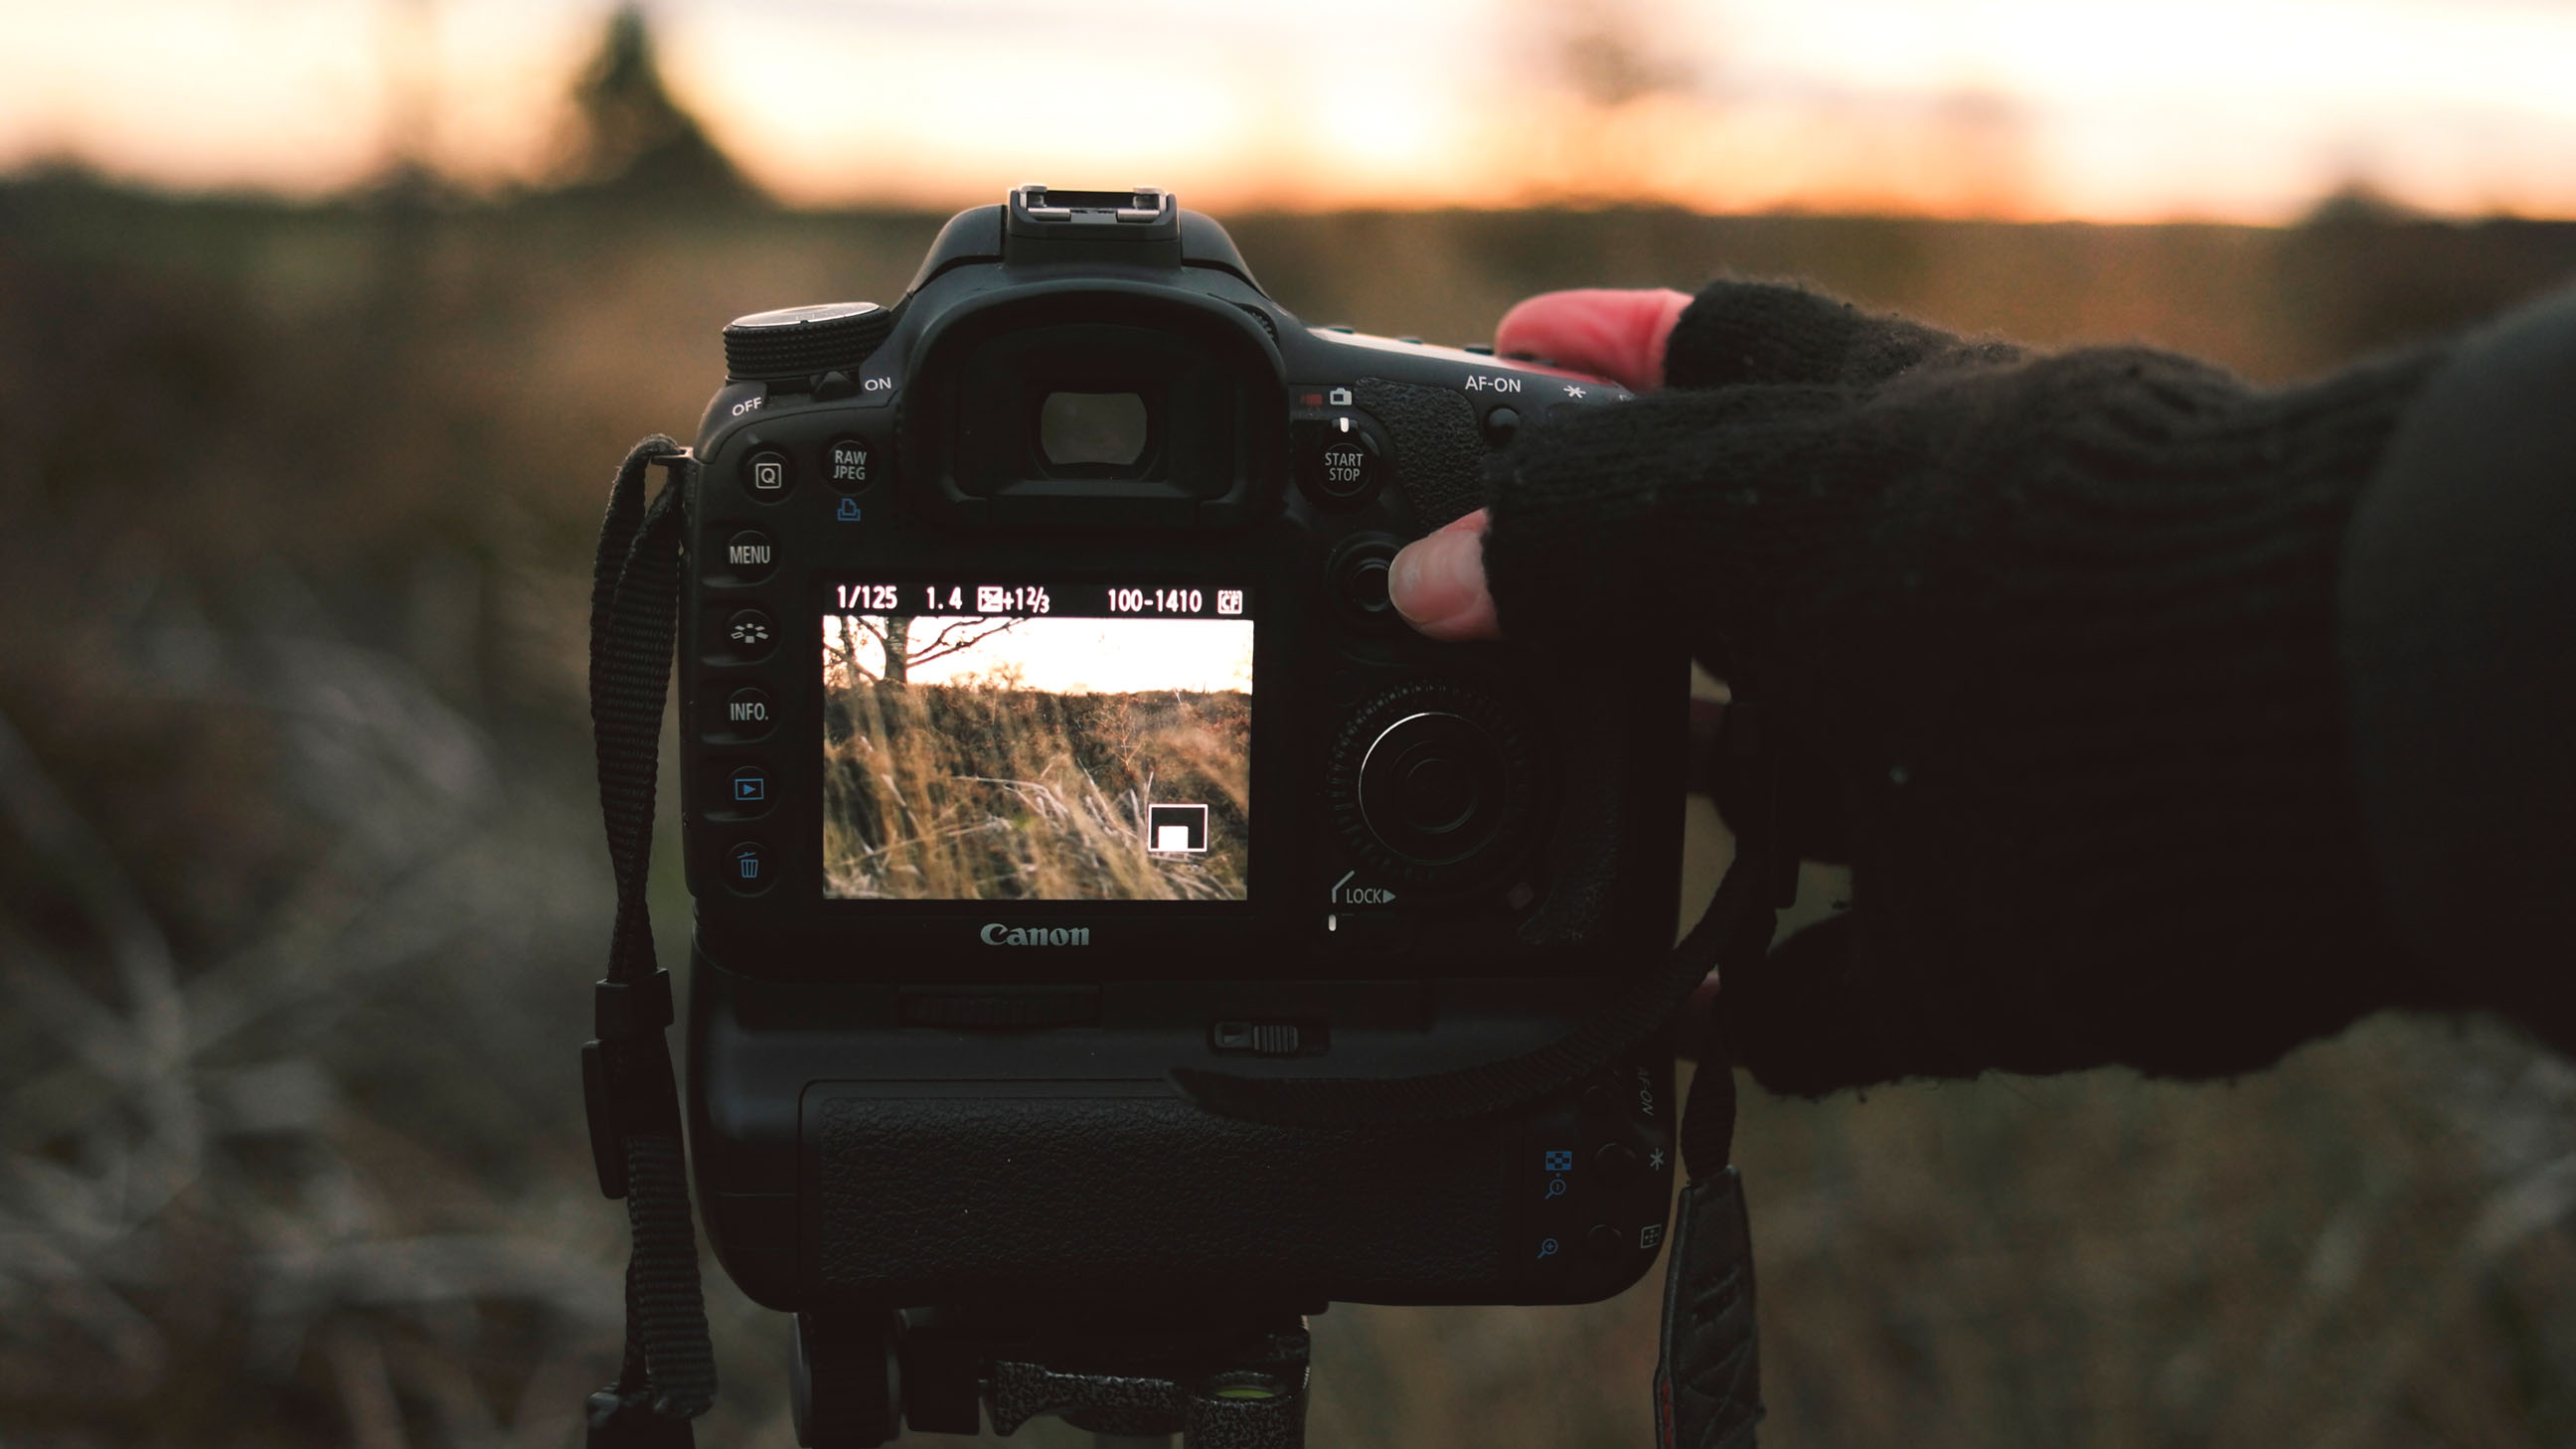
Whenever we use wide aperture settings it is a good idea to magnify the review image and check that sharpness falls exactly where we need it to be. Scan the shot for camera shake, which can be masked by bokeh.
Get the kitbag essential for Enthusiasts and Professional photographers. Packed full of pro advice, tutorials, techniques, interviews and kit reviews, Digital Photographer Magazine will help you take your images to new heights.
Read more:
Samyang AF 85mm f/1.4 RF review
The best 50mm lens in 2021: which 'standard prime' is the right one for you?
As the Editor for Digital Photographer magazine, Peter is a specialist in camera tutorials and creative projects to help you get the most out of your camera, lens, tripod, filters, gimbal, lighting and other imaging equipment.
After cutting his teeth working in retail for camera specialists like Jessops, he has spent 11 years as a photography journalist and freelance writer – and he is a Getty Images-registered photographer, to boot.
No matter what you want to shoot, Peter can help you sharpen your skills and elevate your ability, whether it’s taking portraits, capturing landscapes, shooting architecture, creating macro and still life, photographing action… he can help you learn and improve.
