Photo hack: make your own studio backdrop and background support
How to use bed sheets and garden canes to create a studio backdrop for natural-looking portraits indoors
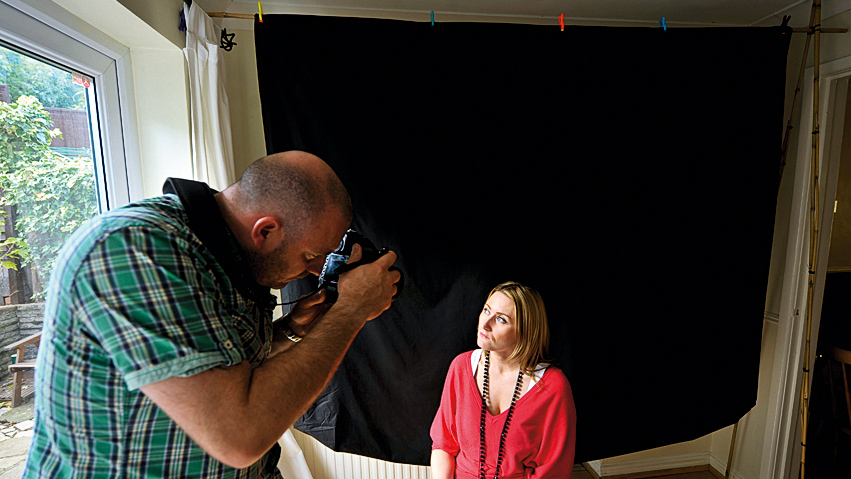
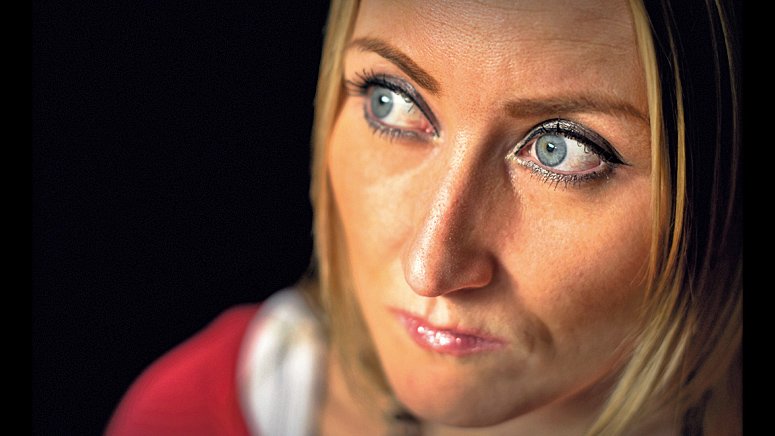
Taking family portraits is a great way of spending some time when you are stuck indoors. Portraits taken by a window can look amazing, and if they’re taken in the comfort of your own home, they also present a great opportunity for you to experiment with light.
Finding a bright window isn’t normally an issue, but it can be a pain getting rid of clutter, curtains, and so on. You can buy a photo backdrop – but there is a cheaper solution. And that's to make one yourself, by putting up a simple background sheet next to your brightest window. It’s easy and cheap – just follow the steps below…
1: What you need
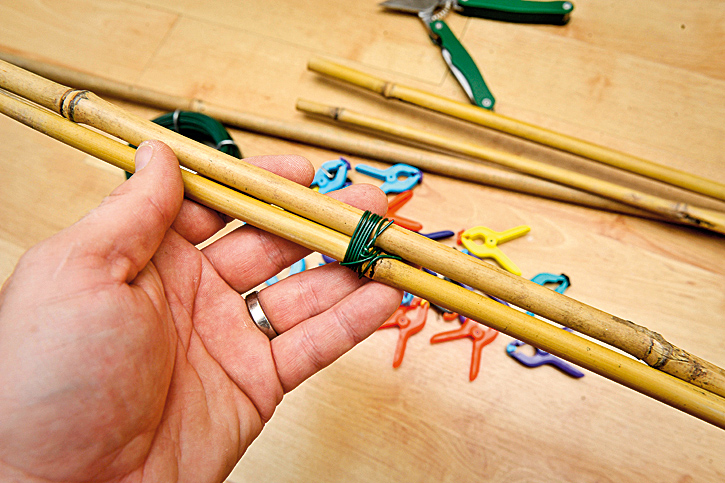
Using strong gardening wire, bind two garden canes together together to make one stronger cane to about the height of your room, and repeat using two more.
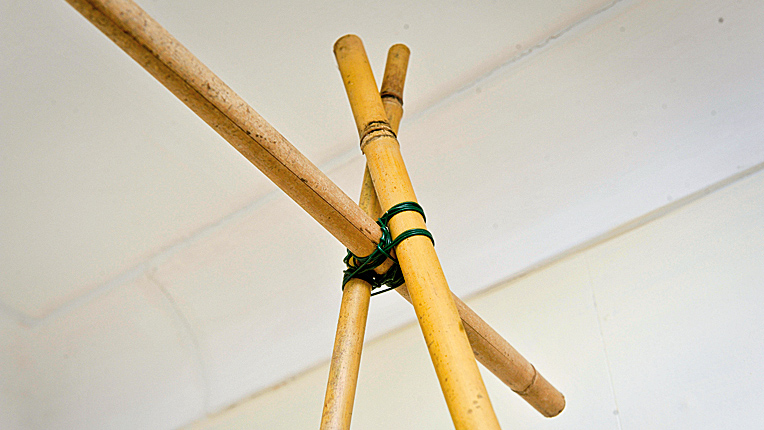
2: Build your ‘A’ frame
For one side of the support, take the two bound canes and use a straighter and thicker cane as the material support to create an ‘A’ shape.
3: Level with me
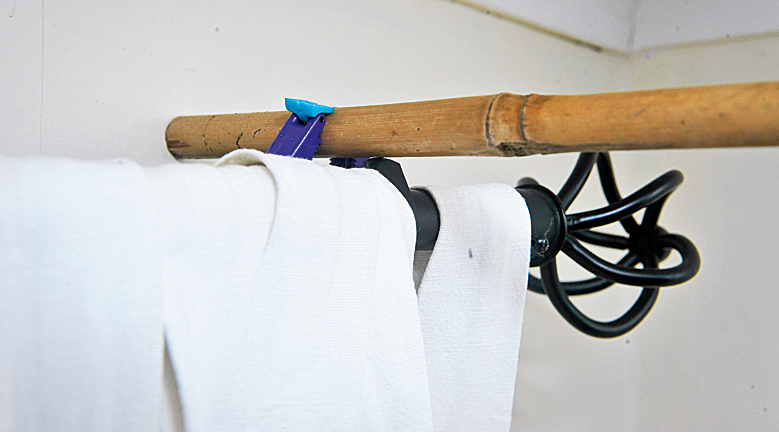
Rest the other end of the backdrop on a curtain rail secured with a plastic clamp. Make adjustments at the end to get the top cane as level as possible.
If you don’t have a curtain rail above your window to support your backdrop, just build another ‘A’ frame and use this as a standalone support instead!
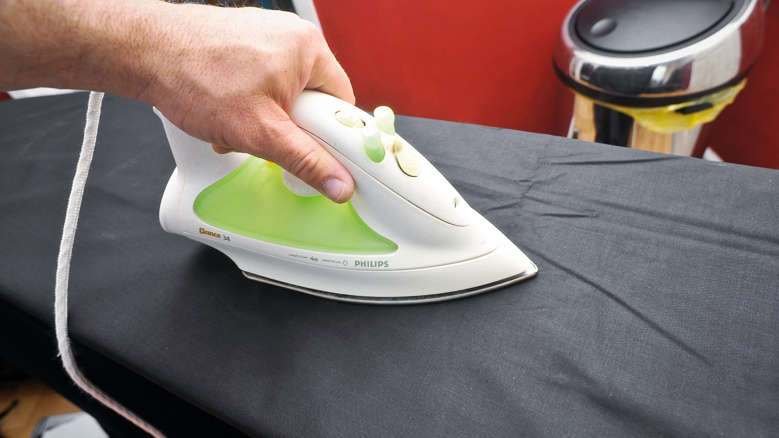
4: Iron out the creases
5: Hanging out
Use plastic clamps to hang the sheet from the top cane. Space them equally along the top to avoid too much sagging in the material and adjust them as necessary.
The best camera deals, reviews, product advice, and unmissable photography news, direct to your inbox!
6: Using your homemade backdrop
Remember to meter from the bright parts of the face. Shooting closer to the window light will render the background completely black and detail-free.
More ideas and hacks:
Photo hack: make your own speedlight softbox
Photo hack: make your own beanbag camera support
The best photography tips videos
Free lensing: get the Lensbaby look and take macro shots with a standard lens
Create colorful cross-polarization effects
The sister print publication to this website, Digital Camera Magazine is Britain's best-selling photography publication – and it can also be purchased outside the United Kingdom as Digital Camera World.
Digital Camera Magazine is packed with more expert advice and more inspirational images than any other title, with the sole aim of helping you become a better photographer. Every issue we also bring you a selection of great gifts which are designed to help you get more from your photography – everything from tips cards and cheat sheets to free software and bookazines.
In addition to inspirational images, interviews, projects, mini tests and tutorials, each issue is packed with news, reviews and comparisons, as well as photographer vs photographer shootouts and head-to-head challenges using the best photo editing software.
The magazine is captained by Editor Niall Hampton.
