Free lensing: get the Lensbaby look and take macro shots with any standard lens
Set your lens free and adjust your plane of focus to achieve magnificent blur and out-of-focus effects
The best camera deals, reviews, product advice, and unmissable photography news, direct to your inbox!
You are now subscribed
Your newsletter sign-up was successful
Watch the video: get creative shots with free lensing
Manipulating the focal plane while taking a photograph enables you to render striking out-of-focus areas in a shot. If you’ve ever seen a Lensbaby lens or tilt-shift lens, you’ll be familiar with the effects that can be achieved with seemingly impossible blur and depth of field.
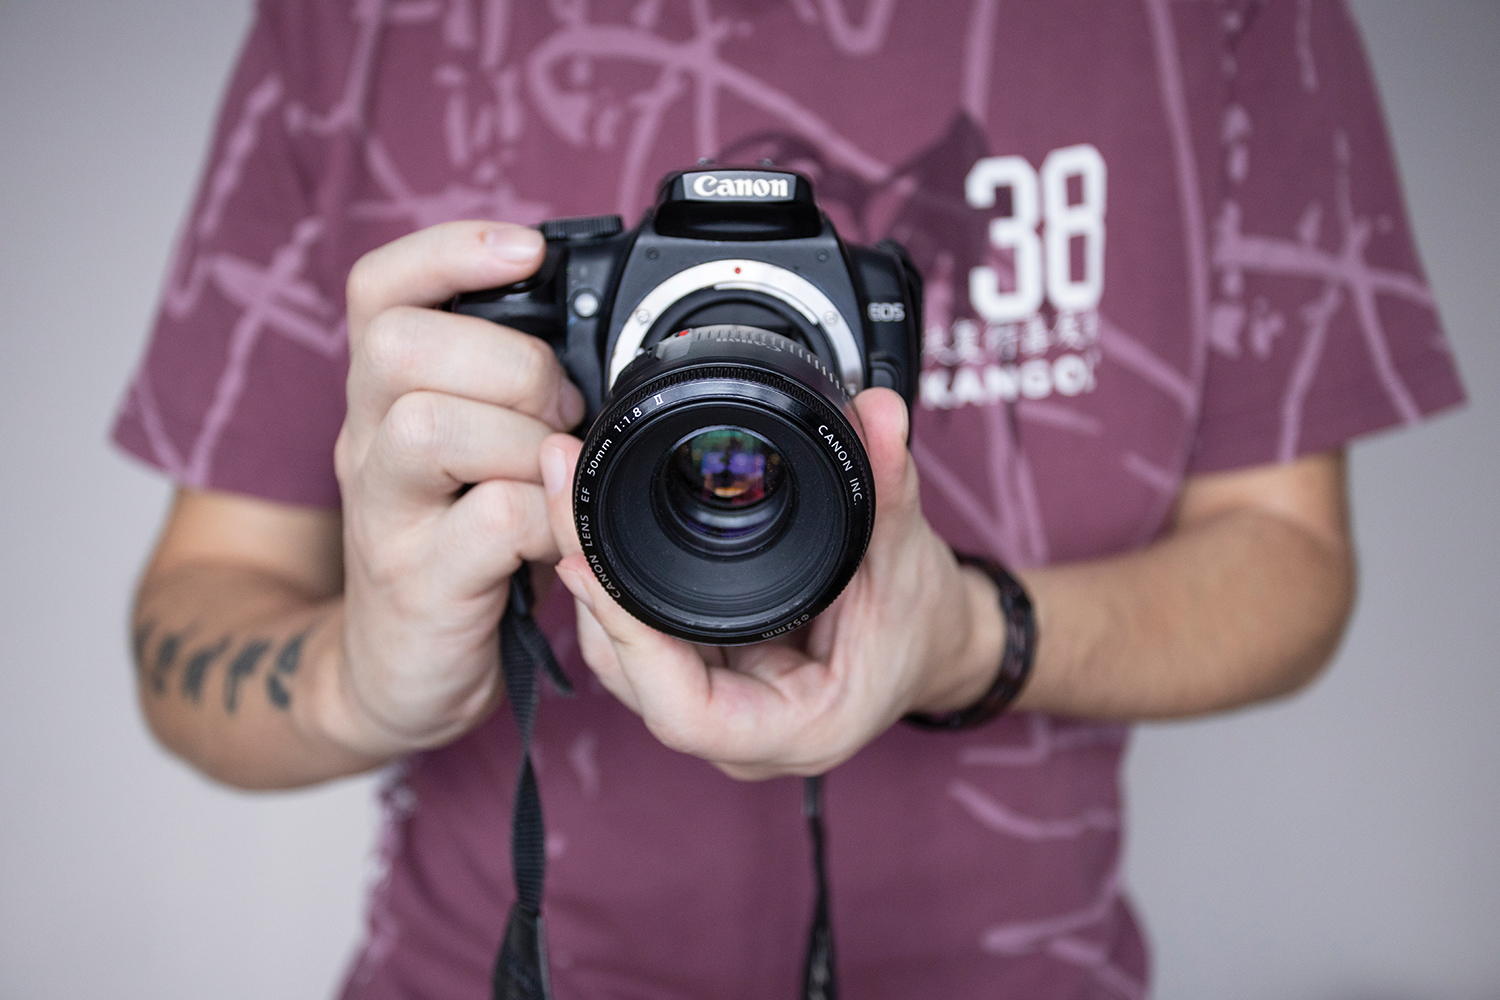
However, you don’t need one of these speciality lenses to recreate this effect; all you need is a prime lens with a standard focal length of around 50mm (you can use other focal lengths, but 50mm tends to provide the best results), and you simply unmount it from your camera when you shoot.
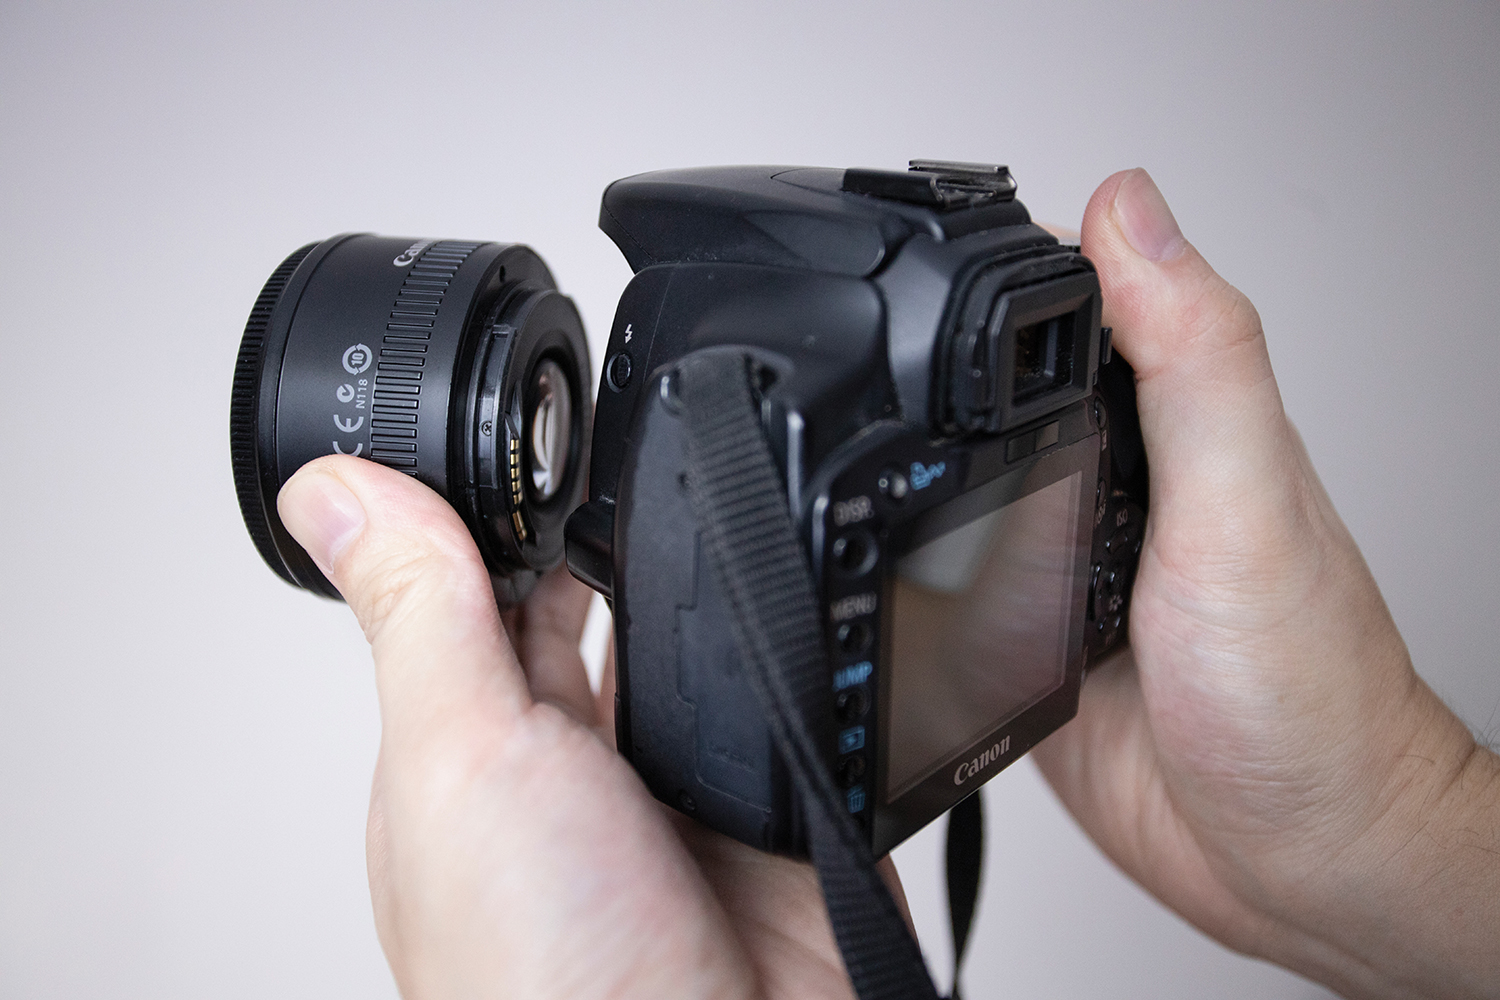
This technique, which is one of our most lo-fi photography tips, is called free lensing. By moving the lens freely, but closely, in front of the camera sensor, you can capture dreamy areas of selective focus, along with light leaks and contrast effects that are impossible to achieve with a normal lens – or even with post-processing.
You’ll want to shoot somewhere with a busy background, such as woodland or urban areas, to emphasize the out-of-focus effect. Free lensing is best employed when you have a distinct subject, such as a person or a flower, but it can be used for capturing creative landscapes as well.
Speaking of flowers, free lensing also enables you to turn your standard lens into a macro lens by just turning it backwards. Hey presto – you now create stunning macro shots without the need for a dedicated lens or reversing rings.
01 Fully manual

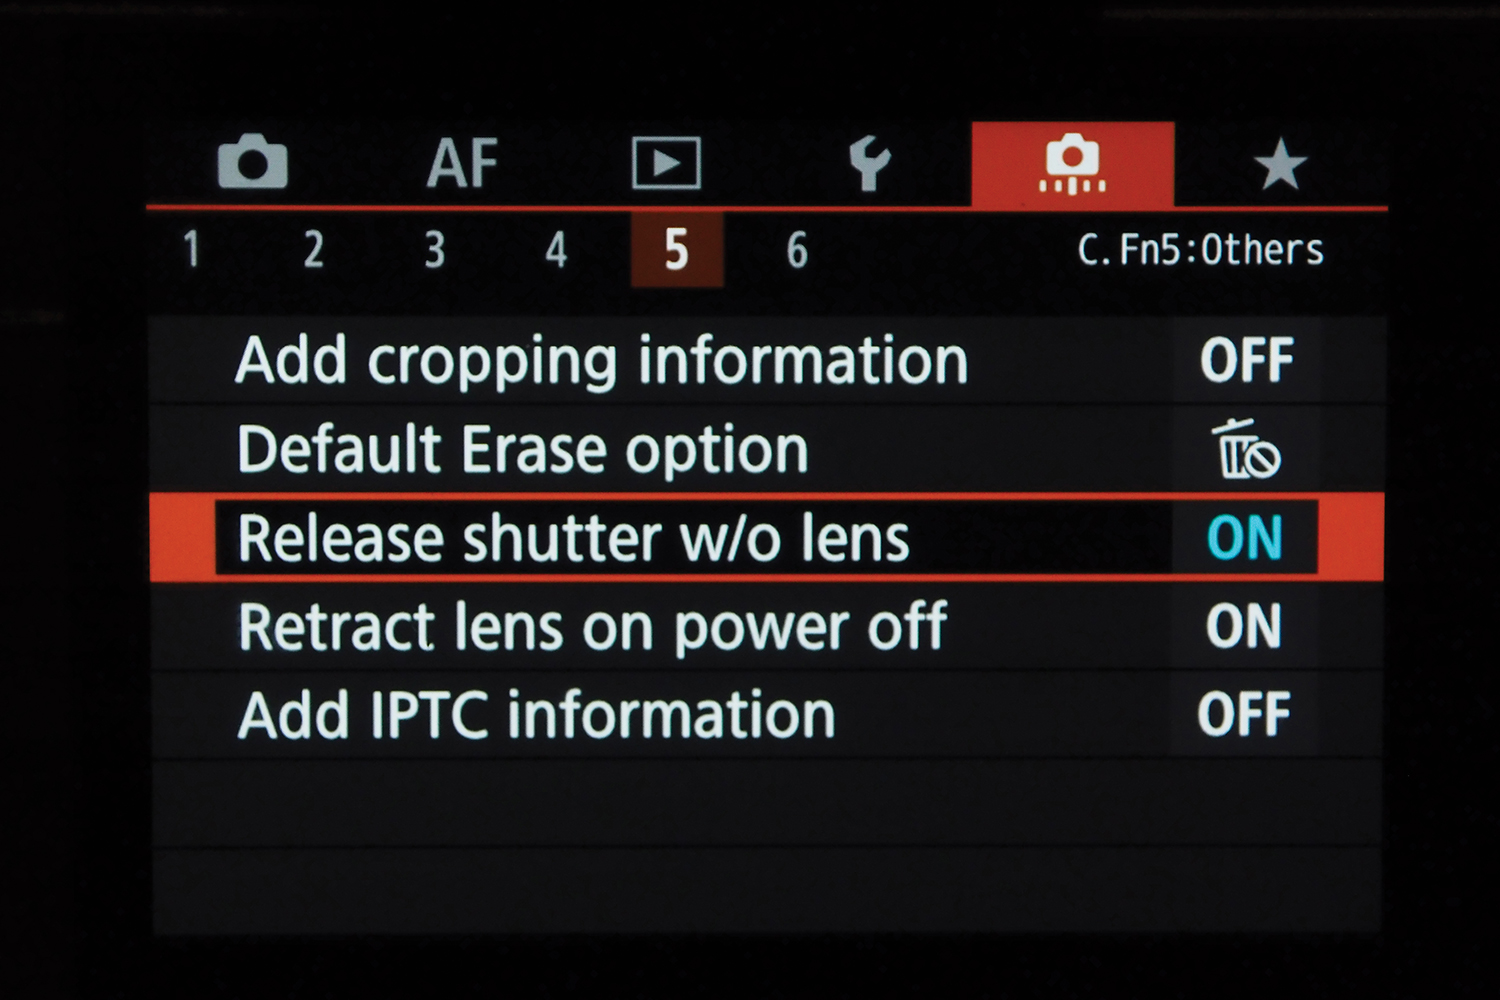
Your camera problem won't fire if a lens isn't attached, so go into the menus and tell it to shoot even though there's no glass mounted. (On Canon cameras, for example, you need to turn on the ‘Release shutter w/o lens’ option.) Keep your shutter speed above 1/100 sec to prevent shake, and focus your lens to infinity. Unless you're using an old manual lens with a dedicated aperture ring, the aperture will remain locked wide open – adjust the ISO setting to control the exposure.
The best camera deals, reviews, product advice, and unmissable photography news, direct to your inbox!
02 Move freely

Unmount the lens, while keeping it close to the mount. When you tilt the lens, it will change the plane of focus; tilting to the right will keep the left of the frame in focus, and so on. Moving it further away from the body adjusts the focus, and also allows light to bleed onto the sensor (see '05 Light leaks').
03 Shoot live

Use Live view so that you can see how your lens movements are affecting the image in real time – which will also help you focus. If you have a mirrorless camera, turn on Focus Peaking as it will show you exactly where the plane of focus is as you move the lens around.
04 Macro mode

Simply turn your lens around so that the front element is next to the sensor, and you can use it as a macro effect lens. Finding focus can be tricky, but the reward is some gloriously thin depth of field and a uniquely soft rendering with beautiful focusing falloff.

05 Light leaks
The further you move the lens away from the mount, the more light enters and hits the sensor. This can make some truly wonderful Lomography style light leaks, creating fantastic swirls of faded color and contrast – ideal for dreamy, abstract, shots.

James has 25 years experience as a journalist, serving as the head of Digital Camera World for 7 of them. He started working in the photography industry in 2014, product testing and shooting ad campaigns for Olympus, as well as clients like Aston Martin Racing, Elinchrom and L'Oréal. An Olympus / OM System, Canon and Hasselblad shooter, he has a wealth of knowledge on cameras of all makes – and he loves instant cameras, too.

