Light-paint your portrait photos using a cheap fiber-optic brush
Light-paint incredible portraits using a cheap fiber-optic brush for brilliant abstract results
The best camera deals, reviews, product advice, and unmissable photography news, direct to your inbox!
You are now subscribed
Your newsletter sign-up was successful
Watch video: Light-painted portraits
Light painting isn’t a technique you’d normally associate with portraiture, but with a few simple skills you can create fantastically surreal people photos. You don’t need lots of gear for this, either, just a tripod, a dark room, a willing subject, and a torch or other light-emitting device you can use to ‘paint’ with.
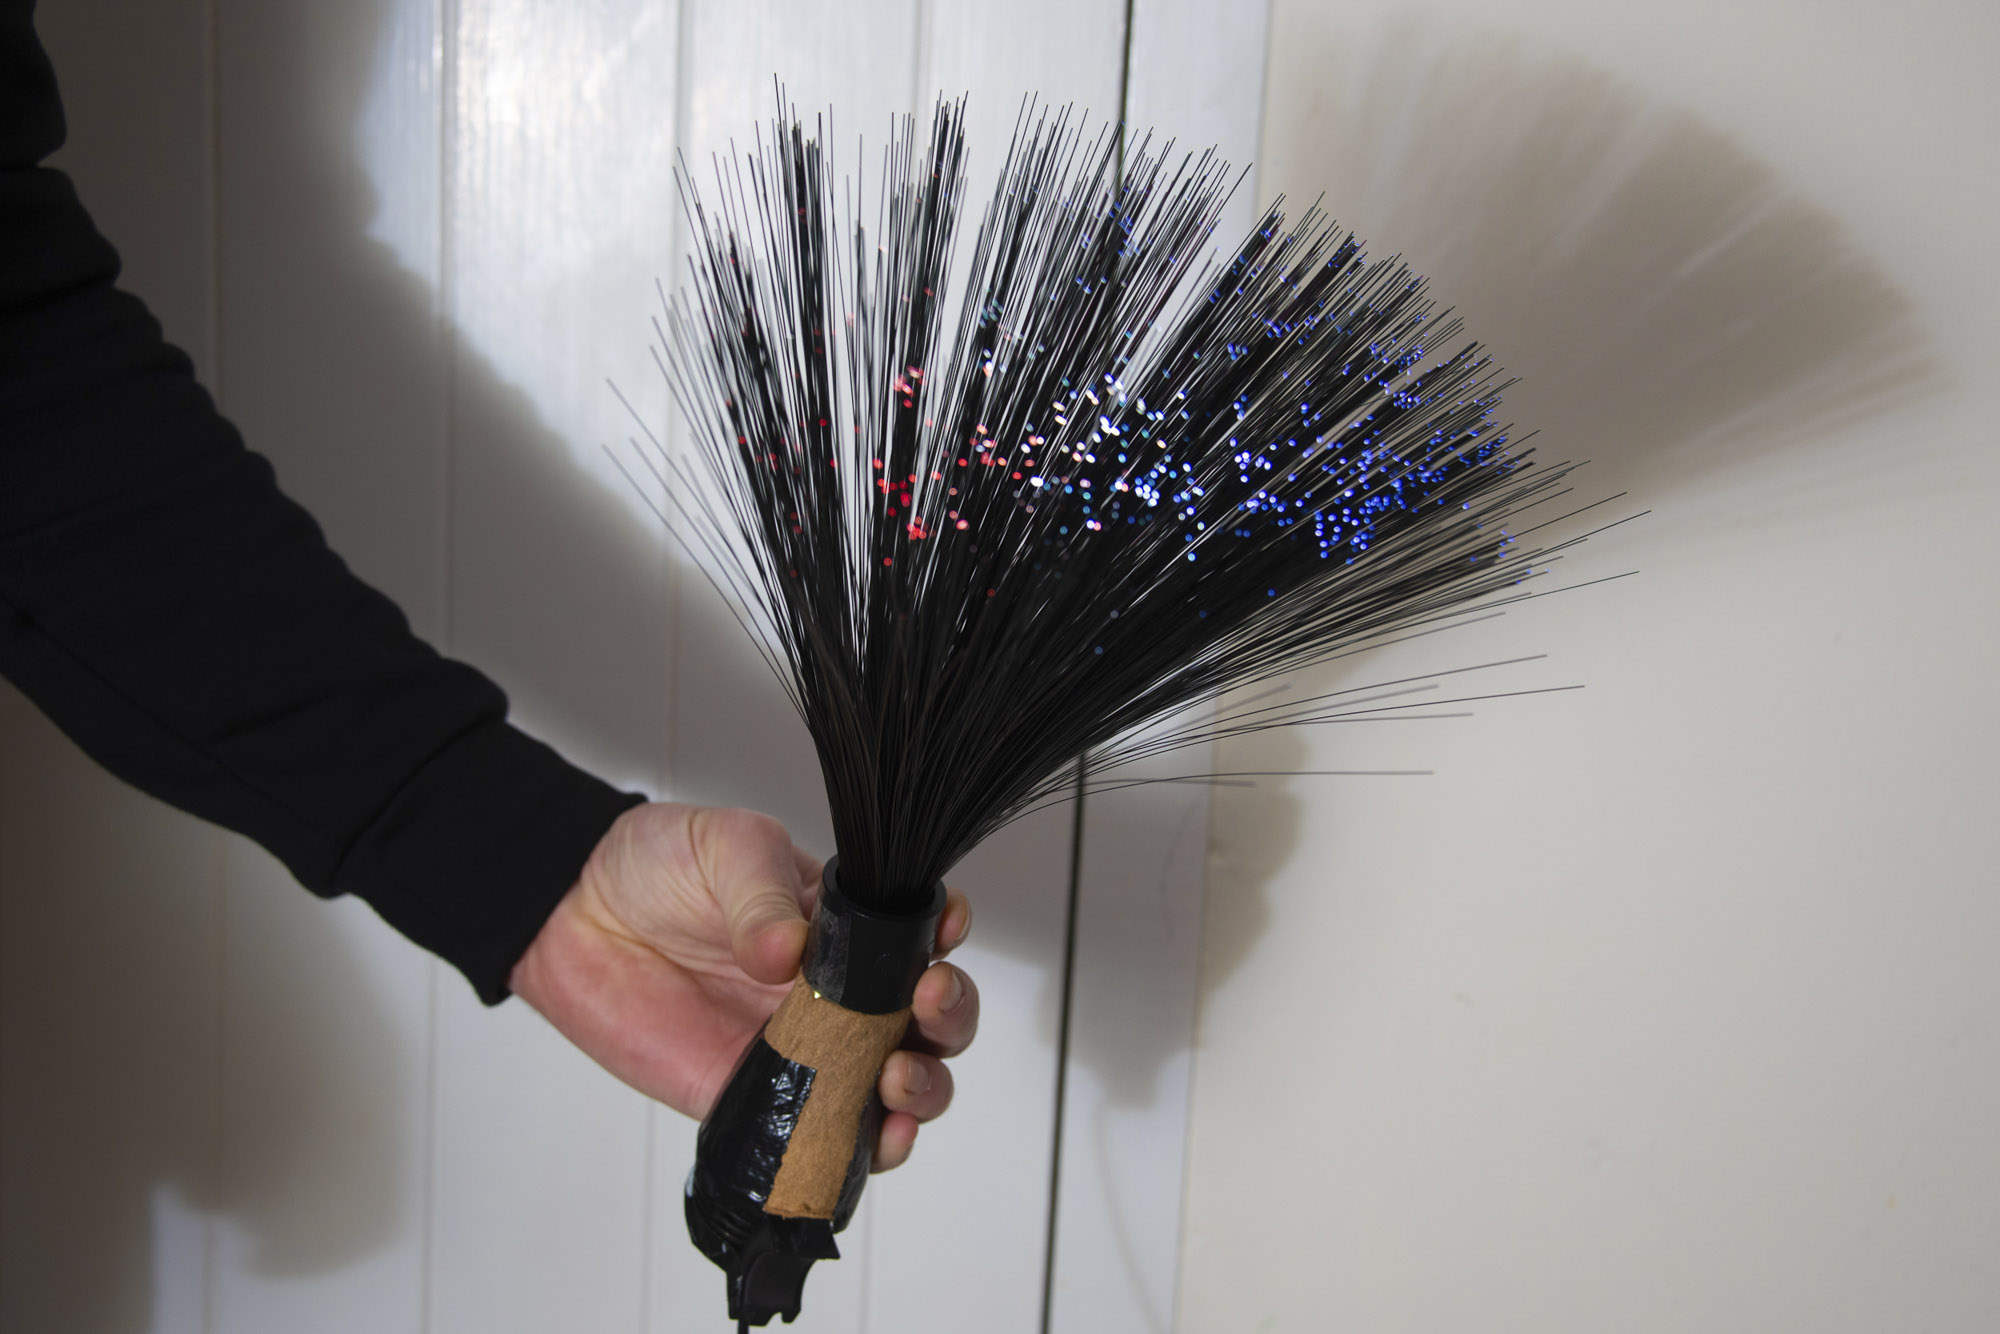
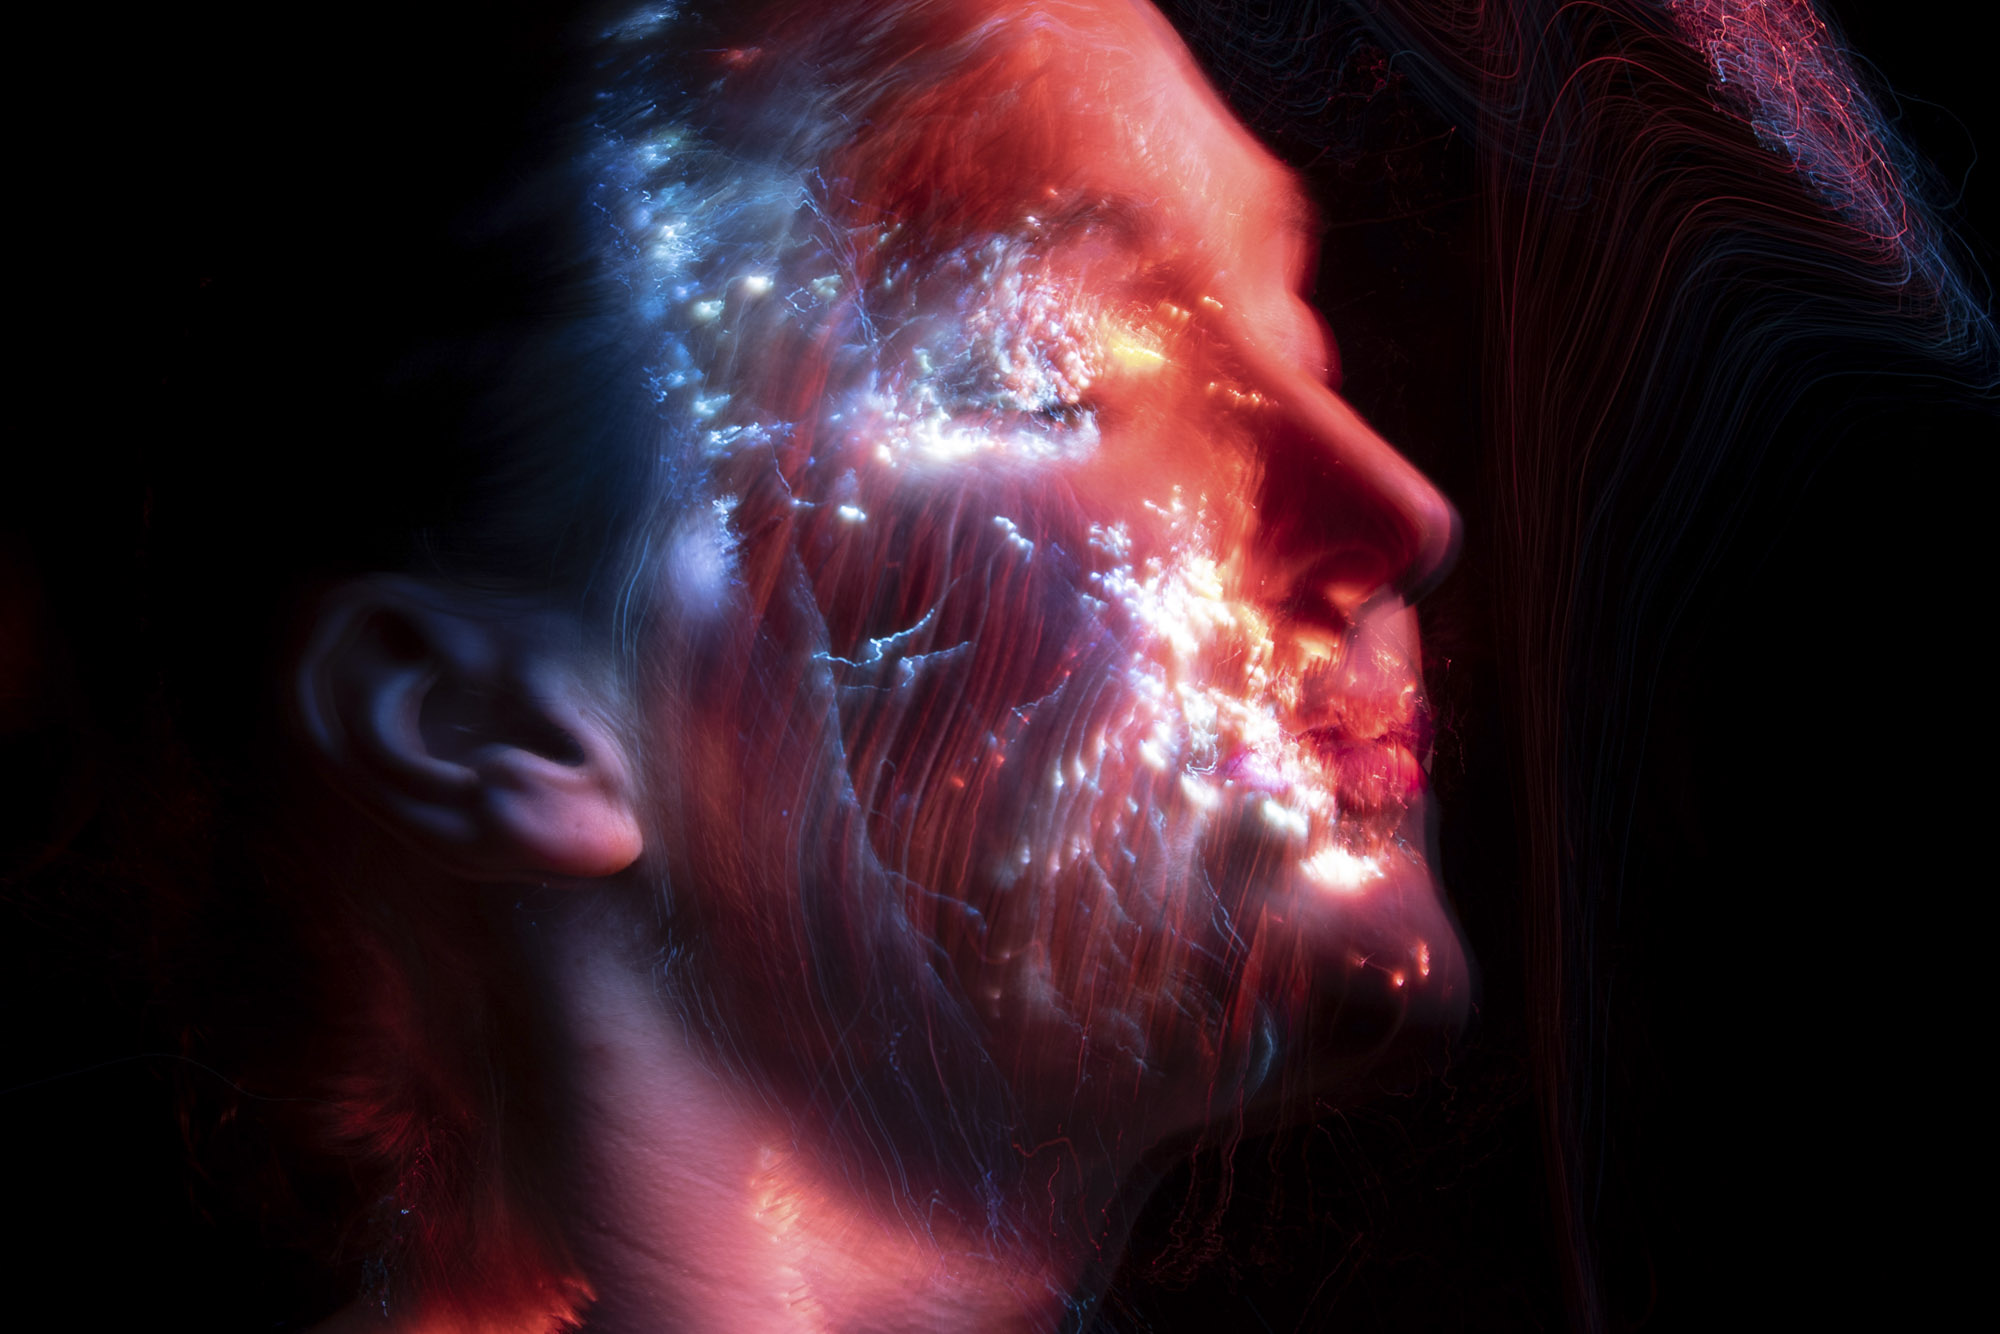
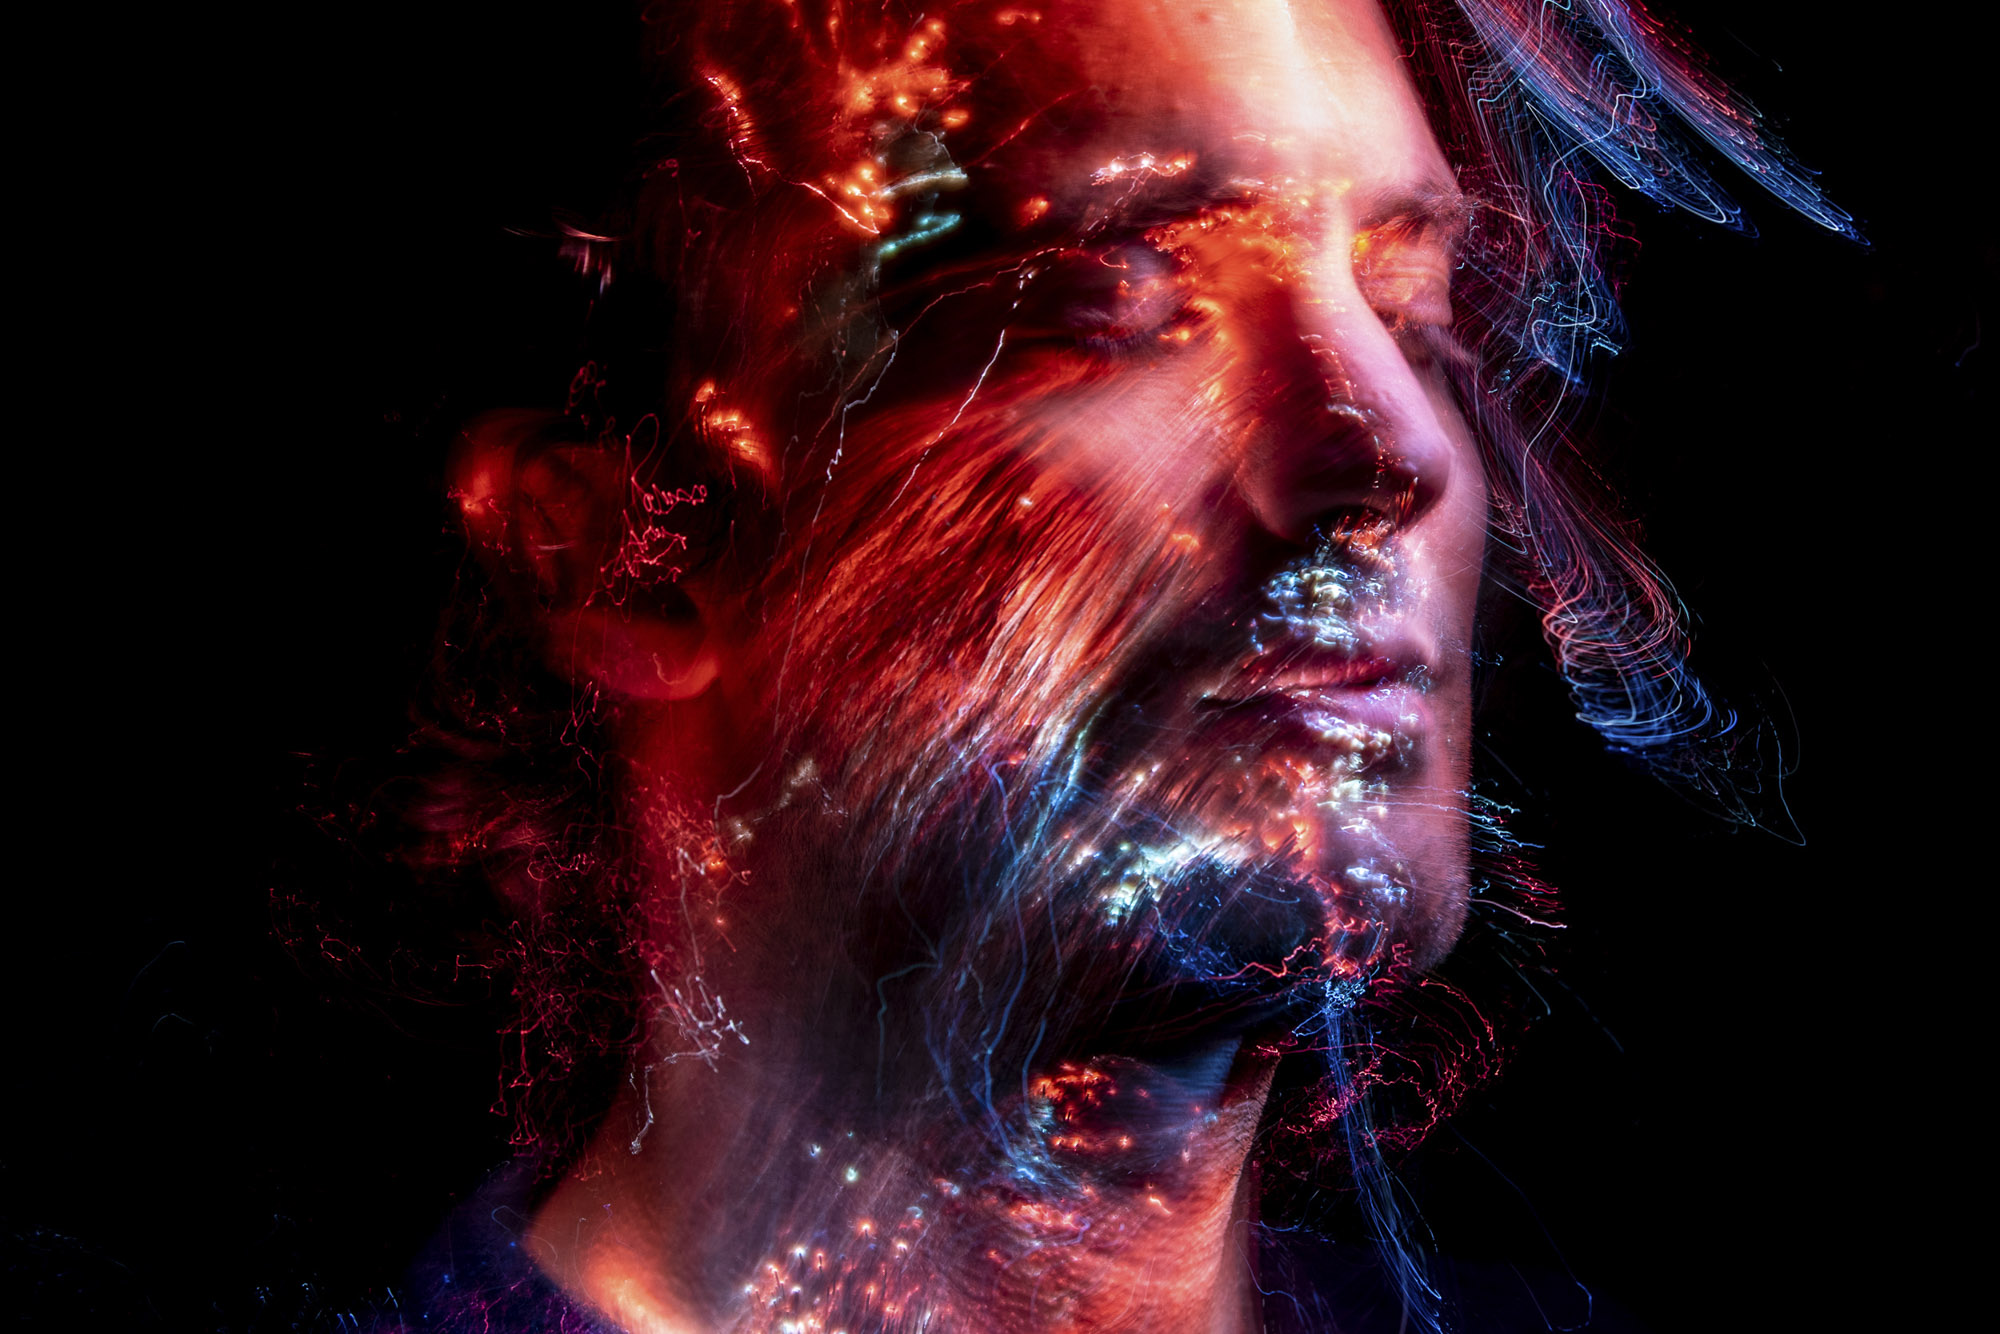
When it comes to choosing a light source for your painting, there are all sorts of torches, light wands and dedicated tools out there. But one of the most interesting is a fibre-optic brush. This is a technique inspired by the portraits of Gunnar Heilmann, who uses a fiber-optic light brush to incredible effect. The fibers split the beam from a normal torch into lots of tiny points of light, which look wonderful when brushed and flicked over the course of a long exposure. We bought our brush from rigu.co.uk for only £25.
• Read more: Best lenses for portraiture
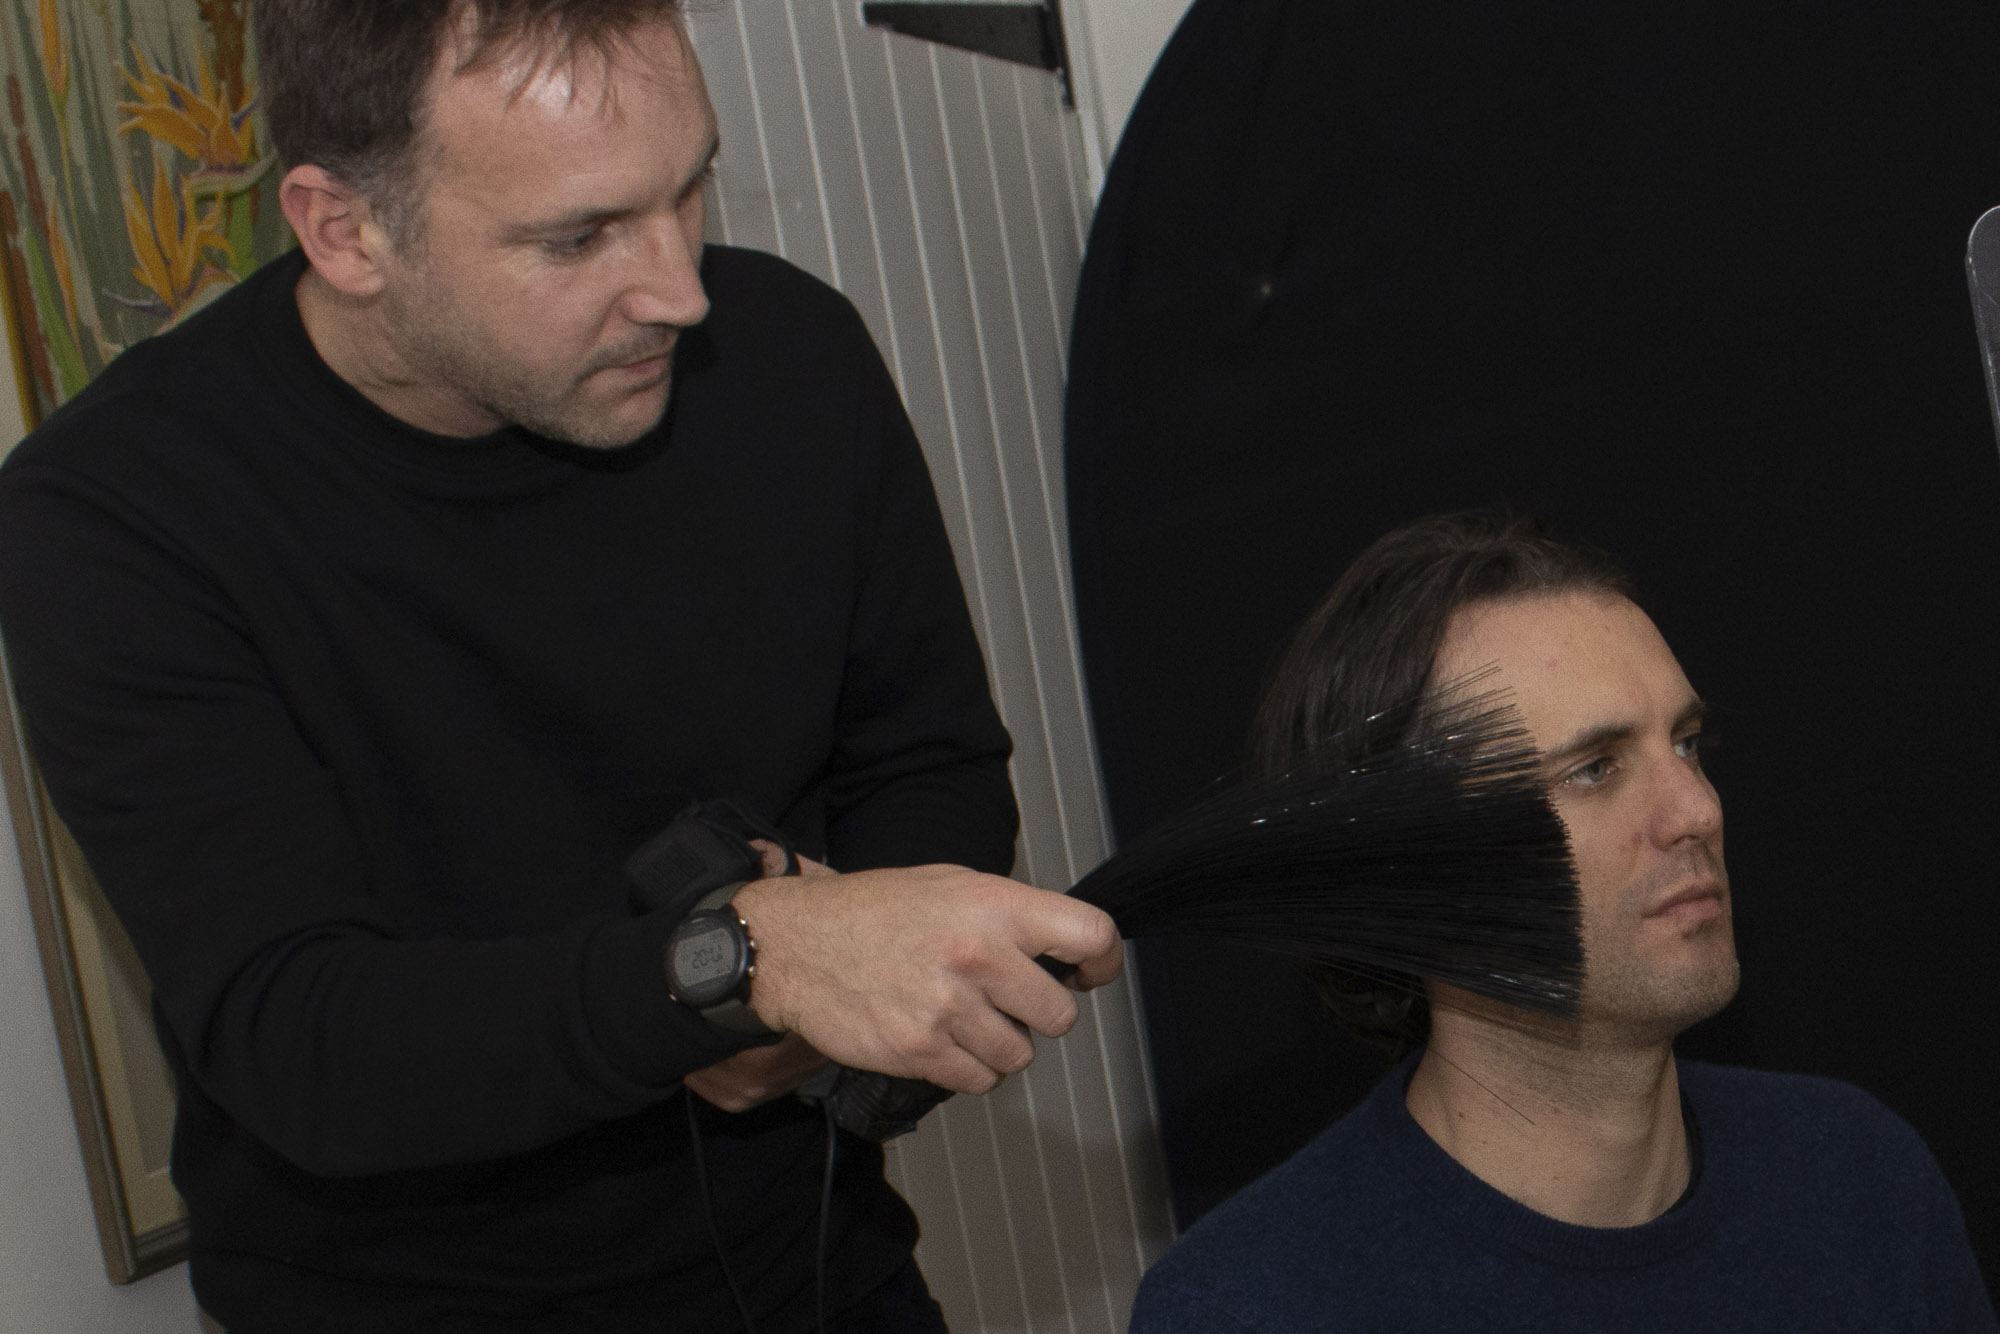
Painting with the brush is rather addictive, as you can get a variety of results depending on whether you stroke across the face, dab it onto the skin or shine the light around your subject.
Whether capturing faces or any type of subject, the basics of light painting are the same. We’ll show you how to get set up for light painting by choosing the right exposure settings and controlling the light. It’s a fun technique that’s perfect for a dark evening at home. Although you might want to close the curtains, as brushing a friend’s face with a torch in the dark might attract a few strange looks from the neighbors!
01 Torch and brush
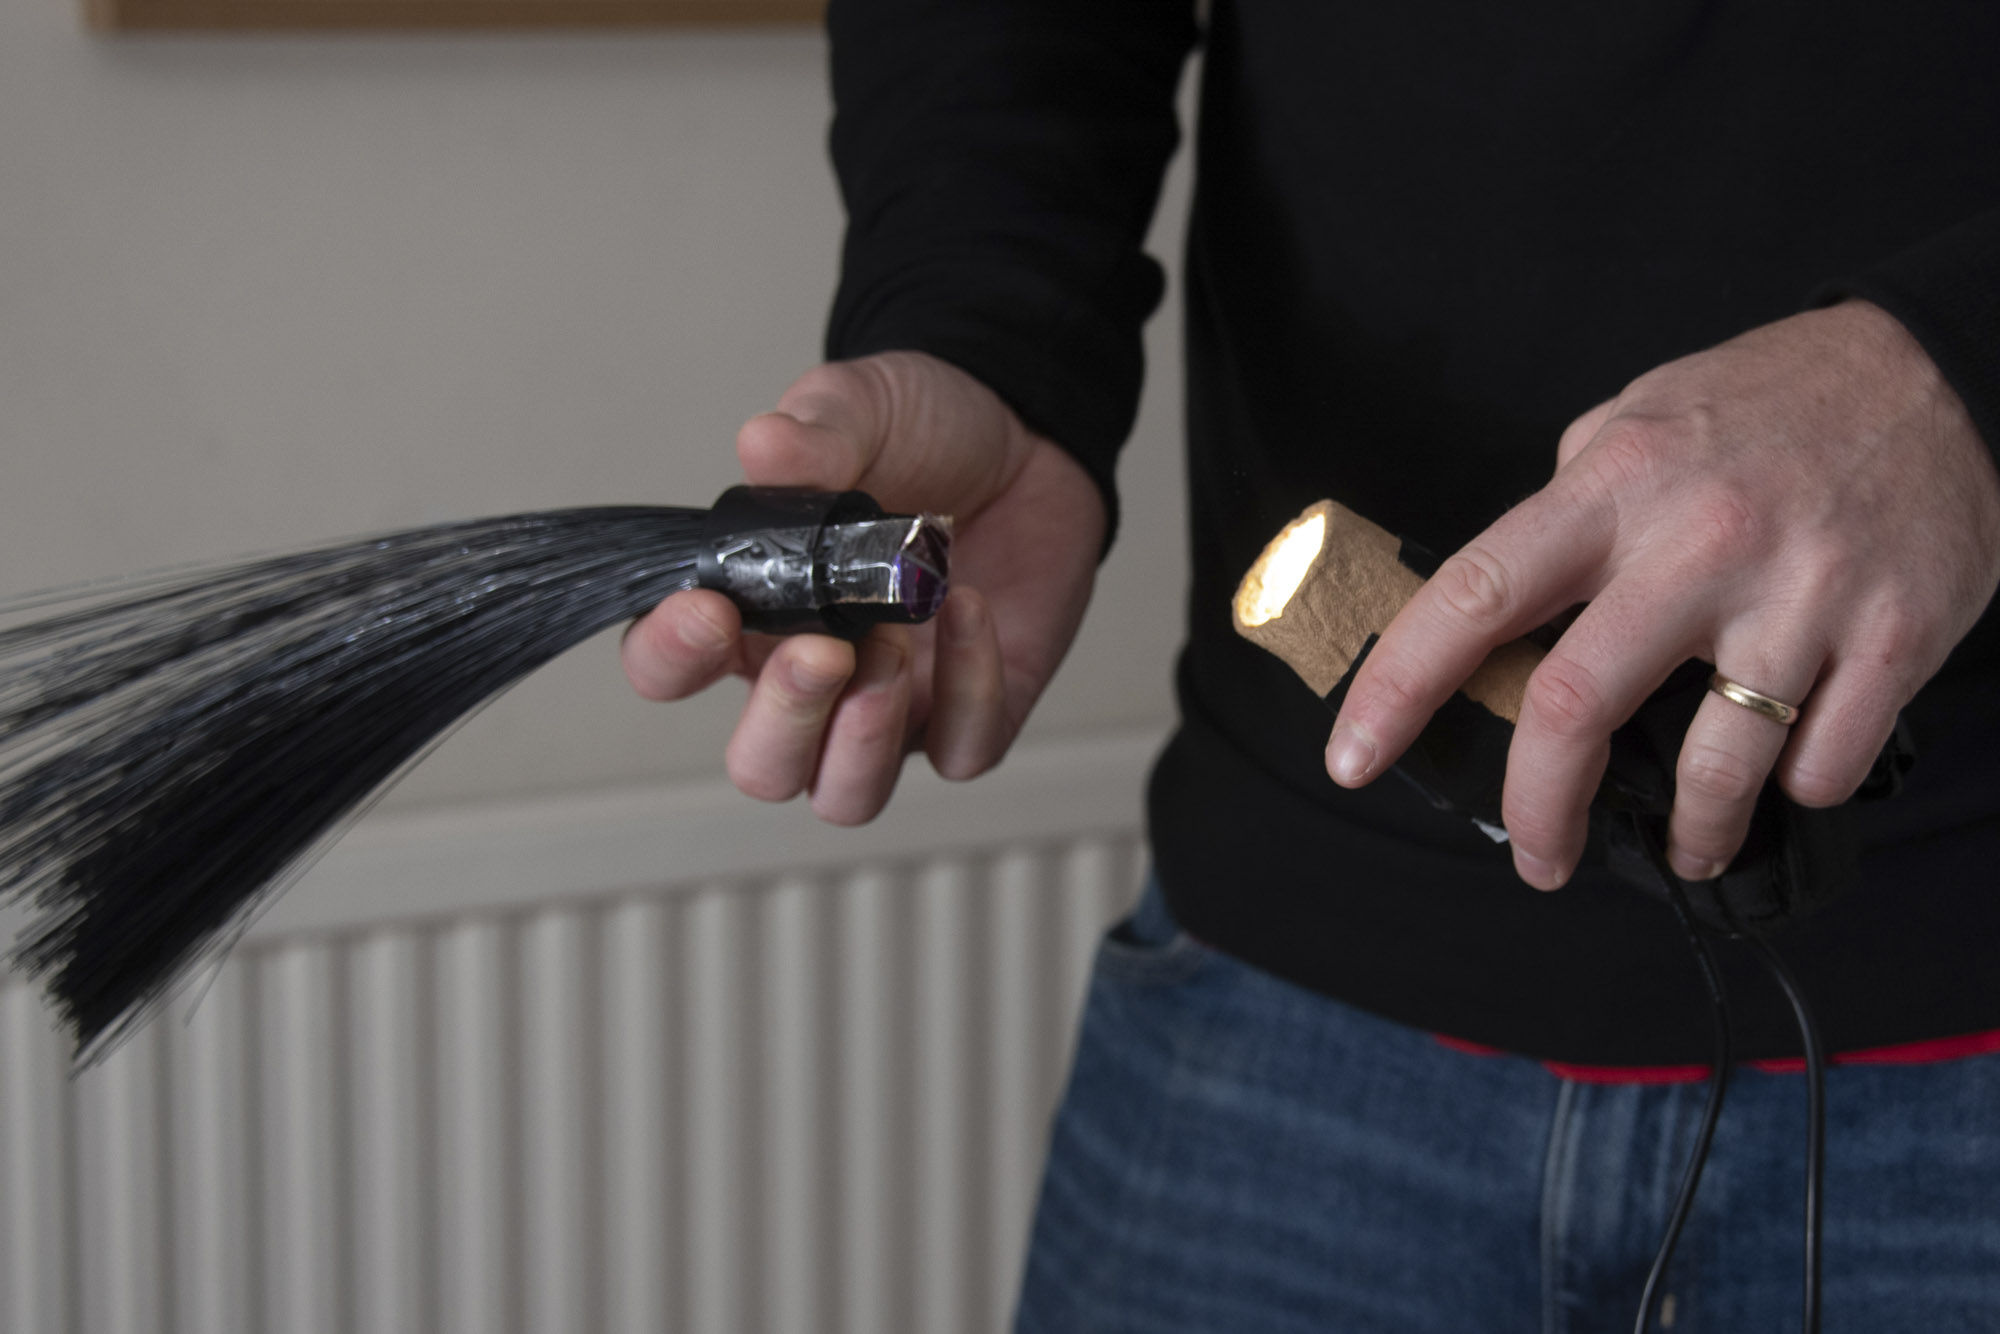
Our brush works in combination with a normal torch. The torch is attached to the end of the brush (we used a makeshift cardboard tube to connect the two). The fibers split the beam into many tiny points of light that dance and move as you flick the brush.
The best camera deals, reviews, product advice, and unmissable photography news, direct to your inbox!
02 Color the light
We can add different colors to our fiber-optic brush by using pieces of colored tape or gel. We tape these to the rear of the brush. Experiment with different colors, and try using two colors at once by taping each over one half of the beam.
03 Use manual exposure
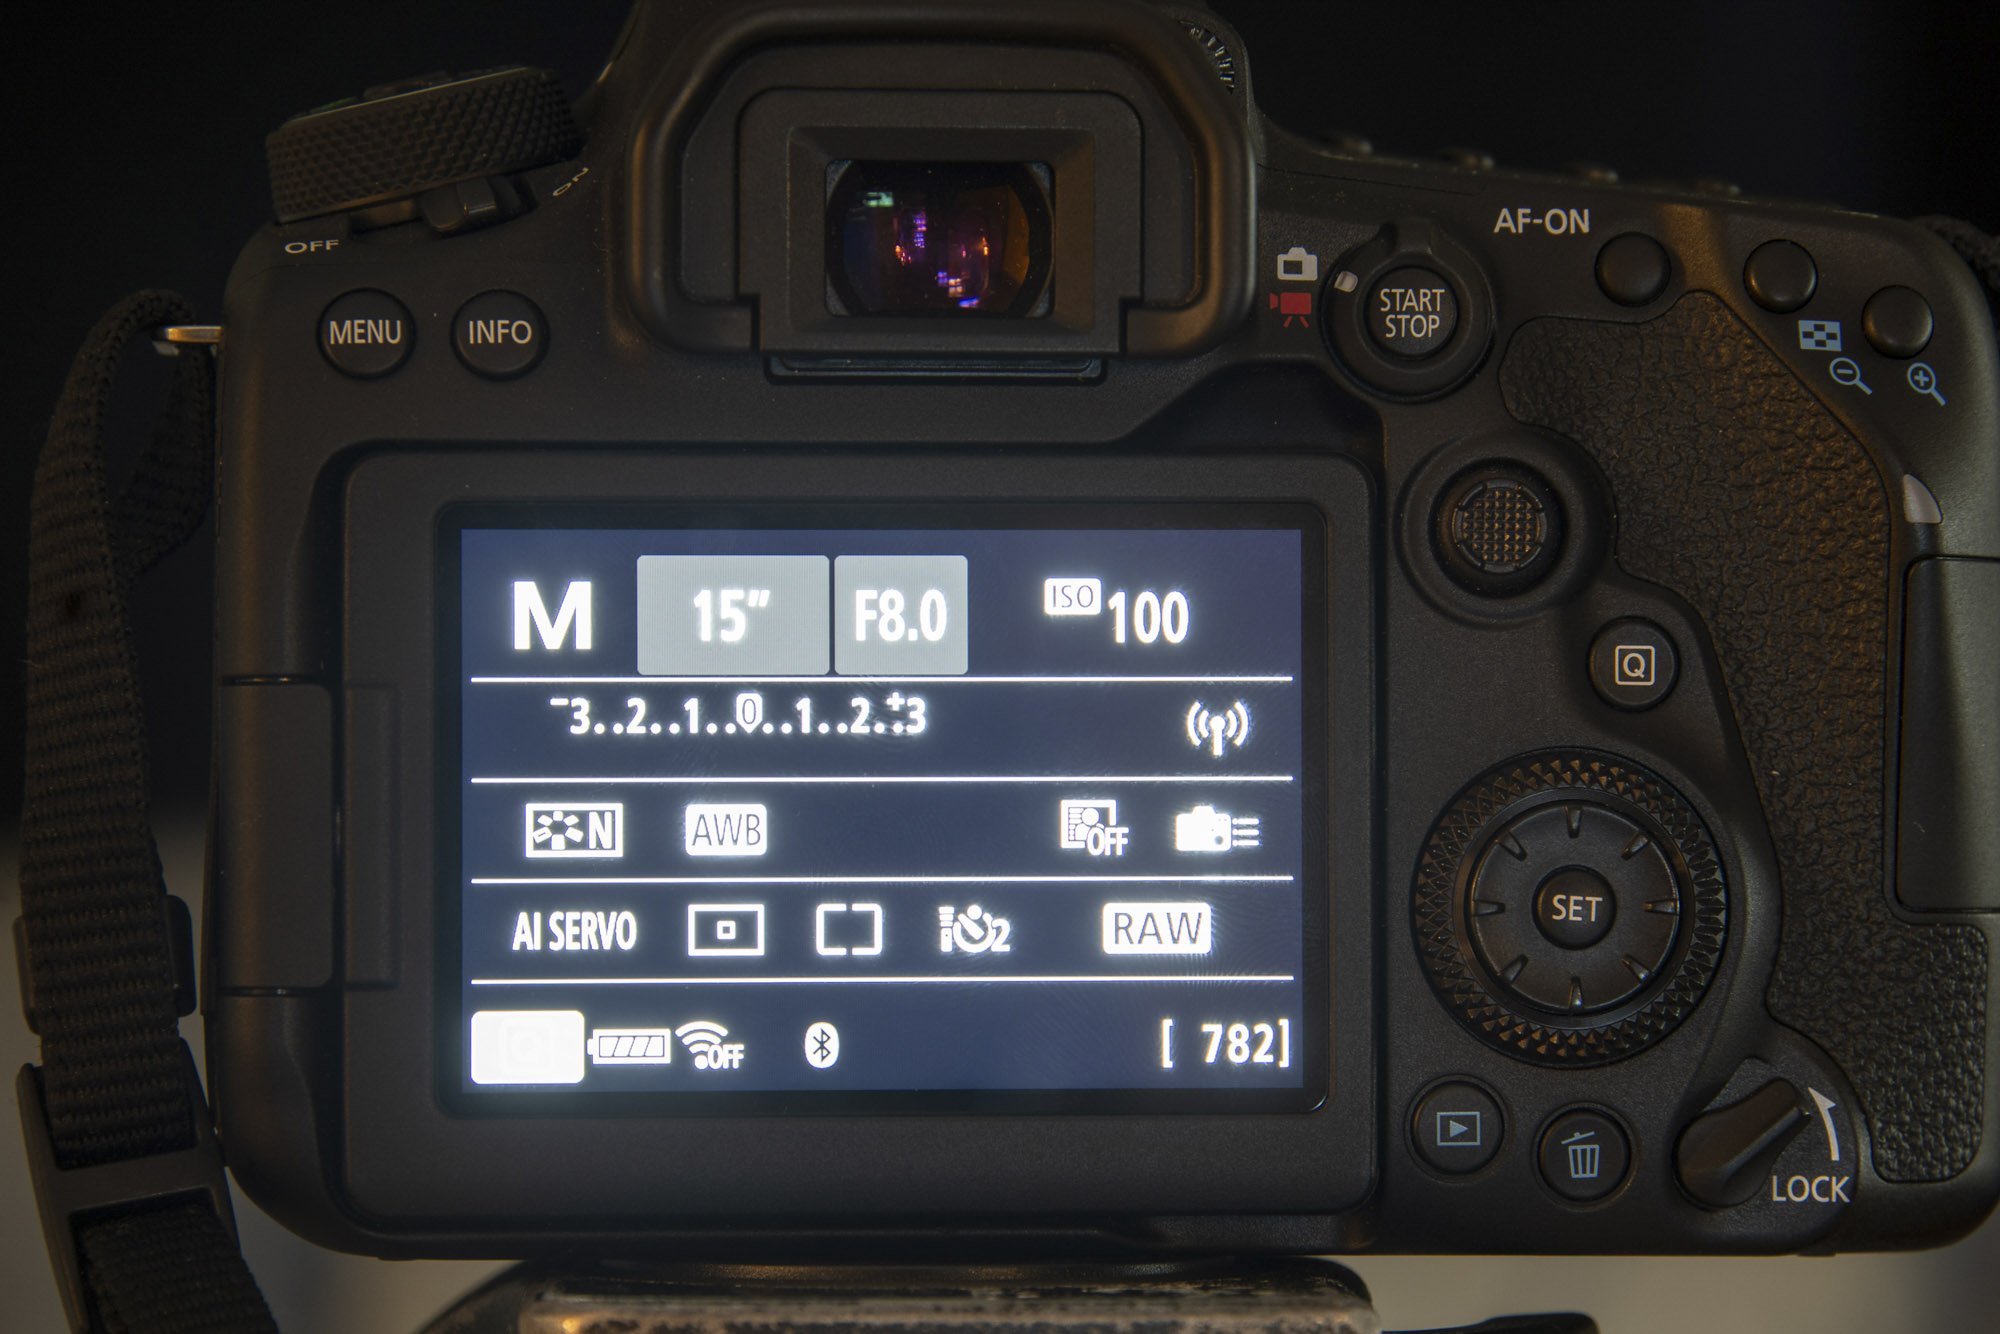
The right camera settings for this will vary depending on the power of your torch, but a good place to begin is in Manual mode with ISO100, aperture f/8 and a shutter speed of 15 secs. If the shot looks too dark or bright, we simply adjust the aperture to compensate.
04 Keep still
We need our subject to stay as still as possible during the exposure, so it’s best to have them sitting down. A little movement is inevitable, but big movements will ruin the shot. If you’re painting the brush over the face ask subjects to keep their eyes closed.
05 Make glowing sparkles
You can get different effects with the fiber-optic light brush depending on how you touch it to the subject’s face and skin. For example, if you dab it up and down in different places then you can make dots and sparkles over the face.
06 Create waves of light
If you sweep the brush over the face then it’ll appear as glowing waves of light. You can also add detail to areas by shining the light over the face from a distance. Try doing this from one side or behind the subject to light the edges of the face.
07 Play around with light painting toys
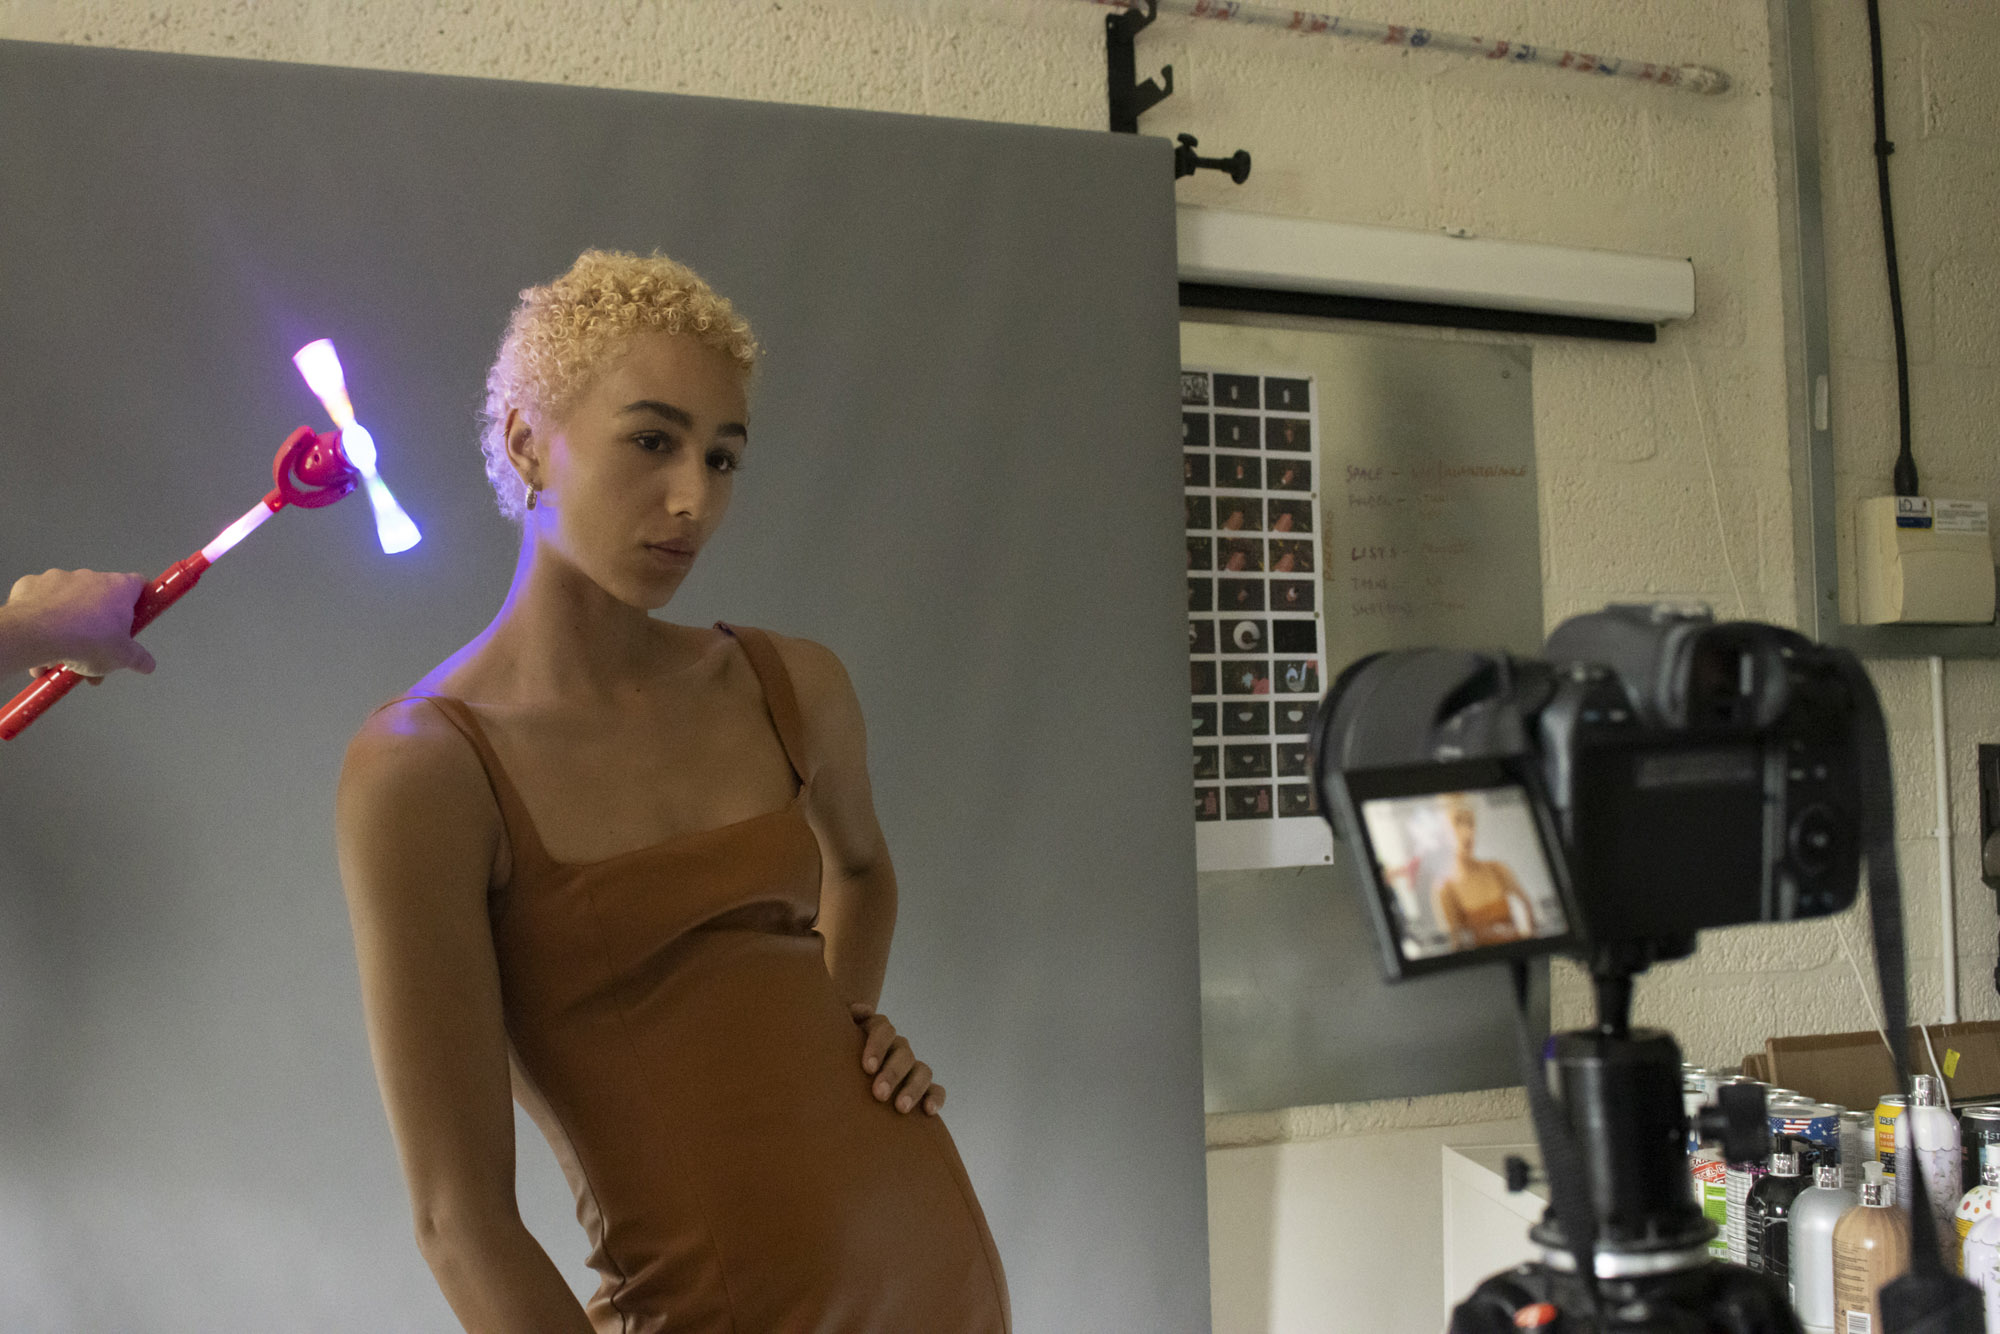
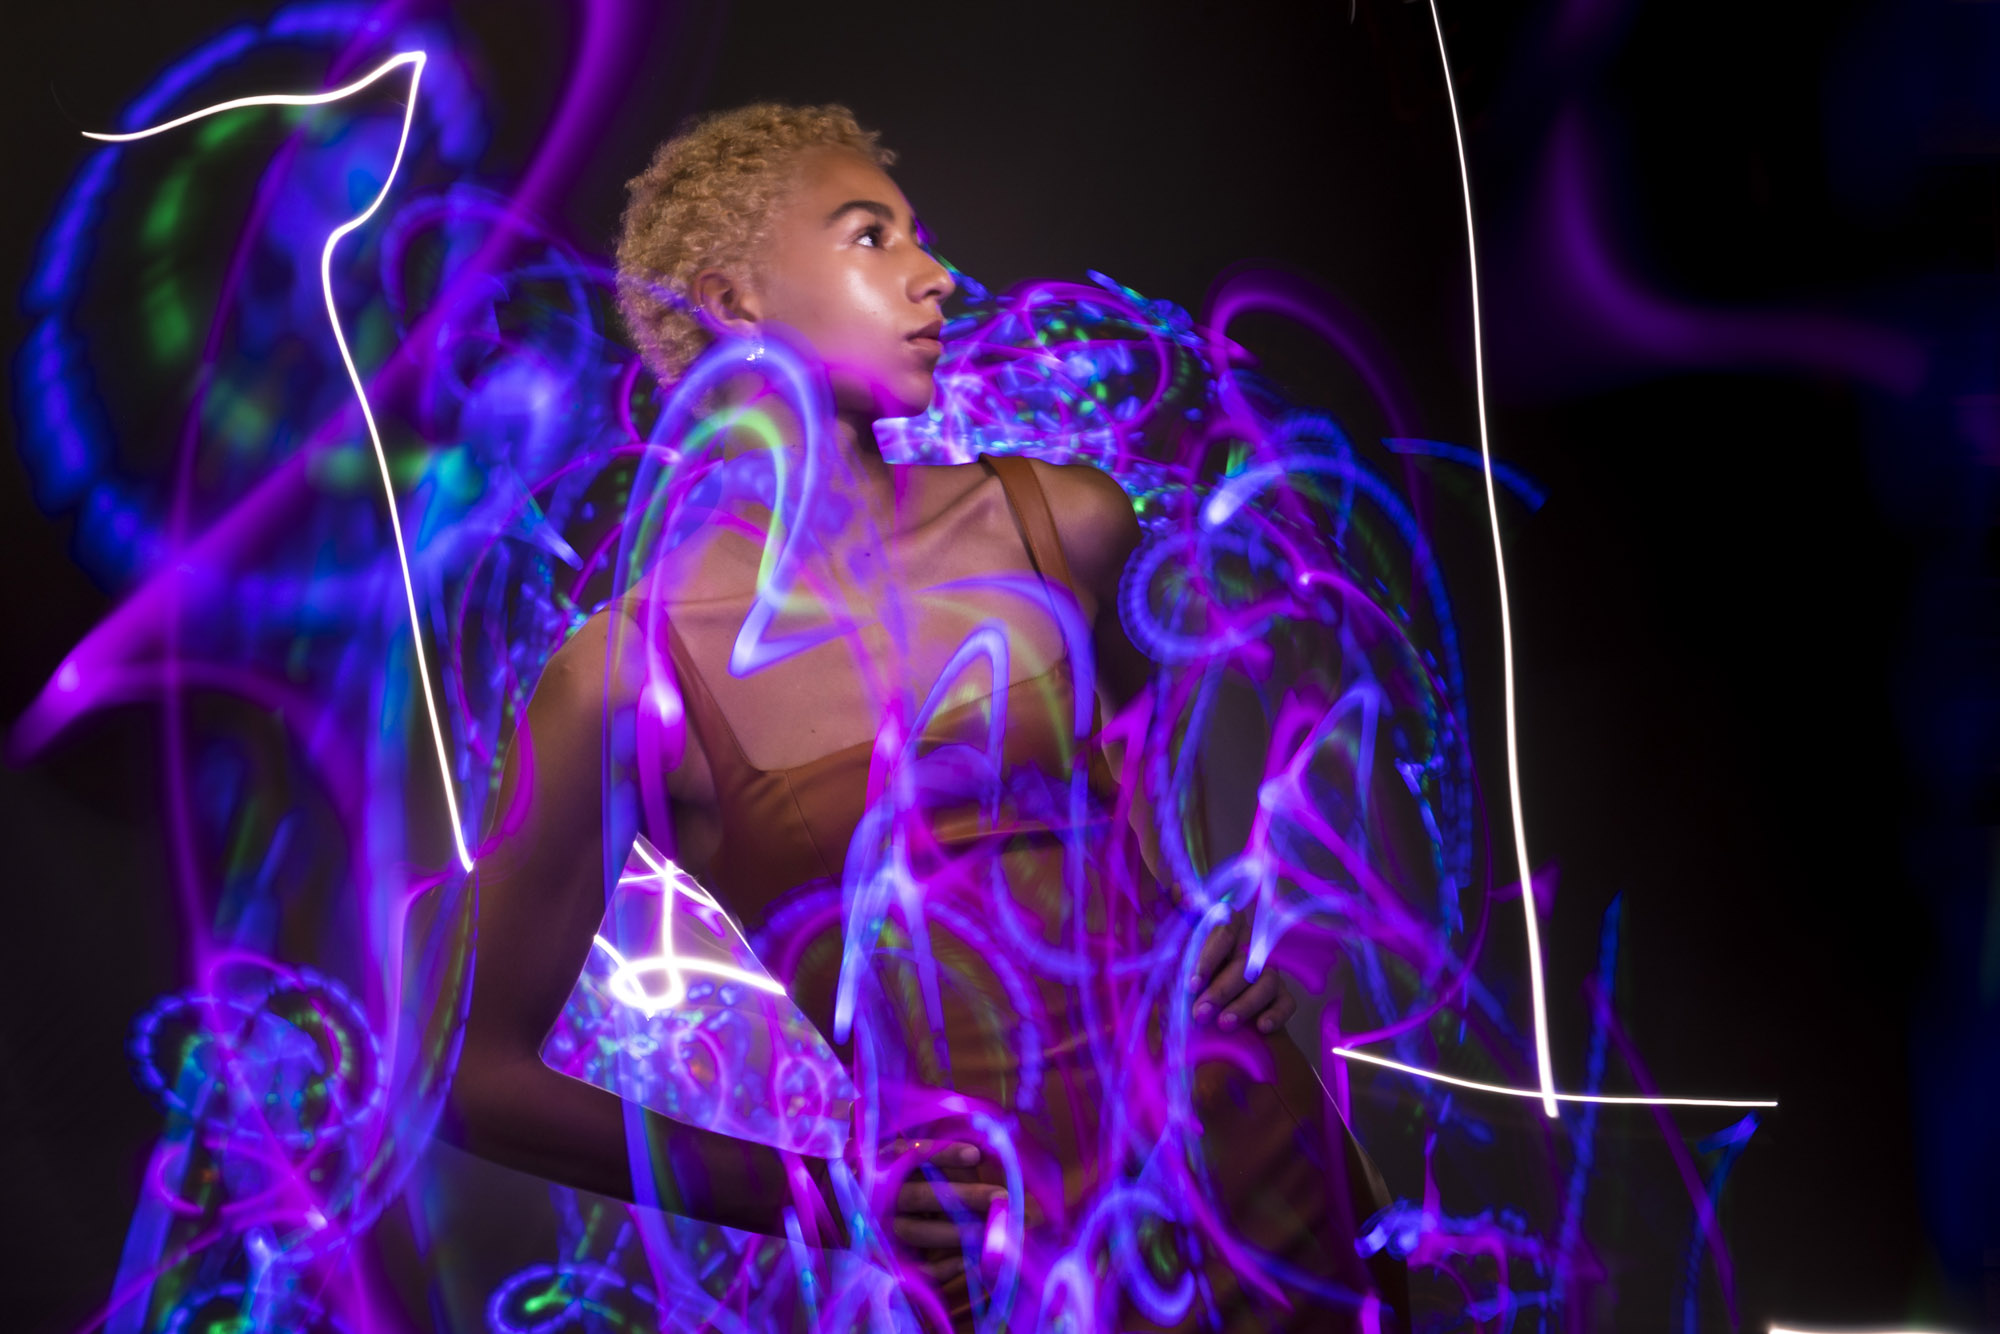
While the fiber-optic brush used in this project can give stunning results, it’s not an essential piece of kit for light painting – you can use any kind of glowing object you like. Chances are, you probably have items around the house that could be used to interesting effect. Here we used a twirling light stick, the kind of thing you can buy from a fairground or at a carnival.
By waving the stick around both in front and behind our subject we created an array of glowing lines. Other items that could work equally well include fairy lights, glow sticks and toy light sabres. You could even try using a phone or tablet with a colorful display.
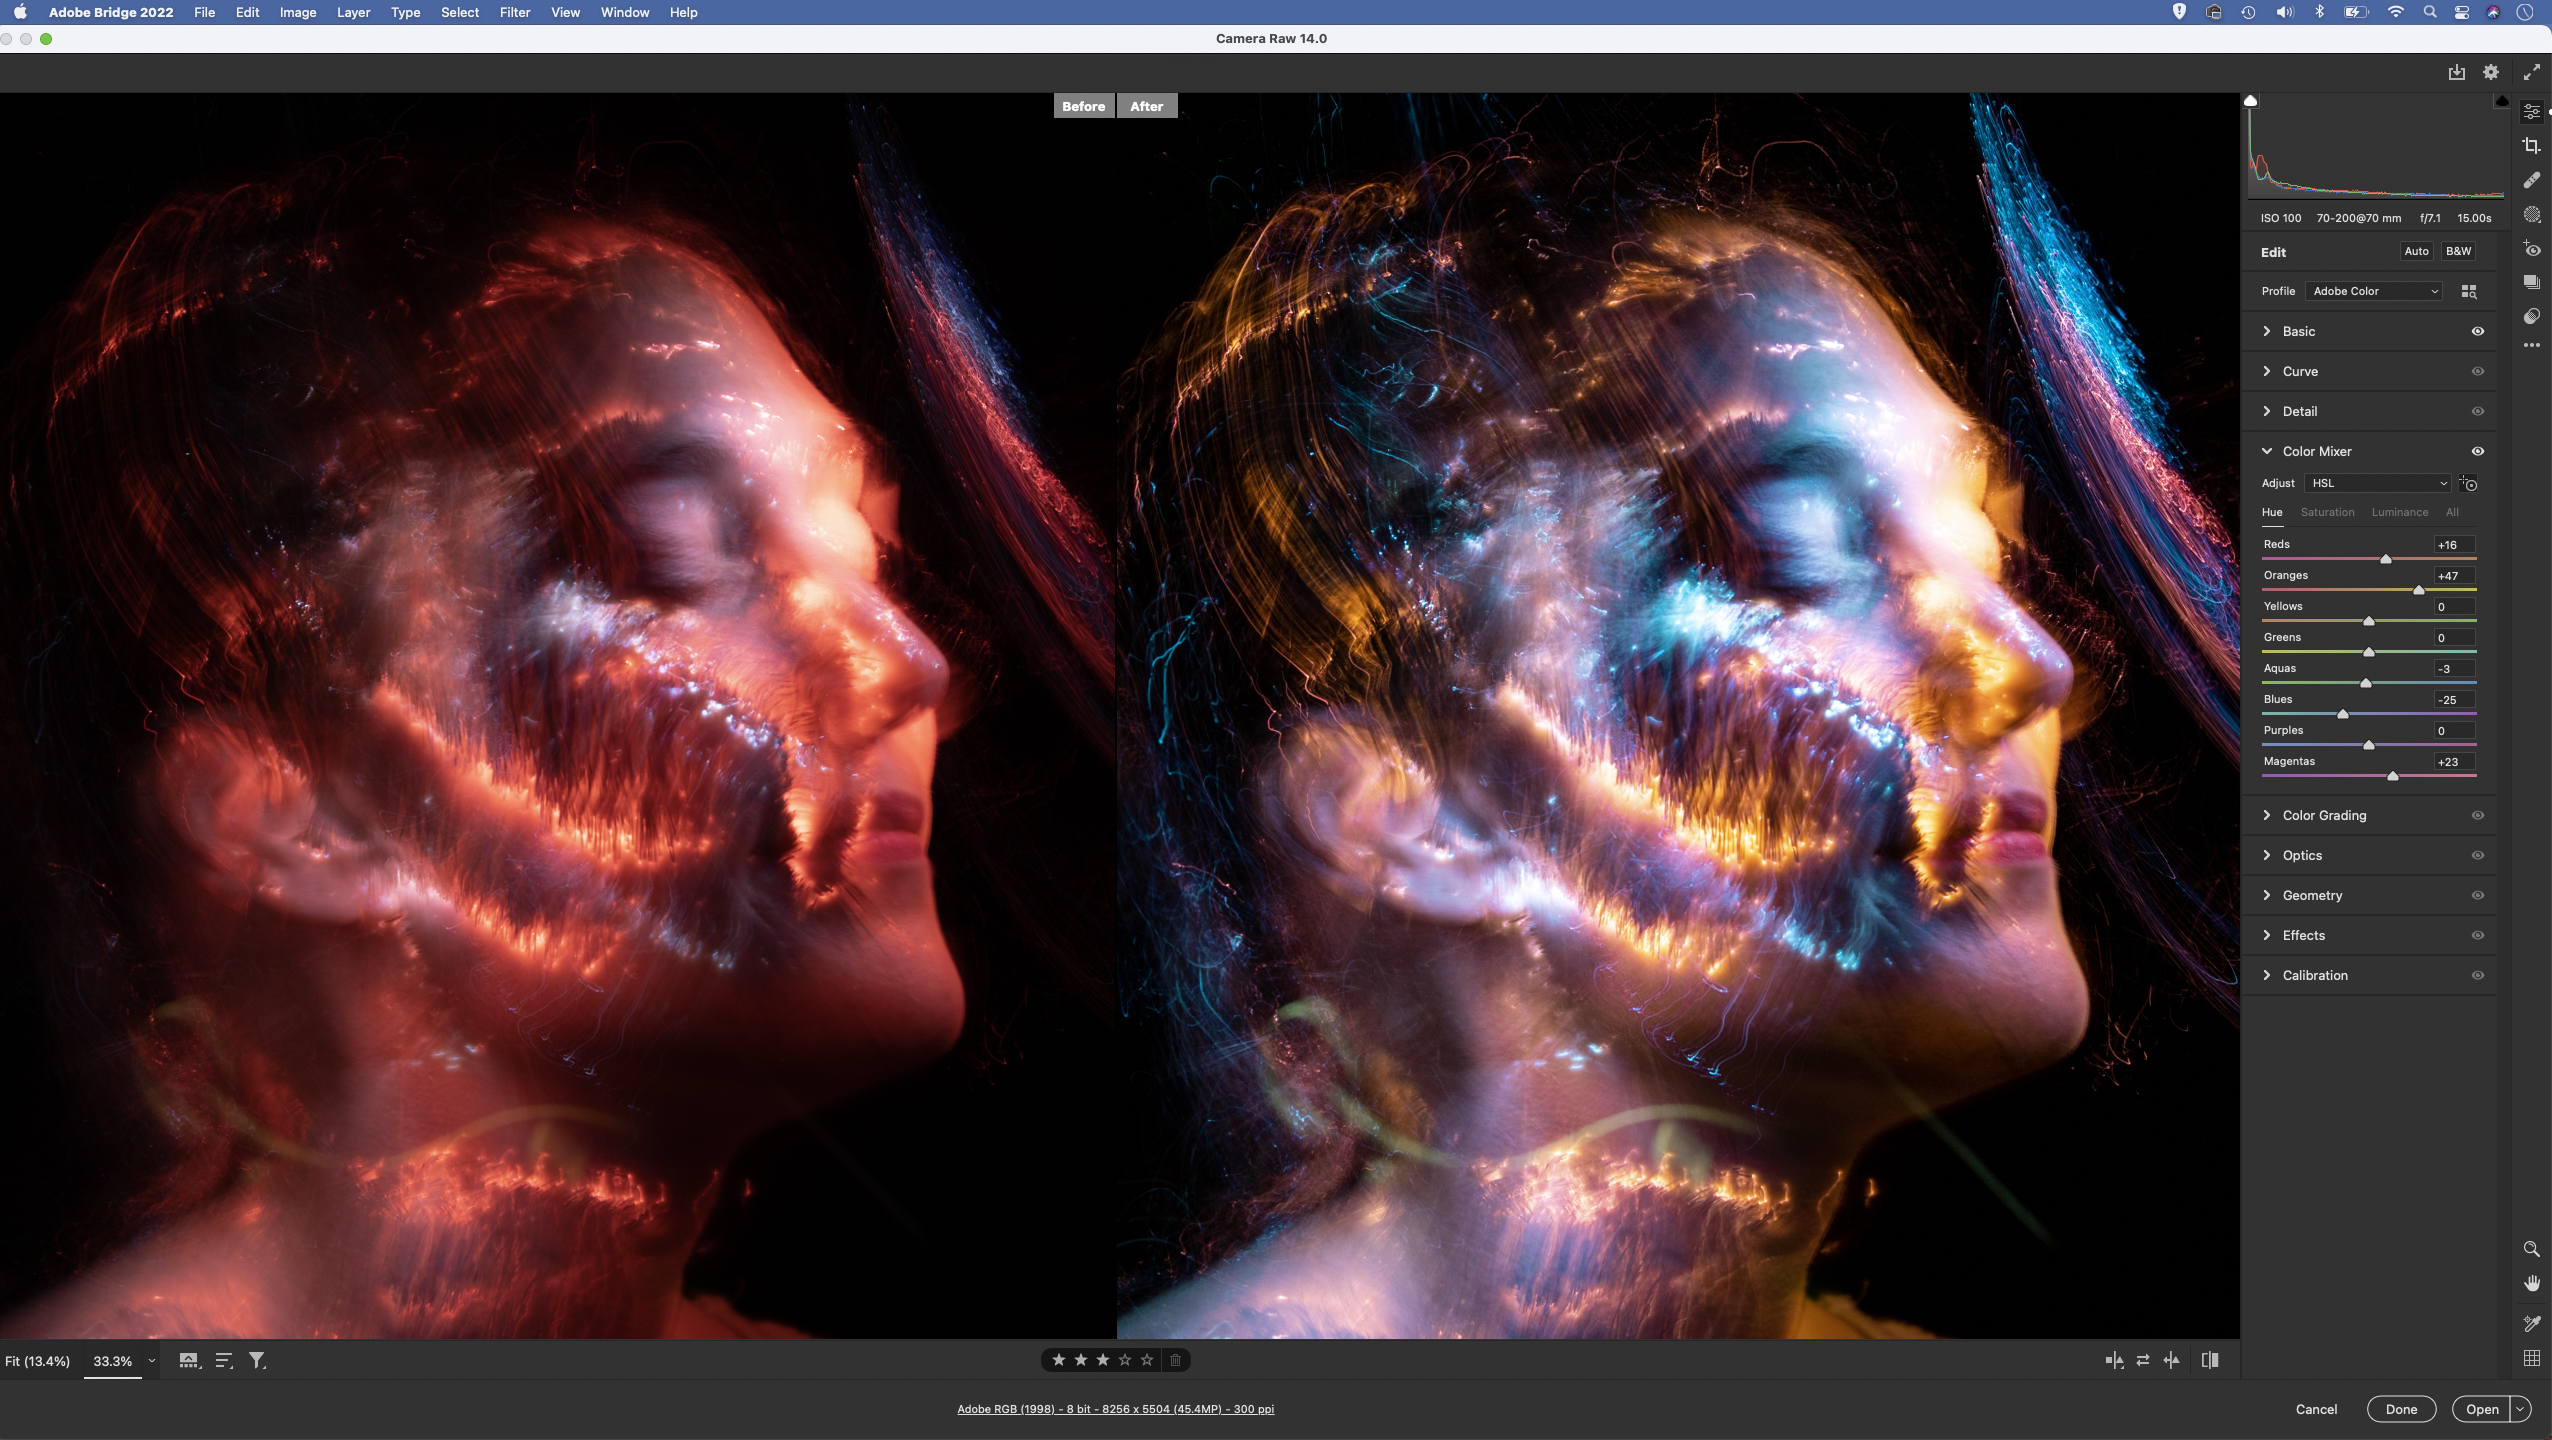
08 Tweak colours
You may find that afterwards the images have a heavy color cast. It’s best to shoot in Raw, so you can change the white balance (and other settings) in post. You can also target and adjust the hue of individual colors using the Color Mixer panel in Camera Raw or Lightroom.
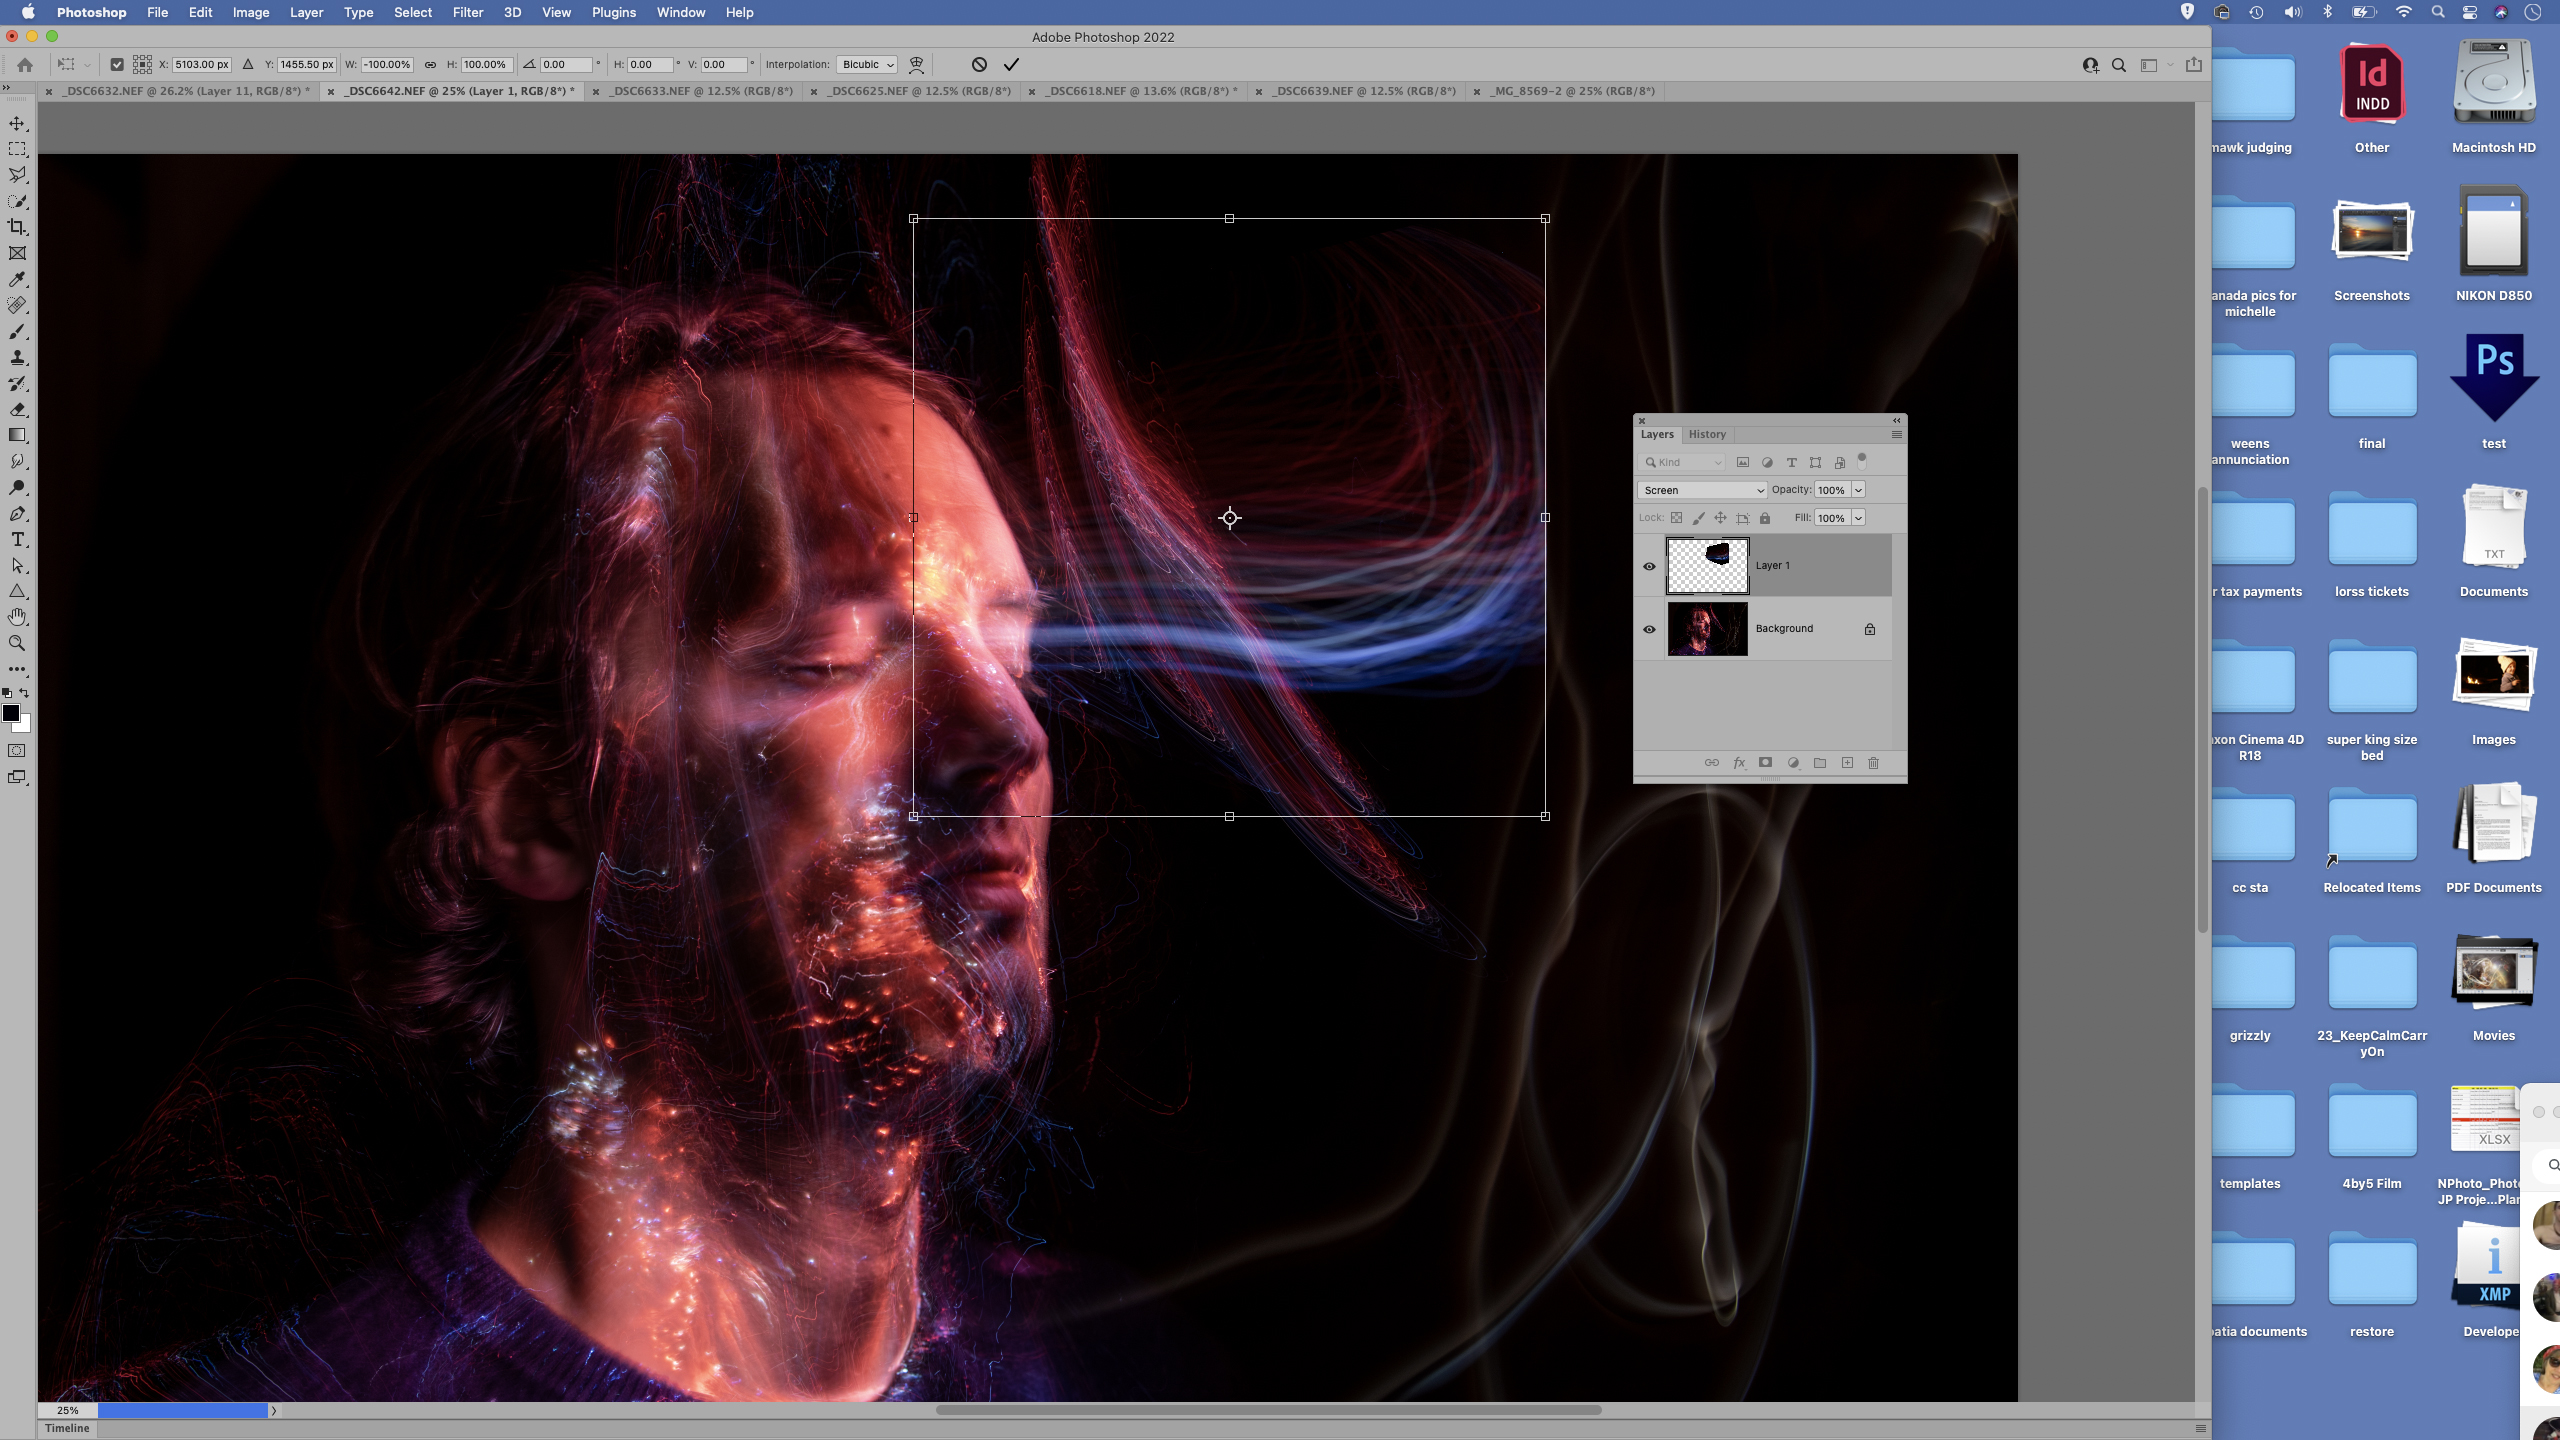
09 Blend several frames
Try combining the best parts from several photos into one. This isn’t difficult as long as the frames are in alignment. Select an area, copy (Cmd/Ctrl + C) and paste in place (Cmd/Ctrl + Shift + V). If you want just the light trails to show through, set the blend mode to Lighten or Screen.
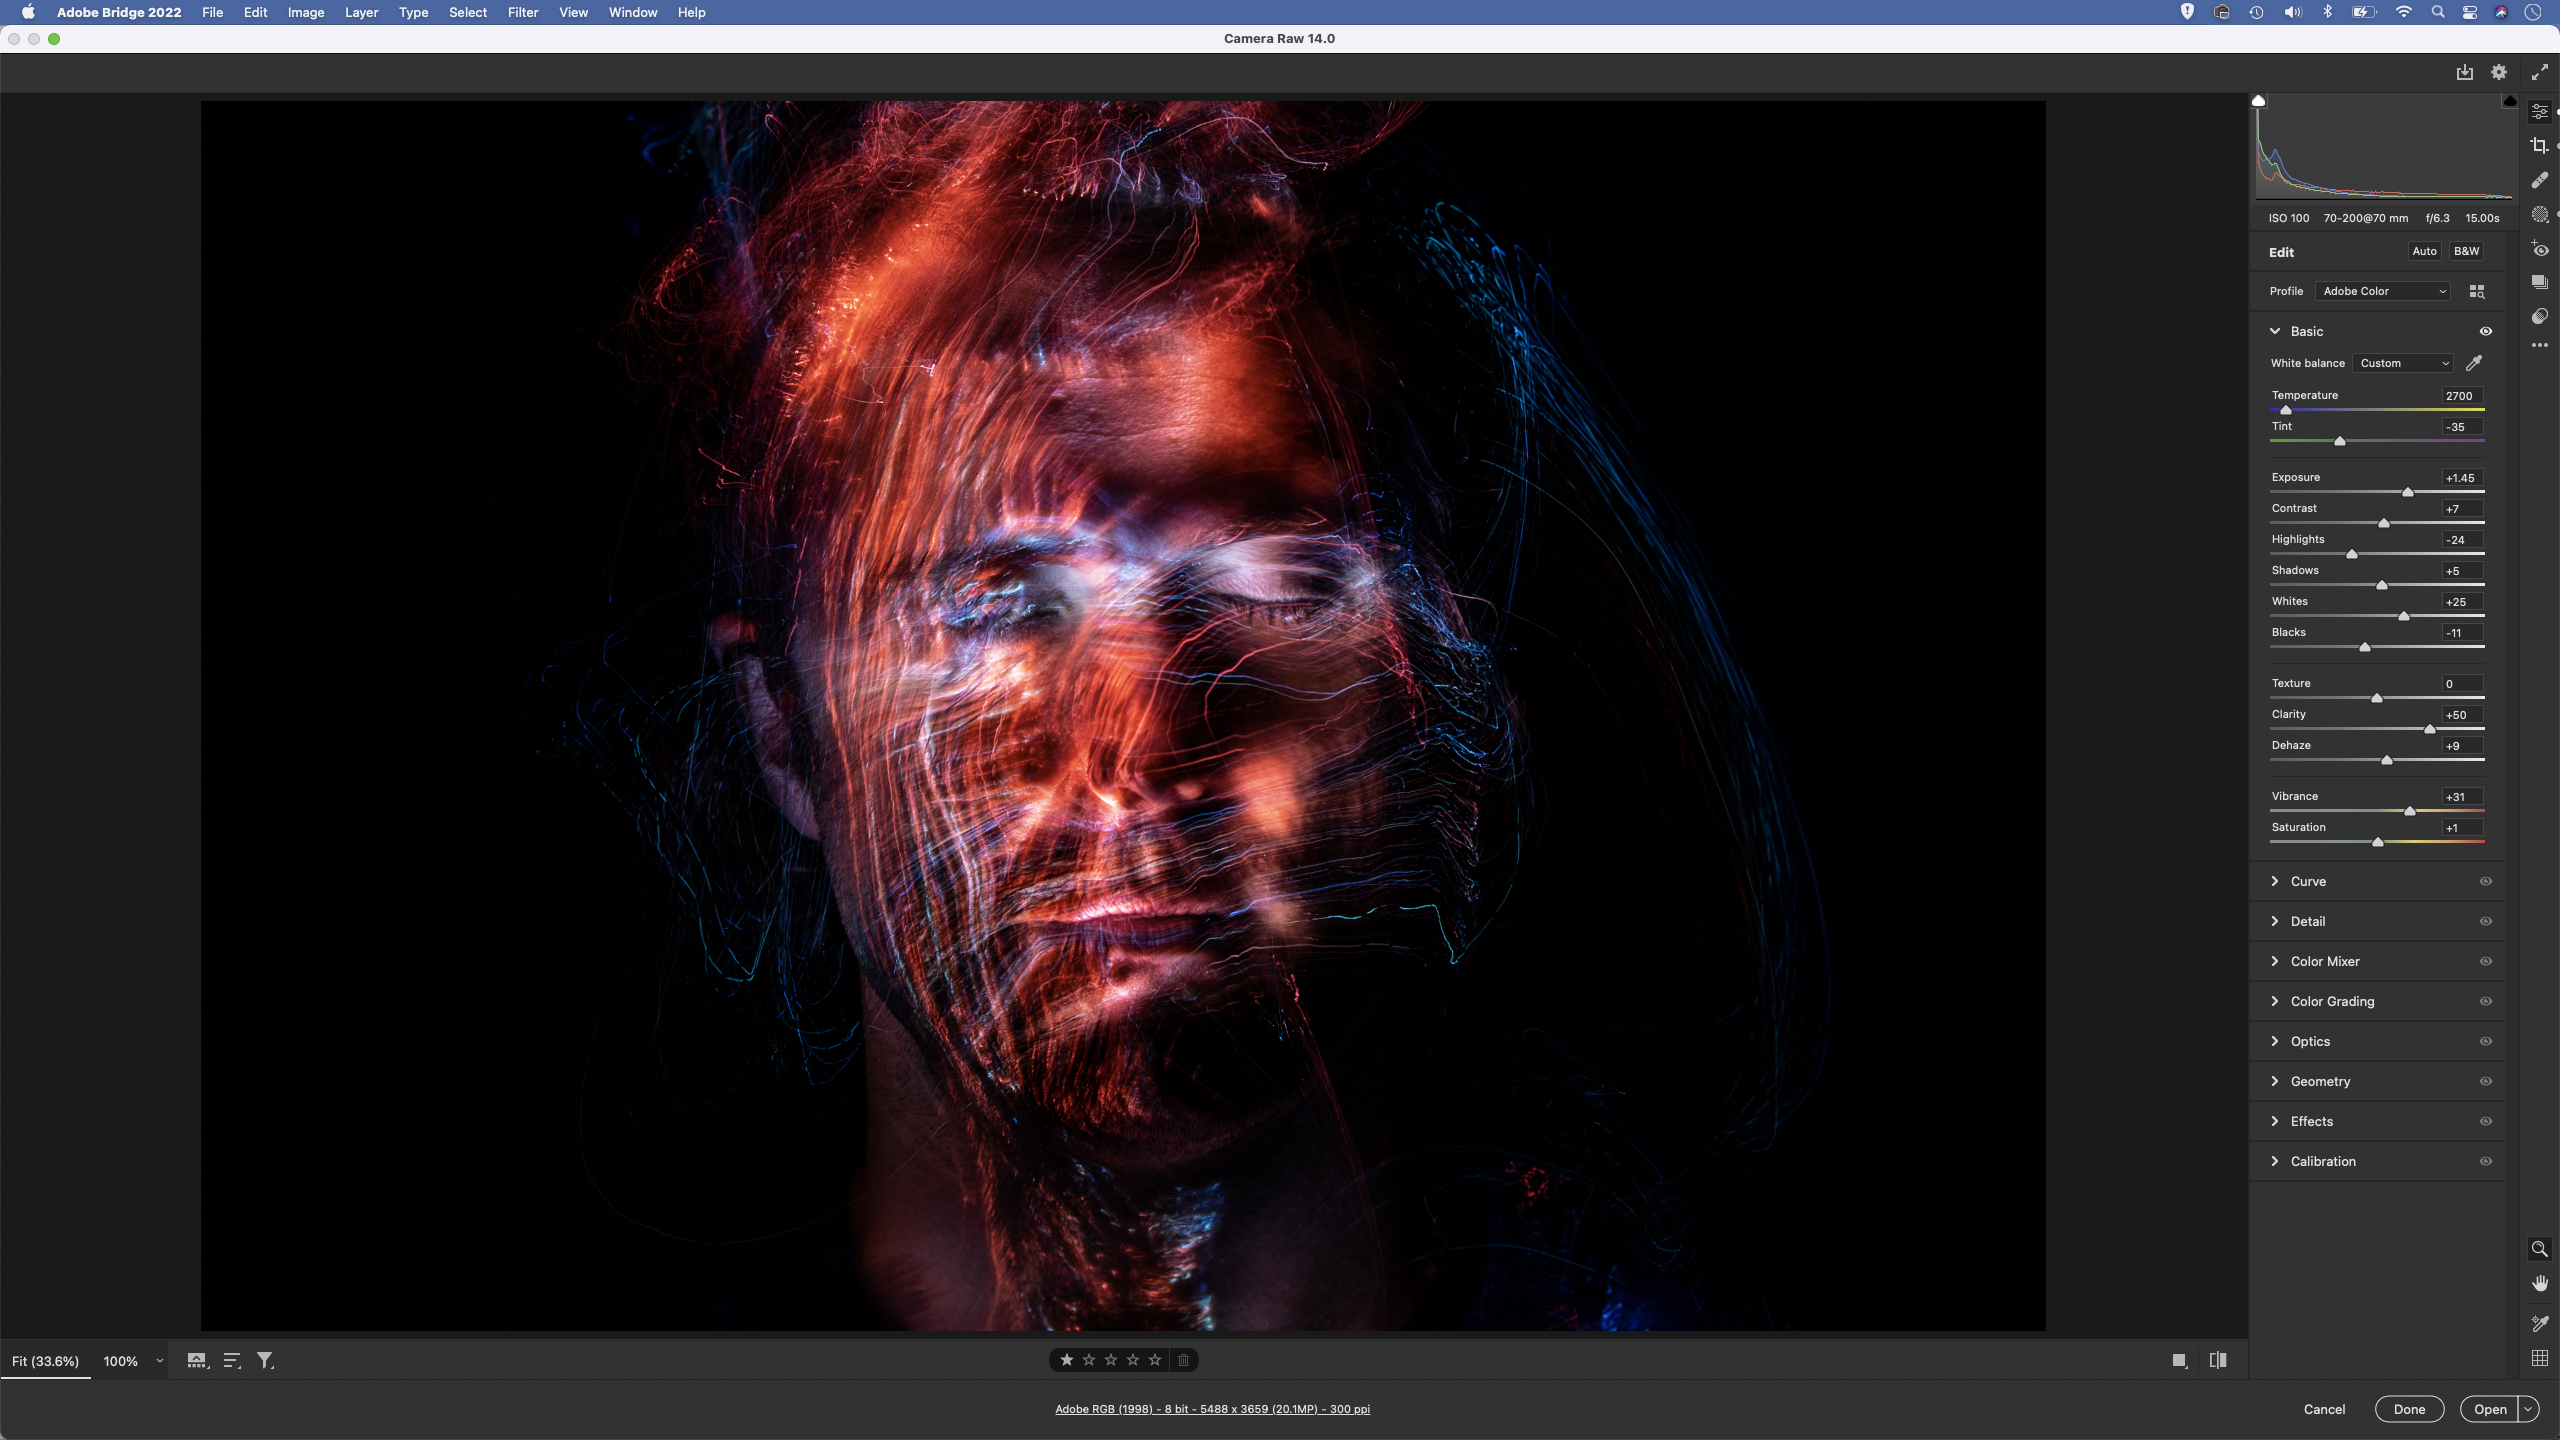
10 Increase Clarity
If the trails initially look a bit weak then try increasing Clarity in Camera Raw or Lightroom. You can do this in the Basic panel, or grab the Adjustment Brush (K), load it with positive Clarity then paint over parts of the image to selectively boost the glowing light trails.
PhotoPlus: The Canon Magazine is the world's only monthly newsstand title that's 100% devoted to Canon, so you can be sure the magazine is completely relevant to your system.
Read more:
Best cameras for portraits
Best portrait photography tips
The best photo editing software: image editors for novices through to pros
The best photo-editing laptops: top laptops for photographers
10 best online photography courses – from beginner guides to masterclasses
The lead technique writer on Digital Camera Magazine, PhotoPlus: The Canon Magazine and N-Photo: The Nikon Magazine, James is a fantastic general practice photographer with an enviable array of skills across every genre of photography.
Whether it's flash photography techniques like stroboscopic portraits, astrophotography projects like photographing the Northern Lights, or turning sound into art by making paint dance on a set of speakers, James' tutorials and projects are as creative as they are enjoyable.
He's also a wizard at the dark arts of Photoshop, Lightroom and Affinity Photo, and is capable of some genuine black magic in the digital darkroom, making him one of the leading authorities on photo editing software and techniques.
