How to shoot amazing winter landscapes – Part 2: camera settings
Here’s how to handle the exposure (and white balance) in typical bright, white, snowy scenes
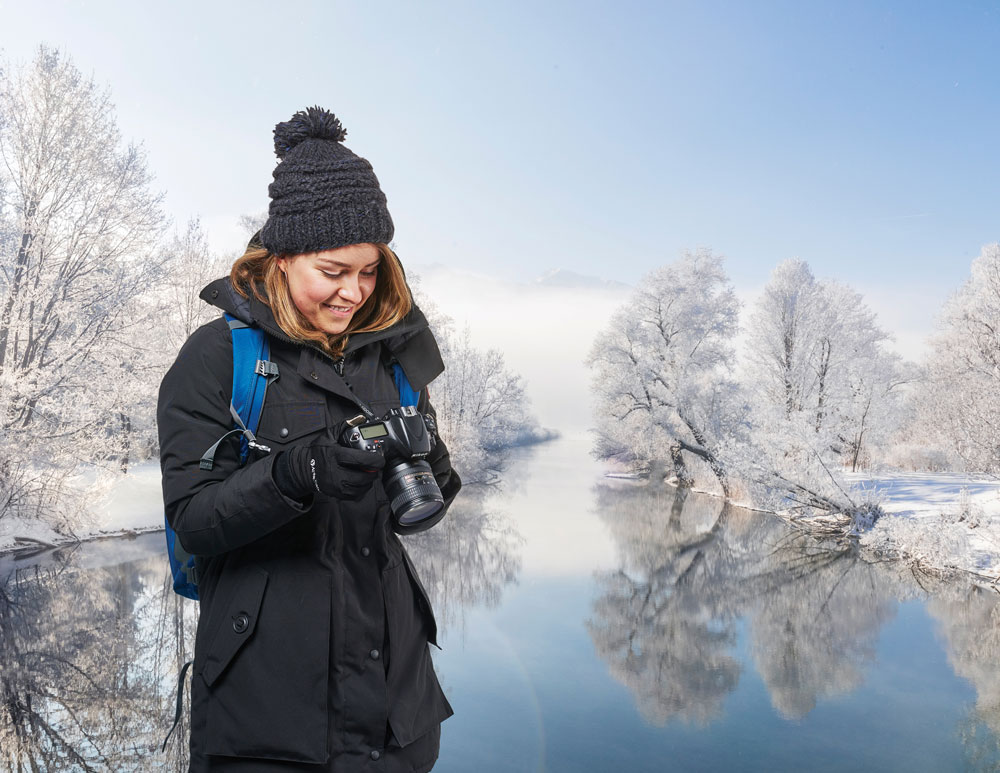
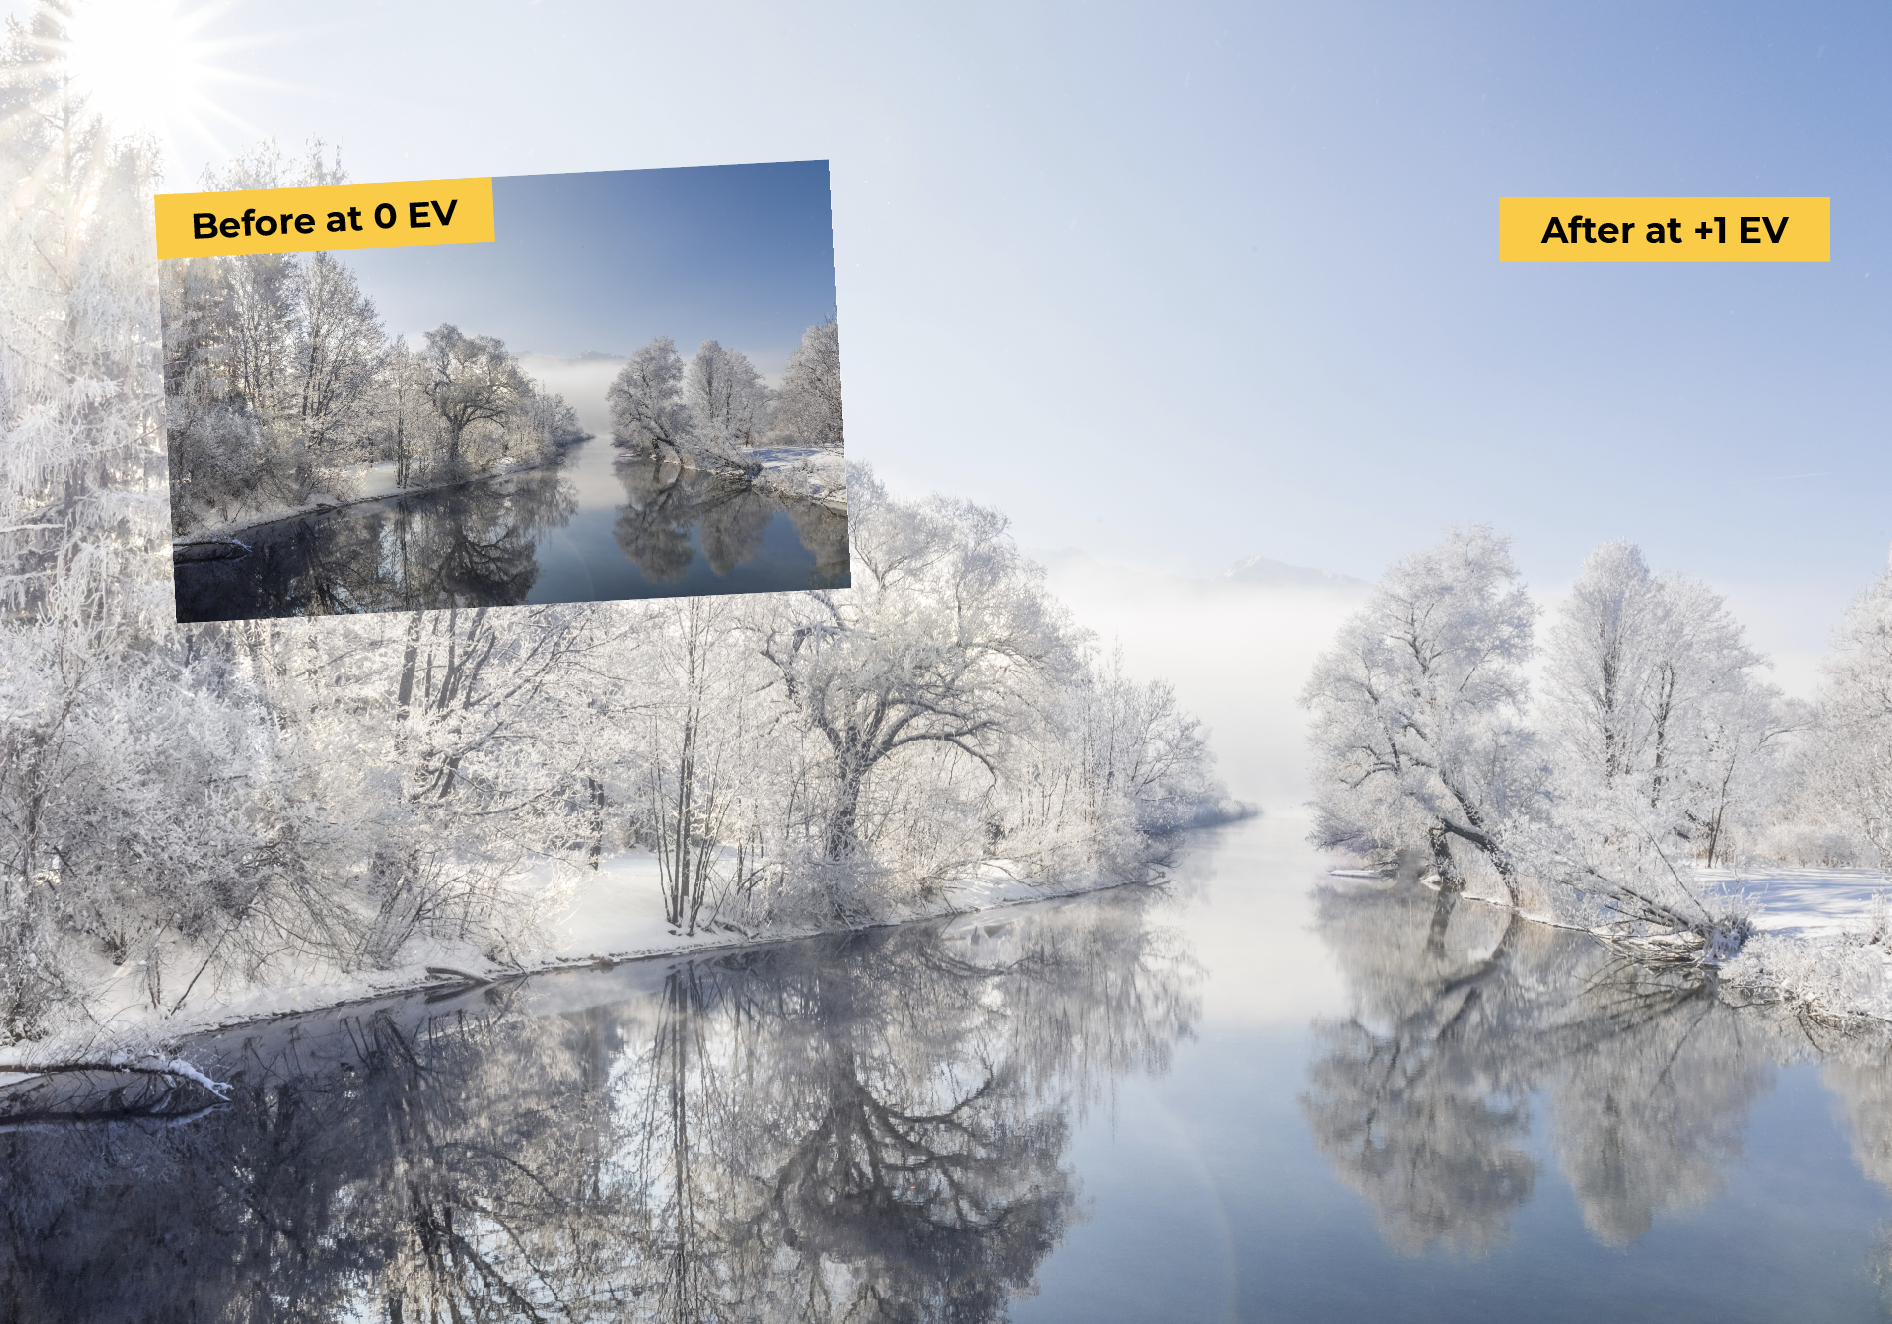
With winter images, a common problem is that bright snowy areas often look grey. All that white fools your camera meter into underexposing scenes, so if you take greater creative control over your settings, you'll get a result that’s truer to the scene in front of you.
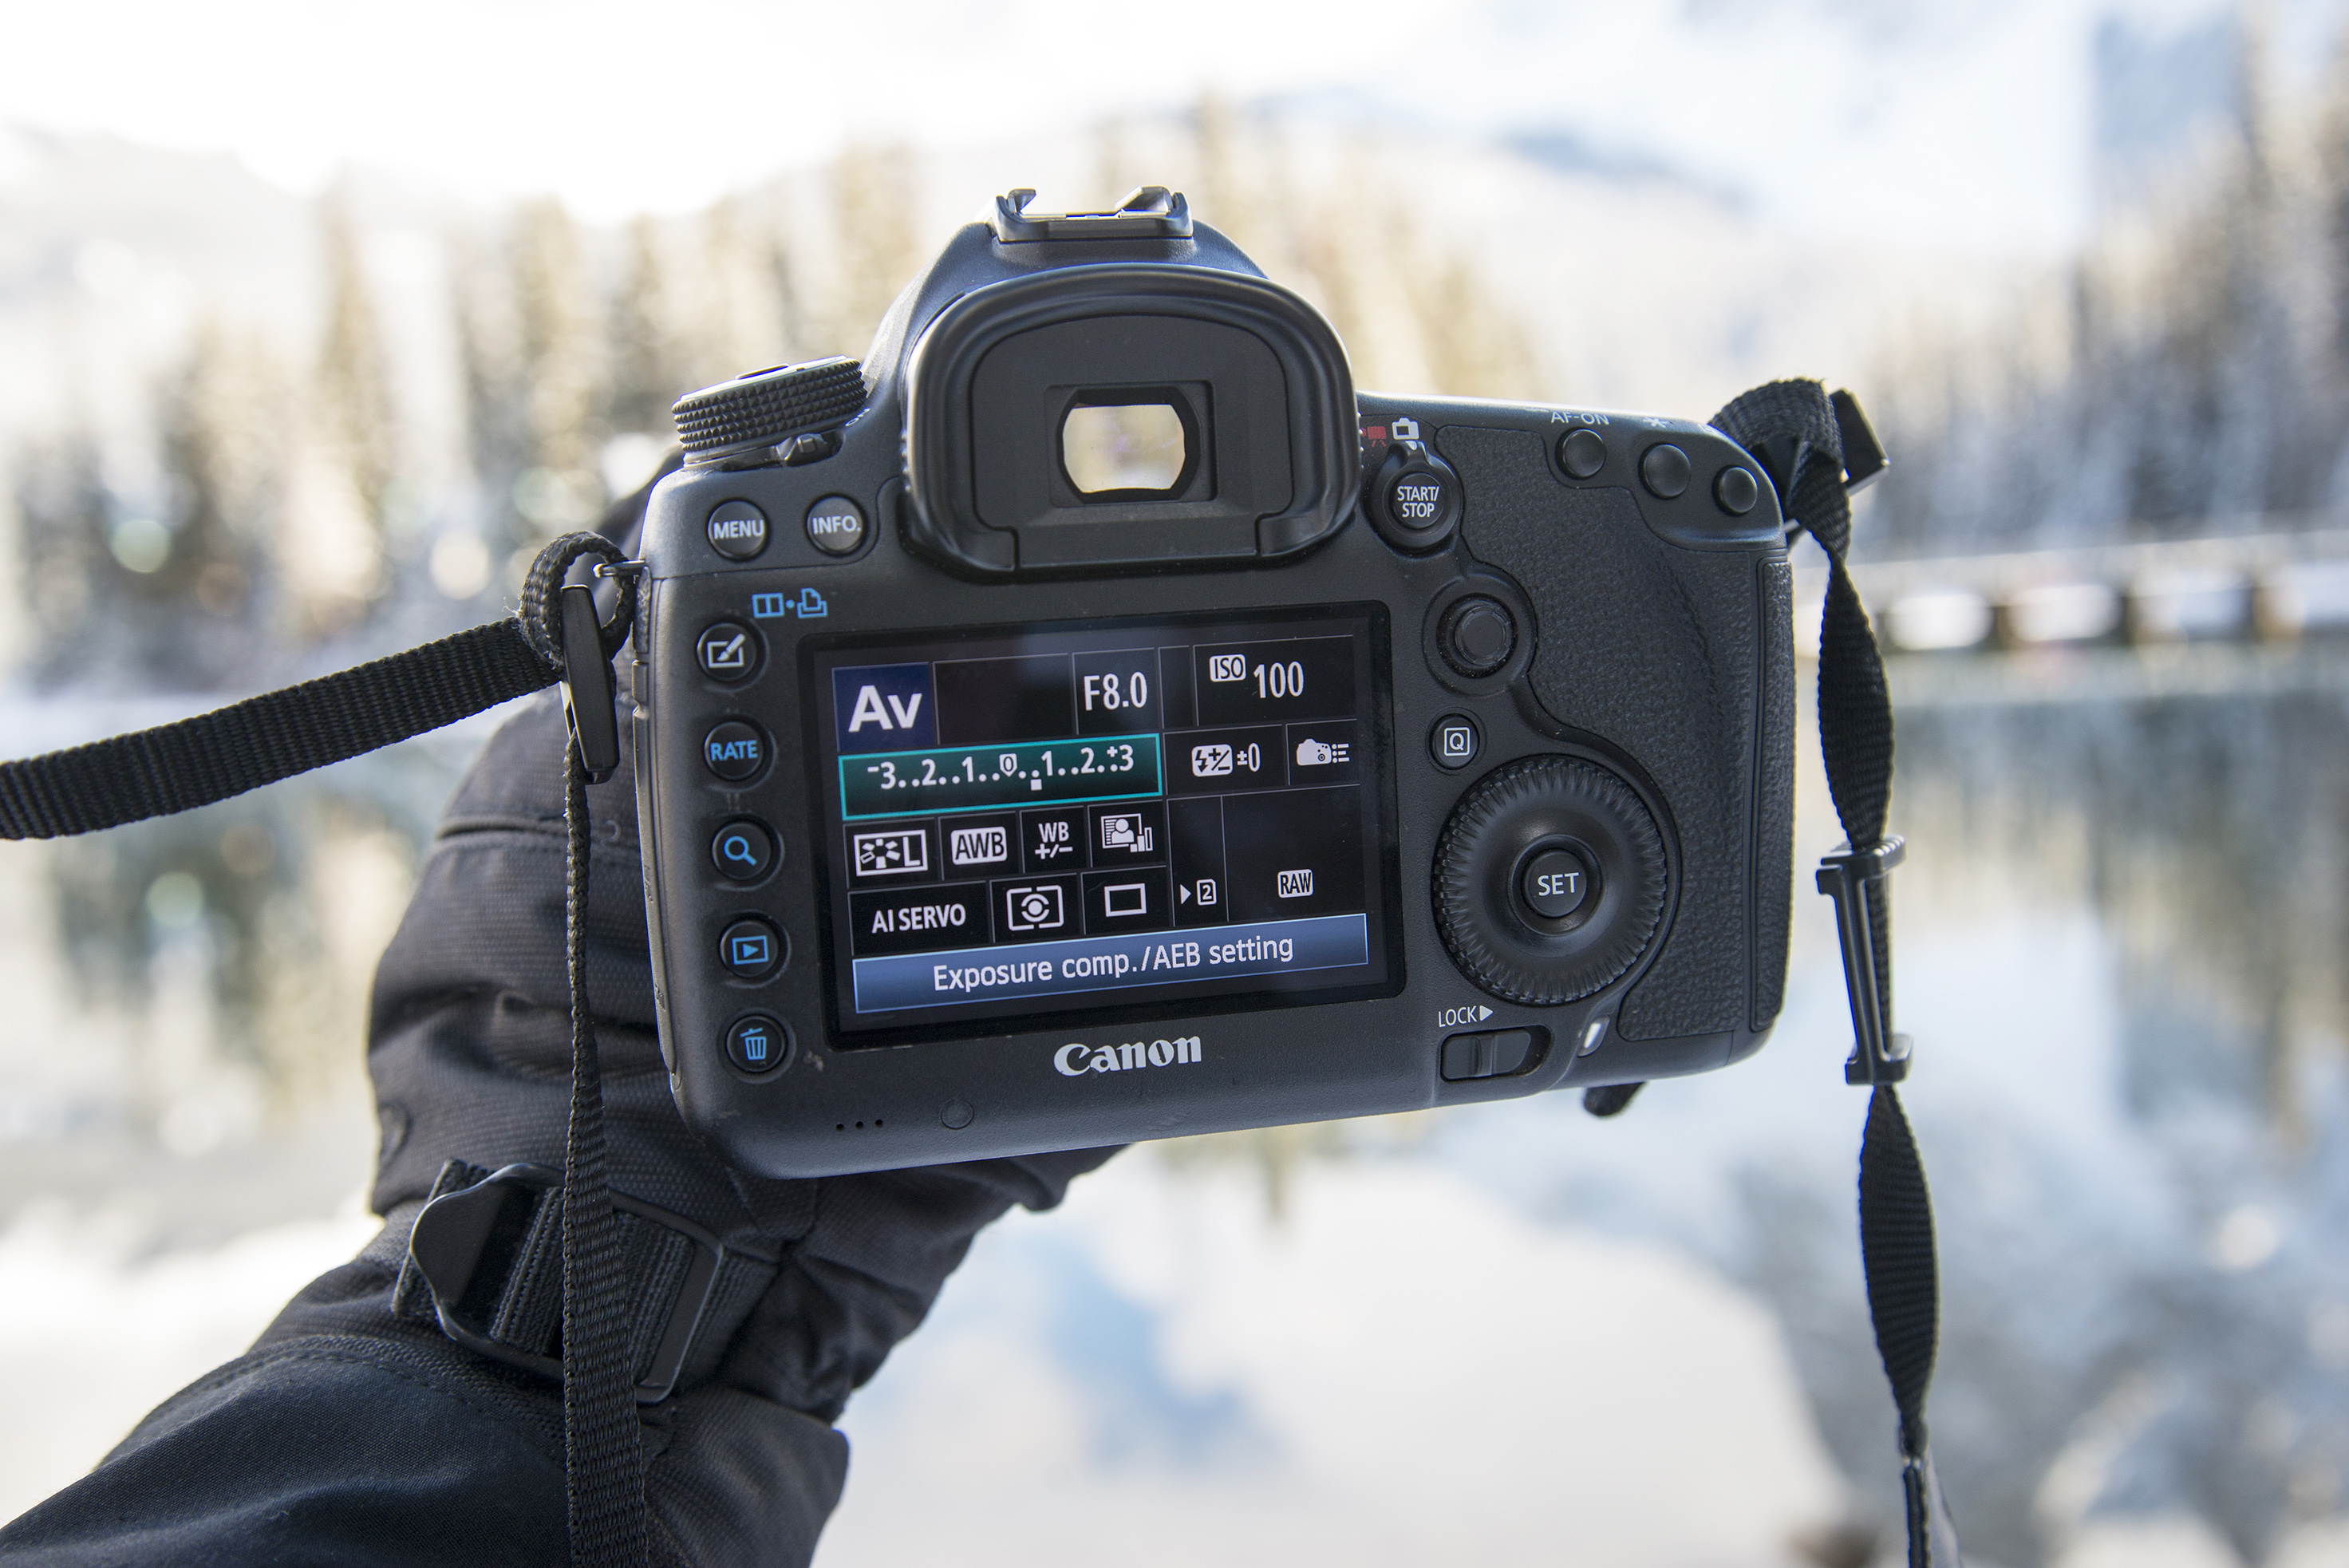
In automatic shooting modes, you can add a stop of positive exposure compensation. In Manual mode, tweak the settings so the light meter is about one stop over the given reading.
When you use the histogram to review images, remember you’re not looking always looking for a uniform distribution of tones.
Read more:
• Best cameras for landscapes
• Best lenses for landscapes
3 steps for setting a Custom white balance
Shooting in raw mode means you can tweak the white balance afterwards in image-editing software – but why not save time and make it accurate in-camera with a manual approach?
1. Take a calibrated image
The best camera deals, reviews, product advice, and unmissable photography news, direct to your inbox!
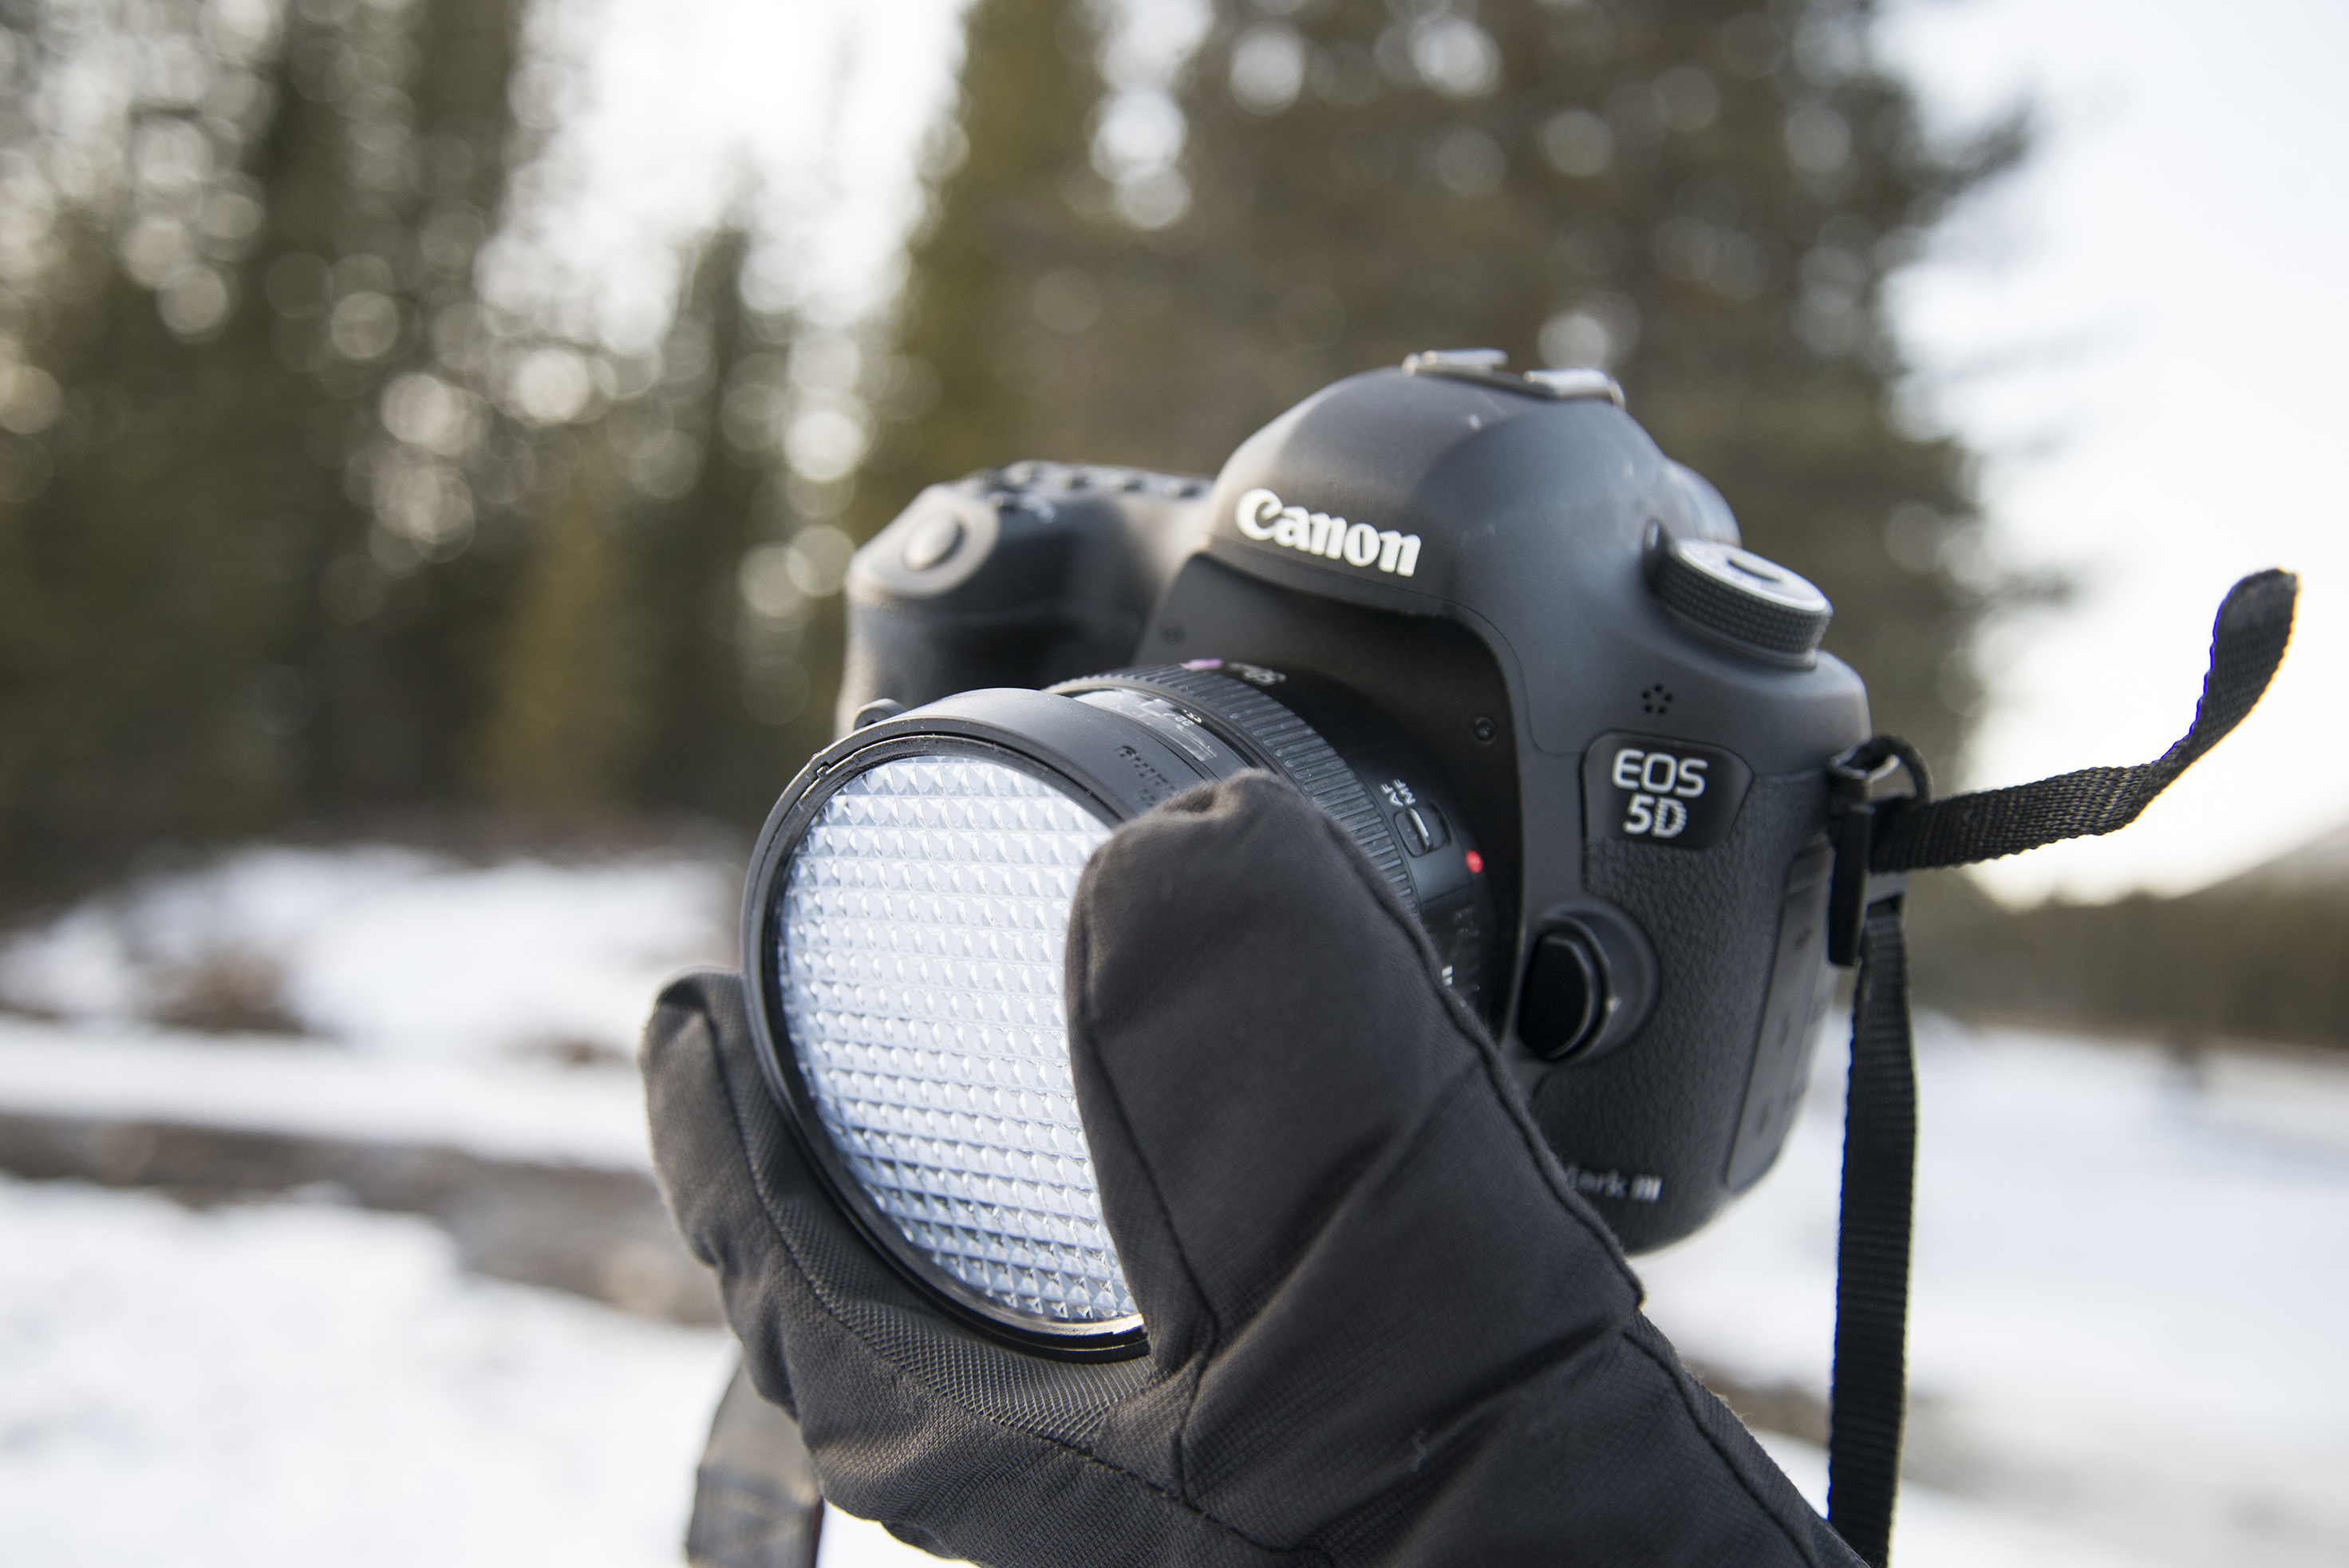
You’ll need a grey card or calibrated filter to take a reference shot and set your custom white balance. We used an ExpoDisc here, placing it over the front of the lens. The lens was pointed towards our subject, and we captured a shot with our intended settings. The reference image didn’t need to be sharp, so we used manual focus to stop the lens’ autofocus hunting.
2. Set custom mode
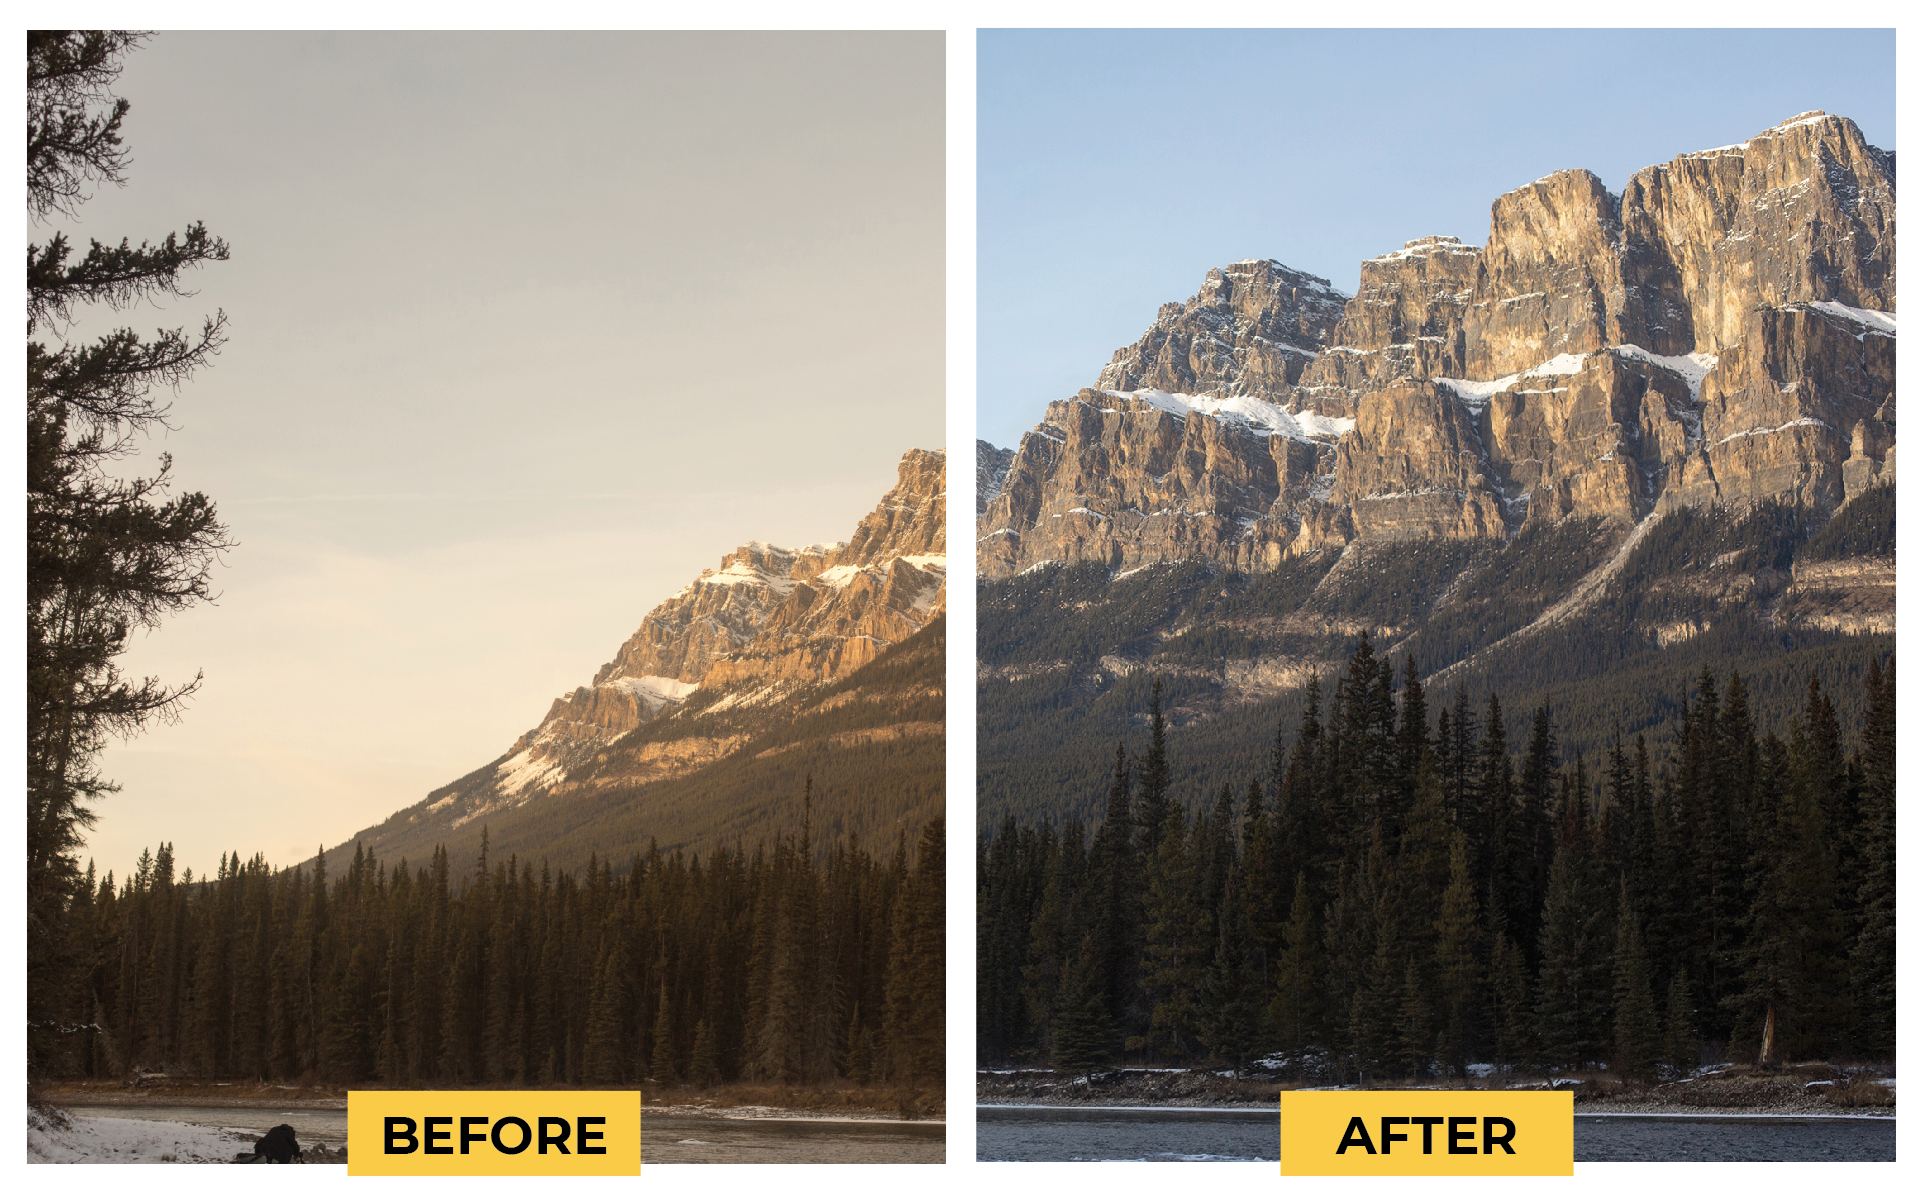
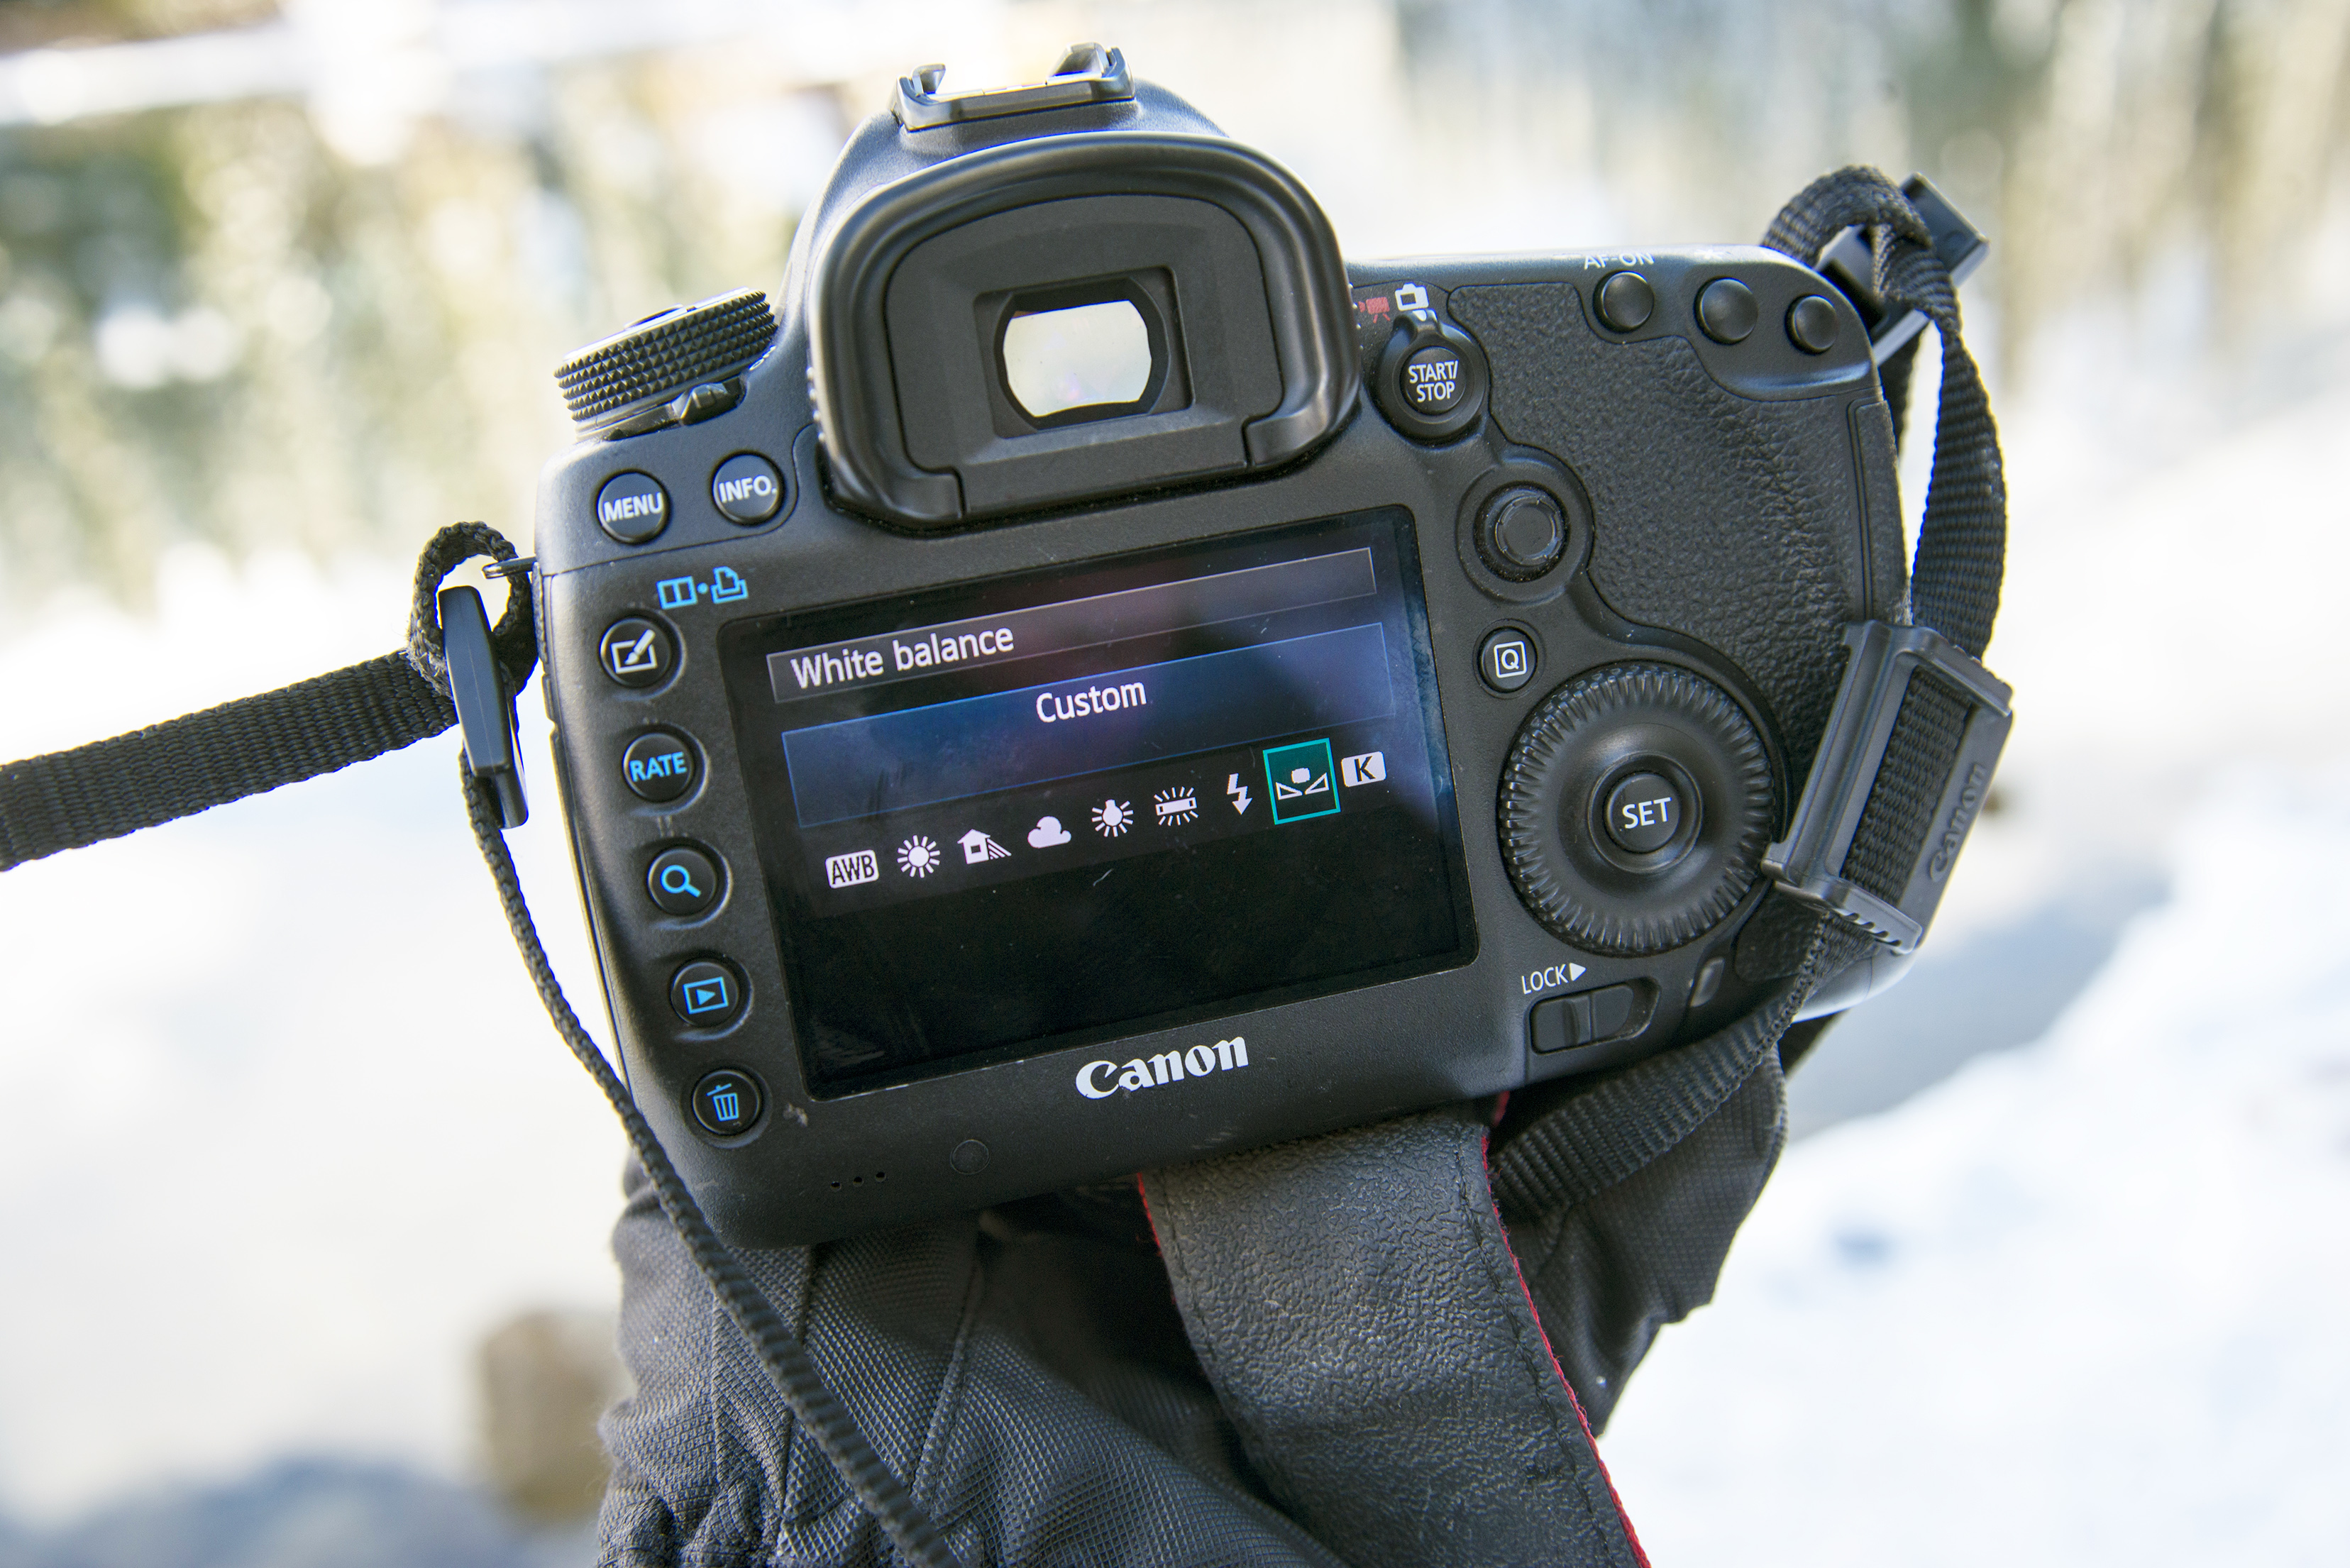
Setting your camera to Shade or Auto white balance might seem wise for snowy subjects, but this choice can often render scenes overly yellow and ruin an otherwise frosty atmosphere. (See the before and after examples above.) Instead, head to your camera’s shooting menu and set the
white balance to Custom.
3. Use the reference shot
When you choose the Custom white balance, you’ll need to select your reference image (which should be a blank image). If you’ve used a grey card, the card should completely fill the frame of the shot. Remember to take another shot every time the light, subject or location changes, which will change your Custom white balance too.
Using exposure compensation
Left to its own automatic devices, a camera meter will try to record as much detail as possible in a scene – especially in the highlights.
Normally, this is what you want, but with a very bright background of snow, this means the meter will generally underexpose, rendering whites as dull greys.
Dial in a stop or two of positive exposure compensation to ensure your scene is correctly exposed, and then review the histogram of your images to check that whites aren’t being clipped on the right.
Read more:
Landscape photography tips
Best camera for landscapes
Best lenses for landscapes
Lauren is a writer, reviewer, and photographer with ten years of experience in the camera industry. She's the former Managing Editor of Digital Camera World, and previously served as Editor of Digital Photographer magazine, Technique editor for PhotoPlus: The Canon Magazine, and Deputy Editor of our sister publication, Digital Camera Magazine. An experienced journalist and freelance photographer, Lauren also has bylines at Tech Radar, Space.com, Canon Europe, PCGamesN, T3, Stuff, and British Airways' in-flight magazine. When she's not testing gear for DCW, she's probably in the kitchen testing yet another new curry recipe or walking in the Cotswolds with her Flat-coated Retriever.
