Learn how to capture coastal seascapes
Harness the movement and energy of the sea
The best camera deals, reviews, product advice, and unmissable photography news, direct to your inbox!
You are now subscribed
Your newsletter sign-up was successful
Photography tips for shooting the sea as it crashes onto shore
Time: 30 minutes
Skill level: Intermediate
Kit needed: Tripod, Wide-angle lens, Polarizing filter, Remote release (optional)
Shooting a seascape isn’t just another landscape shoot, as you’ve got the additional element of moving water to contend with. The secret is to capture waves as they crash onto land and convey that motion in your image.
So taking control of shutter speed is the most important thing, but while you’ll need to use long shutter speeds, they’re probably not as long as you think. We’re talking a range of around 1/4 sec to 4 secs – any quicker and you’ll freeze the waves and they’ll look boringly static, but if the shutter is open for too long then you’ll end up with a shapeless wispy blur.
Due to the lengthy exposure times required, you’ll need to keep your camera still and so a good quality tripod is a must; and it’ll have to be rigid and tough enough to stay rock-steady as the surf washes around its legs.
Good foregrounds are key; you want the sea to interact with it and form interesting shapes and patterns, so rocks or pools are good choice. It’s also desirable to have a striking background to elevate your image beyond the standard snap. They say the sea is a cruel mistress, and this is especially true for seascapes, when the wind whips up the waves and batters the end of your lens. If you don’t organize yourself you’re in for blurry photographs or, worse, your camera at the bottom of the ocean.
Turn the page to discover all you need to know, from planning your shoot to walking away with your camera safe and sound, having bagged a fantastic shot.
ON LOCATION: Essential ingredients for dramatic seascapes

1. MOODY LIGHT
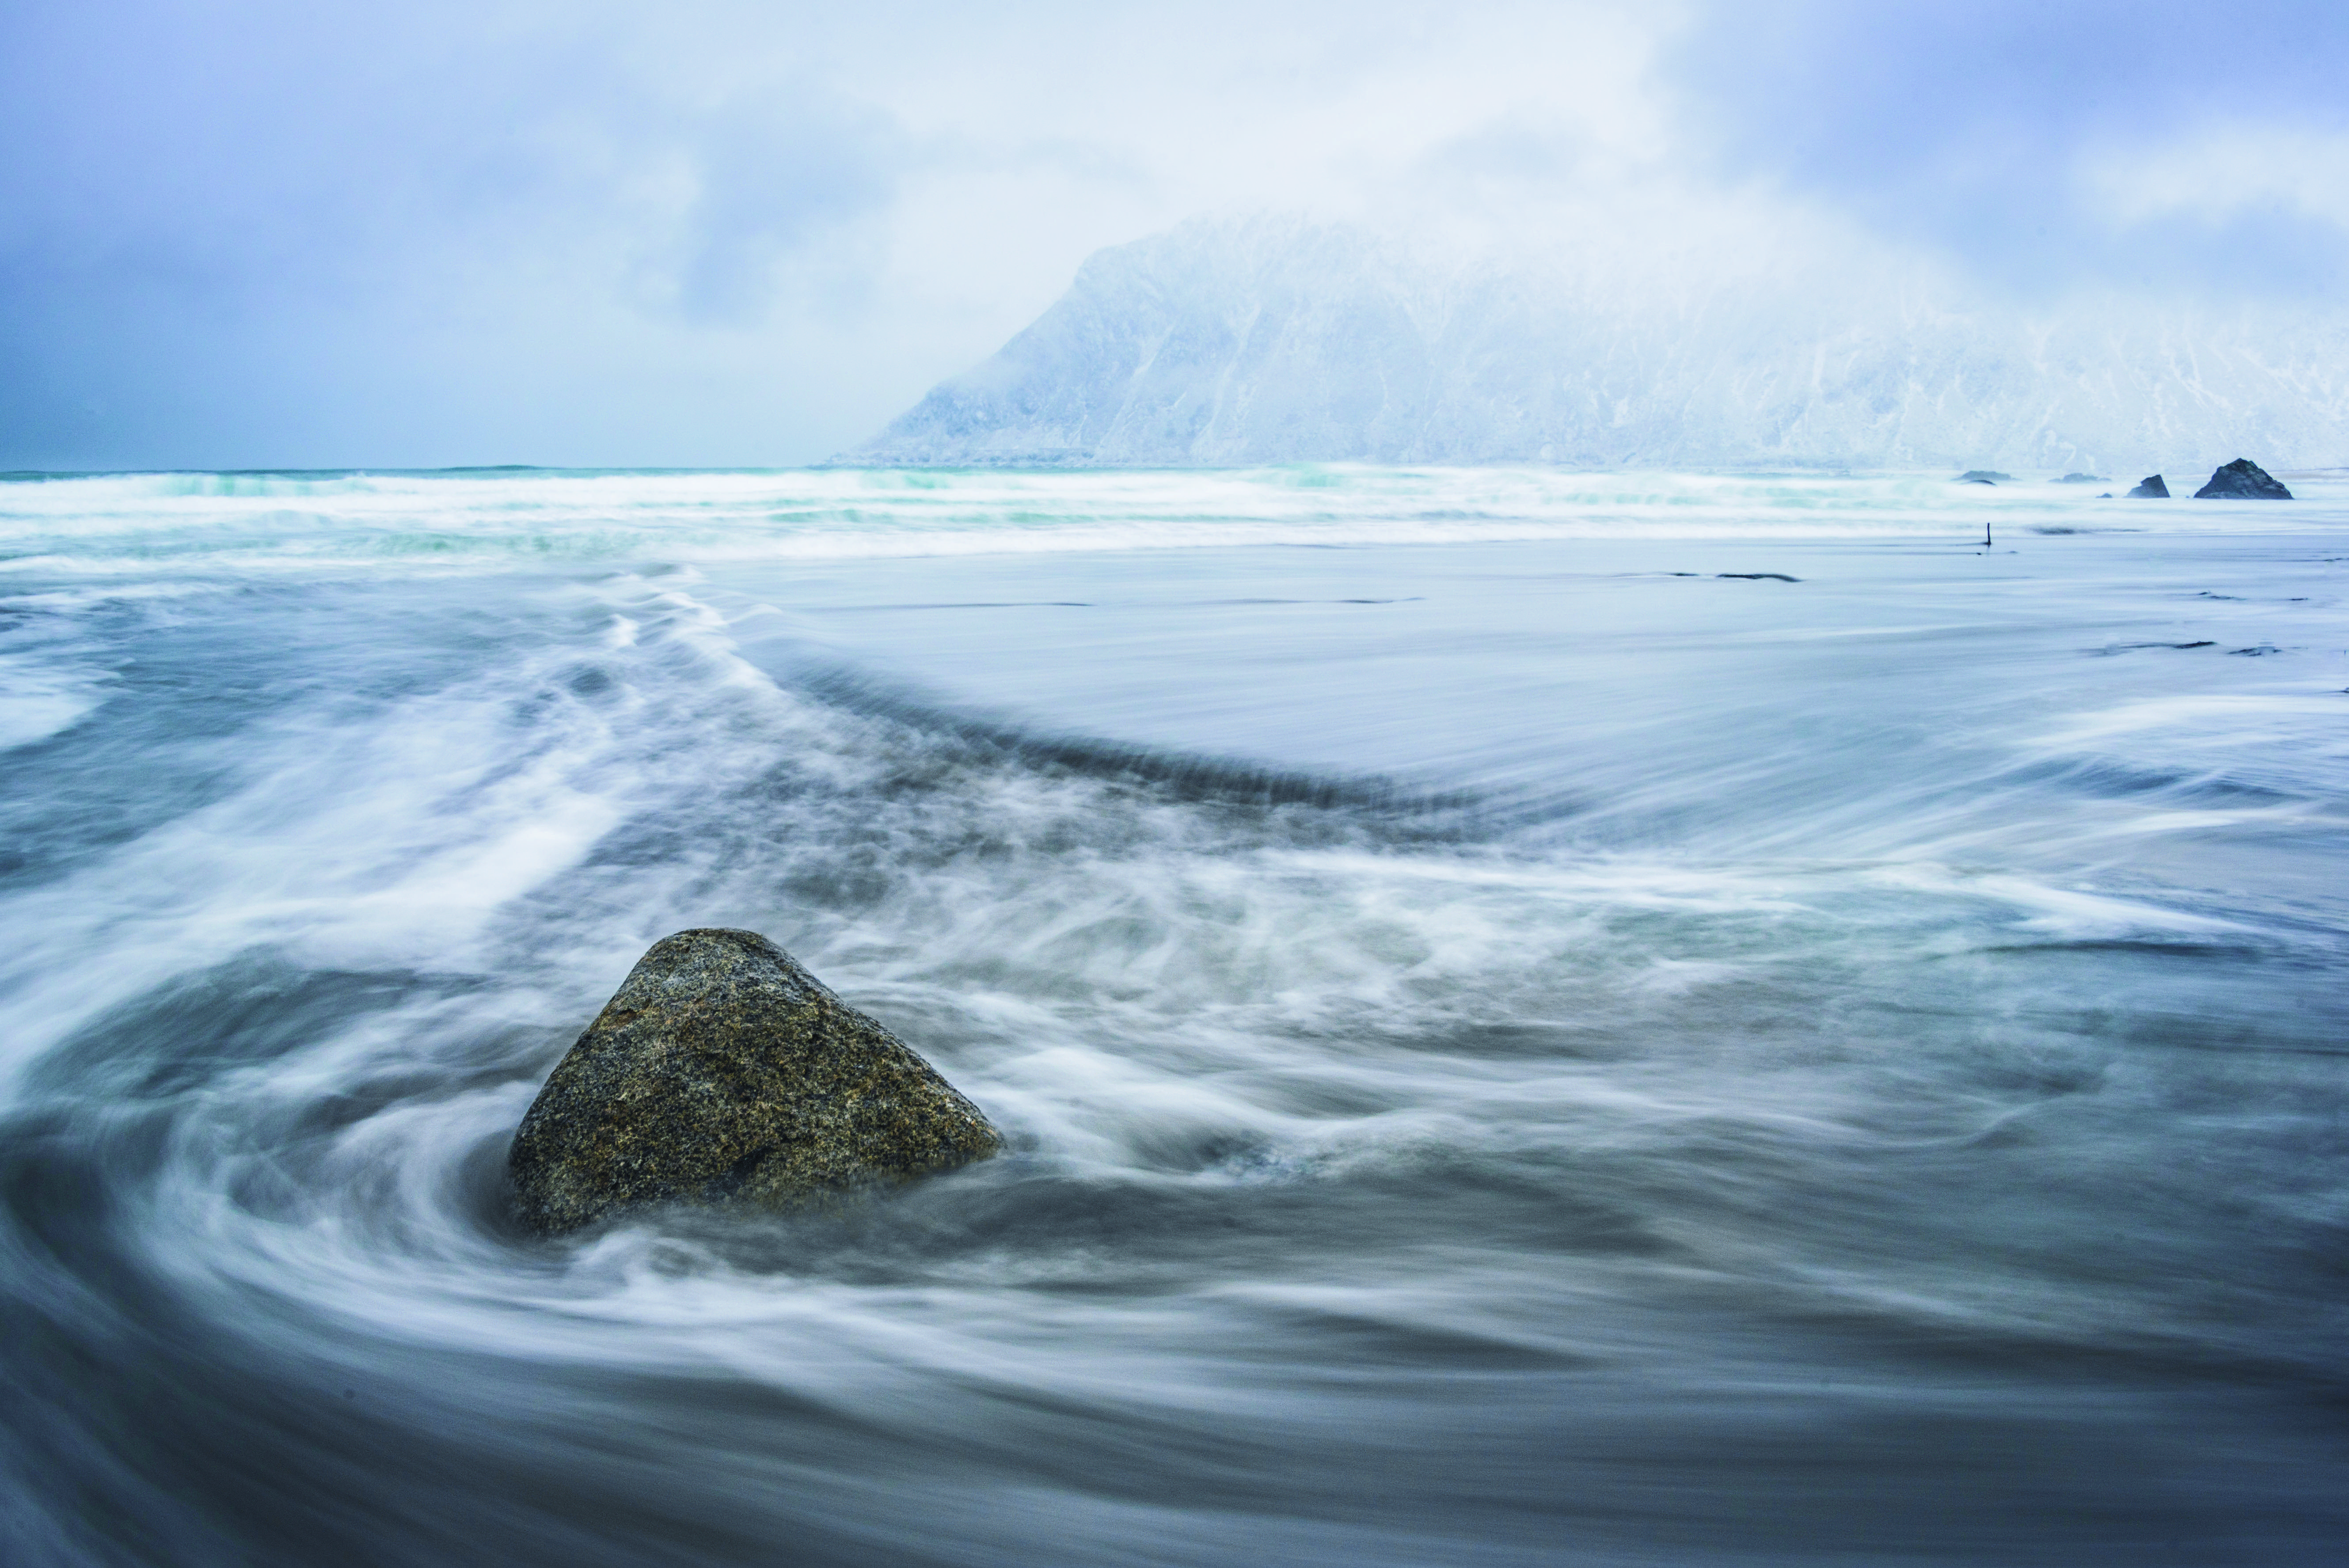
Sunrise and sunset provide a wonderful quality of light, but as our opening shot shows, sometimes overcast light can result in more dramatic images.
The best camera deals, reviews, product advice, and unmissable photography news, direct to your inbox!
2. SOLID TRIPOD
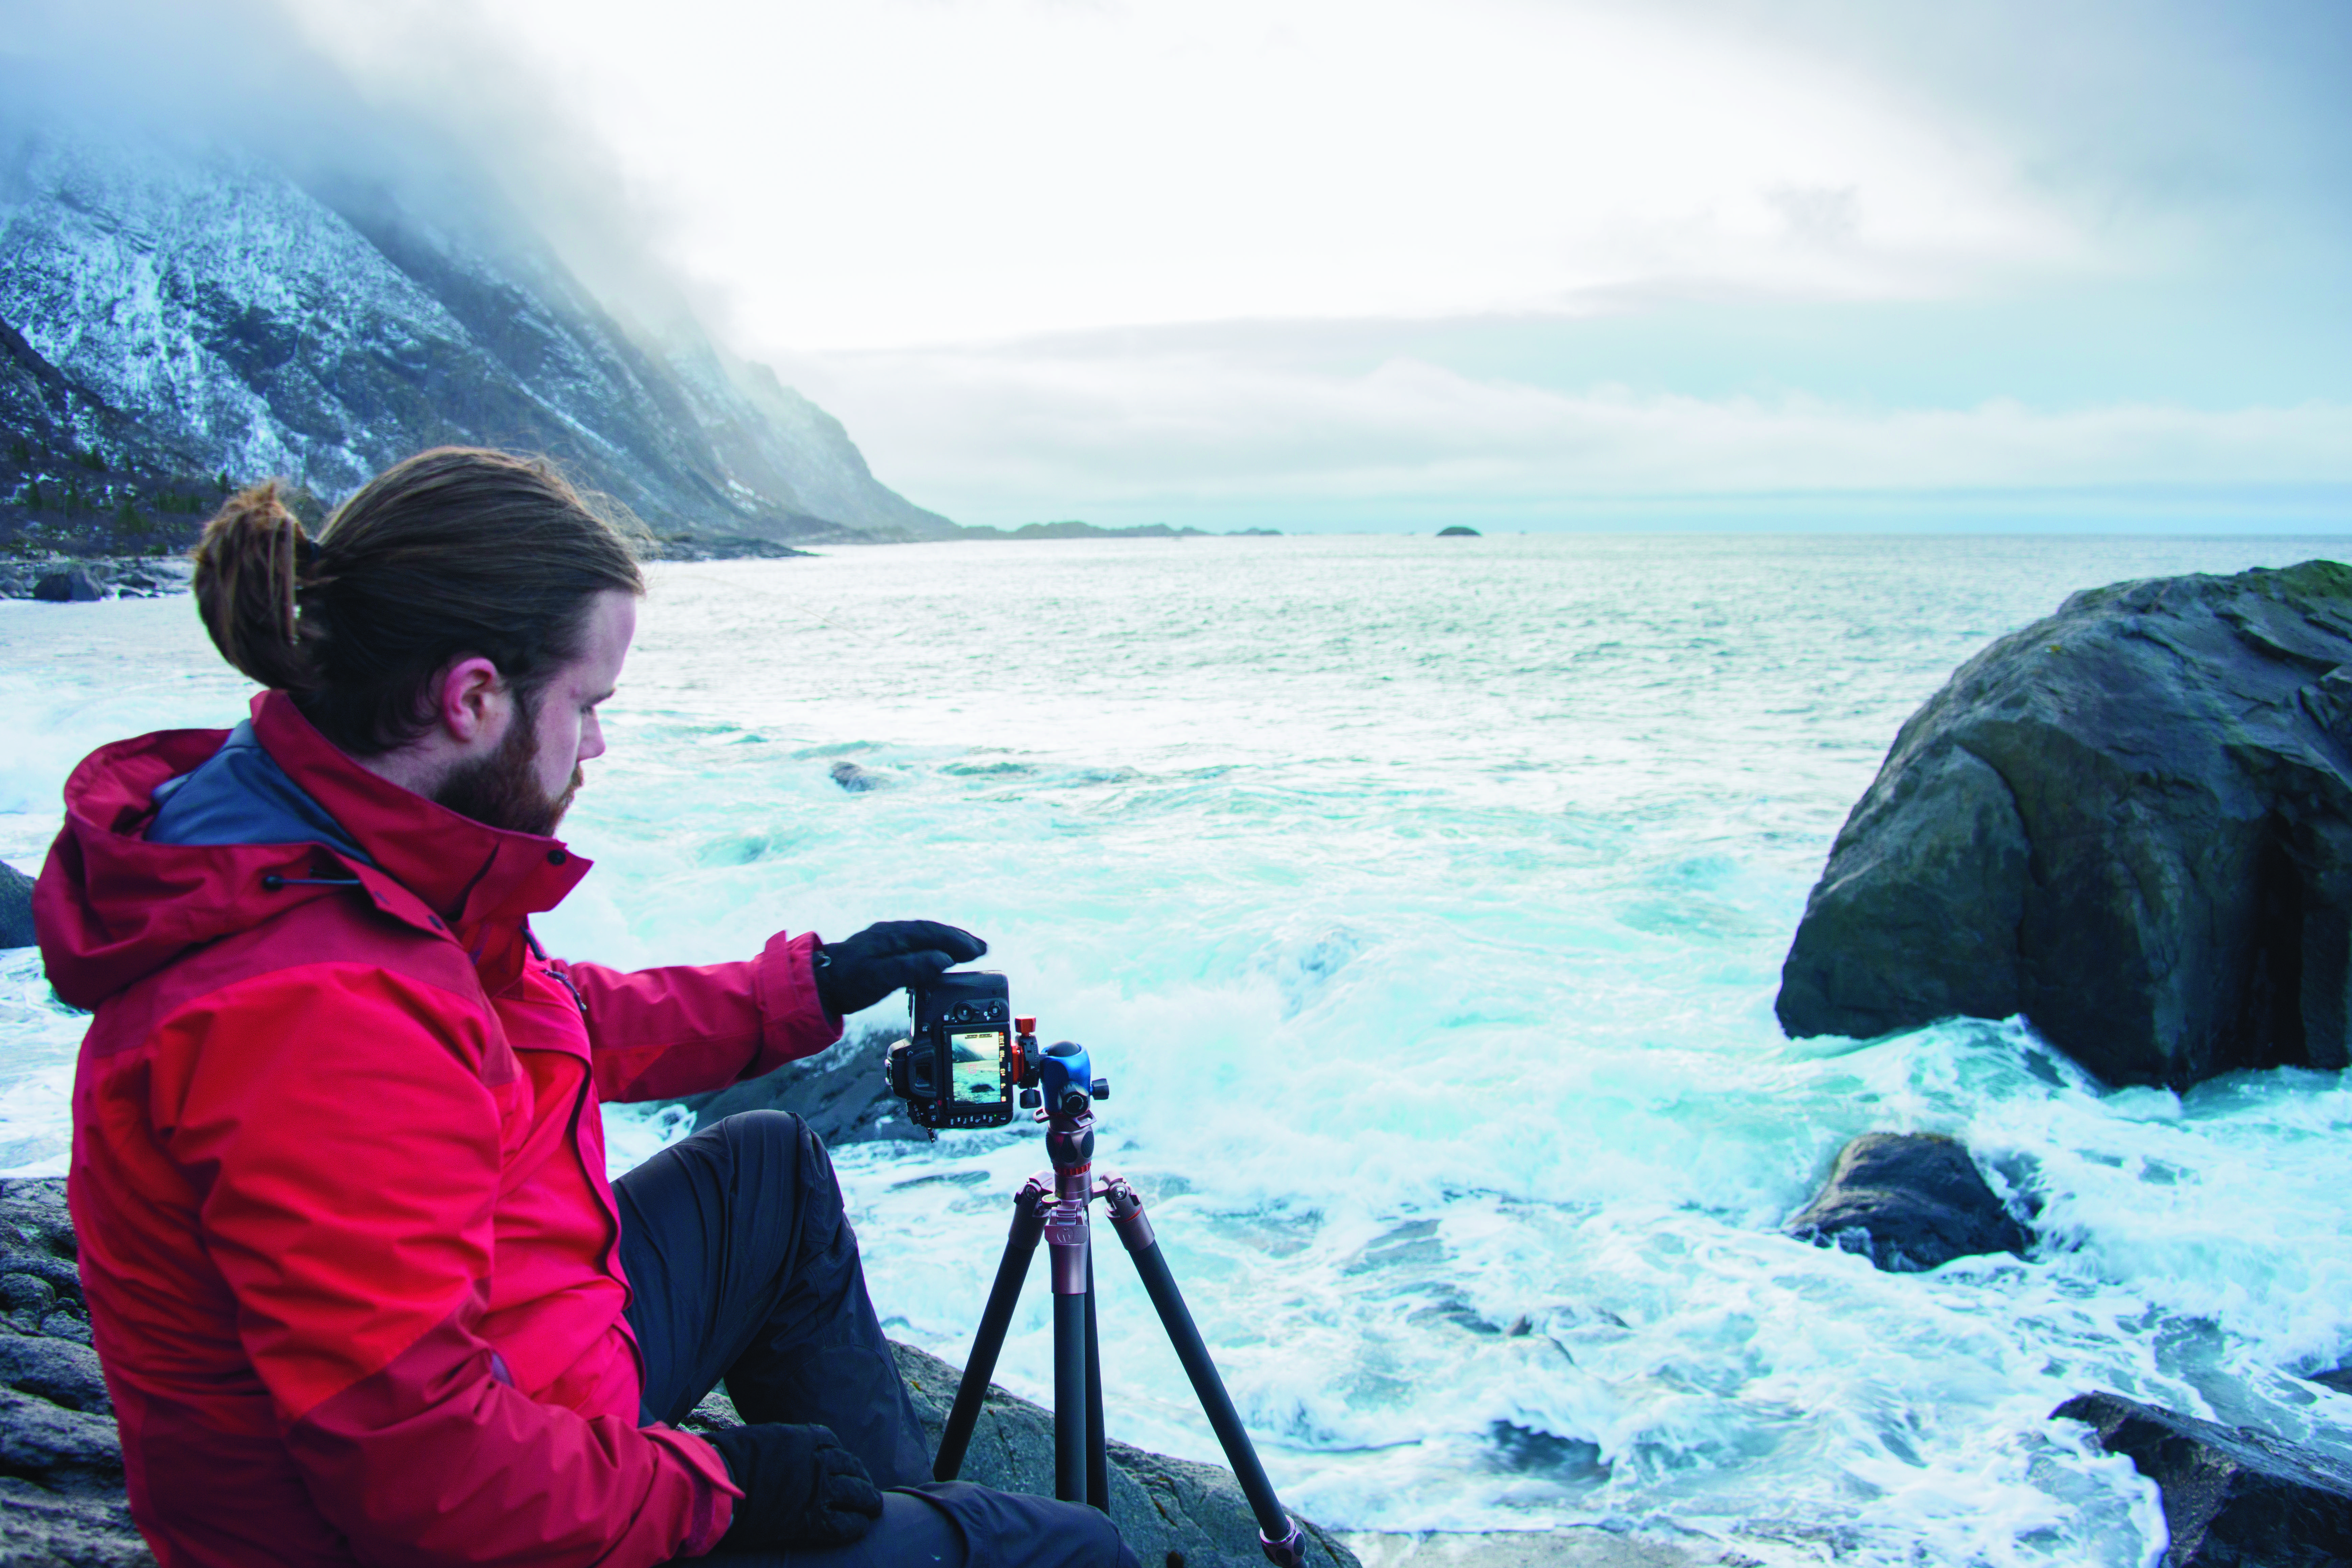
Your camera must remain rock steady while taking a long exposure of the water, as the slightest movement will ruin the shot, so a sturdy tripod is vital.
3. WATER'S EDGE
Get down to the water’s edge. You don’t have to shoot on soft sandy beaches; undulating rocks or a craggy coastlines work just as well (or better).
4. GOOD BACKDROP
Find something that adds interest to the background. Snow-clad mountains here provided the perfect backdrop to this watery seascape.
KEY SKILLS: Planning your seaside excursion
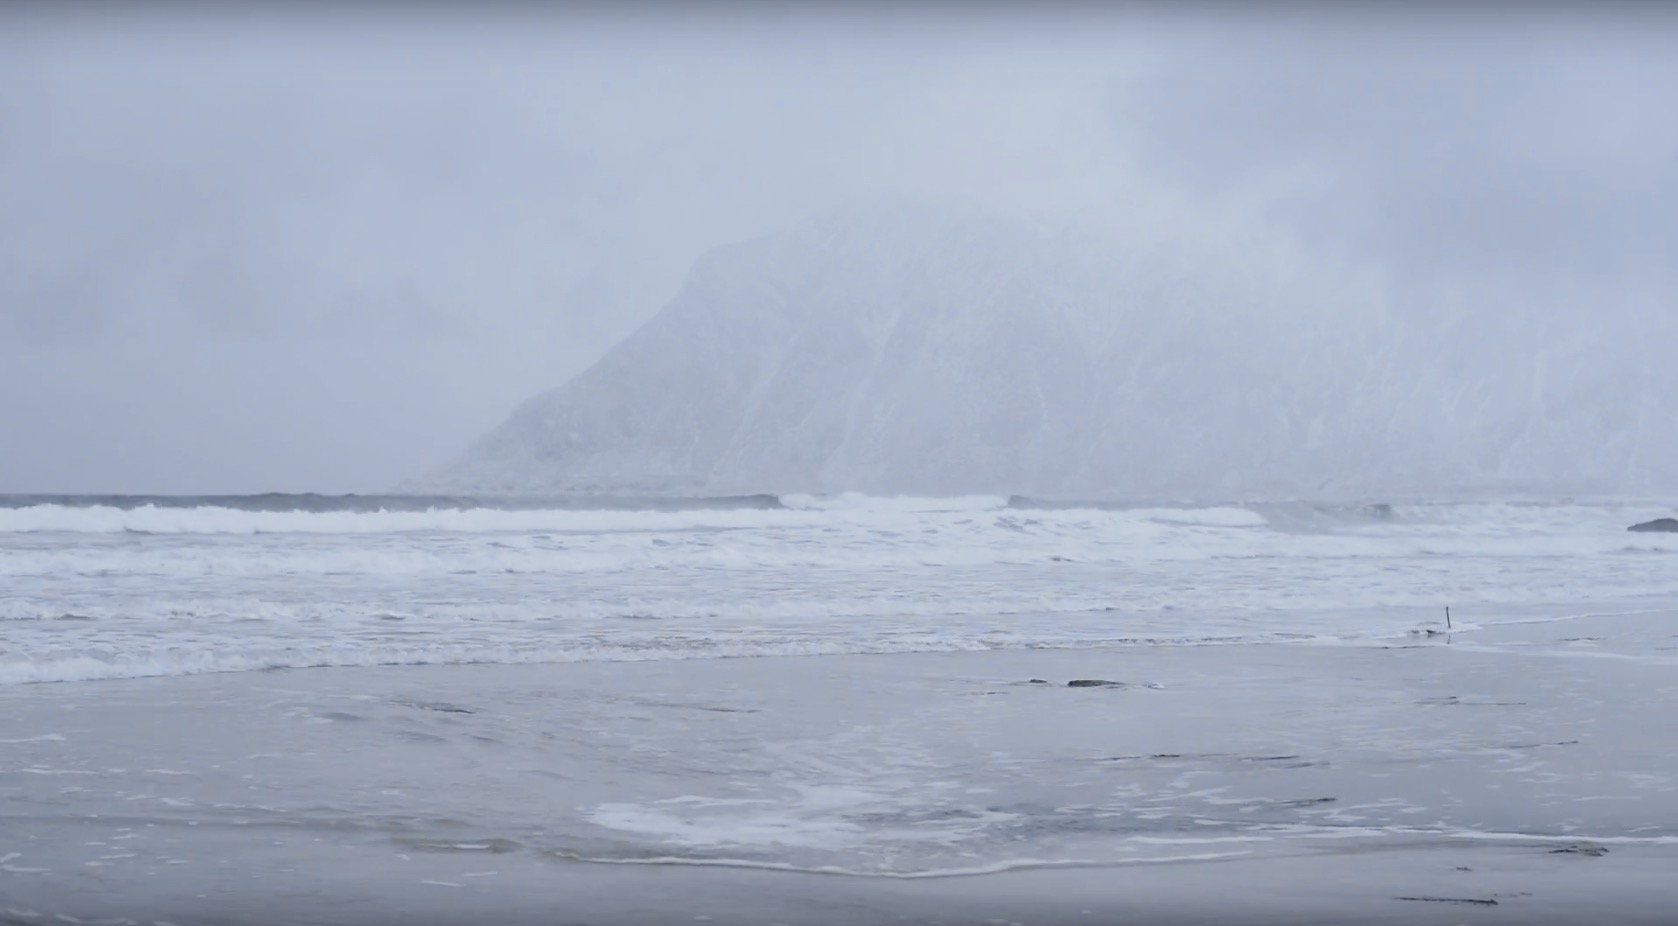
Wellies or waders are essential for a shoot like this – they might not look as flash as your new hiking boots, but when the waves are lapping at your shins, you won’t be thinking about how cool you look, just how warm and dry you feel!
1 Whatever the weather
Don’t be a fair-weather photographer – head out when it’s stormy, too! A mixture of clouds with high winds will give your long-exposure shots added interest in the heavens, as the turbulence in the sky turns into wispy streaks, mimicking the movement of the water.
2 Time of day
If you head to the beach at high noon with clear skies, you’re going to get unflattering overhead light, with high contrast between highlights and shadow. Shooting during the golden hour (30 minutes either side of sunset) means beautiful warm tones in the sky and on the water.
STEP BY STEP: Catch some waves
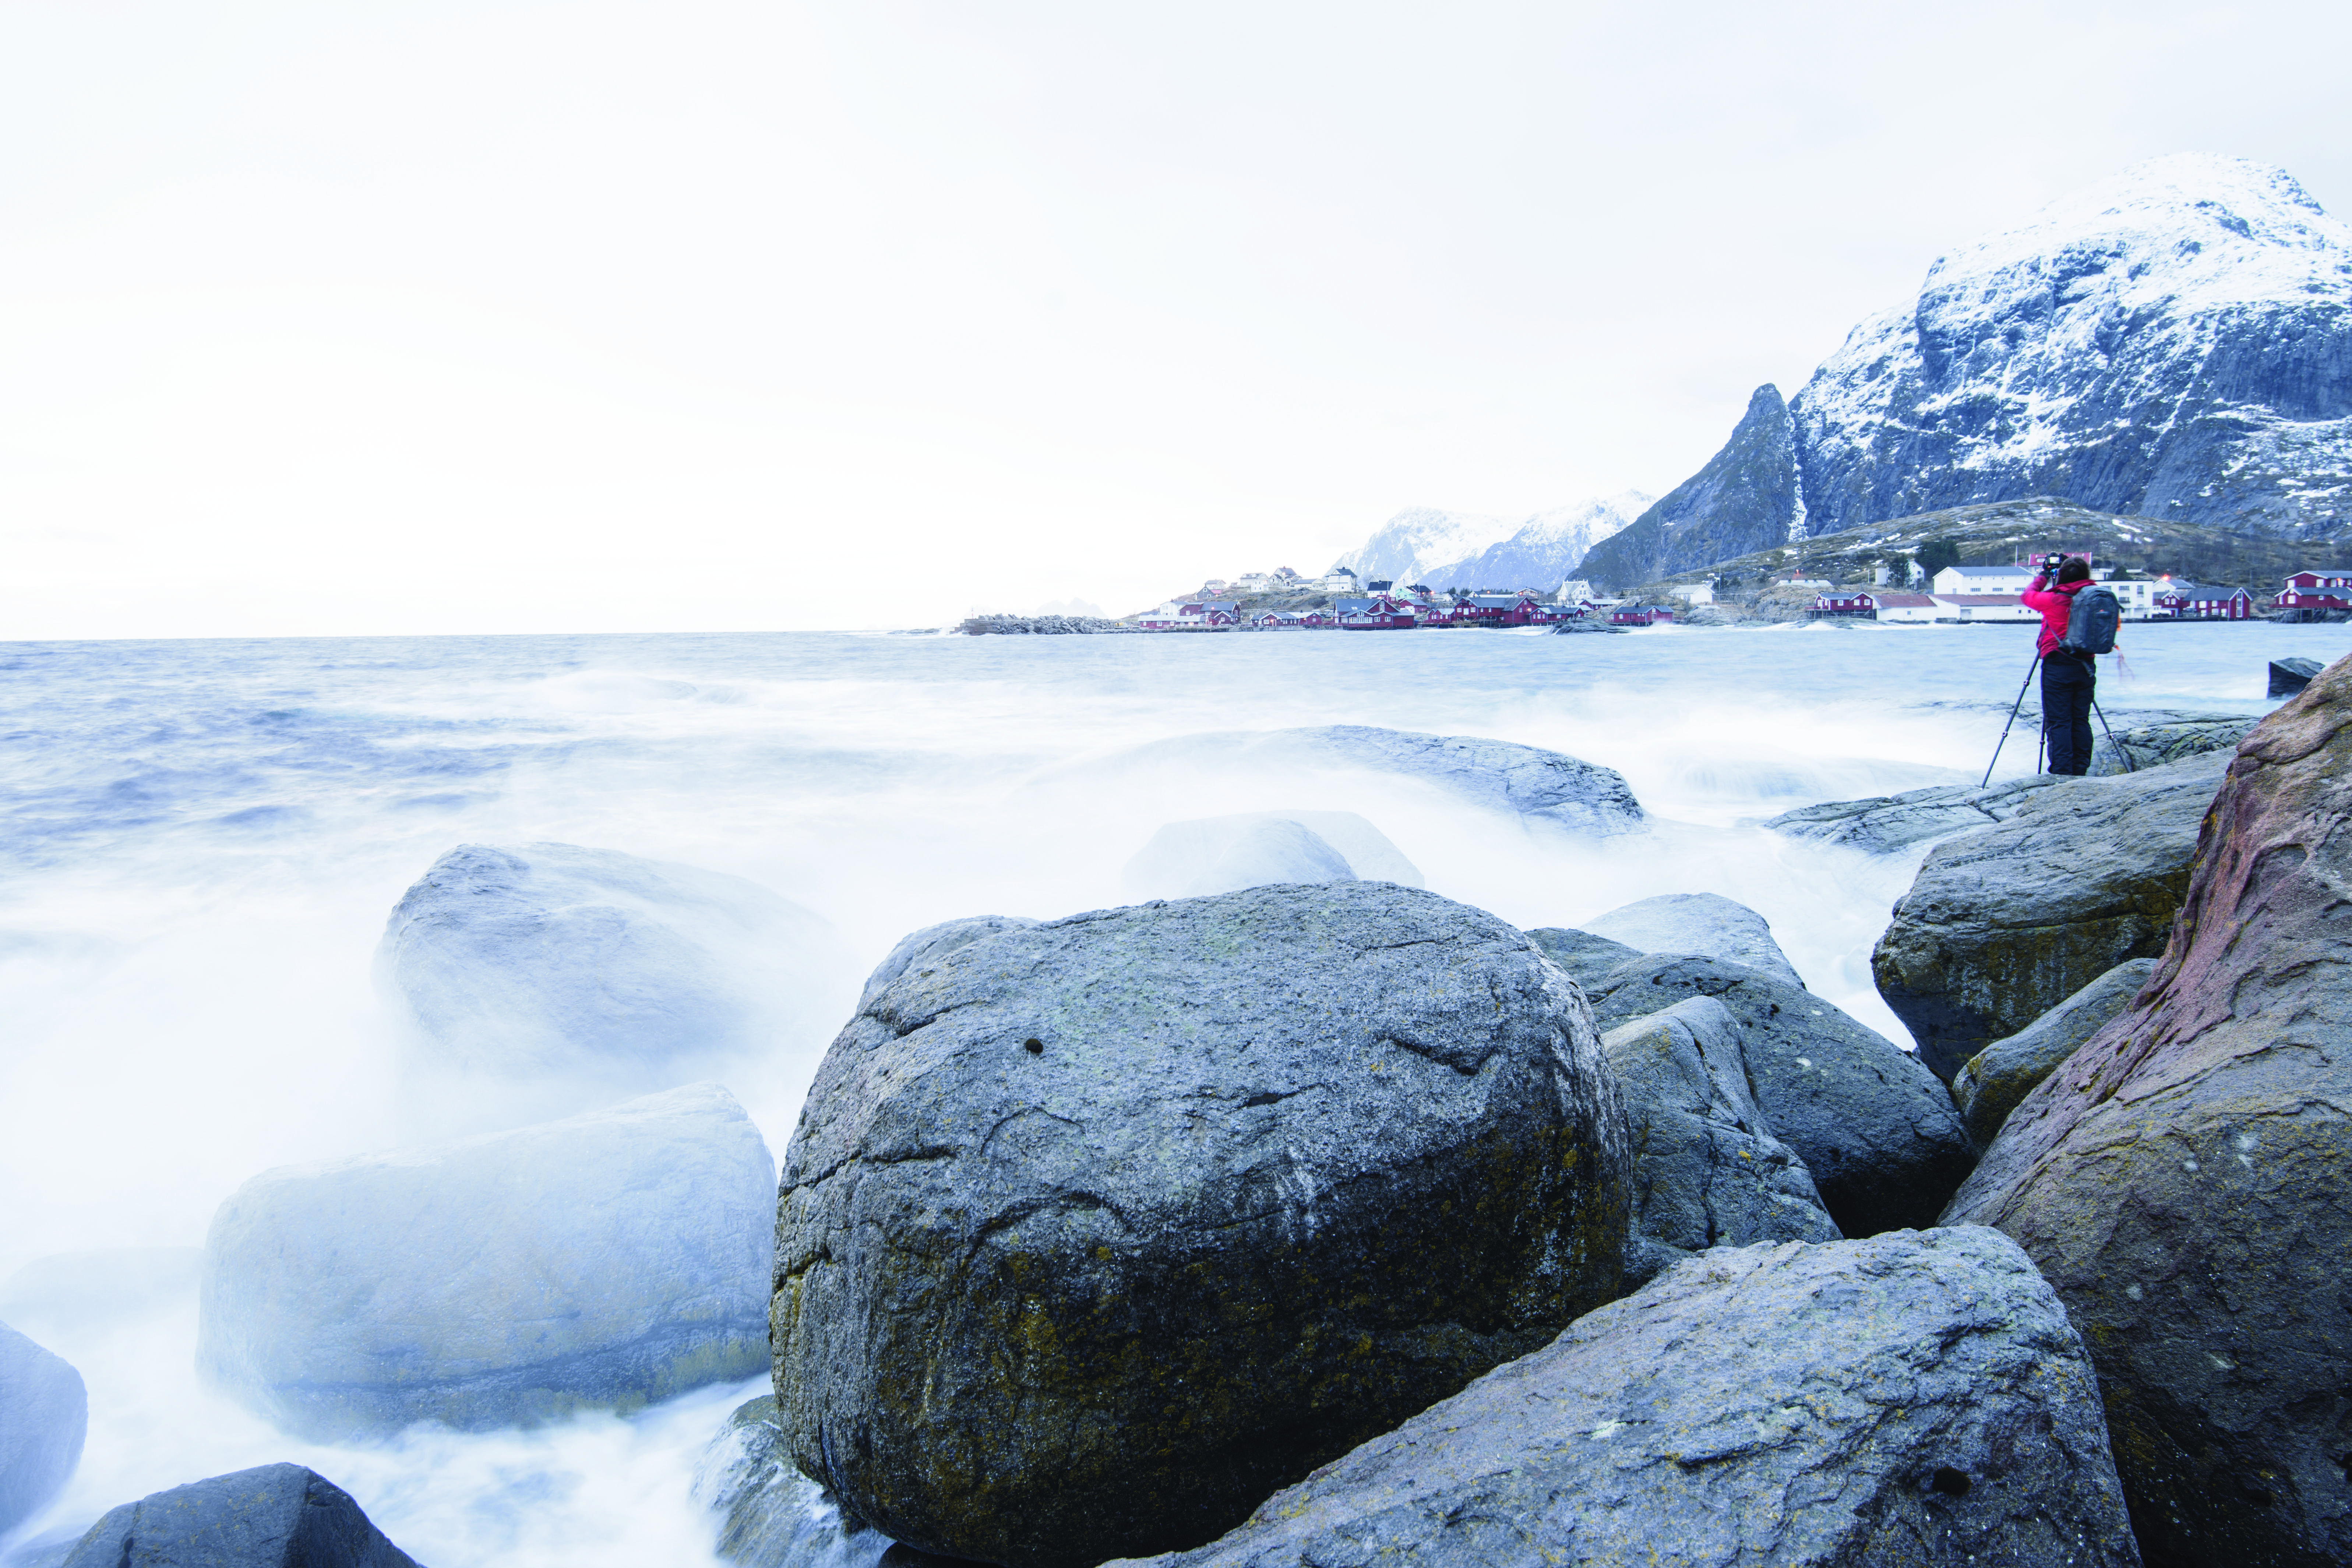
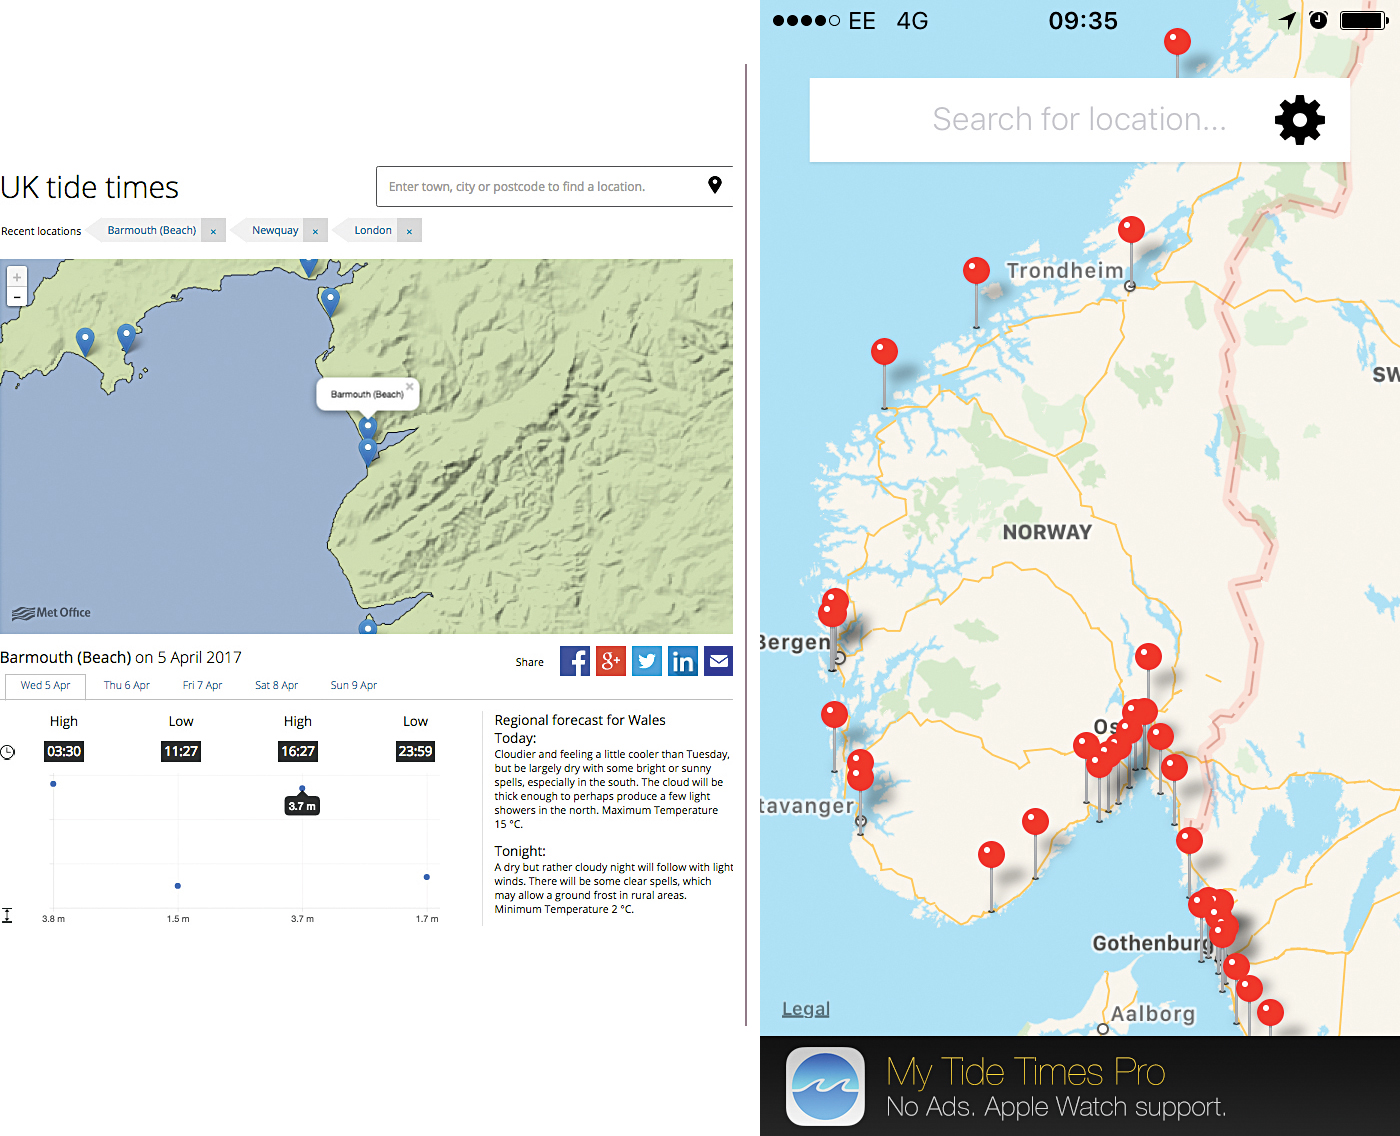
The tide times change from day-to-day, so a degree of planning is required to ensure that the sea is in the right place for your sunrise or sunset shoot; your craggy rocks may only get wet at high tide, for example. There are plenty of websites and apps that offer this information, such as www.tide-forecast.com and My Tide Times.
1 SCOUT YOUR LOCATION
Look for rock formations in the ground, sand patterns or pools where waves will collect and swirl around. Piers or jetties are good choices for urban beaches. Keep an eye on the background, too. Look out for hills and mountains or to add interest to your seascape shot.
2 TAKE IT ALL IN
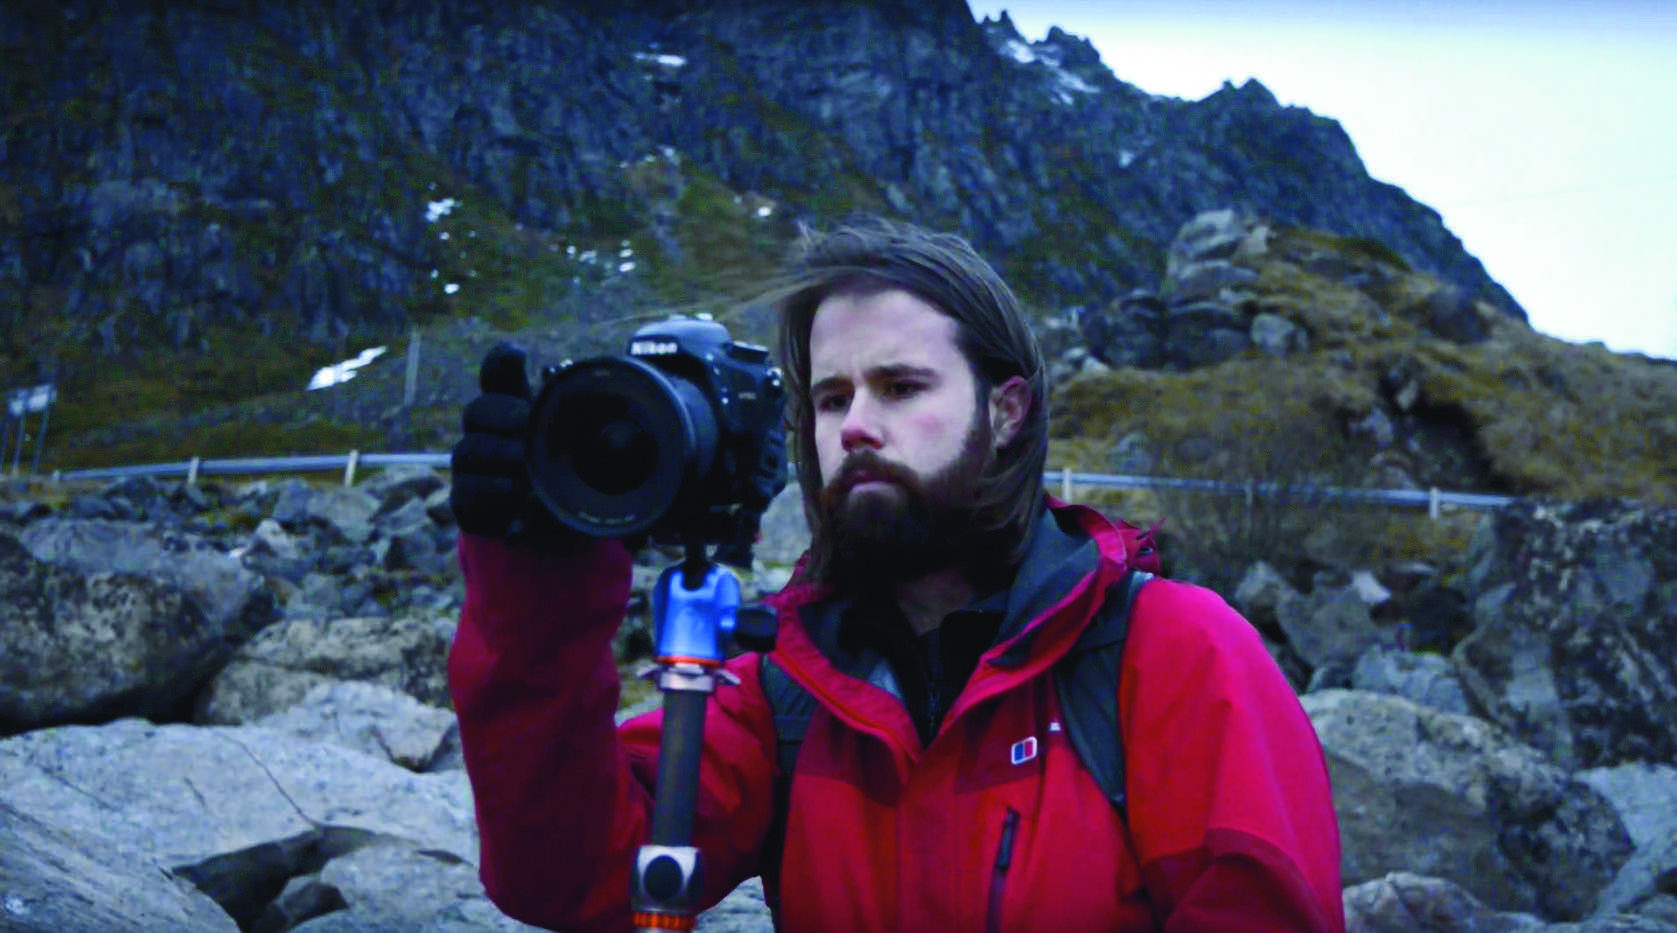
We used the Zeiss Milvus 15mm f/2.8 manual focus lens to take our shot, and for good reason; a wide-angle lens let us fit all that stunning scenery onto our sensor. However, you’ll be able to get good results at the wide end of a standard zoom, such as an 18-55mm kit lens.
3 GET SOME SUPPORT
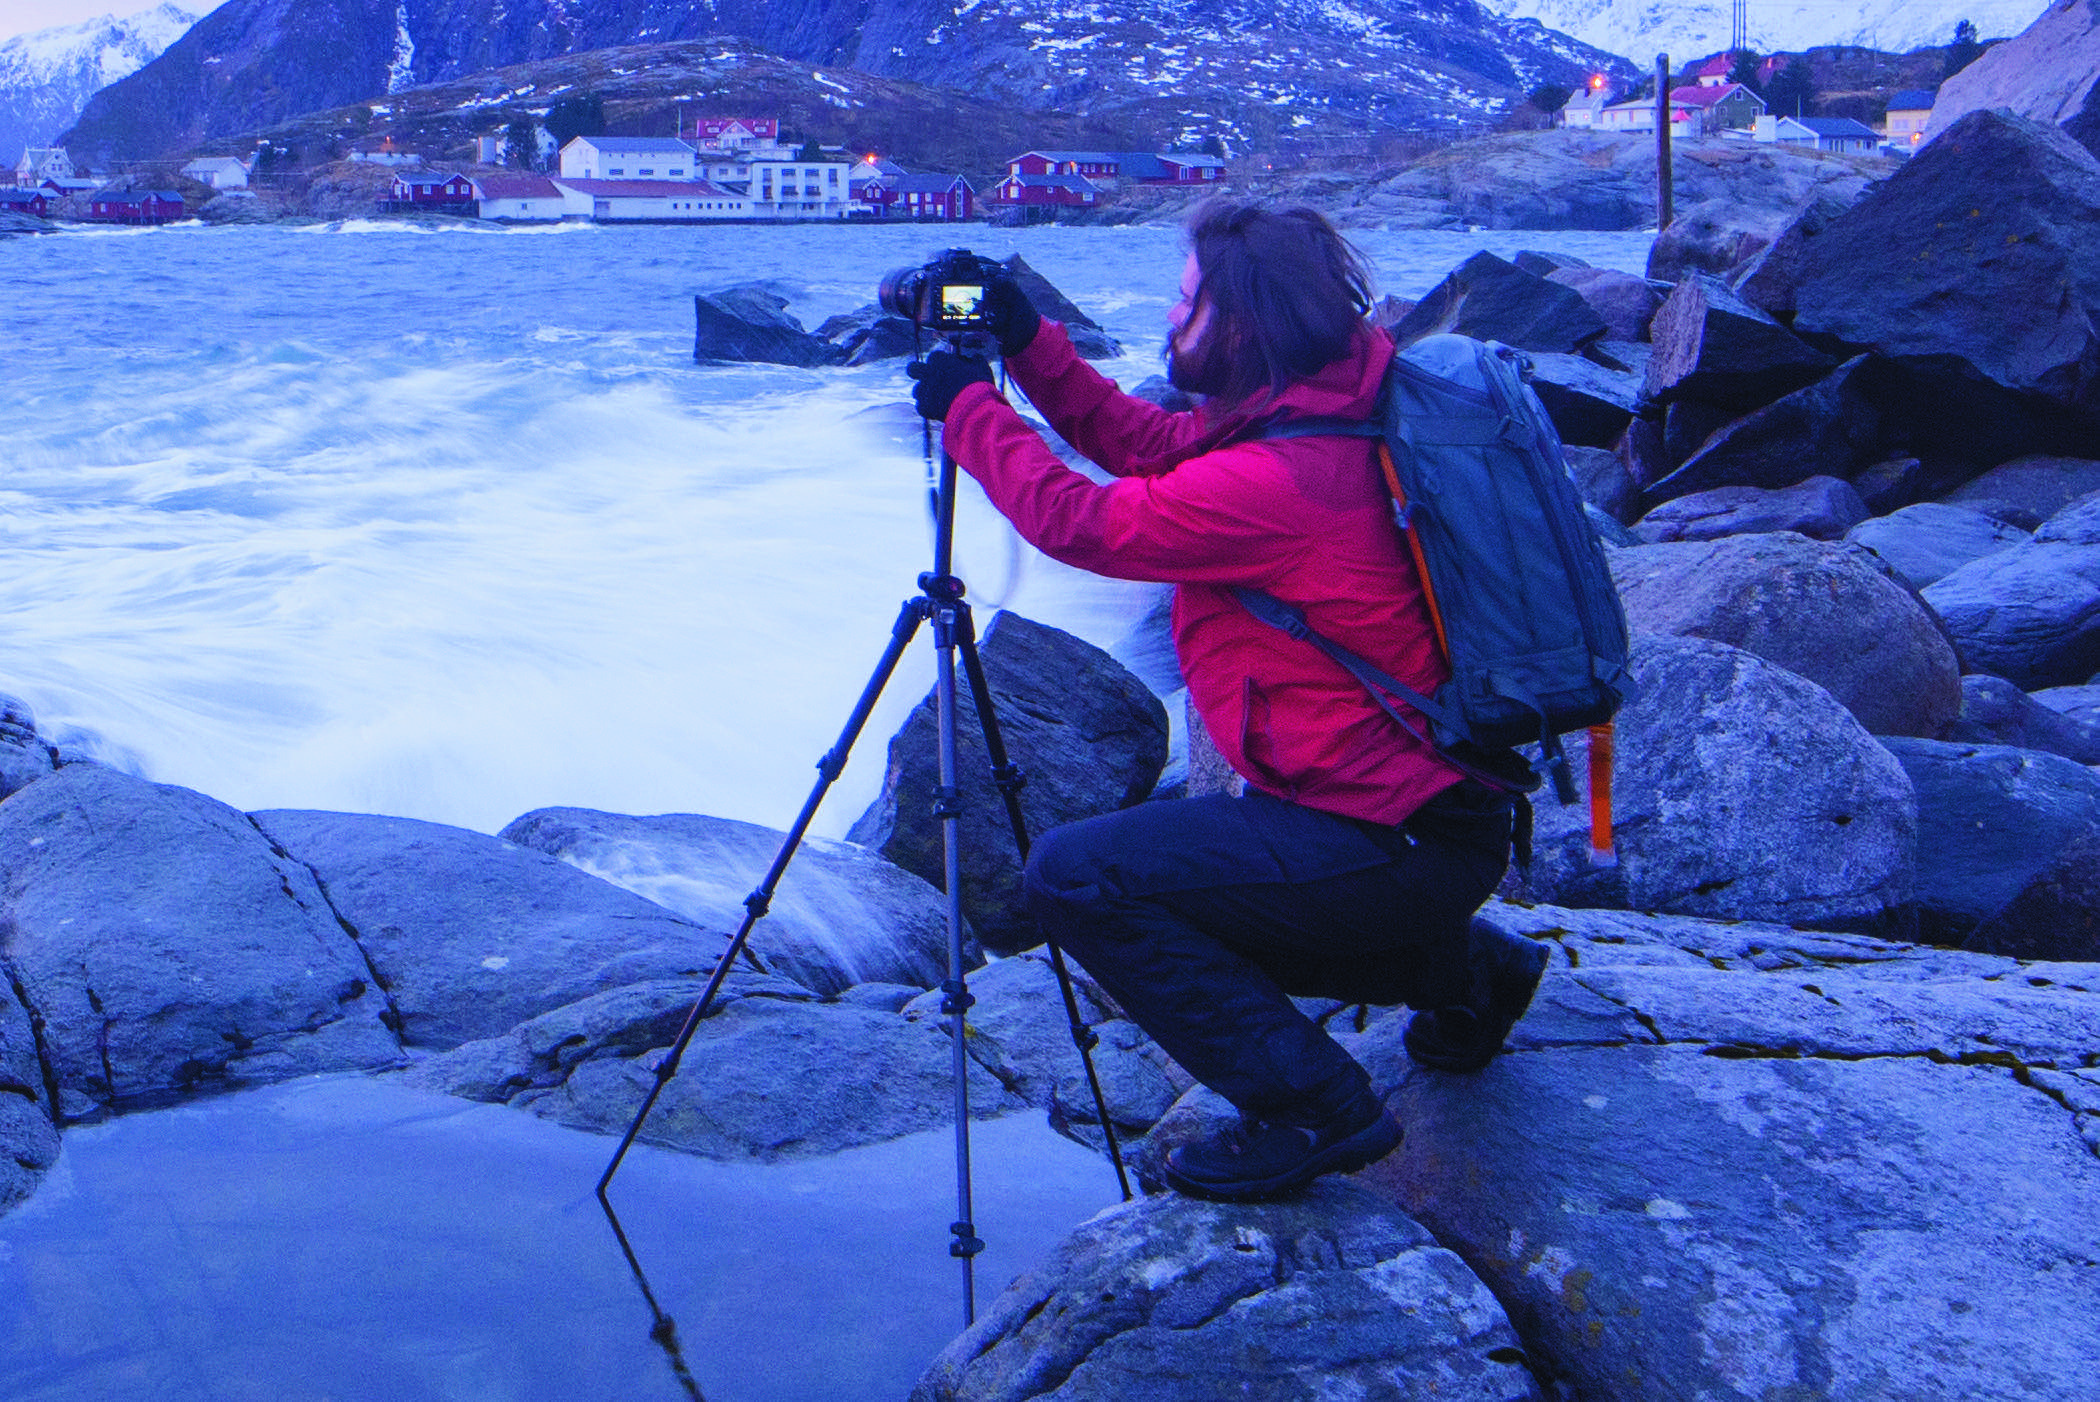
Your tripod is your best friend for seascapes. It needs to be sturdy enough to hold still when water pools around the legs. Carbon fibre models are ideal, as the legs won’t rust when wet with salty seawater (though it’s still advisable to rinse them with fresh water after a shoot).
4 SLOW THINGS DOWN
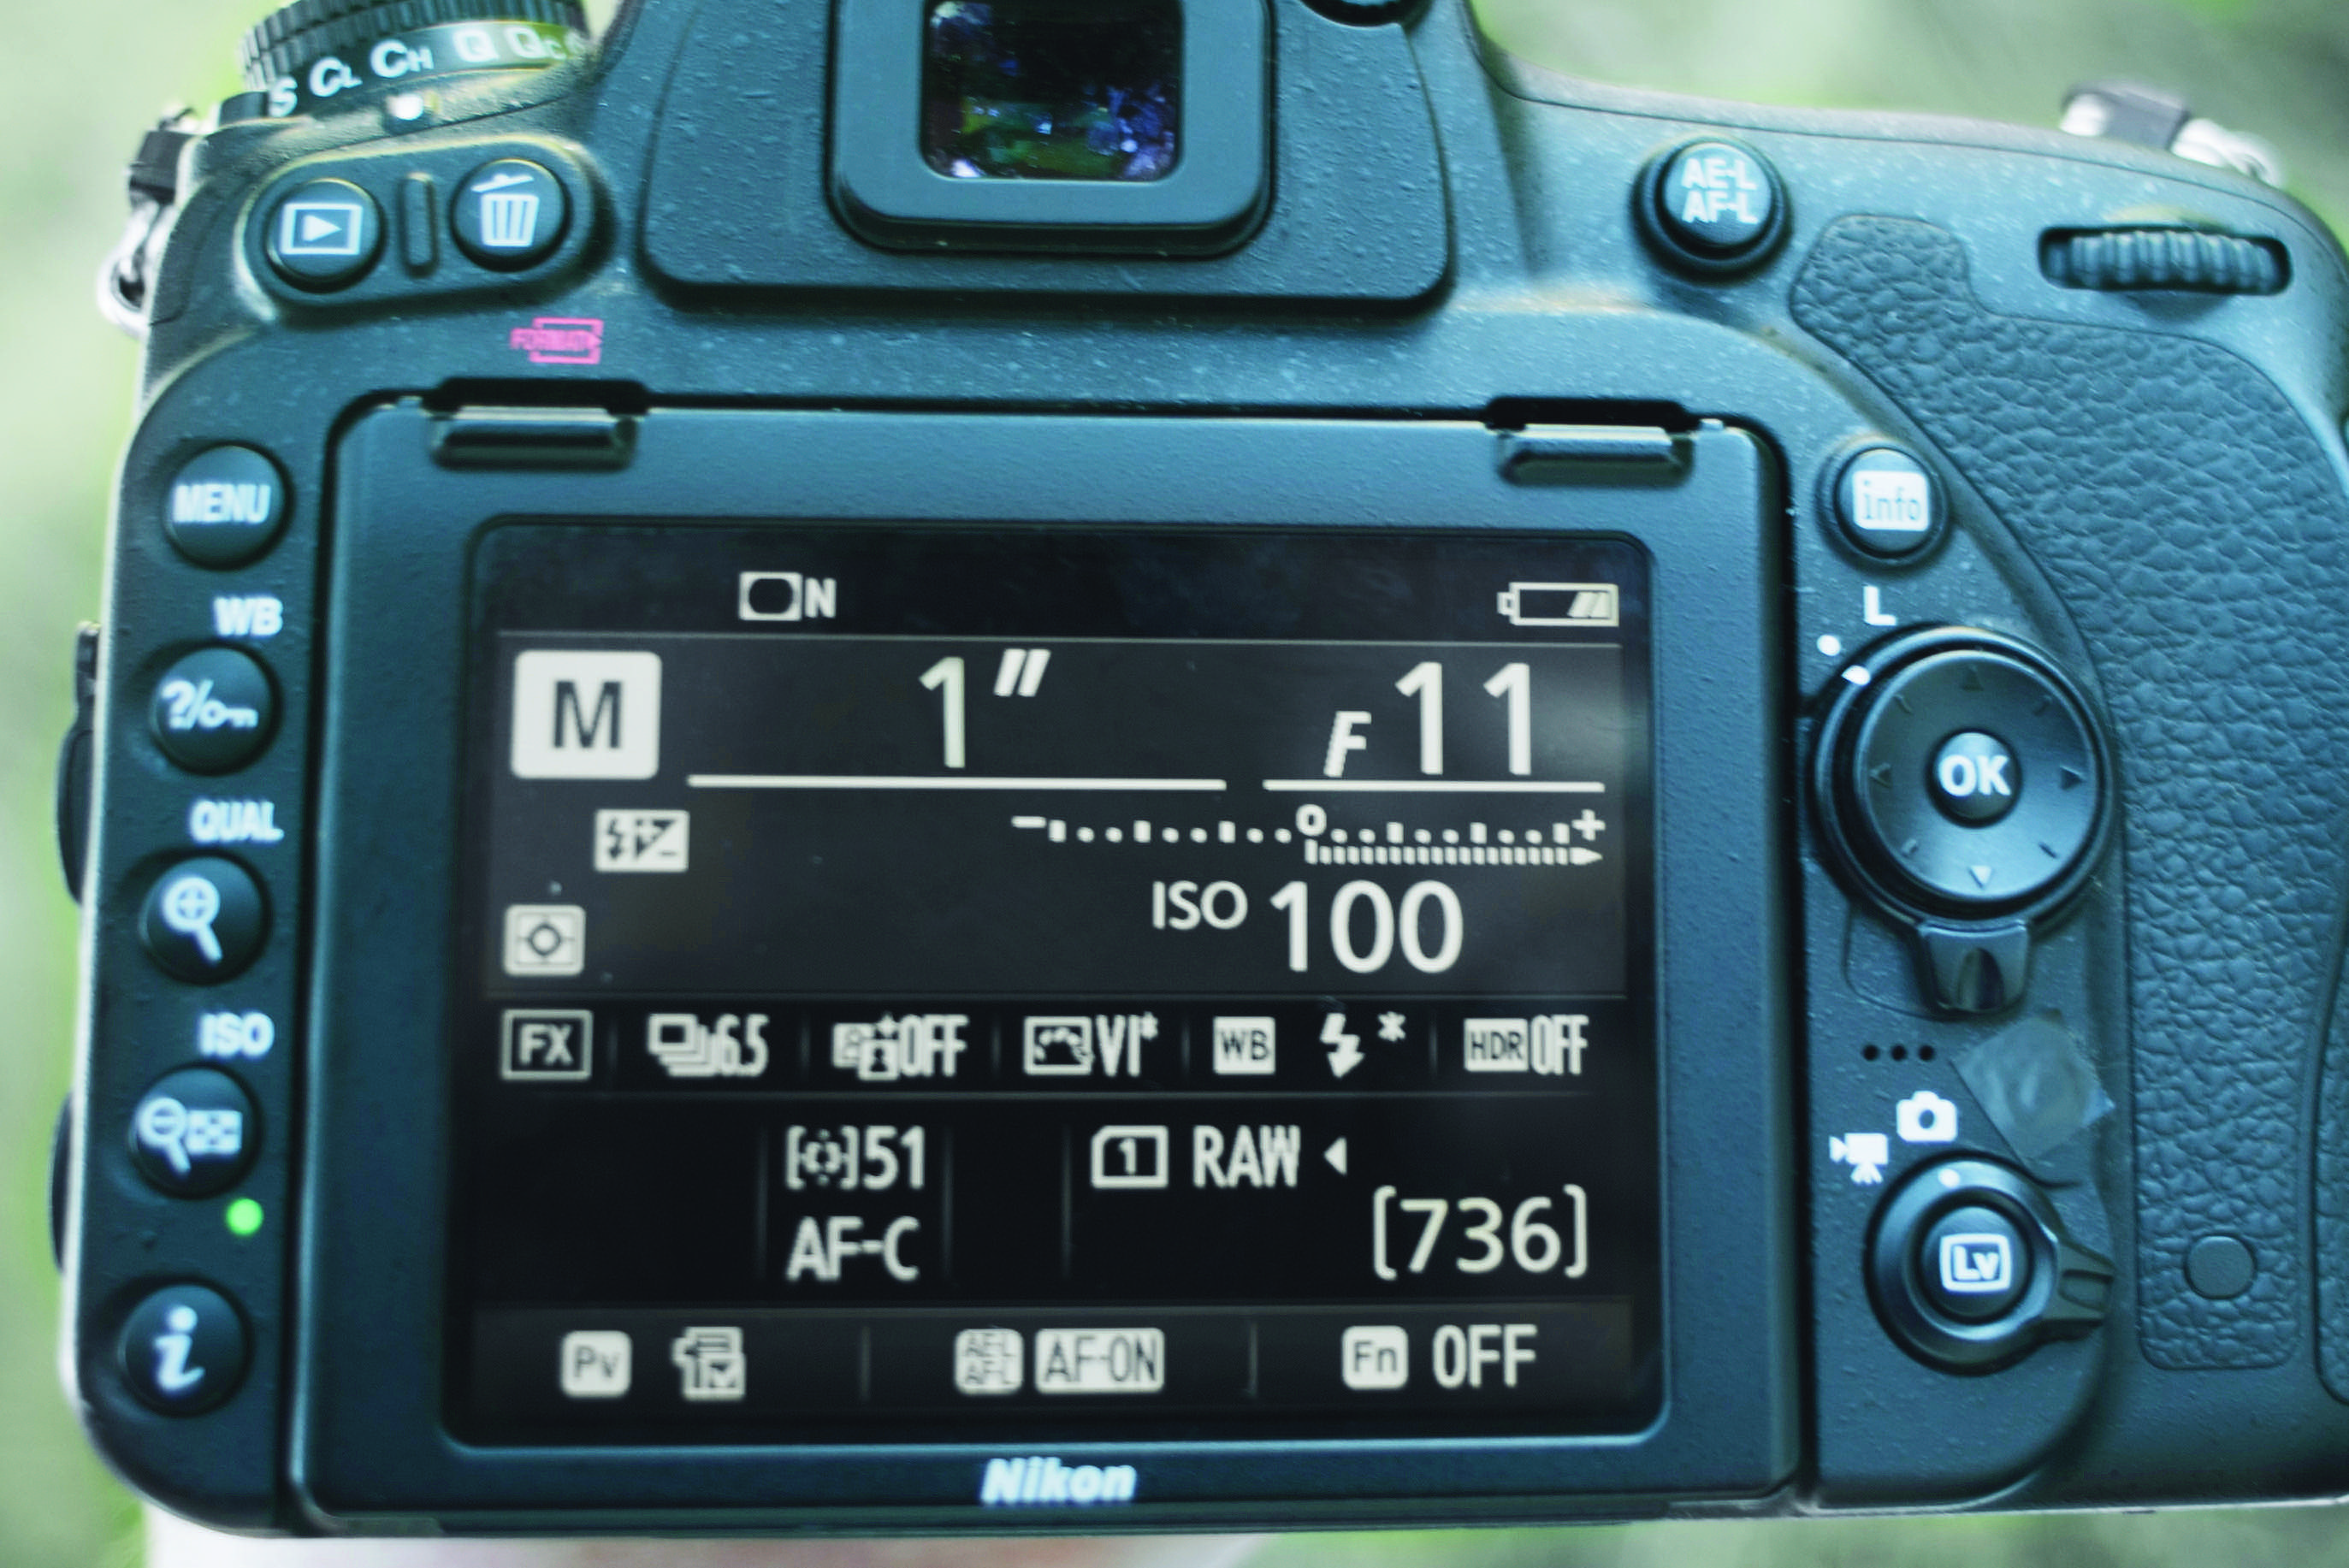
Use Manual or Shutter Priority mode and set ISO100 to keep noise low. You’ll need a slow shutter speed to capture movement in the water (start at around 1 sec) and a narrow aperture, such as f/11, to maximize depth of field for an image that’s sharp from front to back.
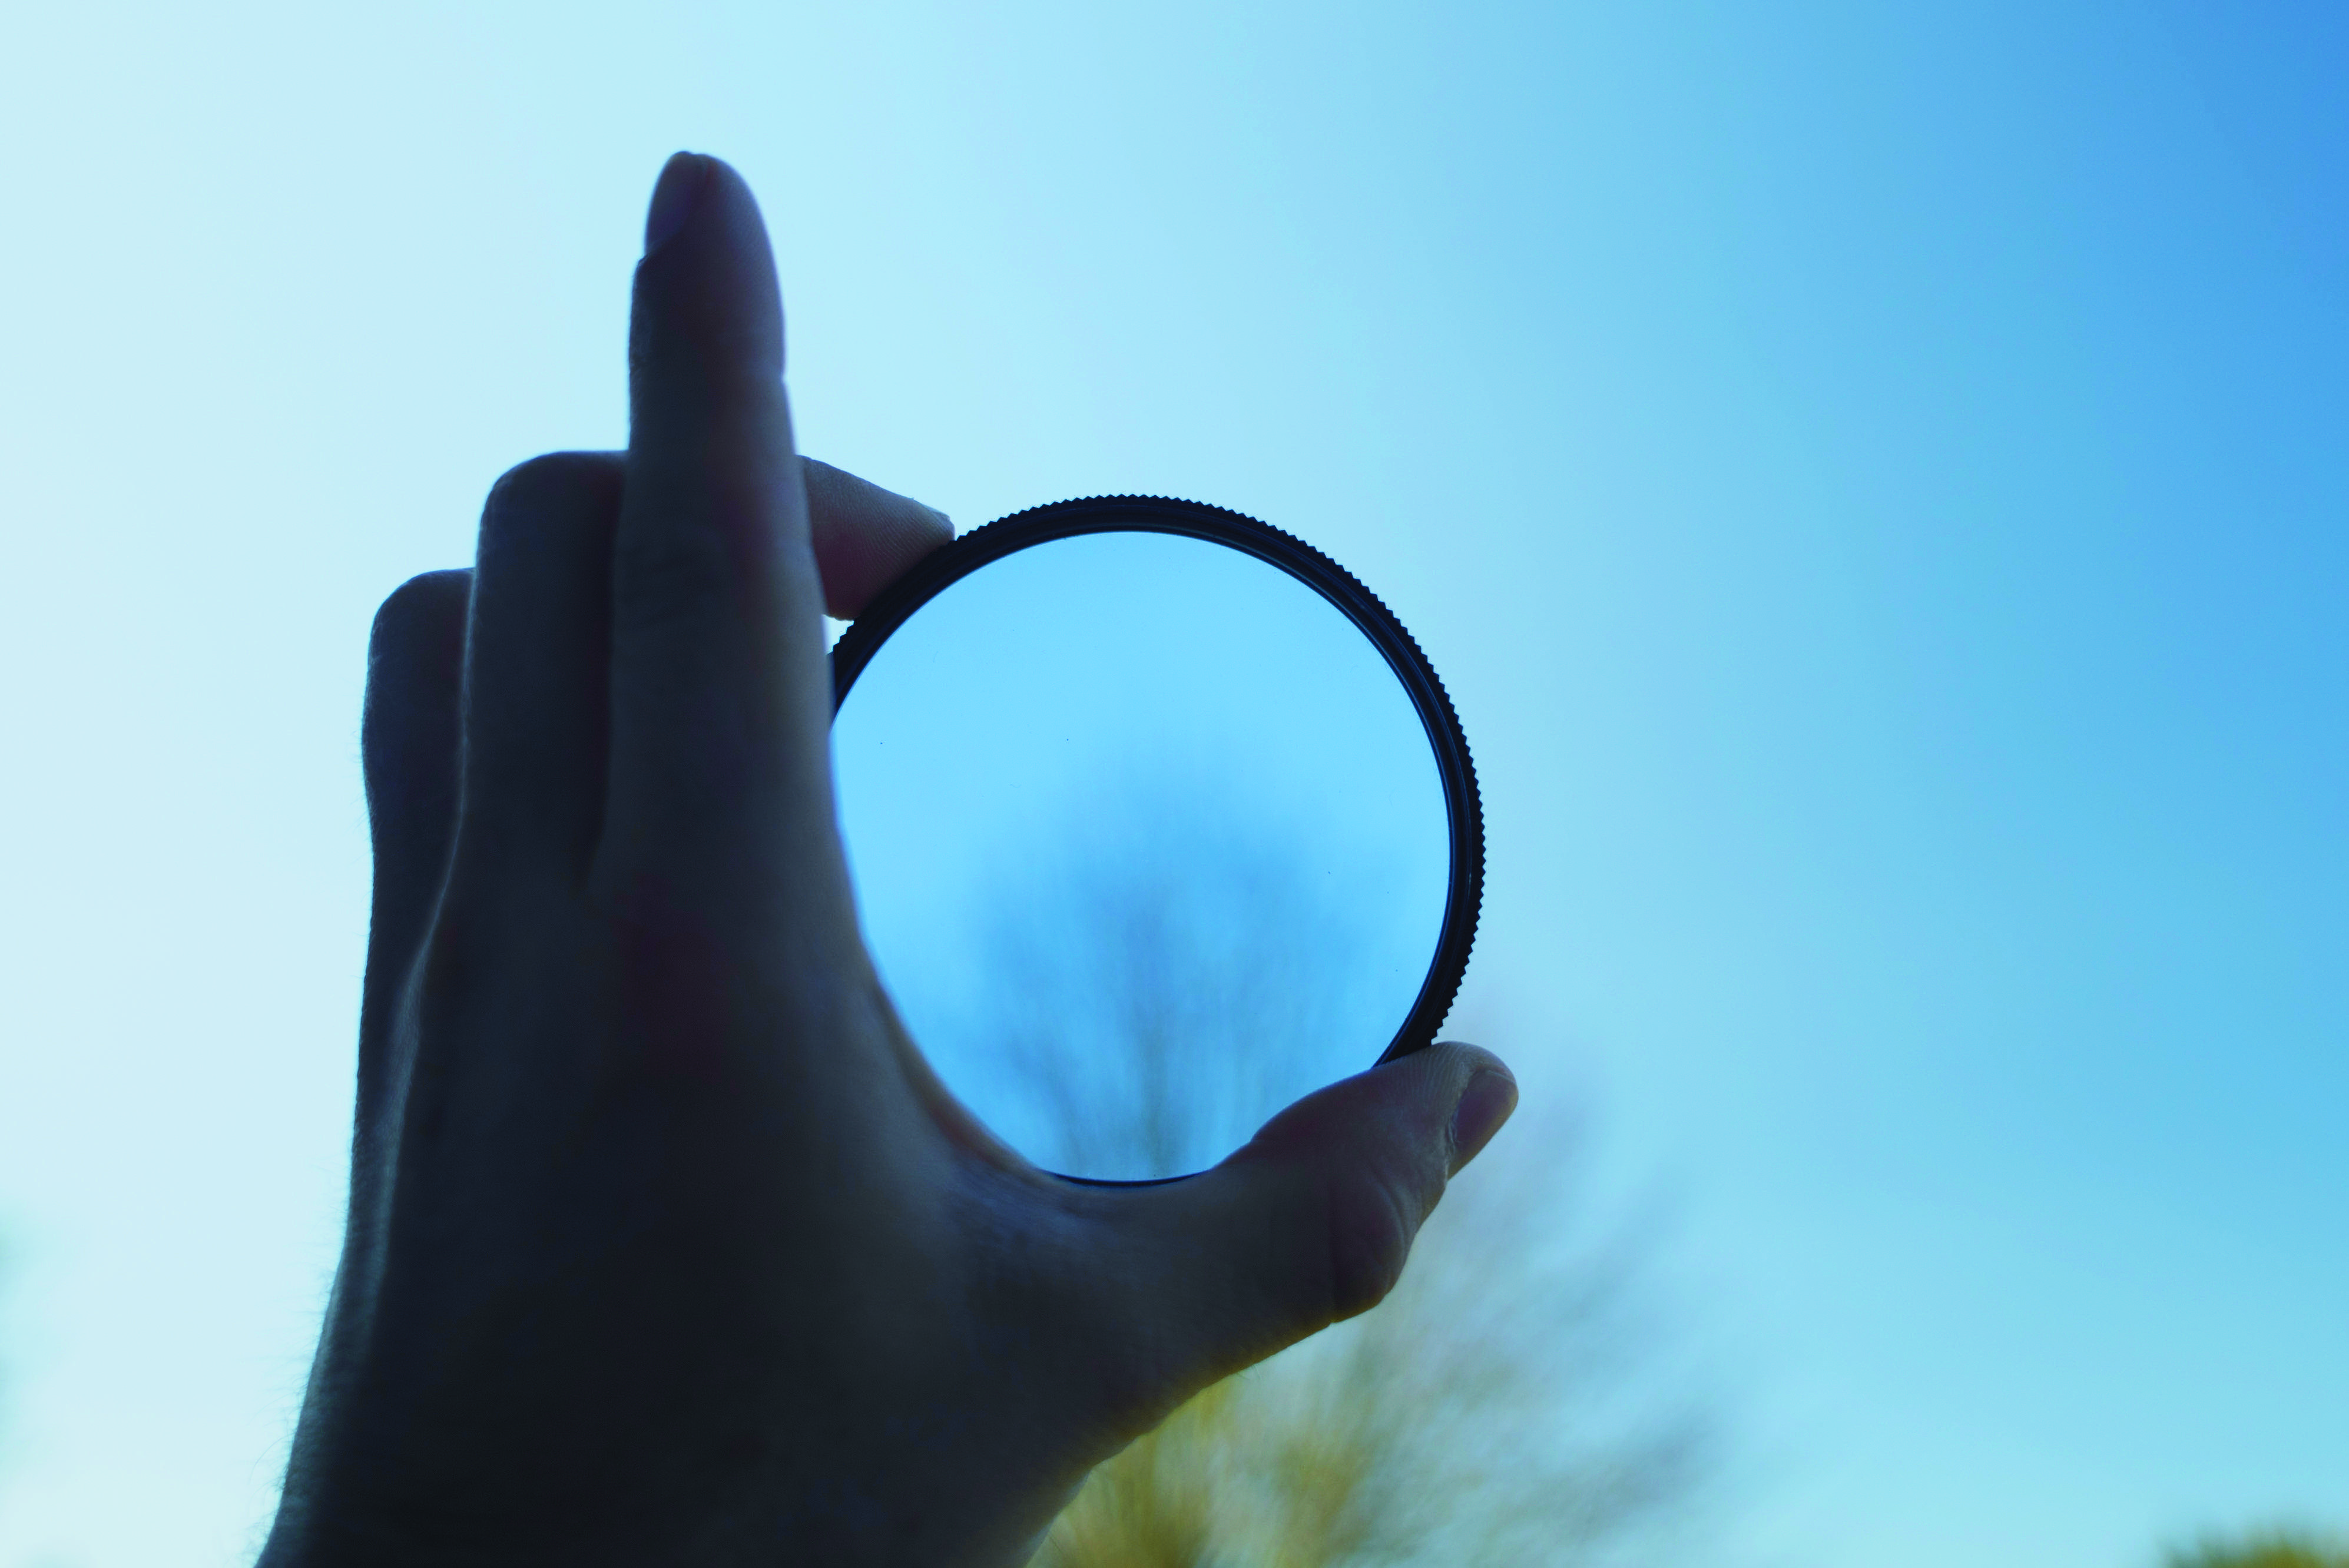
5 ATTACH A POLARIZER
Polarizing filters have a front element that can be rotated to limit the angle at which light can enter the lens, reducing glare on shiny and watery objects, and so are particularly useful for seascapes. Plus a polarizer is one filter that you can’t emulate in Photoshop later!
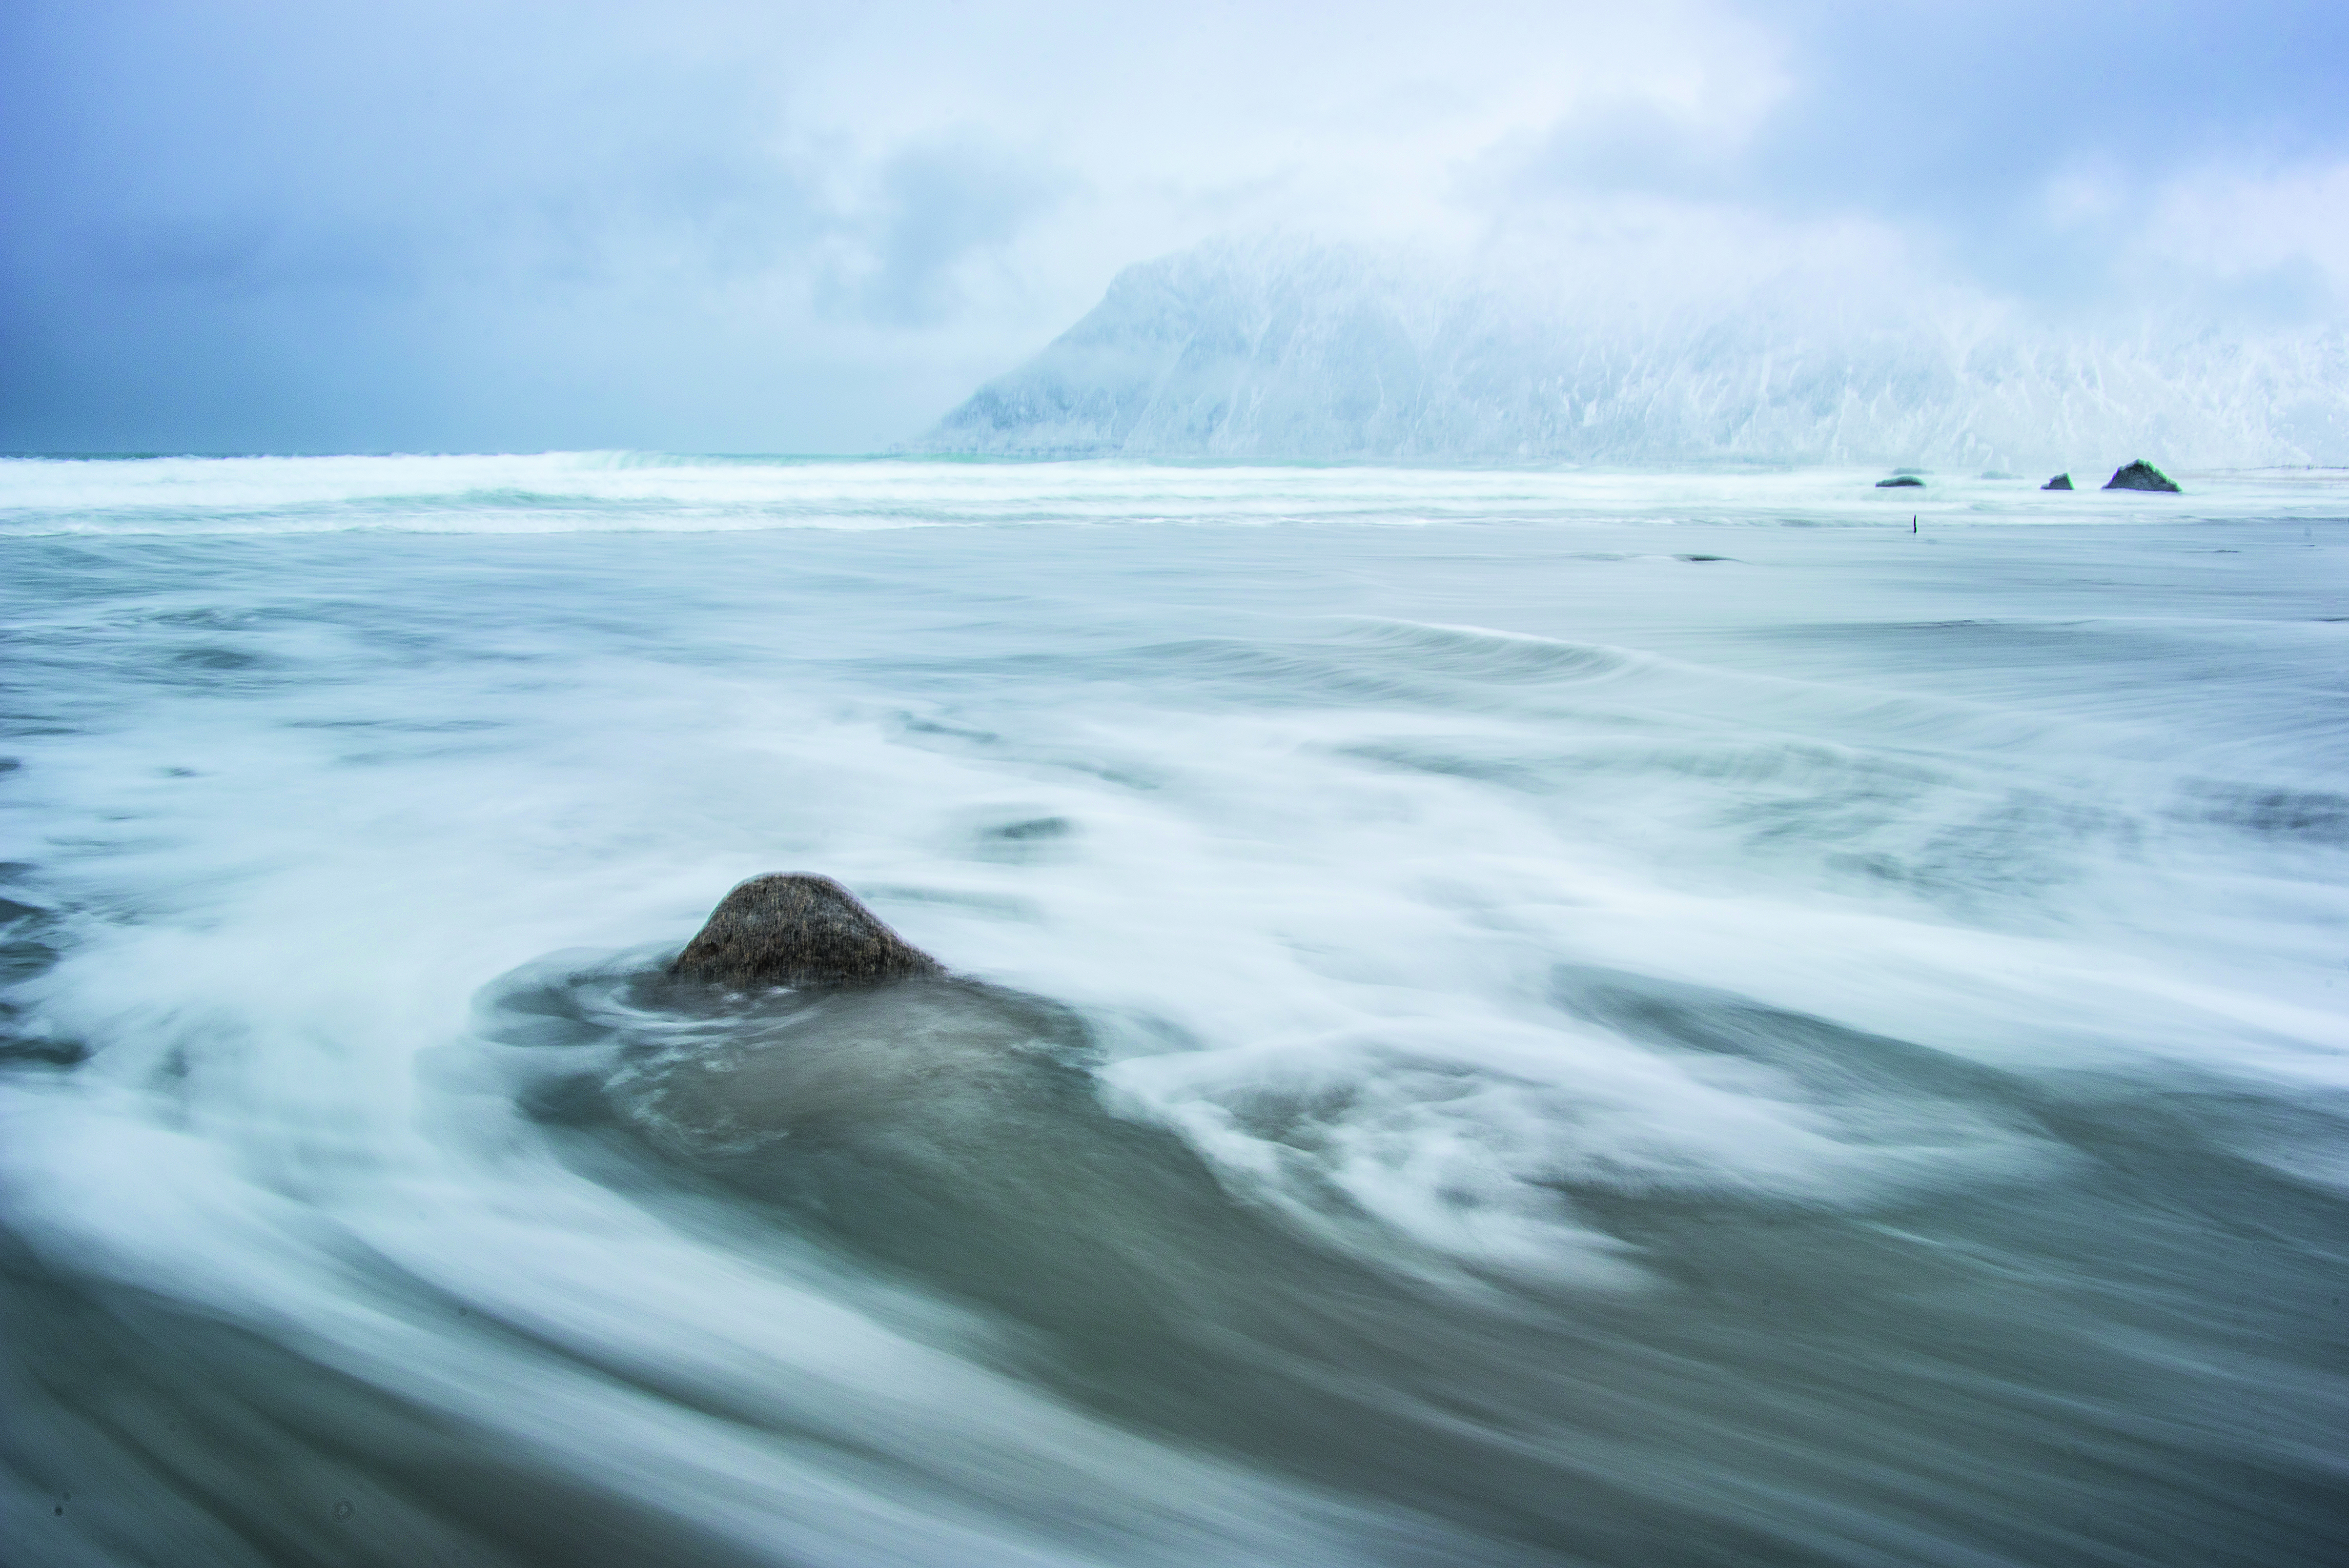
6 CATCH SOME WAVES
Wait for the wave to reach its peak before firing the shutter; capturing the receding water is what will give the shot form and movement. Review the results on the LCD: if it looks too static, set a slower shutter speed; if it’s too wispy, increase the shutter speed.
STEP BY STEP: Three tips for better seascapes
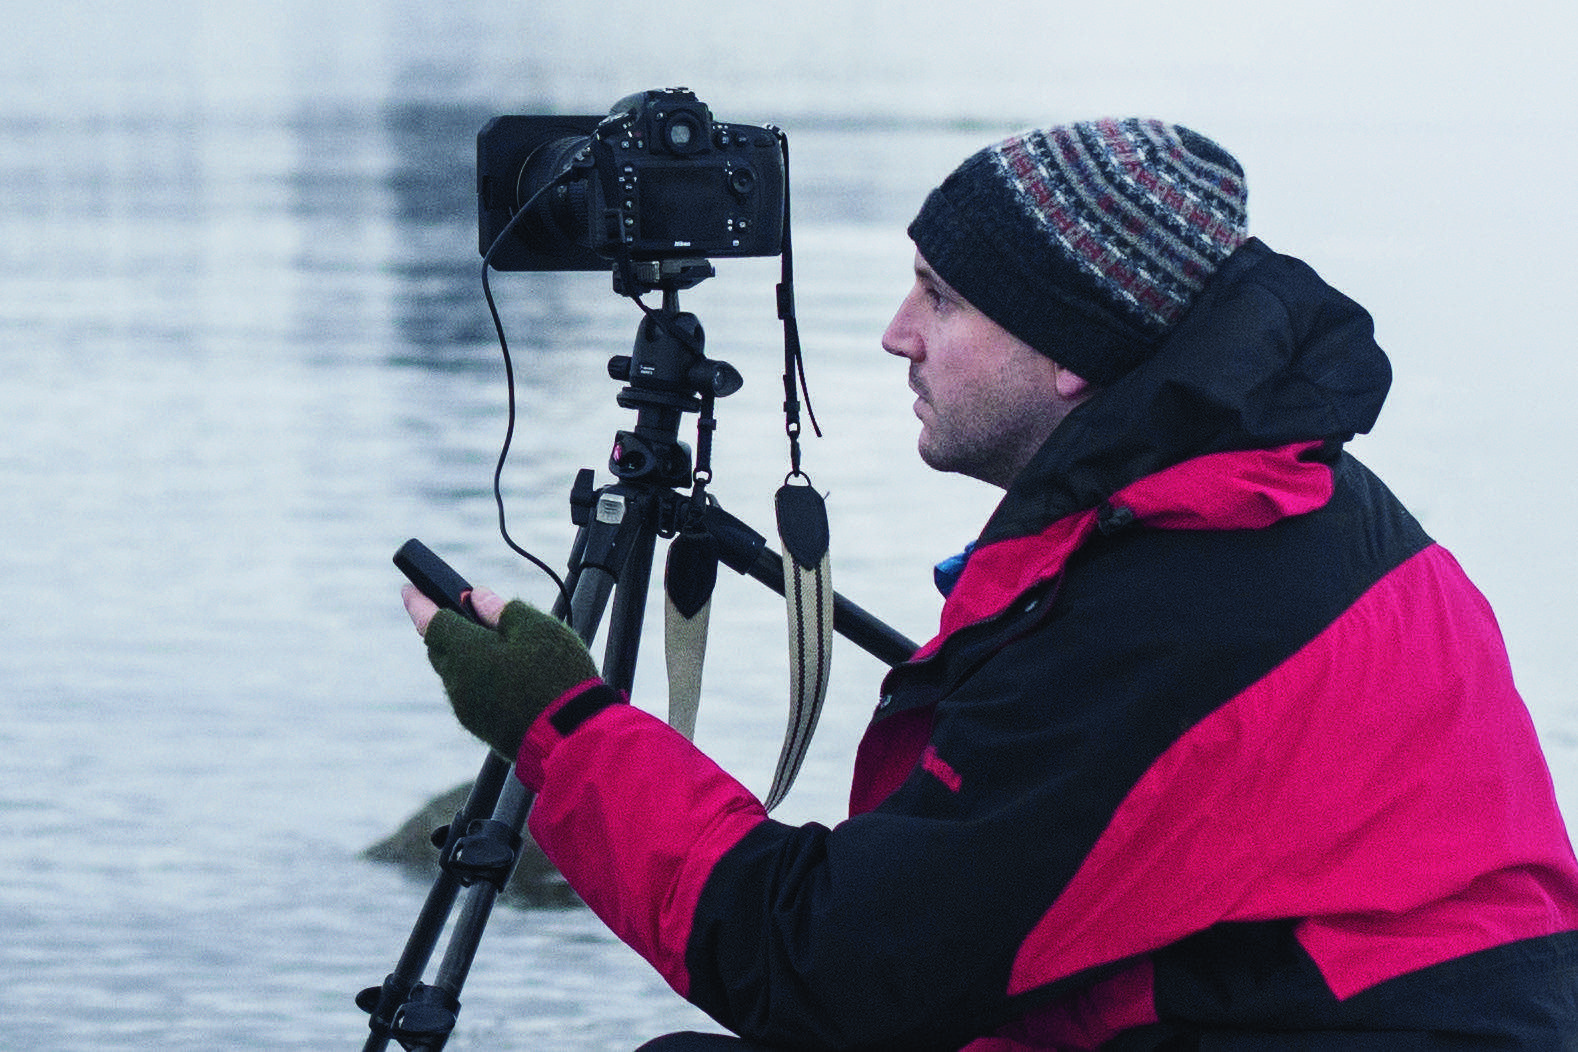
1 SHOOT REMOTELY
Using an external shutter release means you won’t accidentally nudge the camera as you take the photo. This way you’ll be sure to capture a crisp image, with the only thing moving being the water. If you don’t have one, you can use your camera’s self-timer mode instead.
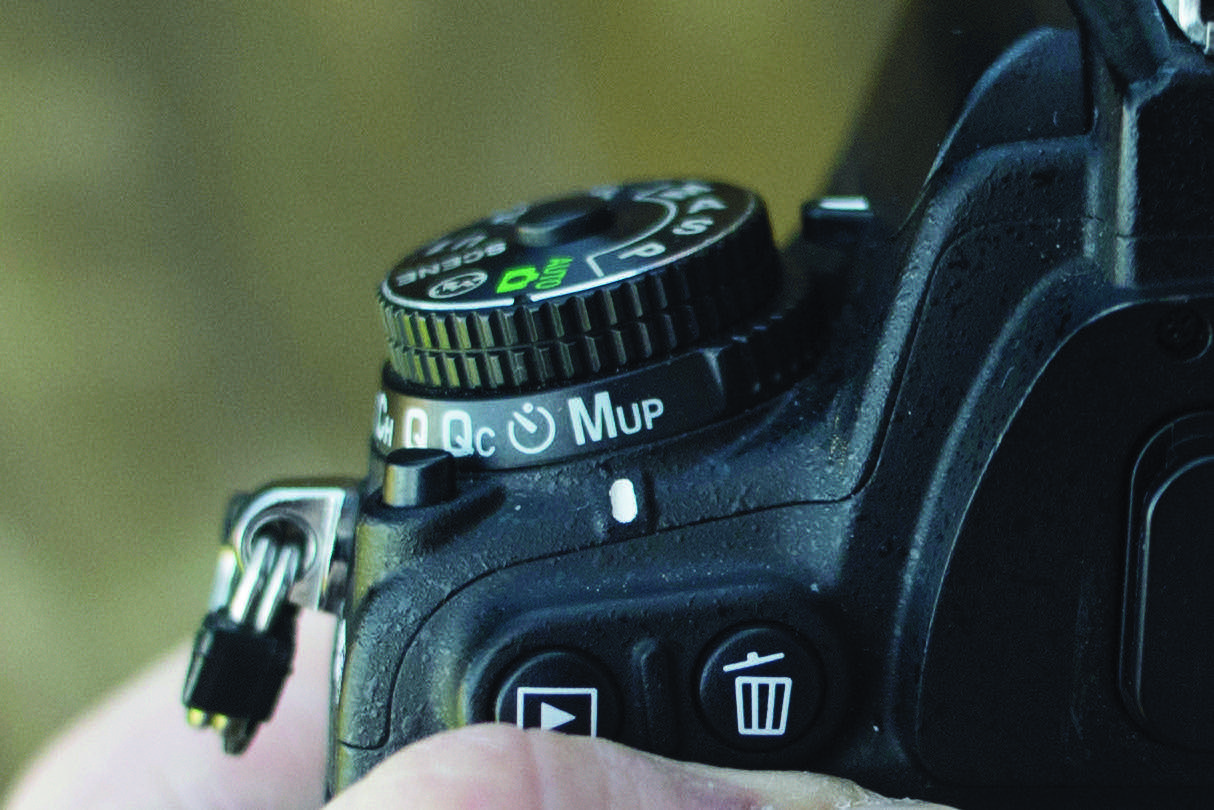
2 LOCK UP THE MIRROR
During a long exposure, the camera mirror being raised can cause vibrations, resulting in a soft shot. The Mirror-up mode (if your camera has it) raises the mirror on the first press of the shutter button, and takes the shot on the second press, once the vibration has subsided.
A shutter speed of around 1 sec should be easy enough to get in fading light with a narrow aperture, but if the scene is still too bright then try using a neutral density filter to darken the exposure.
3 AVOID AUTO WHITE BALANCE
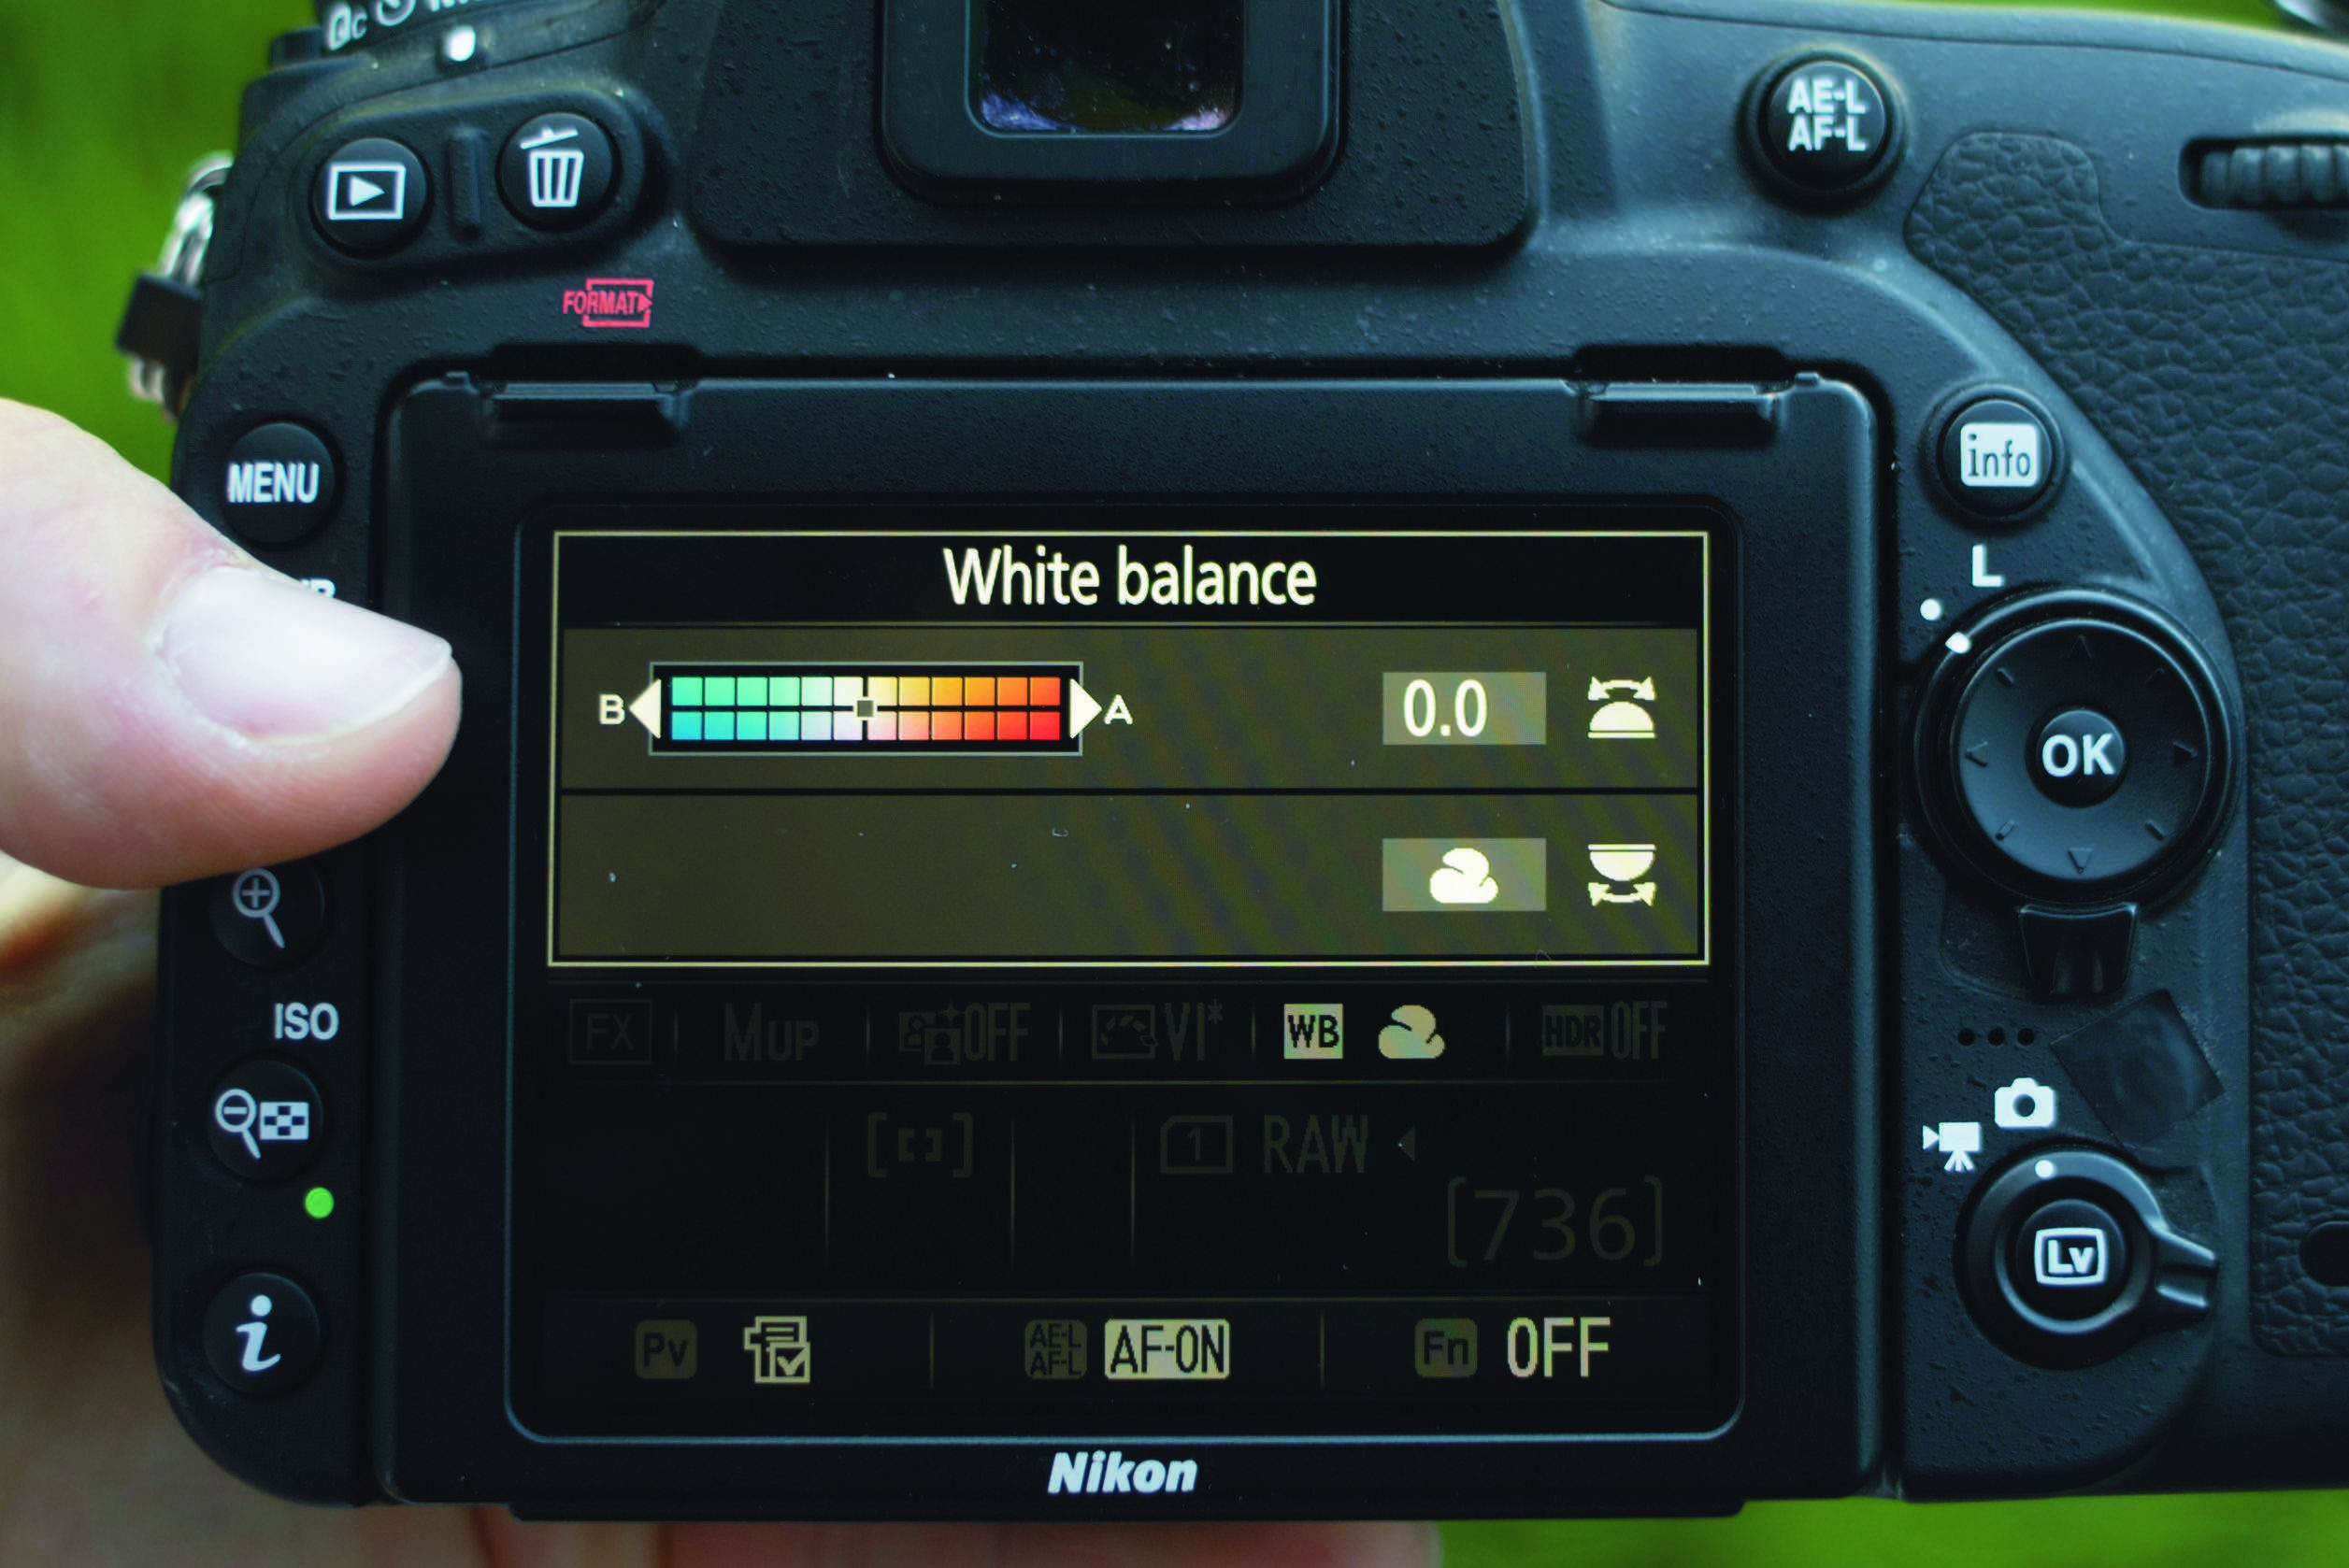
During sunrise or sunset, Auto white balance tends to wash away all that lovely golden colour in the sky. Set Cloudy white balance instead, which will emphasize and enrich these warm red and yellow tones for a much more pleasing and atmospheric photograph.
Jase Parnell-Brookes is an award-winning photographer, educator and writer based in the UK. They won the Gold Prize award in the Nikon Photo Contest 2018/19 and was named Digital Photographer of the Year in 2014. After completing their Masters Jase has spent a good chunk of two decades studying and working in photography and optics shooting and writing all over the world for big-name brands and media outlets. Now the Channel Editor for Cameras and Skywatching at Space.com their speciality is in low light optics and camera systems.


