Home photography ideas: Killer portraits right in your front room
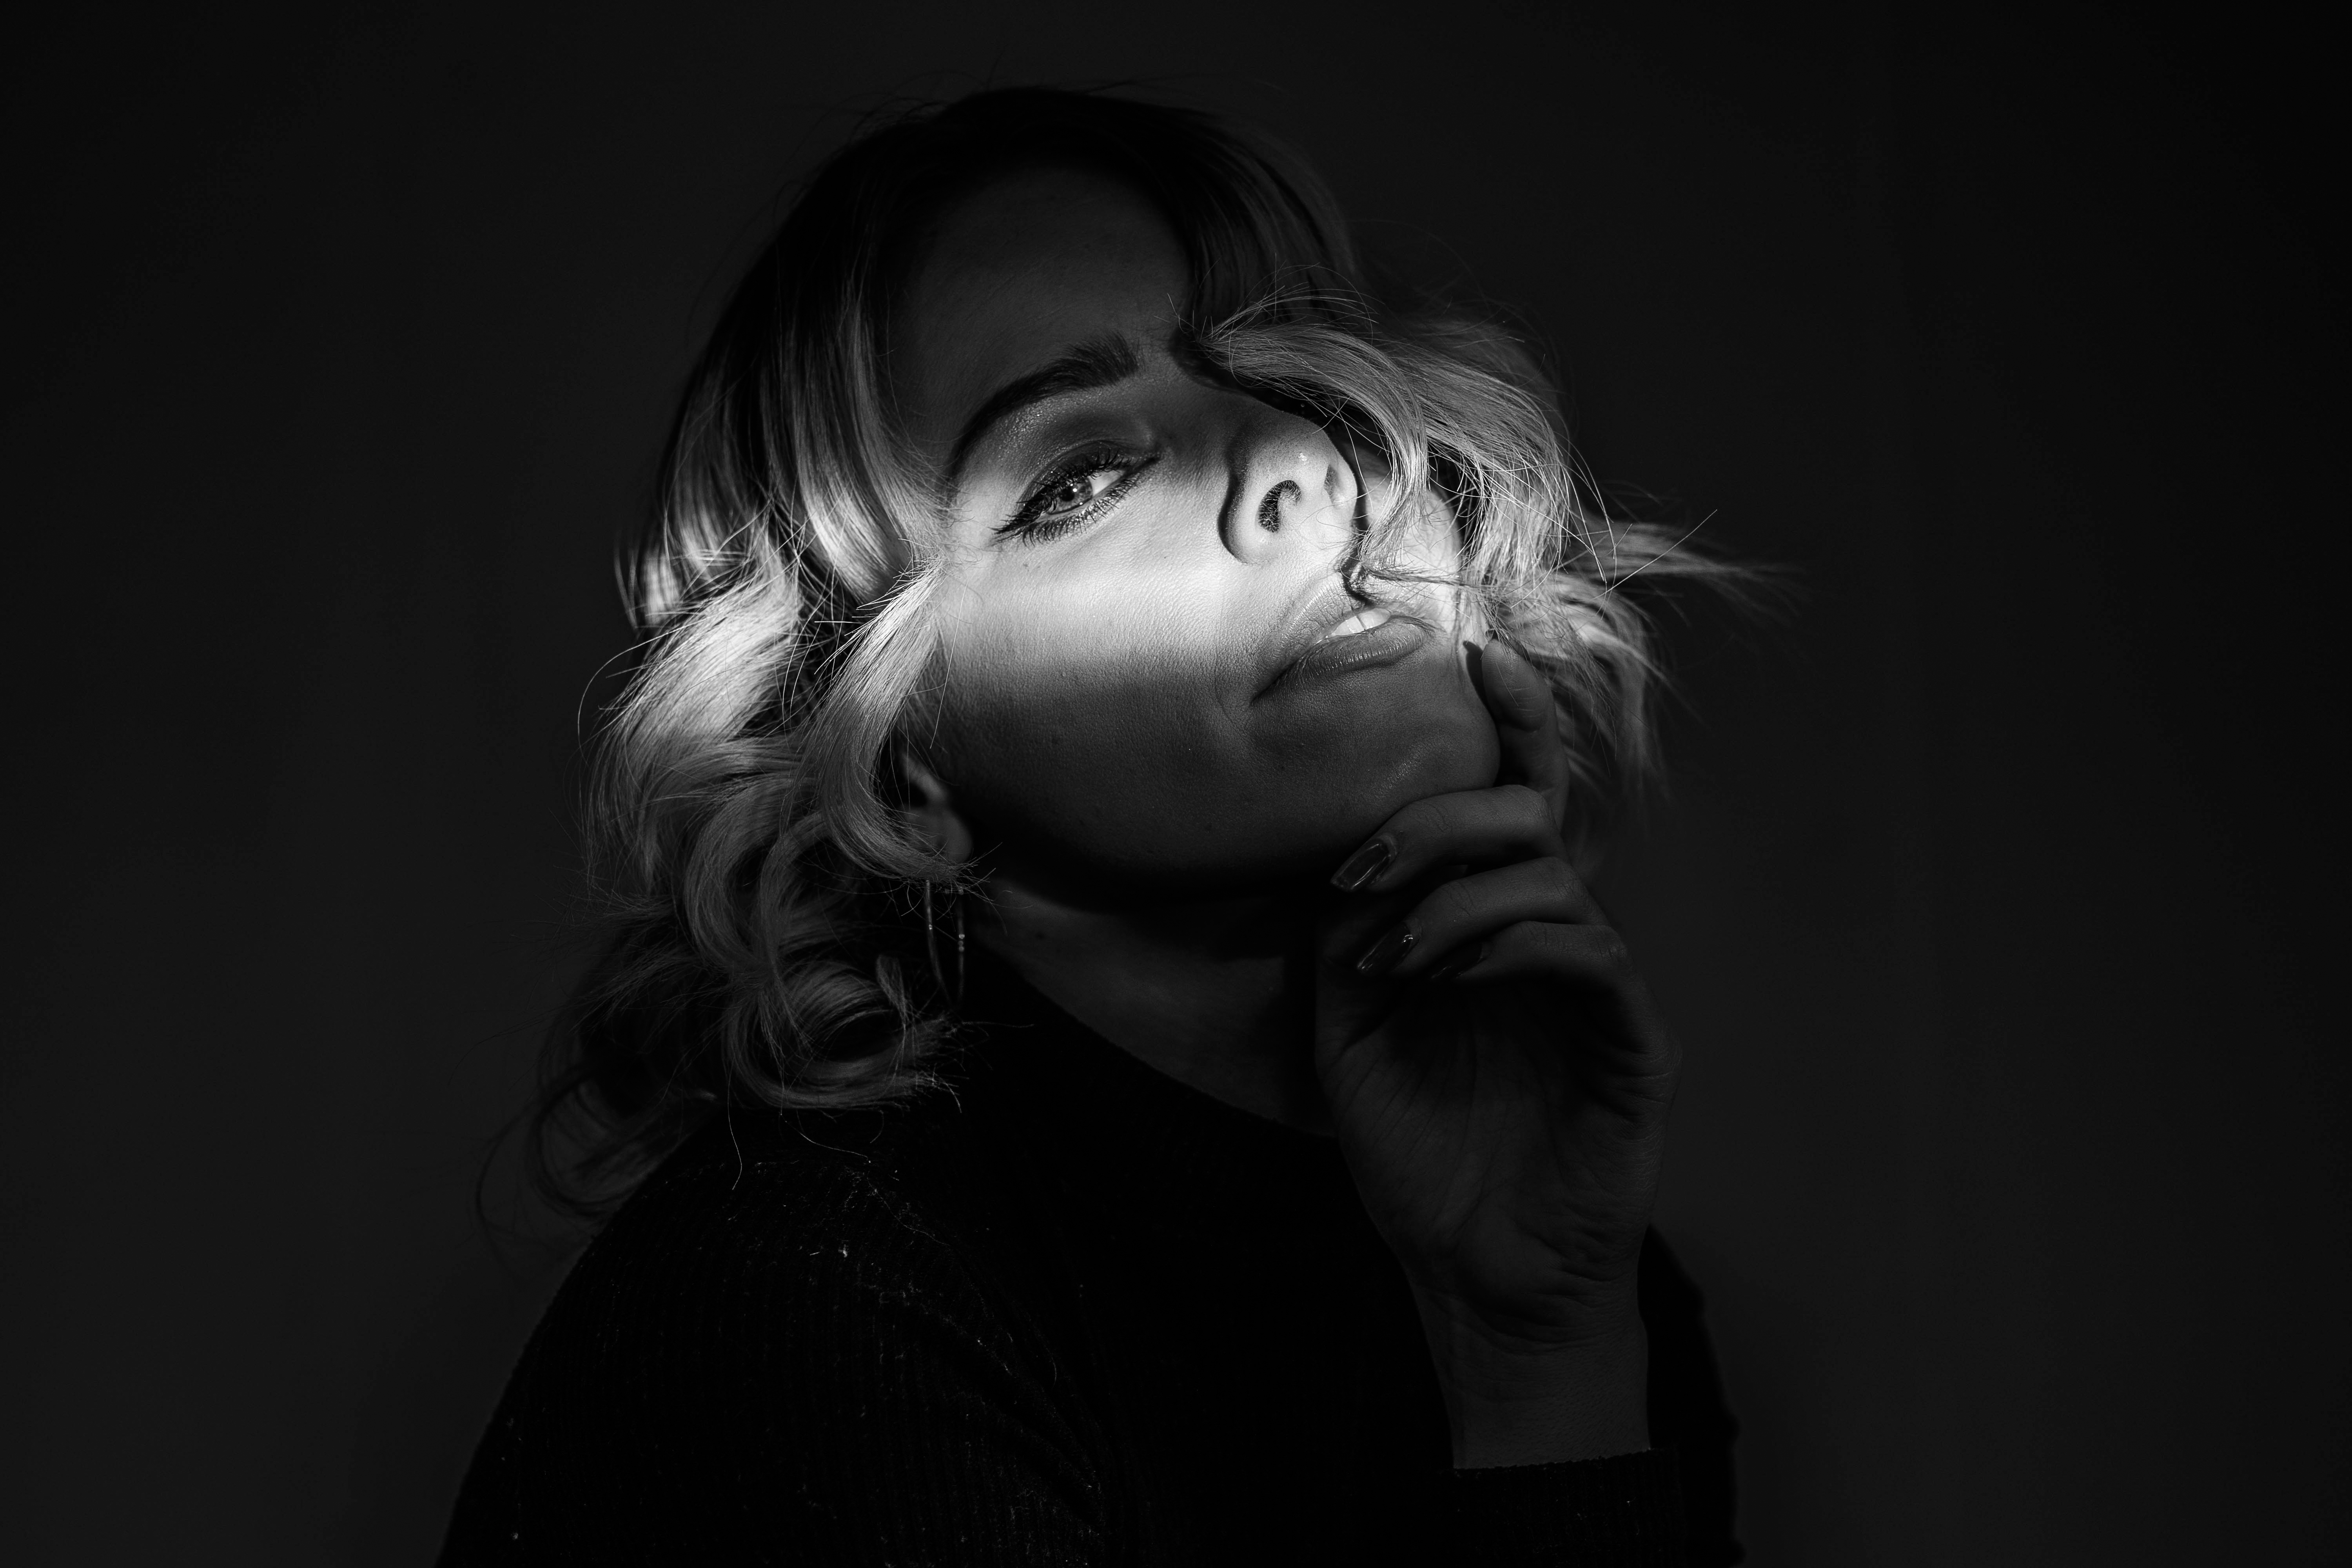
Capture dramatic black-and-white portraits at home that look like they were shot in a studio!
Photography projects at home
• Home photography ideas
Useful home photography kit
• Best tripods
• Best lighting kits
• Best reflectors
• Best macro lenses
In portrait photography, it’s not always about over-complicated lighting setups and having multiple strobes firing all at once; sometimes keeping things simple is just as effective for capturing striking imagery.
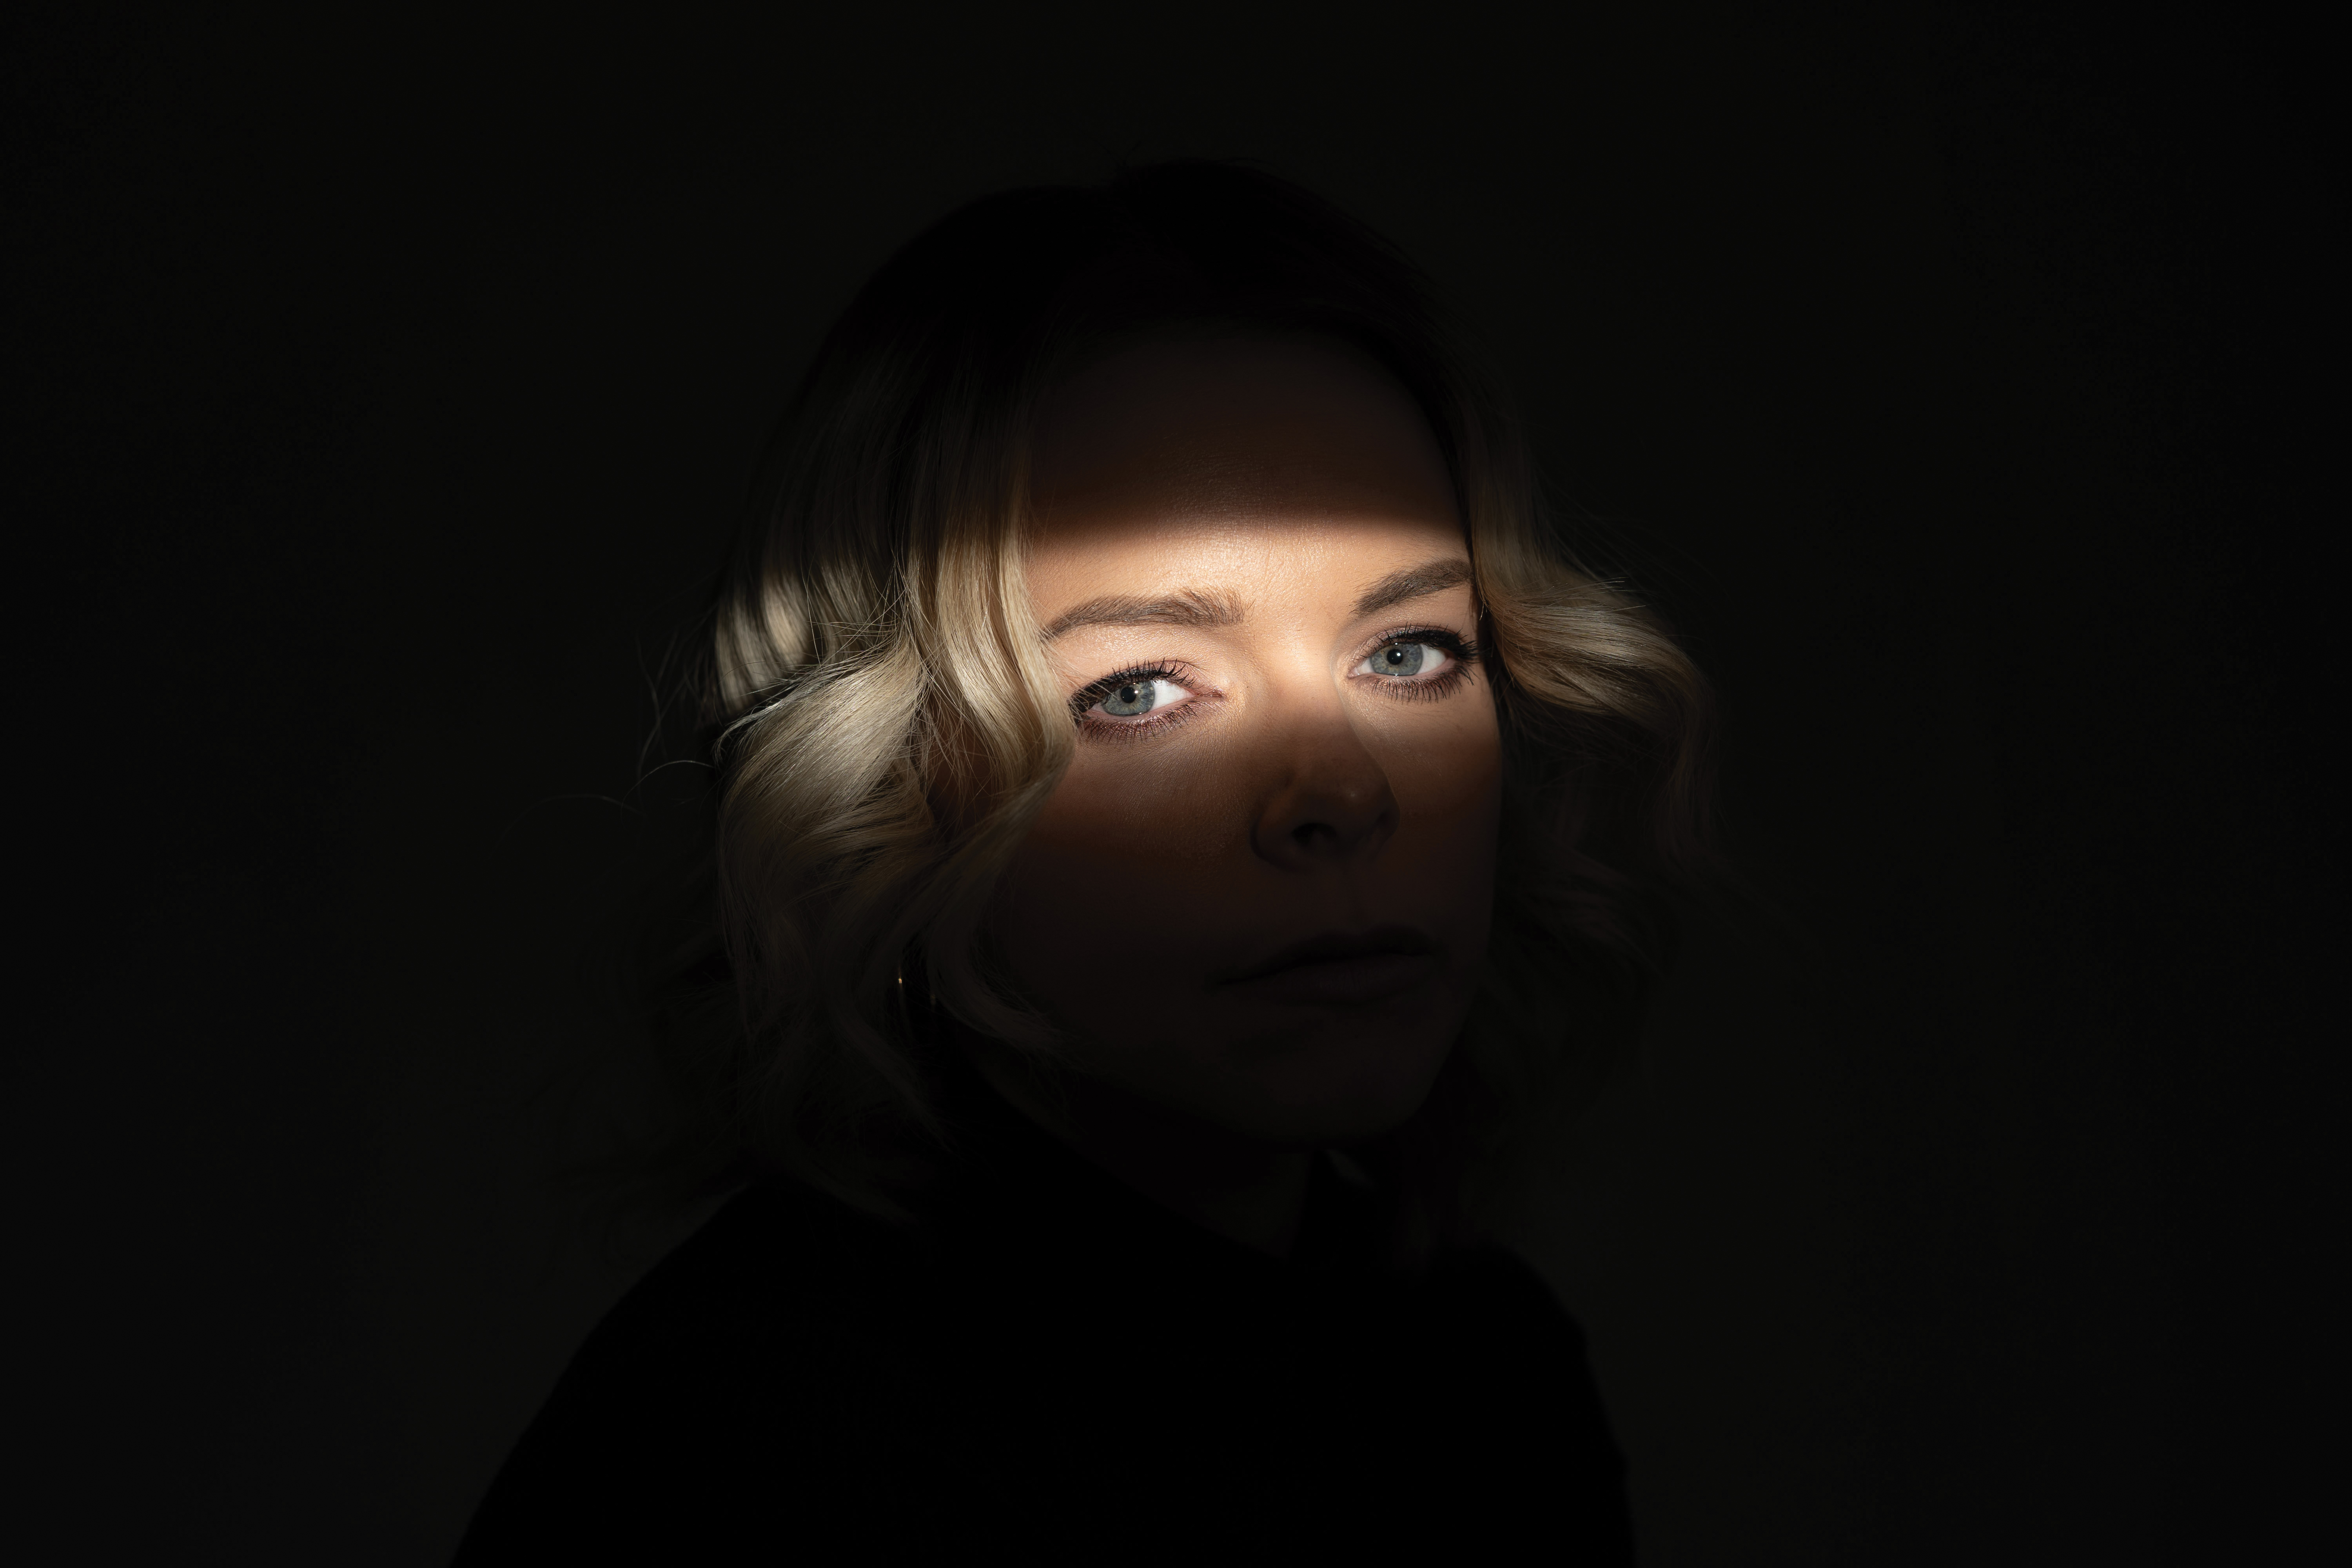
In this tutorial we’re going to be using a humble homemade light modifier teamed with a single light source in order to effectively draw focus to our subject. The result is a dramatic portrait that you'd swear was shot in a studio setting!
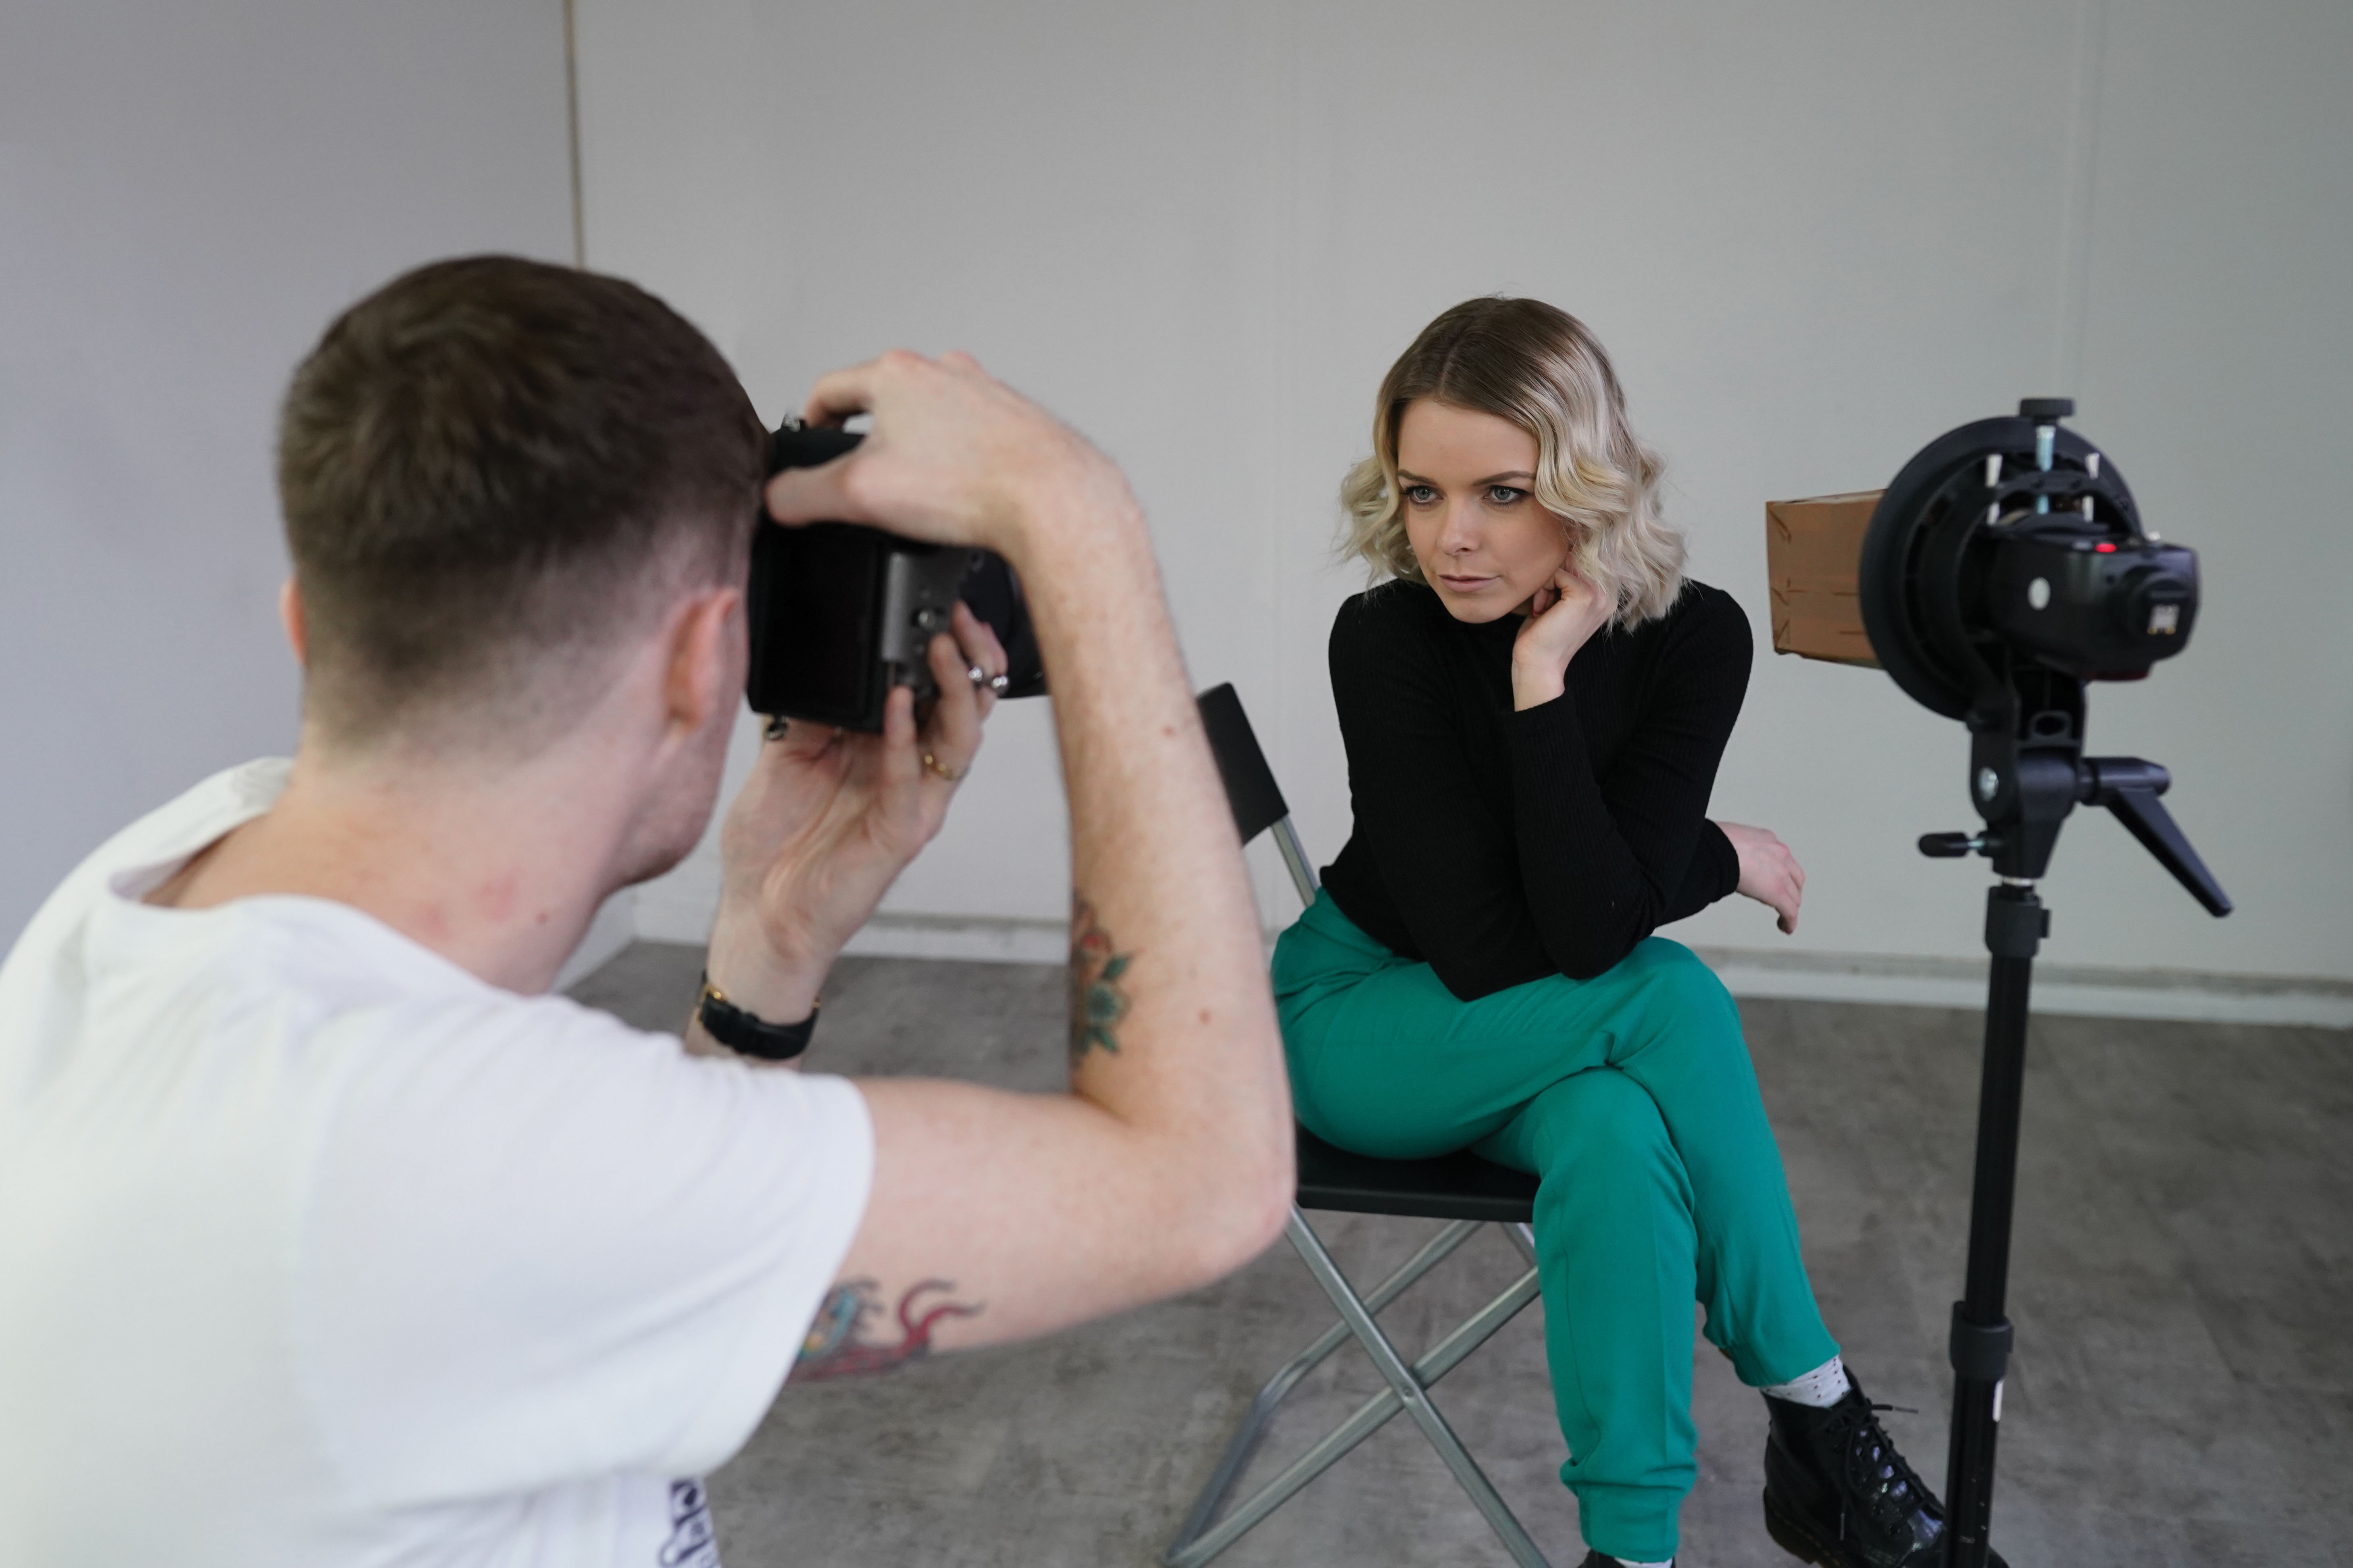
In terms of setup, all you’ll need is a nice open space to shoot in and a single light source. We’re going to be using a Godox V860 flashgun, but this technique could very easily be adapted for use with studio strobes or even a bright desk lamp.
• 10 best online photography courses
• Boudoir photography tips
• Newborn photography tips
• Get more photoshoot ideas
That's because the key to achieving this lighting effect is not necessarily the light source itself, but rather the way in which we modify it in order to generate a perfect letterbox of light to pick out a specific part of the model’s face.
Shooting steps
01 Set the scene
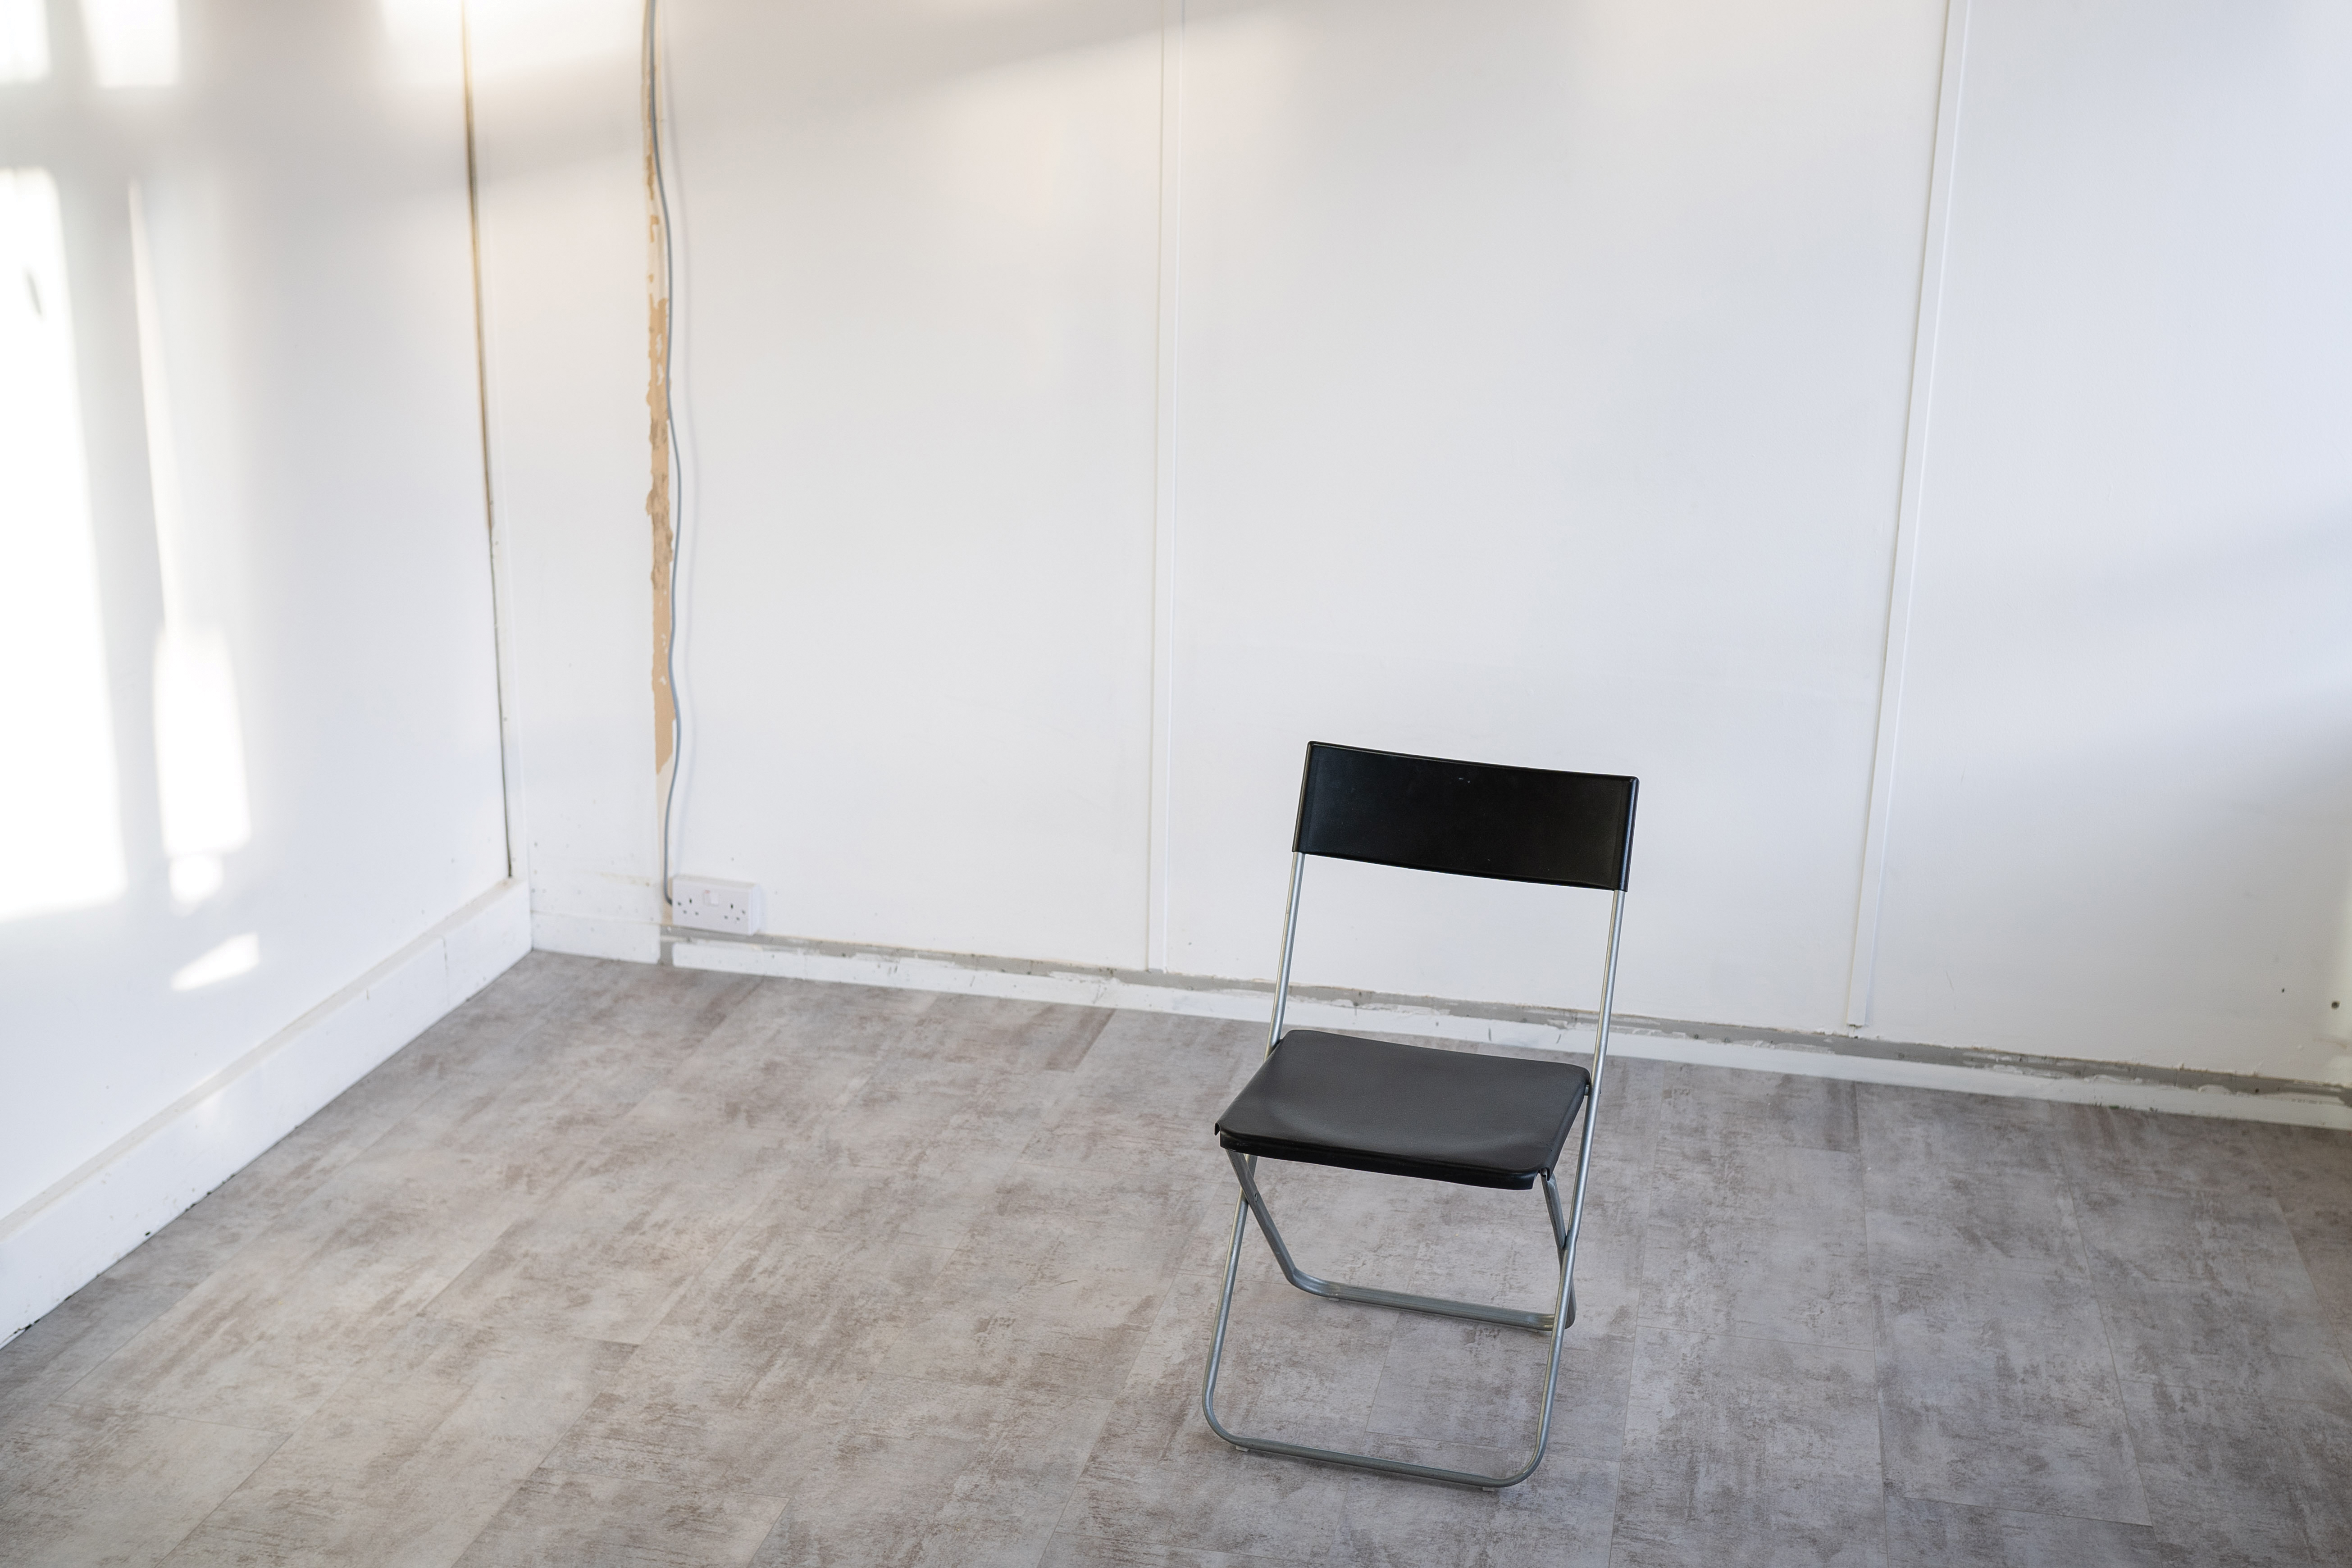
Find a nice open space to work in, ideally one that has a large white or neutral wall to shoot against that’s free from shelving or photo frames. Alternatively, you could use a white studio backdrop or even a plain bedsheet attached to the wall to give you the same effect.
The best camera deals, reviews, product advice, and unmissable photography news, direct to your inbox!
02 Camera setup
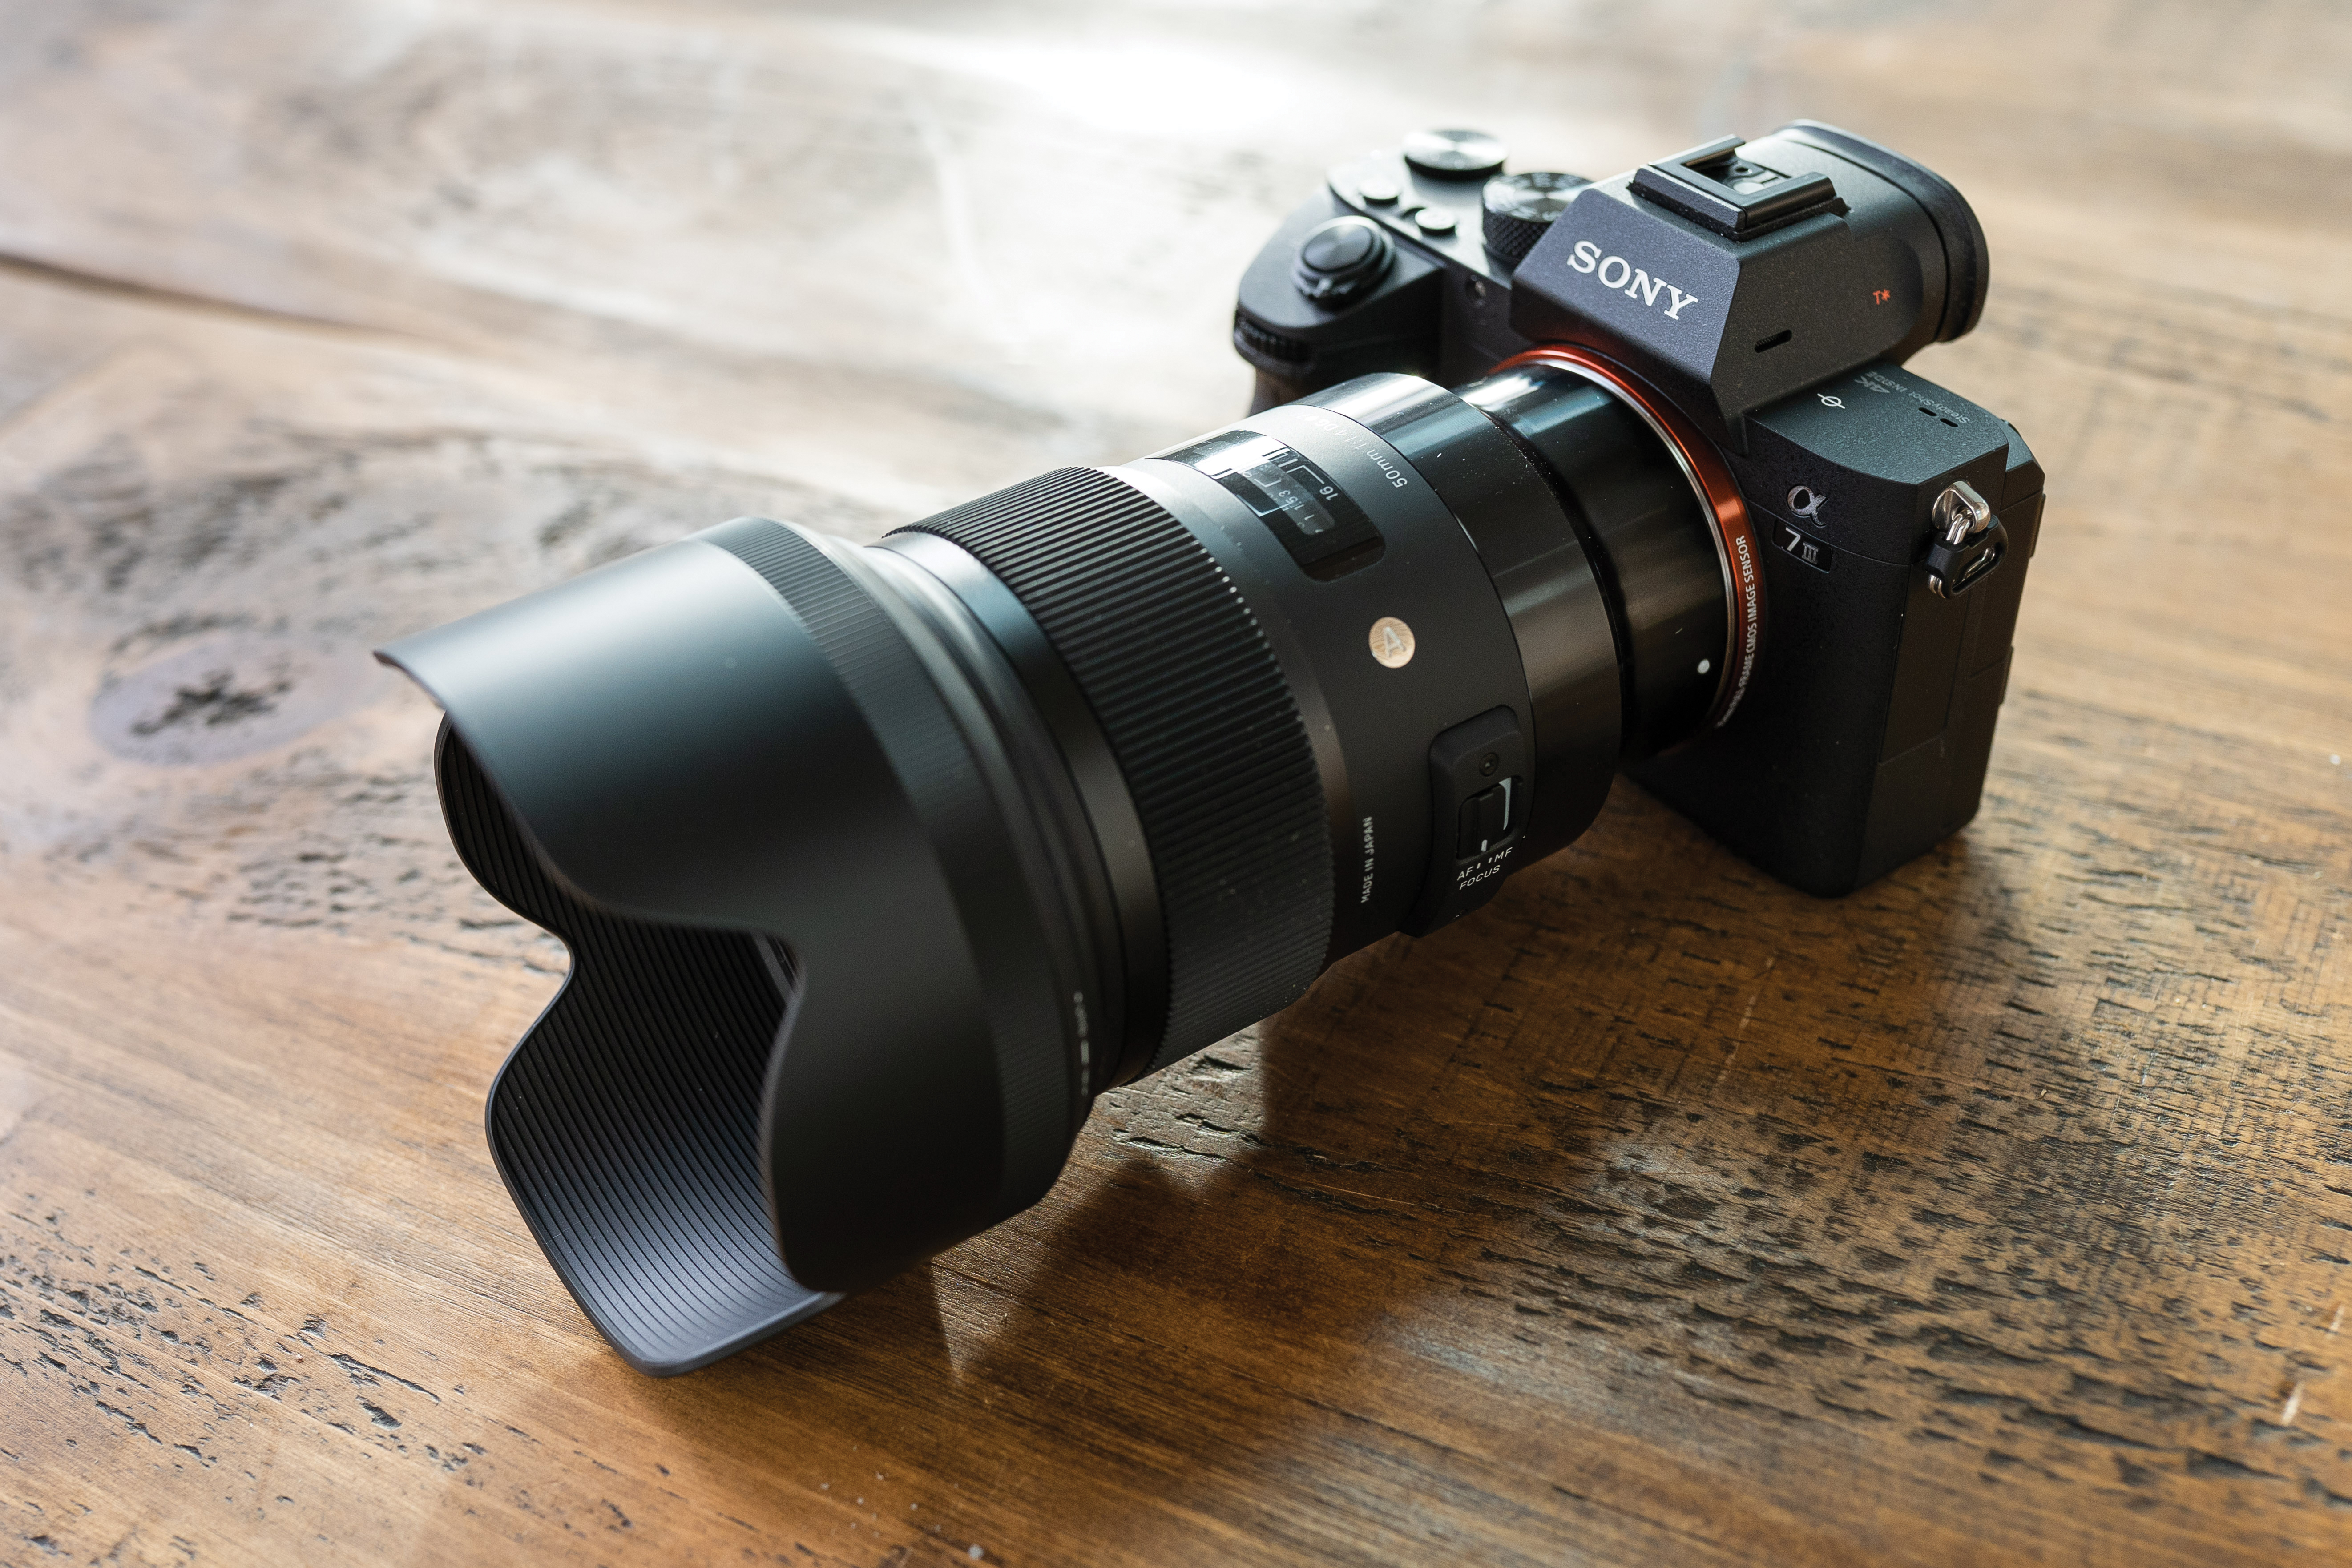
When capturing portraiture, it’s important that you use the right kind of lens for the job. A lens with a focal length of 50mm or longer is ideal so that the facial features of your model aren’t distorted. Wide-angle lenses will distort the face and create an unrealistic appearance, so don't shoot below 50mm unless you intentionally want to achieve this effect. We're using the Sigma 50mm f/1.4 DG HSM Art lens.
03 Lighting levels
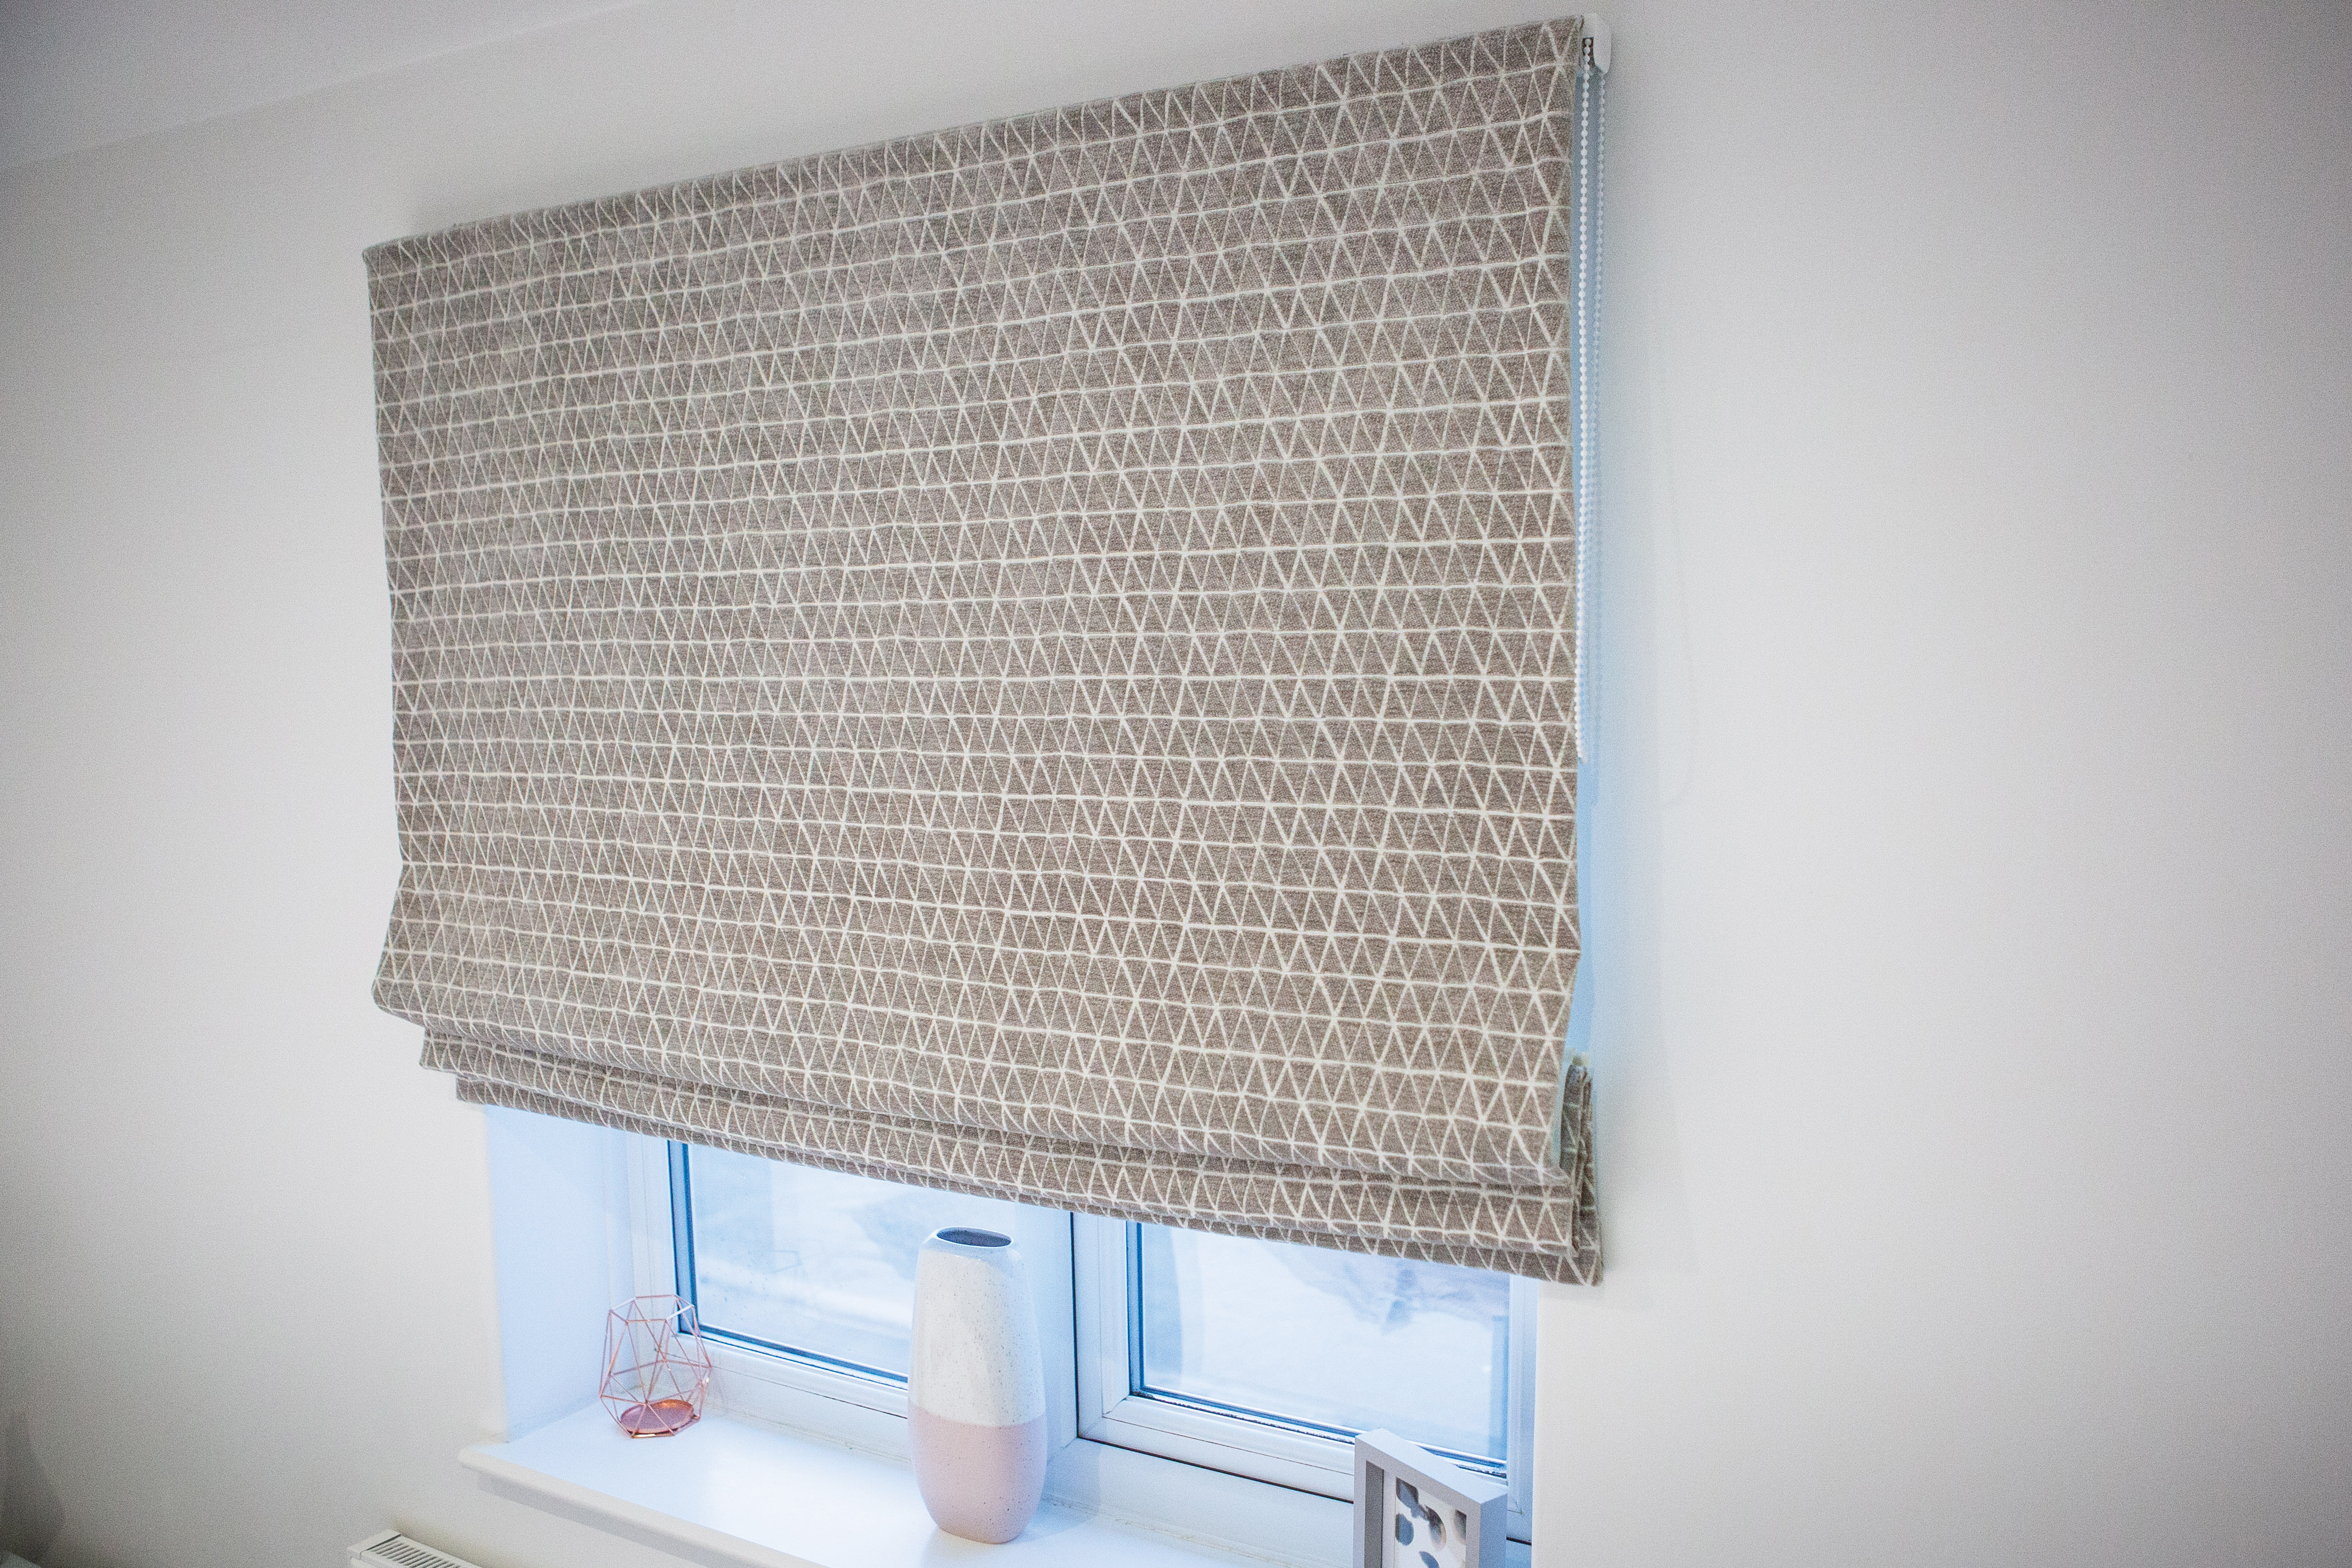
Whether you’re using a studio strobe, flashgun or a desk lamp, your light source needs to be bright enough to overpower the ambient light in the room. If your light isn’t bright enough, you may need to turn off all of the room lights and black out any external windows.
04 Modify the light
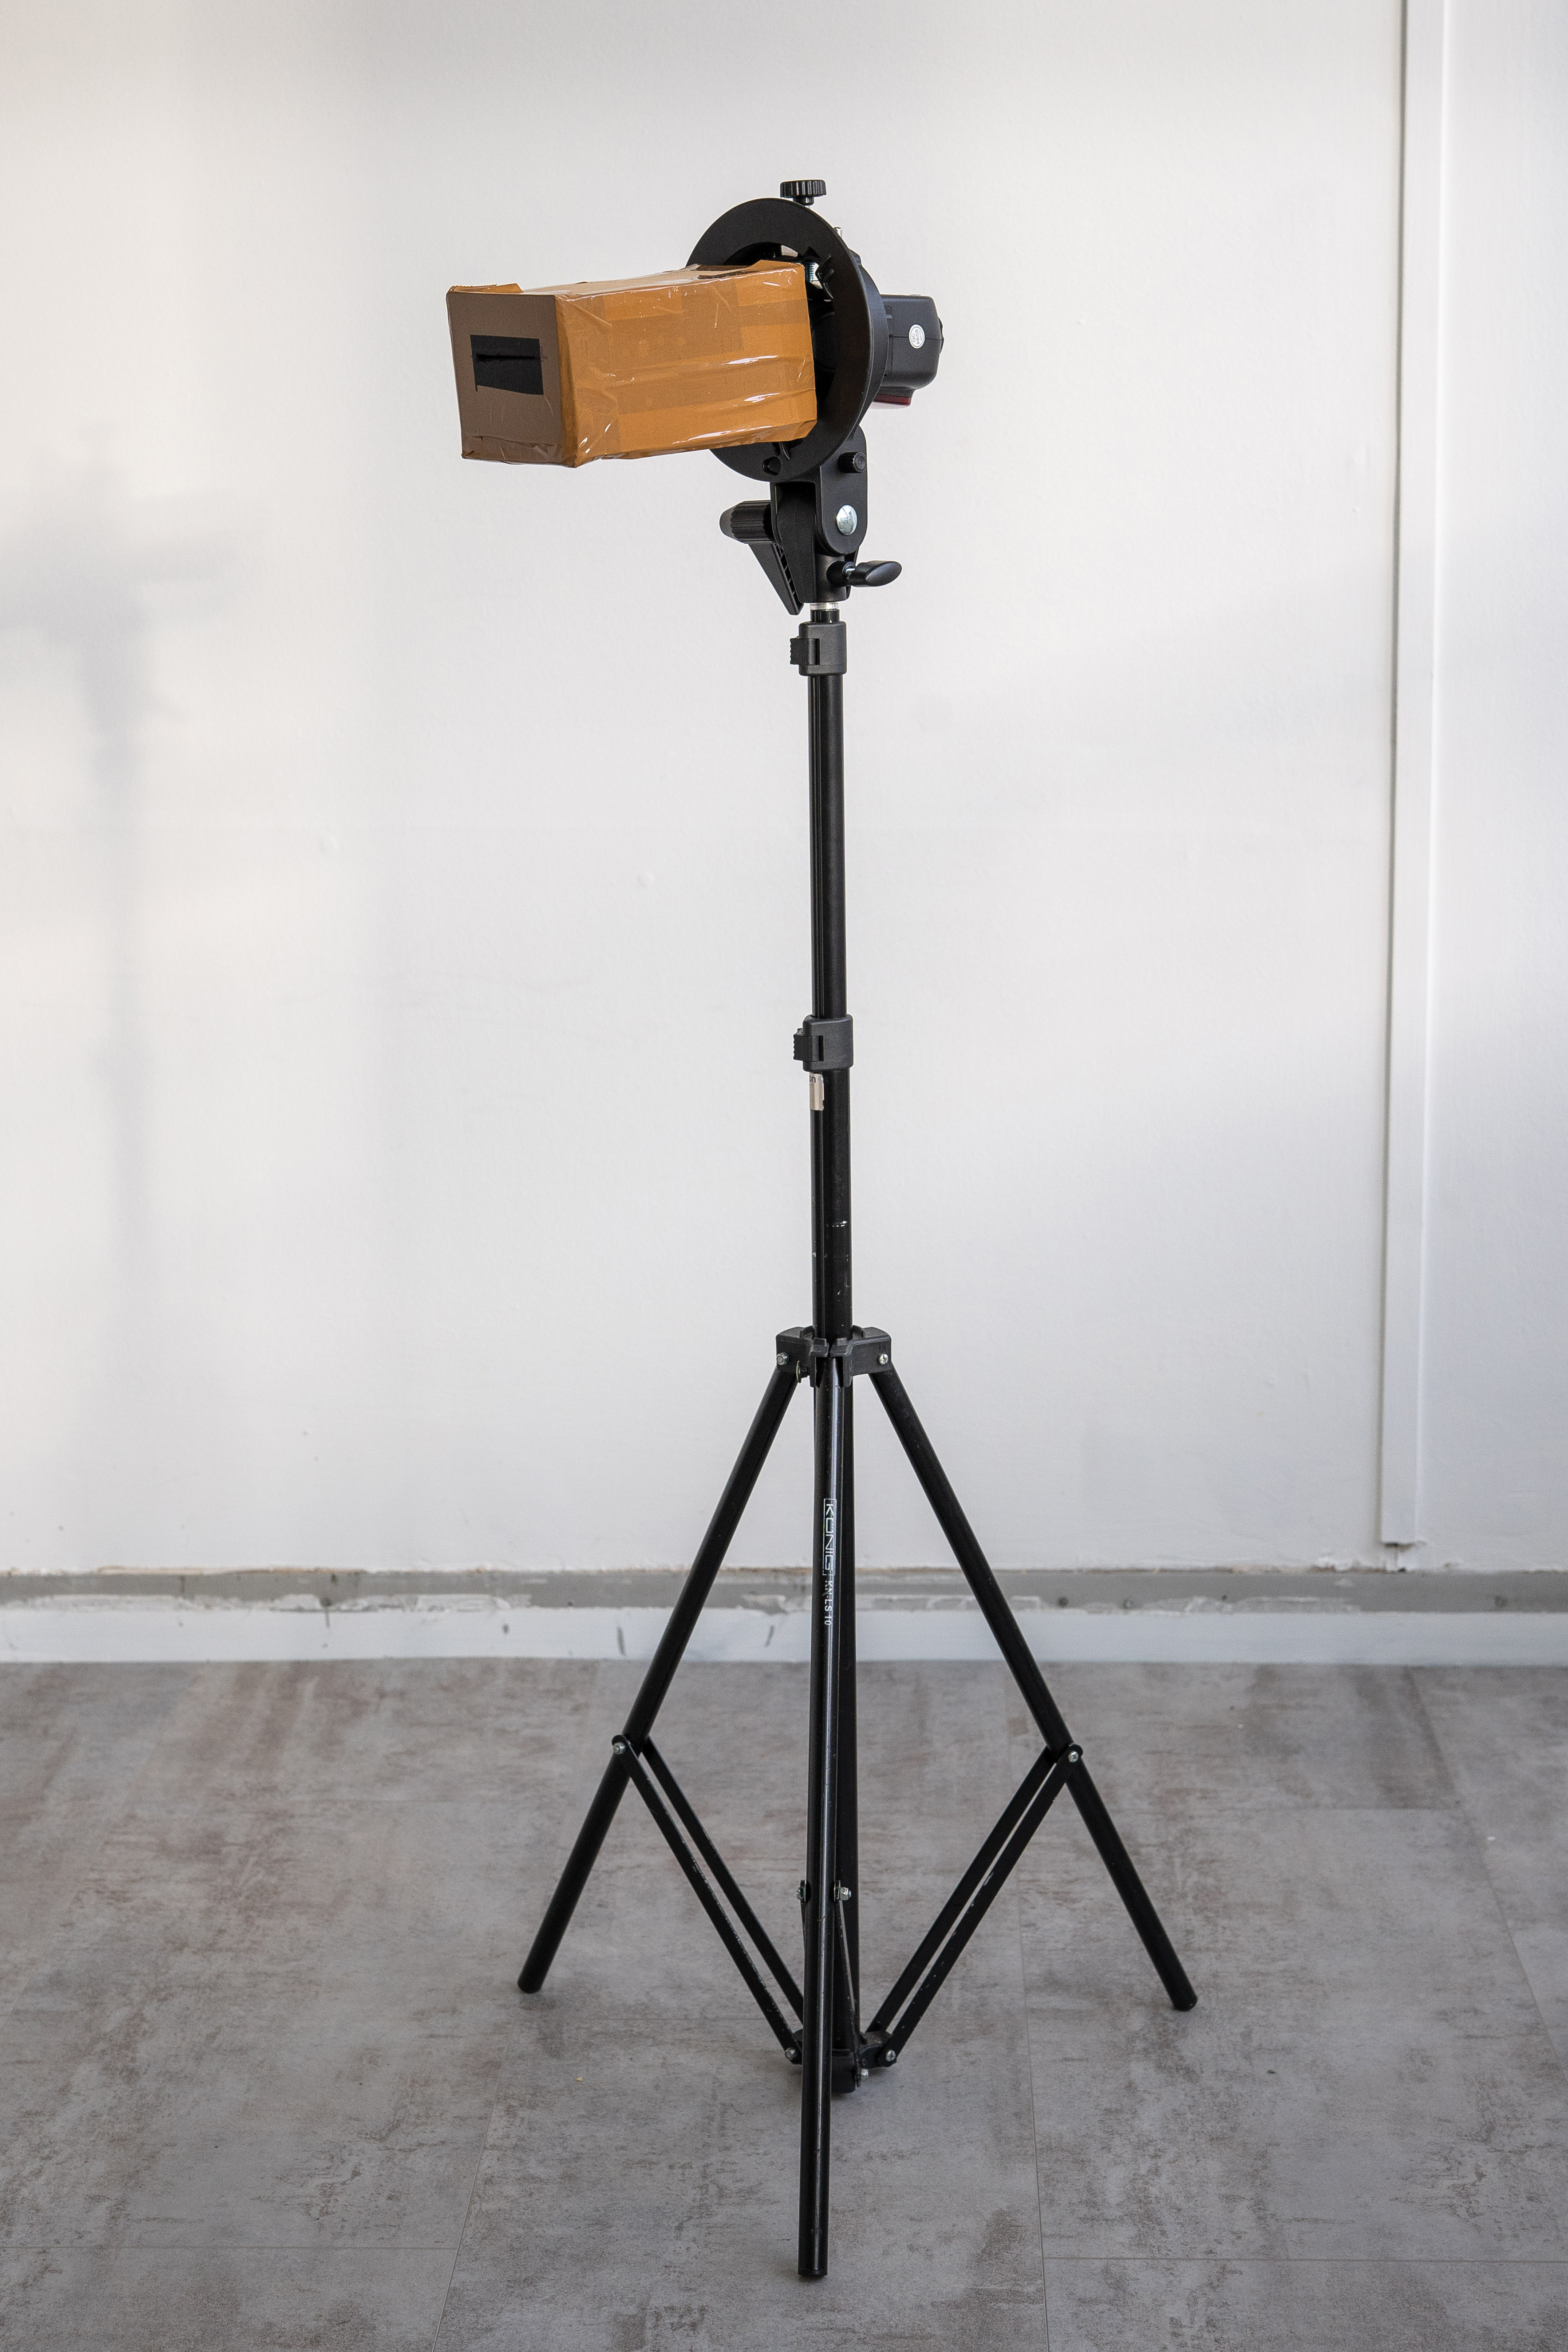
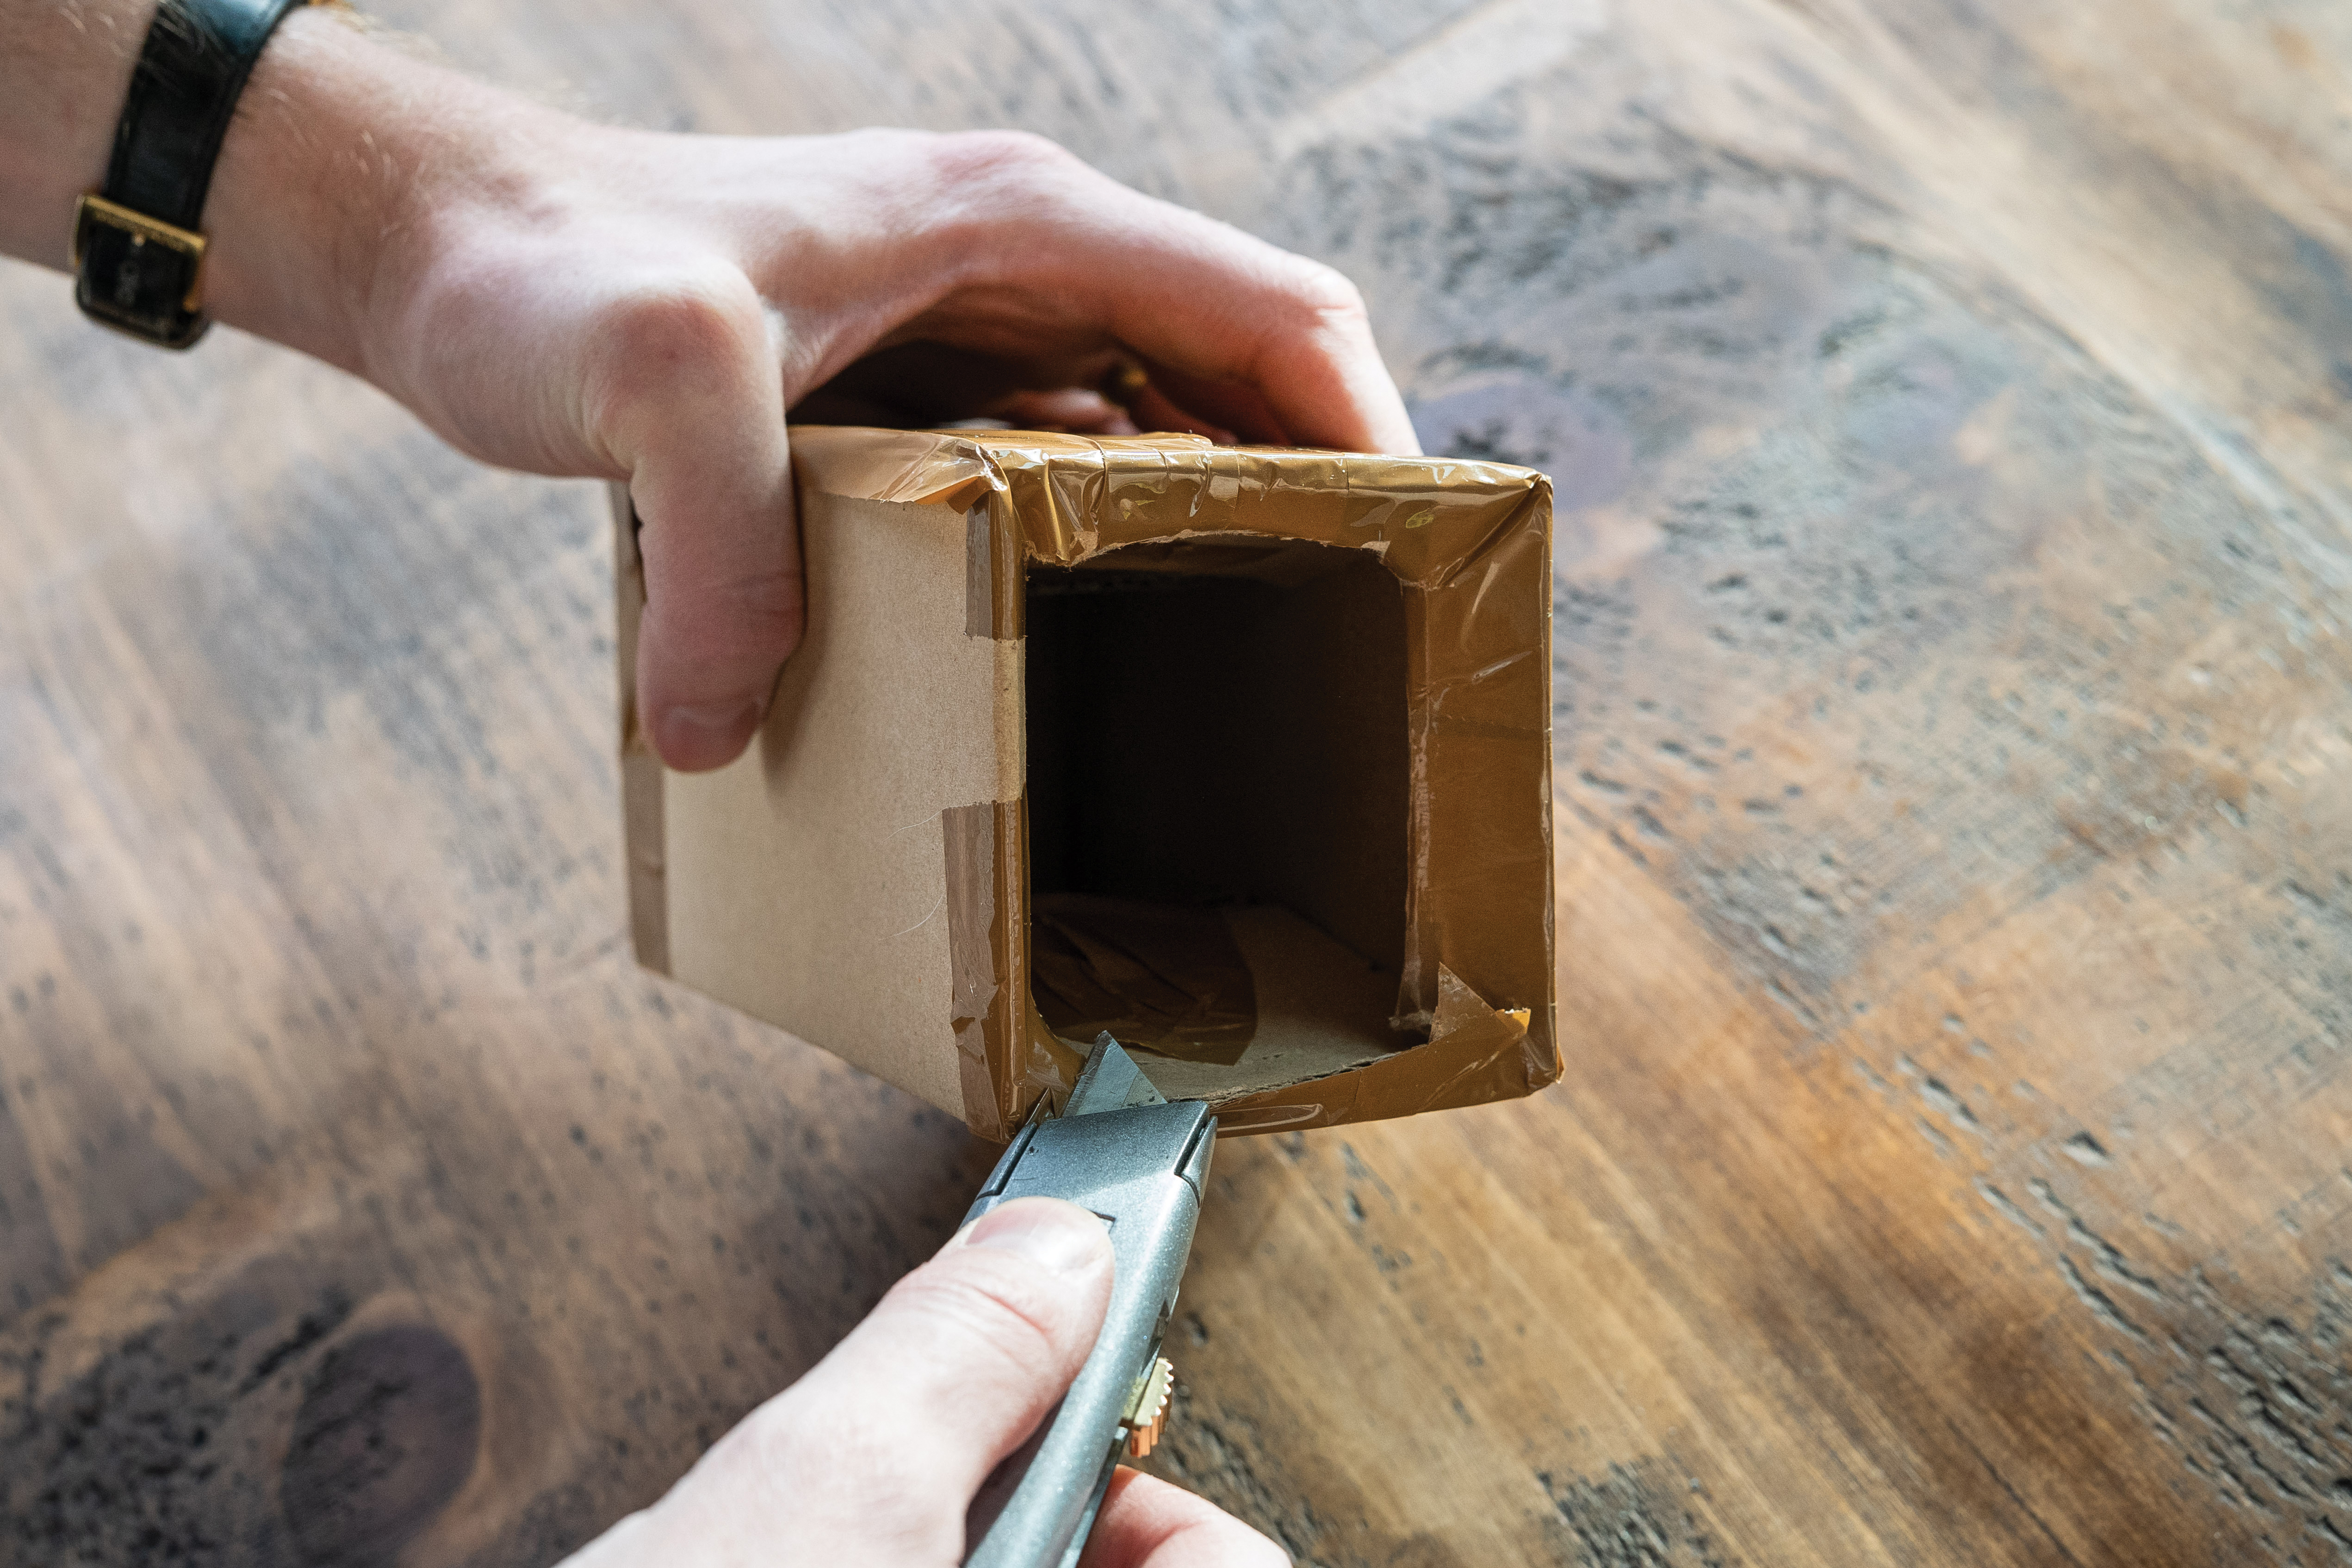
In order to achieve a thin sliver of light, we’ll need to use a light modifier to narrow the spread of light. If you have a snoot, then attach it now – if you don't, you can make a simple modifier using some cardboard!
05 Get crafty
All you need is a suitably sized cardboard box, some thick black card, a craft knife and some sticky tape. Start by cutting a hole in one end of the box so that the head of your flashgun is able to squeeze snugly into it. Next, carefully cut a small slit in the black card – this will create the letterbox-style lighting effect. Finally, cut a hole on the opposite end of the box and place the black card over it, securing it in place with tape. Place your light modifier over the end of your flash and you’re all set!
06 Position your lighting
With your light modifier attached and your subject in place, move your light until it’s casting as desired over their face. If the flash has a modeling light, use this to guide you. If it doesn’t, take a few test shots and refine the position accordingly.
07 Get the shot
Before you start taking photos, make sure that you’re shooting in Raw format as this will give you more flexibility when it comes to editing later. Feel free to change the angle and height of the light for different effects, and experiment further by highlighting different features of the face.
Editing the shot
01 Convert to mono
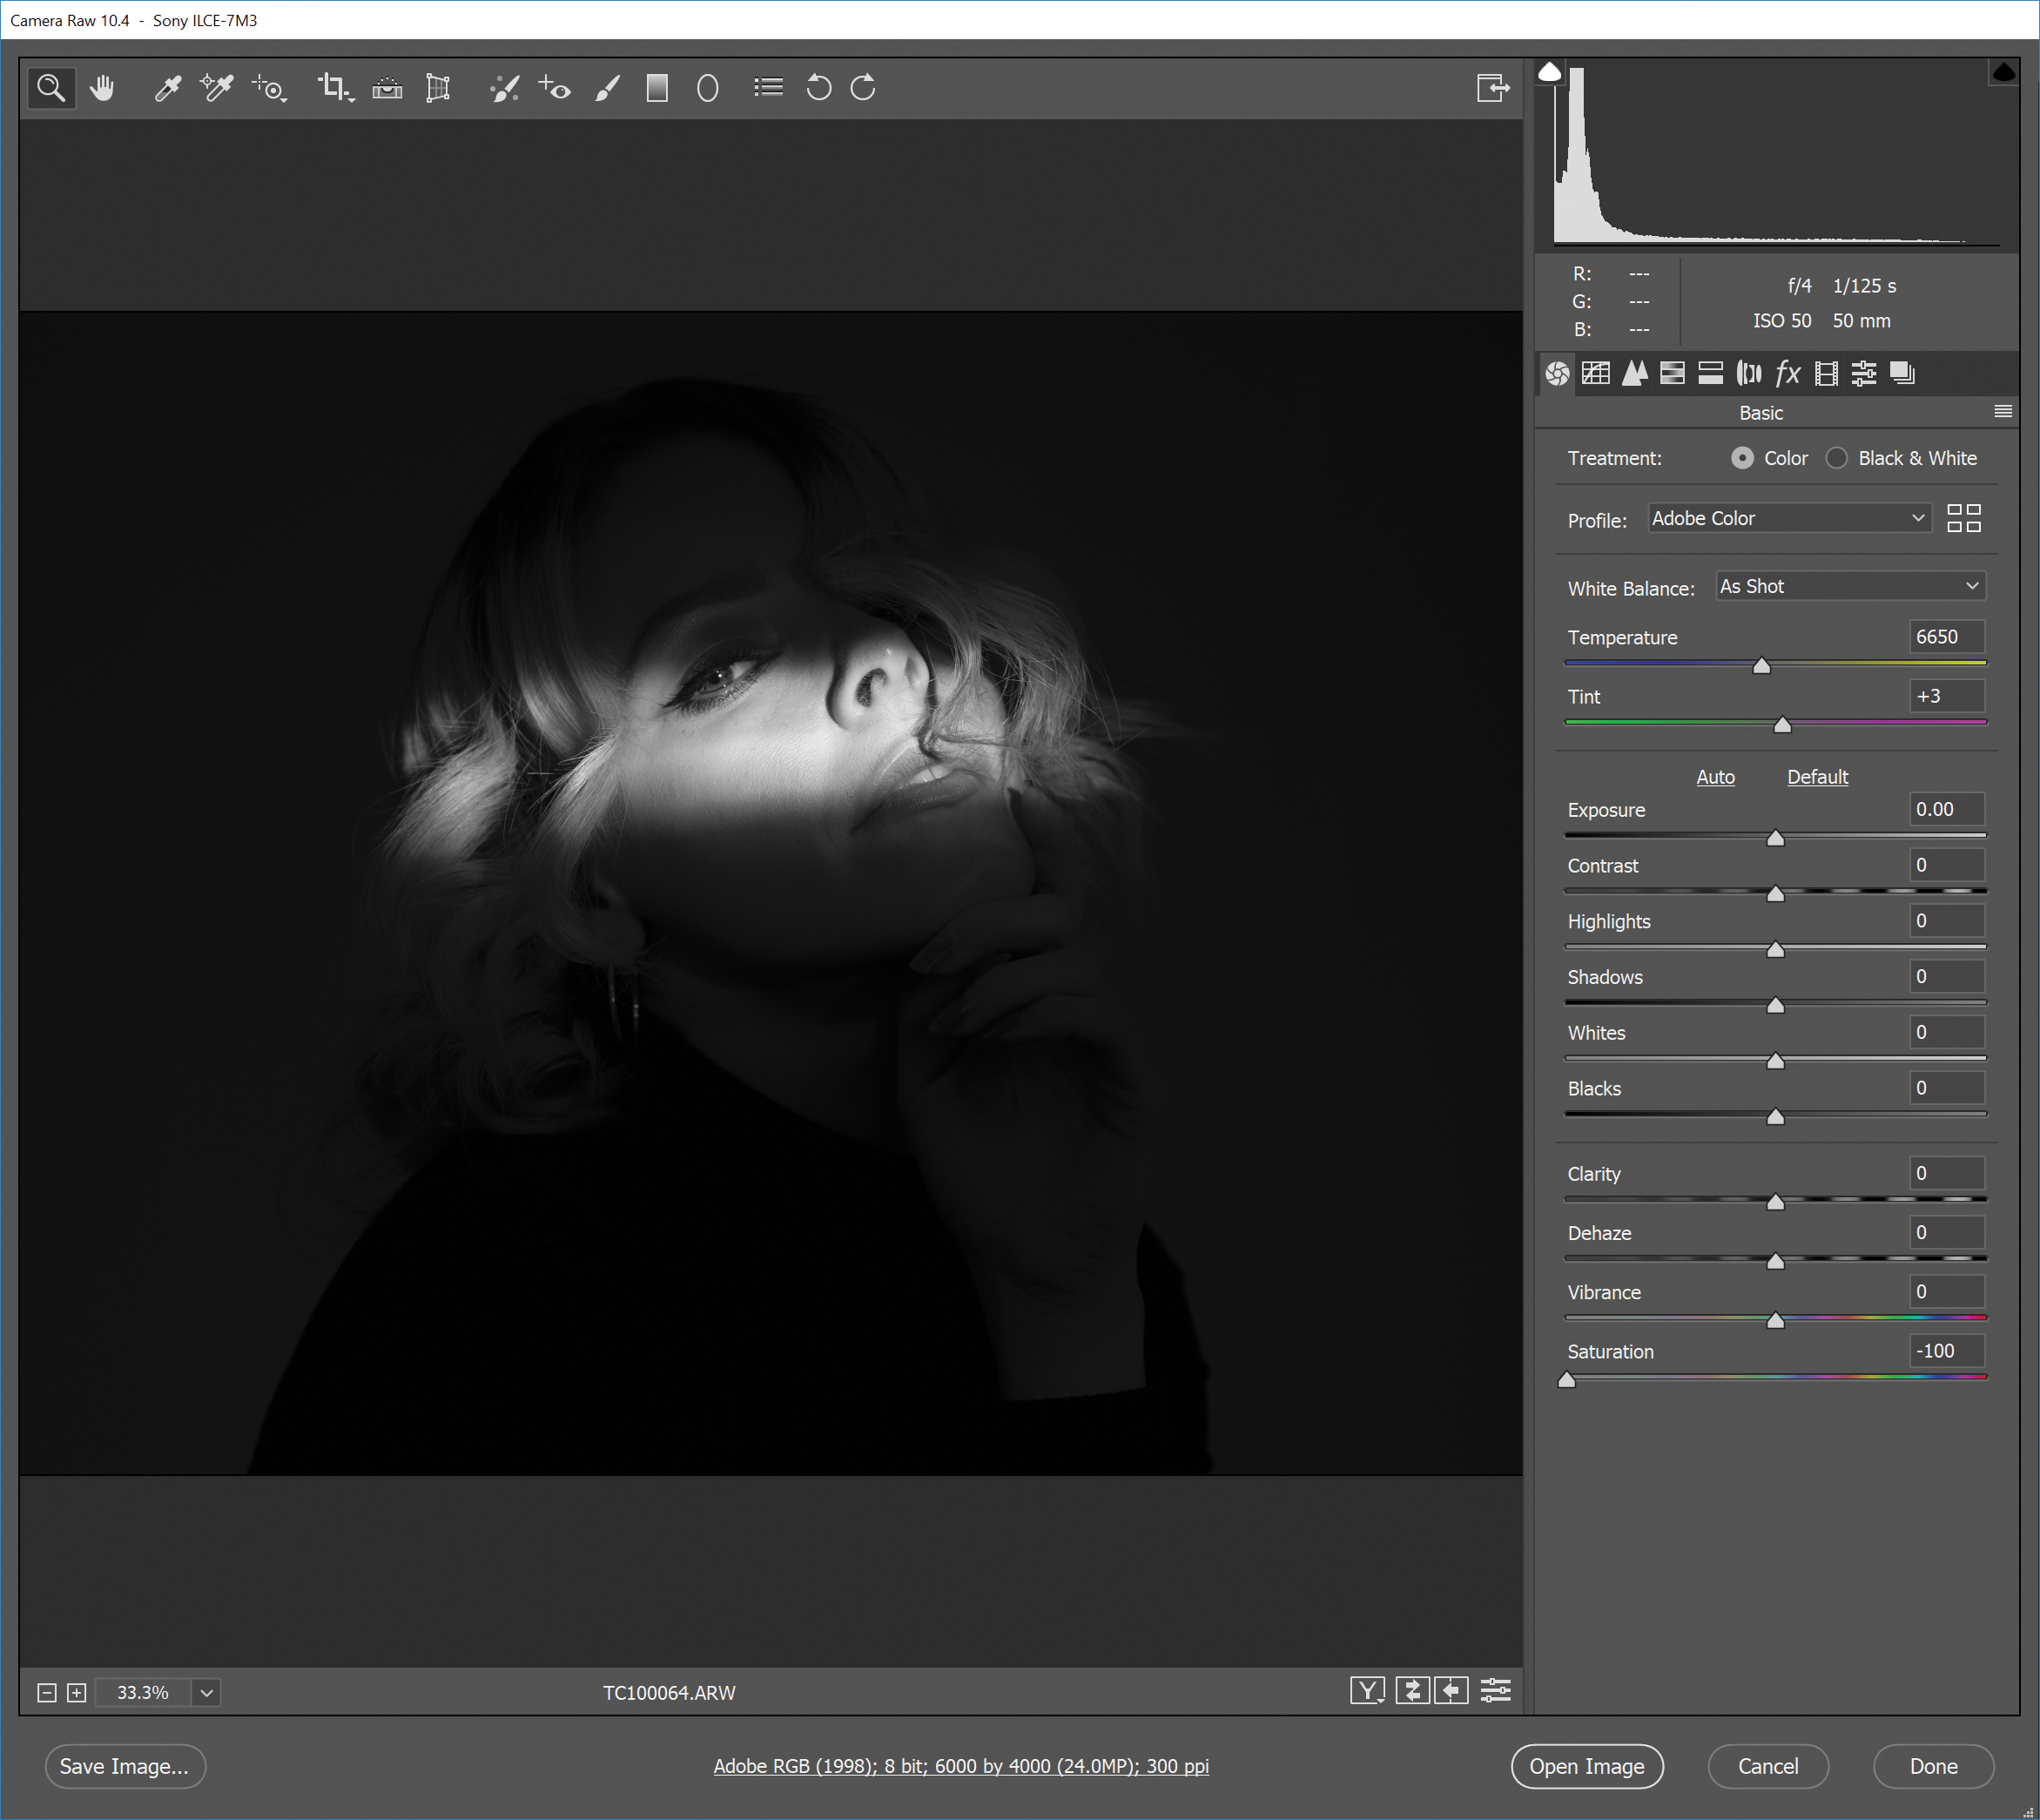
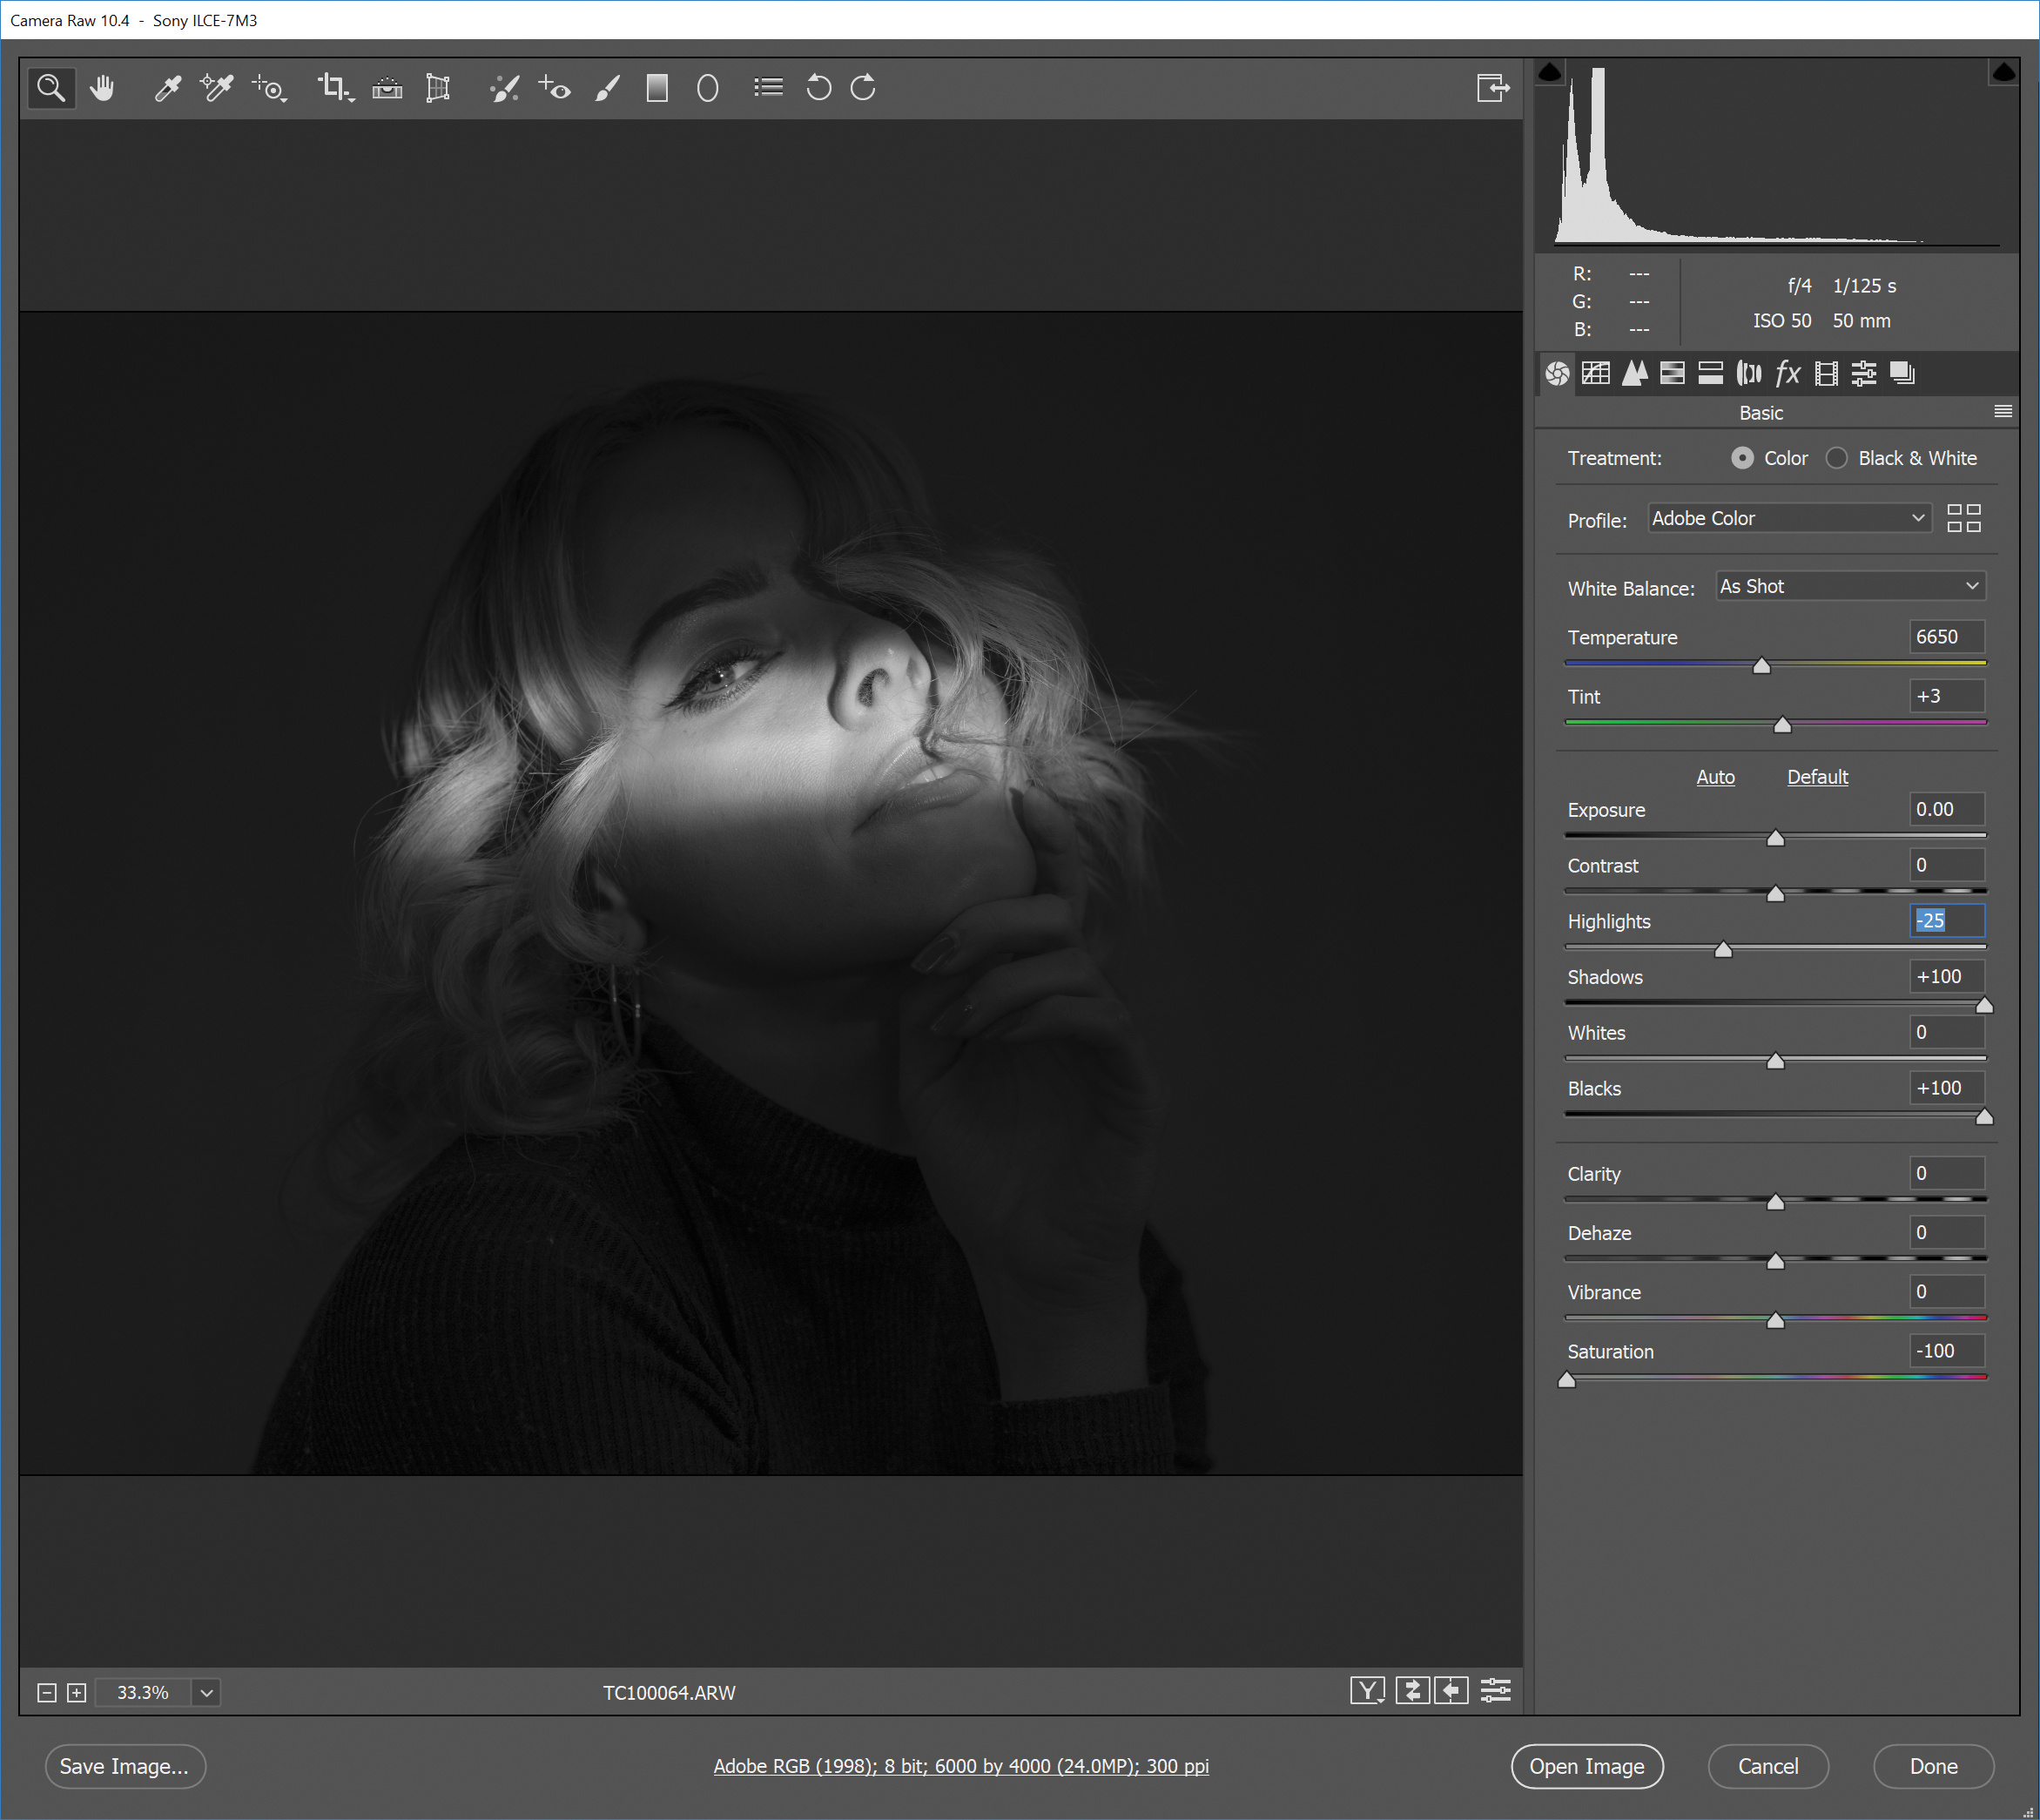
Start by opening your Raw image in Photoshop – this will bring up the Adobe Camera Raw interface. Set the Saturation slider to -100 to remove all color, and turn the image black and white.
02 Flatten the tones
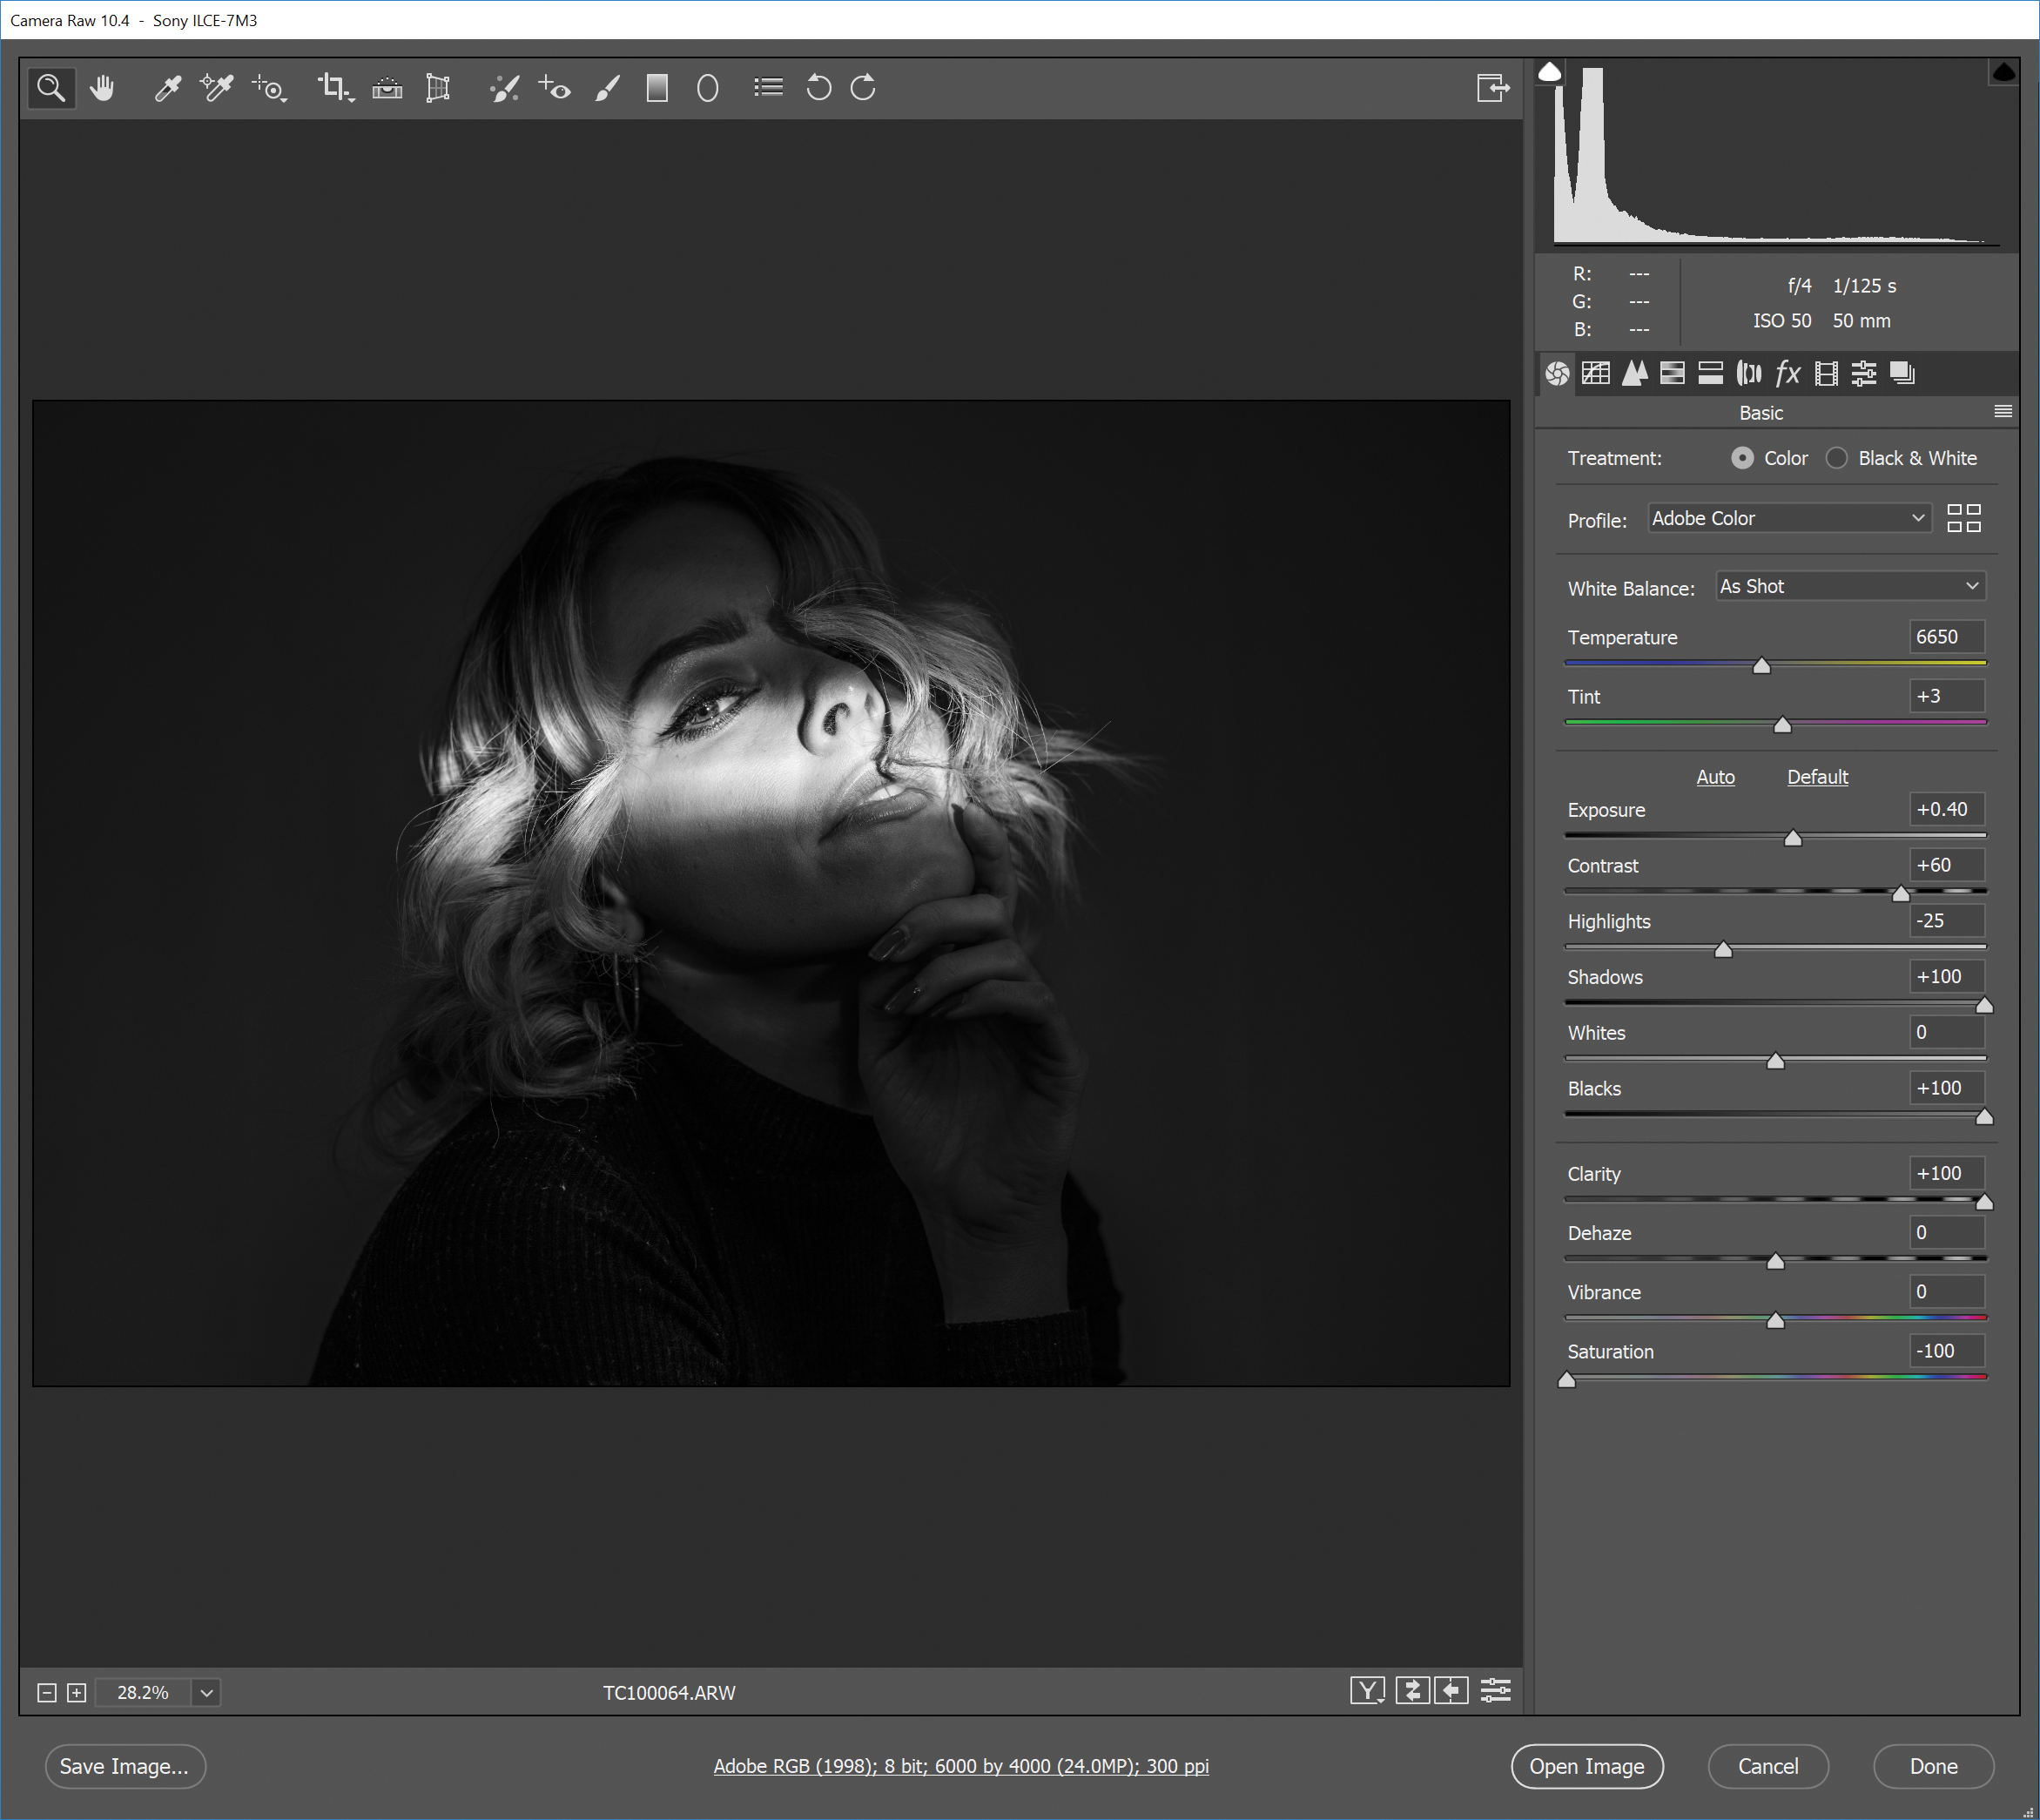
Increase the Blacks slider to +100, the Shadows to +100 and then decrease the Highlights slightly to around -25. This will broaden the dynamic range of the image before we start to boost the contrast.
03 Increase contrast
Set the Clarity to +100 and the Contrast to +60 to add bags of depth to your mono conversion. If the whites in your photo look a little dull, increase the Exposure slider until they brighten.
04 Sharpen to finish
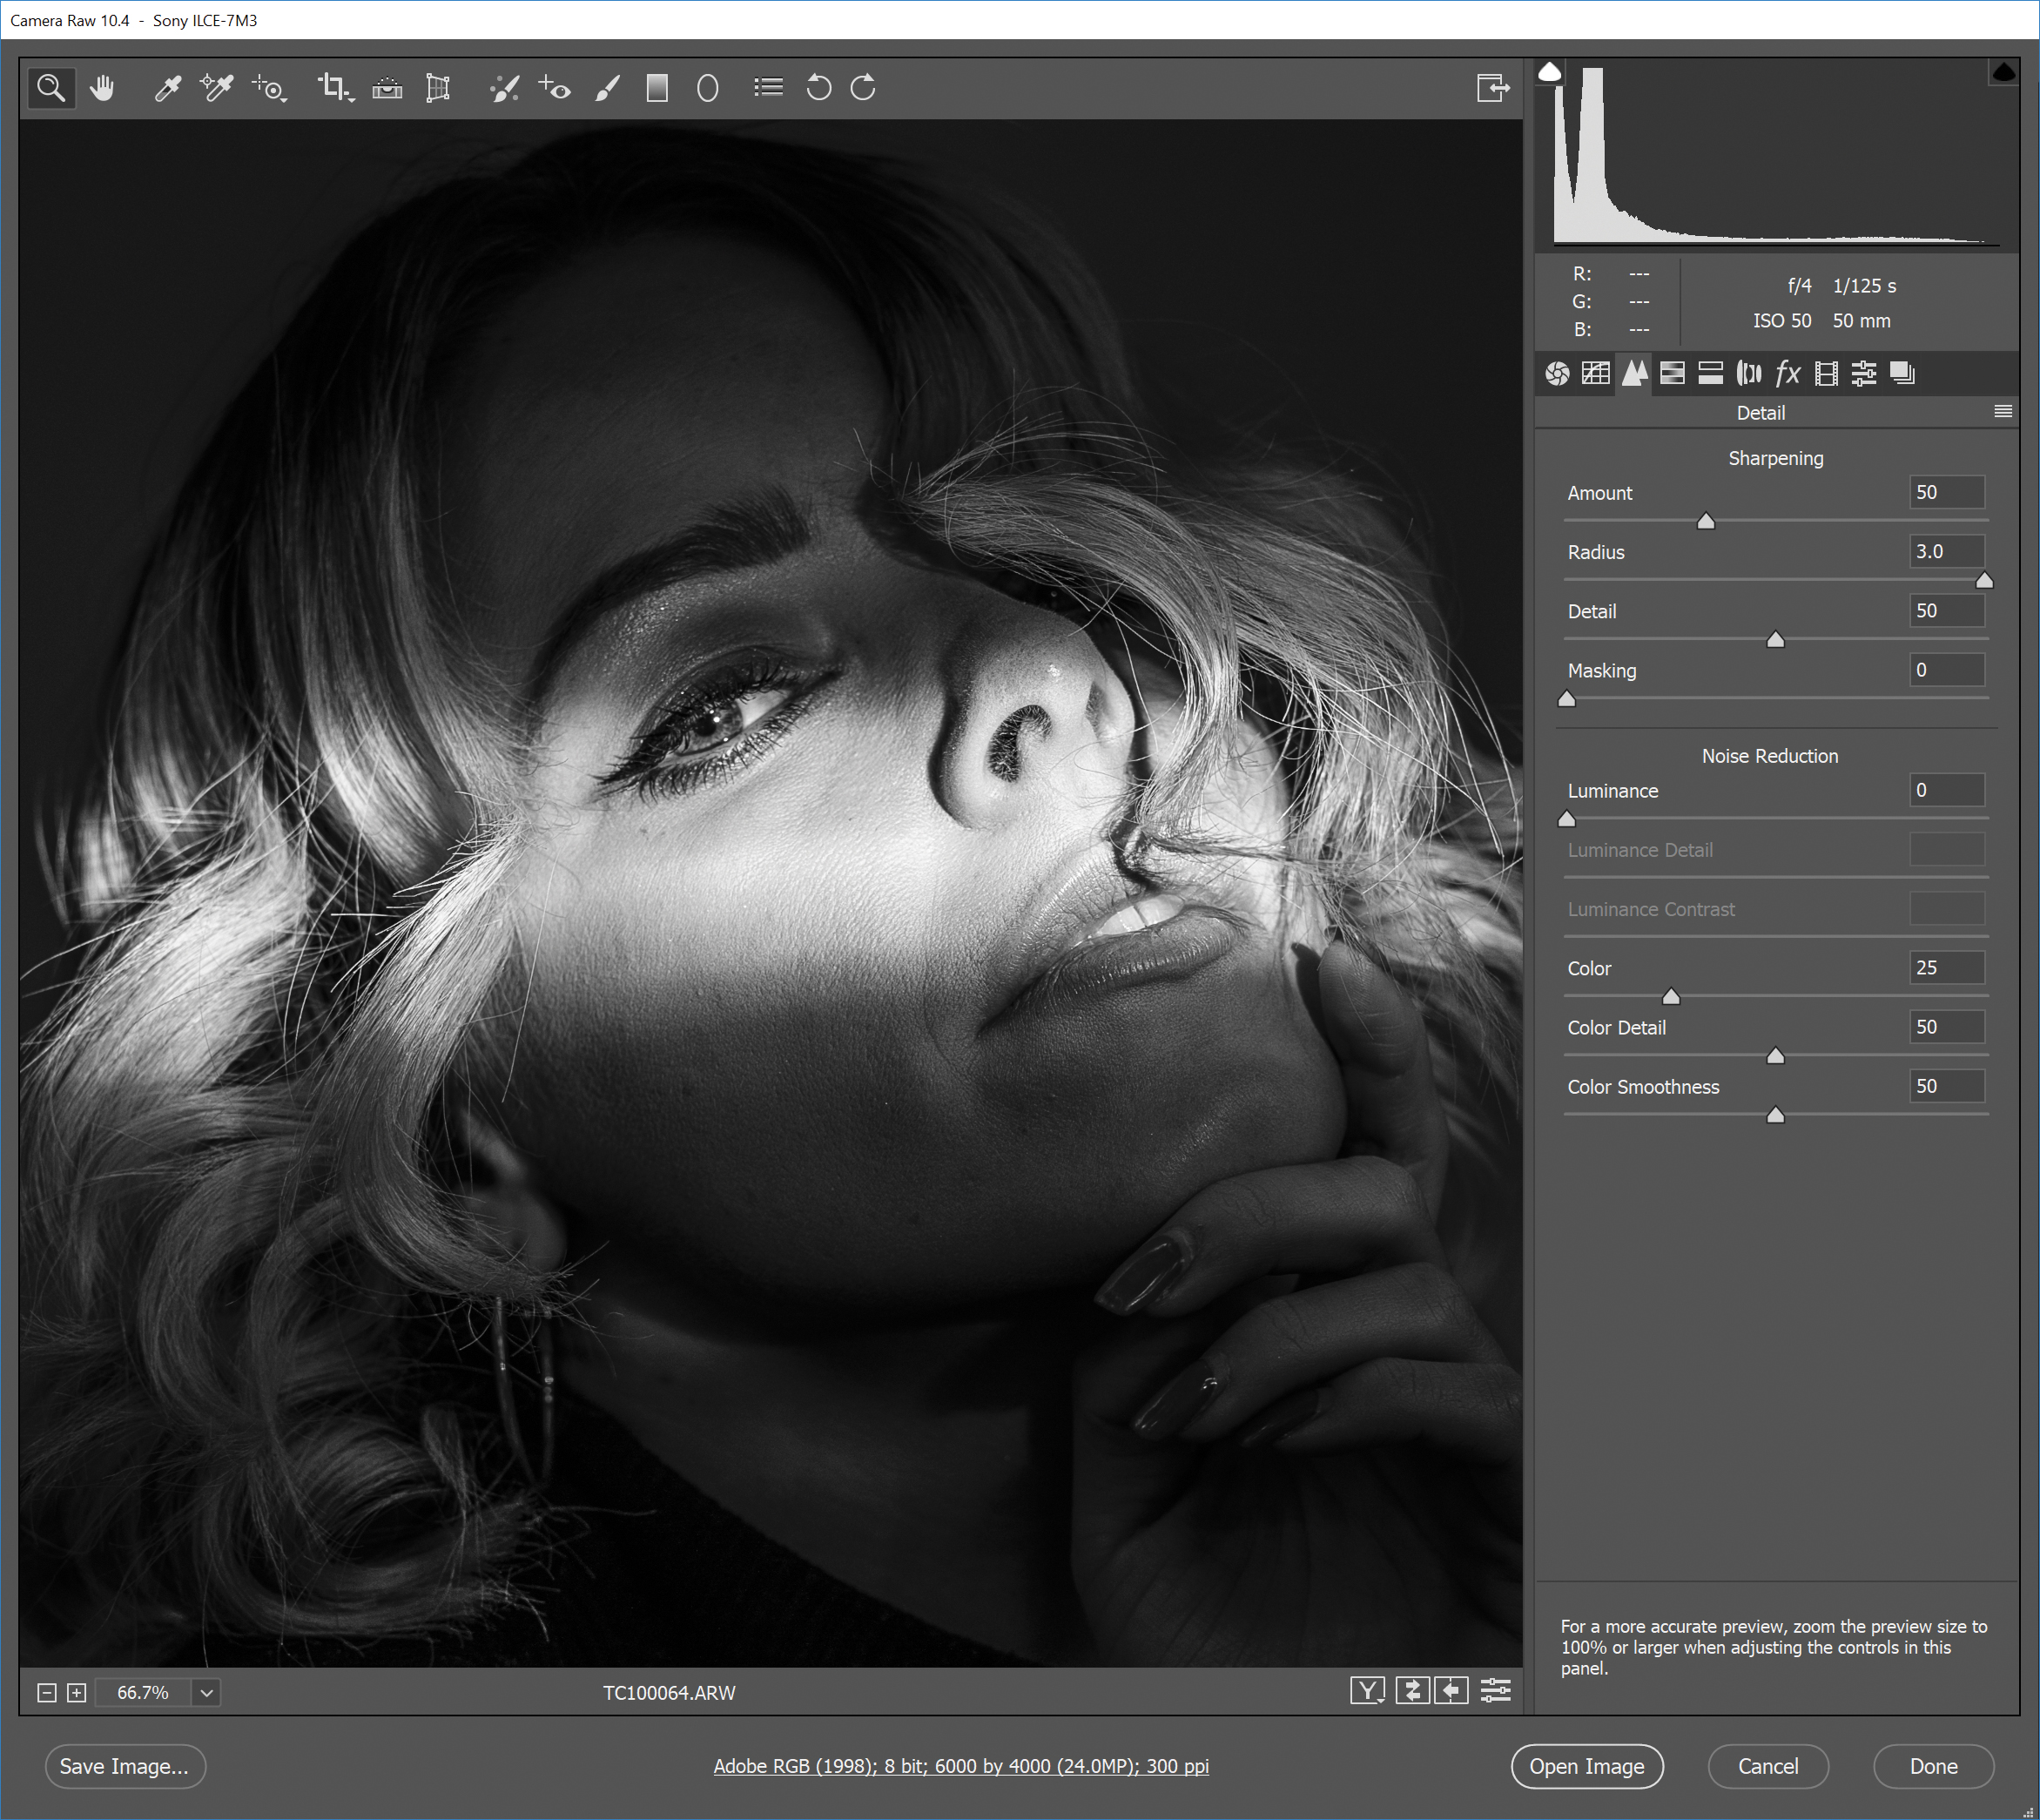
Finally, switch over to the Detail tab (underneath the histogram) and then set the Amount to 50, the Radius to 3 and the Detail to 50. Make sure you save the image as a JPEG, and you're done!
Read more:
The best 50mm lens in 2020: Which 'standard prime' is the right one for you?
Sigma 50mm f/1.4 DG HSM | A review
The best camera for portraits in 2020: cameras and lenses perfect for portraits
Essential portrait photography tips
Digital Photographer is the ultimate monthly photography magazine for enthusiasts and pros in today’s digital marketplace.
Every issue readers are treated to interviews with leading expert photographers, cutting-edge imagery, practical shooting advice and the very latest high-end digital news and equipment reviews. The team includes seasoned journalists and passionate photographers such as the Editor Peter Fenech, who are well positioned to bring you authoritative reviews and tutorials on cameras, lenses, lighting, gimbals and more.
Whether you’re a part-time amateur or a full-time pro, Digital Photographer aims to challenge, motivate and inspire you to take your best shot and get the most out of your kit, whether you’re a hobbyist or a seasoned shooter.
