Get perfect fall colors in-camera! Use white balance like a pro
Customize your camera's white balance for professional color control this fall season
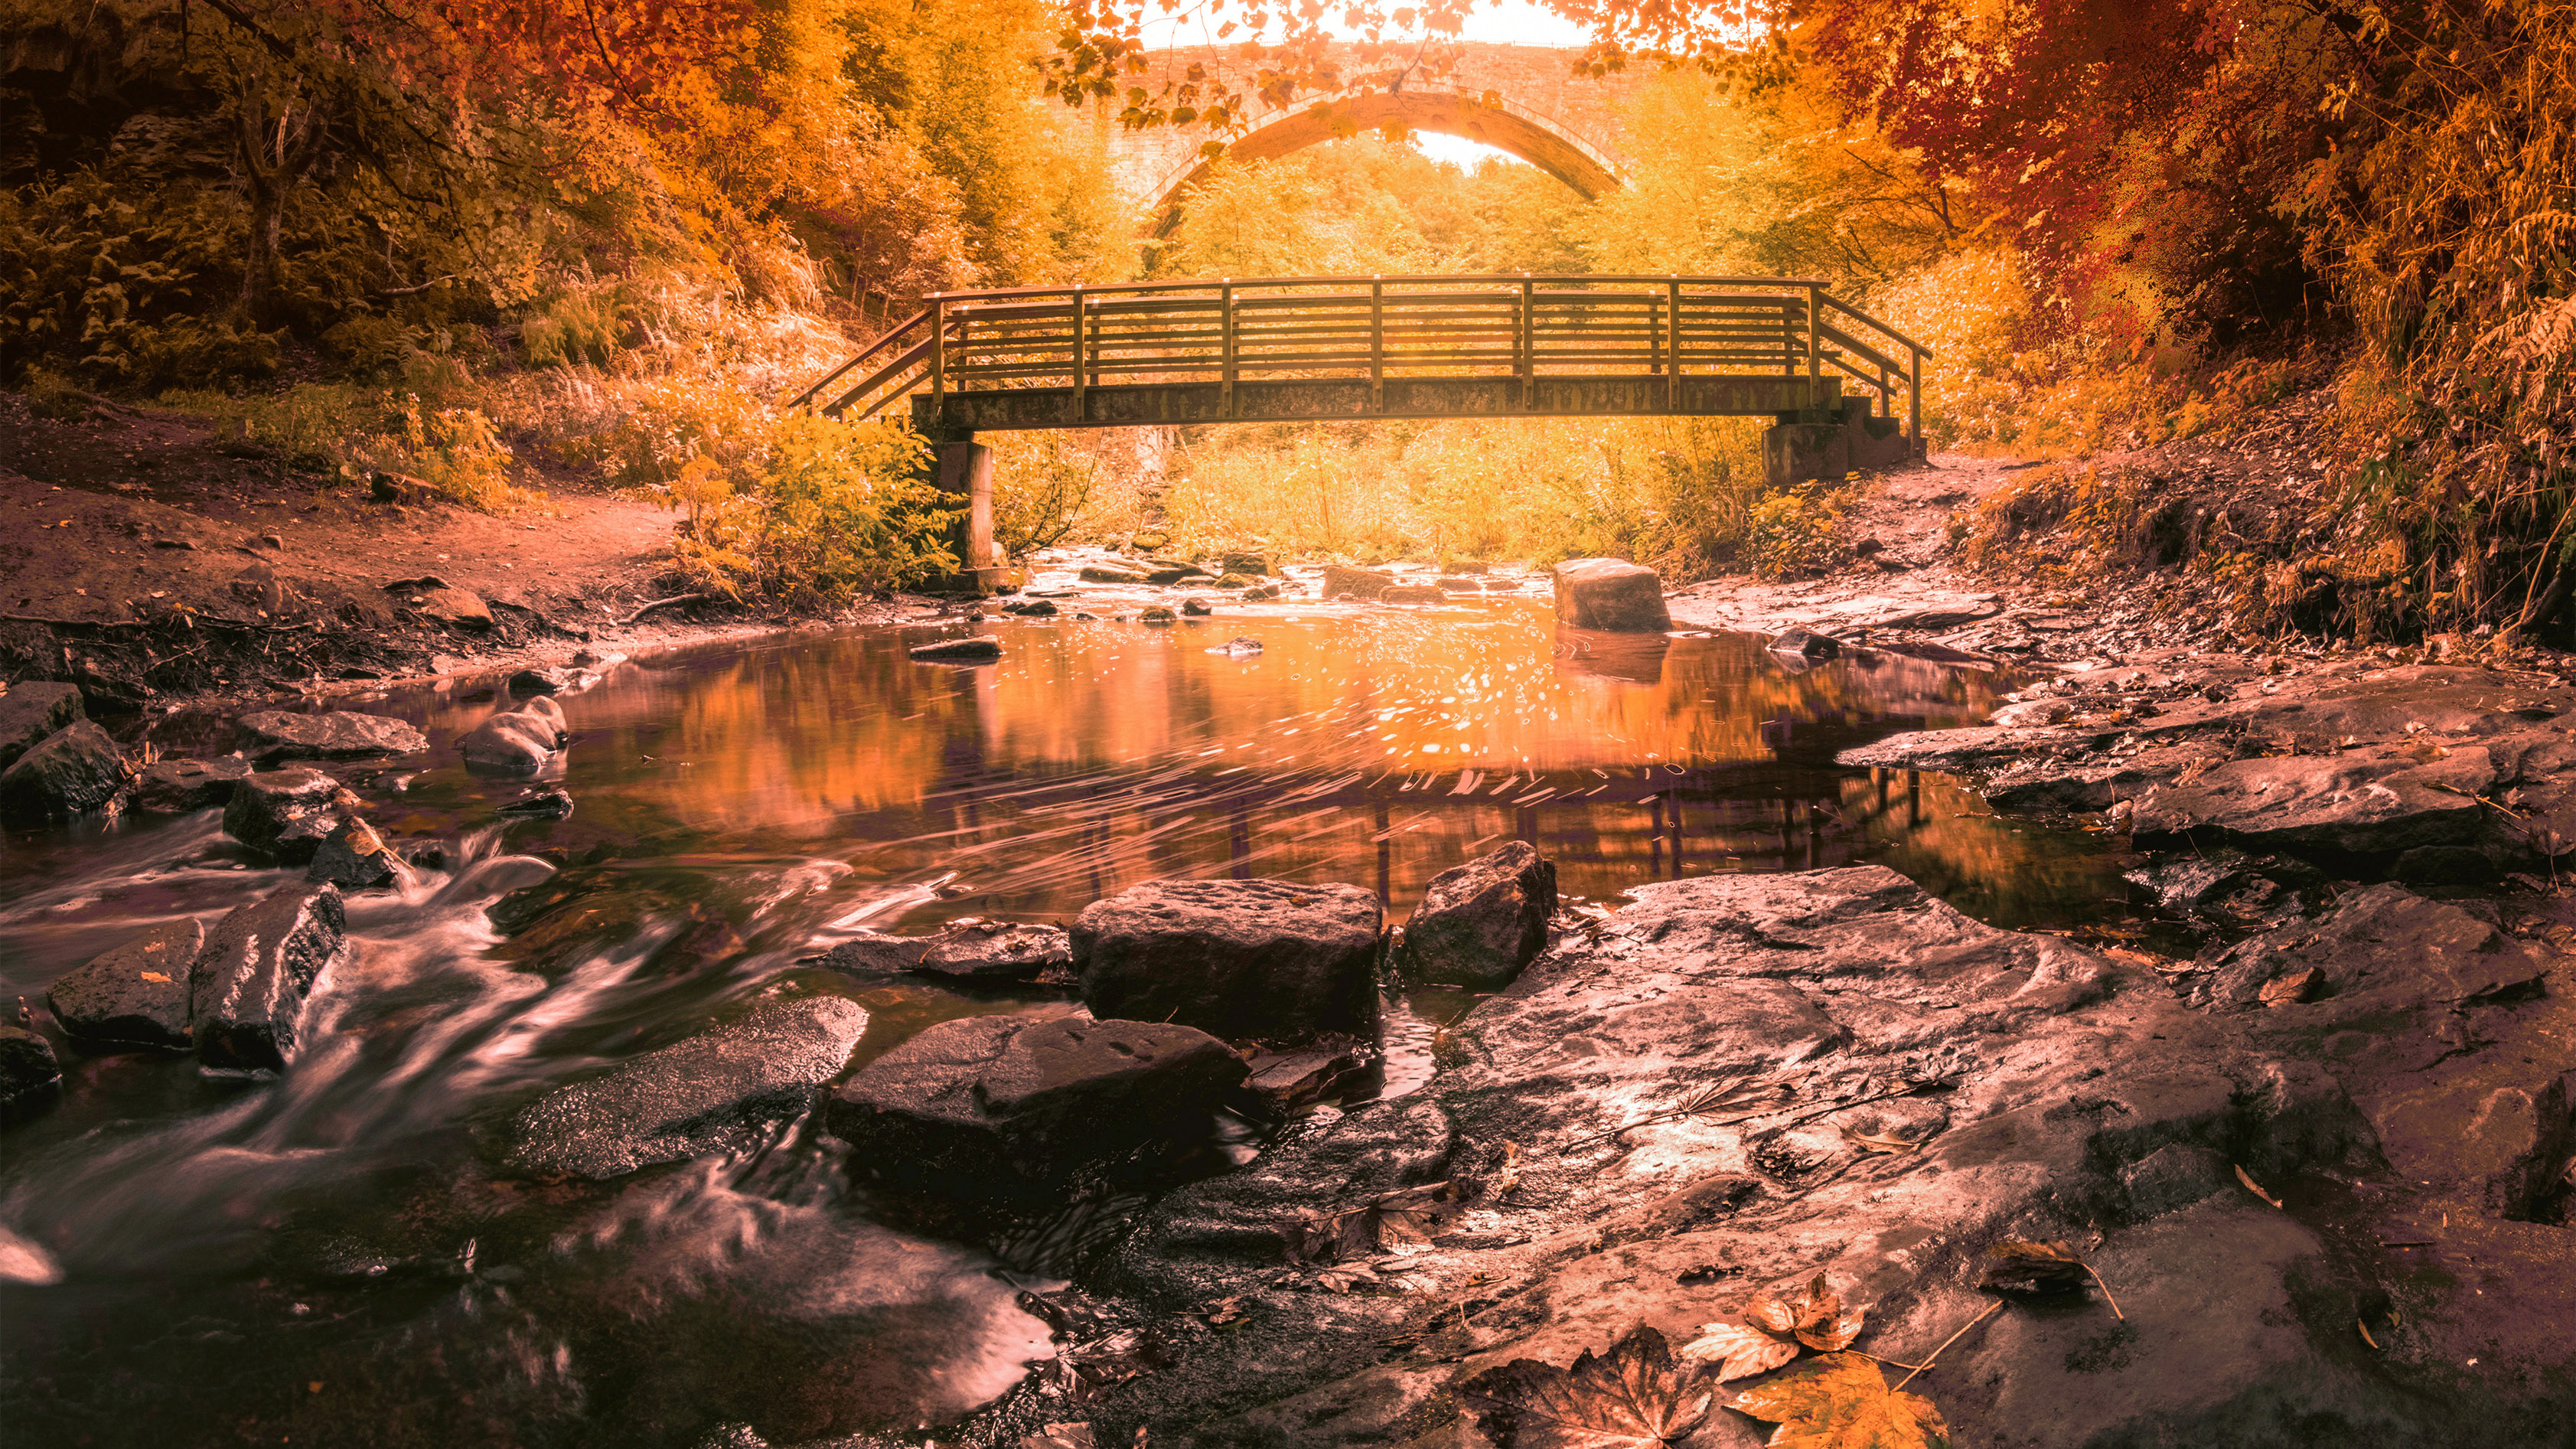
For beginners, the fall is the season where it becomes truly apparent that accuracy is not always best. When starting out in photography it can be confusing, and at times frustrating, when applying the correct white balance produces scenes that lack drama and depth.
After all, the whole point of digital color control is the speed and ease with which strong color biases can be removed, to produce a naturalistic image, so why do autumn scenes appear drab and uninspiring?
With experience we learn that, while neutralizing color casts is an important aspect of white balance control, it can also remove the shifts in color that we set out to capture in the first place. Auto WB systems rarely do a great job of capturing fiery leaf color or blazing sunsets, because they are tuned to center color based on a predetermined standard.
In short, the camera doesn’t know you are shooting an autumn scene; it merely sees a strong dominance of low kelvin colors, which would otherwise not be present, and attempts to correct the imbalance. This presents us with a conundrum as photographers: how do we ensure that we capture dramatic color without overdoing it and producing an unnatural palette?
The trick is to use a combination of preset and bespoke white balance settings, to judge how dominant we want reds and yellows to be in a particular scene. While Auto WB won’t give you a finished image, it can be used to assess how much the autumn colors outbalance the others in the frame. After all, a ‘standard’ is a good place to start.
Once you have the neutral image in your mind, it’s less likely you will choose to oversaturate the stronger colors. Using this as a reference, you can find the ideal mix of cooler and warmer colors.
1) Shoot test shots
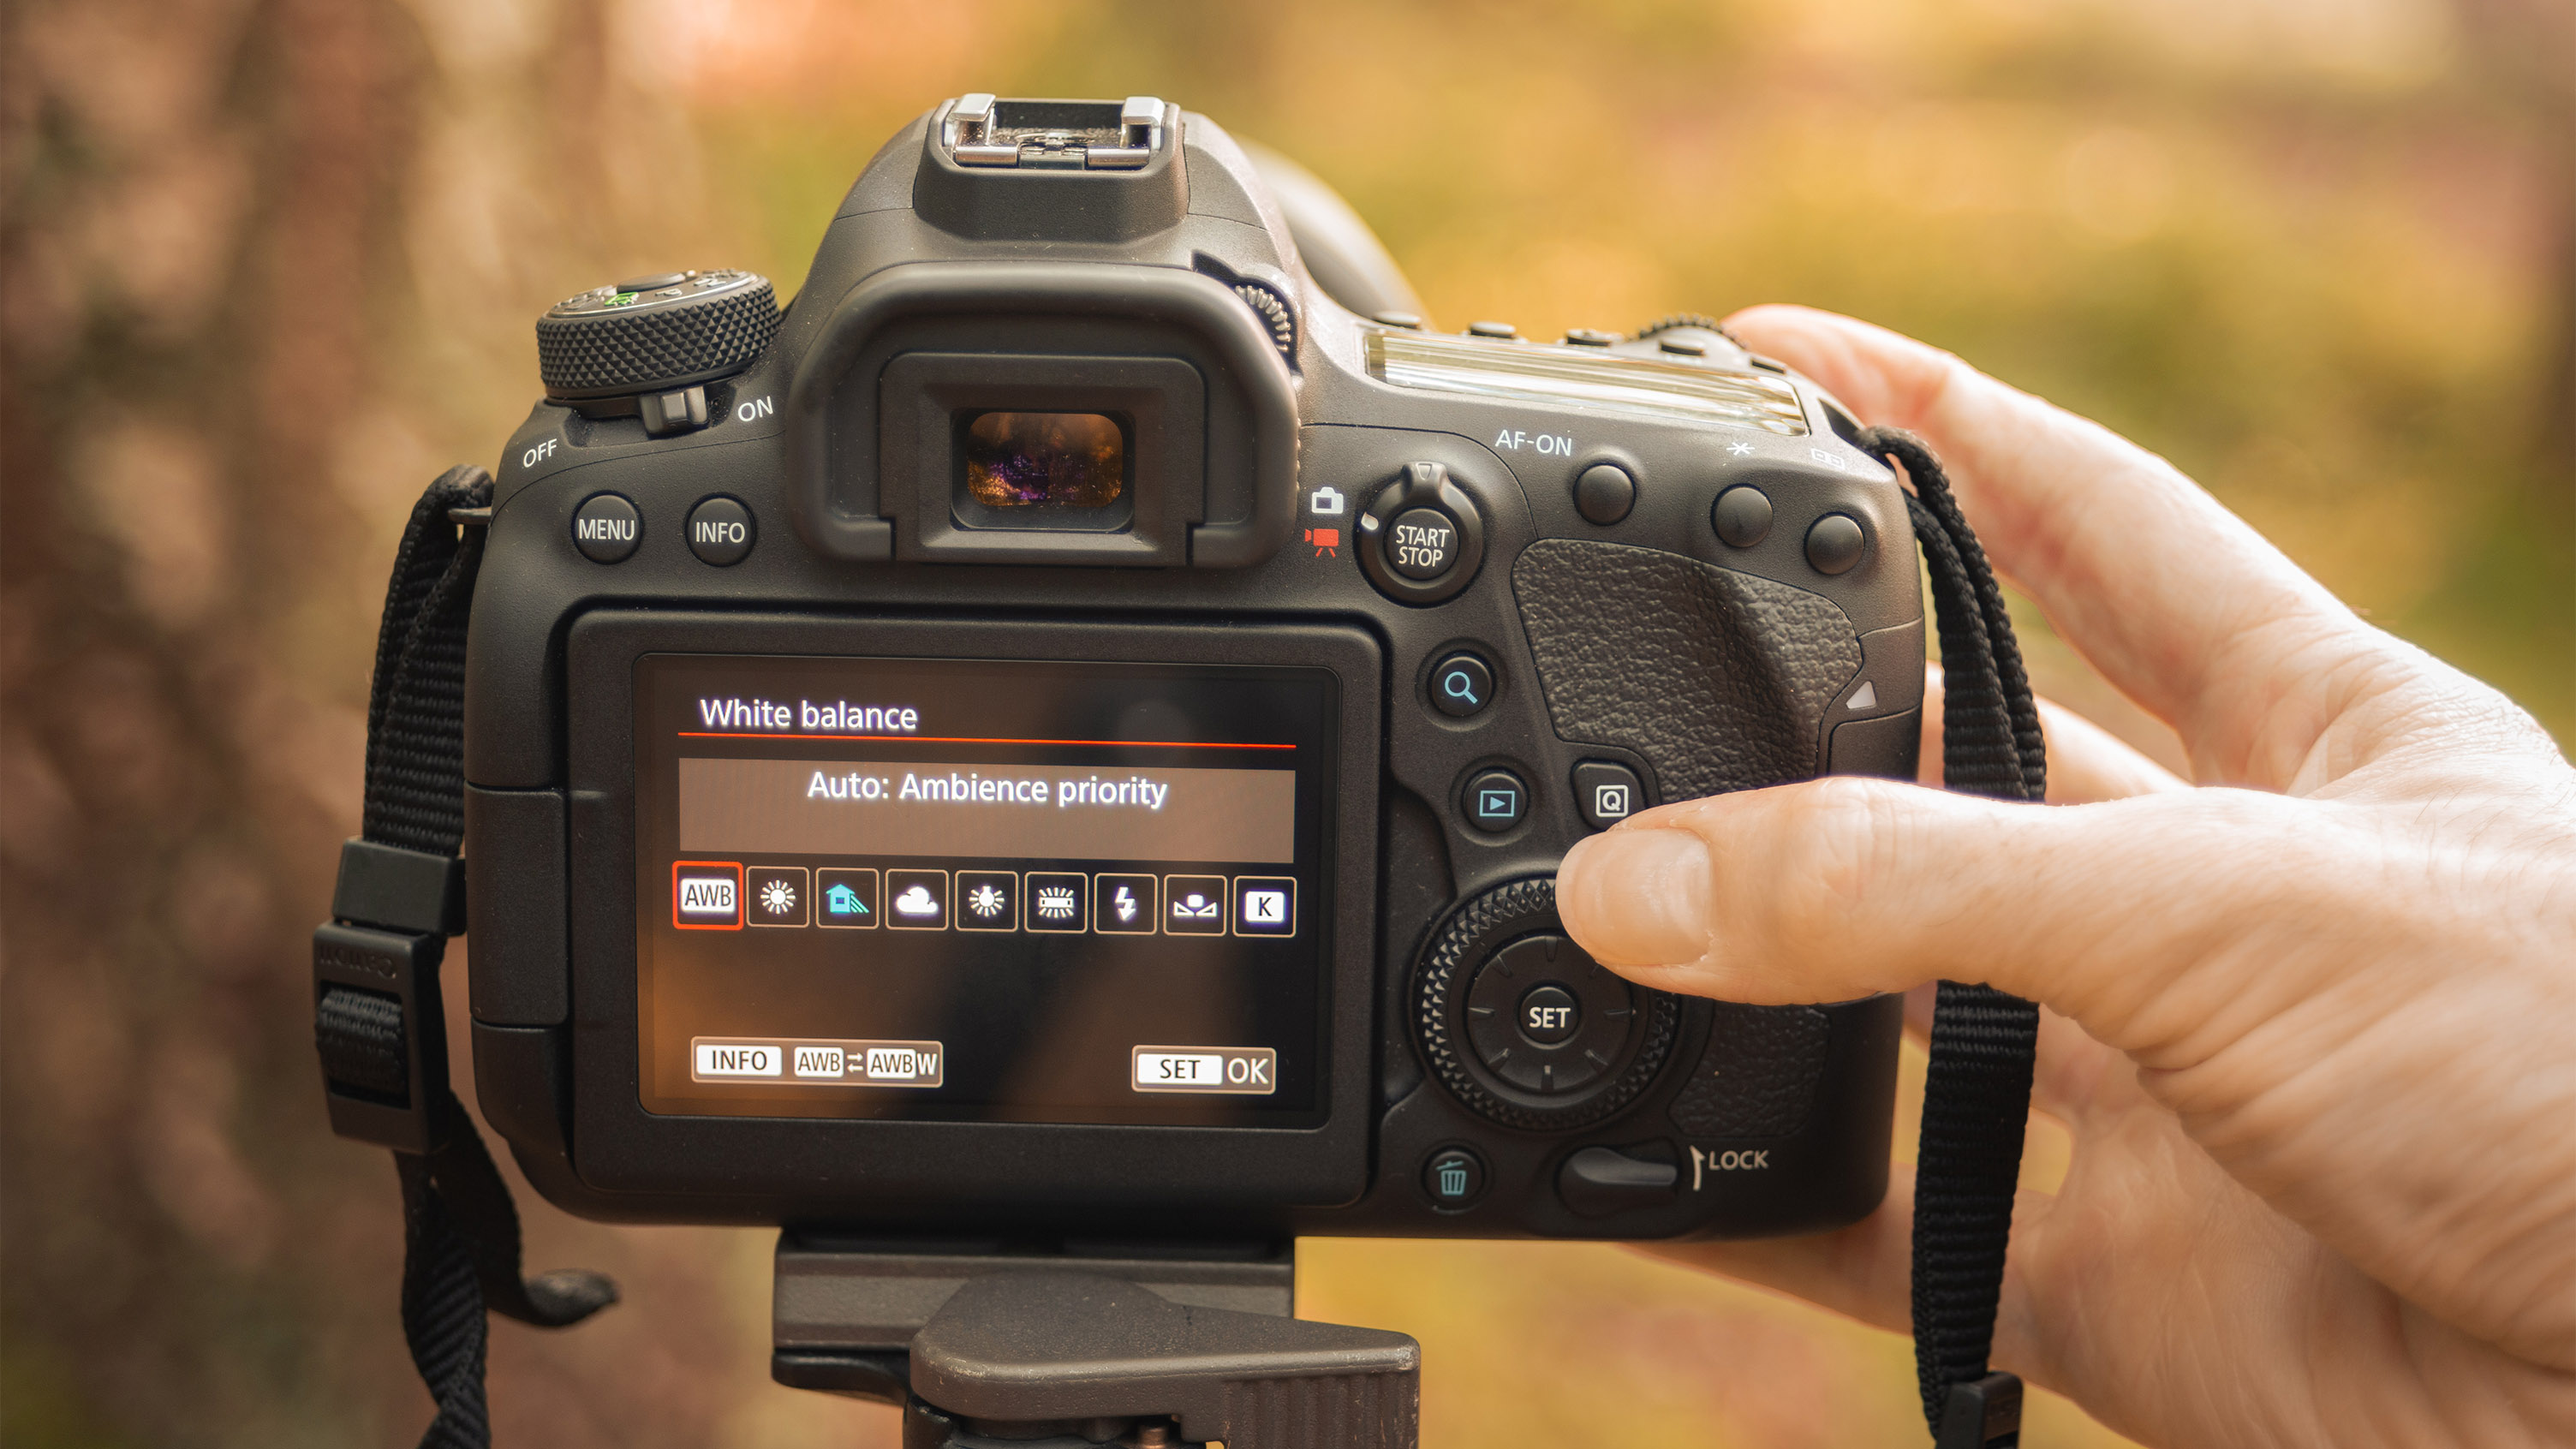
Start by shooting in auto white balance to take a neutral reference image from which to build up an optimal color palette. This will probably seem lacking in strong color and will be quite flat. You can delete this later.
The best camera deals, reviews, product advice, and unmissable photography news, direct to your inbox!
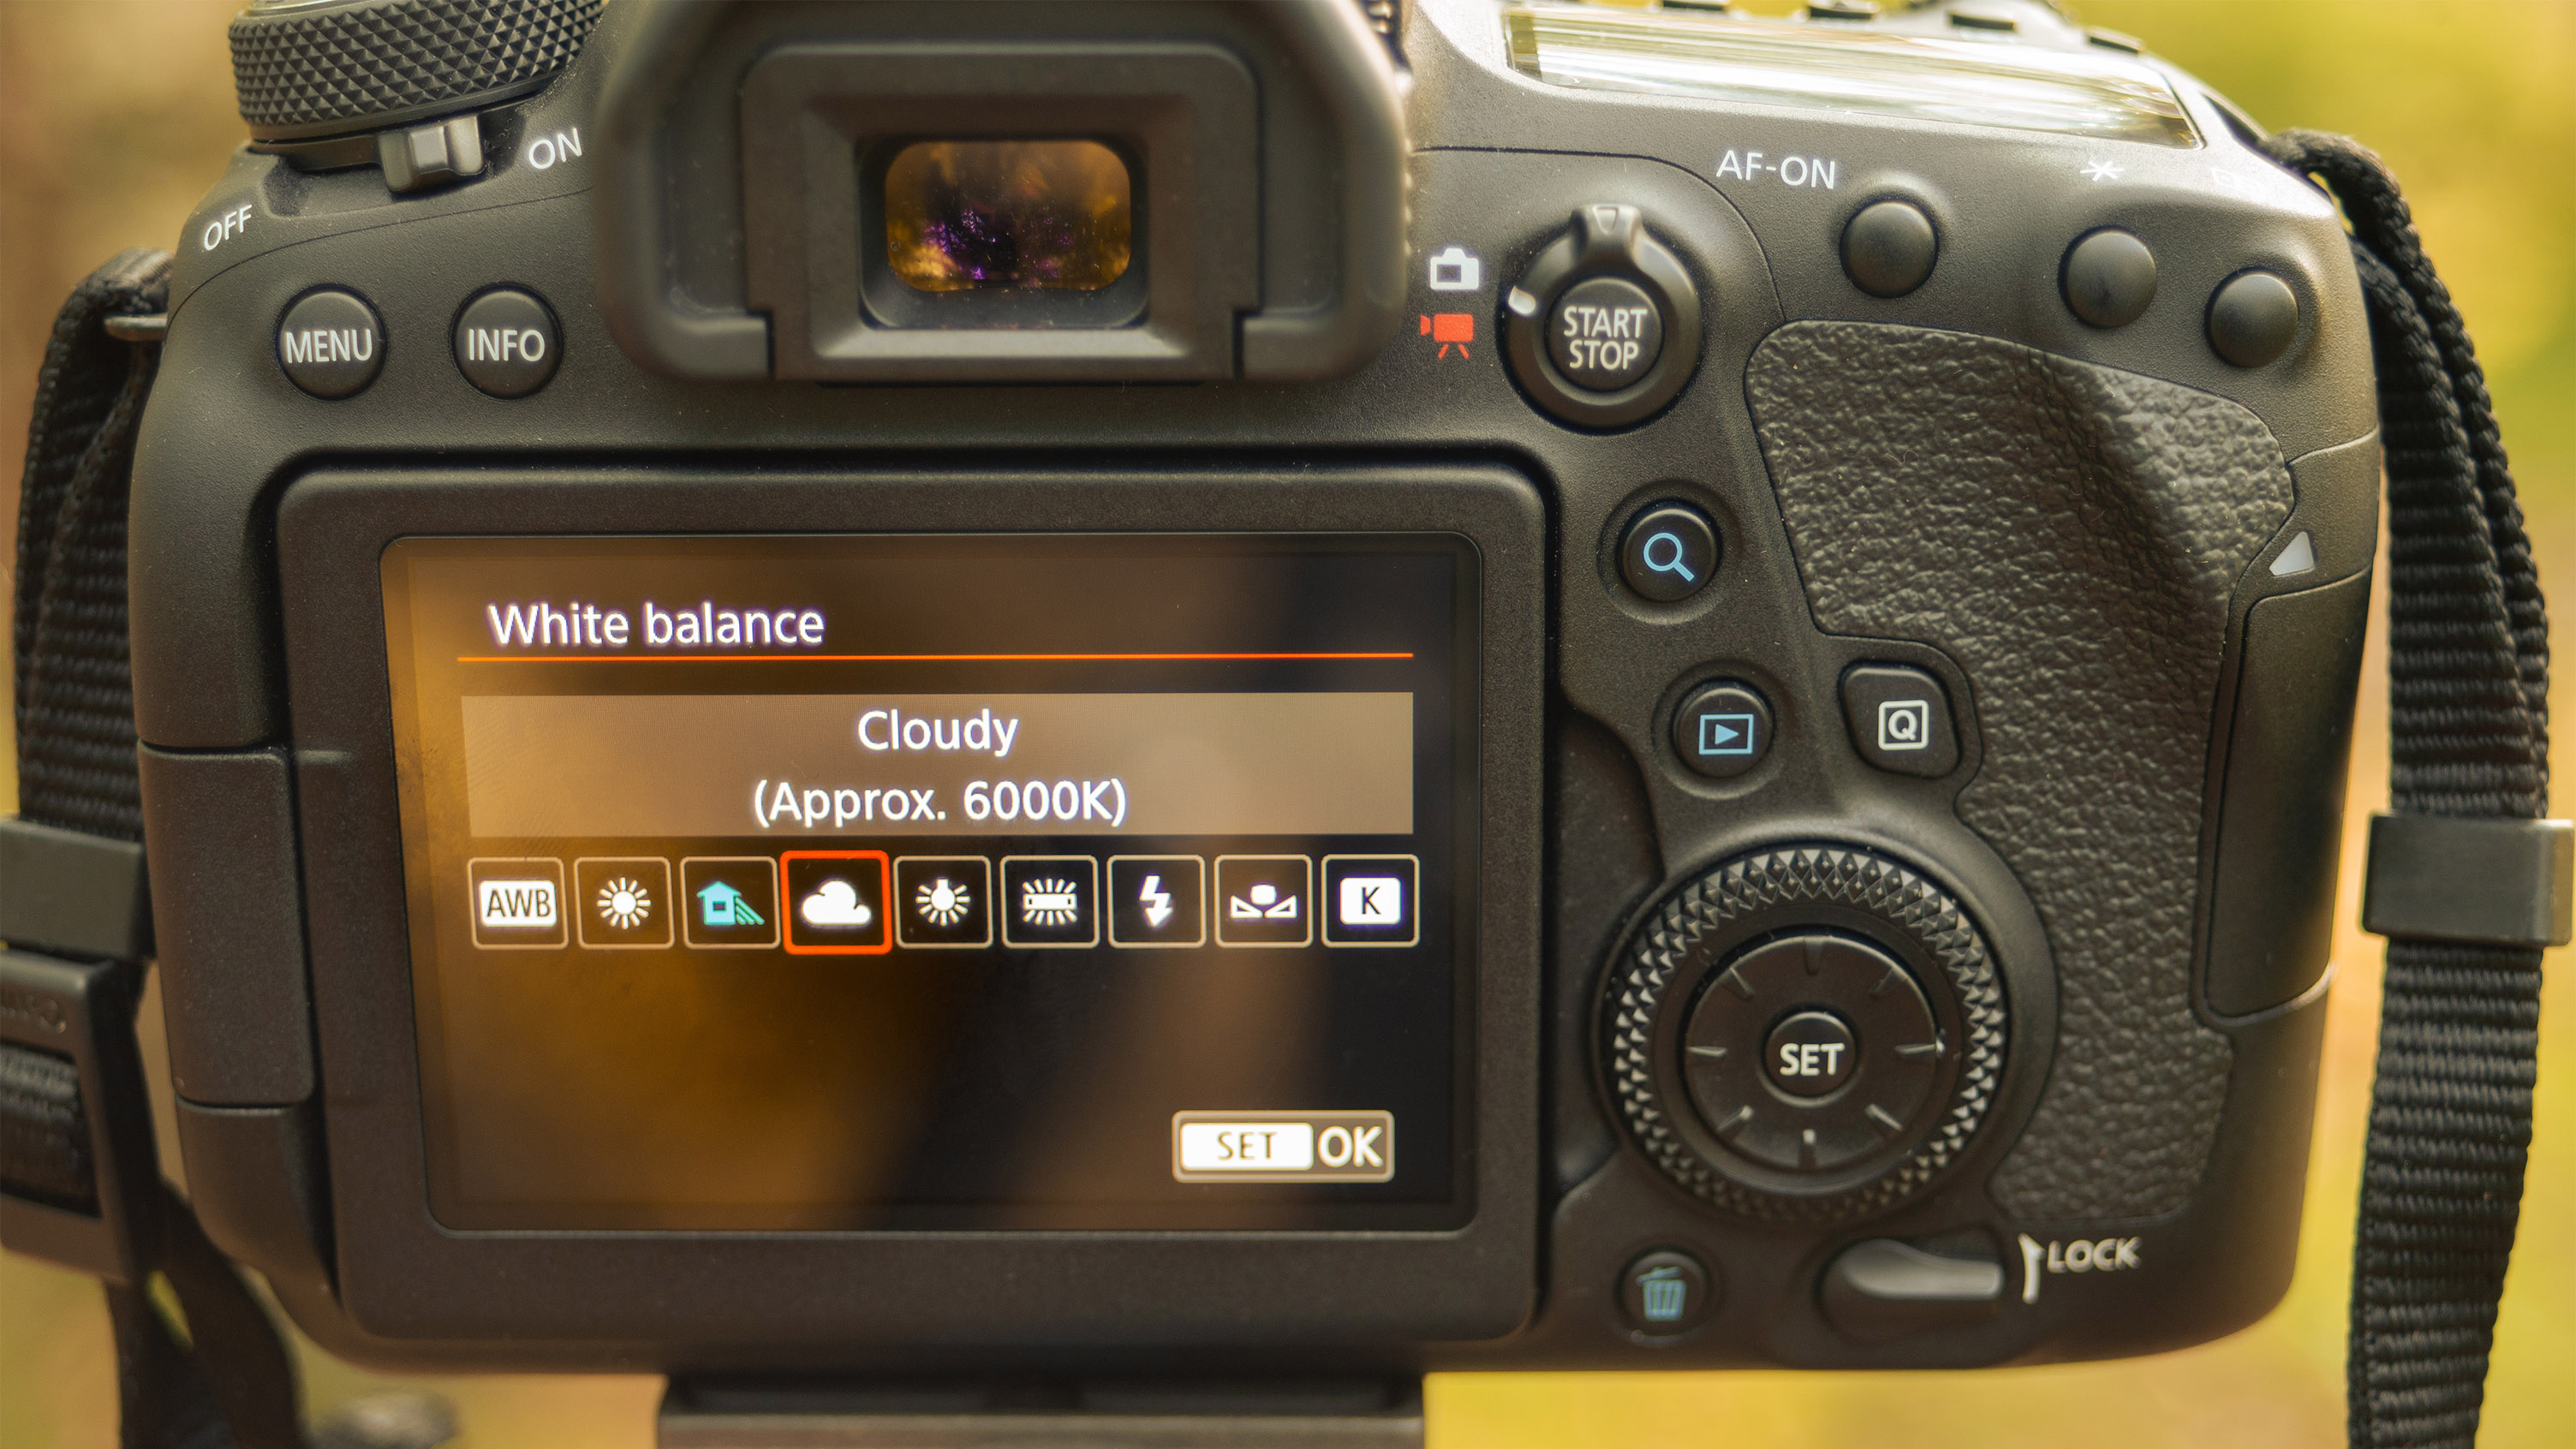
2) Select a Preset
Choose a WB preset that you feel will boost the autumnal hues above the cooler colors. Start with Cloudy and then try Shade, using the reference image from the first step to ensure that you aren’t completely removing cooler shadows, for example.
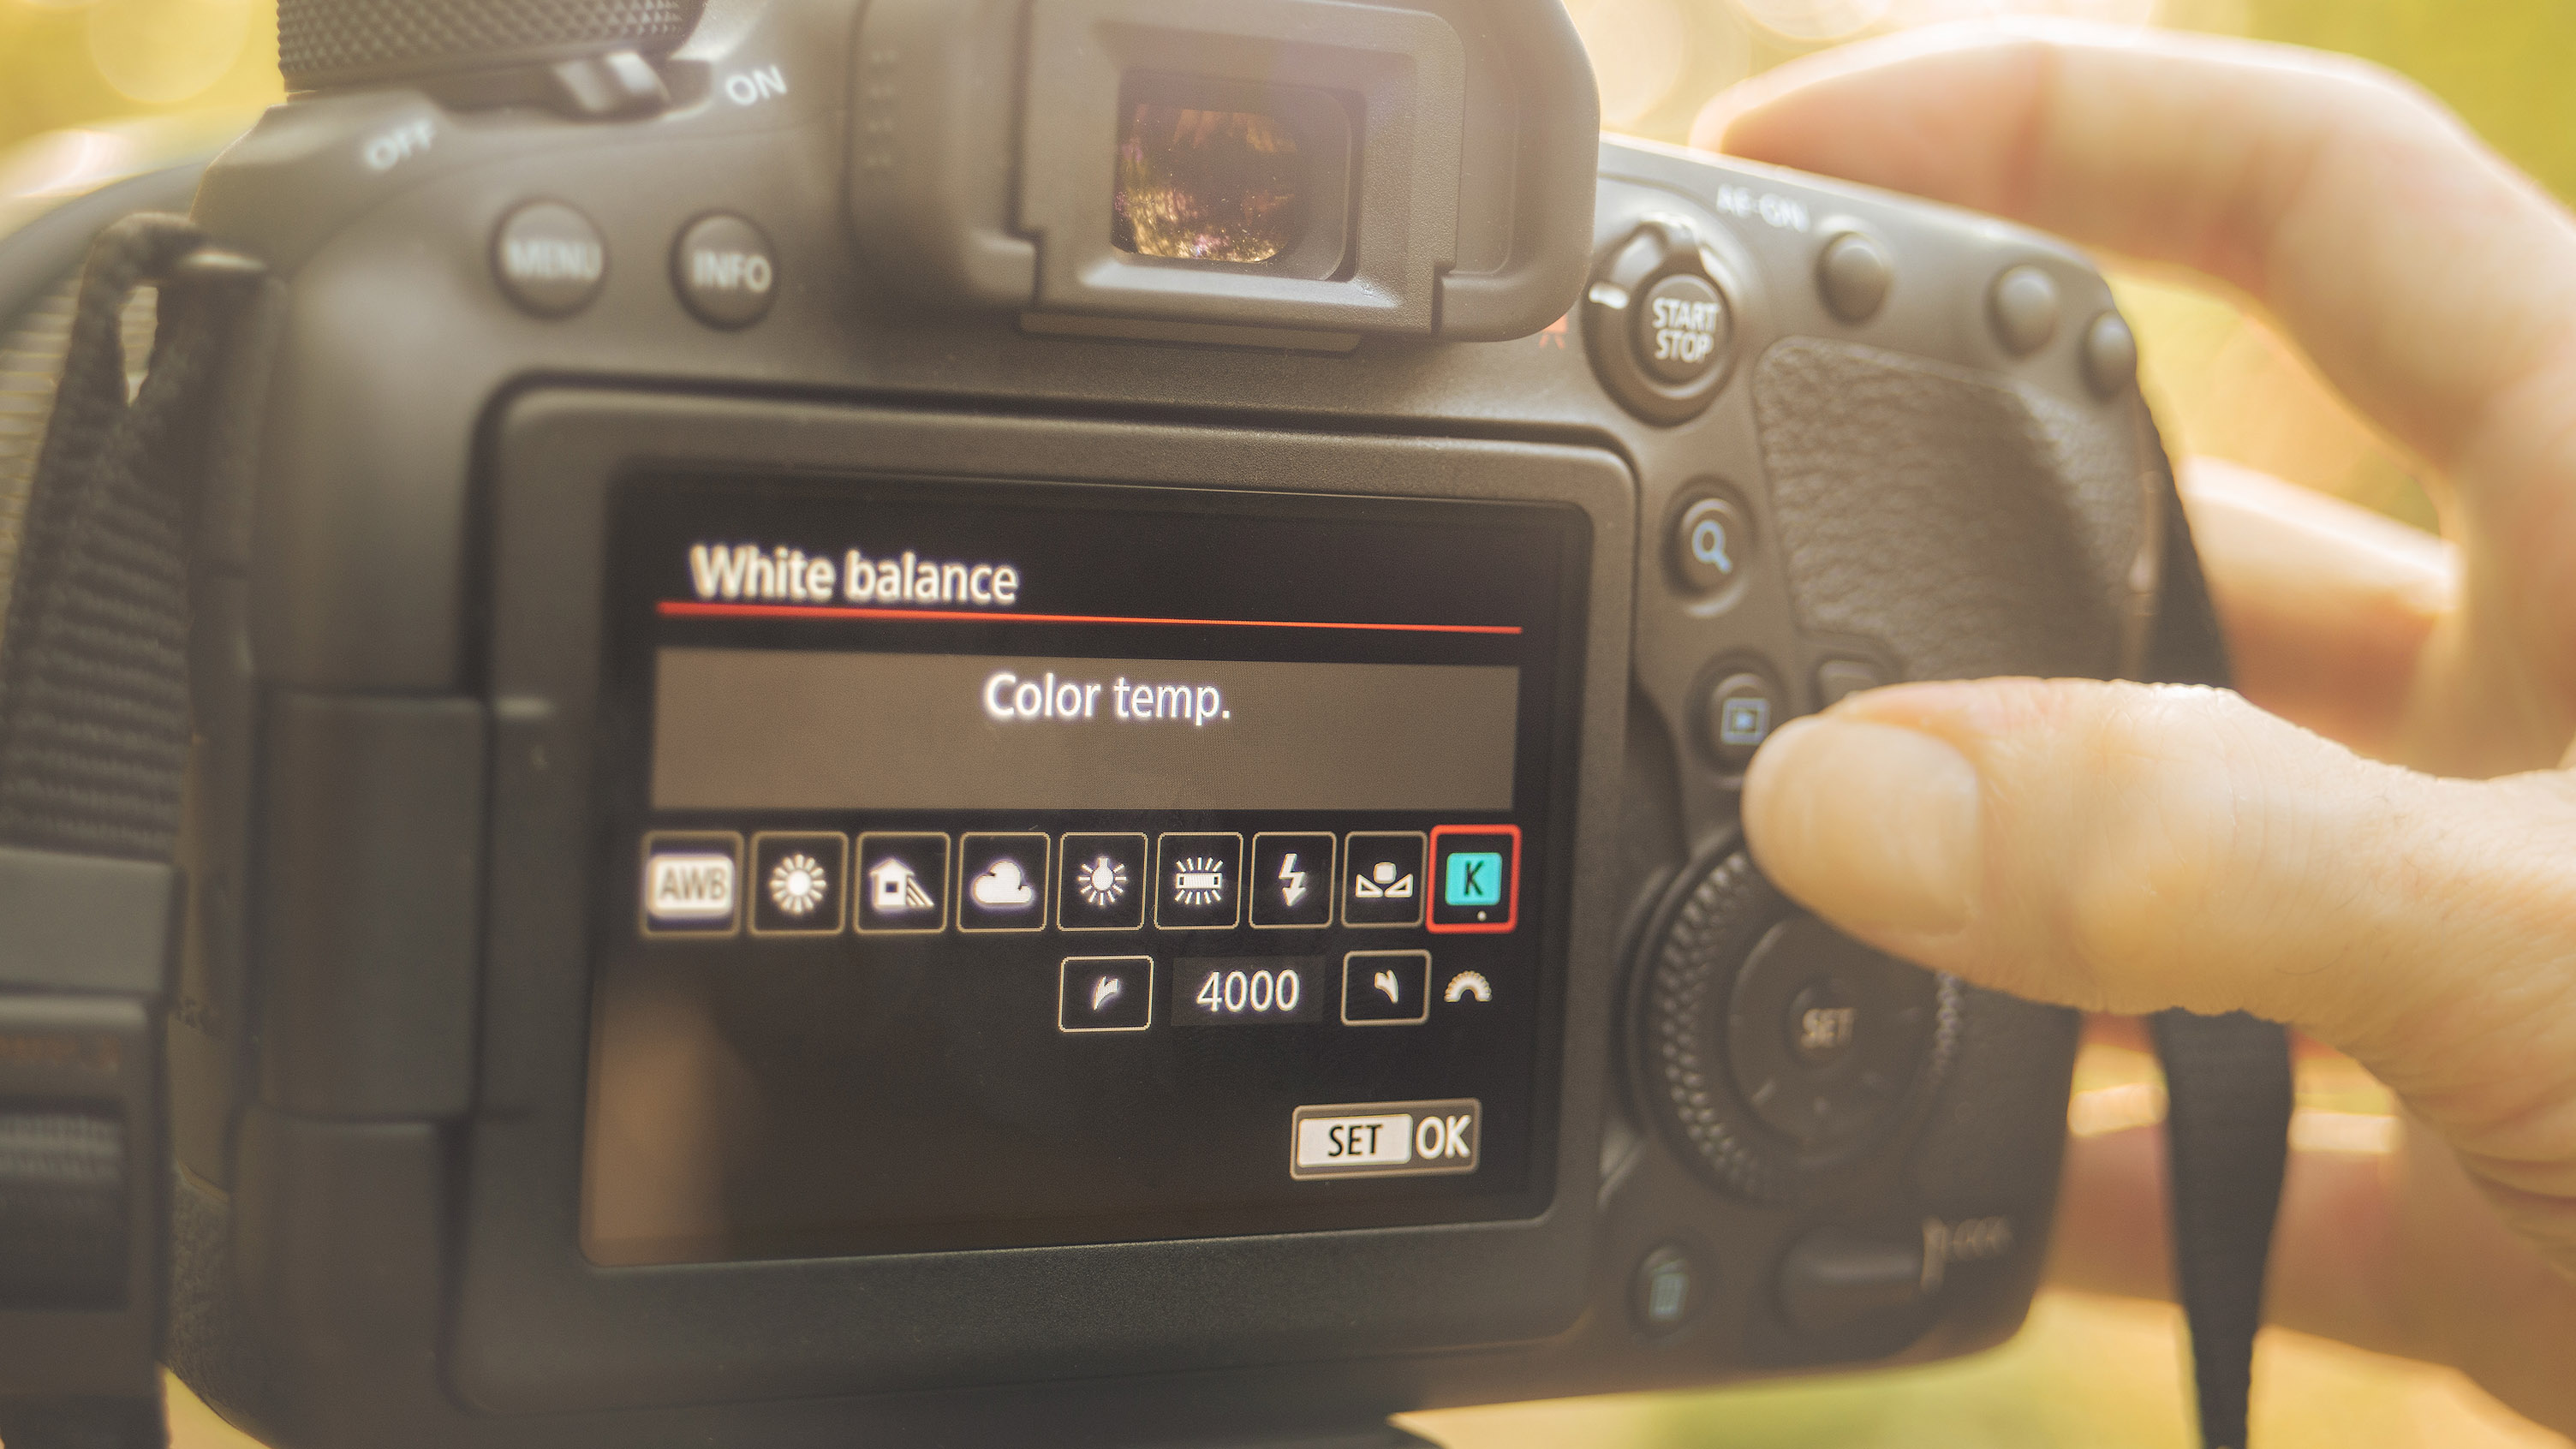
3) Switch to kelvin control
Choose custom or kelvin control mode from the camera’s white balance menu. This will enable you to directly select the color temperature (which may be the name of the mode in the list). Scroll until you have selected a temperature similar to the above preset.
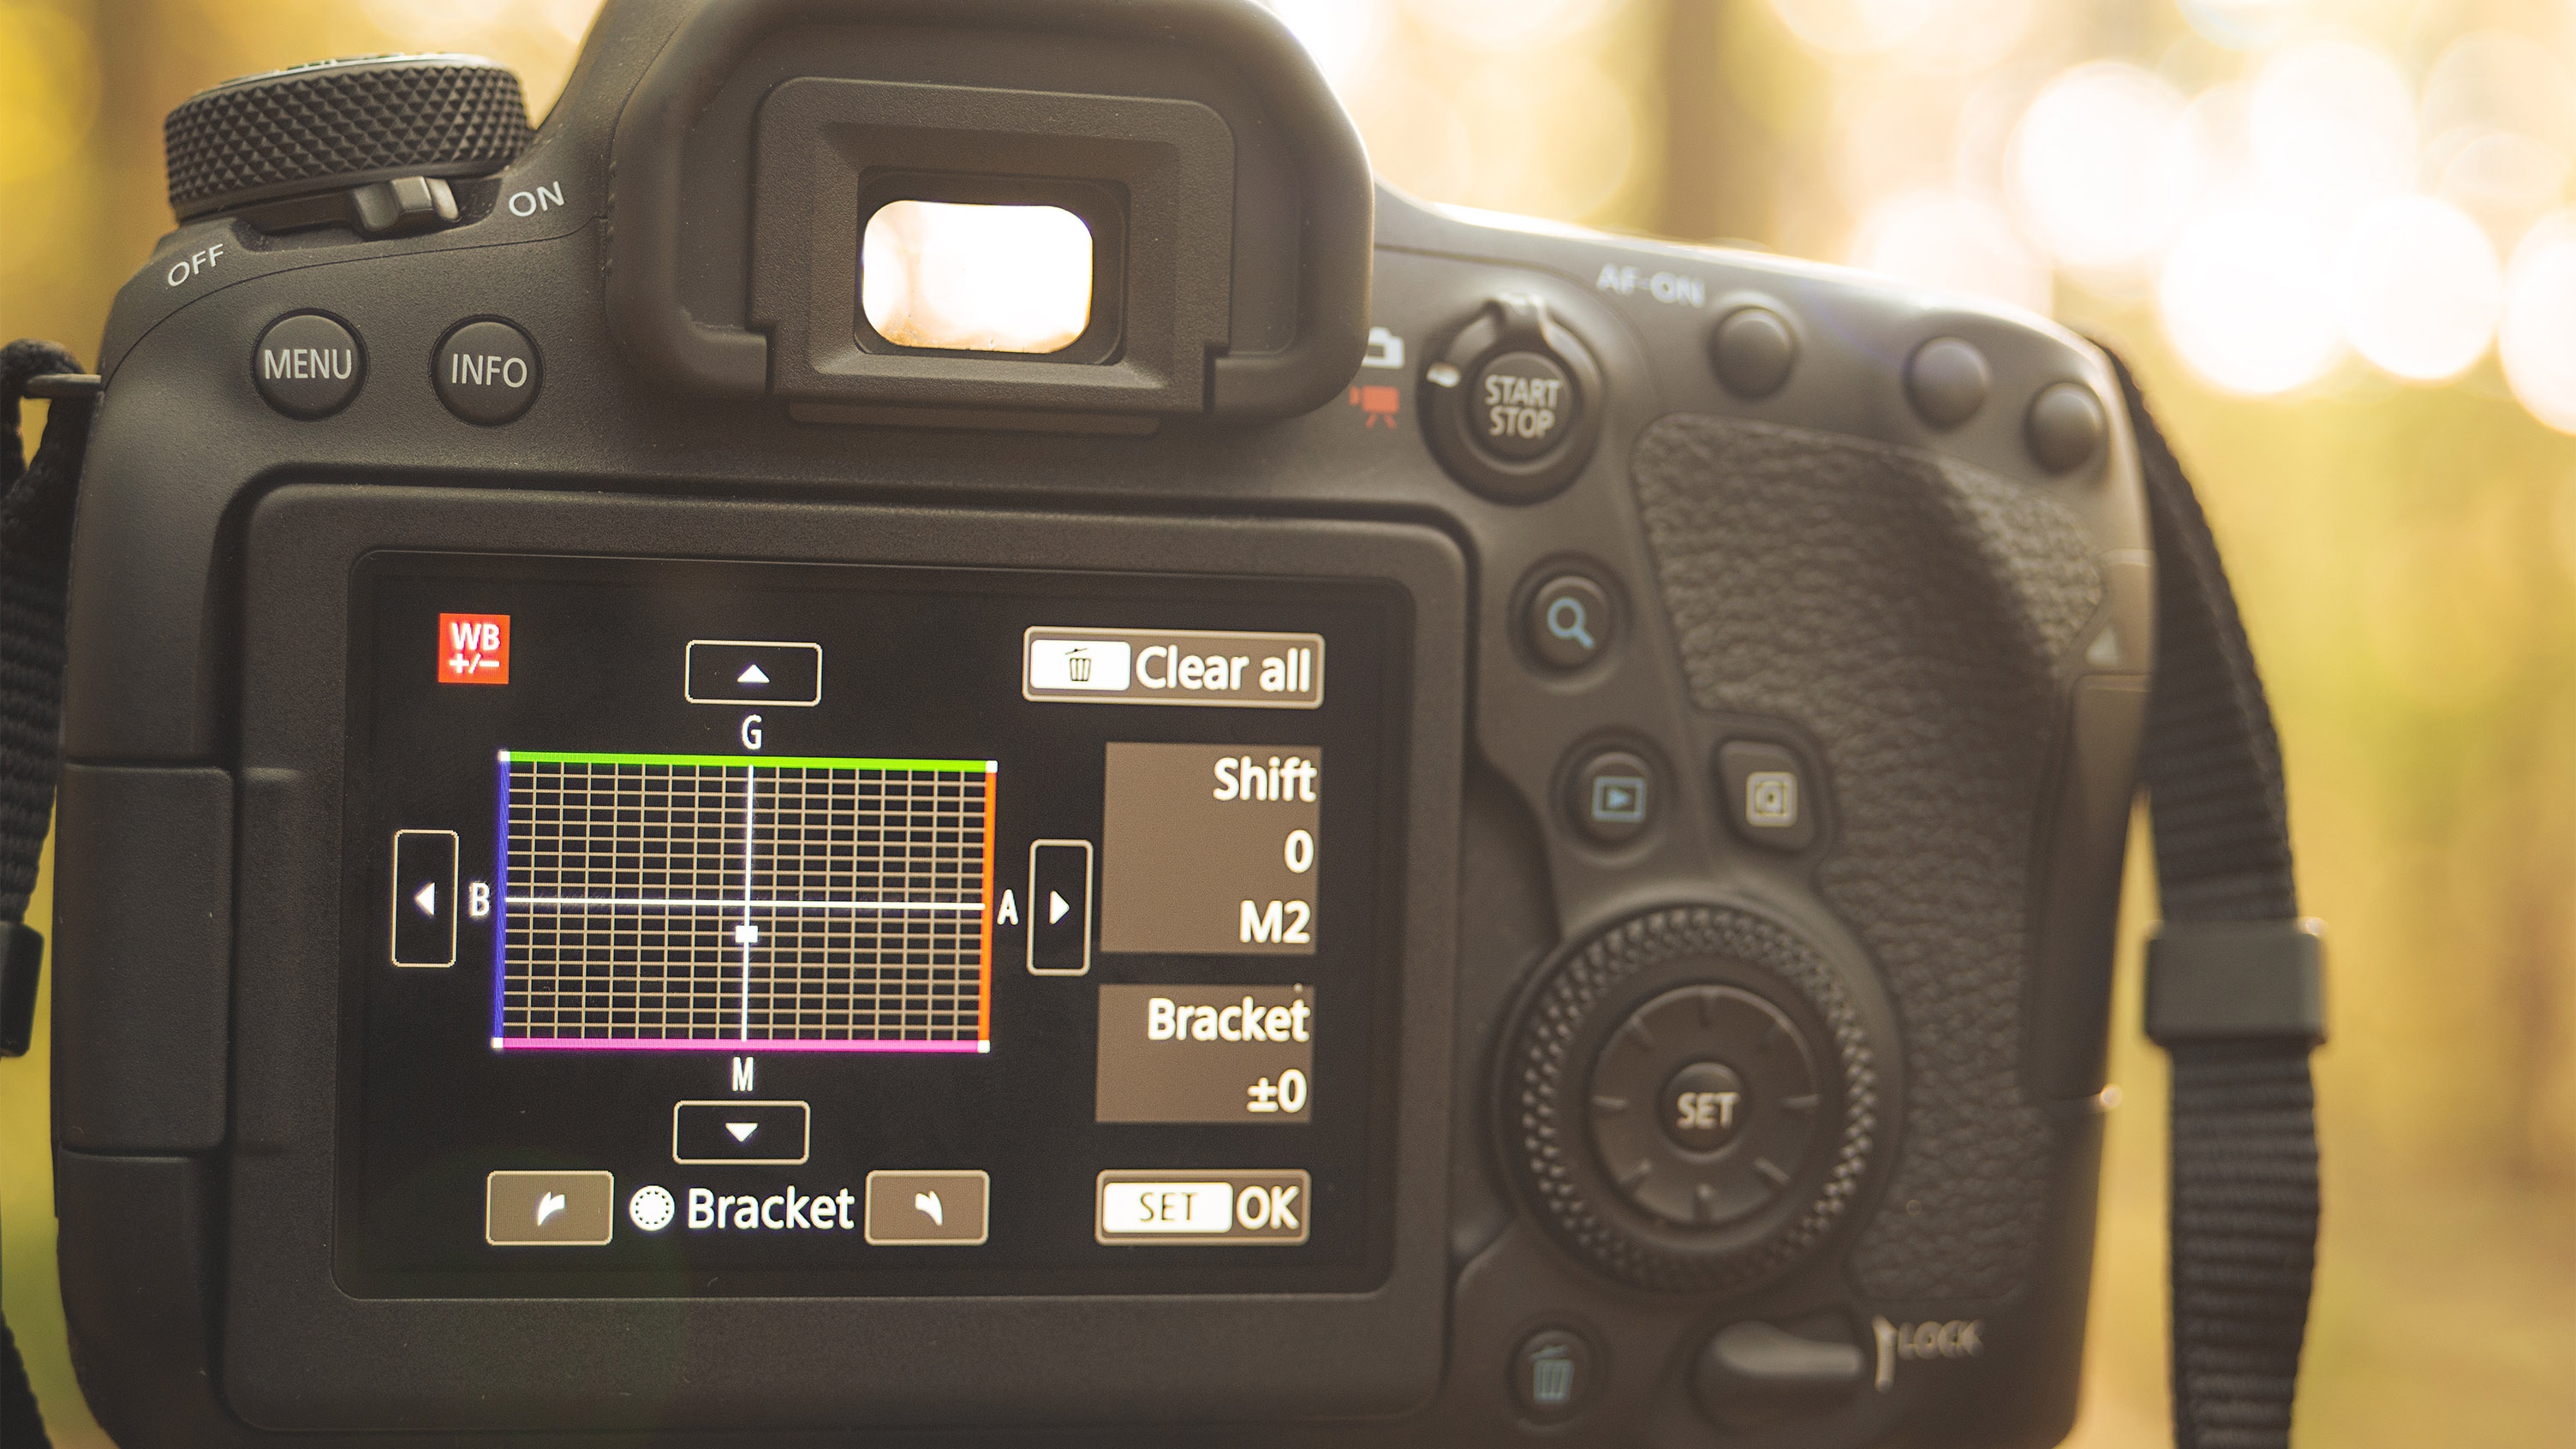
4) Adjust balance
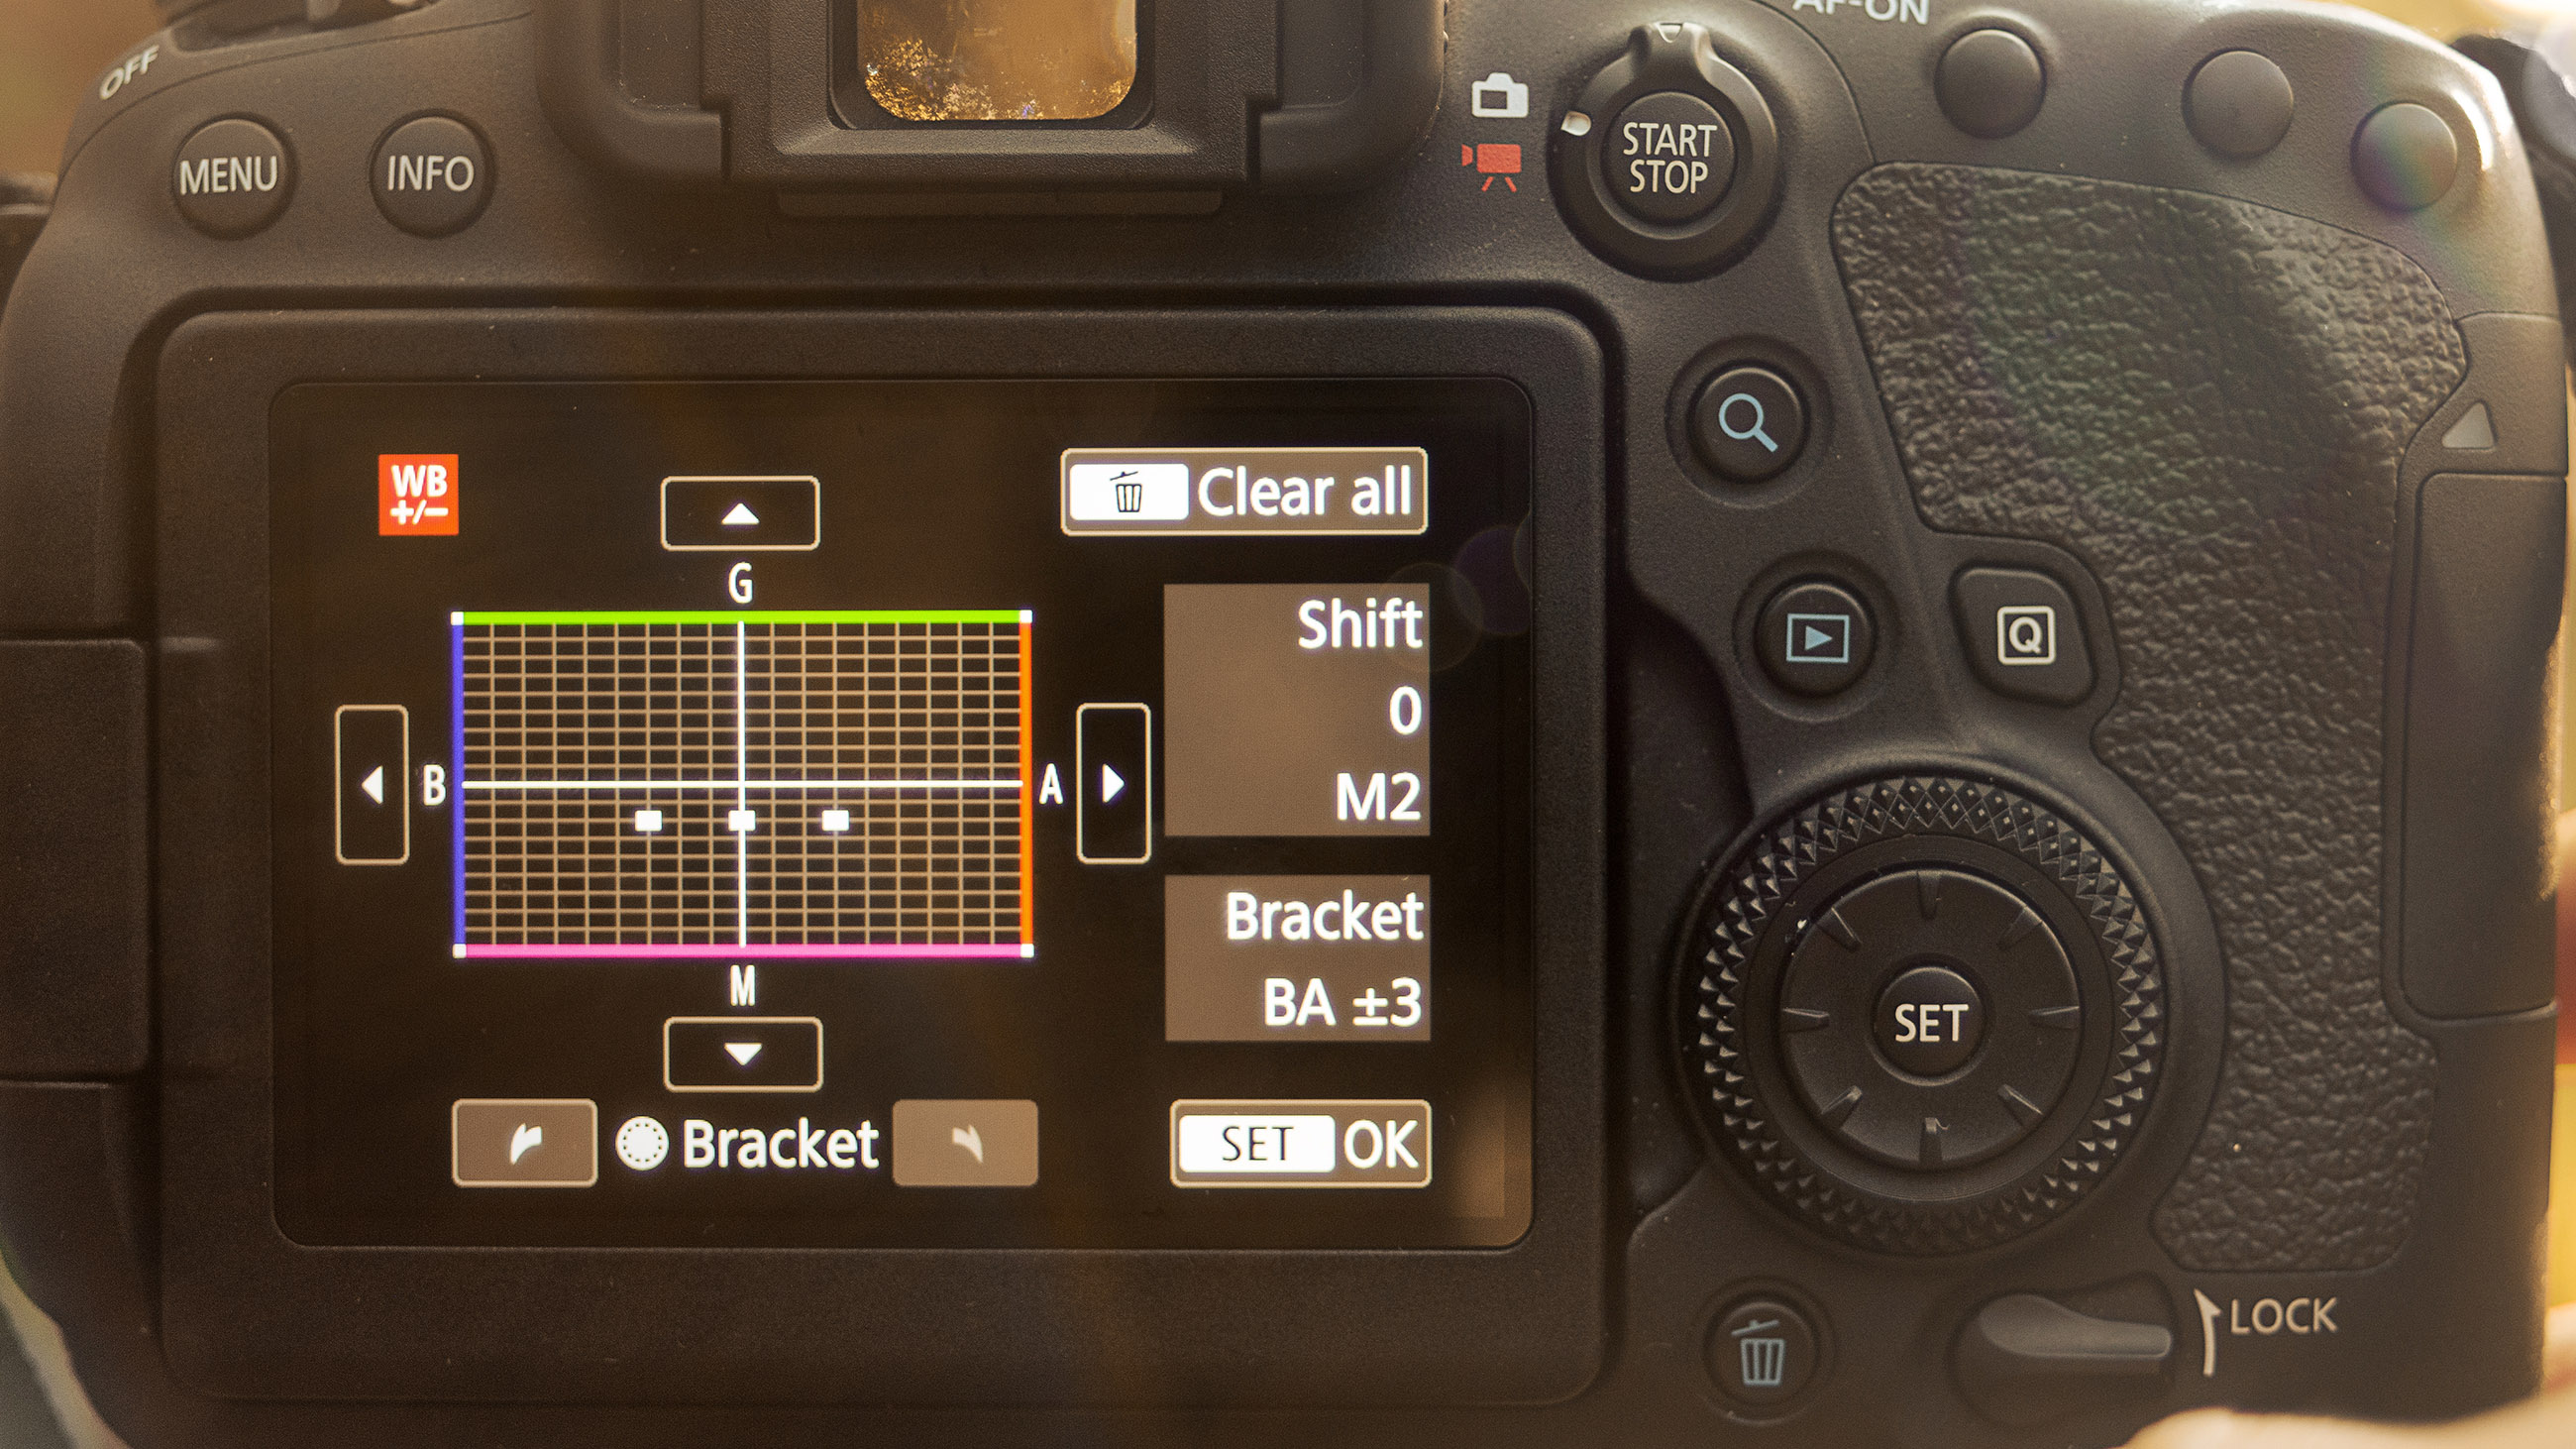
It is often possible to further customize the balance of the selected WB mode. Click Adjust and use the camera controls to add more green or magenta, for example, enabling you to perfectly render the tones in the current scene.
5) Bracket your WB
Many cameras enable the user to bracket the WB setting, in a manner similar to exposure bracketing. With this enabled you can shoot a sequence of frames, each with a WB either side of the selected parameters. You can also adjust the green / magenta and blue / amber shift amount.
6) Reshoot
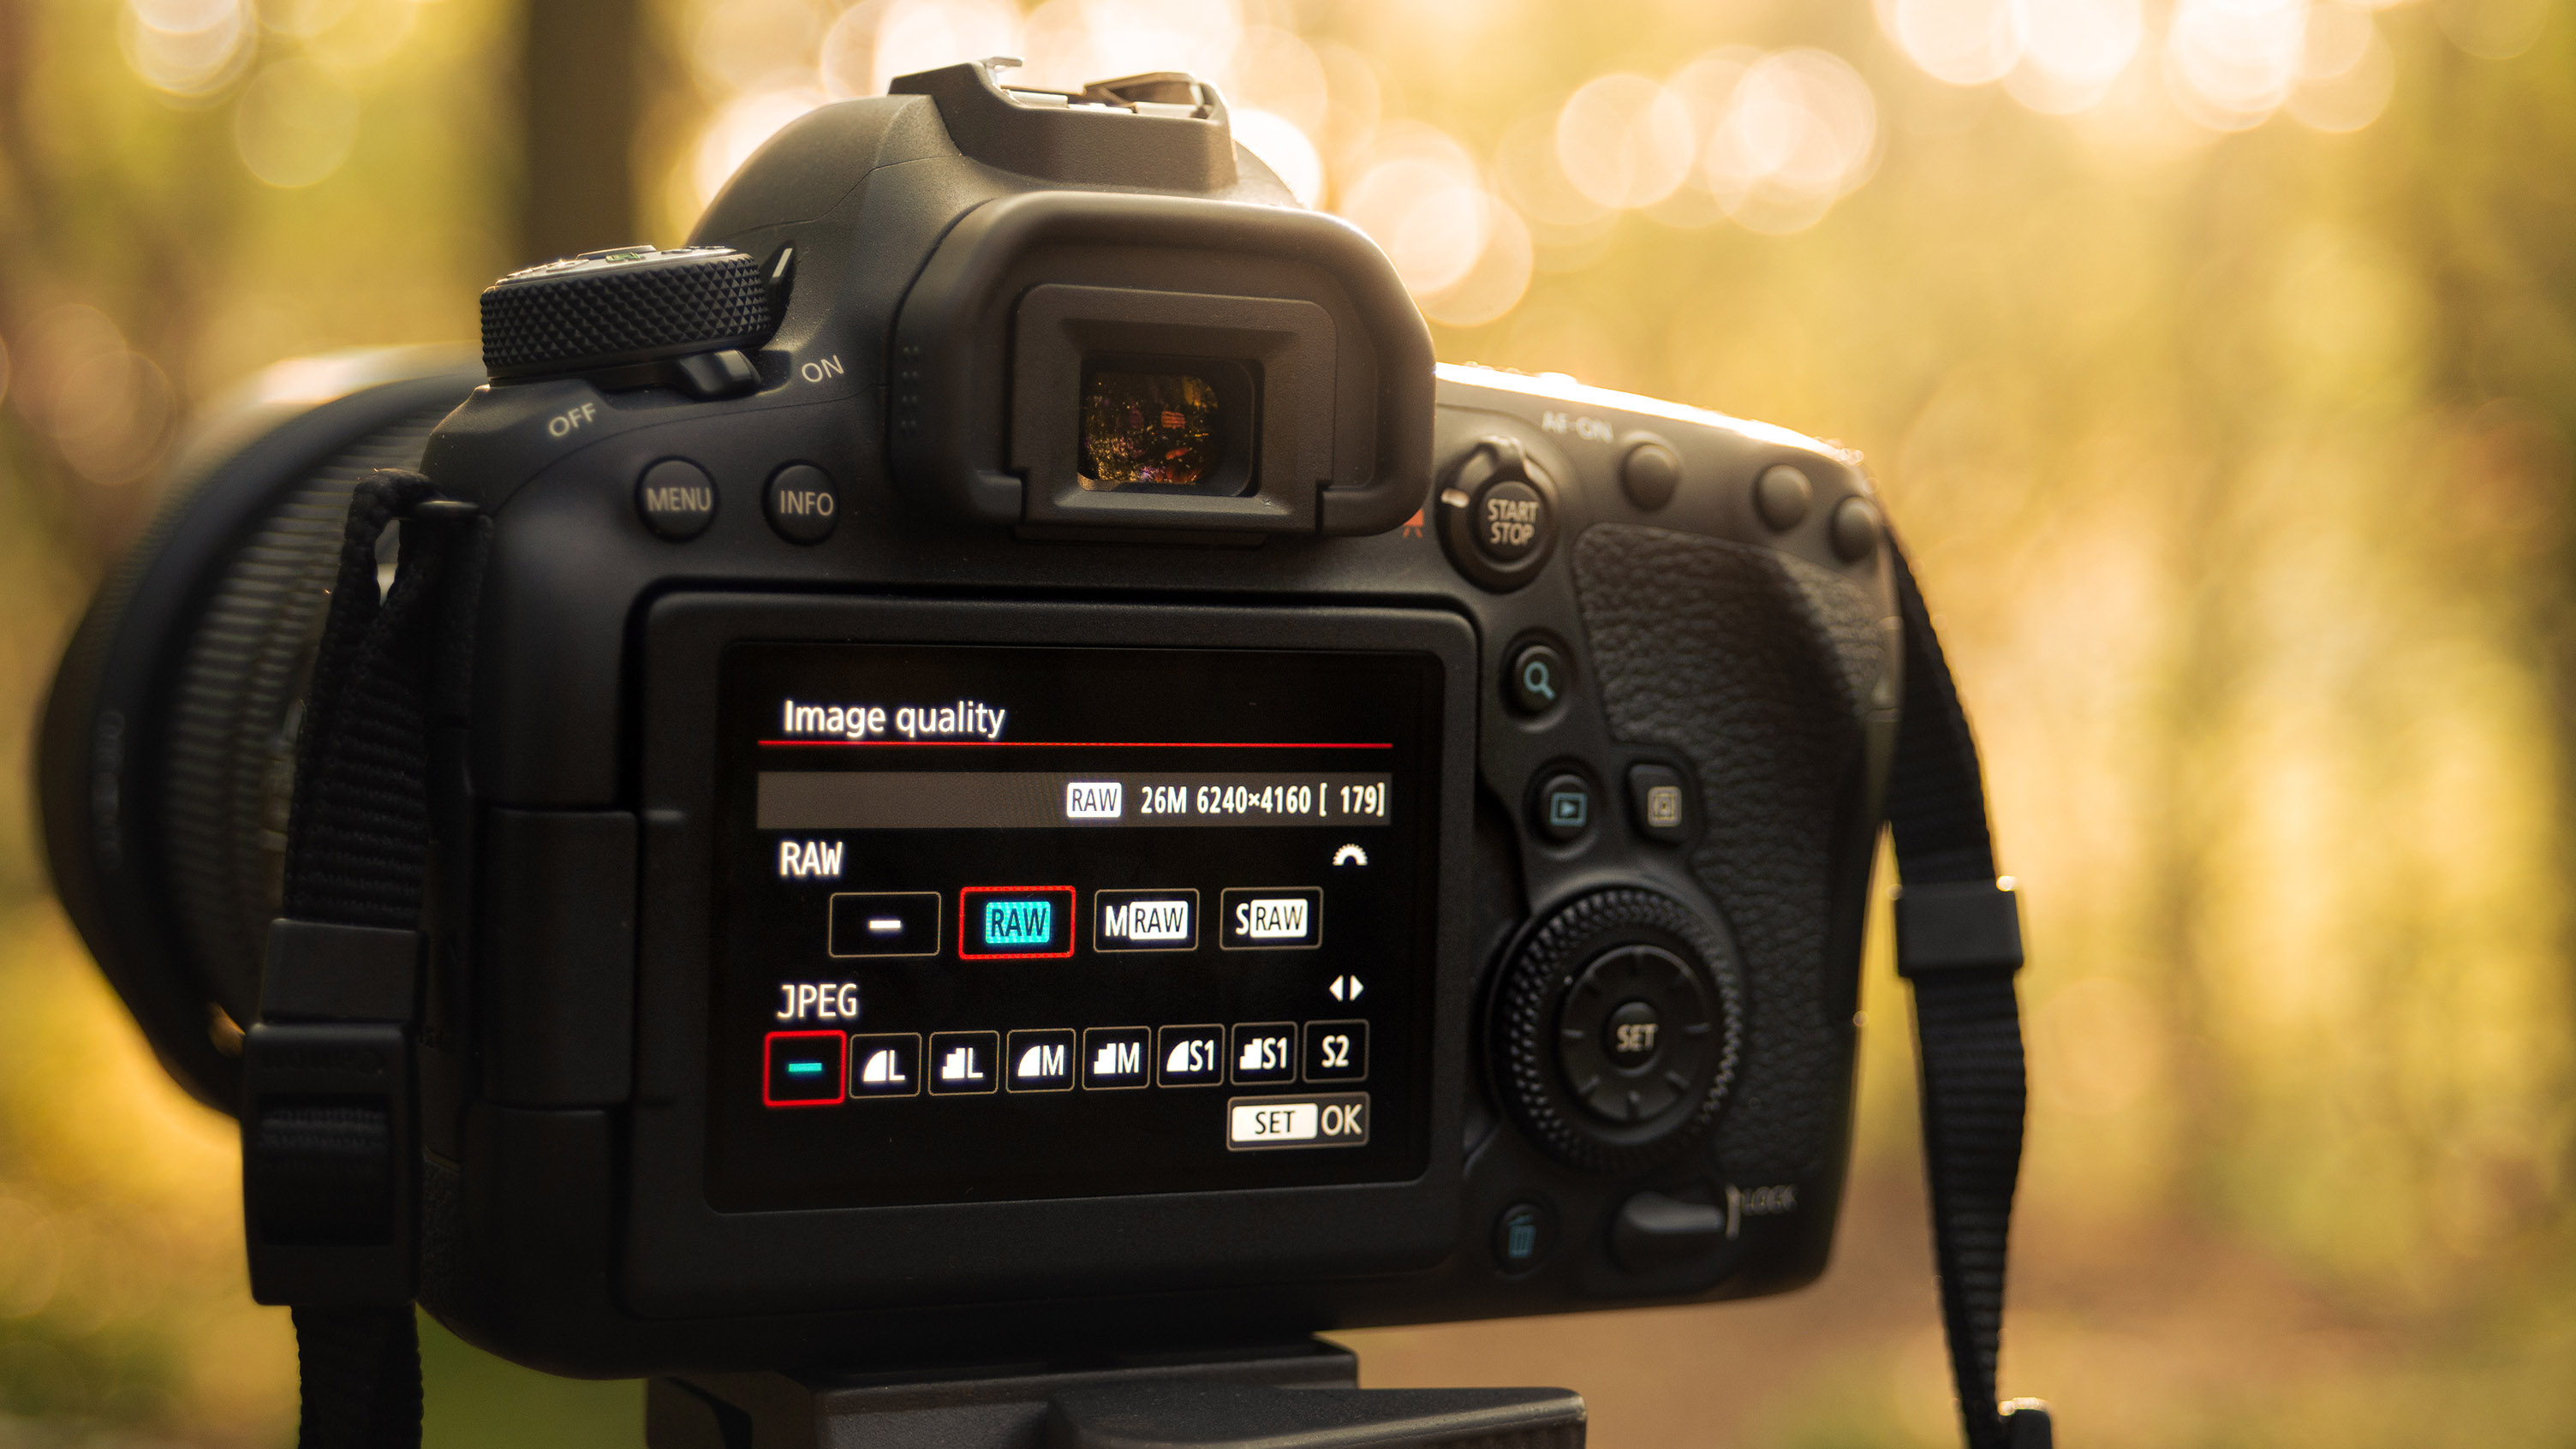
Using your series of images, compared to your original reference image, select the WB that ideally renders the dramatic autumn colors while not creating a false look. And always shoot RAW so that you can make further local adjustments in post-processing, should these be necessary.
Read more:
Best cameras for landscape photography
Best lenses for landscapes
Landscape photography tips
Best Black Friday camera deals
Best Cyber Monday camera deals
As the Editor for Digital Photographer magazine, Peter is a specialist in camera tutorials and creative projects to help you get the most out of your camera, lens, tripod, filters, gimbal, lighting and other imaging equipment.
After cutting his teeth working in retail for camera specialists like Jessops, he has spent 11 years as a photography journalist and freelance writer – and he is a Getty Images-registered photographer, to boot.
No matter what you want to shoot, Peter can help you sharpen your skills and elevate your ability, whether it’s taking portraits, capturing landscapes, shooting architecture, creating macro and still life, photographing action… he can help you learn and improve.
