22 techniques for taking your photography to the next level in 2022!
Master these creative projects over the coming months and make 2022 your most productive and rewarding photo year so far!
The best camera deals, reviews, product advice, and unmissable photography news, direct to your inbox!
You are now subscribed
Your newsletter sign-up was successful
There’s nothing better than making a fresh start and the beginning of the new year is a great way to make some new year photography resolutions, assess your photography skills and put a plan into place to improve your shooting techniques.
For this special feature we’ve rounded up 22 of the best techniques, kit and editing tips and tricks to help you into the new year and to get inspired.
From shooting at night, capturing luscious landscapes and taking perfect portraits, we’ve got it all covered.
Whatever kind of photos you like to shoot, our expert advice will help you improve your skills so that you can become a better photographer in 2022. Good luck!
01 Go out in the dark
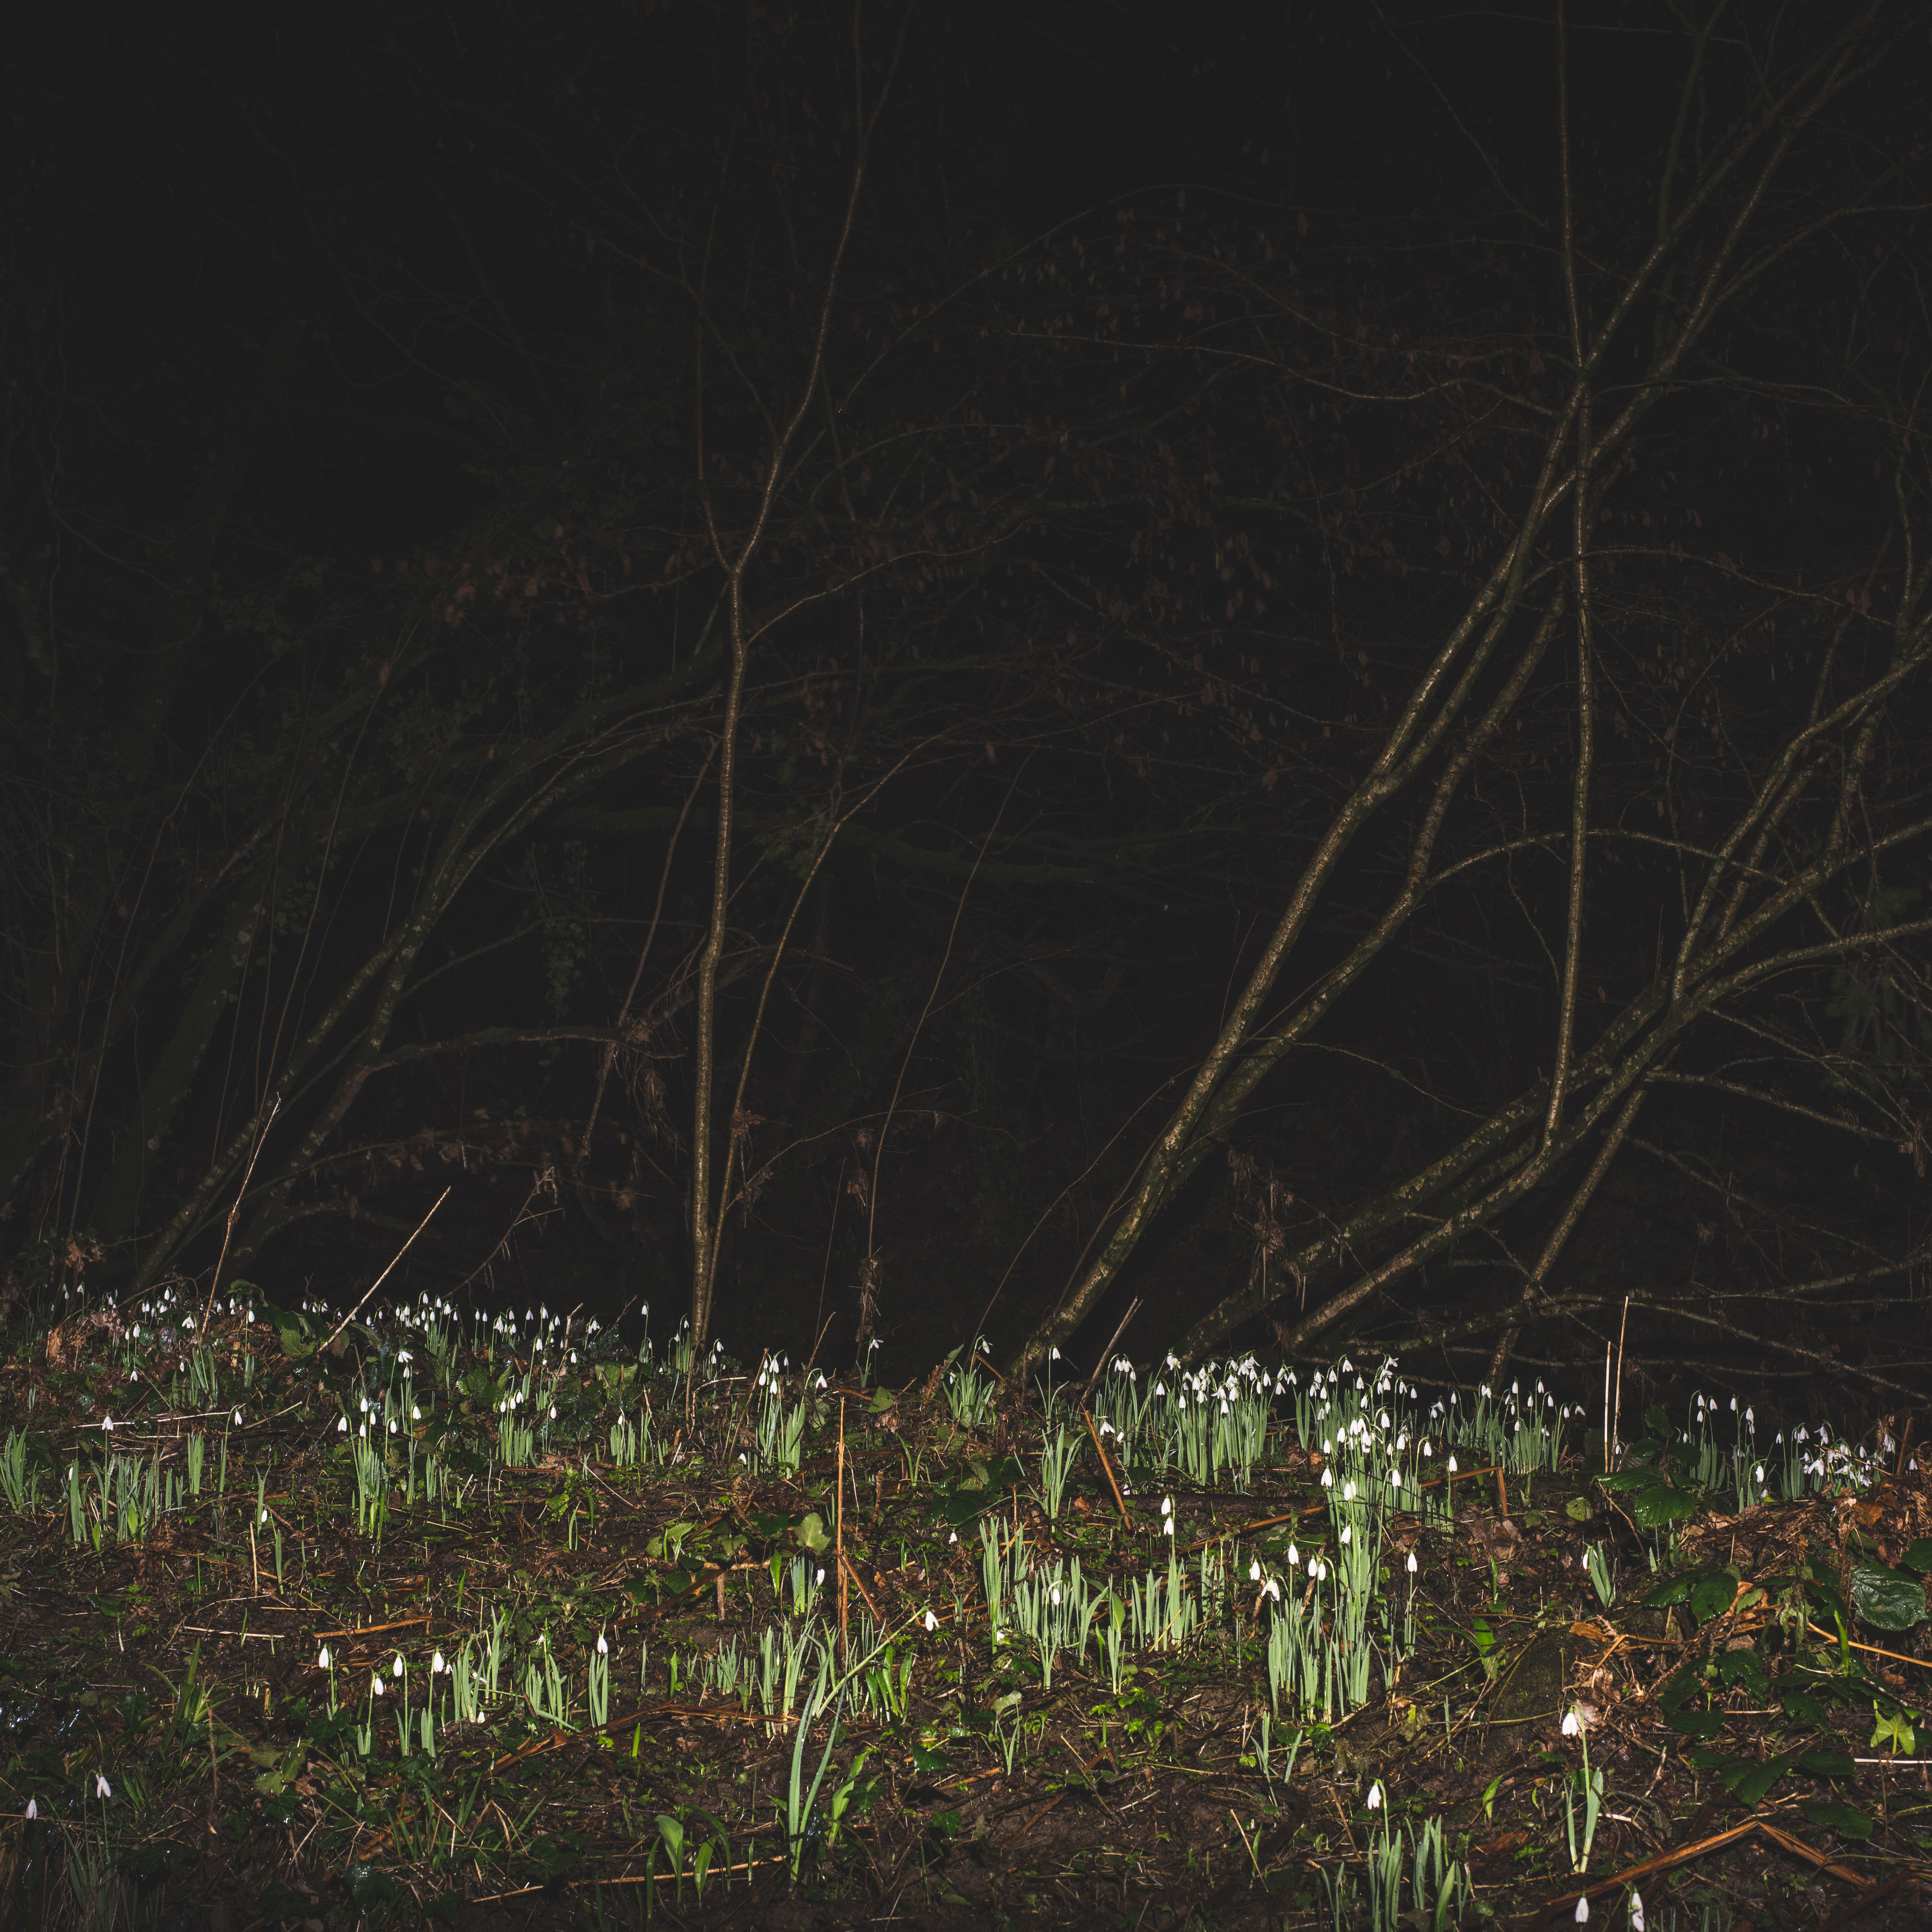
You may not feel like heading out in the dark and cold, especially if it’s raining. However, these images were taken in the middle of February on a night as just described. Shooting at night isn’t easy, as there are technical difficulties to get around including compositional and focusing issues however the results are worth it. Enjoy opening the shutter to reveal what’s in front of your eyes emerging from the dark. You may need to tweak your composition a few times until you are happy with the result. For focusing, take a torch and use this to light your scene and focus. We took our images in Raw to give us far more flexibility with the White Balance setting at the editing stage which needed correcting out of camera.
Expert advice
• Experiment with the shutter speed setting. If you are shooting with a shutter speed setting beyond 30 seconds you will need to manually open and close the shutter and time your exposure. A remote shutter release will come in handy.
The best camera deals, reviews, product advice, and unmissable photography news, direct to your inbox!
• Ensure your tripod legs have been securely grounded and the catches have been tightened.
• Experiment with the image aspect ratio – you don’t always have to have your images in the traditional 2:3 format. Try cropping your images into a square for an arty result.
02 Ice spy a scene!
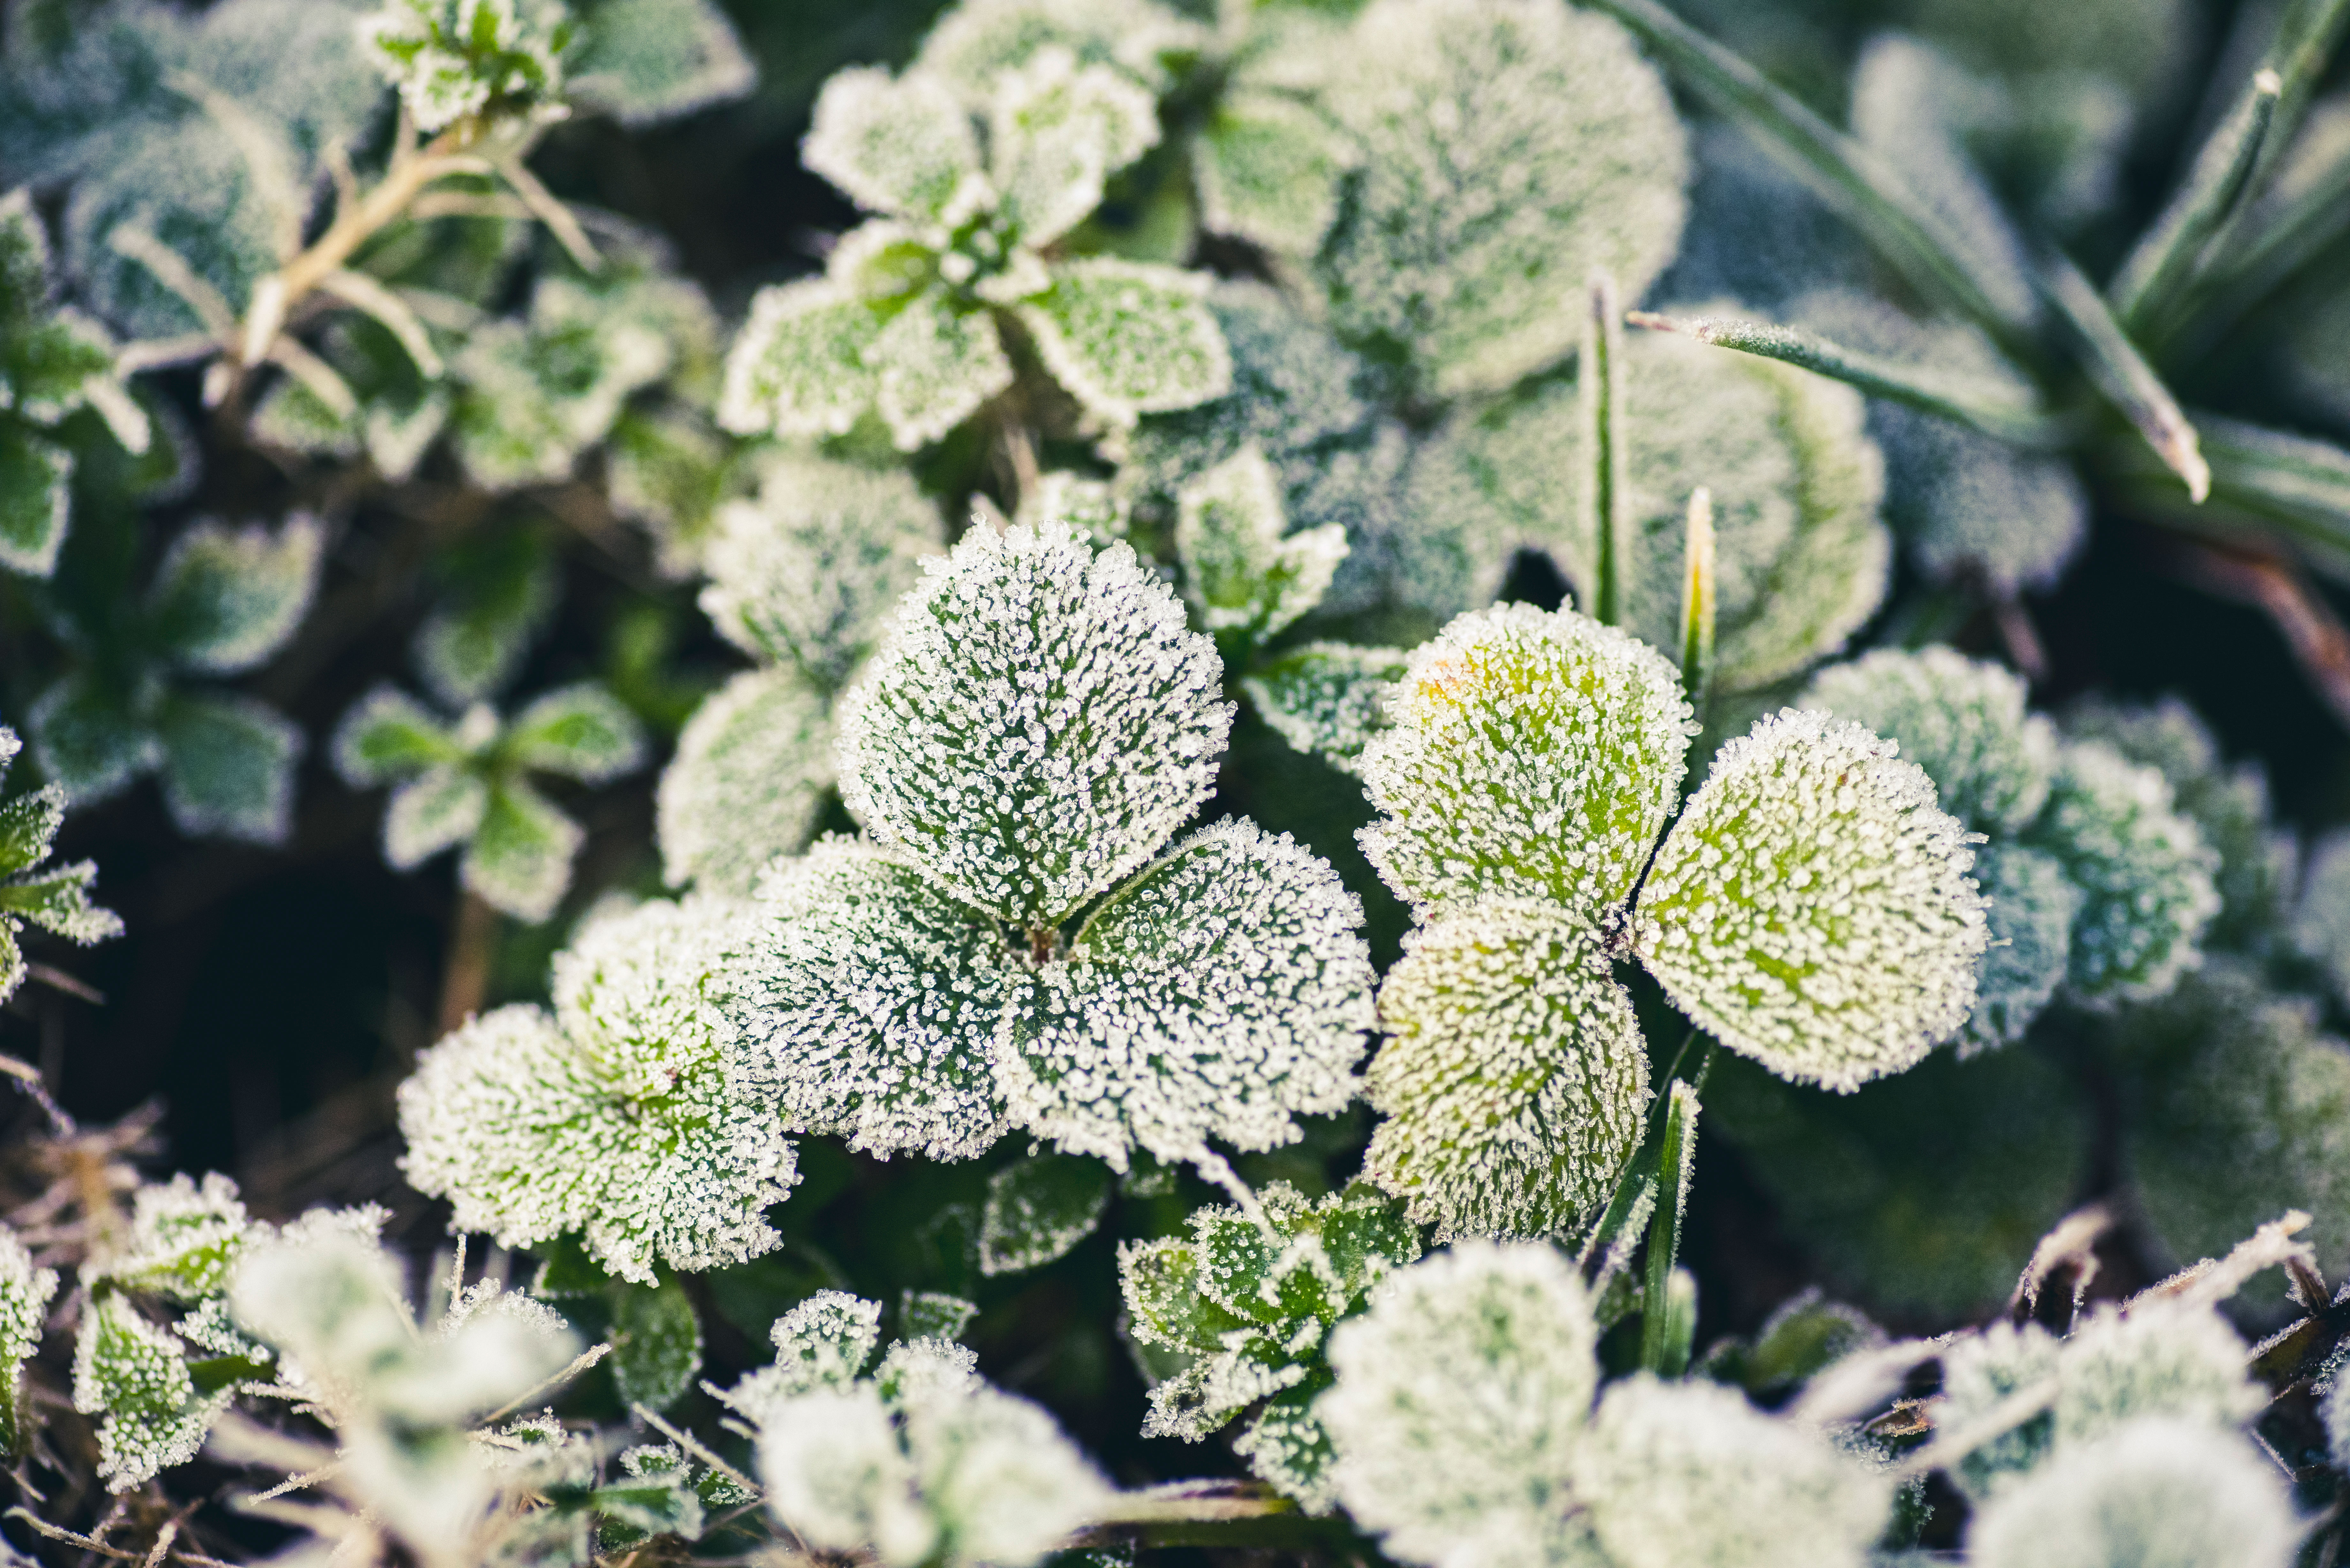
Although summer is definitely a more enjoyable and pleasant time of year to be outdoors, winter provides many opportunities to capture some great images. Take, for example, a frosty and icy morning where the foliage is covered in a glimmery shimmer. Get your macro lens out for best results and zoom in close to capture the textures and shapes. If you have clear weather conditions and wait for the golden sun to appear, your image will produce a nice contrasting warm glow against the cool frost and ice.
Expert advice
• Play around with the aperture setting. For example if you open it up it will produce a nice blurred backdrop or keeping it narrow (tripod recommended) will capture more icy detail.
• When it’s icy be careful and wear grippy shoes! You don’t want to be slipping around with your expensive camera equipment.
• Keep your hands warm. Invest in a pair of decent gloves if you are going to be outdoors a lot this winter. Wrist warmers are also a good option as an extra layer or for those milder winter days.
03 Perfect portraits
If you like taking portraits then it’s worth purchasing a decent portrait lens. If you stick to primes rather than zooms you will get a lot more glass for your buck – plus, a prime lens will open up to those gorgeous and desired wider aperture settings. This image was taken with a pre-owned Nikon AF-S 85mm f/1.8 G and cost under £250/$250… showing you don’t need to spend a lot to get professional results.
Expert advice
• When shooting at a wide aperture setting you need to be spot-on with your focusing. Use the single AF point setting to achieve this.
• The background is just as important as the subject even if it’s blurred. Watch out for distracting background elements poking out from your subject’s head.
• If you are looking to buy second hand, do so from a trusted dealer where the lens has been examined and tested thoroughly by an expert.
04 Less is more
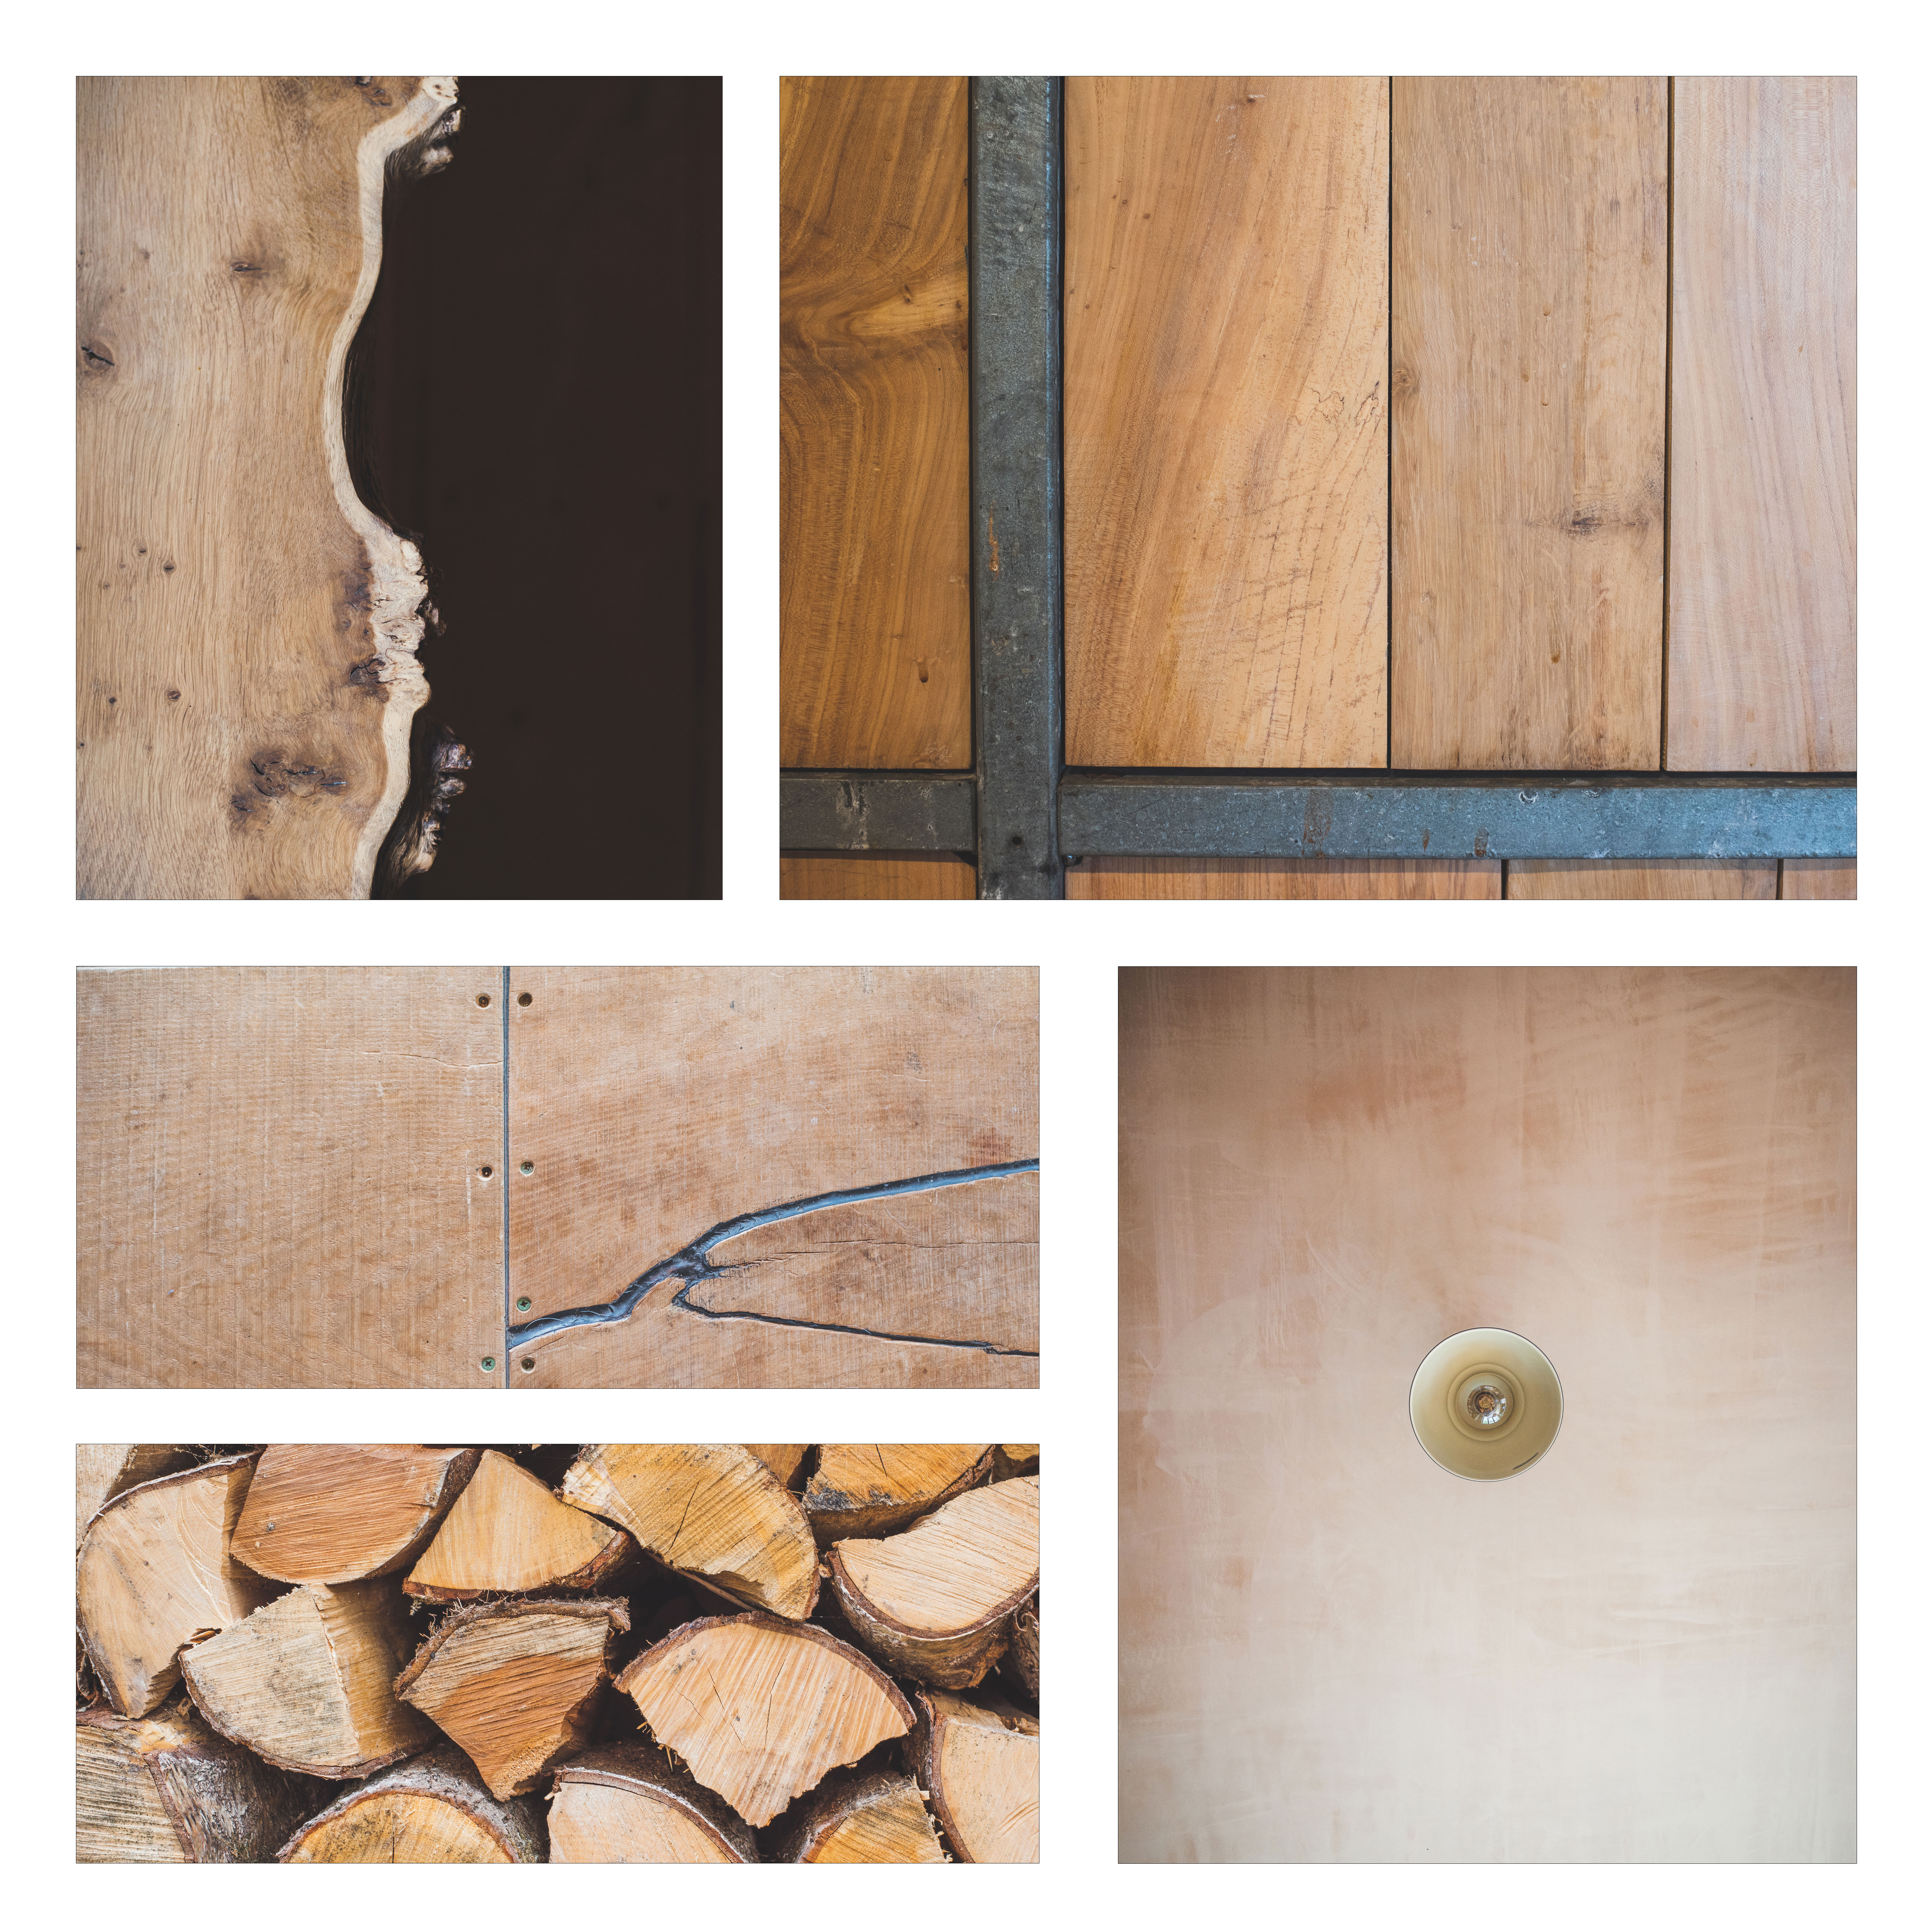
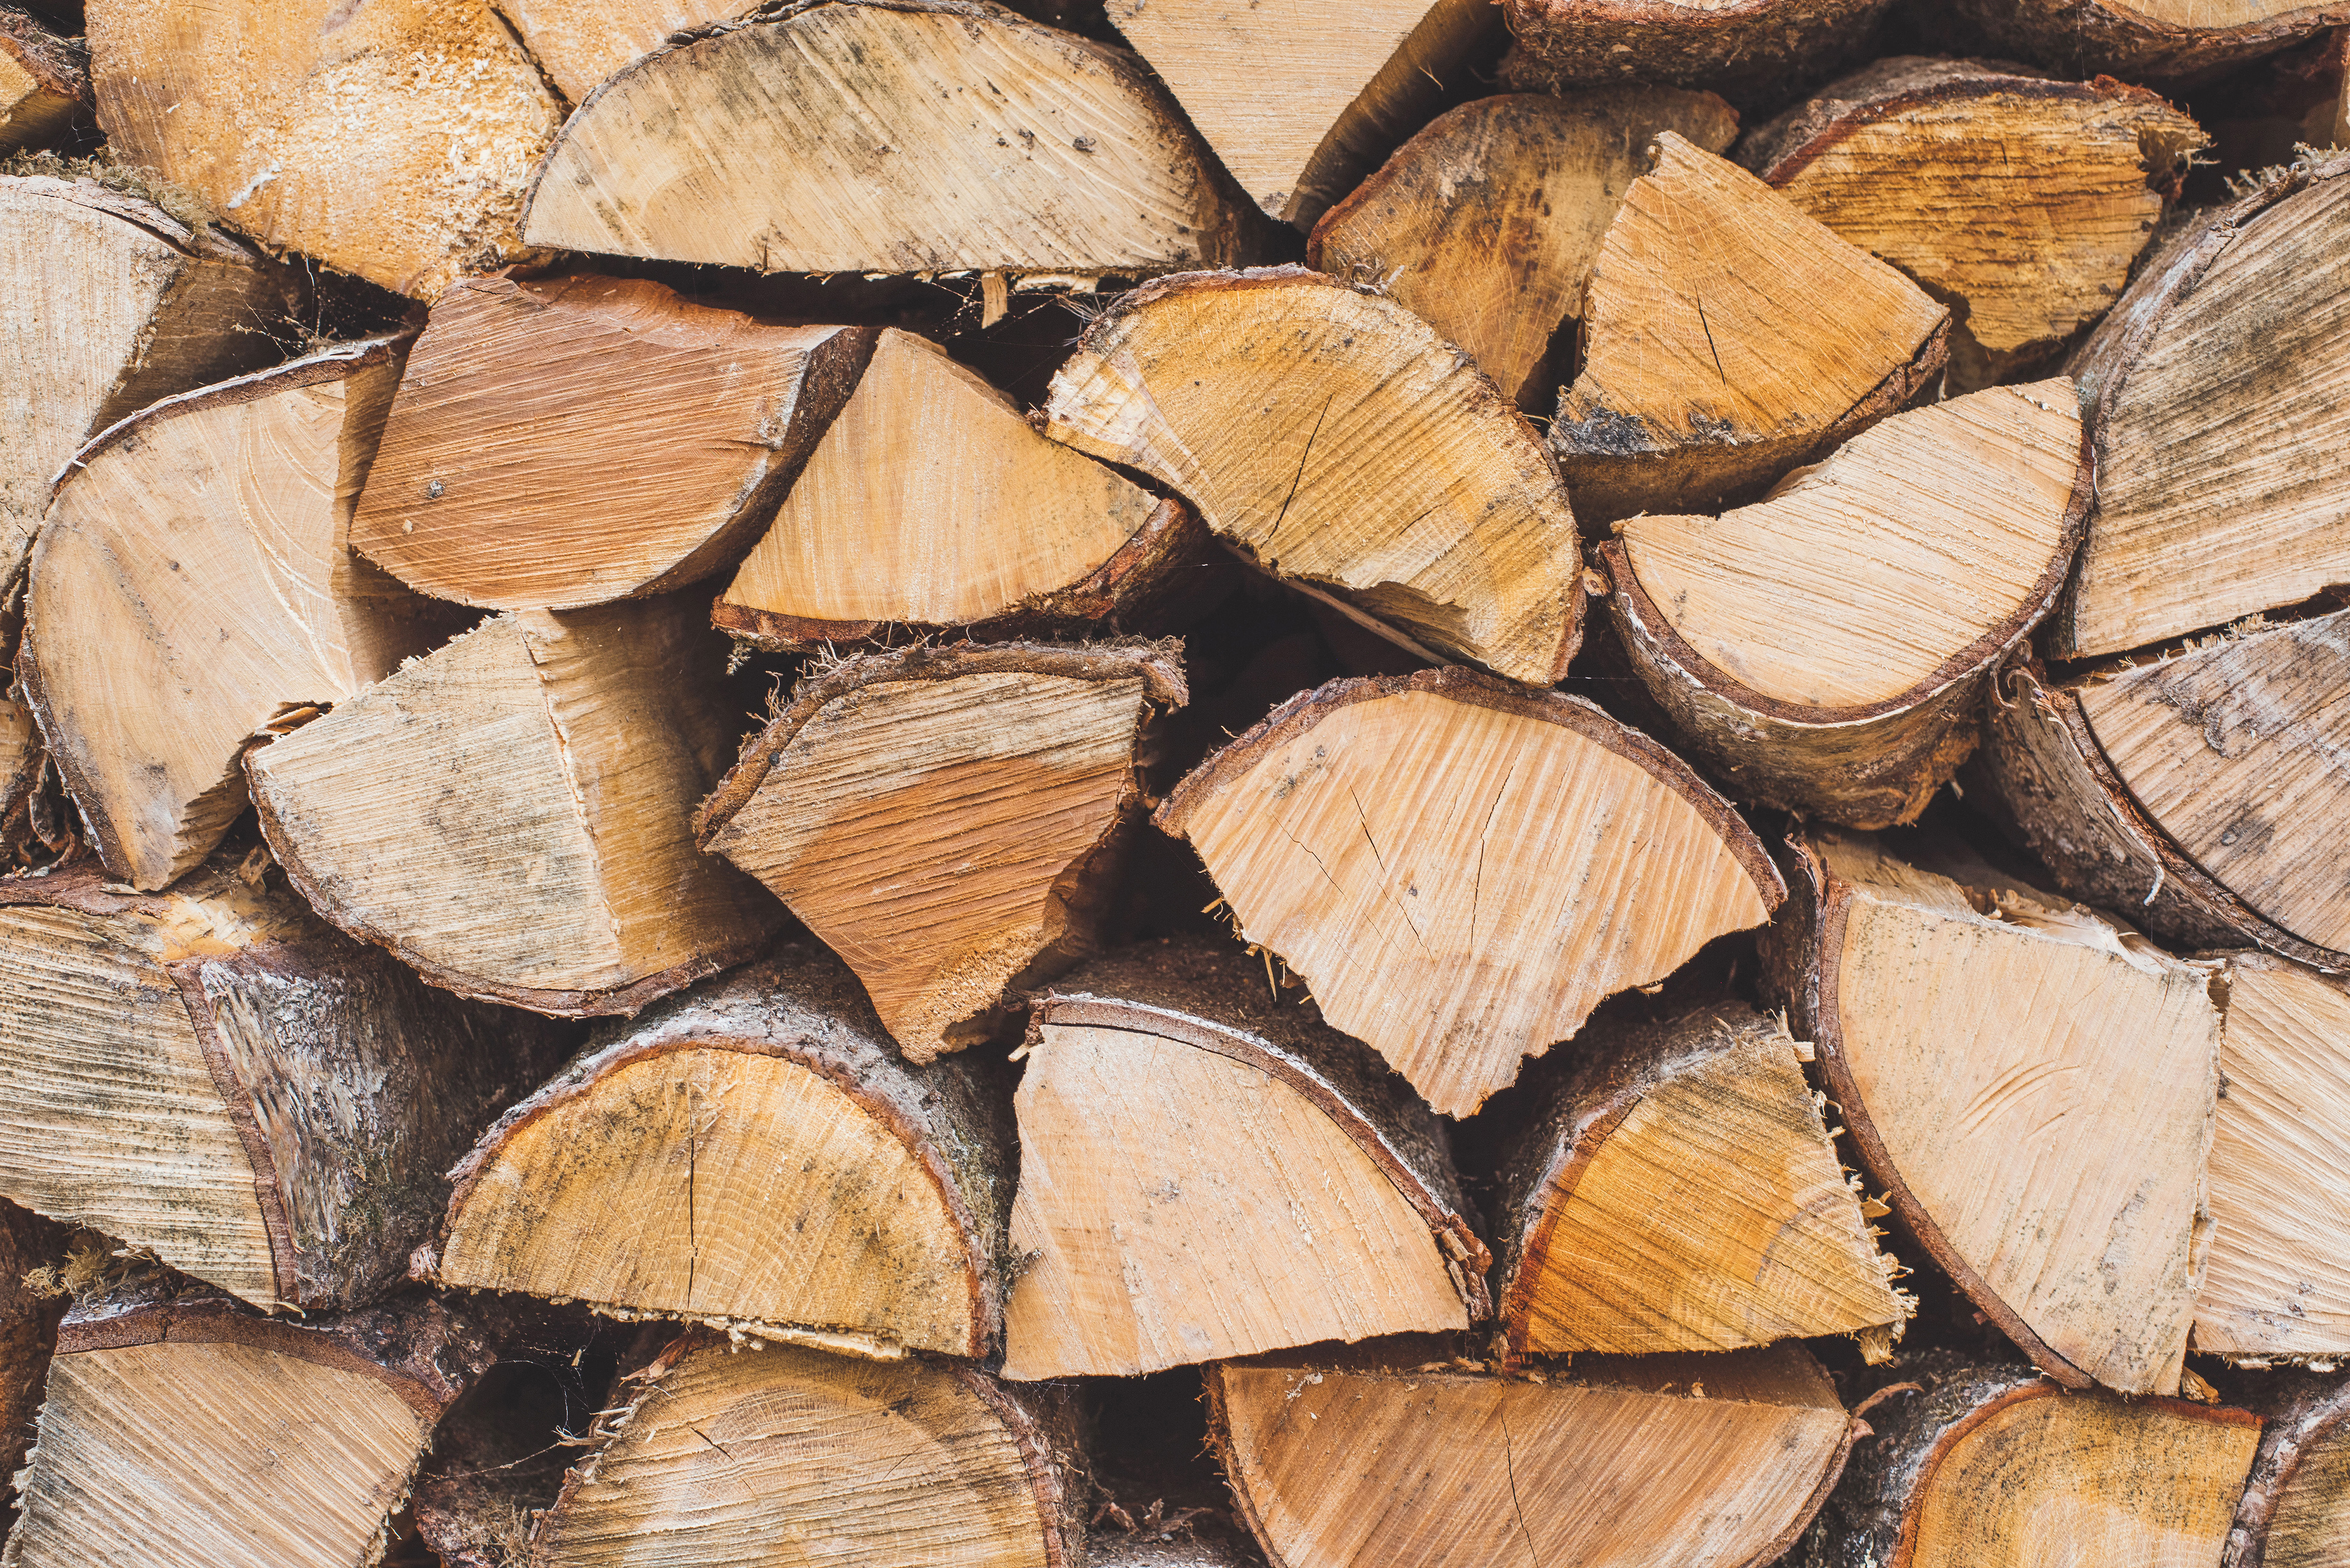
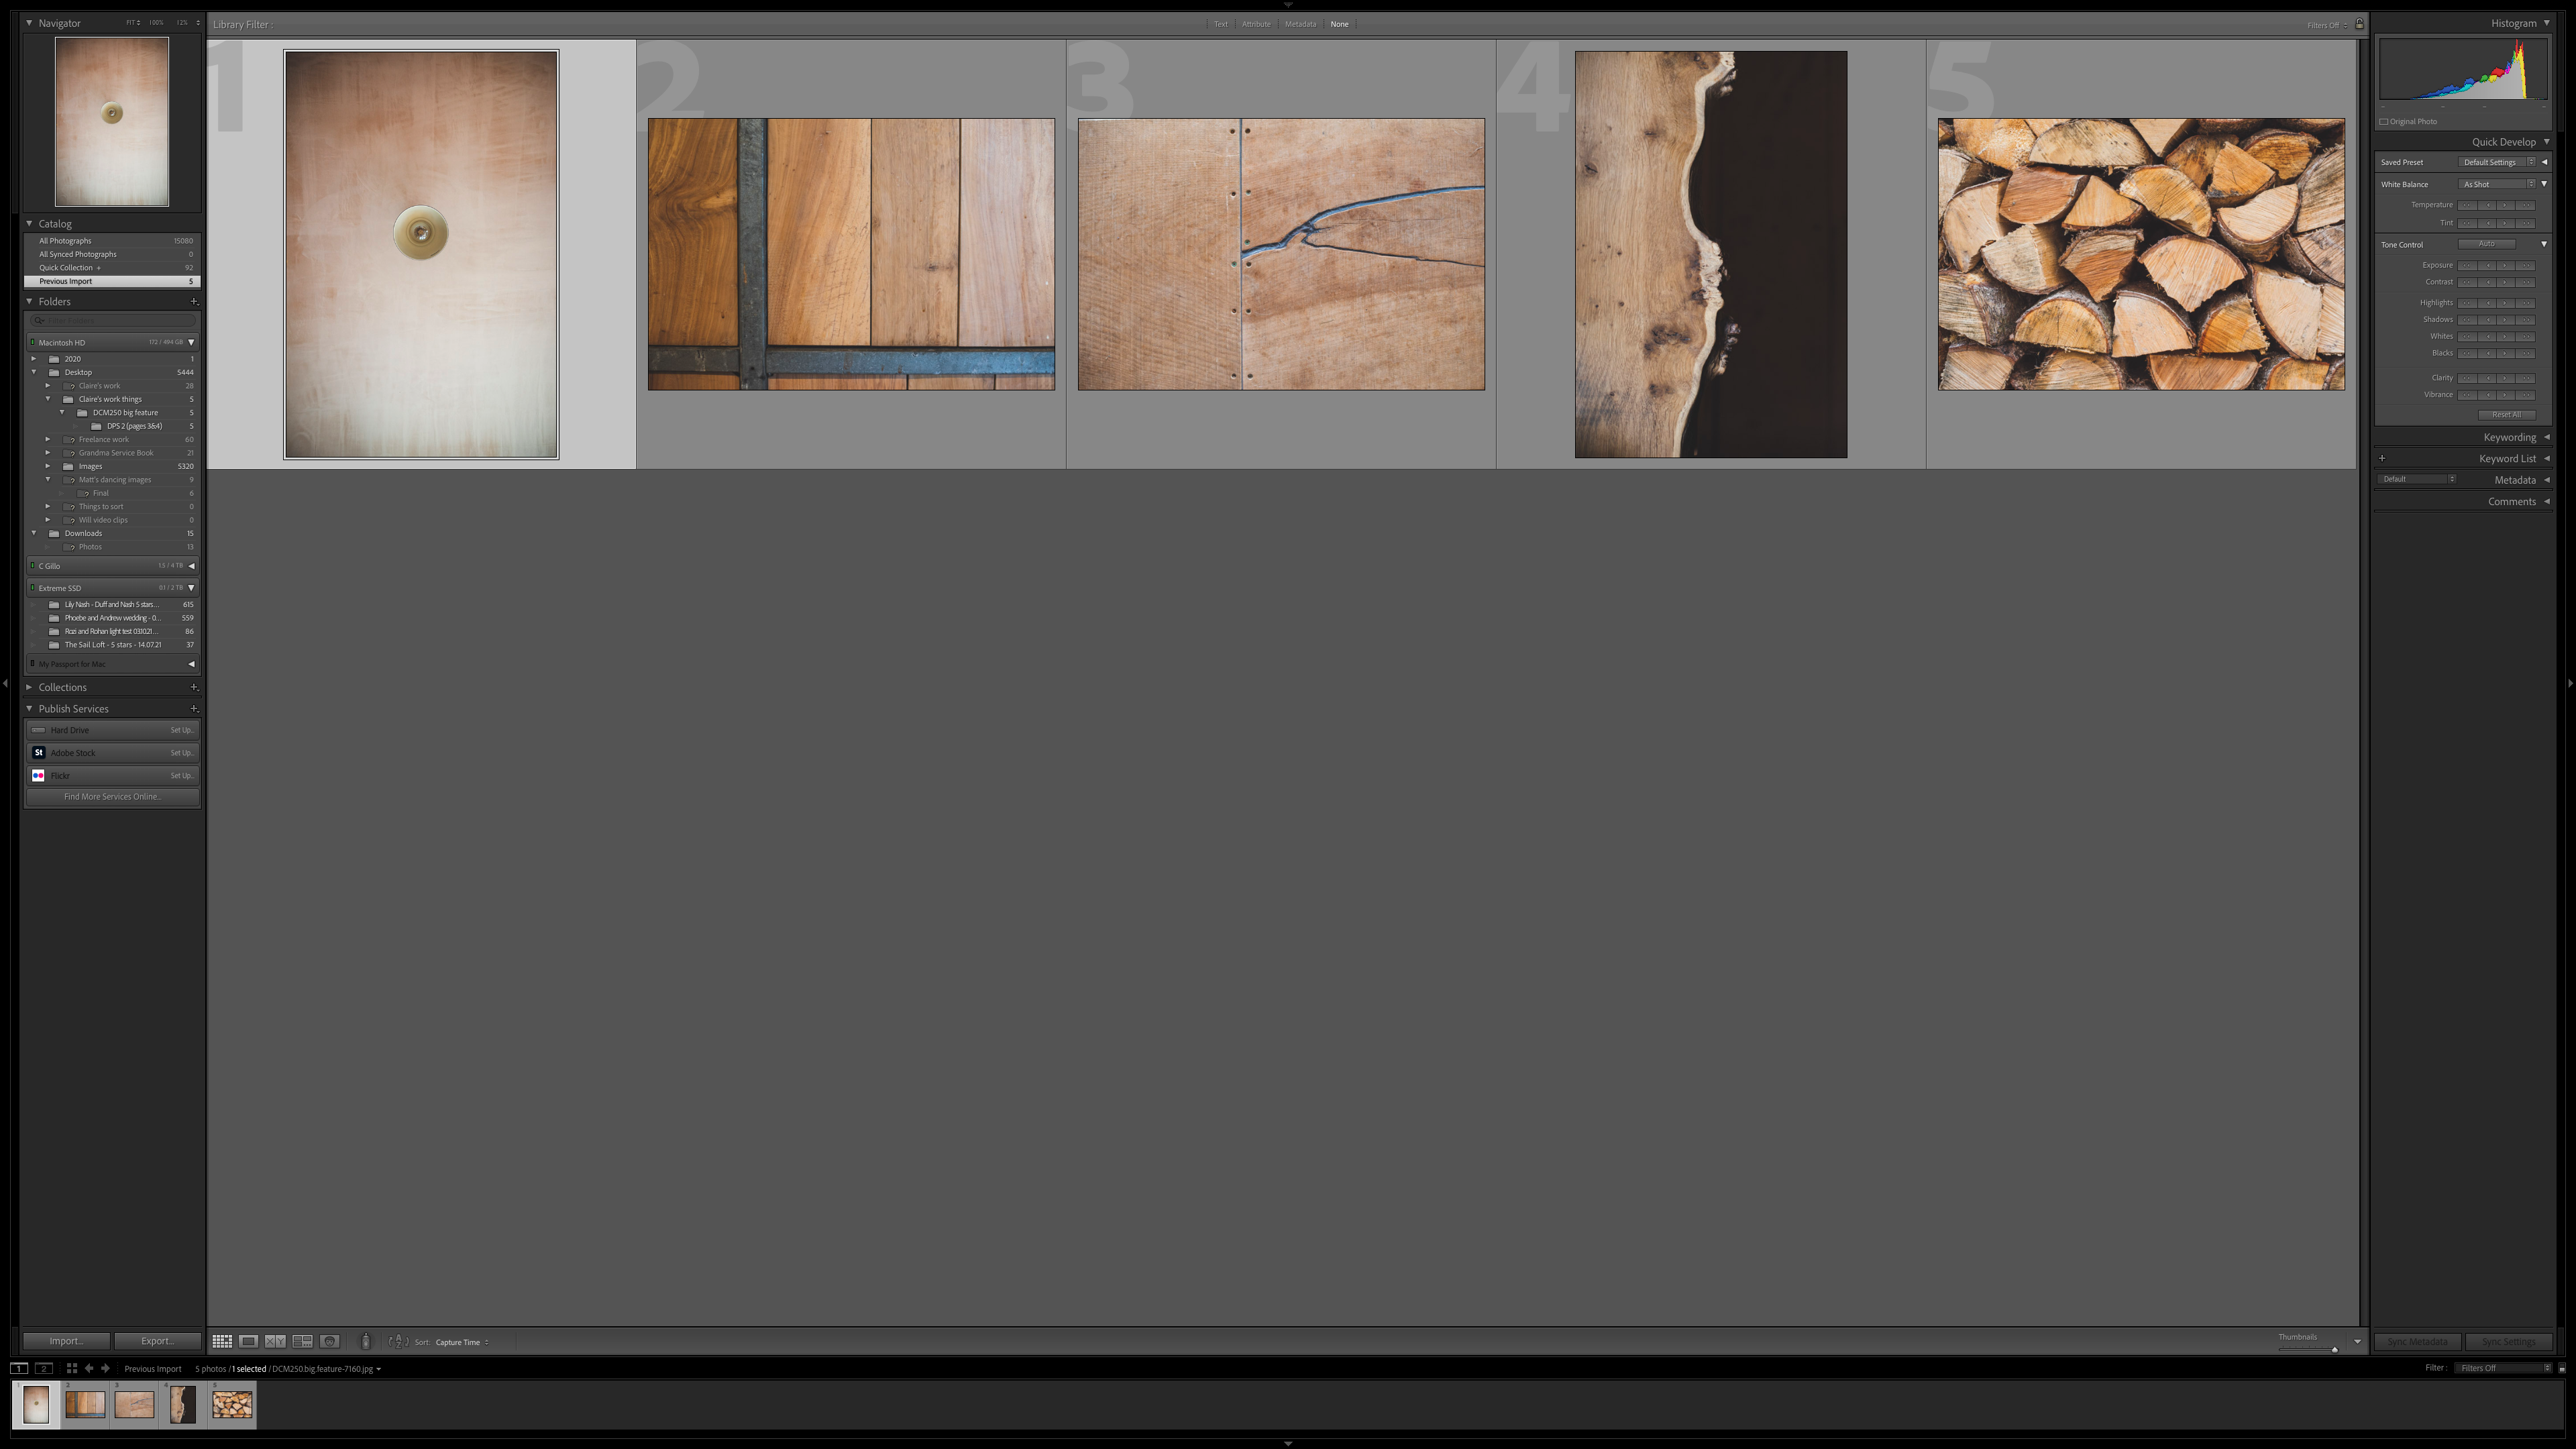
There are times in life and in photography when less is more, and when this is the case don’t be afraid to strip it right back. Shooting close-ups around the home is a great project to try on a rainy day. Zoom in on the details, concentrate on your compositions and remove any clutter such as cables and plug sockets from the corner of your frame to get crisp and clear results.
Now try this…
05 Make a monochrome triptych
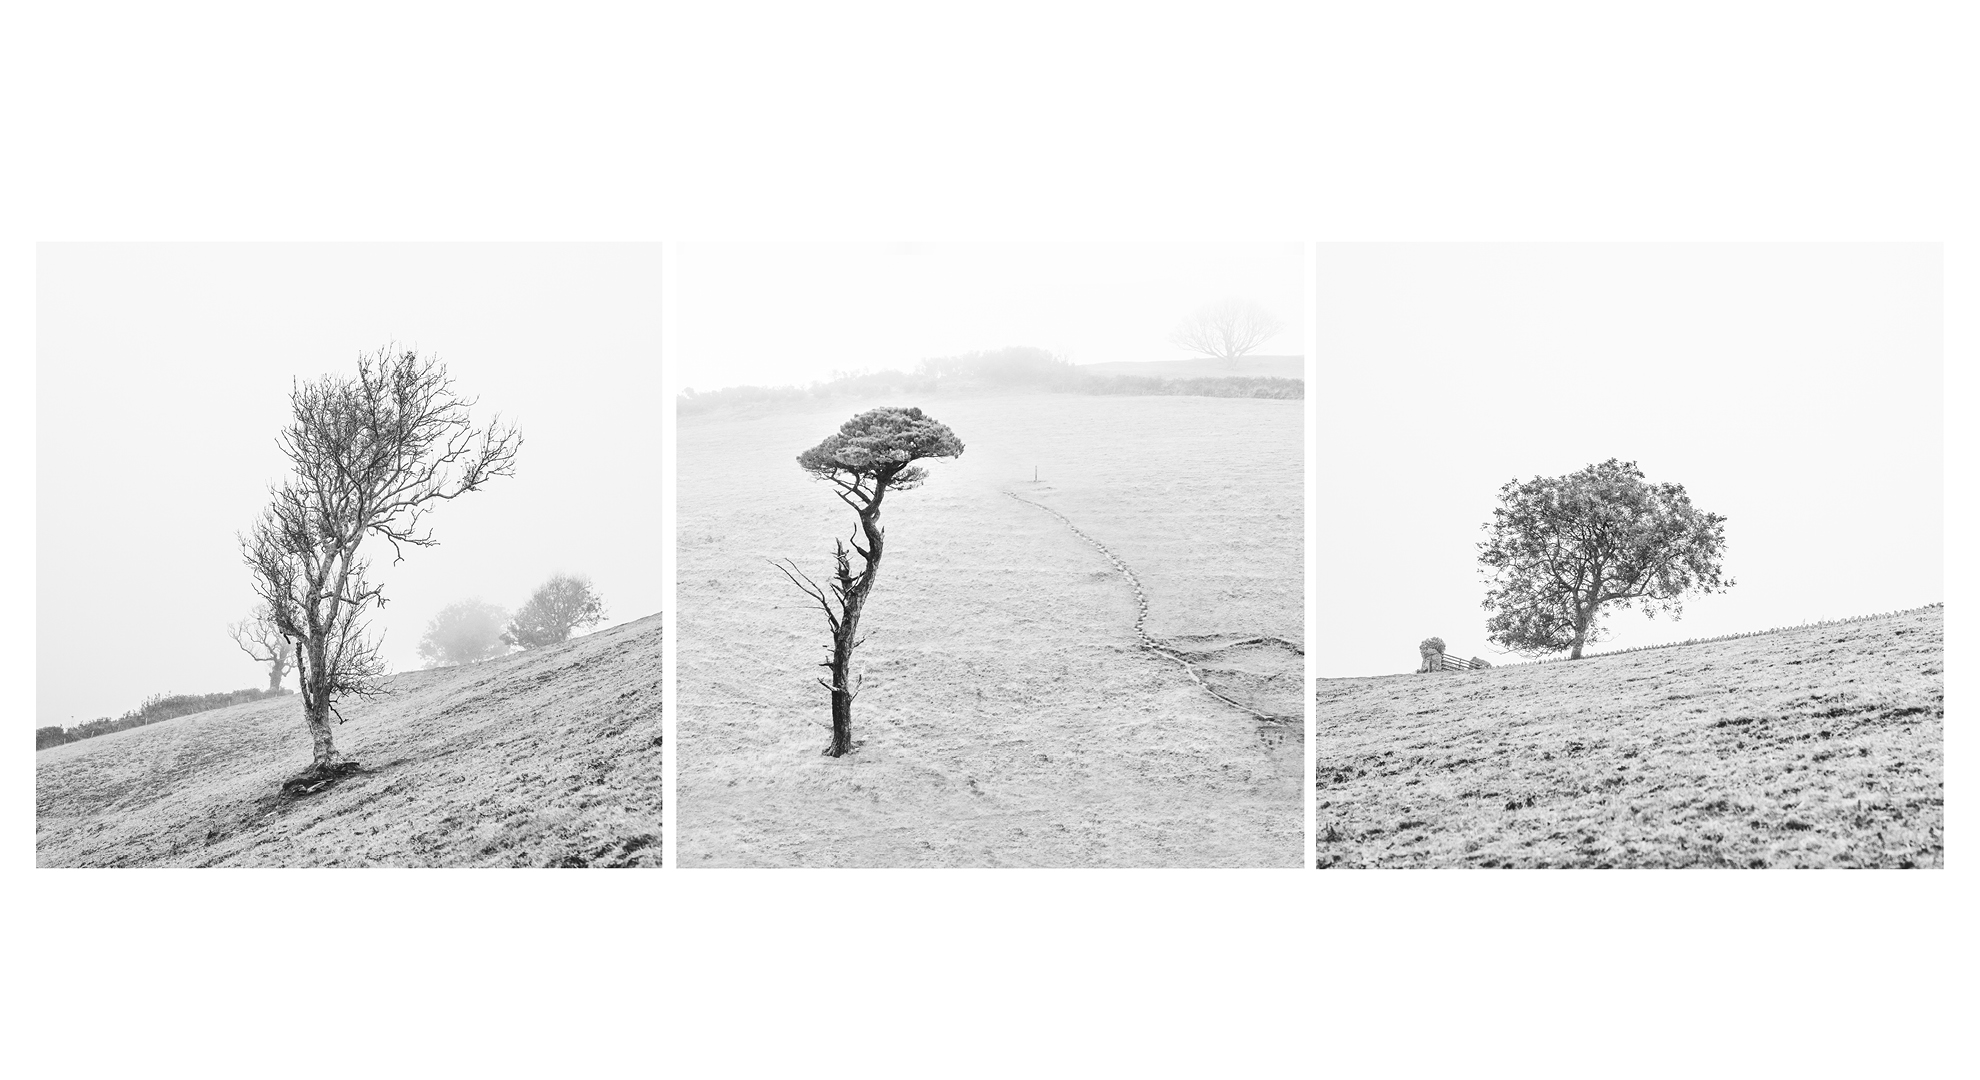
We all love a black and white image and the classic and traditional medium is still very much in vogue. When shooting in the monochrome medium, consider your subject. For example, in the landscape setting dull grey days and structural trees or objects work particularly well for this finish. Experiment with minimalism and your composition to get a pleasing result.
To go that extra step, shoot a series of images like our triptych that can be displayed together. Think about the order of the images and the best way to display them. For example, do the images work better with a border, framed, what ratio aspect should they be? All these creative decisions can be experimented with until you have a set you are happy with.
Expert advice
• Take advantage of filters to boost the tone and contrast in your scene. Consider using a photo filter out on your shoot if you like to get it right in camera.
• Shoot in Raw and at the editing stage use the colour channels in your black and white conversion to make the most from the scene.
• Make selective dodge and burn adjustments to darken the shadows or boost the highlights. Build up the effect slowly so you have more control over the final outcome.
06 Arty interiors
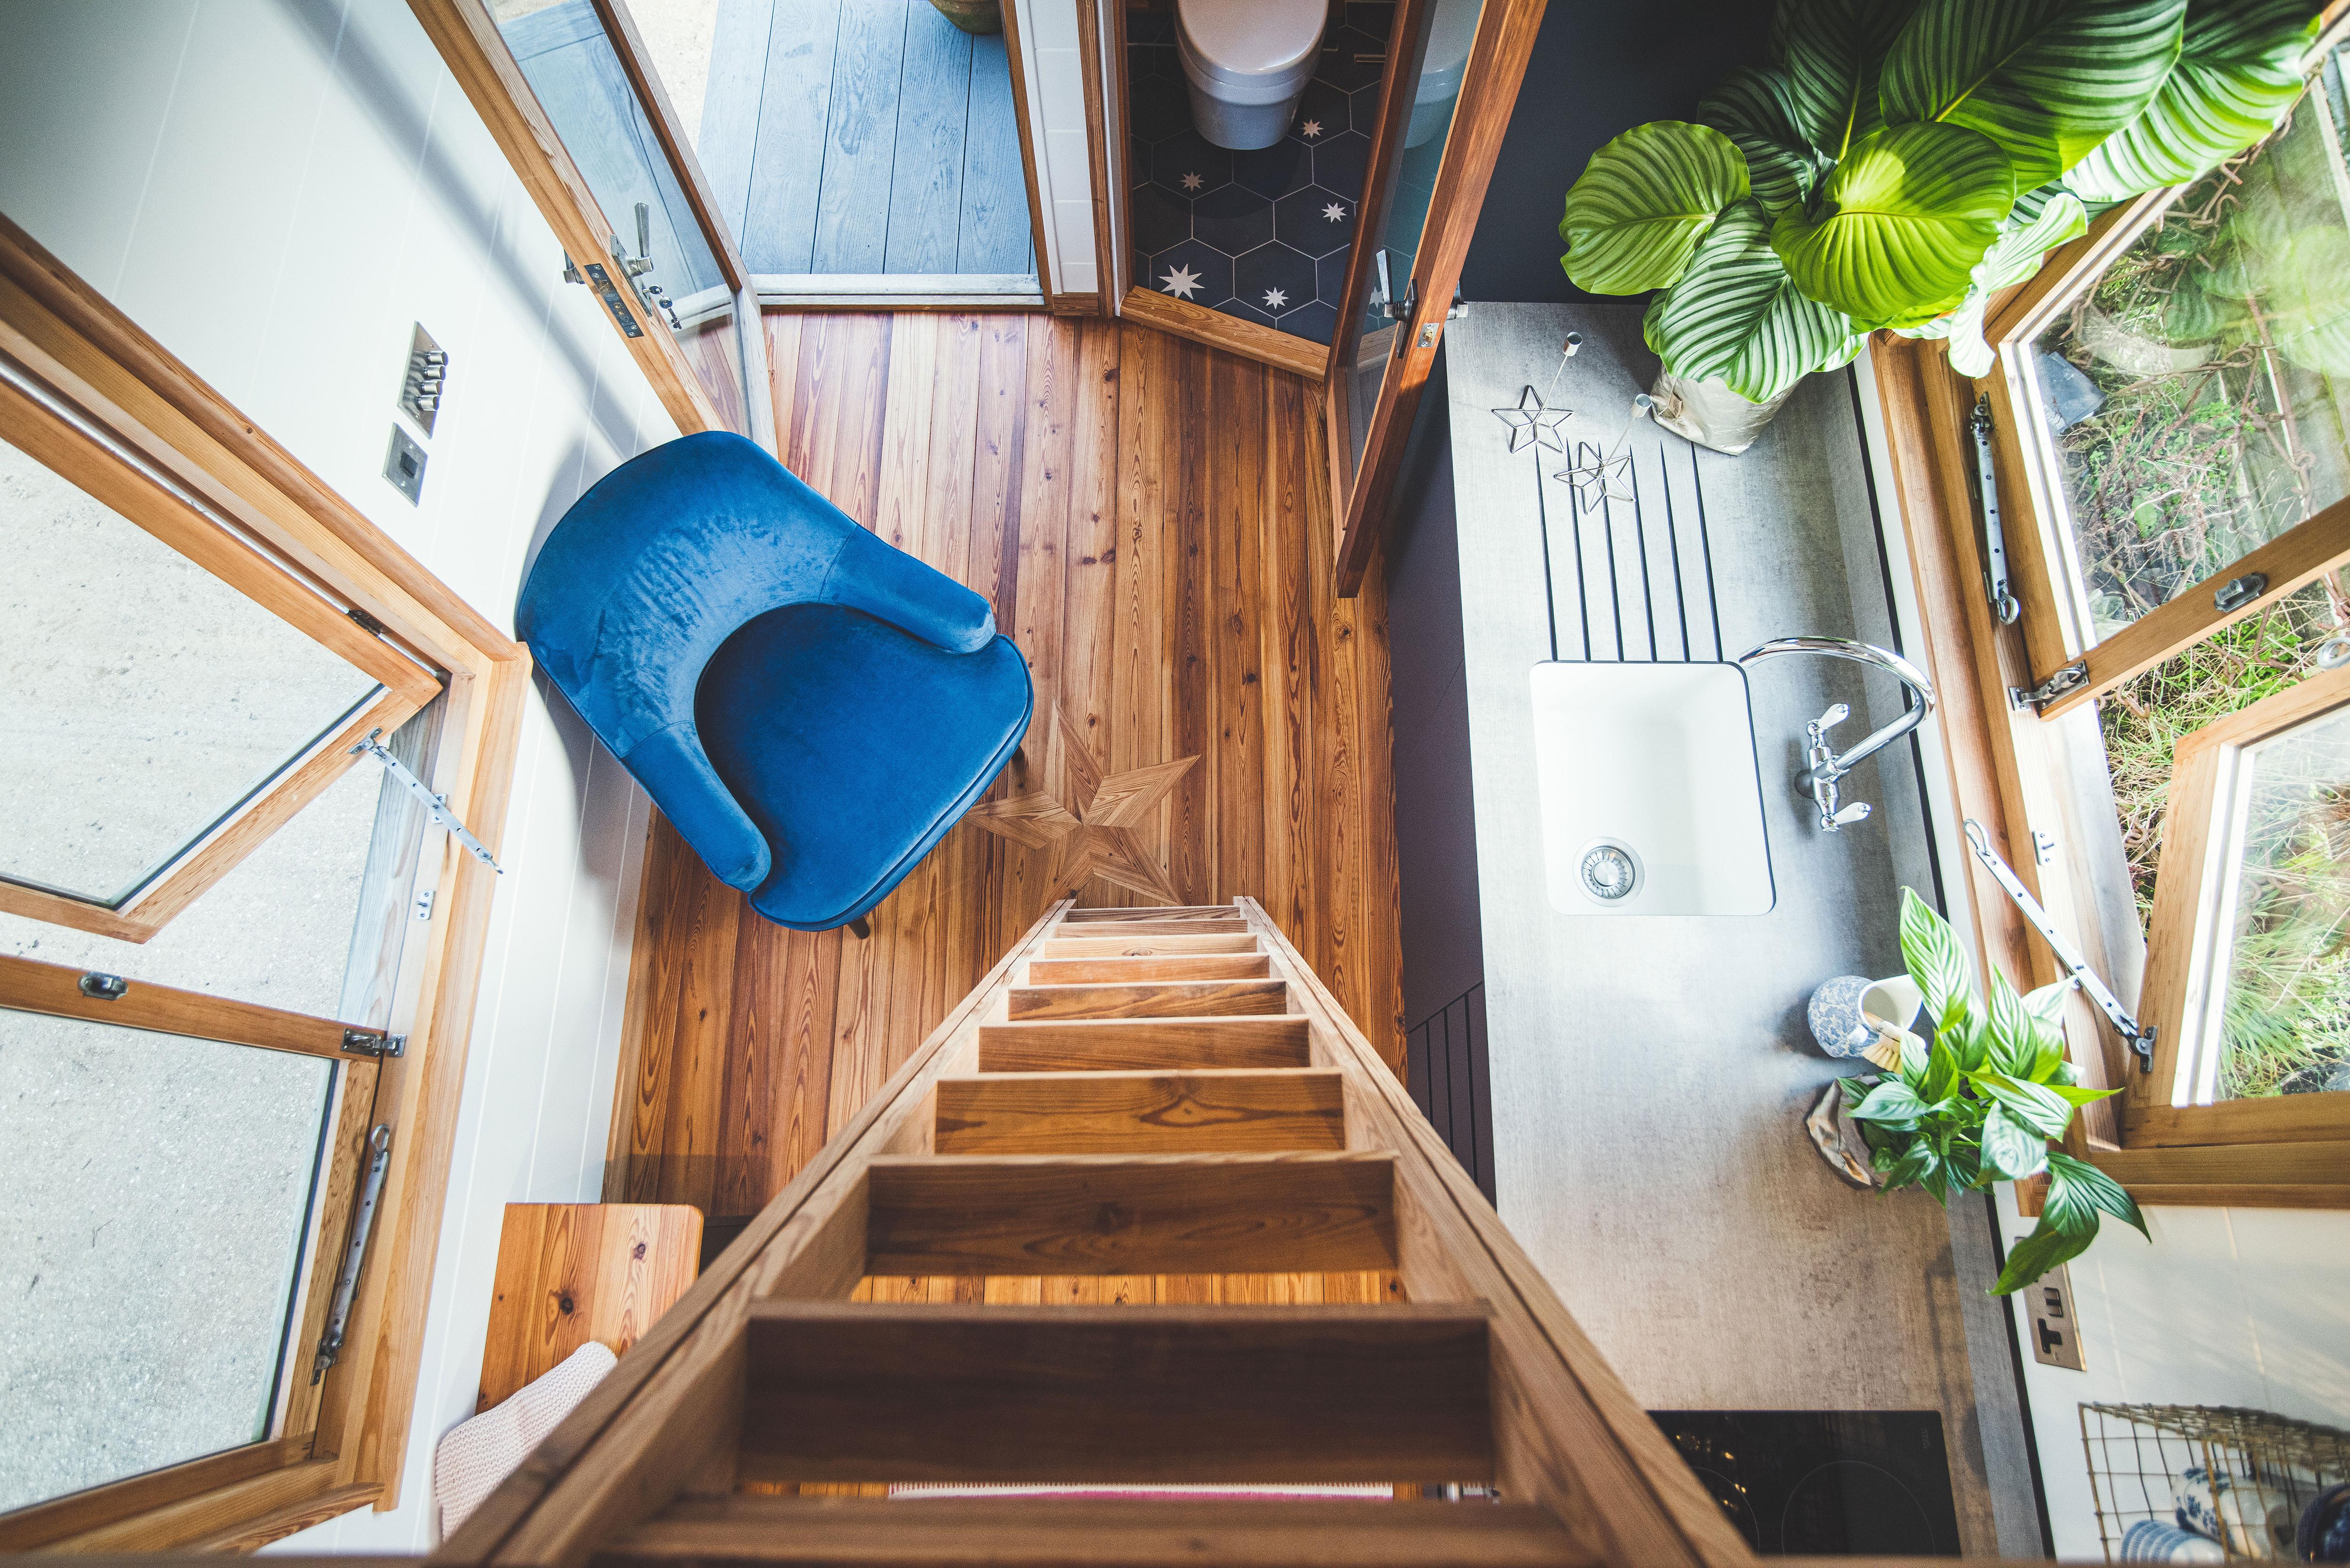
Small spaces are great fun to photograph but beware they come with challenges! For example, how do you shoot the scene when there is little space to maneuver or set up a tripod? We used a variety of techniques to get our shots from using a portable tripod arm to hanging out (safely) on top of a ledge to get our shots.
A wide-angle lens such as a 16-35mm will definitely come in handy when photographing small interior spaces. Watch out for lens distortion, though – like barrel distortion, which is where the lens turns straight lines into curves. These can often be corrected at the image editing stage depending on how bad the distortion is.
Expert advice
• Take advantage of a nice day and use the natural light to enhance the scene. If there is a big difference between the highlights and shadows in the image we recommend bracket exposing the image.
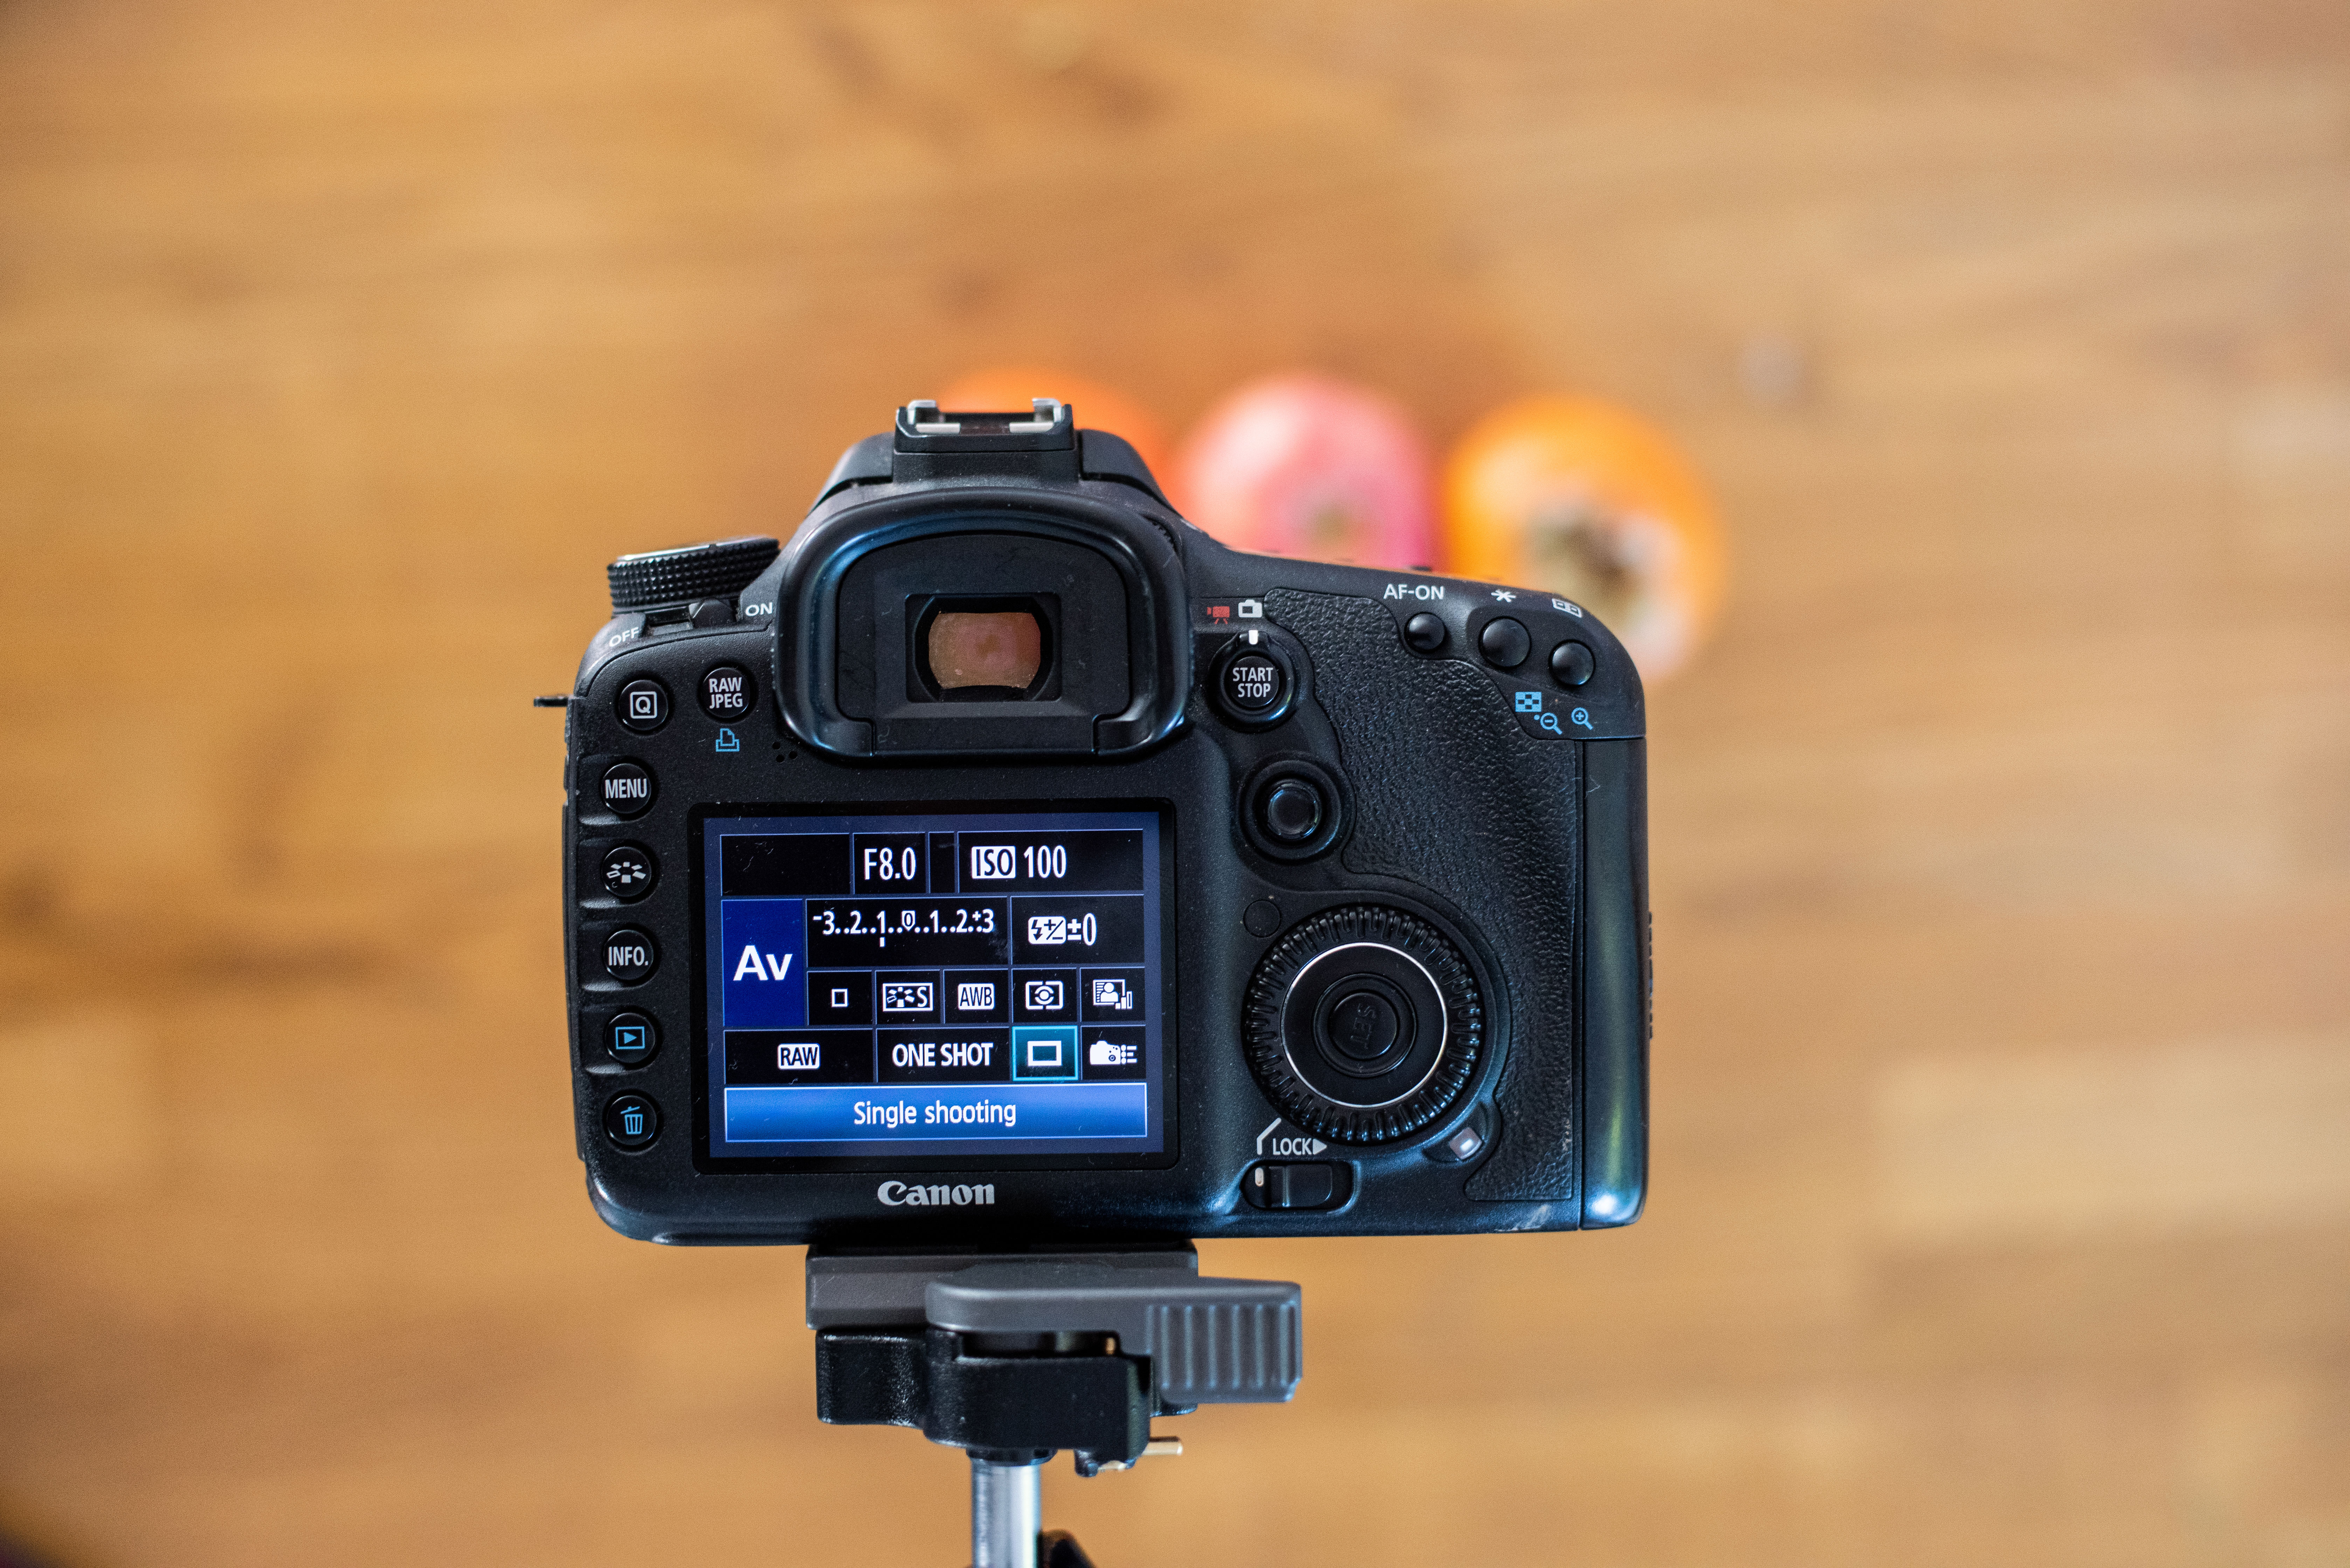
• It’s best to use a tripod where possible so you can keep your ISO low (around 100) and aperture narrow (around f/8).
• Think about viewing the space from alternative angles to make the most of the scene. In this case shooting from above worked really well.
07 Blur the background
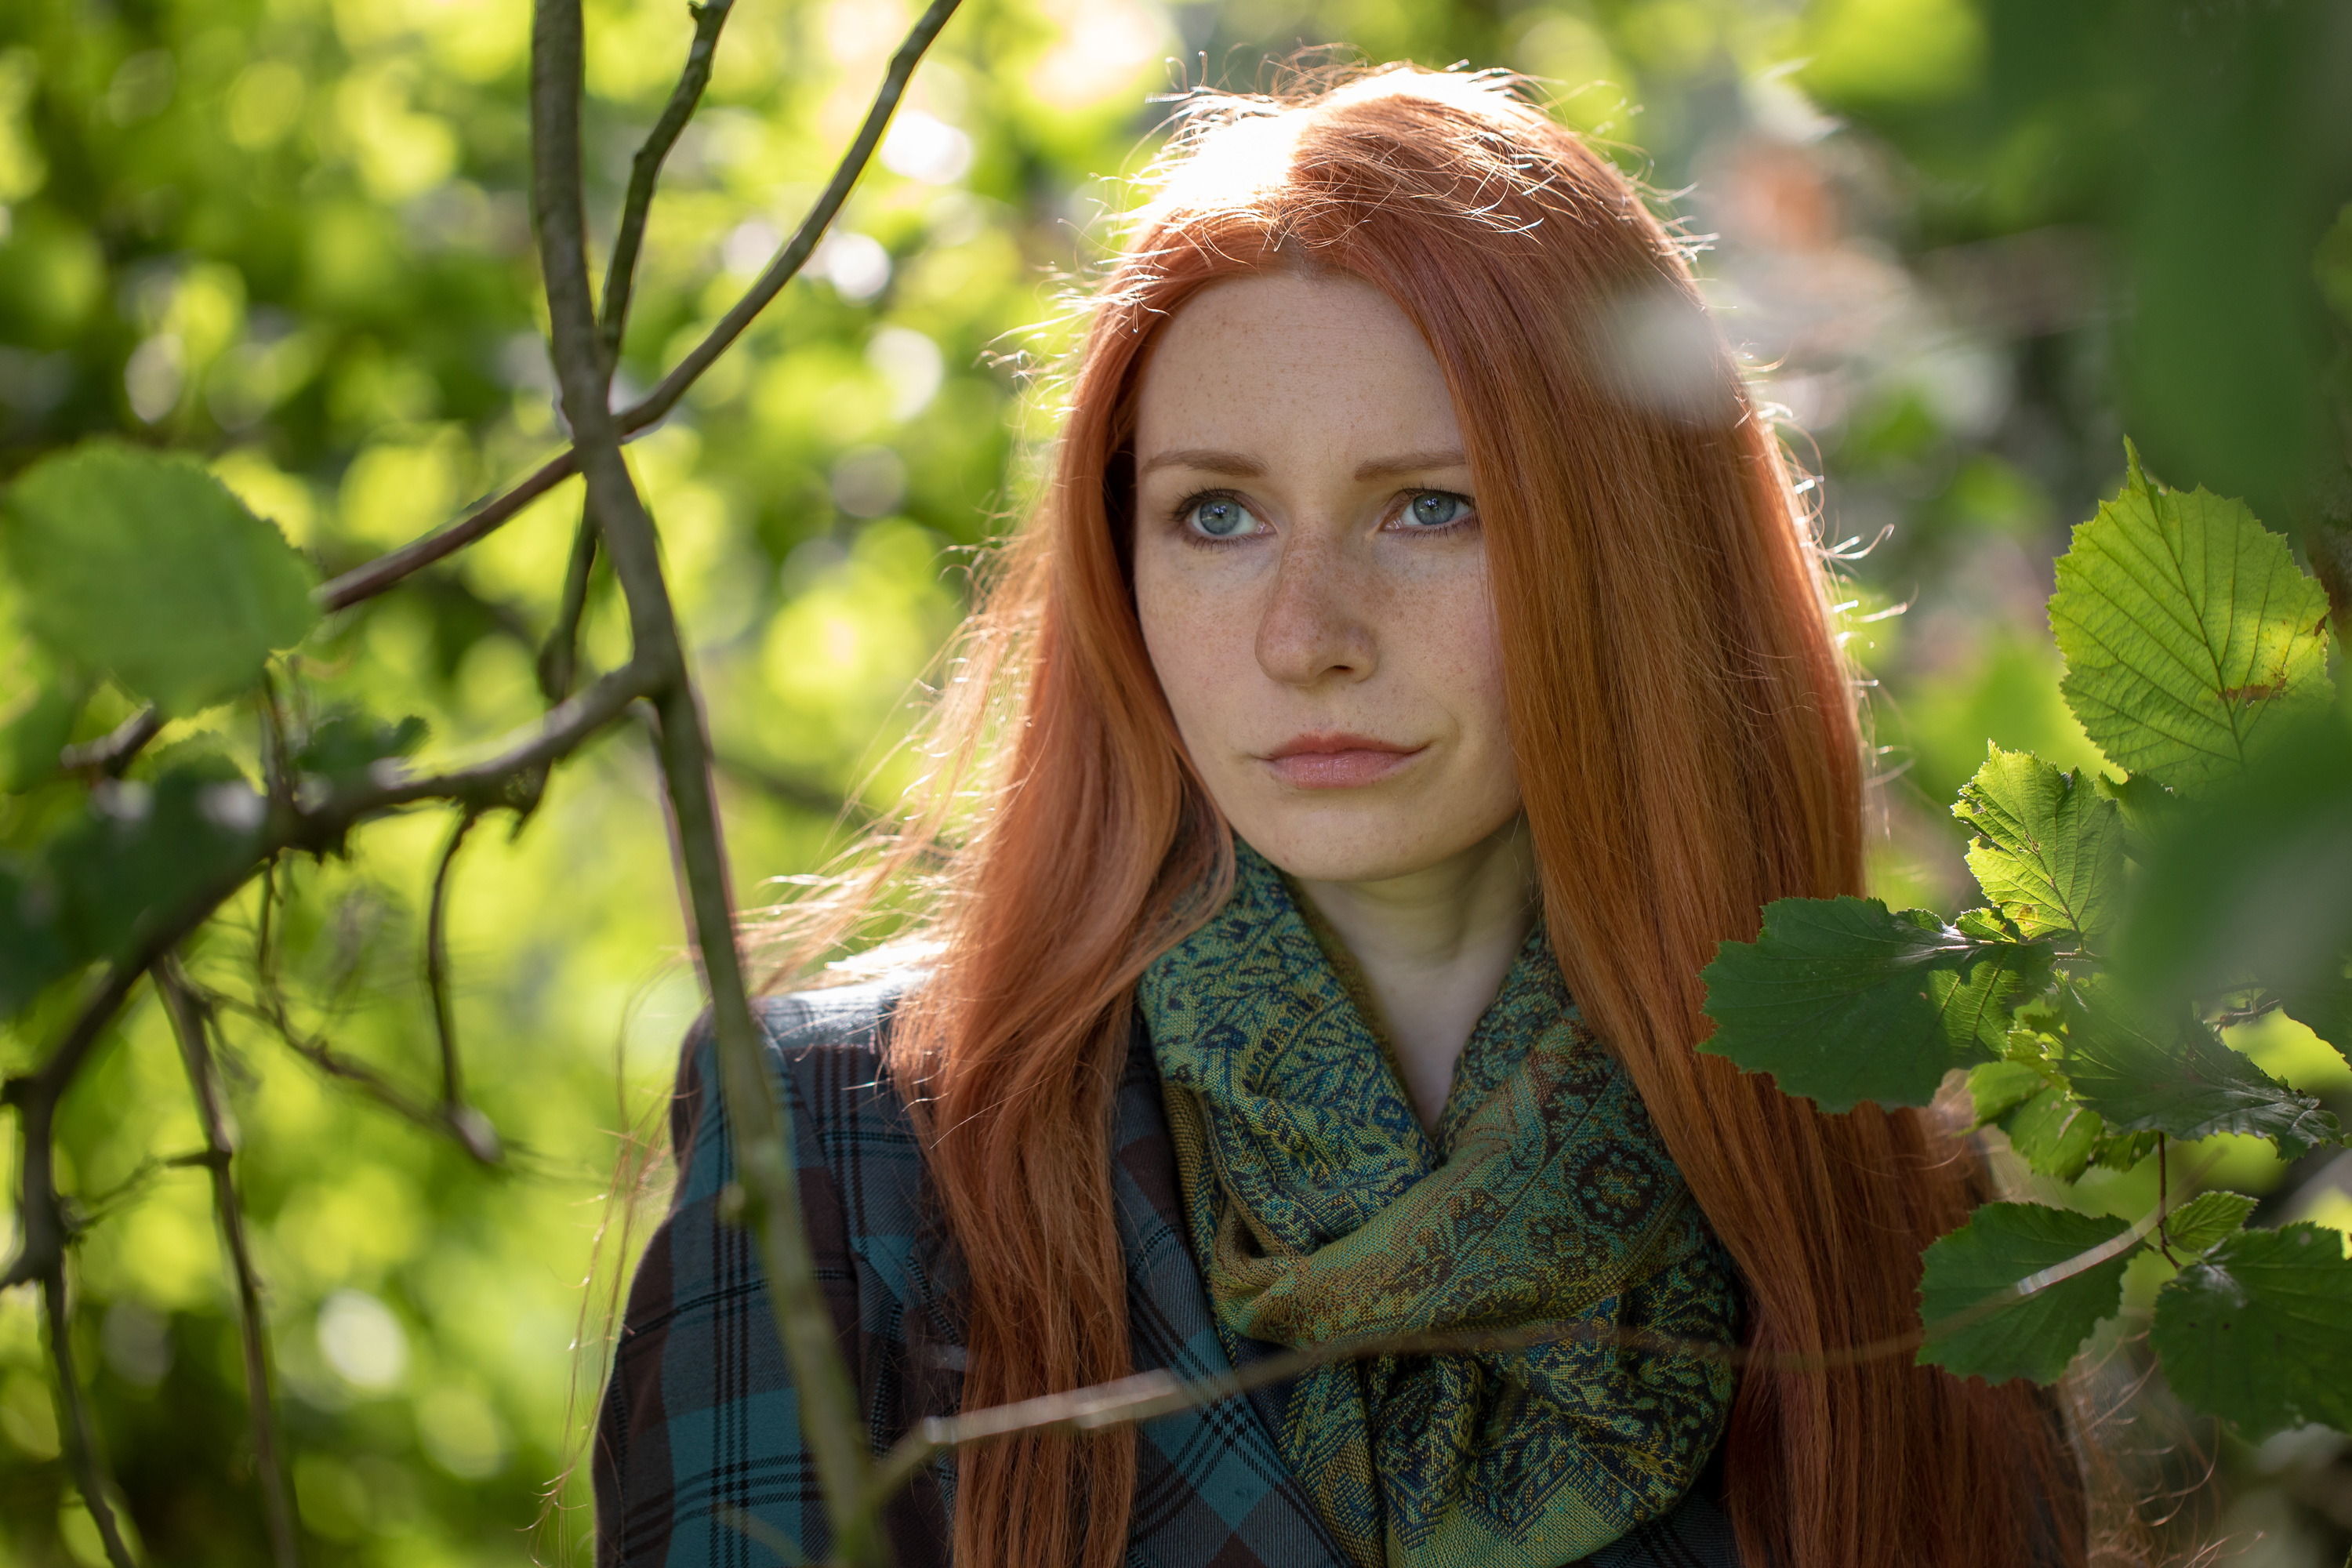
Blurring your background can be used in many genres from portraits, still life to wildlife images. In the right circumstances you can even use it in the landscape genre. The trick to making it work well is to sandwich your main subject in between a plain background and foreground (optional depending on setup) and open the aperture wide. That way you’ll end up with a slice of focus that will frame your subject nicely.
08 Vibrant colors
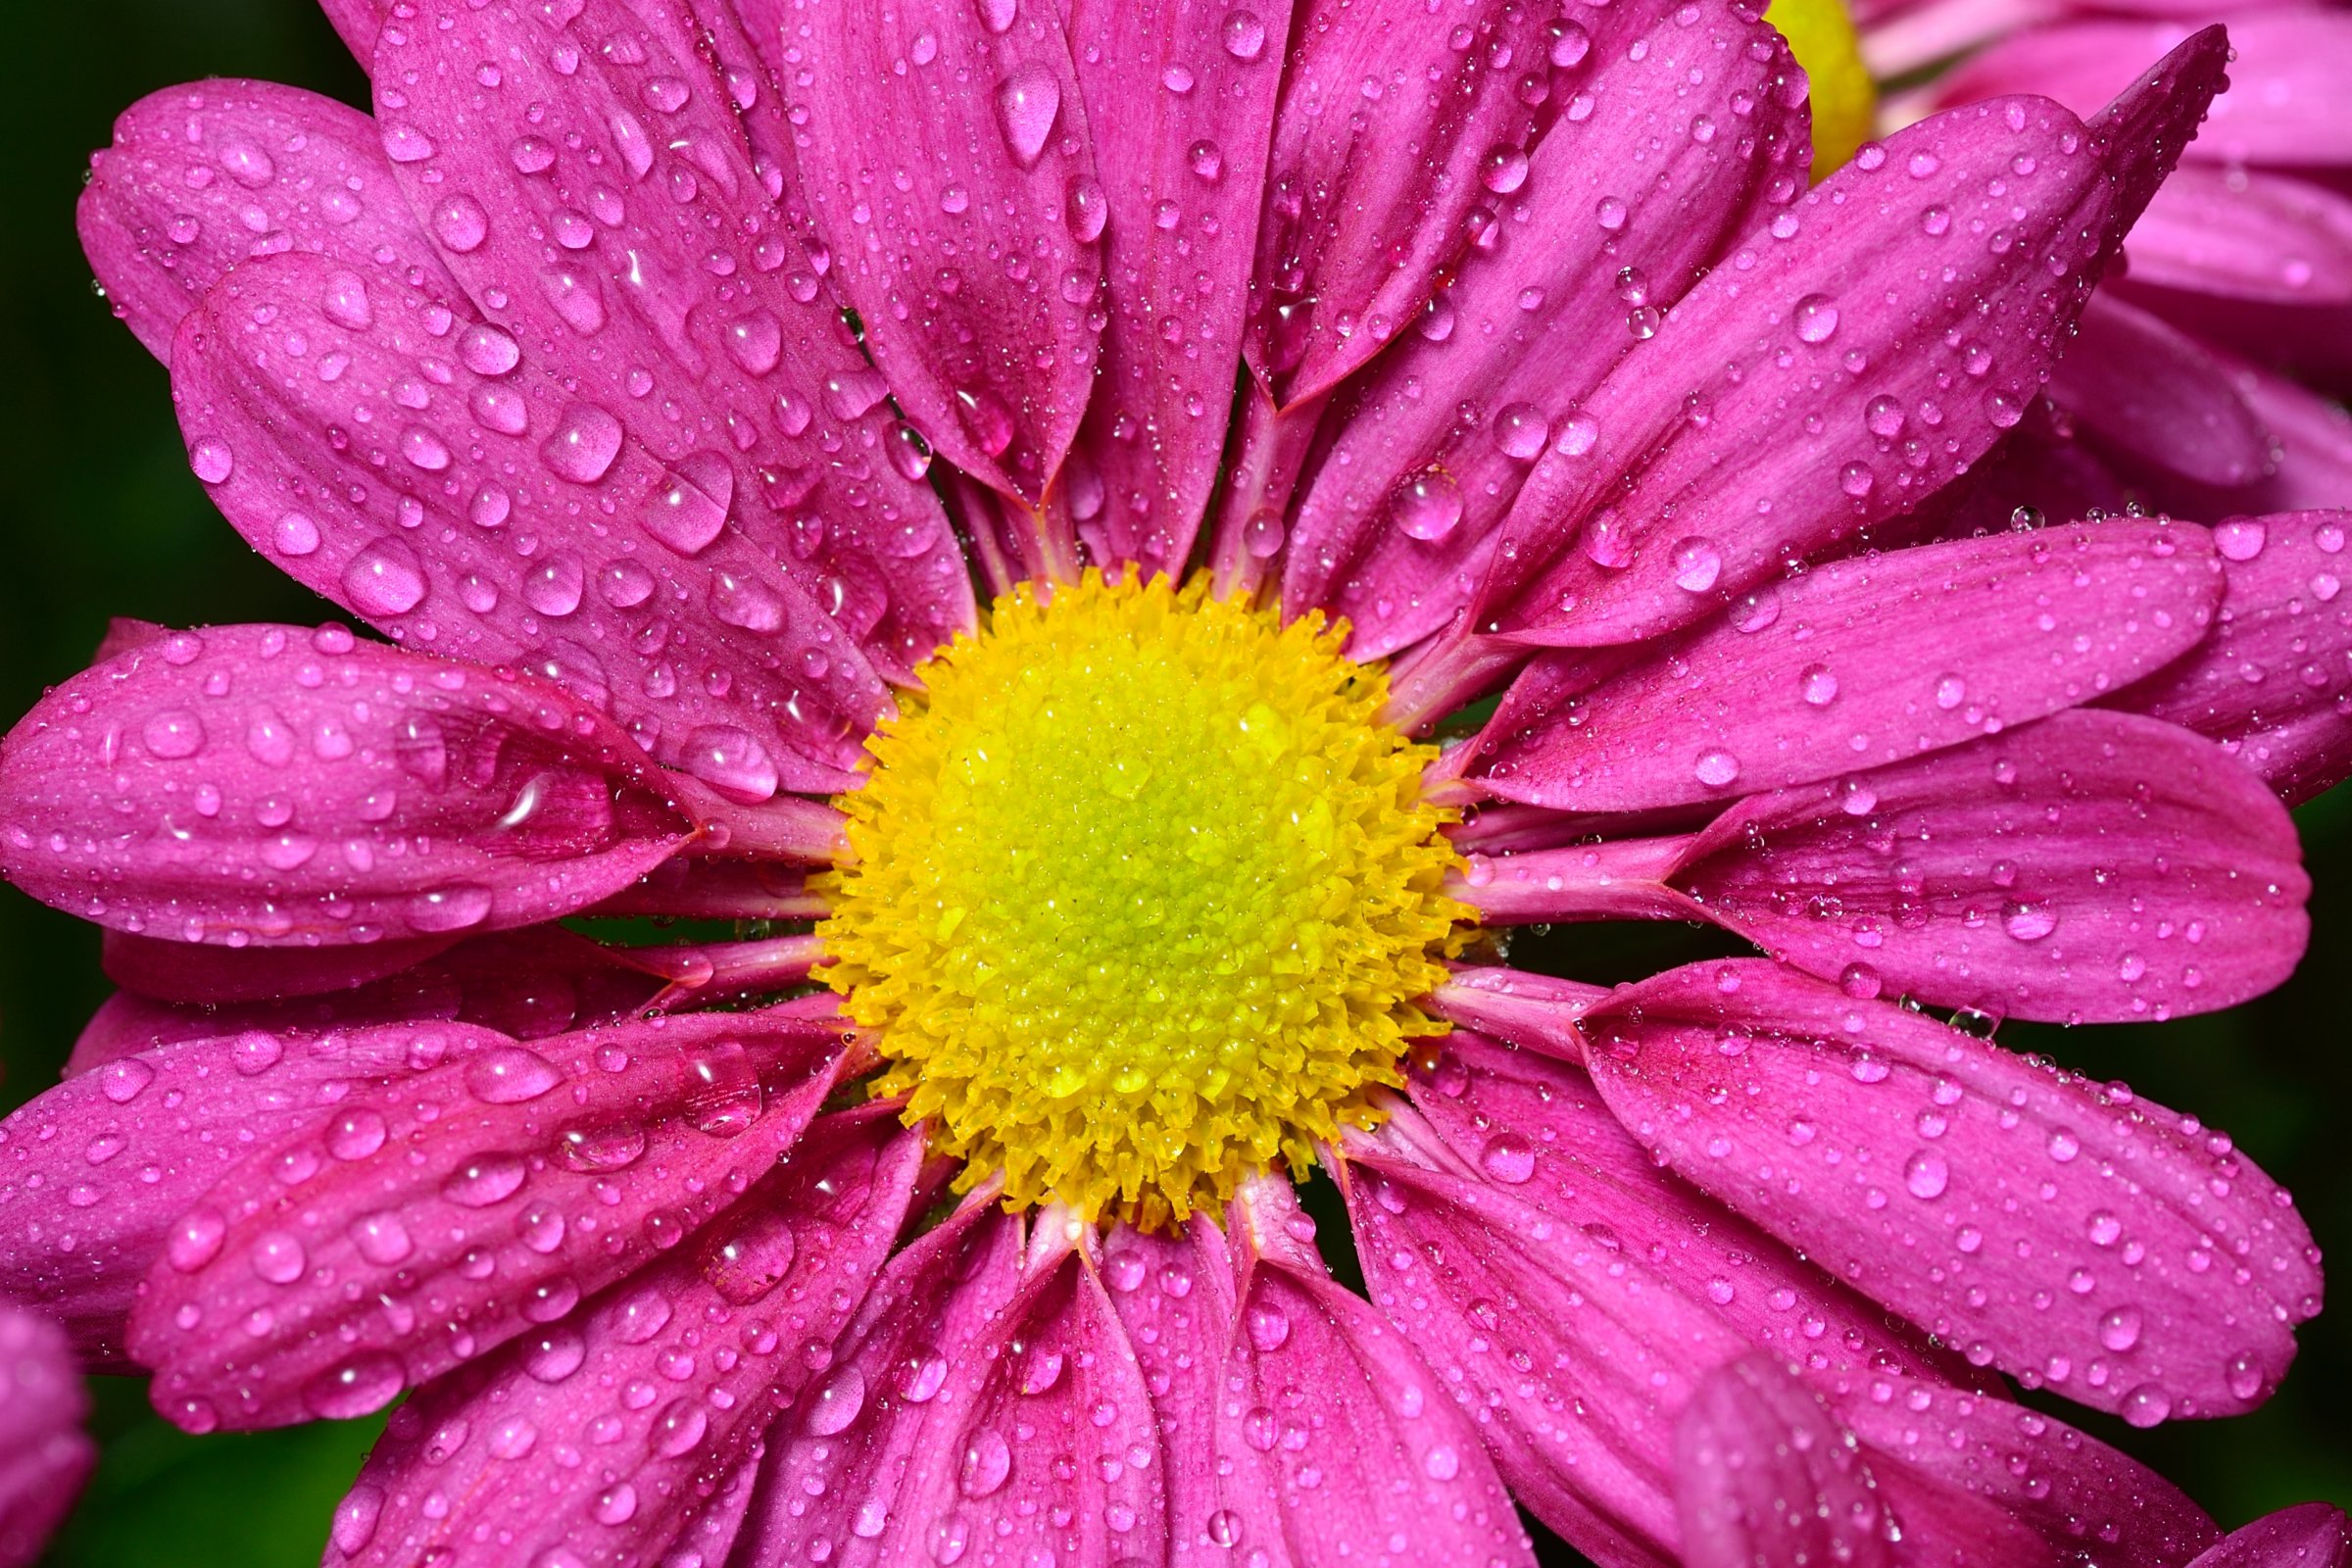
This year, make it your mission to shoot more vibrant colors to get eye-catching results. When capturing color you need to get the white balance spot on. Good lighting (whether natural or flash etc) is key, and shooting in Raw will also help. When working with colors, think about how they blend or oppose each other. For example, orange and blue, red and green, or yellow and purple are all complementary colors. Do some research before you shoot to understand how you can use the colors together for best results.
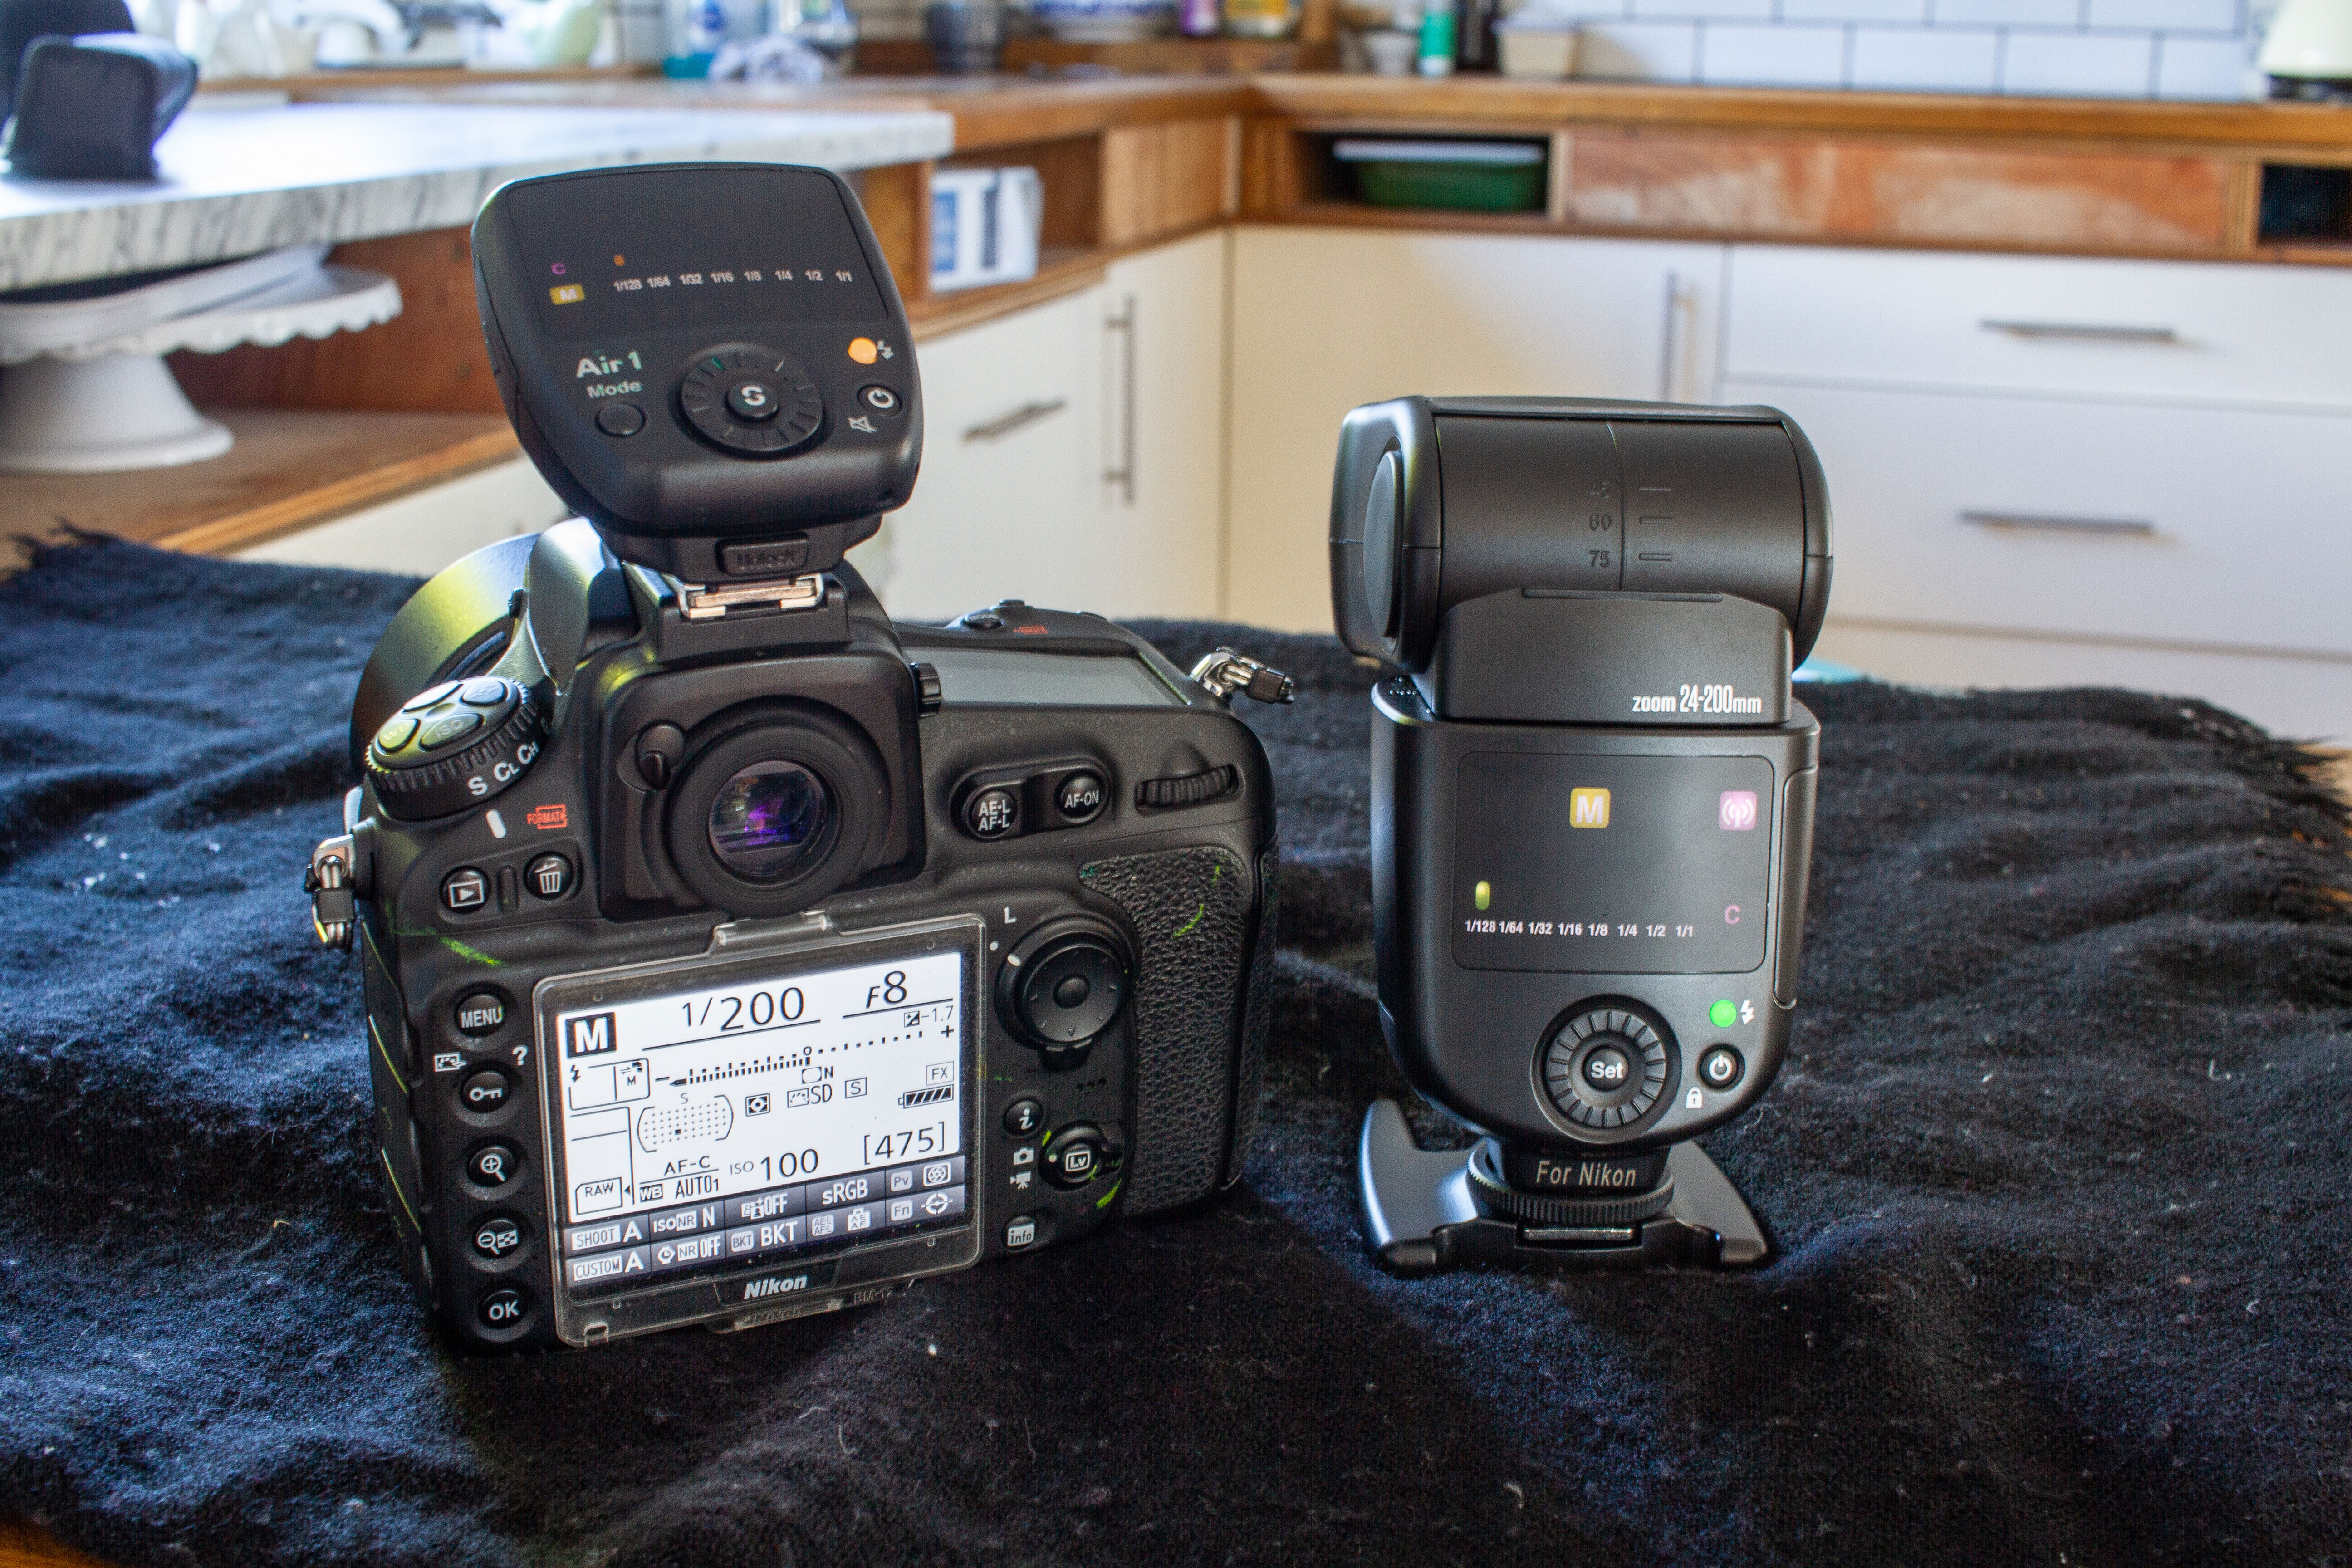
09 Additional lighting
There are times when additional lighting is essential for many genres of photography and when this is the case we suggest you try some flash. There are many types of flash lighting, from remote speedlights to studio lights, and for a range of budgets. The biggest advantage to using studio lights over speed lights is that the flash recycle time is much faster; however many studio lights need mains power to run so are not so good on location.
10 Get up early
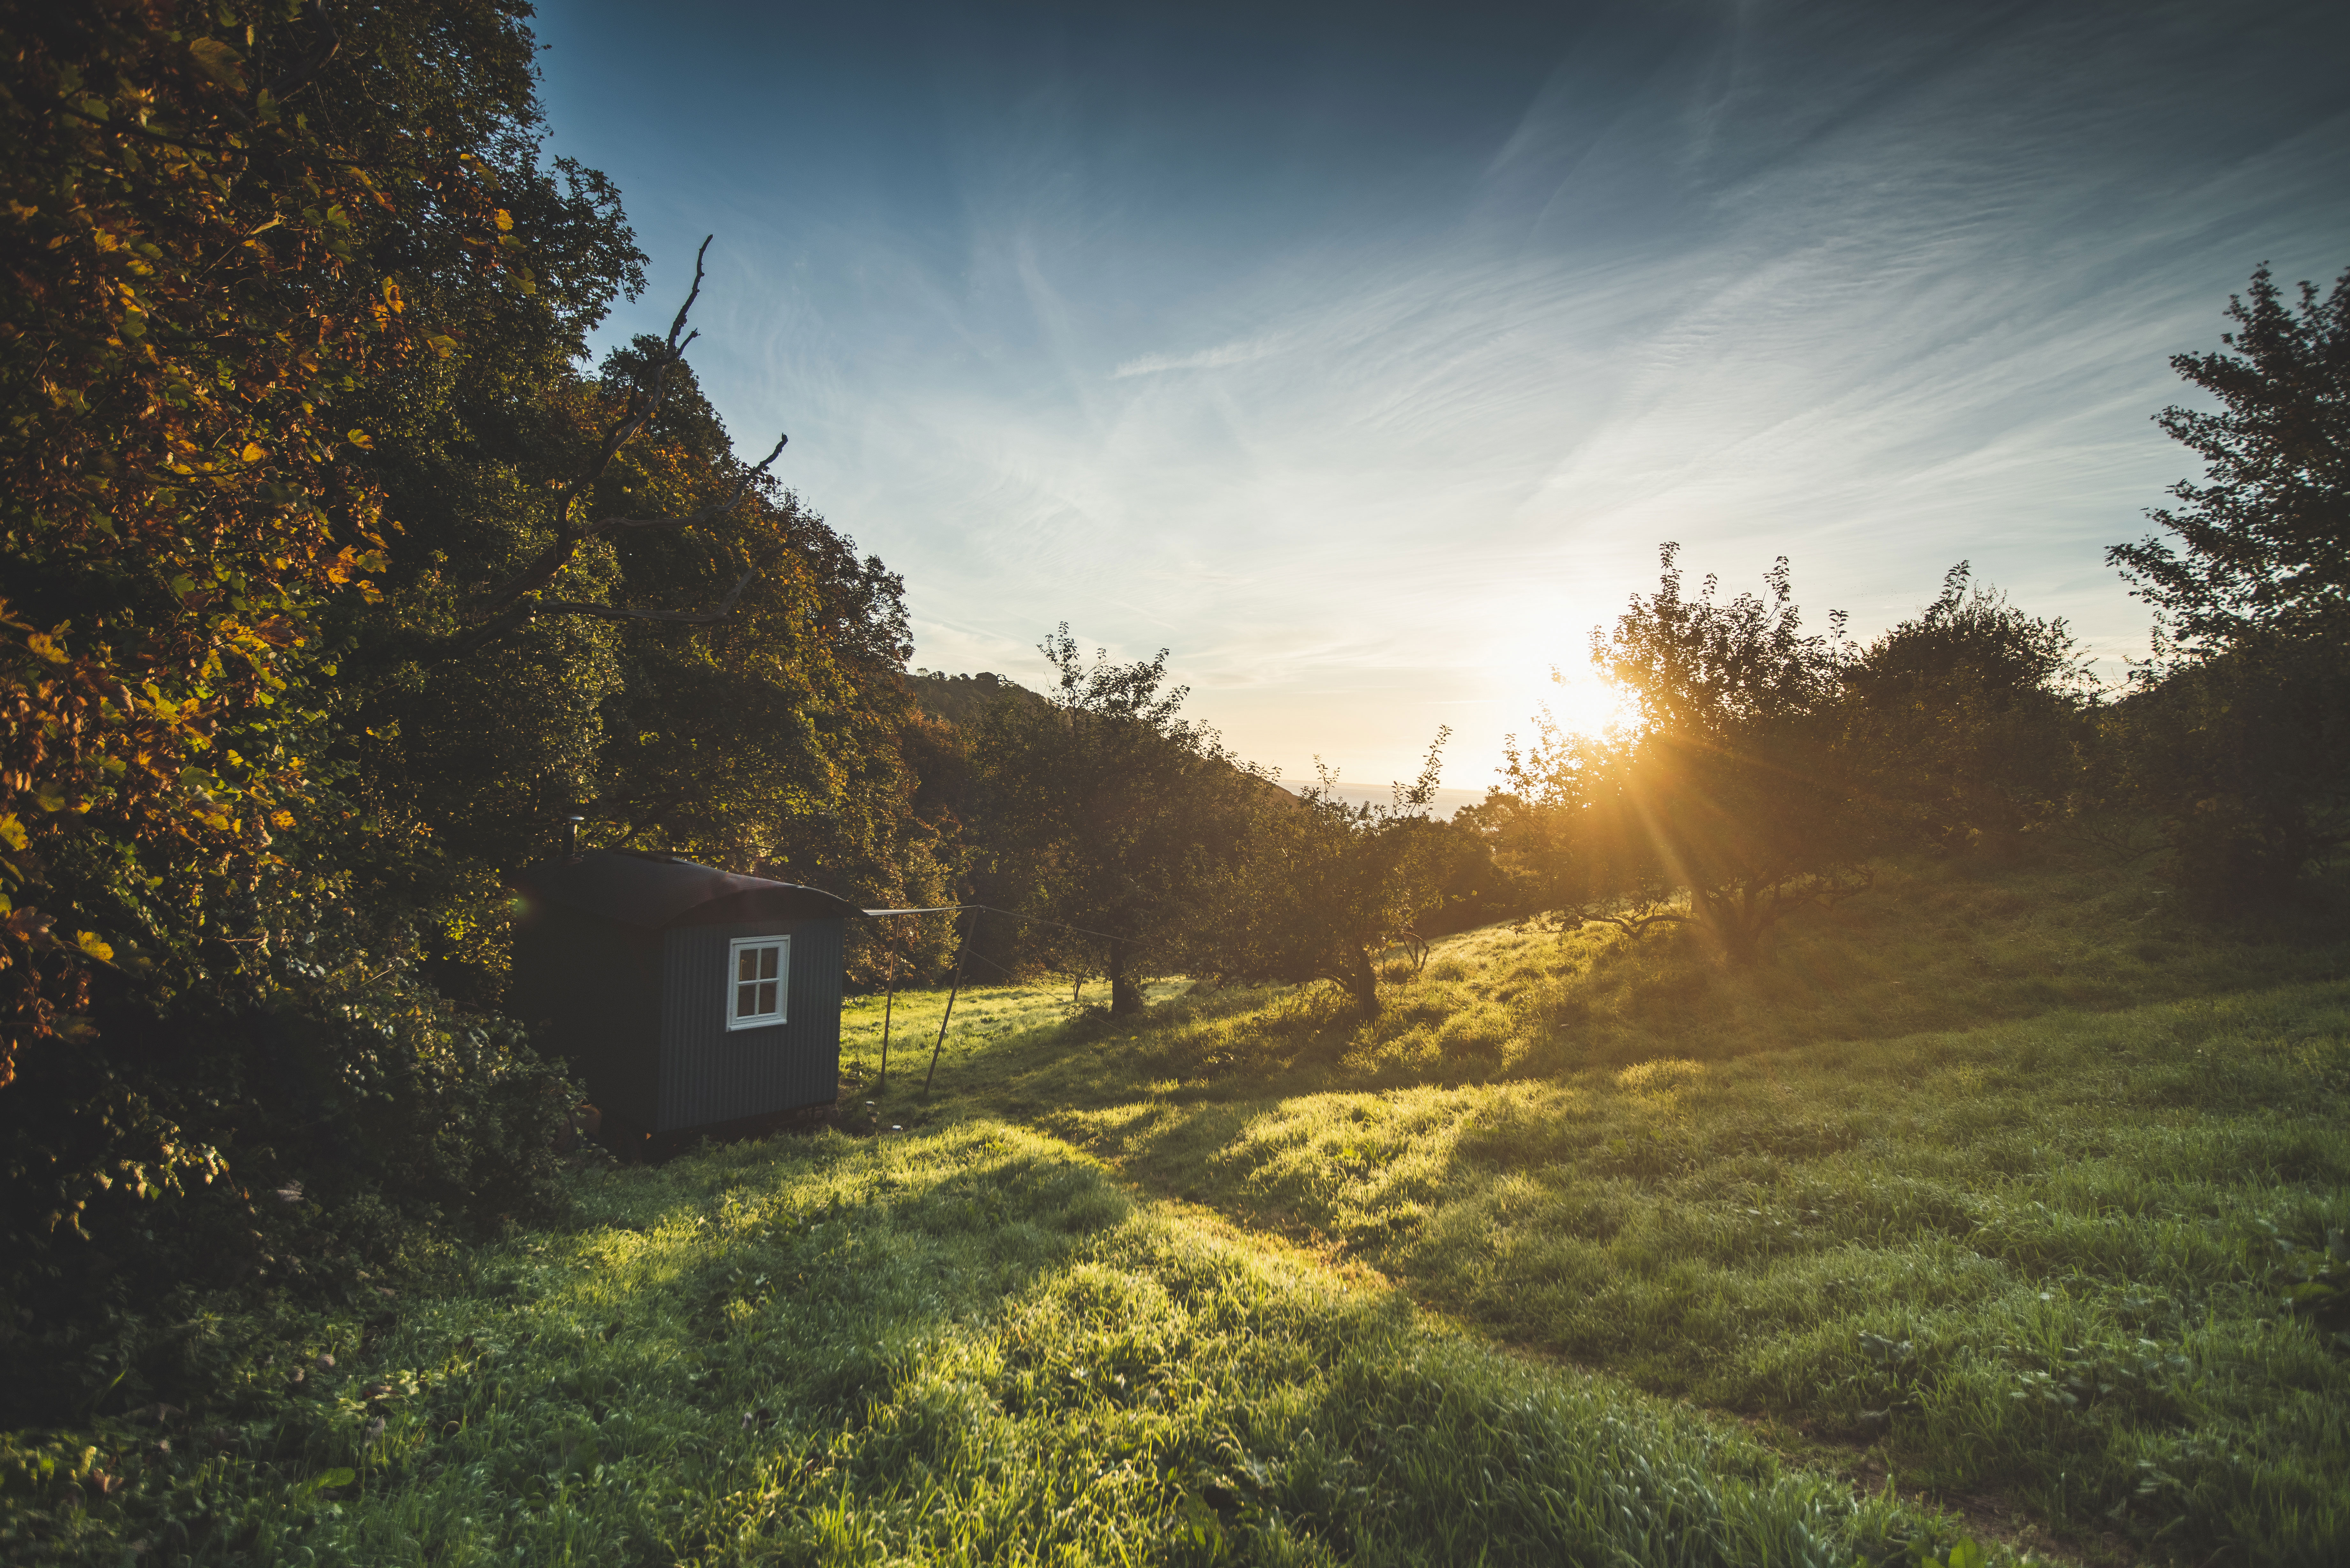
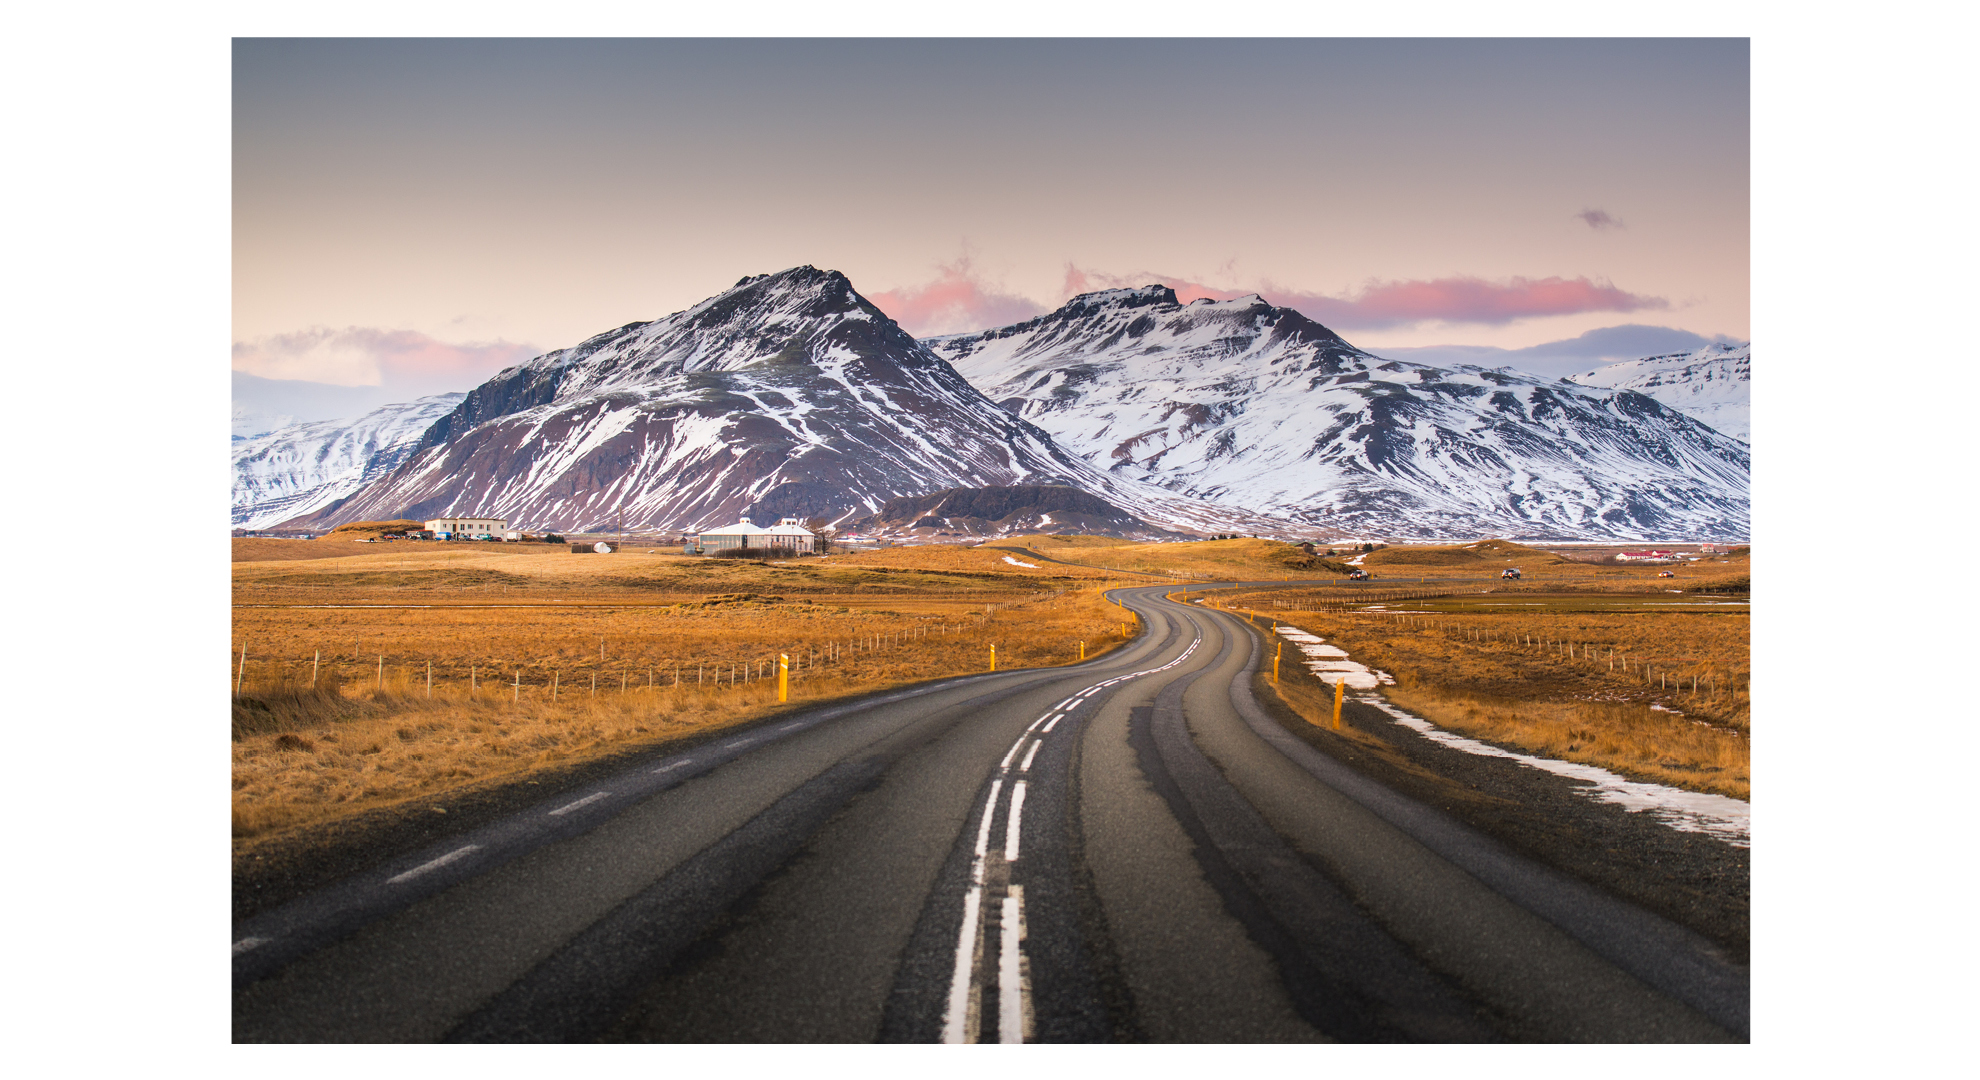
There’s nothing better than the first light of the morning and this year make it your mission to photograph a sunrise at least once every few months to enjoy the benefits the first light brings. If you’re not an early morning riser we suggest you stick to those winter and early spring sunrises if you don’t want to get out of bed at ridiculous o’clock!
A wide-angle lens is always a good bet when photographing landscapes and don’t be afraid to shoot into the light when it is low in the sky. Play around with streaks of light and lens flare coming into the scene so you can use the flaw to your advantage to get atmospheric results.
Expert advice
• Watch out for fringing. If you have an older wide-angle lens like ours, or one that is a cheaper model, it may be susceptible to this flaw. You can correct this somewhat at the editing stage. Zoom into your image looking around subjects like branches and edges where it goes from dark to light as it often occurs here. Determine how bad it is and apply the correction.
• Try to be at the scene at least 30 minutes before the sun is due to rise to make the most of the golden hour.
• Although it’s good to regularly check the weather conditions and to be prepared for those perfect sunrises, sometimes life gets in the way. Even if the conditions aren’t perfect on the day you planned, go for it anyway as you never know what you’re going to capture until you’re there.
11 Beautiful butterflies
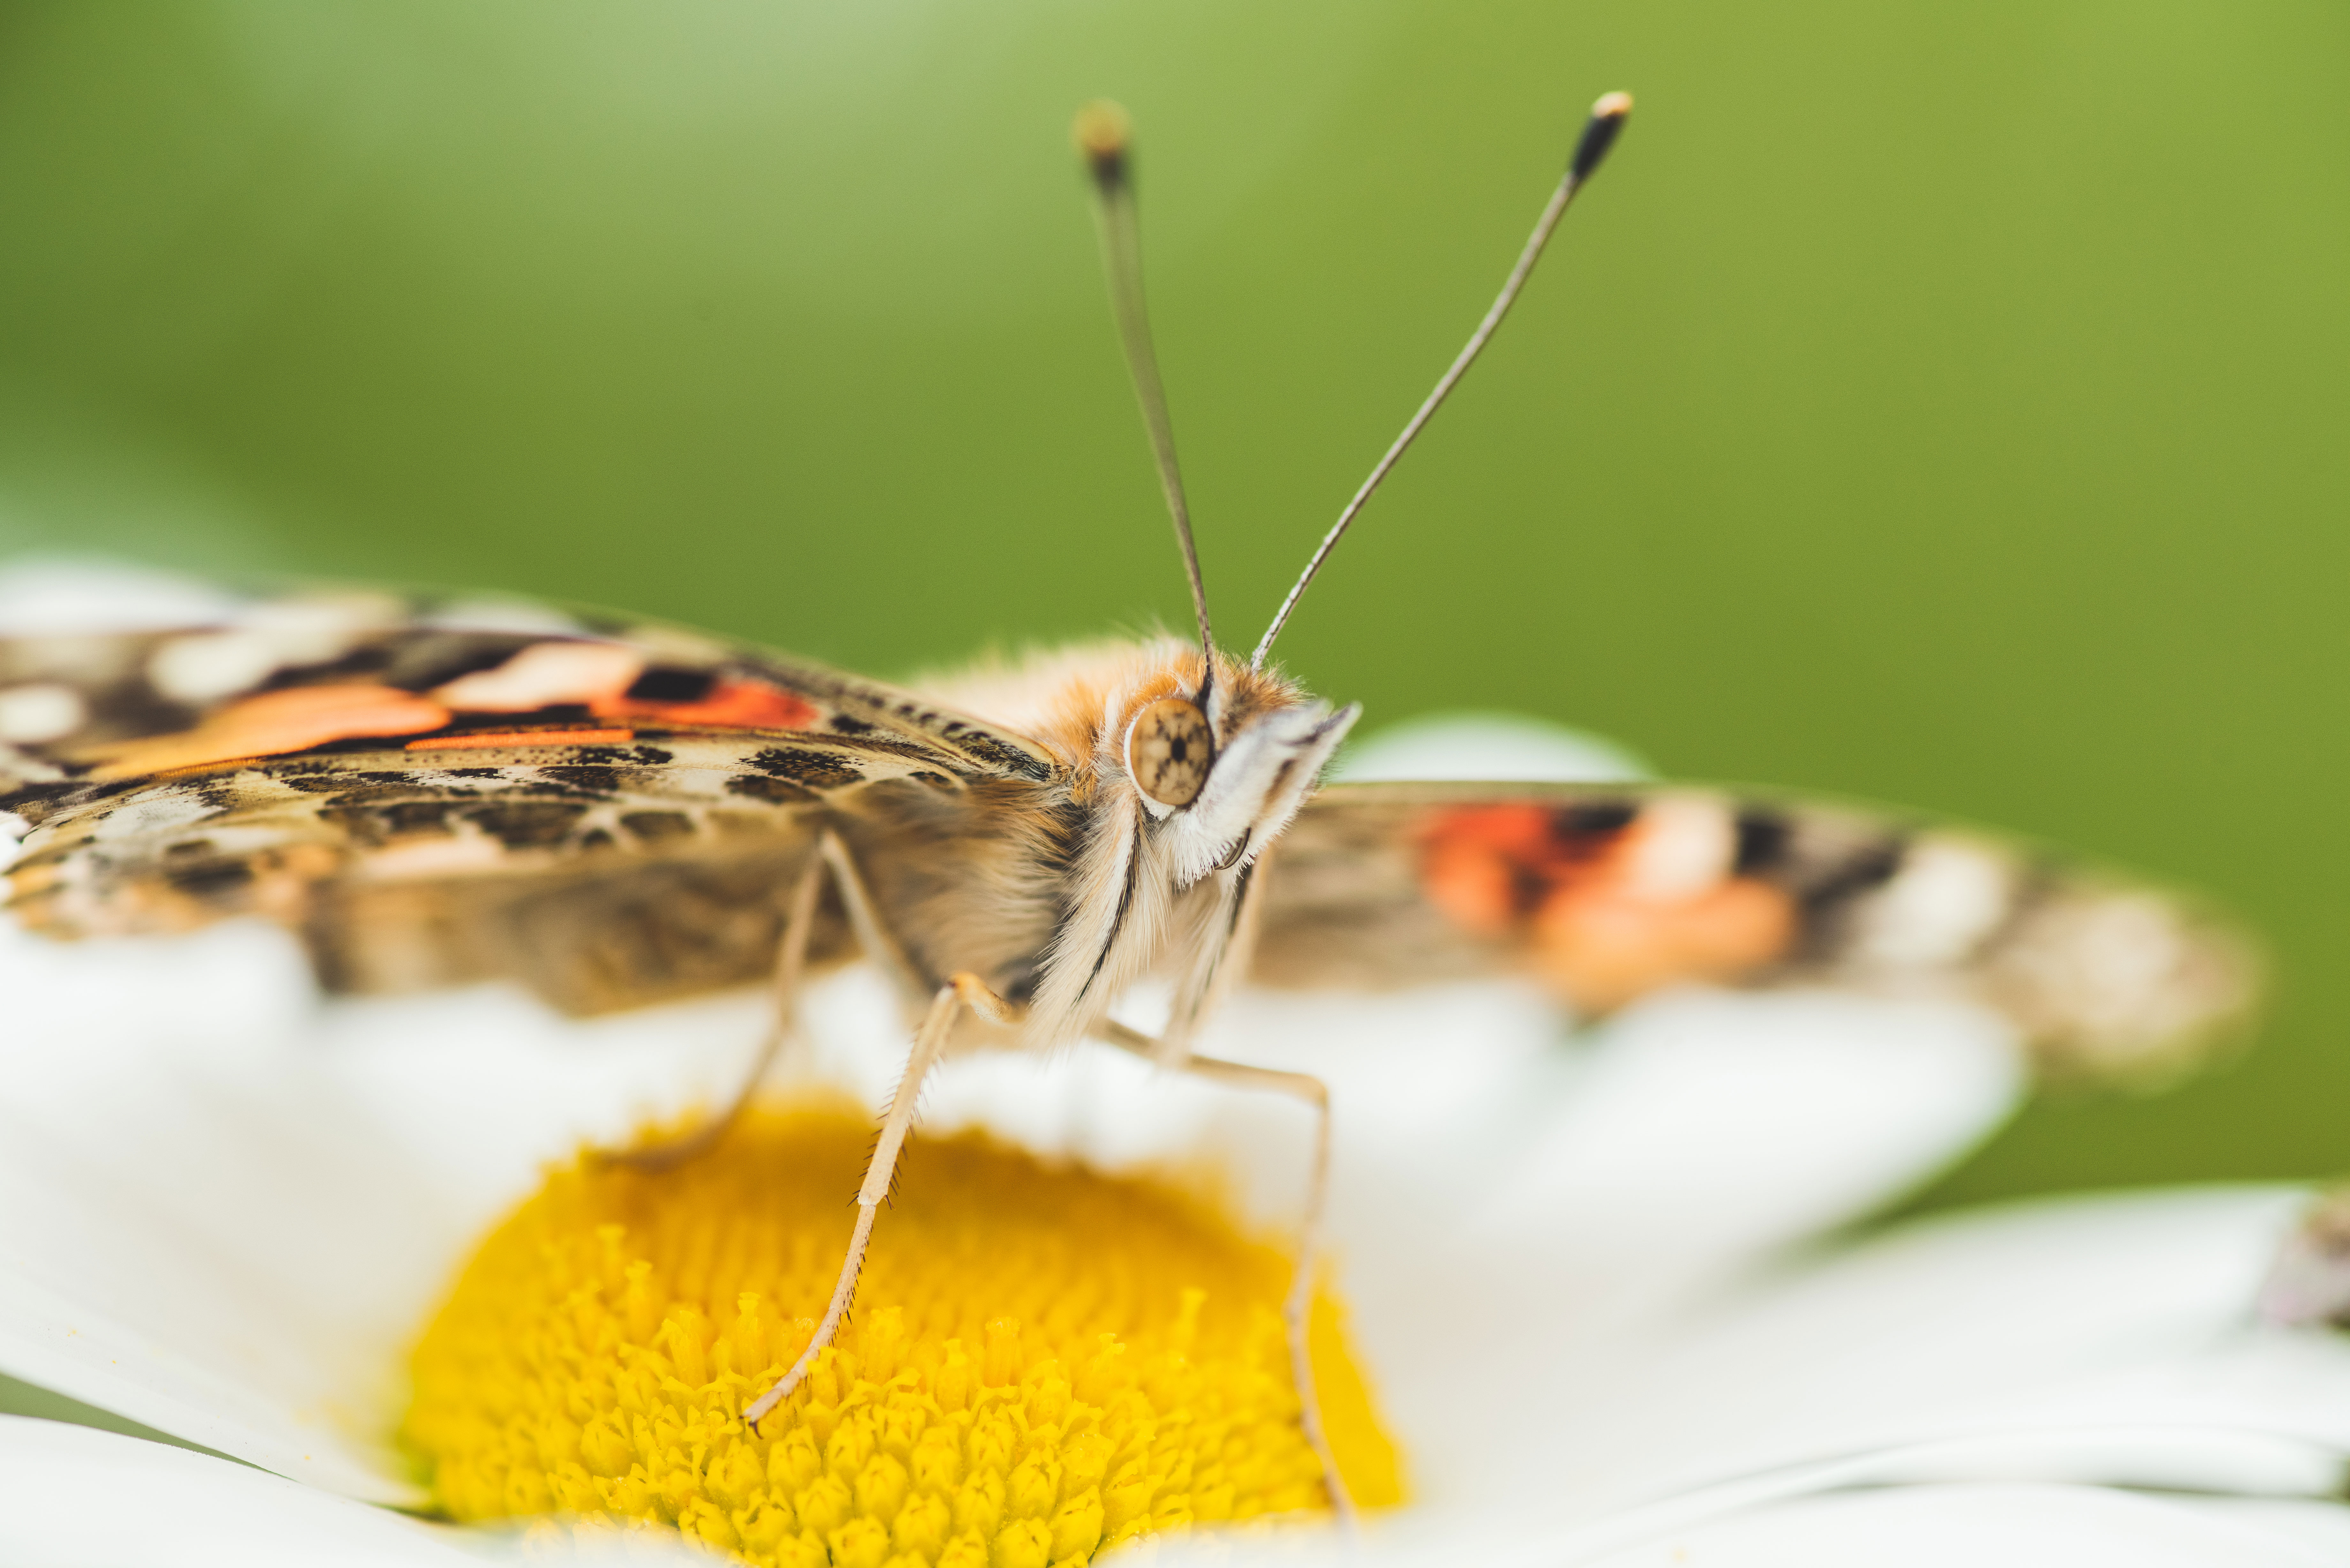
Butterflies are by far the most beautiful and brilliant insect to photograph and come in all sizes, colors and species depending on the time of year. You’ll find they start emerging from the first warm days of spring right through to late summer/early autumn when they go into hibernation.
In the UK a great resource to find and identify butterflies in the wild is Butterfly Conservation (https://butterfly-conservation.org/butterflies). When photographing any animal be mindful of your impact and leave no trace.
Expert advice
• Butterflies settle in the evening and stay there until morning. If you pre-plan you can watch where they land, mark it clearly, then return to the same spot with this nice morning light (get there just before sunrise) to get some perfect shots. The butterfly will stay put until the warmth of the sun has warmed up their wings.
• A macro lens with a 1:1 ratio aspect will get you great results. A cheaper alternative is to use a ring adapter and reverse your standard lens if a macro option is beyond your budget.
• A good way to get a guaranteed shot of a butterfly is to invest in a caterpillar to butterfly kit. Insect lore has a range to choose from (www.insectlore.co.uk). Once they have been through their transformation from caterpillar to butterfly (you can also capture this), set them free in your garden and photograph the process like we did in our images.
12 Pet portraits
Never work with animals, it’s often said. But if you don’t then you’re missing a trick! This year try to take at least one pet portrait; not only will it help you get better technically (animals are hard to photograph well), it will also make you a more patient person! You have to have patience and persistence to get a good shot.
We recommend having some help on the shoot – ideally the owner of the pet. If you are the owner, bring in someone the pet responds well to. It can be tricky to command an animal and take the images so make sure you first clarify with your help what you need them to do.
Expert advice
• Before you bring your pet into position, find a good spot of light to take your portrait. Soft natural light is preferable to work with and can be found in the shade (on a sunny day) or in a doorway or alleyway.
• Set your aperture to a wide setting to blur the background and separate the animal from the setting, but remember to be spot on with your focusing (ideally on the eyes).
• Get the owner/help to hold a treat or their finger over the top of your lens. That way (hopefully) they’ll look directly at you!
13 Freeze frame
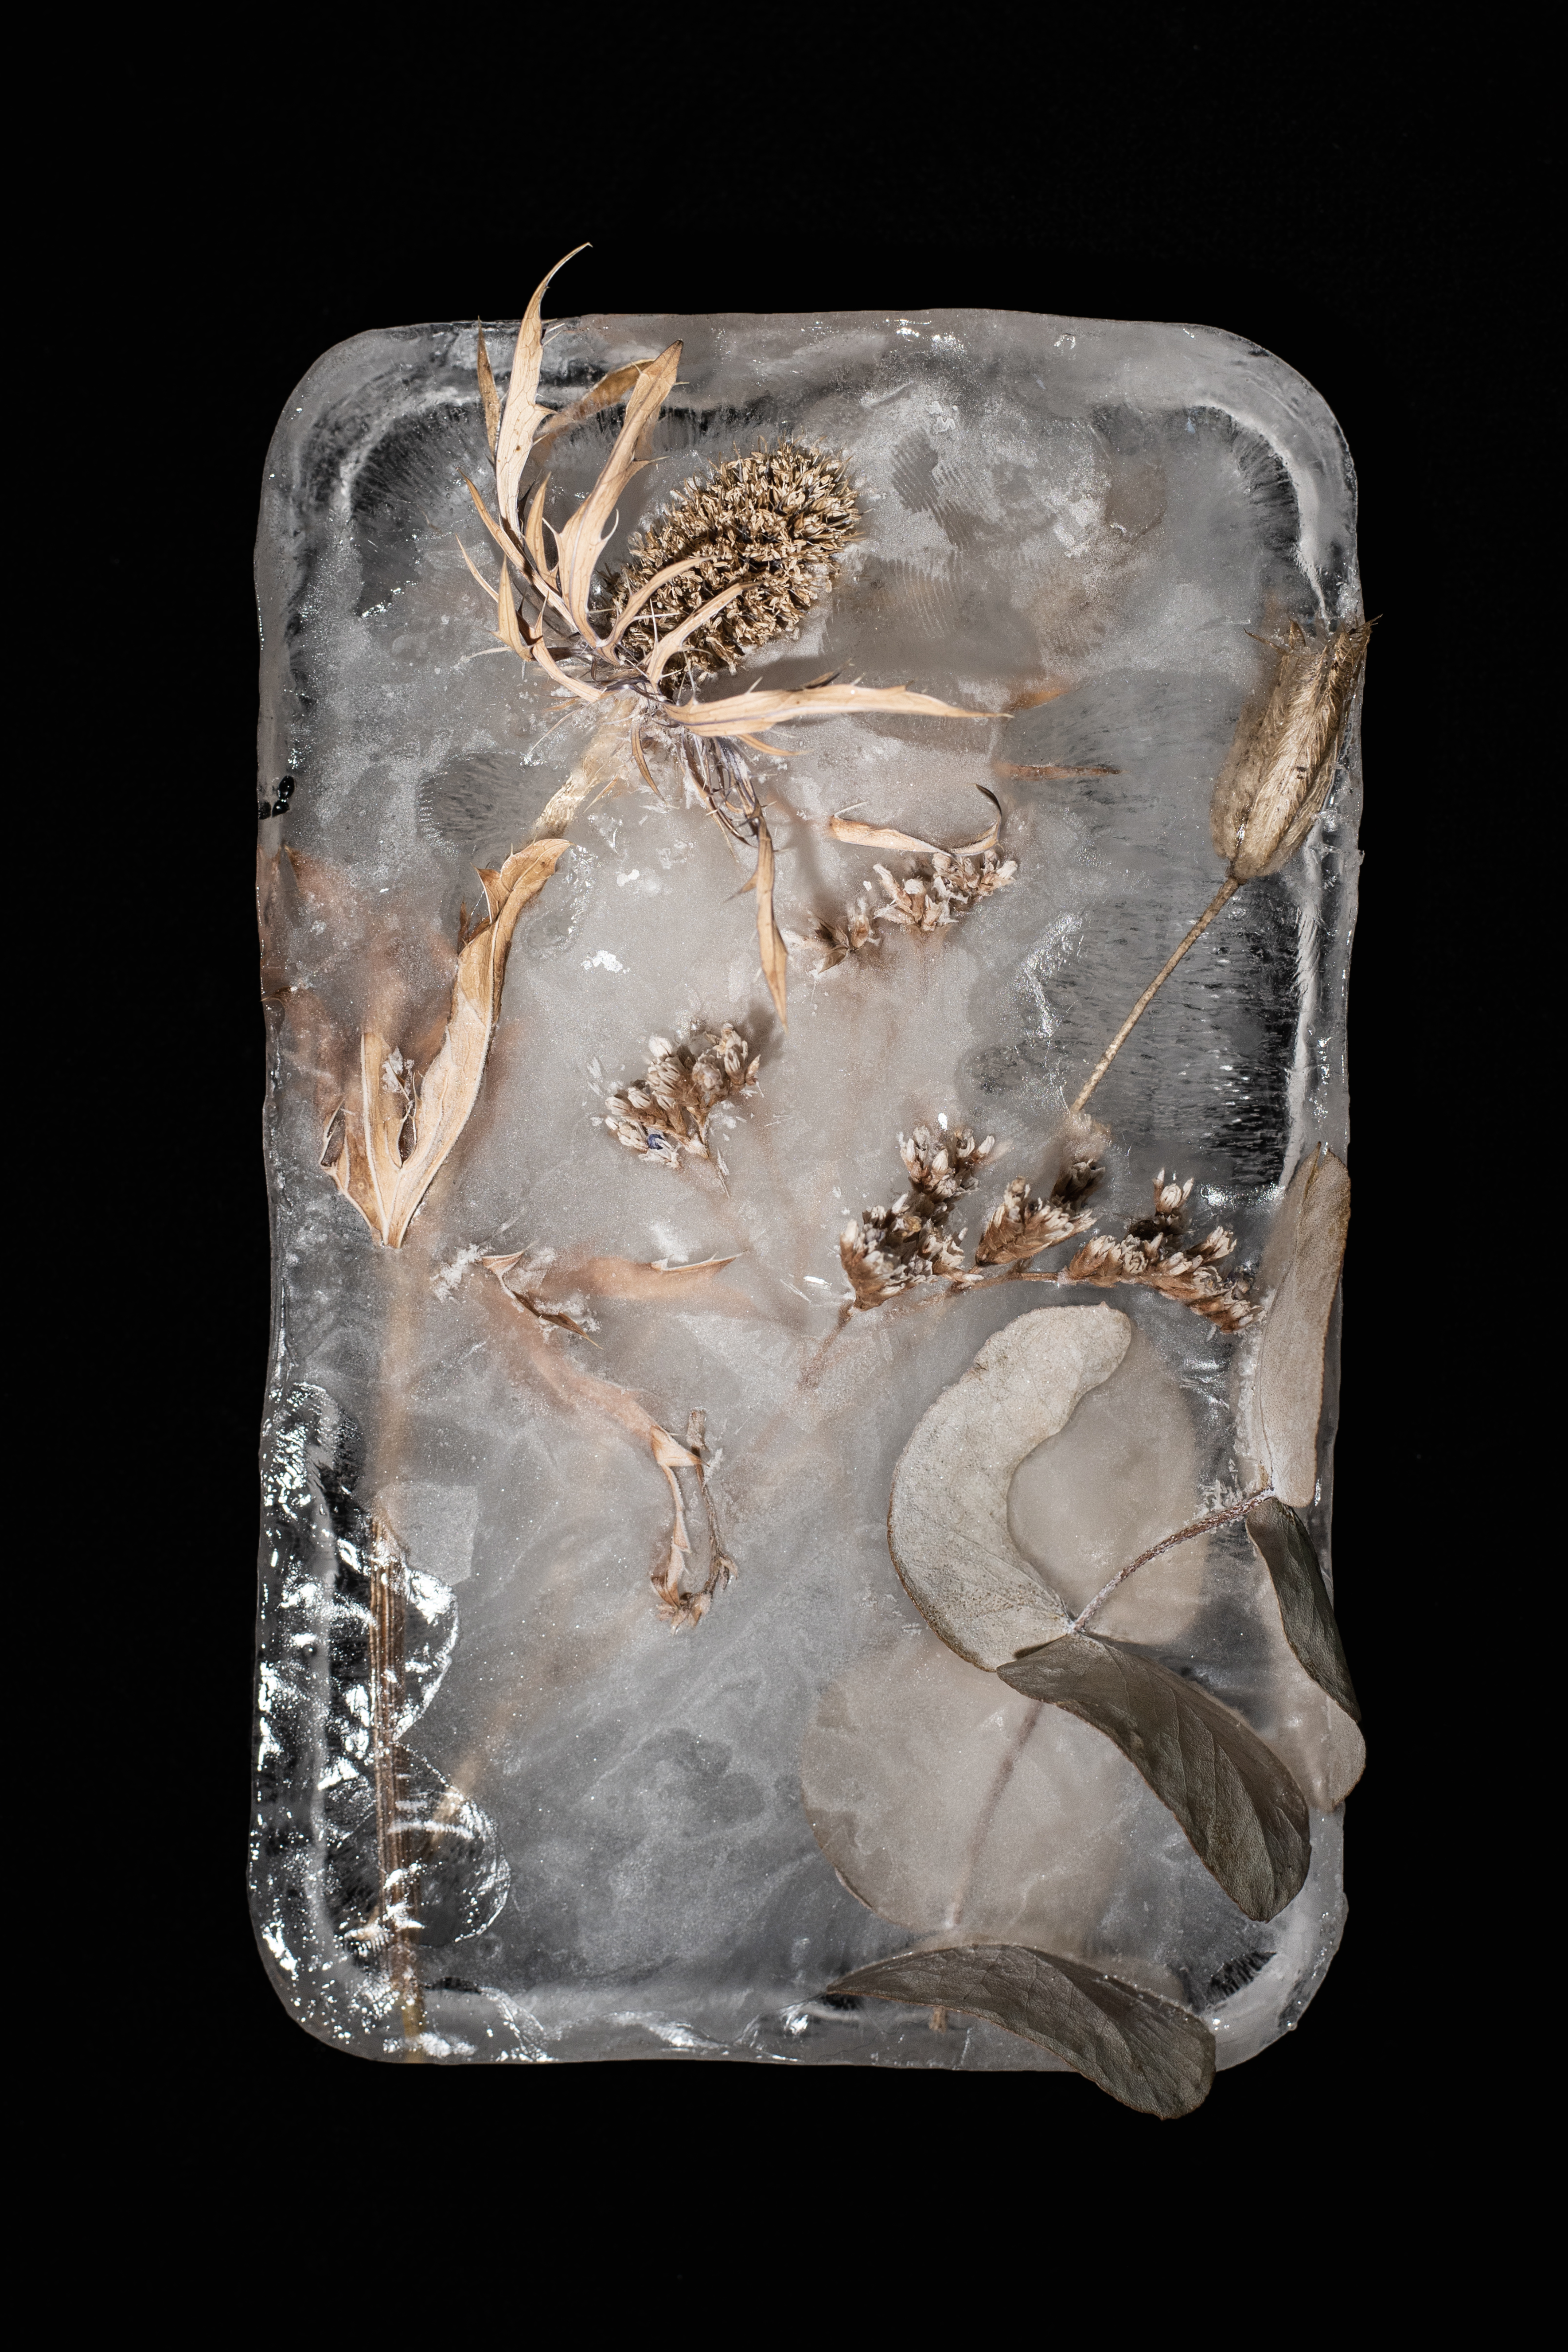
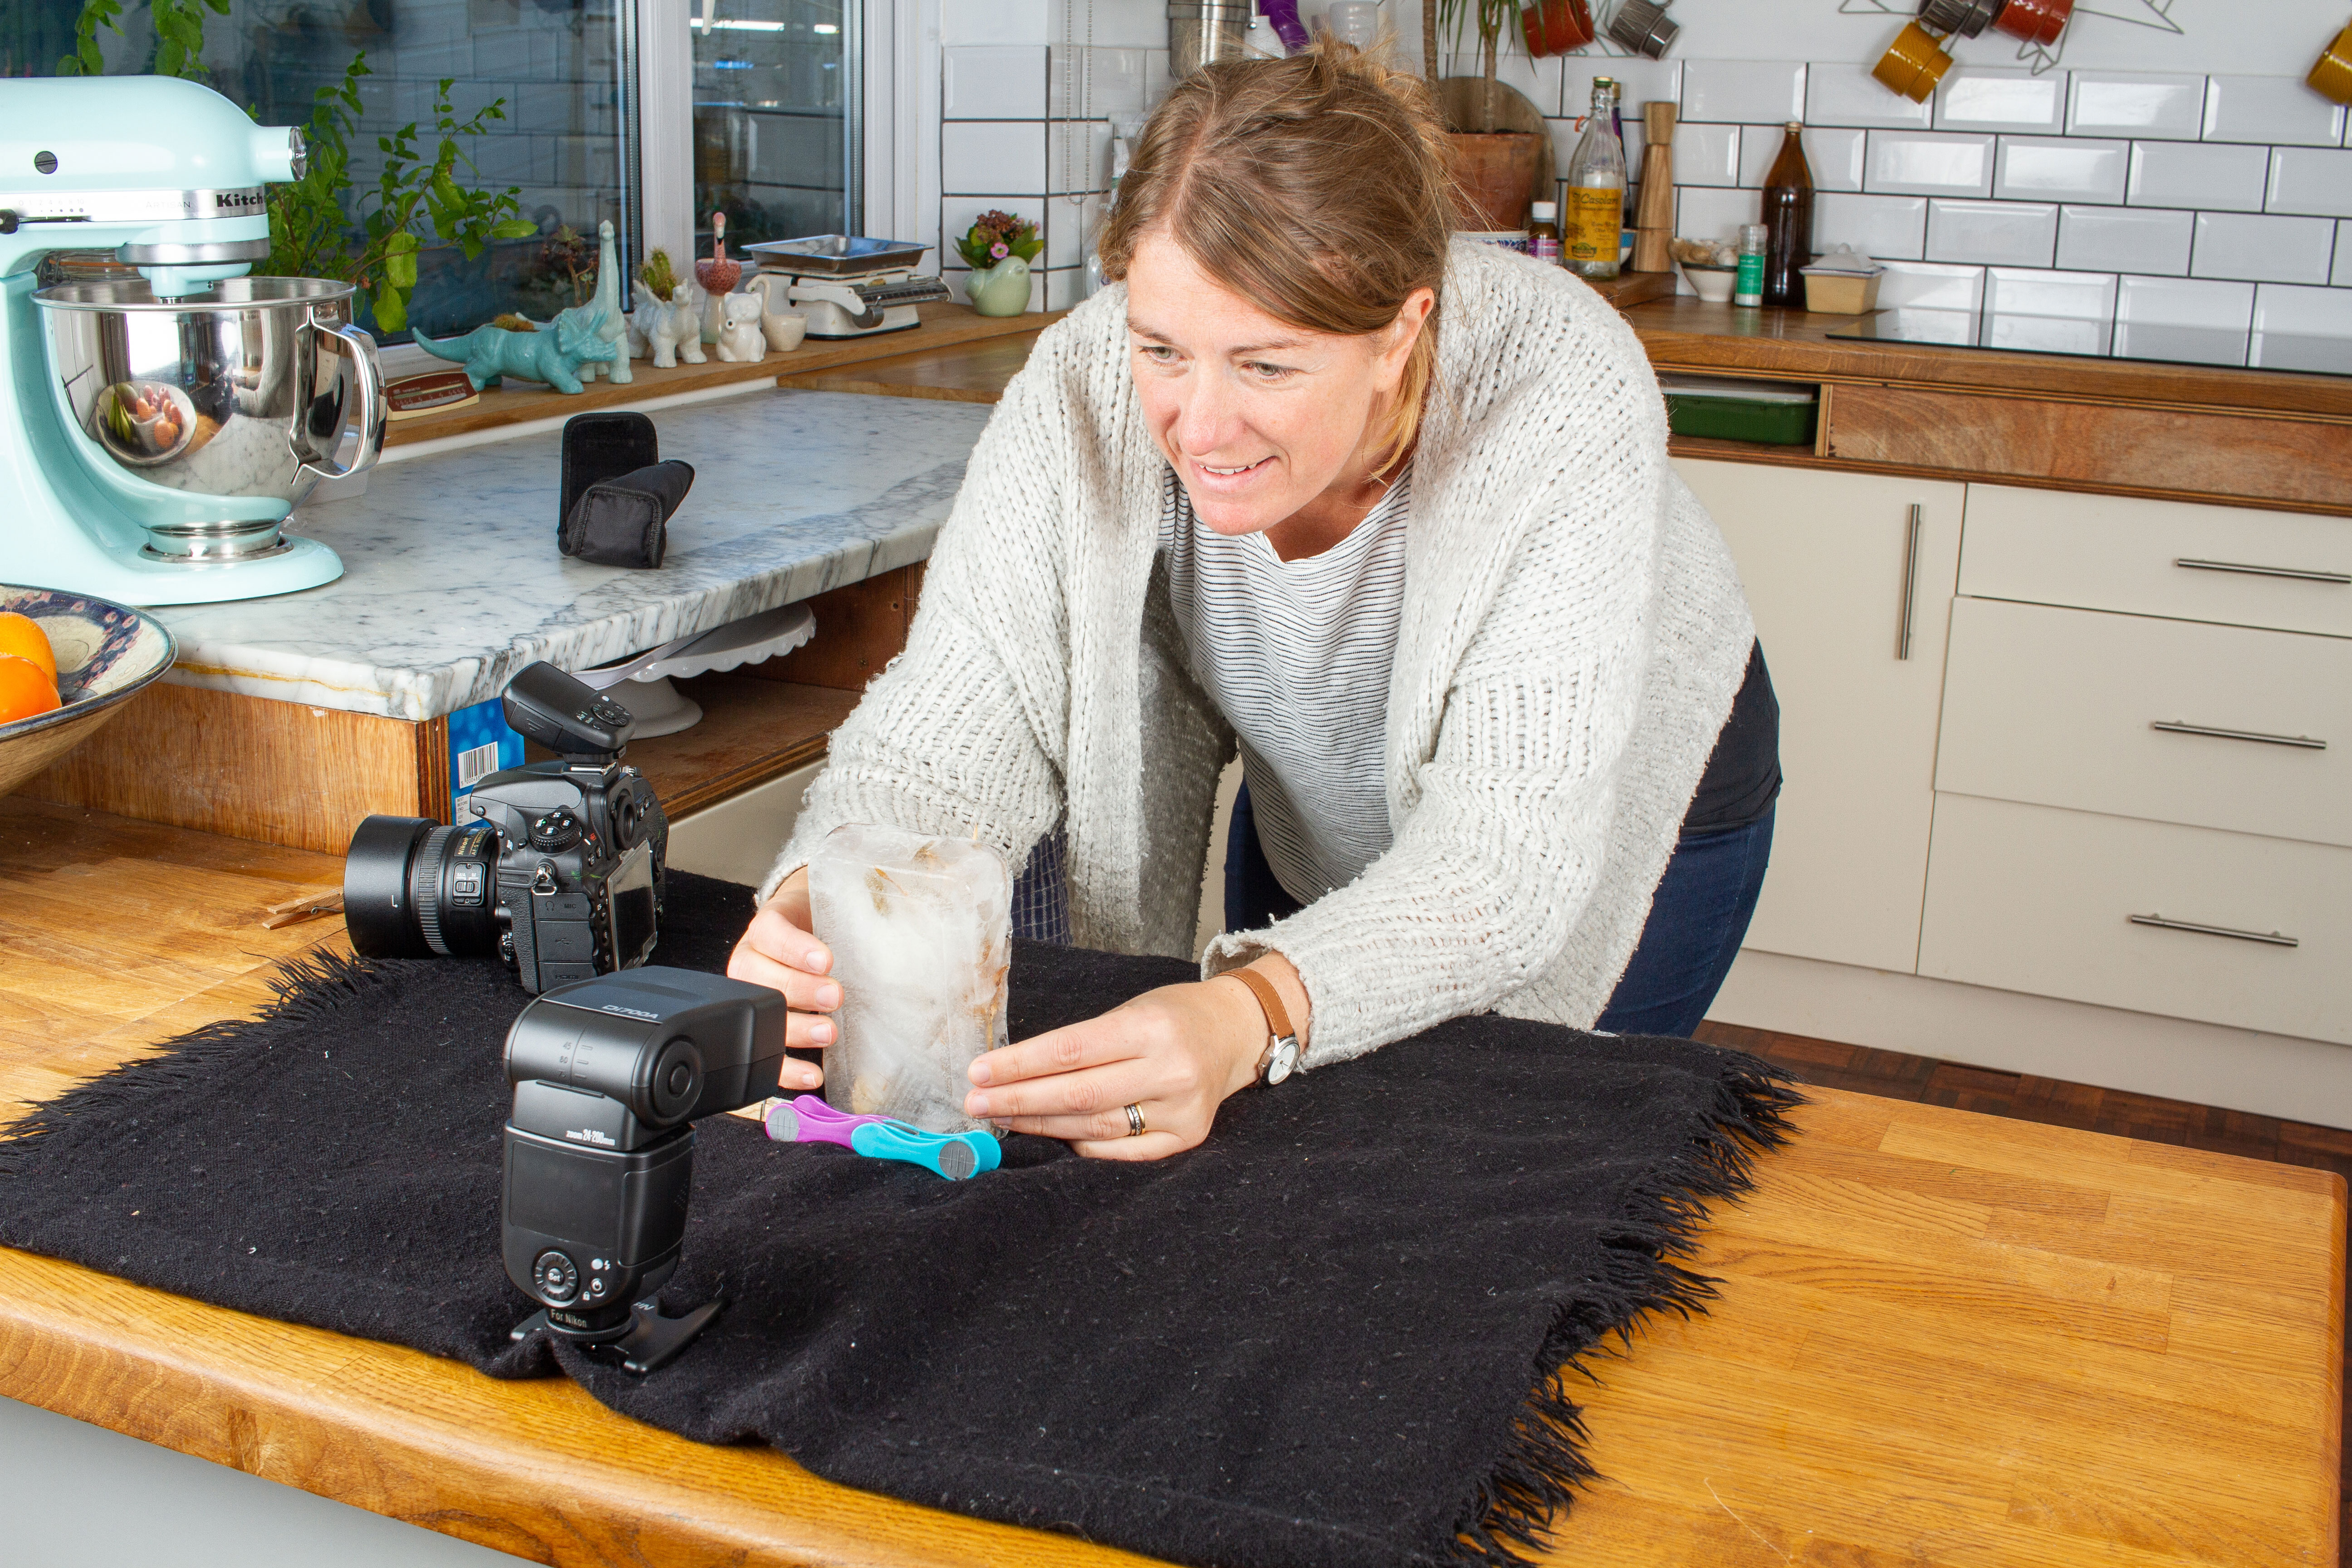
When it’s raining outside and you can’t be bothered to face the bad conditions, get stuck into a home project like our freeze-frame idea. To give our image a wintery edge, we decided to freeze some dried flowers into water but you could use fresh flowers, either shop-bought or picked from the garden at the right time of year.
Now try this…

14 Backlighting beauty
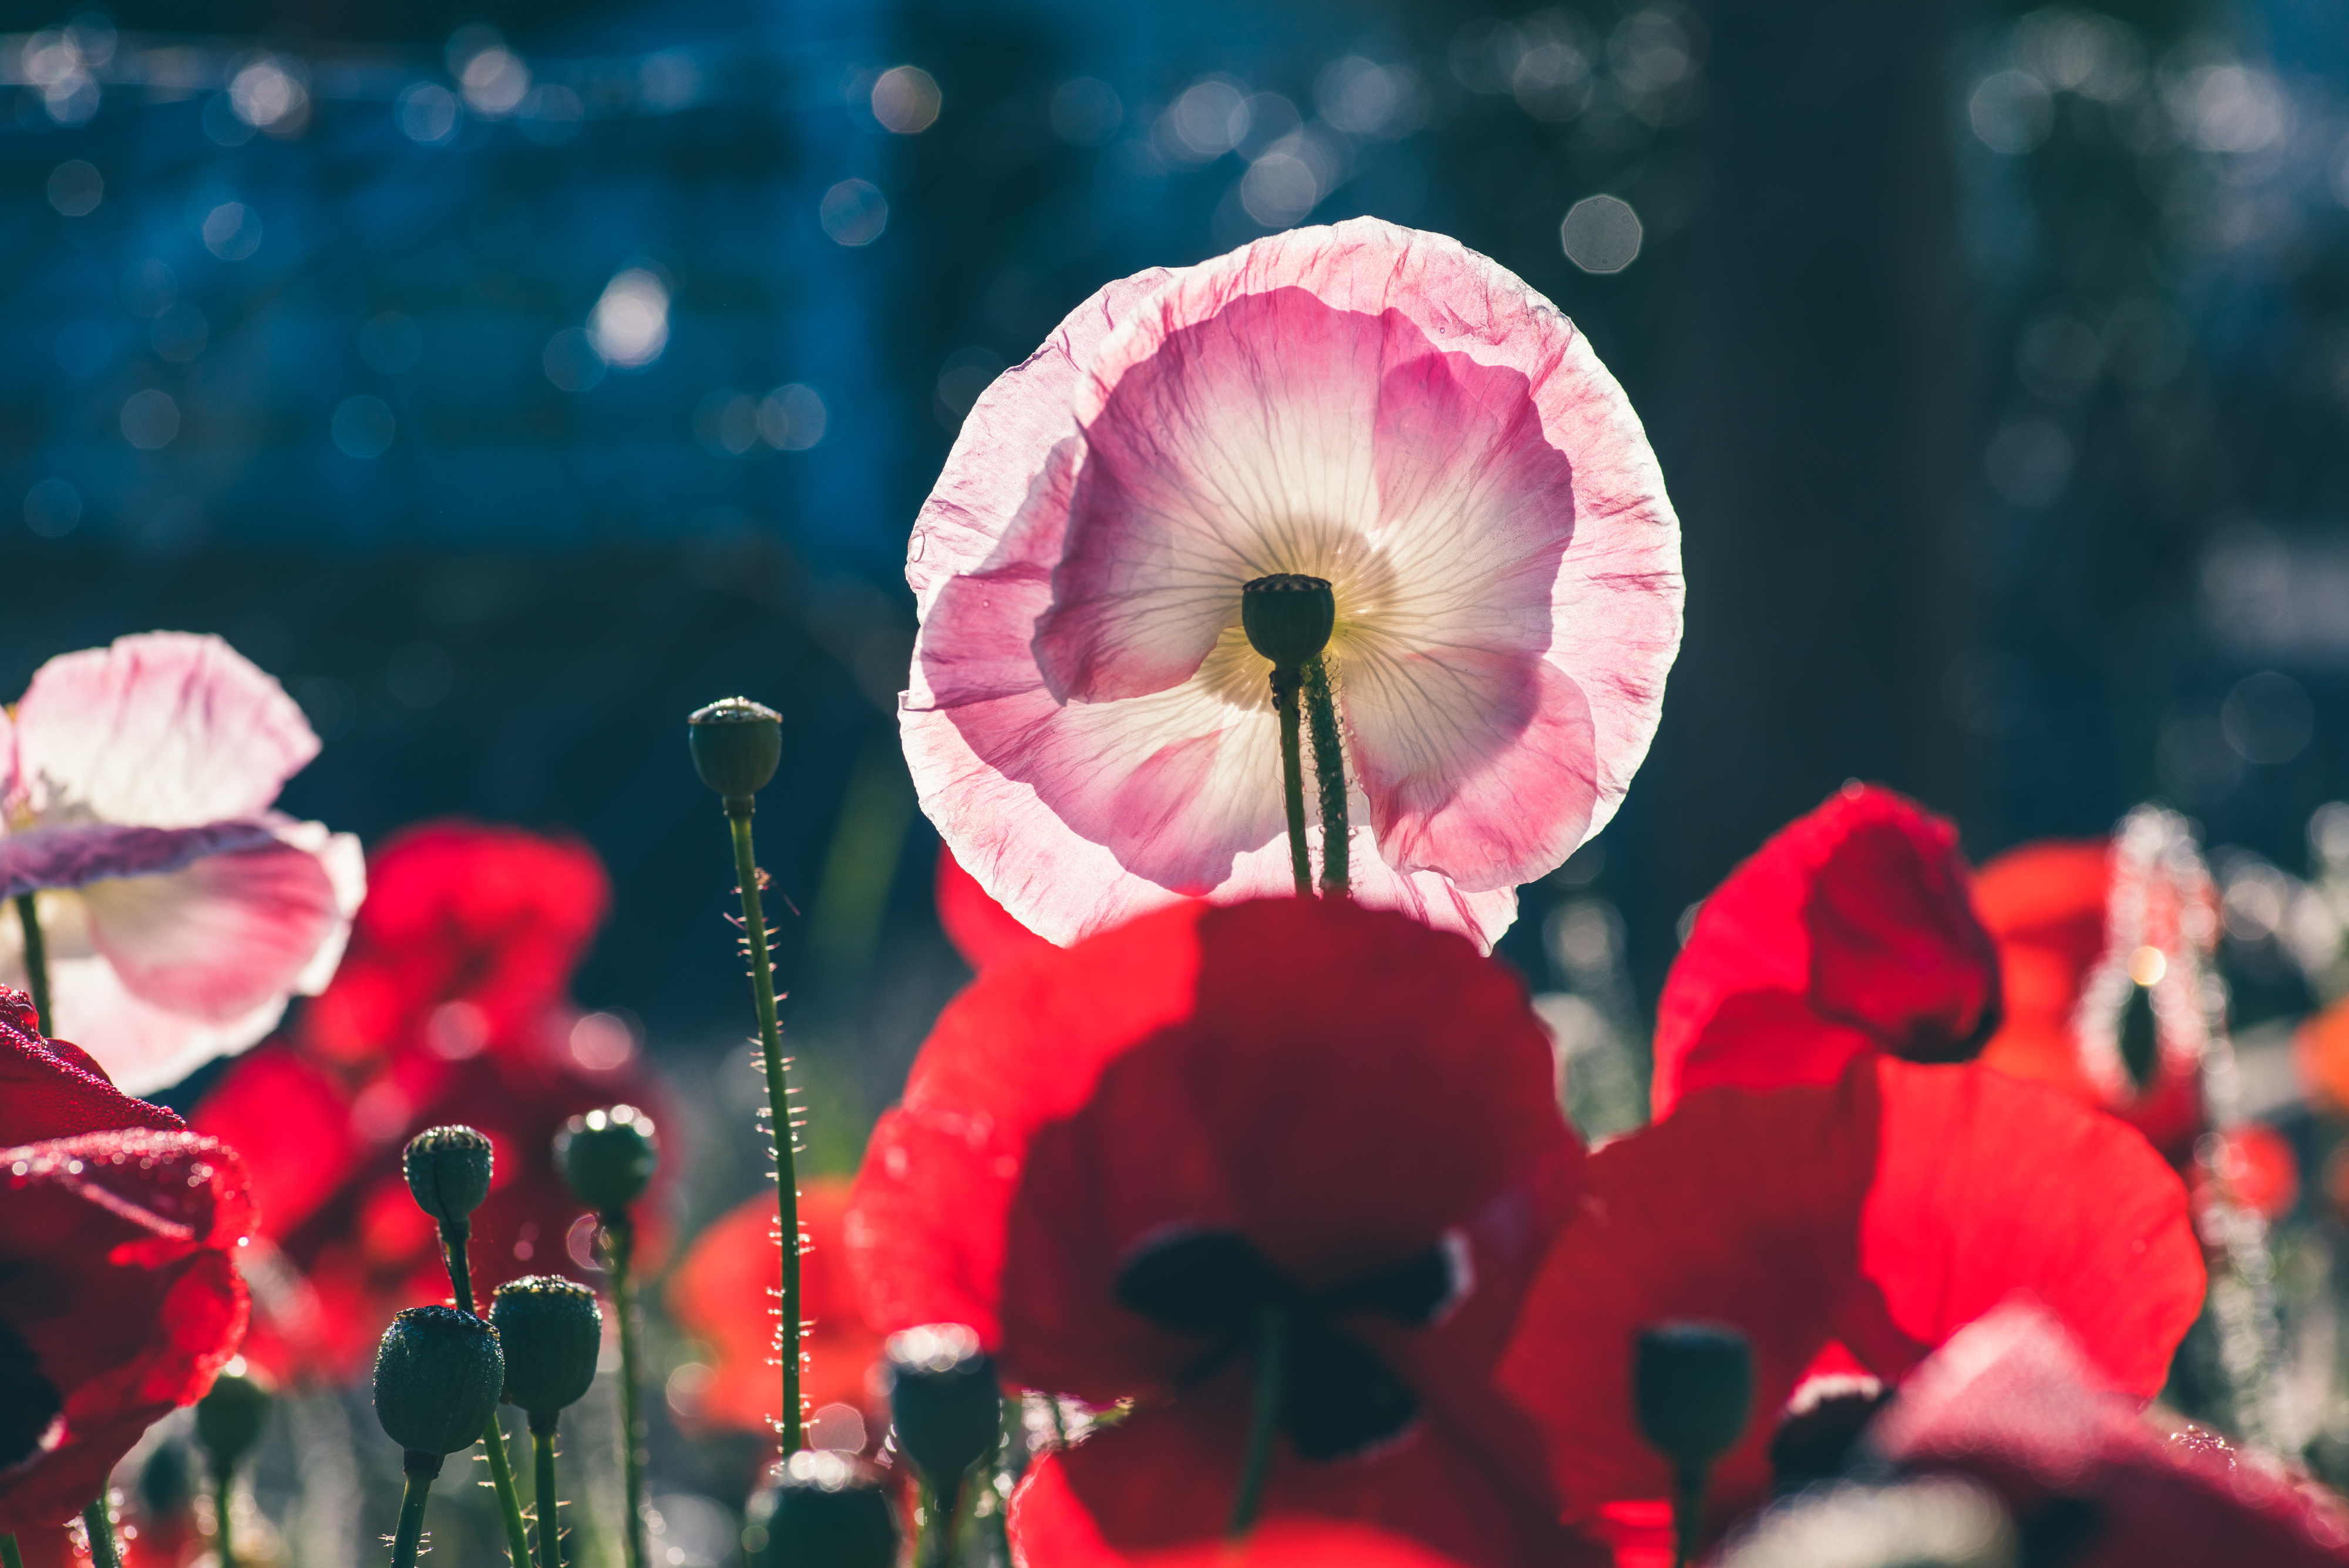
Lighting your subject from behind can create many different effects and be carried out on a number of different subjects. From still-life to portraits there is no end to how you can use backlighting to improve your photography in 2022.
On our backlit flower photo shoot we had some poppies and flowers growing in our garden. The sun was just beginning to rise from behind the flower bank and the soft golden effect was lovely to work with. If you are using natural light, time your photo shoot to coincide with these types of conditions for best results.
Expert advice
• Translucent subjects will appear different when compared with backlit solid subjects that will silhouette. Have a play around with different subjects and objects to see the effect.
• You may want to bring in additional lighting to the front of your subject to bring back detail. You could use a reflector or another light (if you are shooting with artificial lights) to do this.
• Expose for the light in your scene if you want your subject to be silhouetted. This means you’ll probably need to underexpose your main subject by 1 or 2 stops to get the exposure correct.
15 Solarize in Photoshop
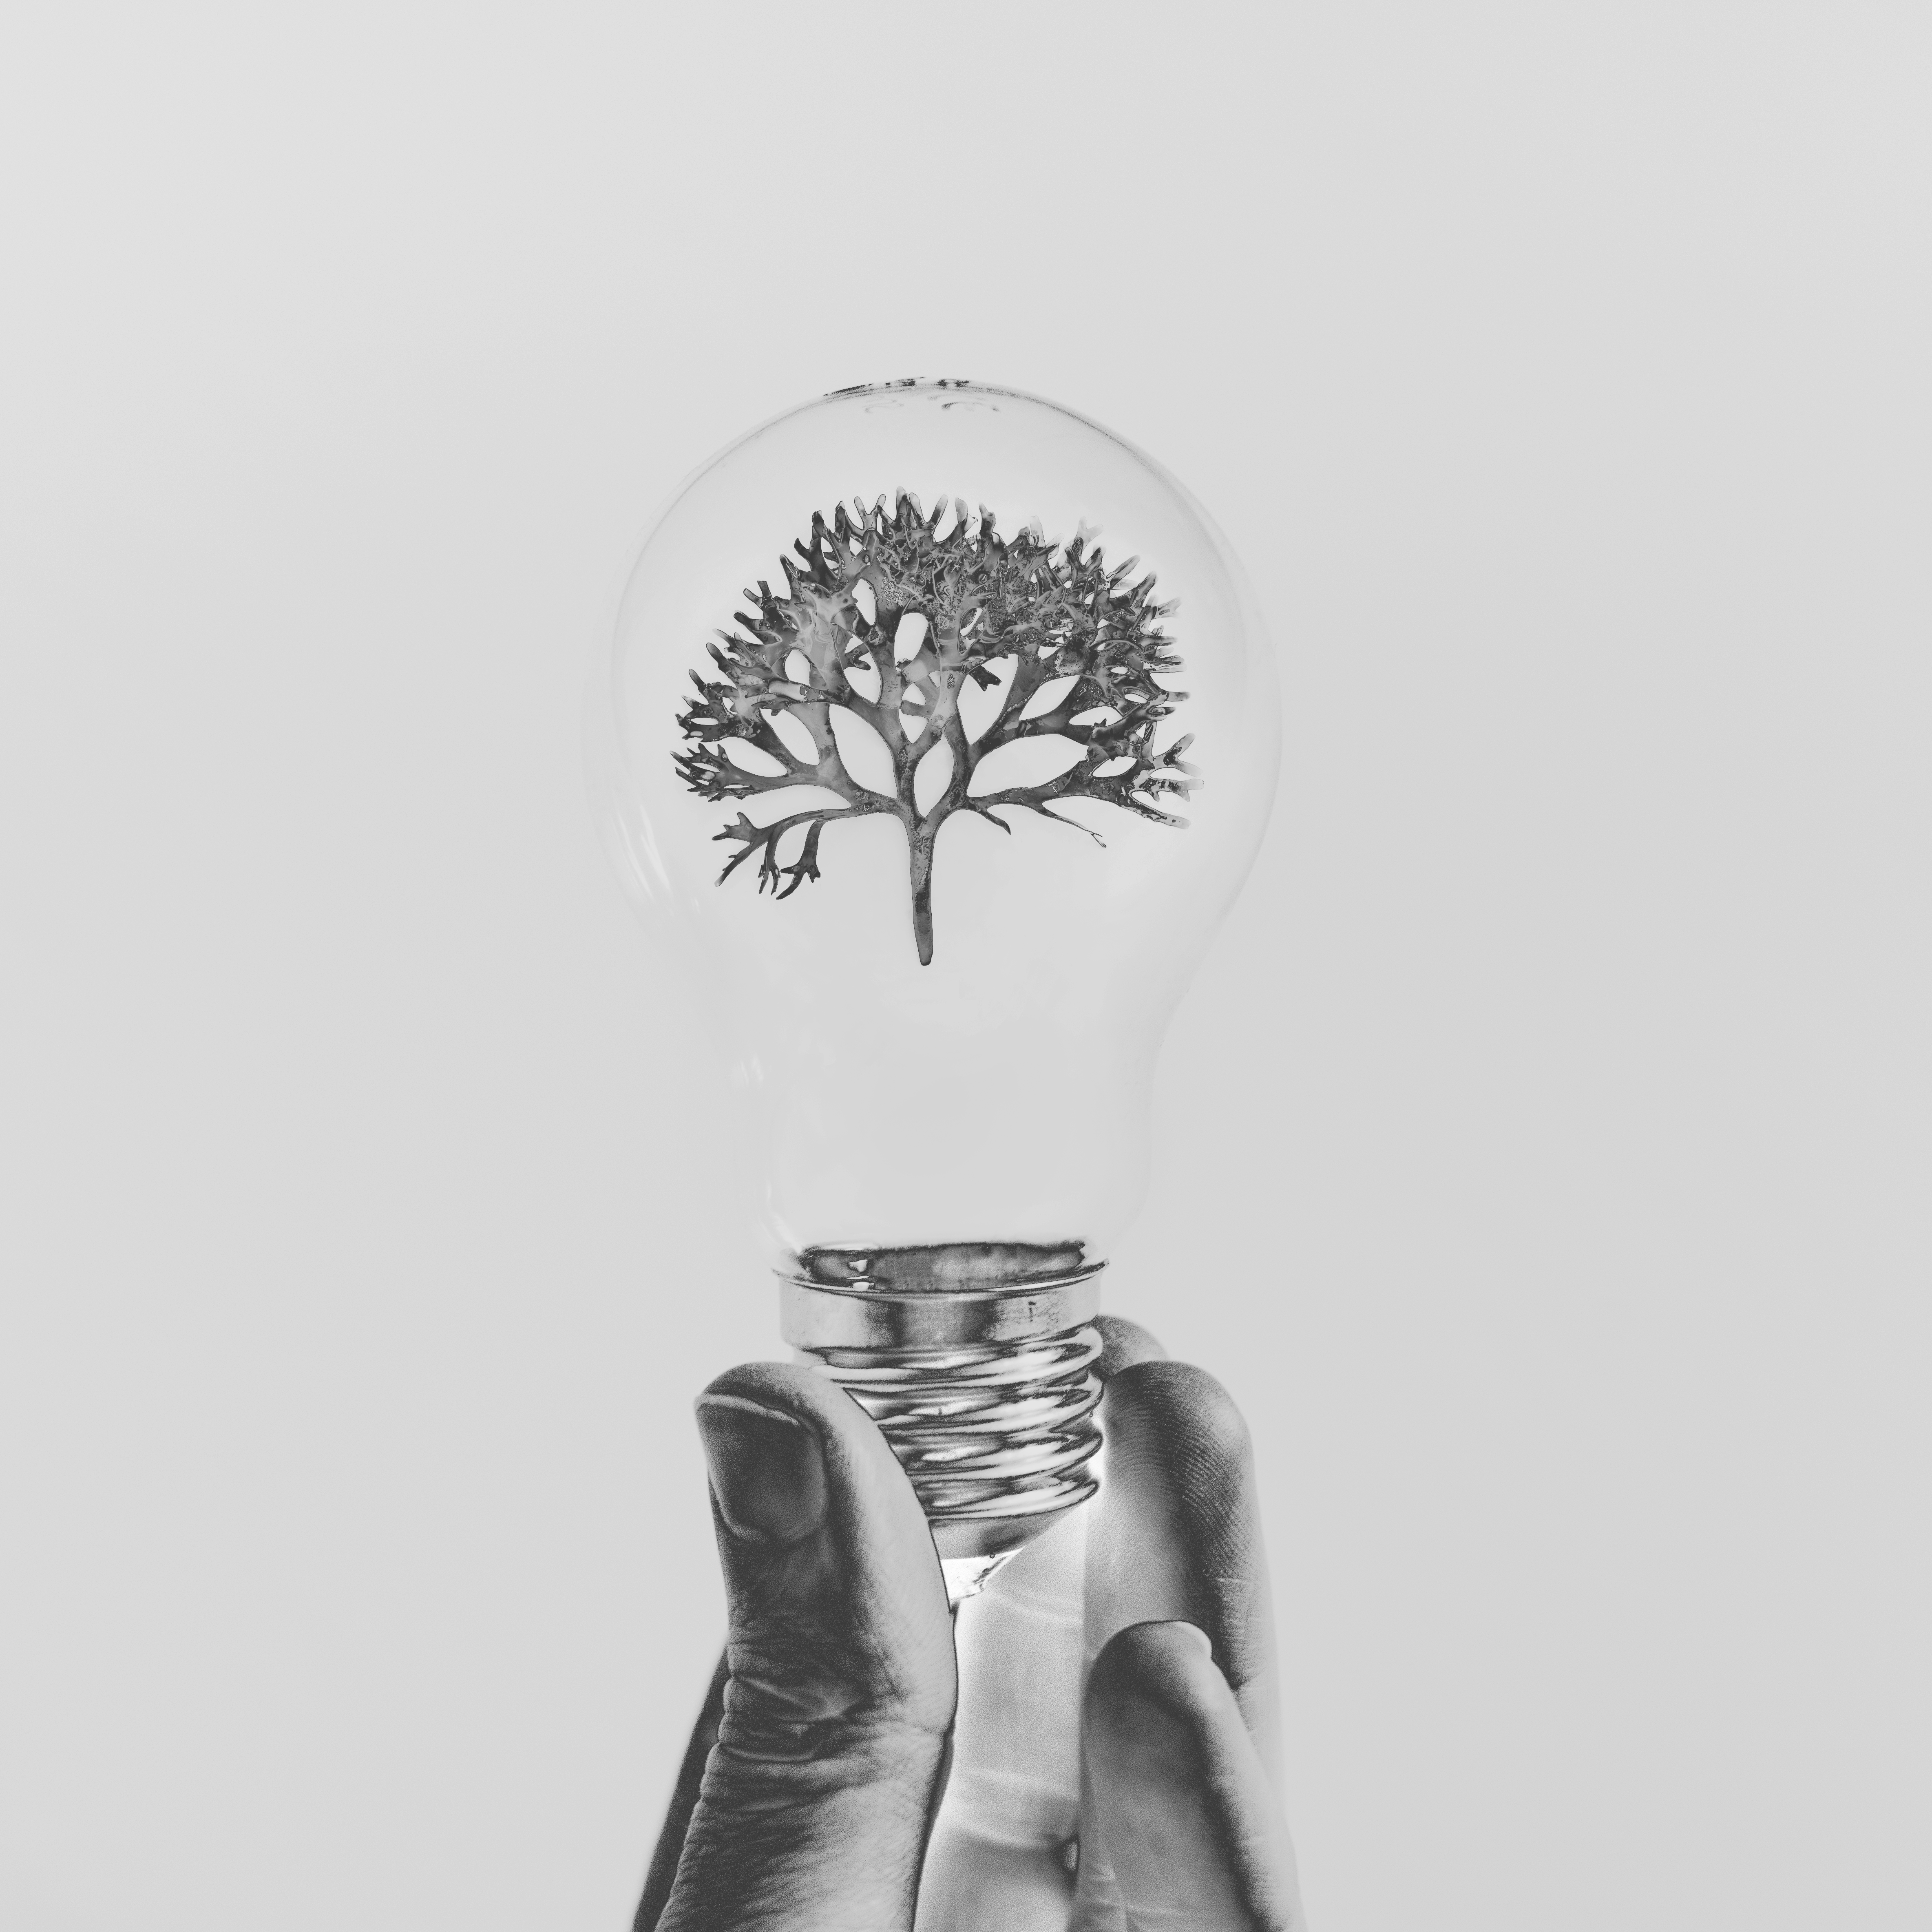
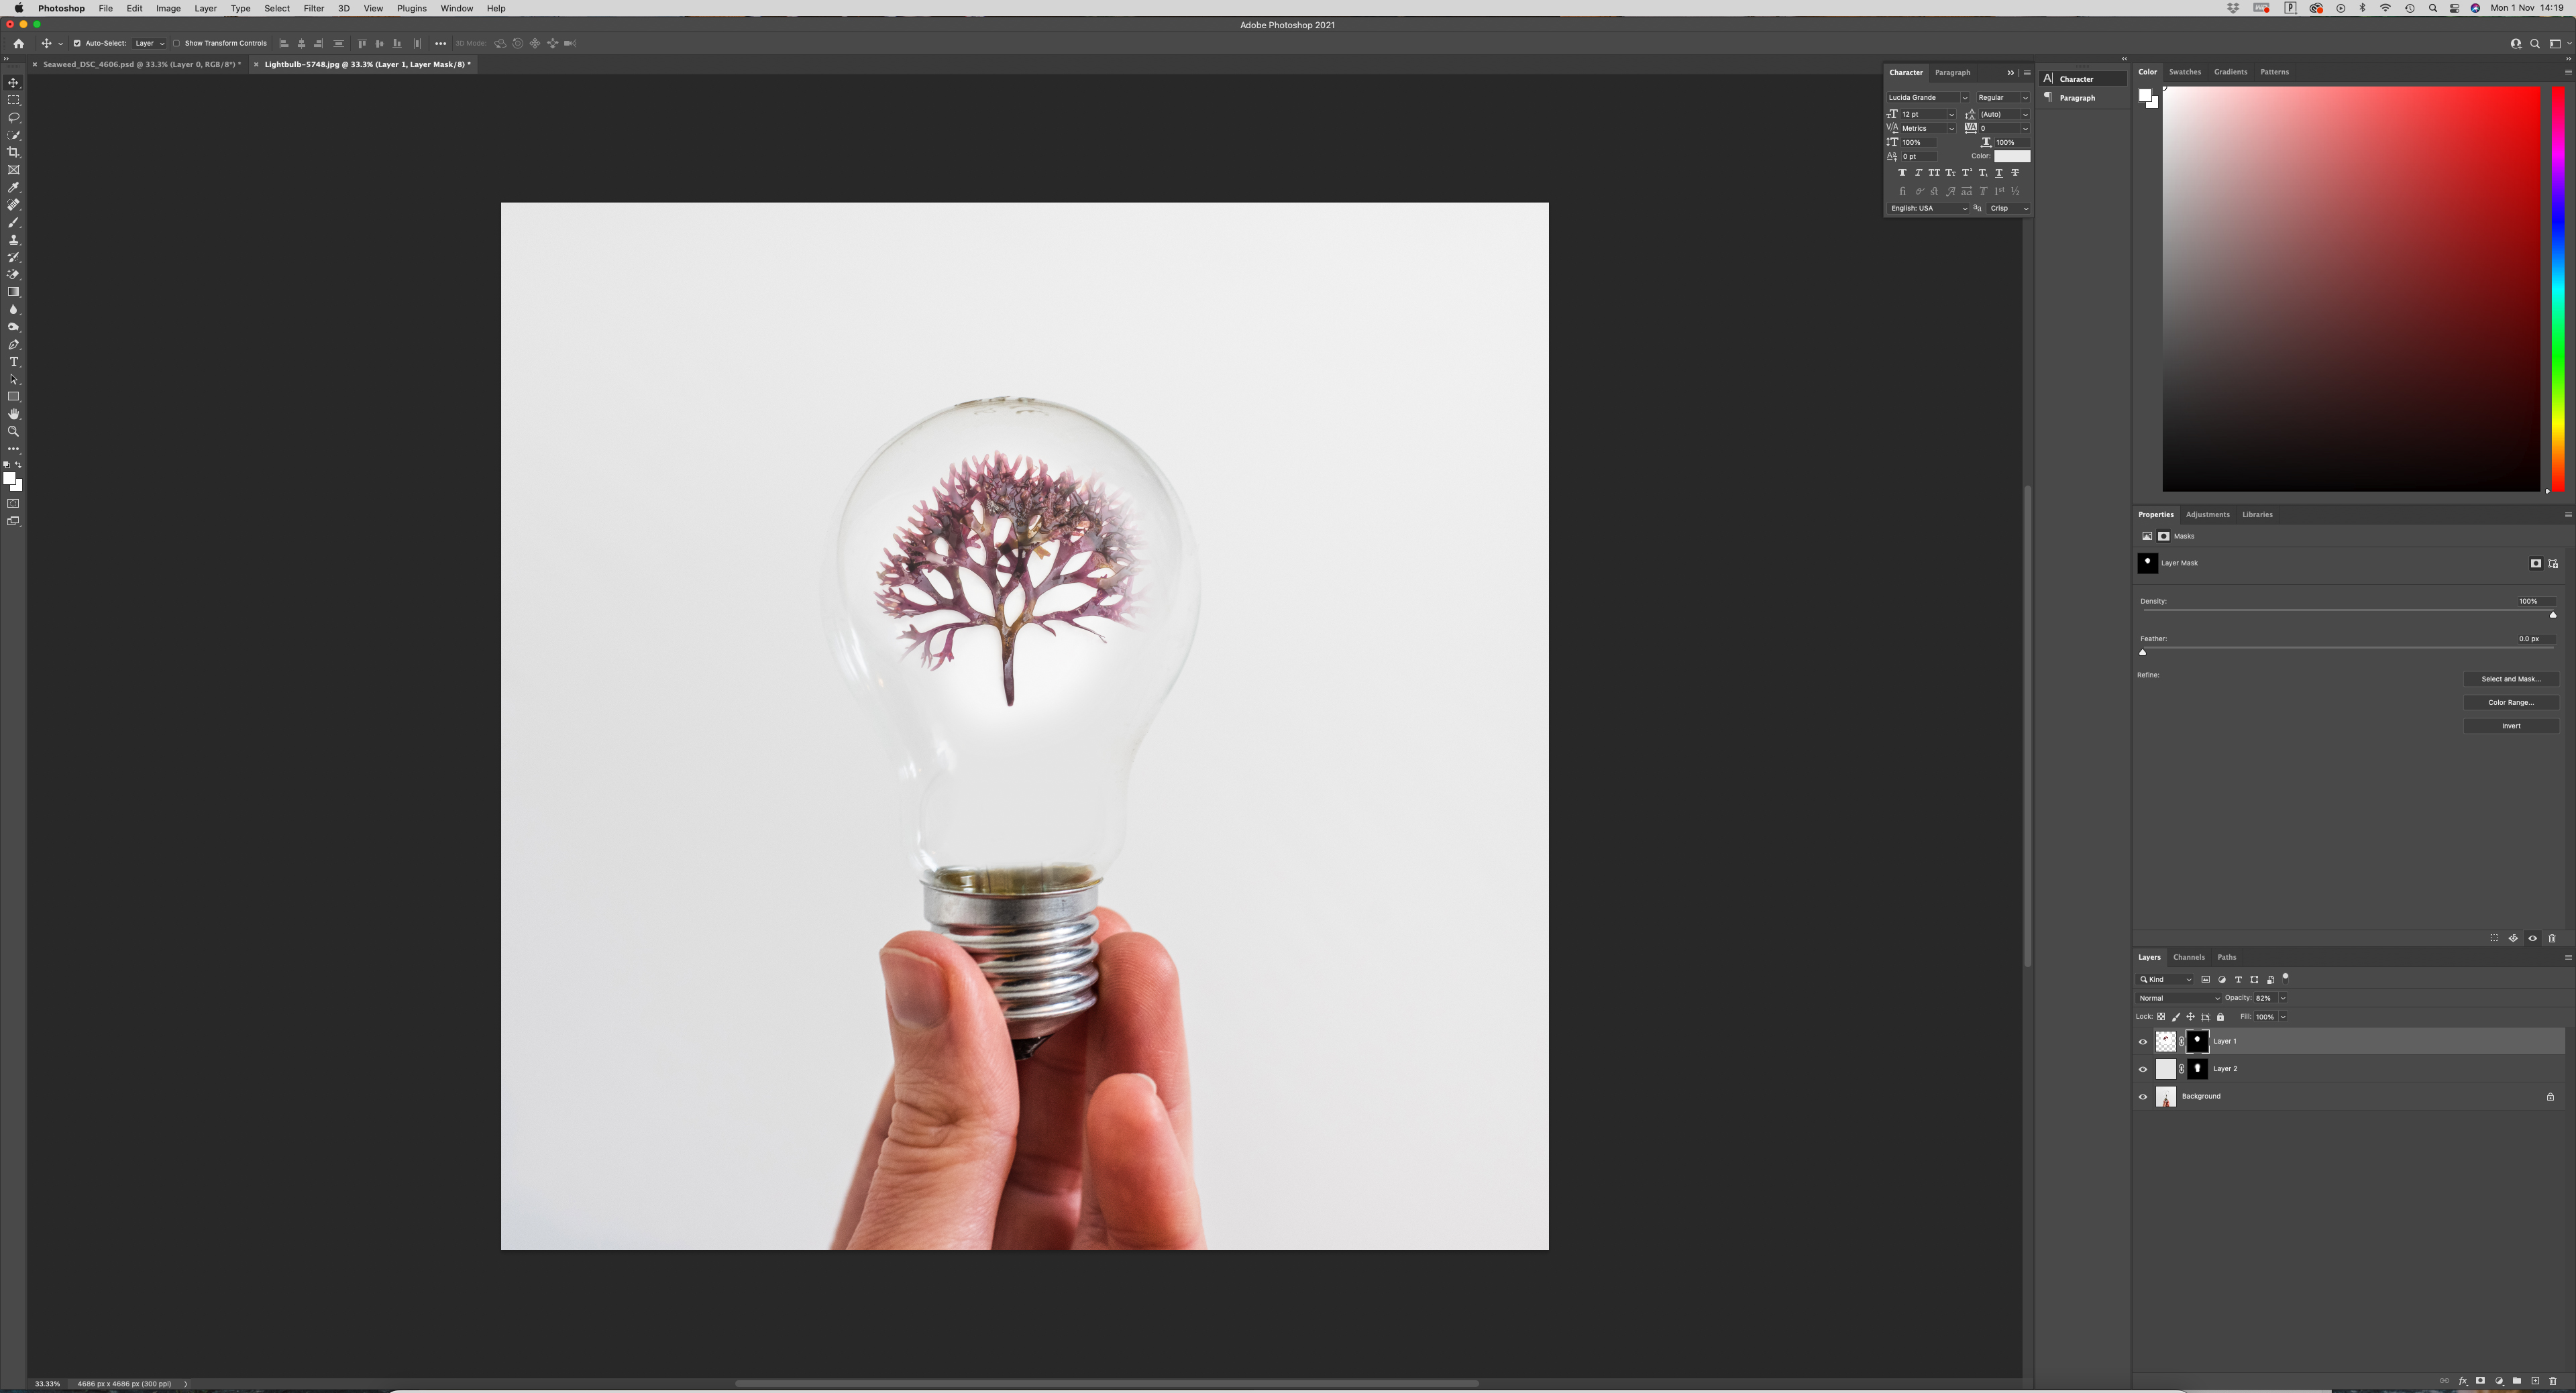
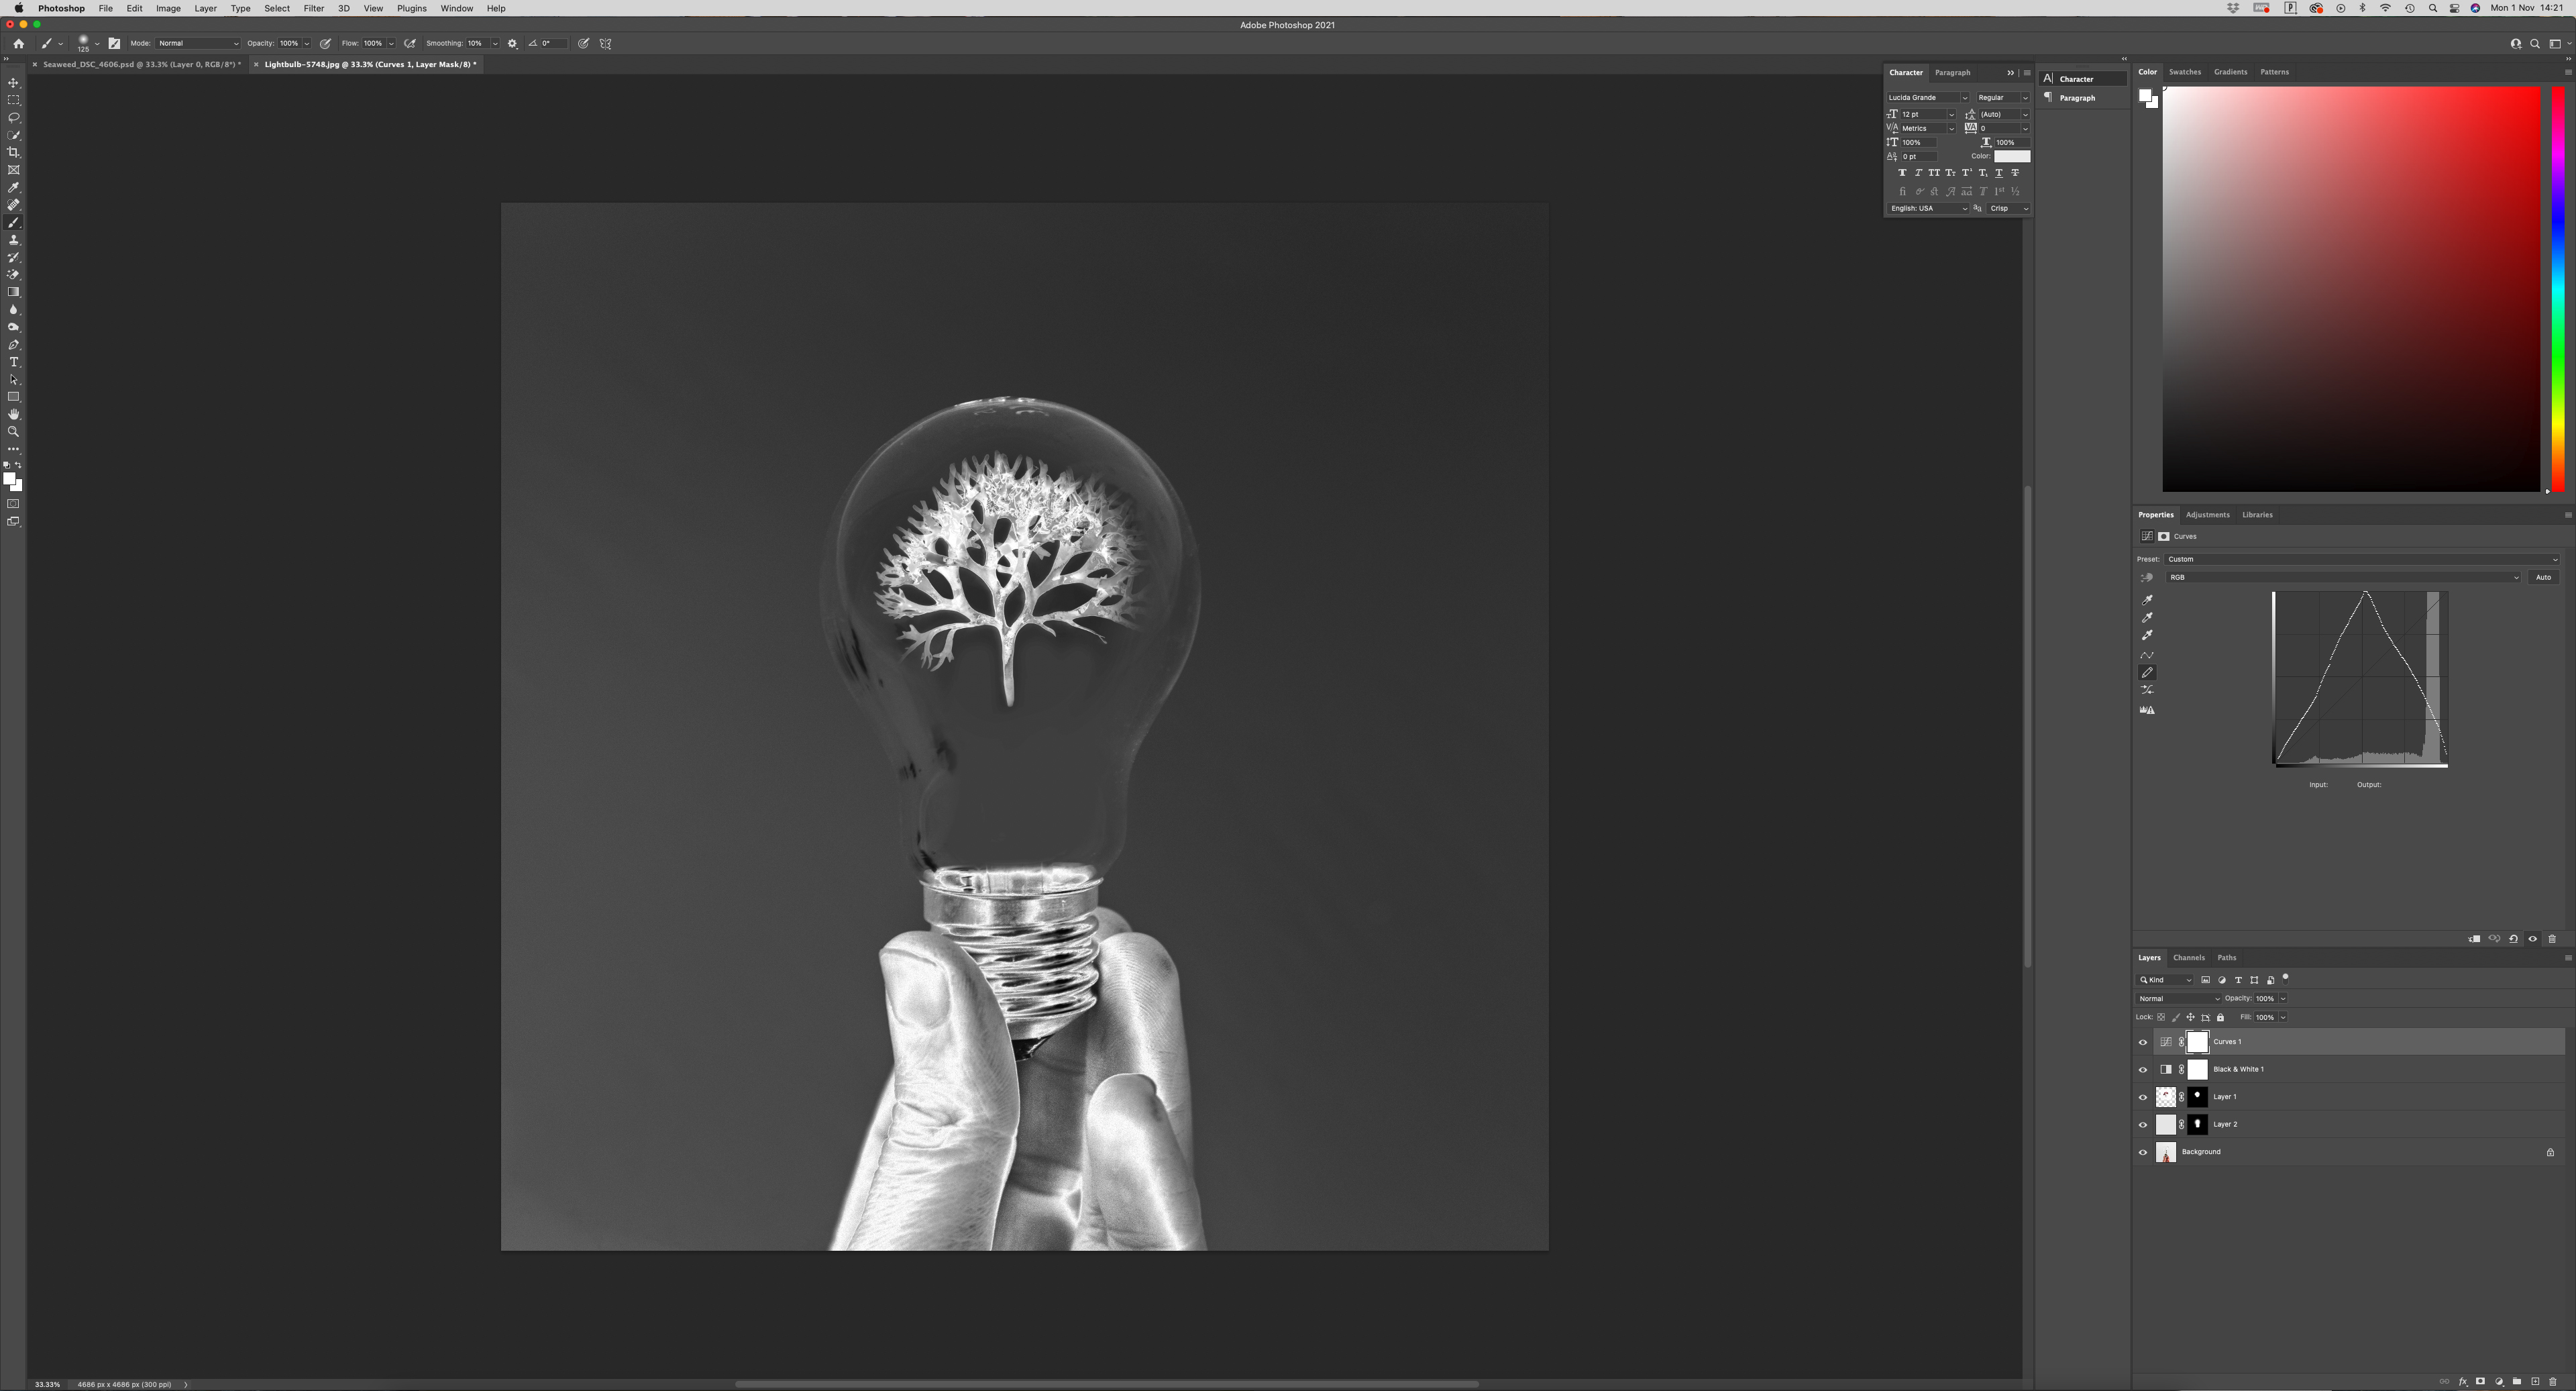
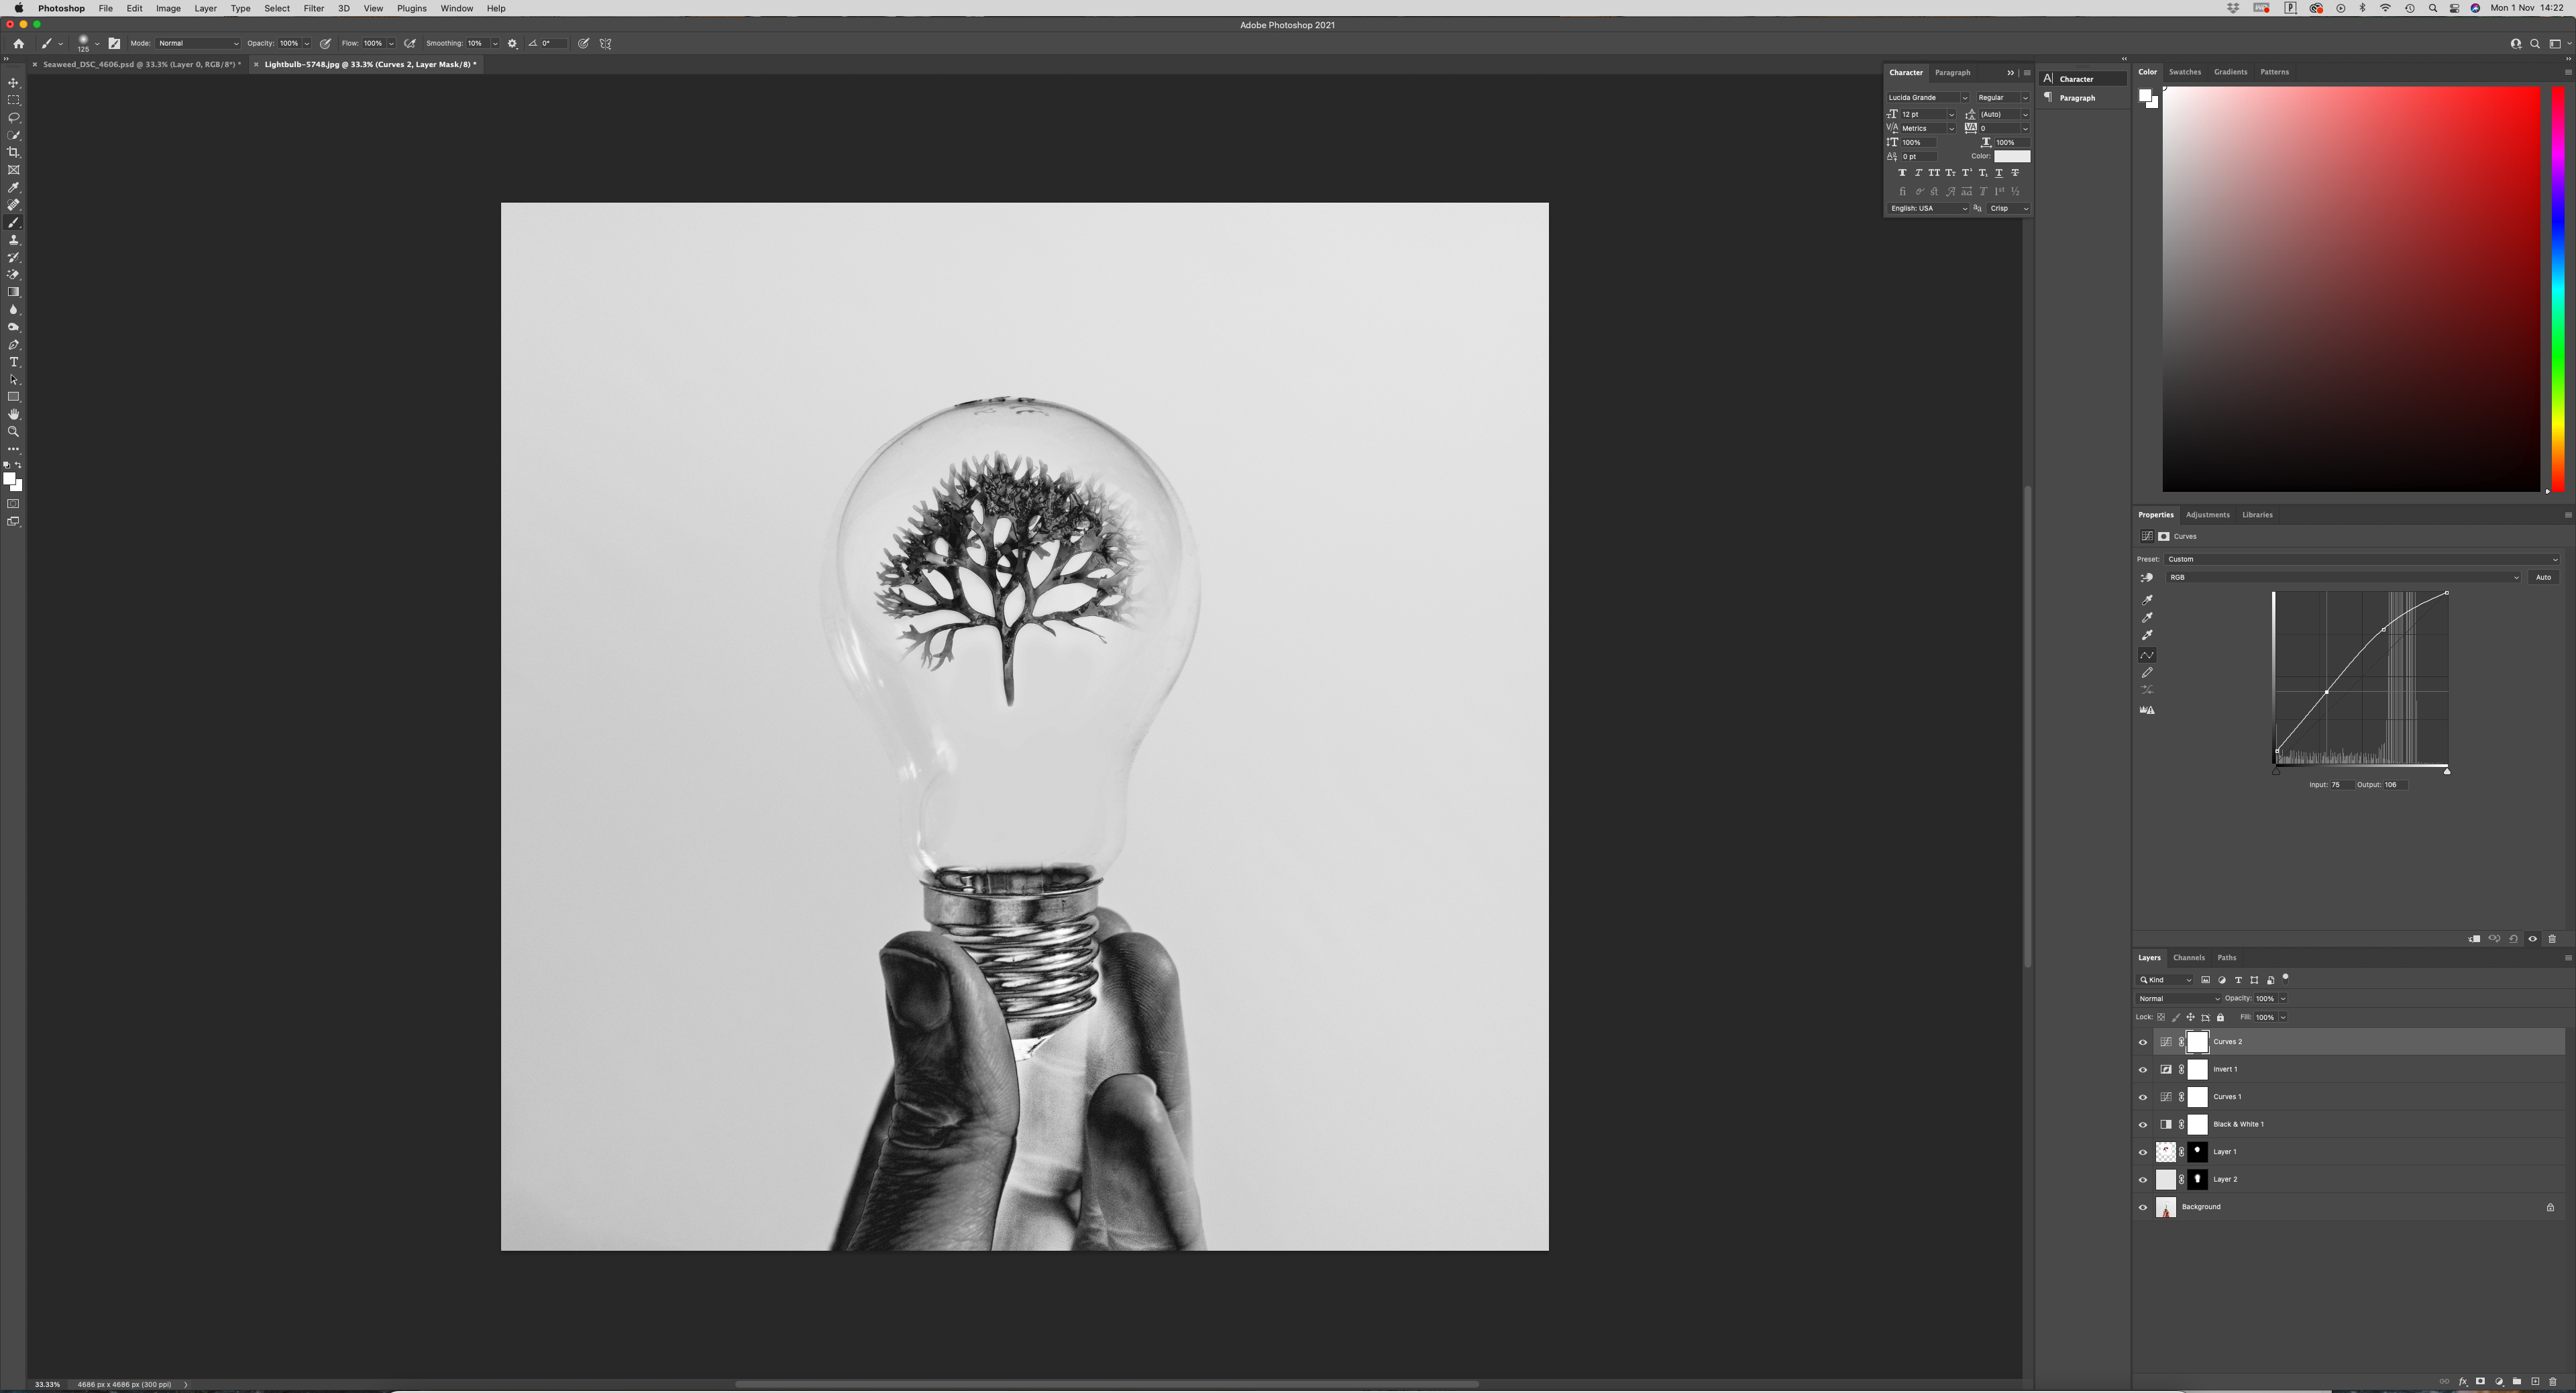
Solarization comes from the days of film, where photographic paper was exposed to light during the development process and would create a beautiful silvery tone between the shadows and highlighted areas. You can create the same effect in Photoshop and for this solarized image we combined two images together before we applied the effect. The subject for your image can be whatever you like; however, it’s worth noting that still- life subjects work particularly well for this technique.
Now try this…
16 Capture an event
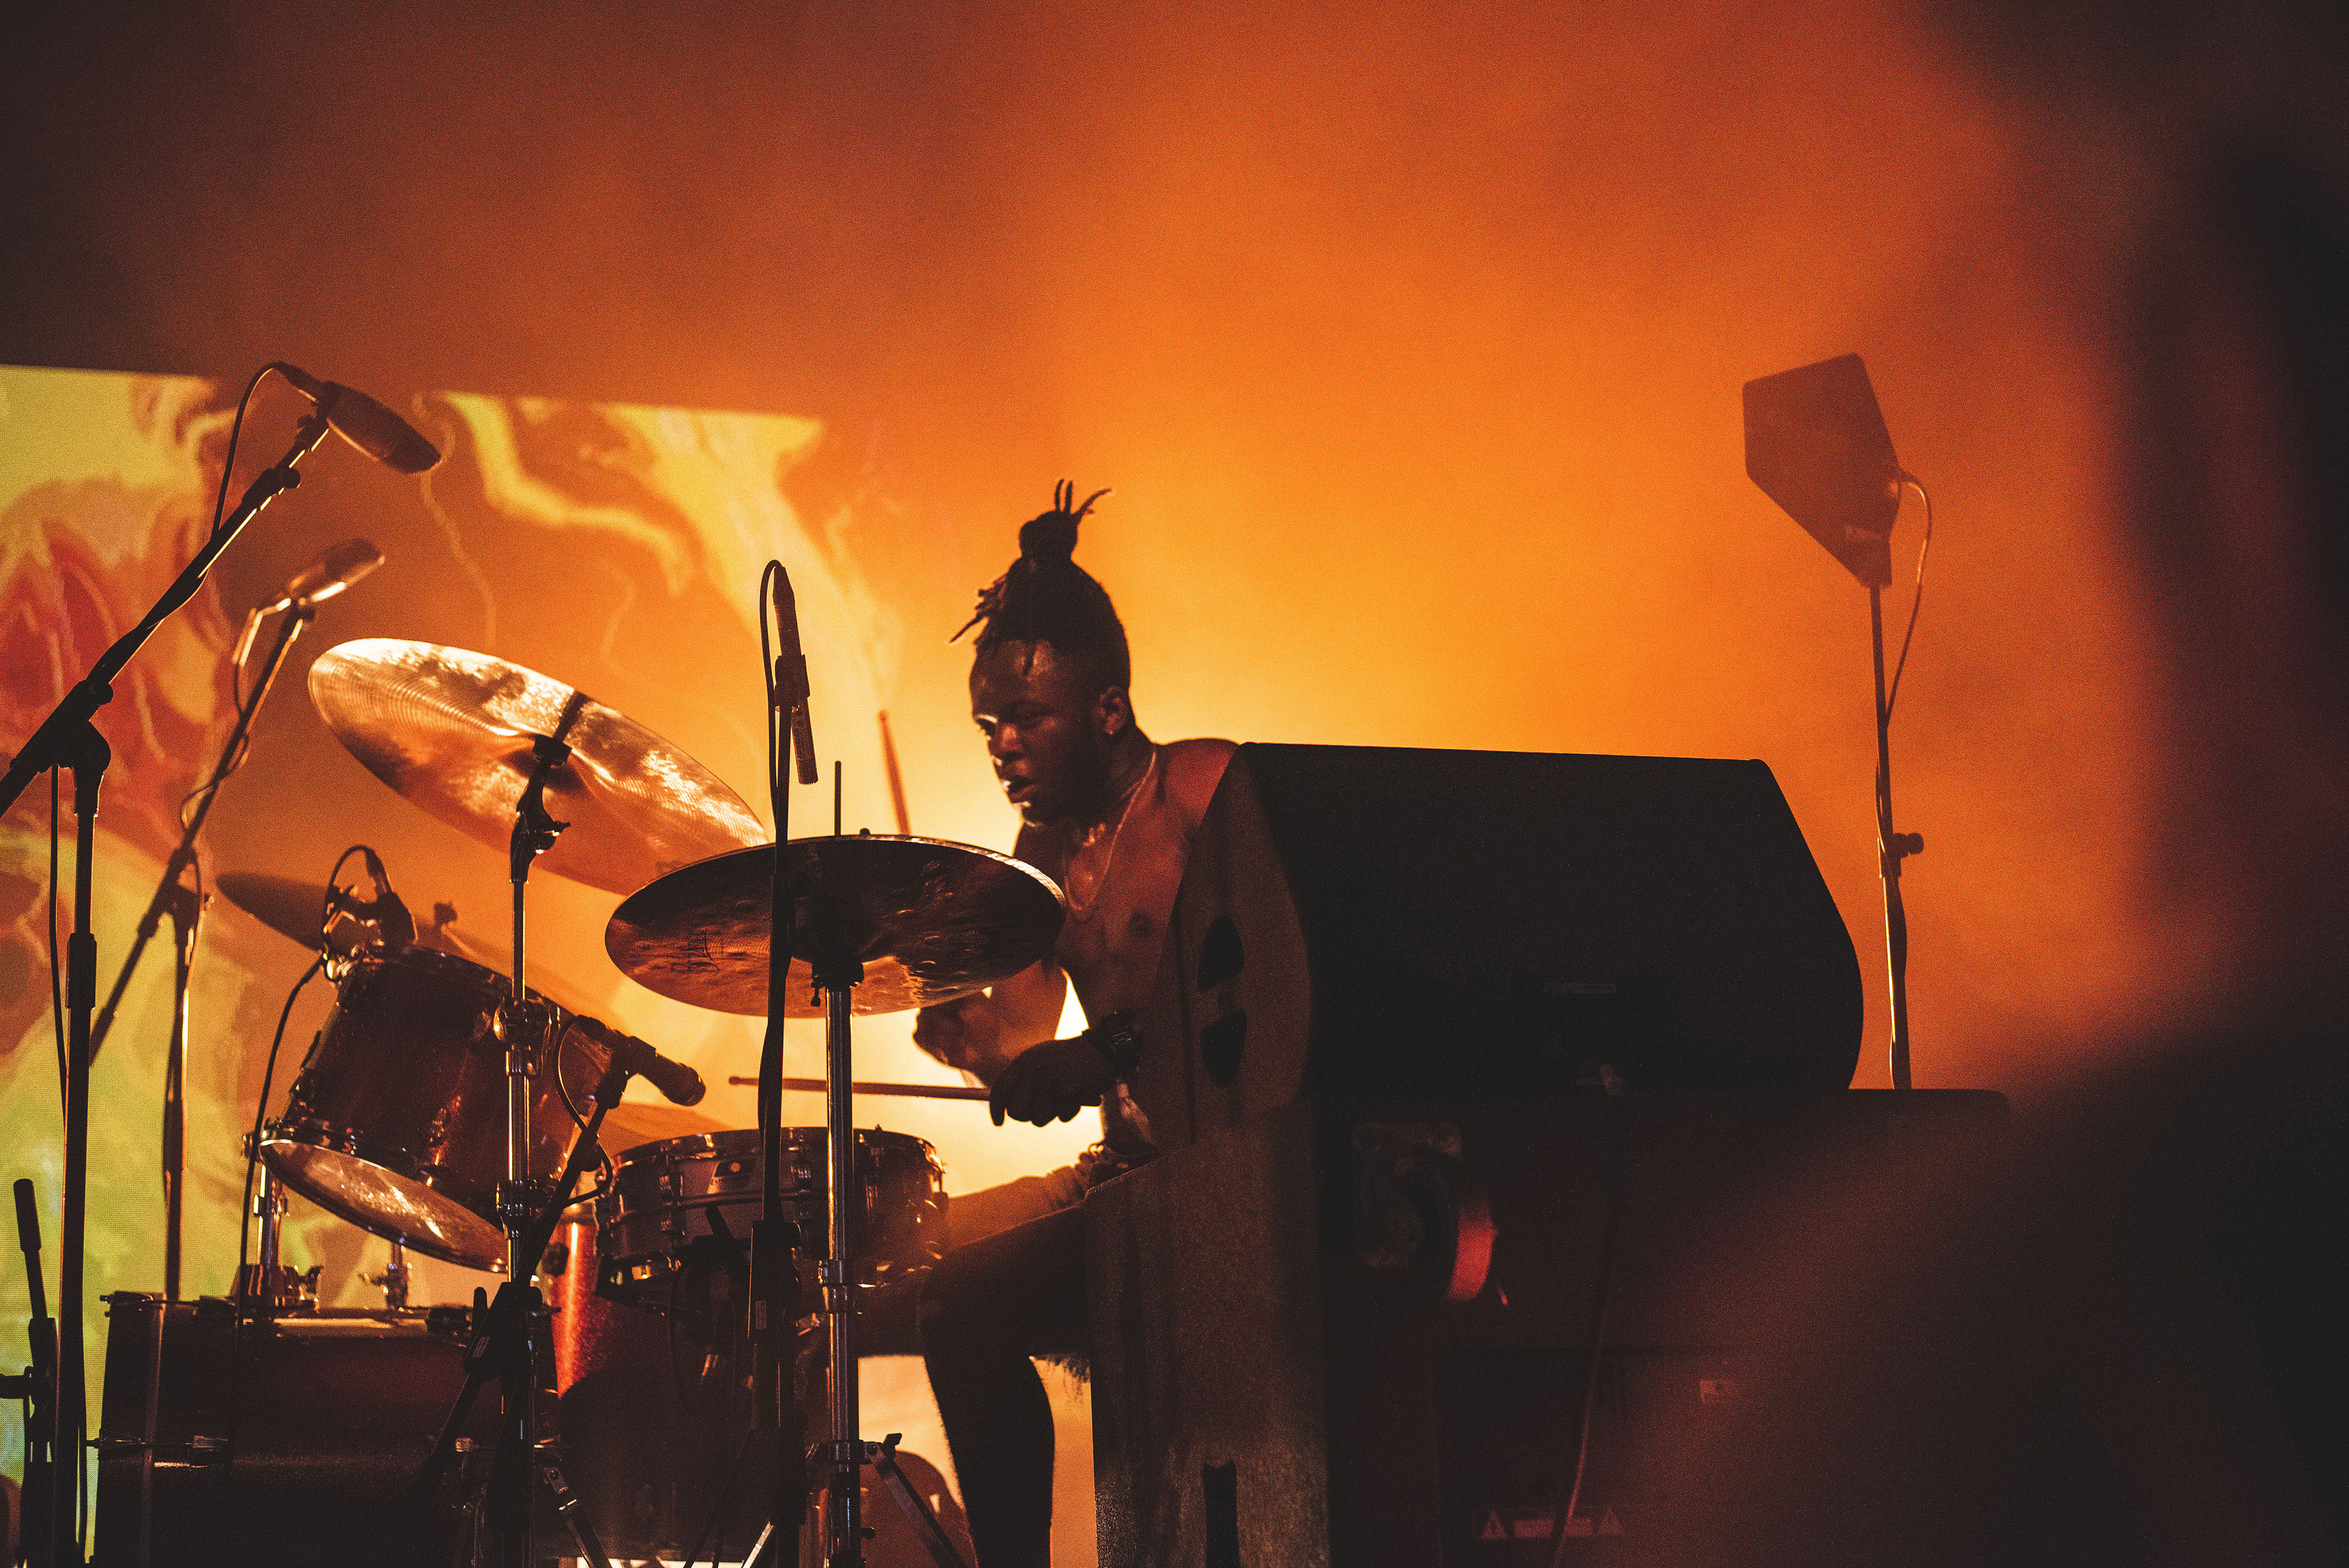
One thing we’ve missed out on greatly over the past couple of years has been big events such as live music, weddings, parties and festivals to name only a few. Shooting an event in 2022 is a big must and should be an enjoyable and fun experience!
Photographing events definitely helps you refine your shooting skills and boosts your confidence. Not only do you have to think fast on your feet and adapt quickly to the light, you also need to read people well to capture them in that optimum moment.
Expert advice
• Prime lenses are preferable under low-light conditions as you’ll need to use their wide aperture settings.
• In low light, stretch your ISO as far as you can. Noise is easier to fix during post-production, compared to blurry images caused by a slow shutter speed!
• Refrain from continuously checking your images on your camera’s rear screen when shooting – a behavior known as ‘chimping’. You’ll miss out on the moment if you do!
17 Bird’s eye view
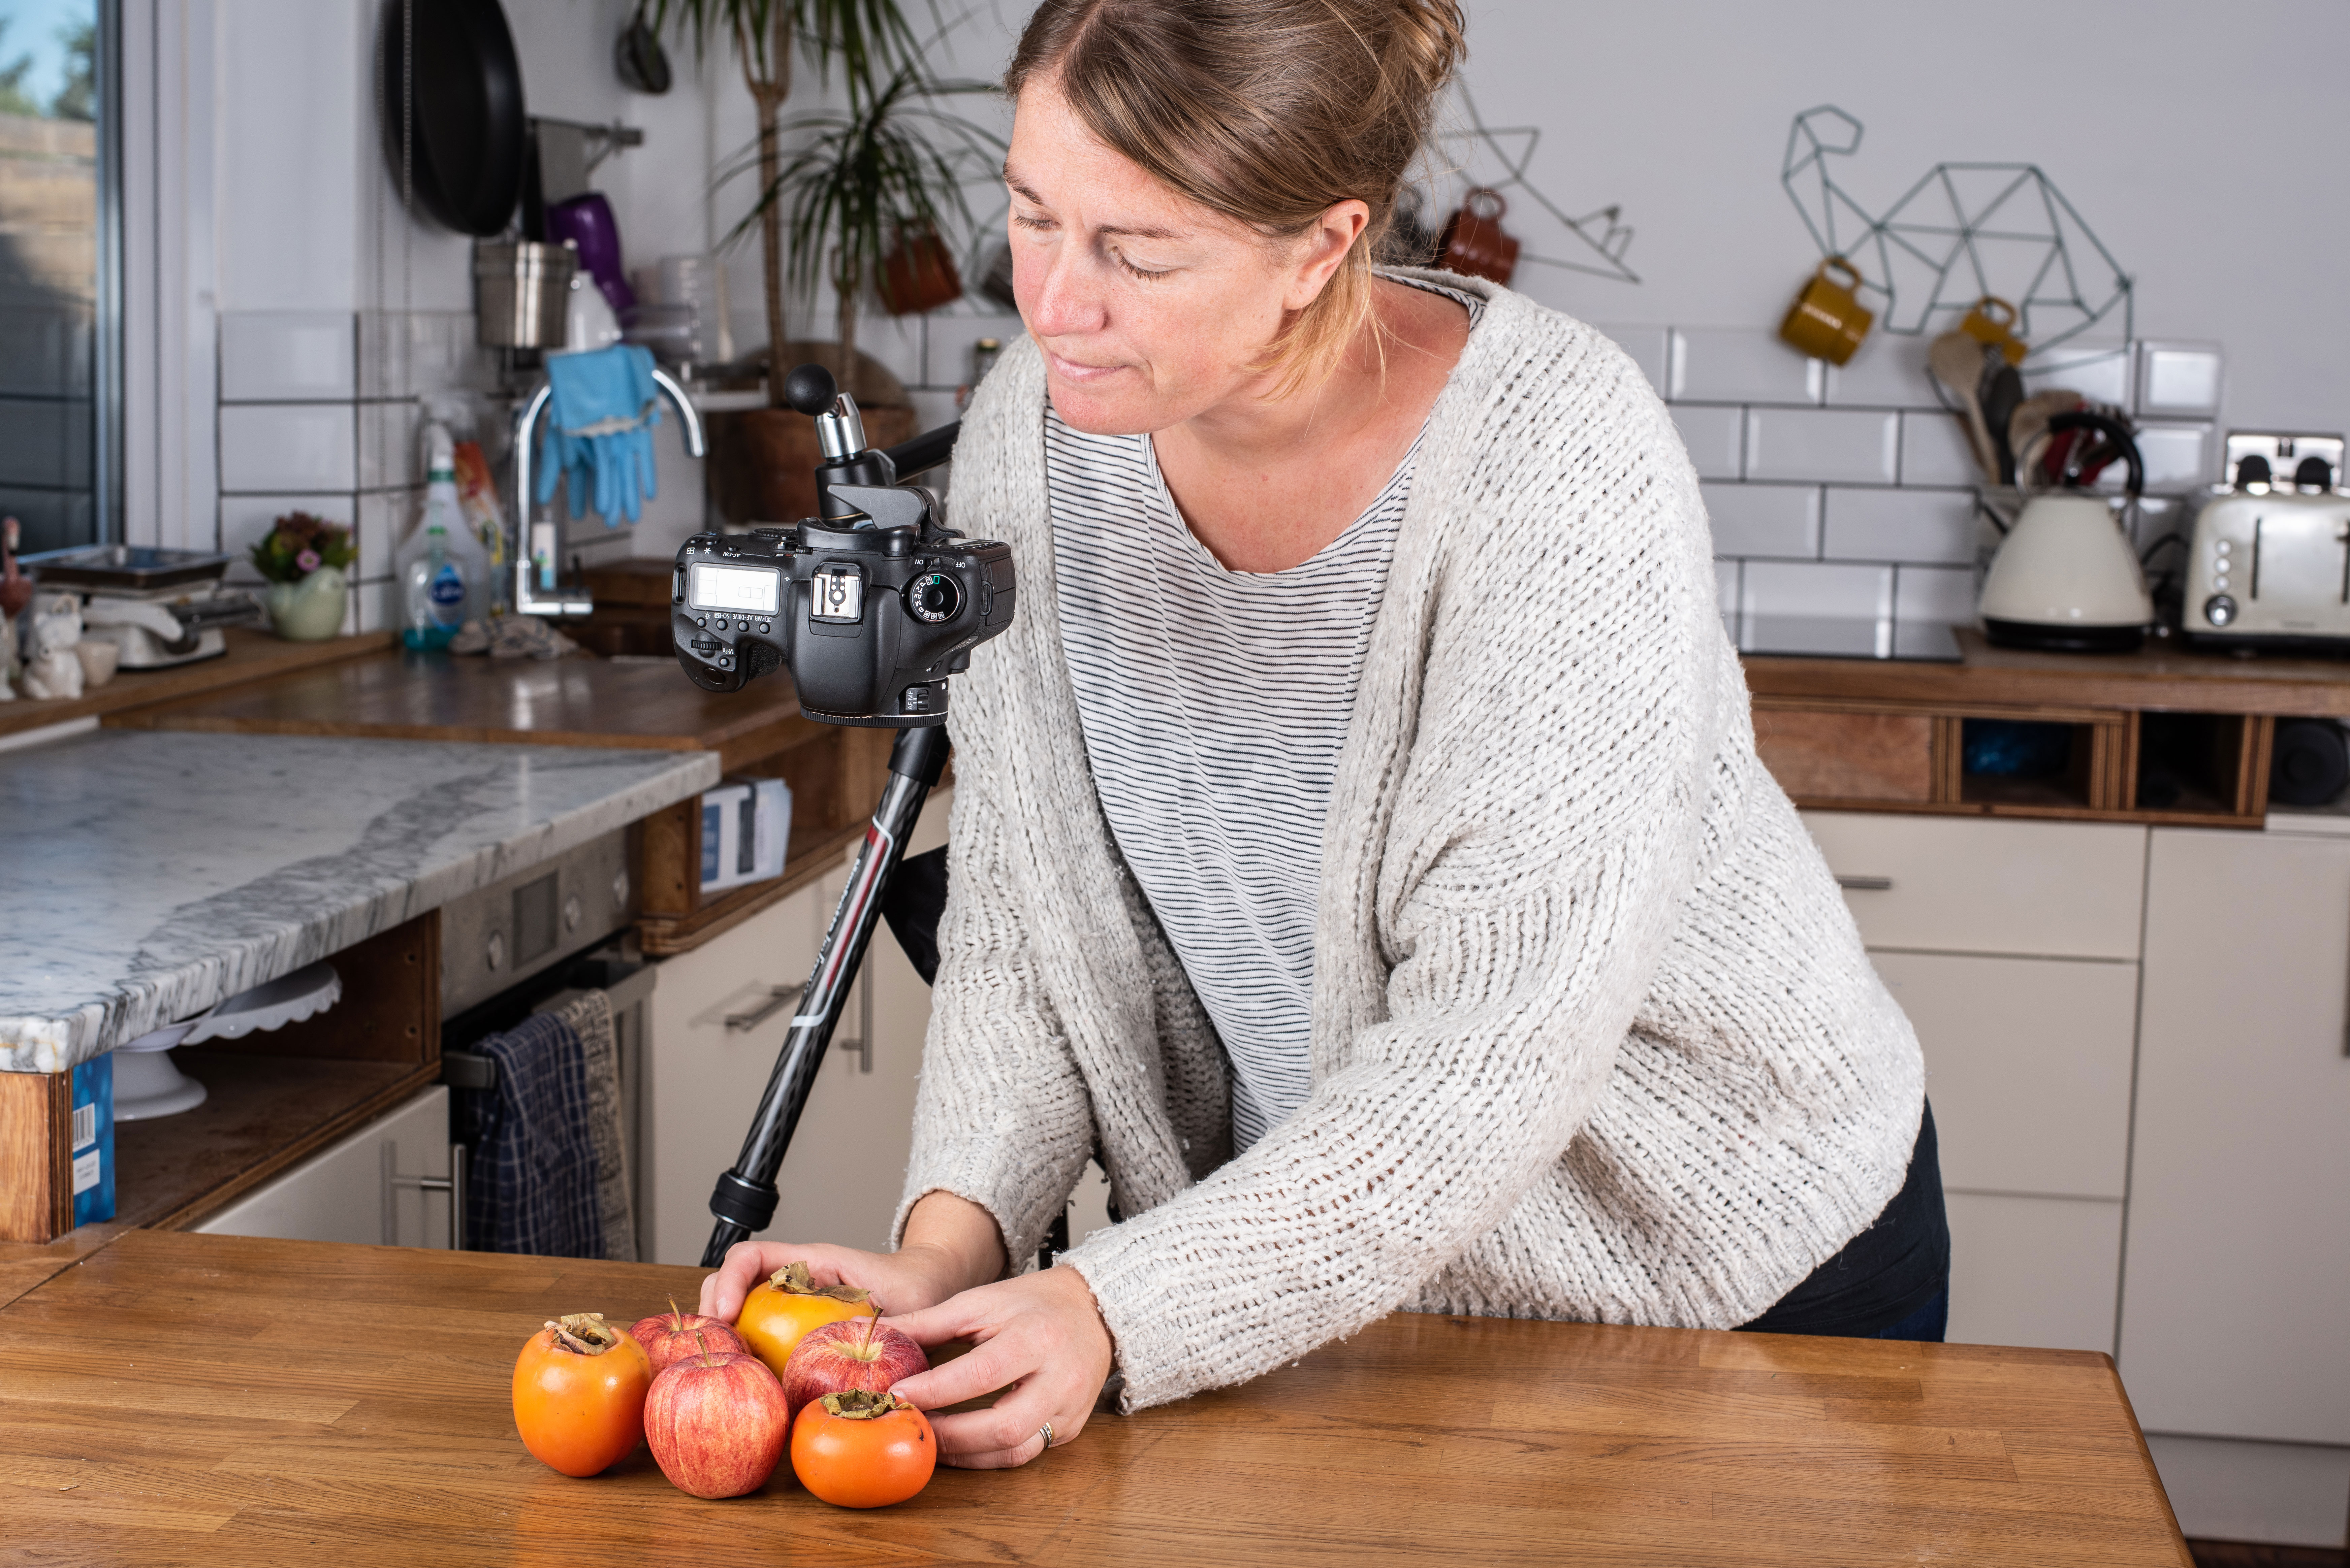
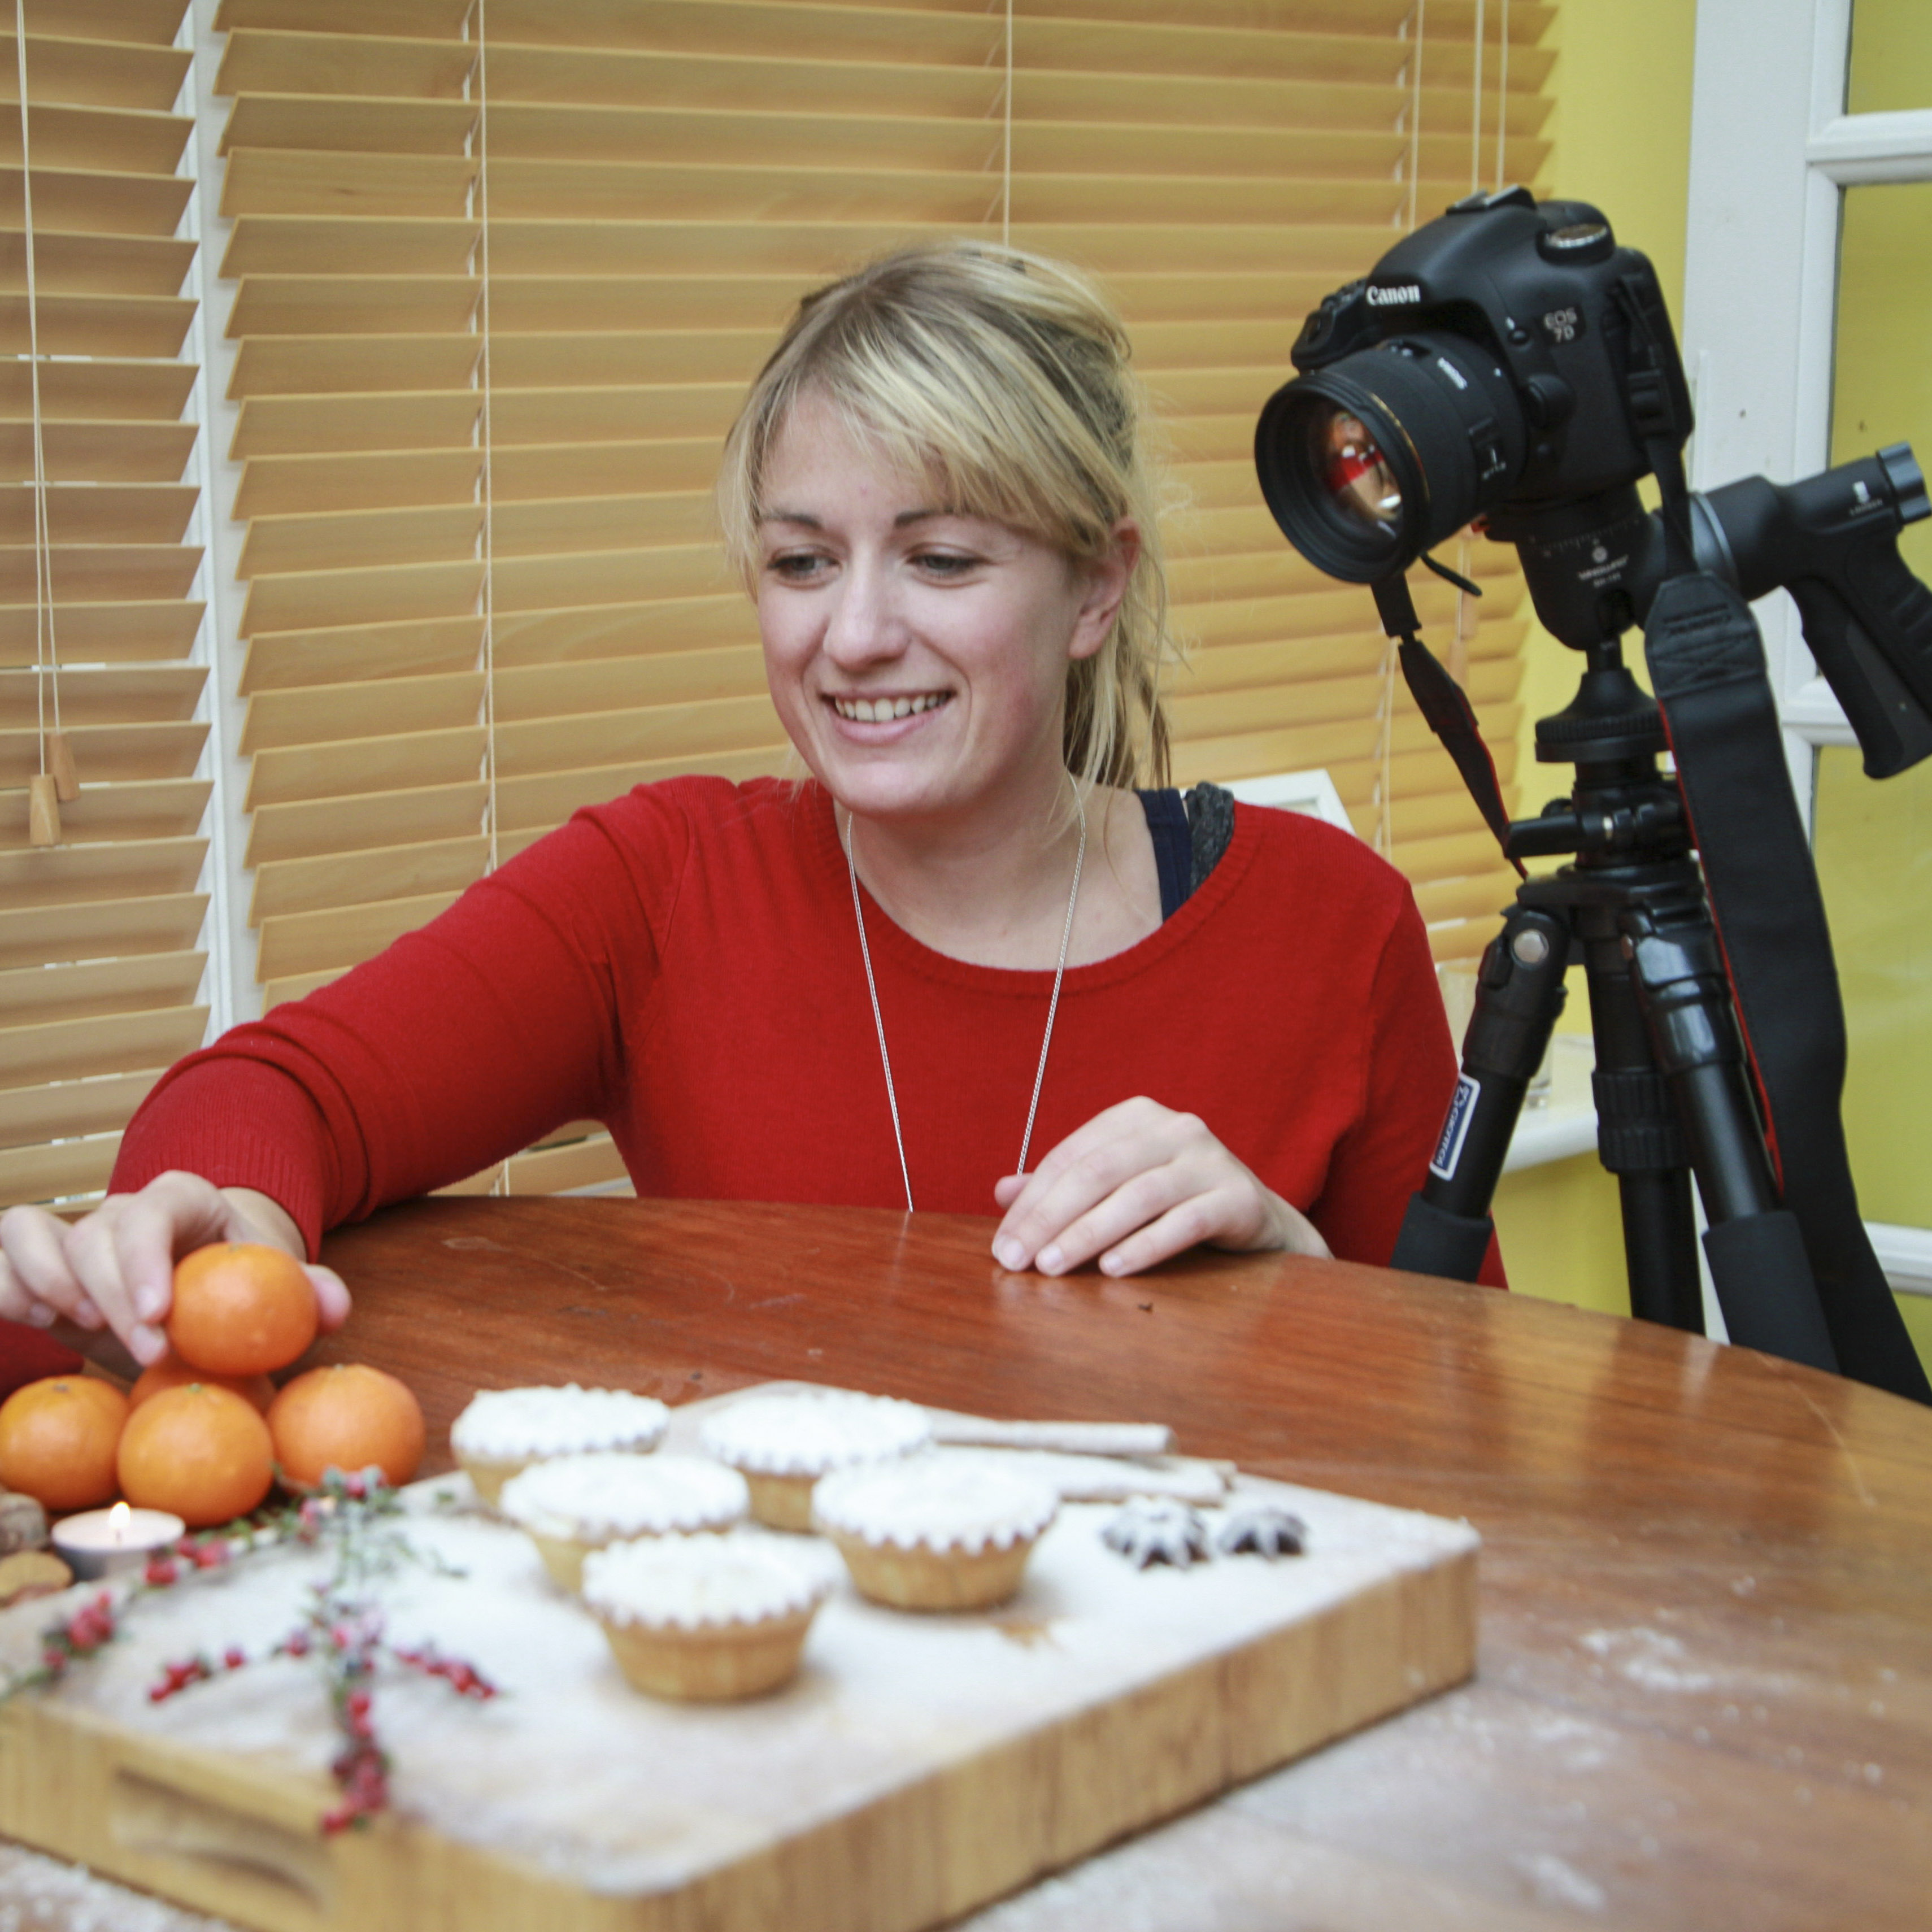
Photographing food is a relaxing and enjoyable experience and should definitely be on your list of things to photograph in 2022. Not only do the images look delicious at the end of the shoot, you also get to eat the props – what could be better than that?
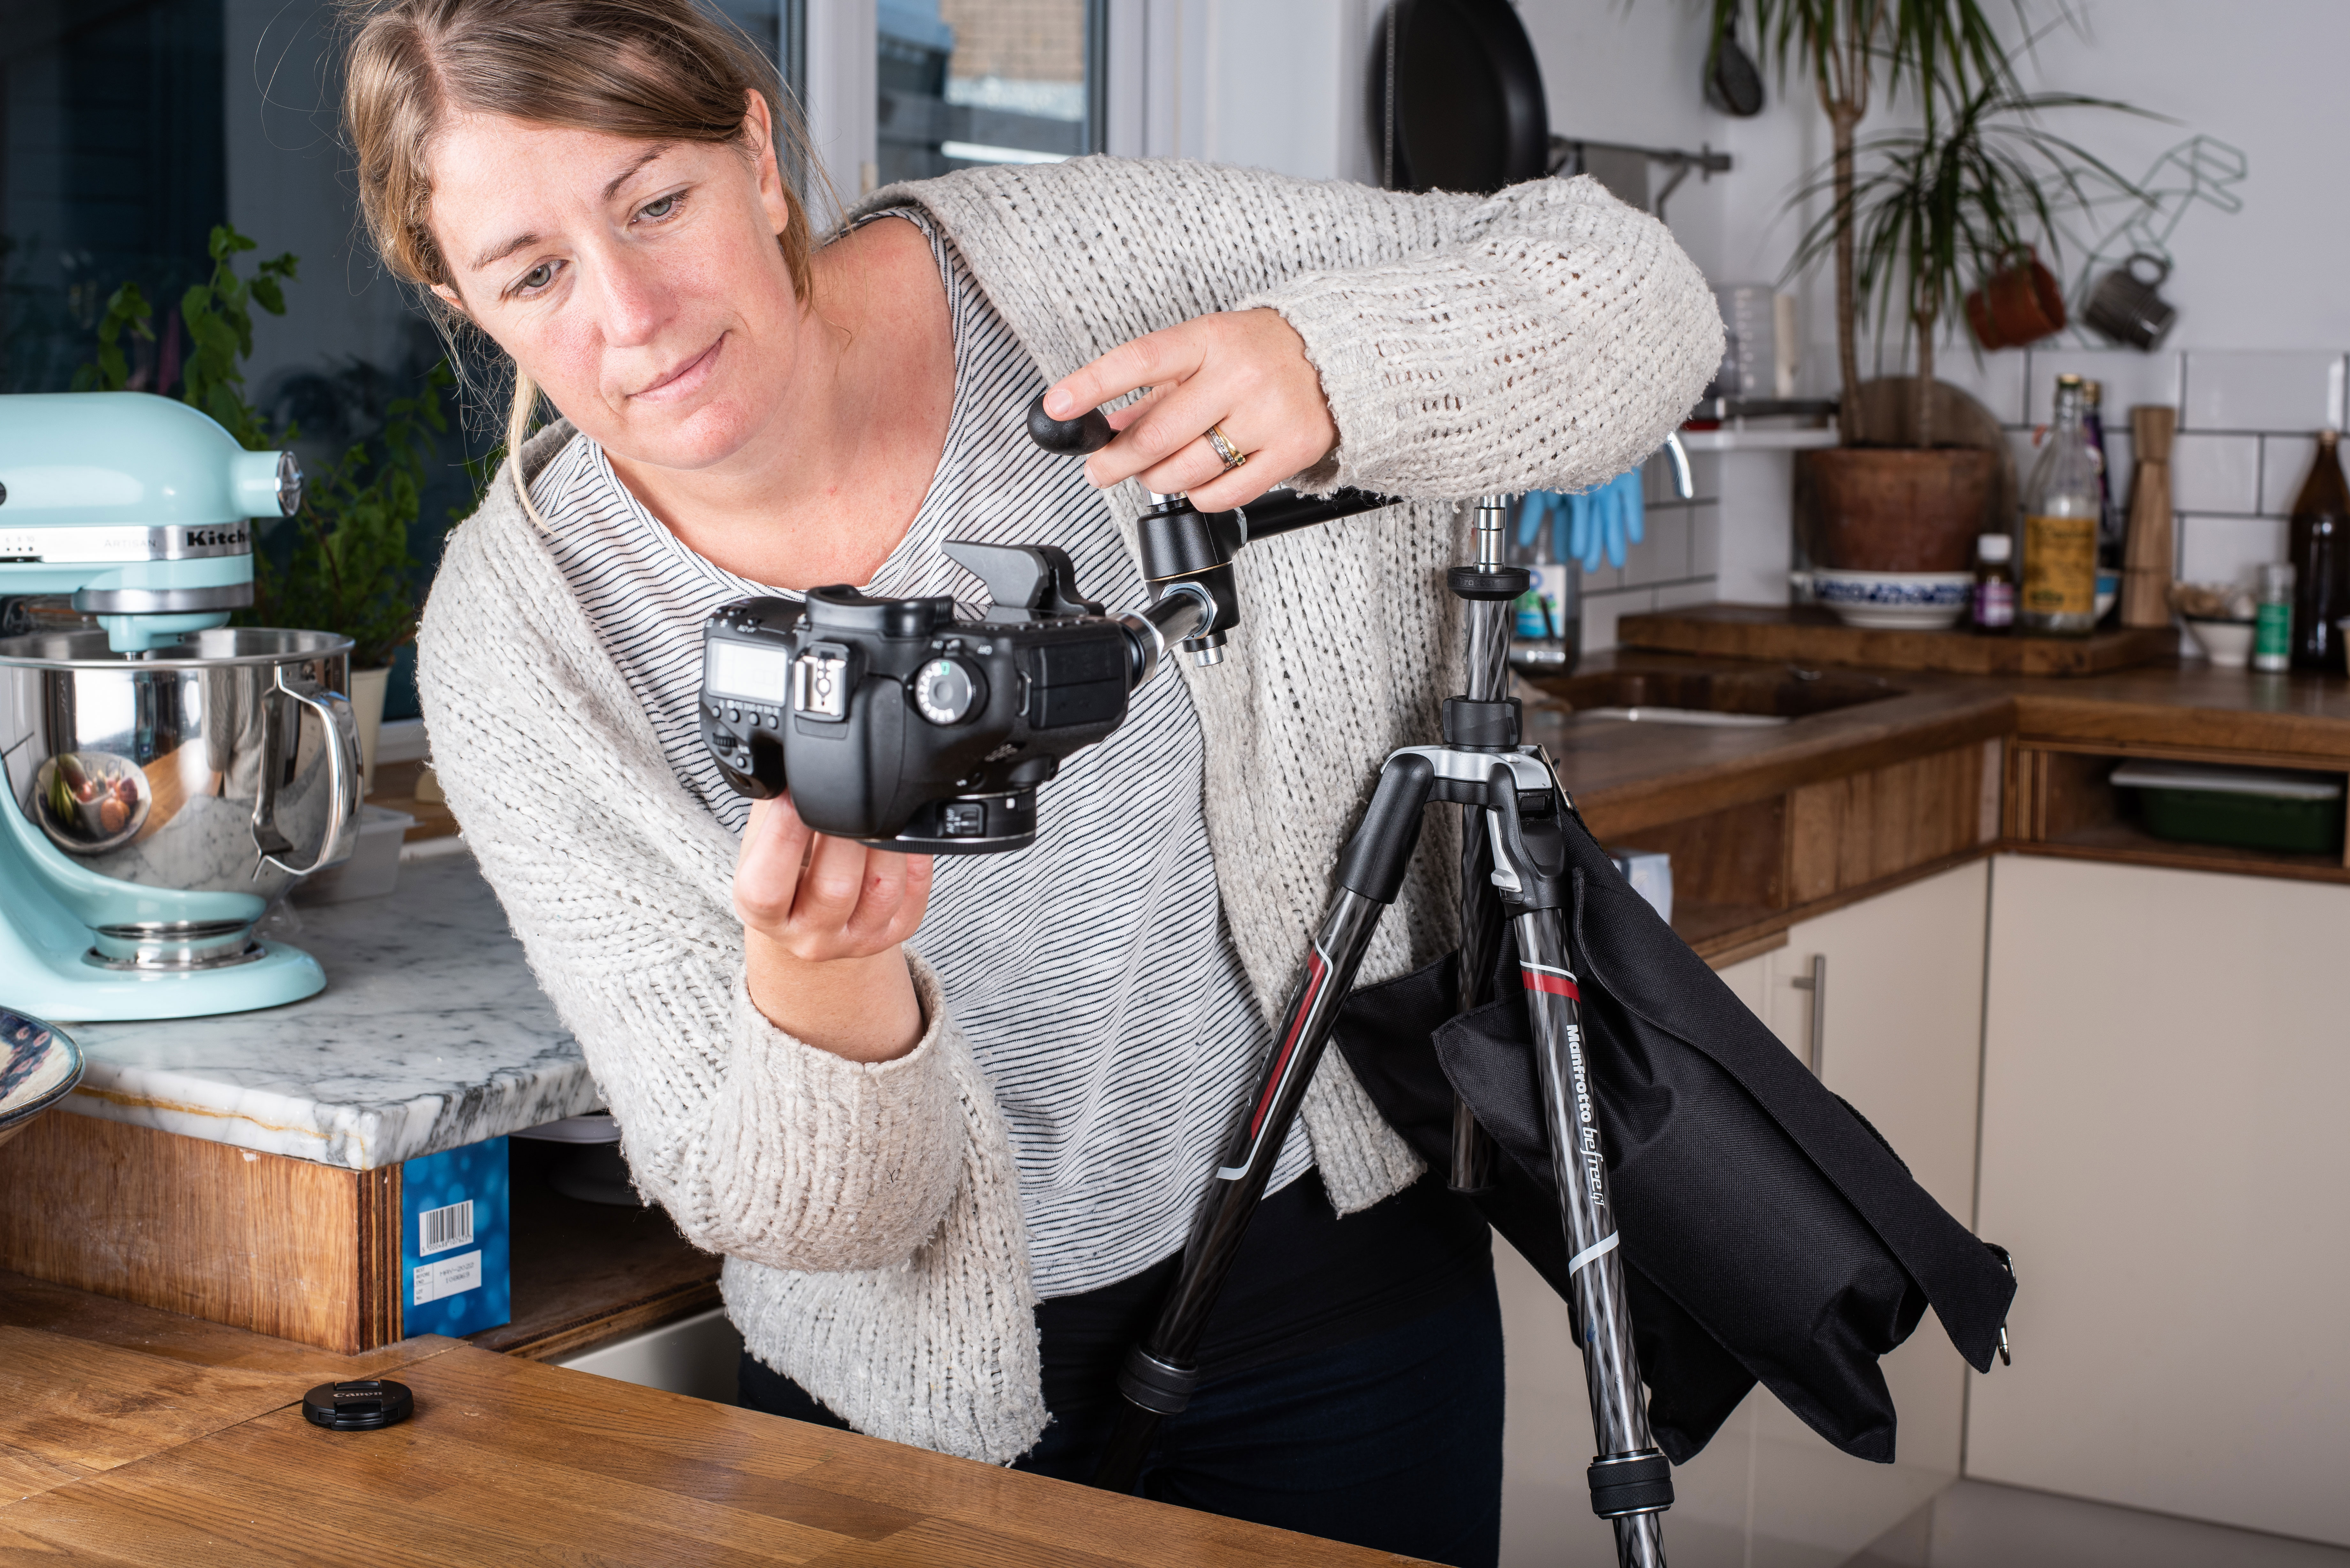
A great angle to capture food from is above. A tripod is a handy piece of kit when photographing food, but the tripod legs can often get in the way when shooting from a bird’s eye perspective. To get around this we used an attachable arm for our Manfrotto tripod.
Now try this…
18 Shoot an action sequence
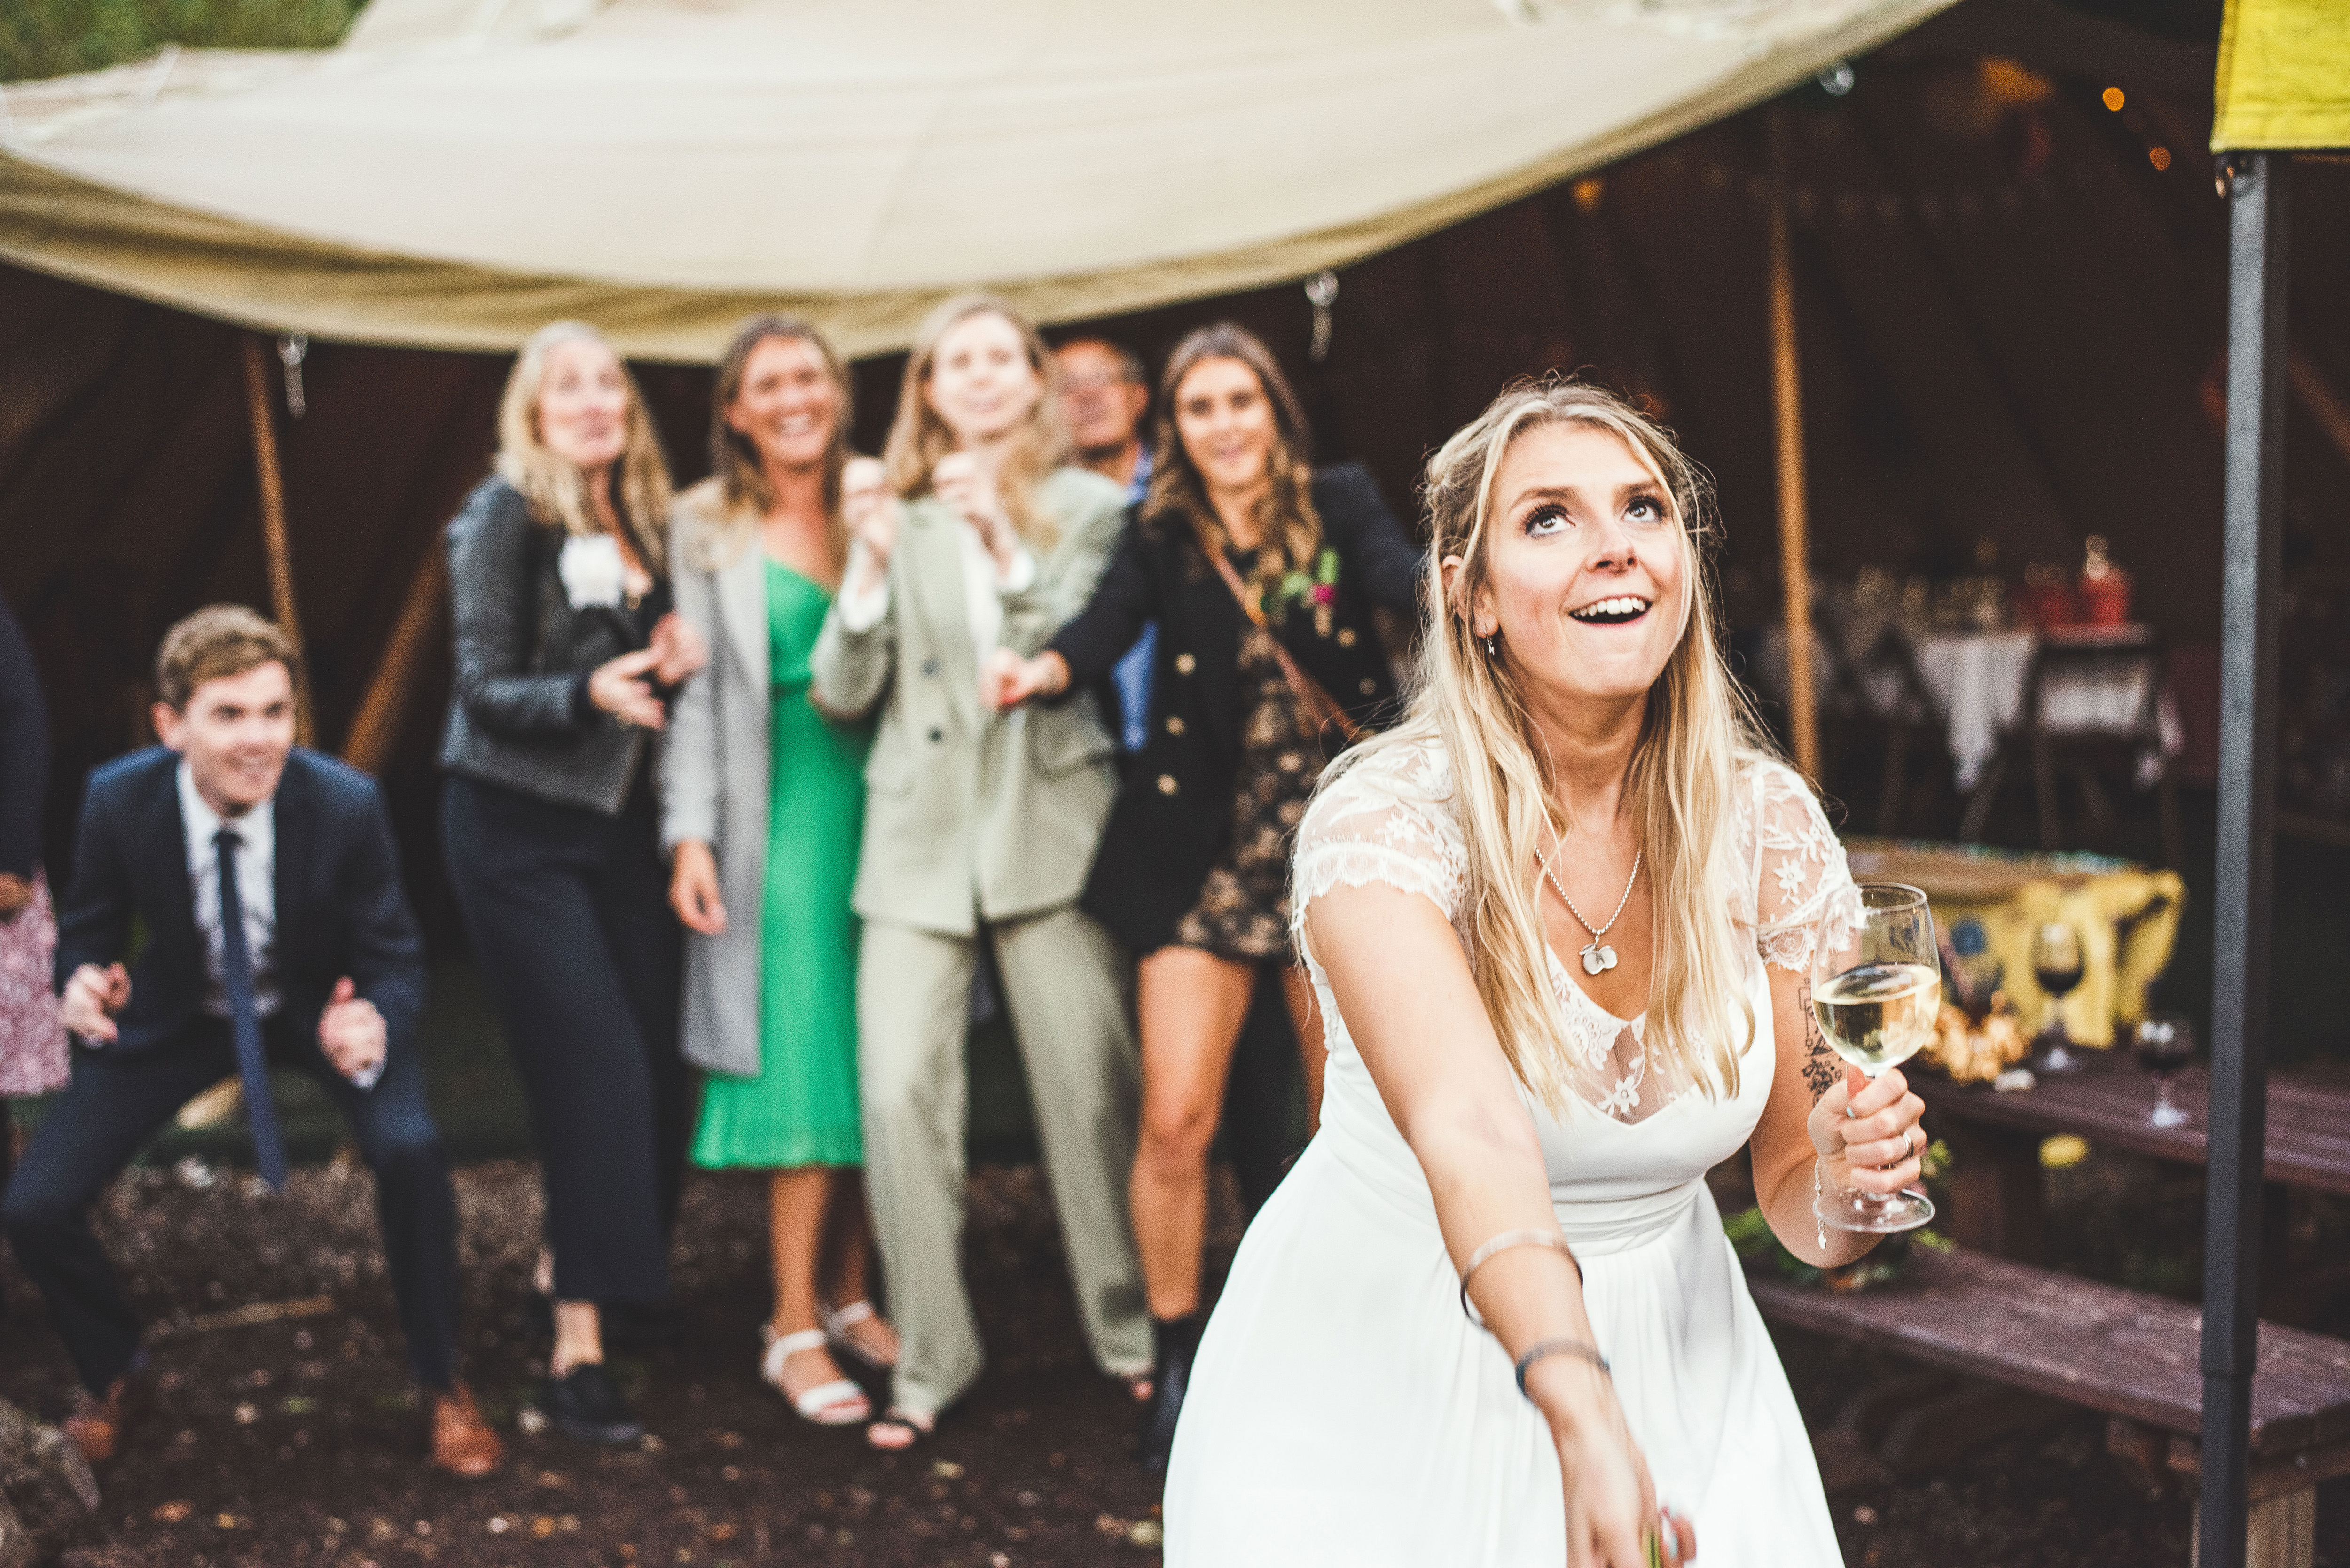
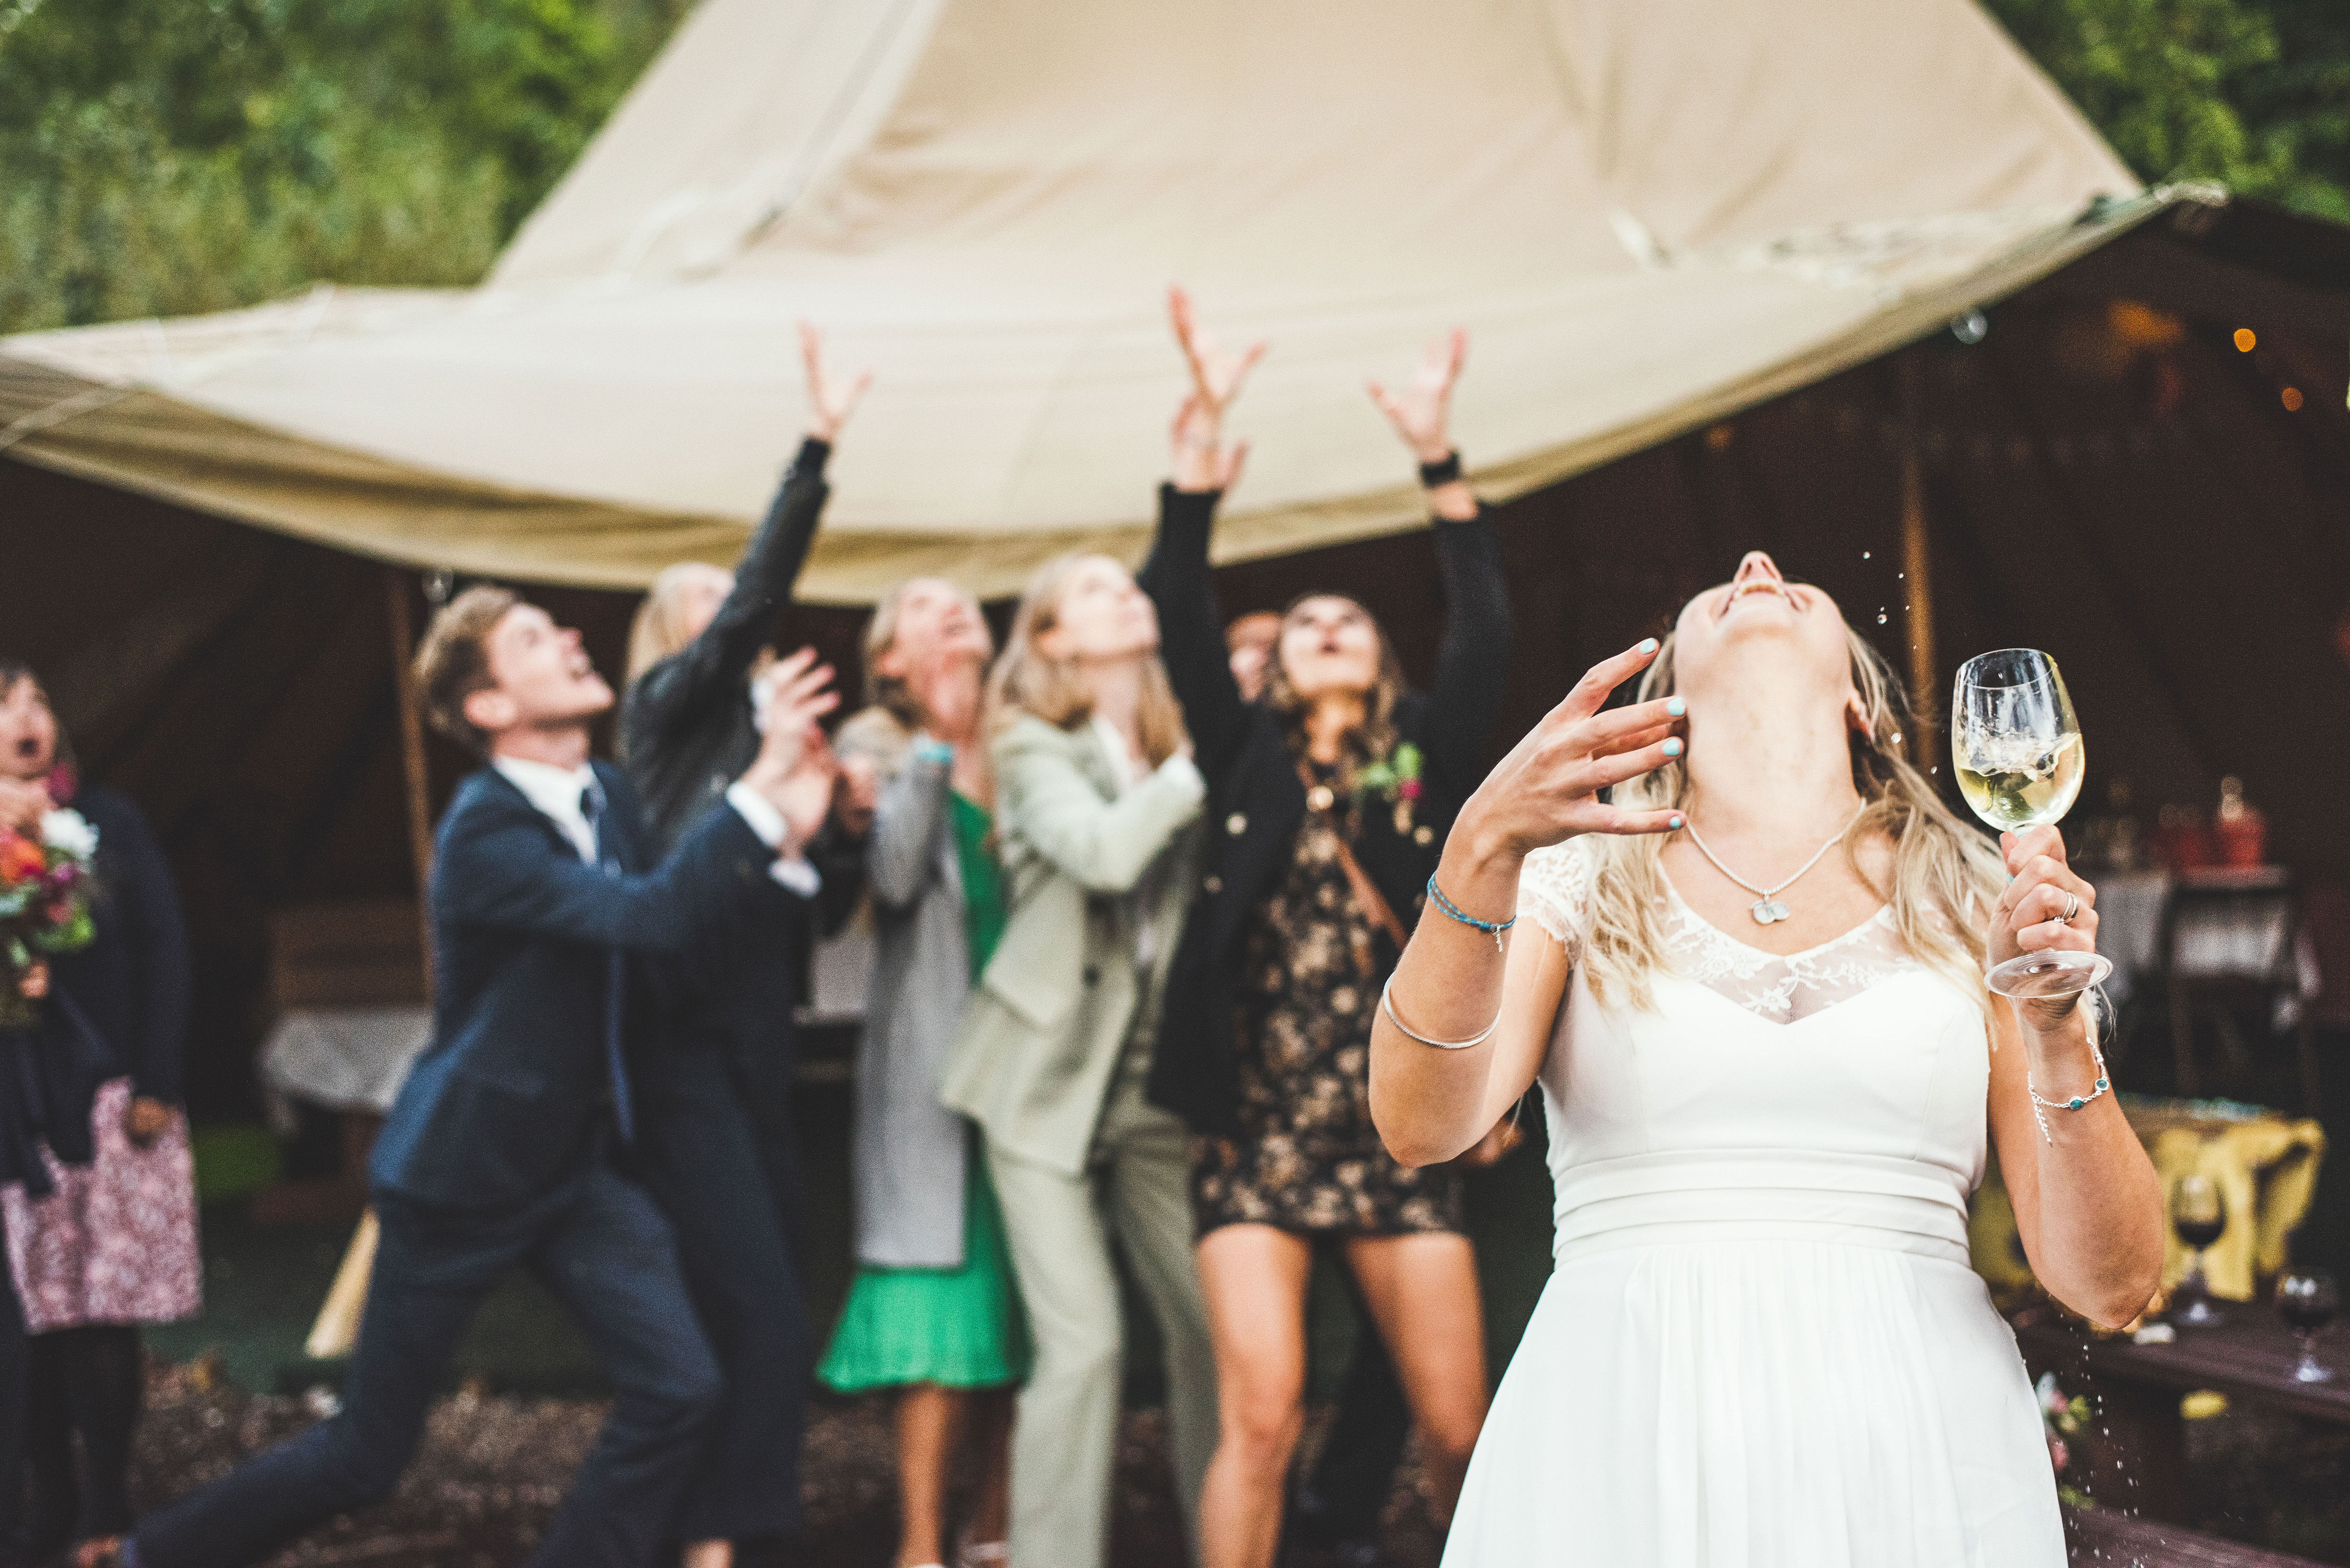
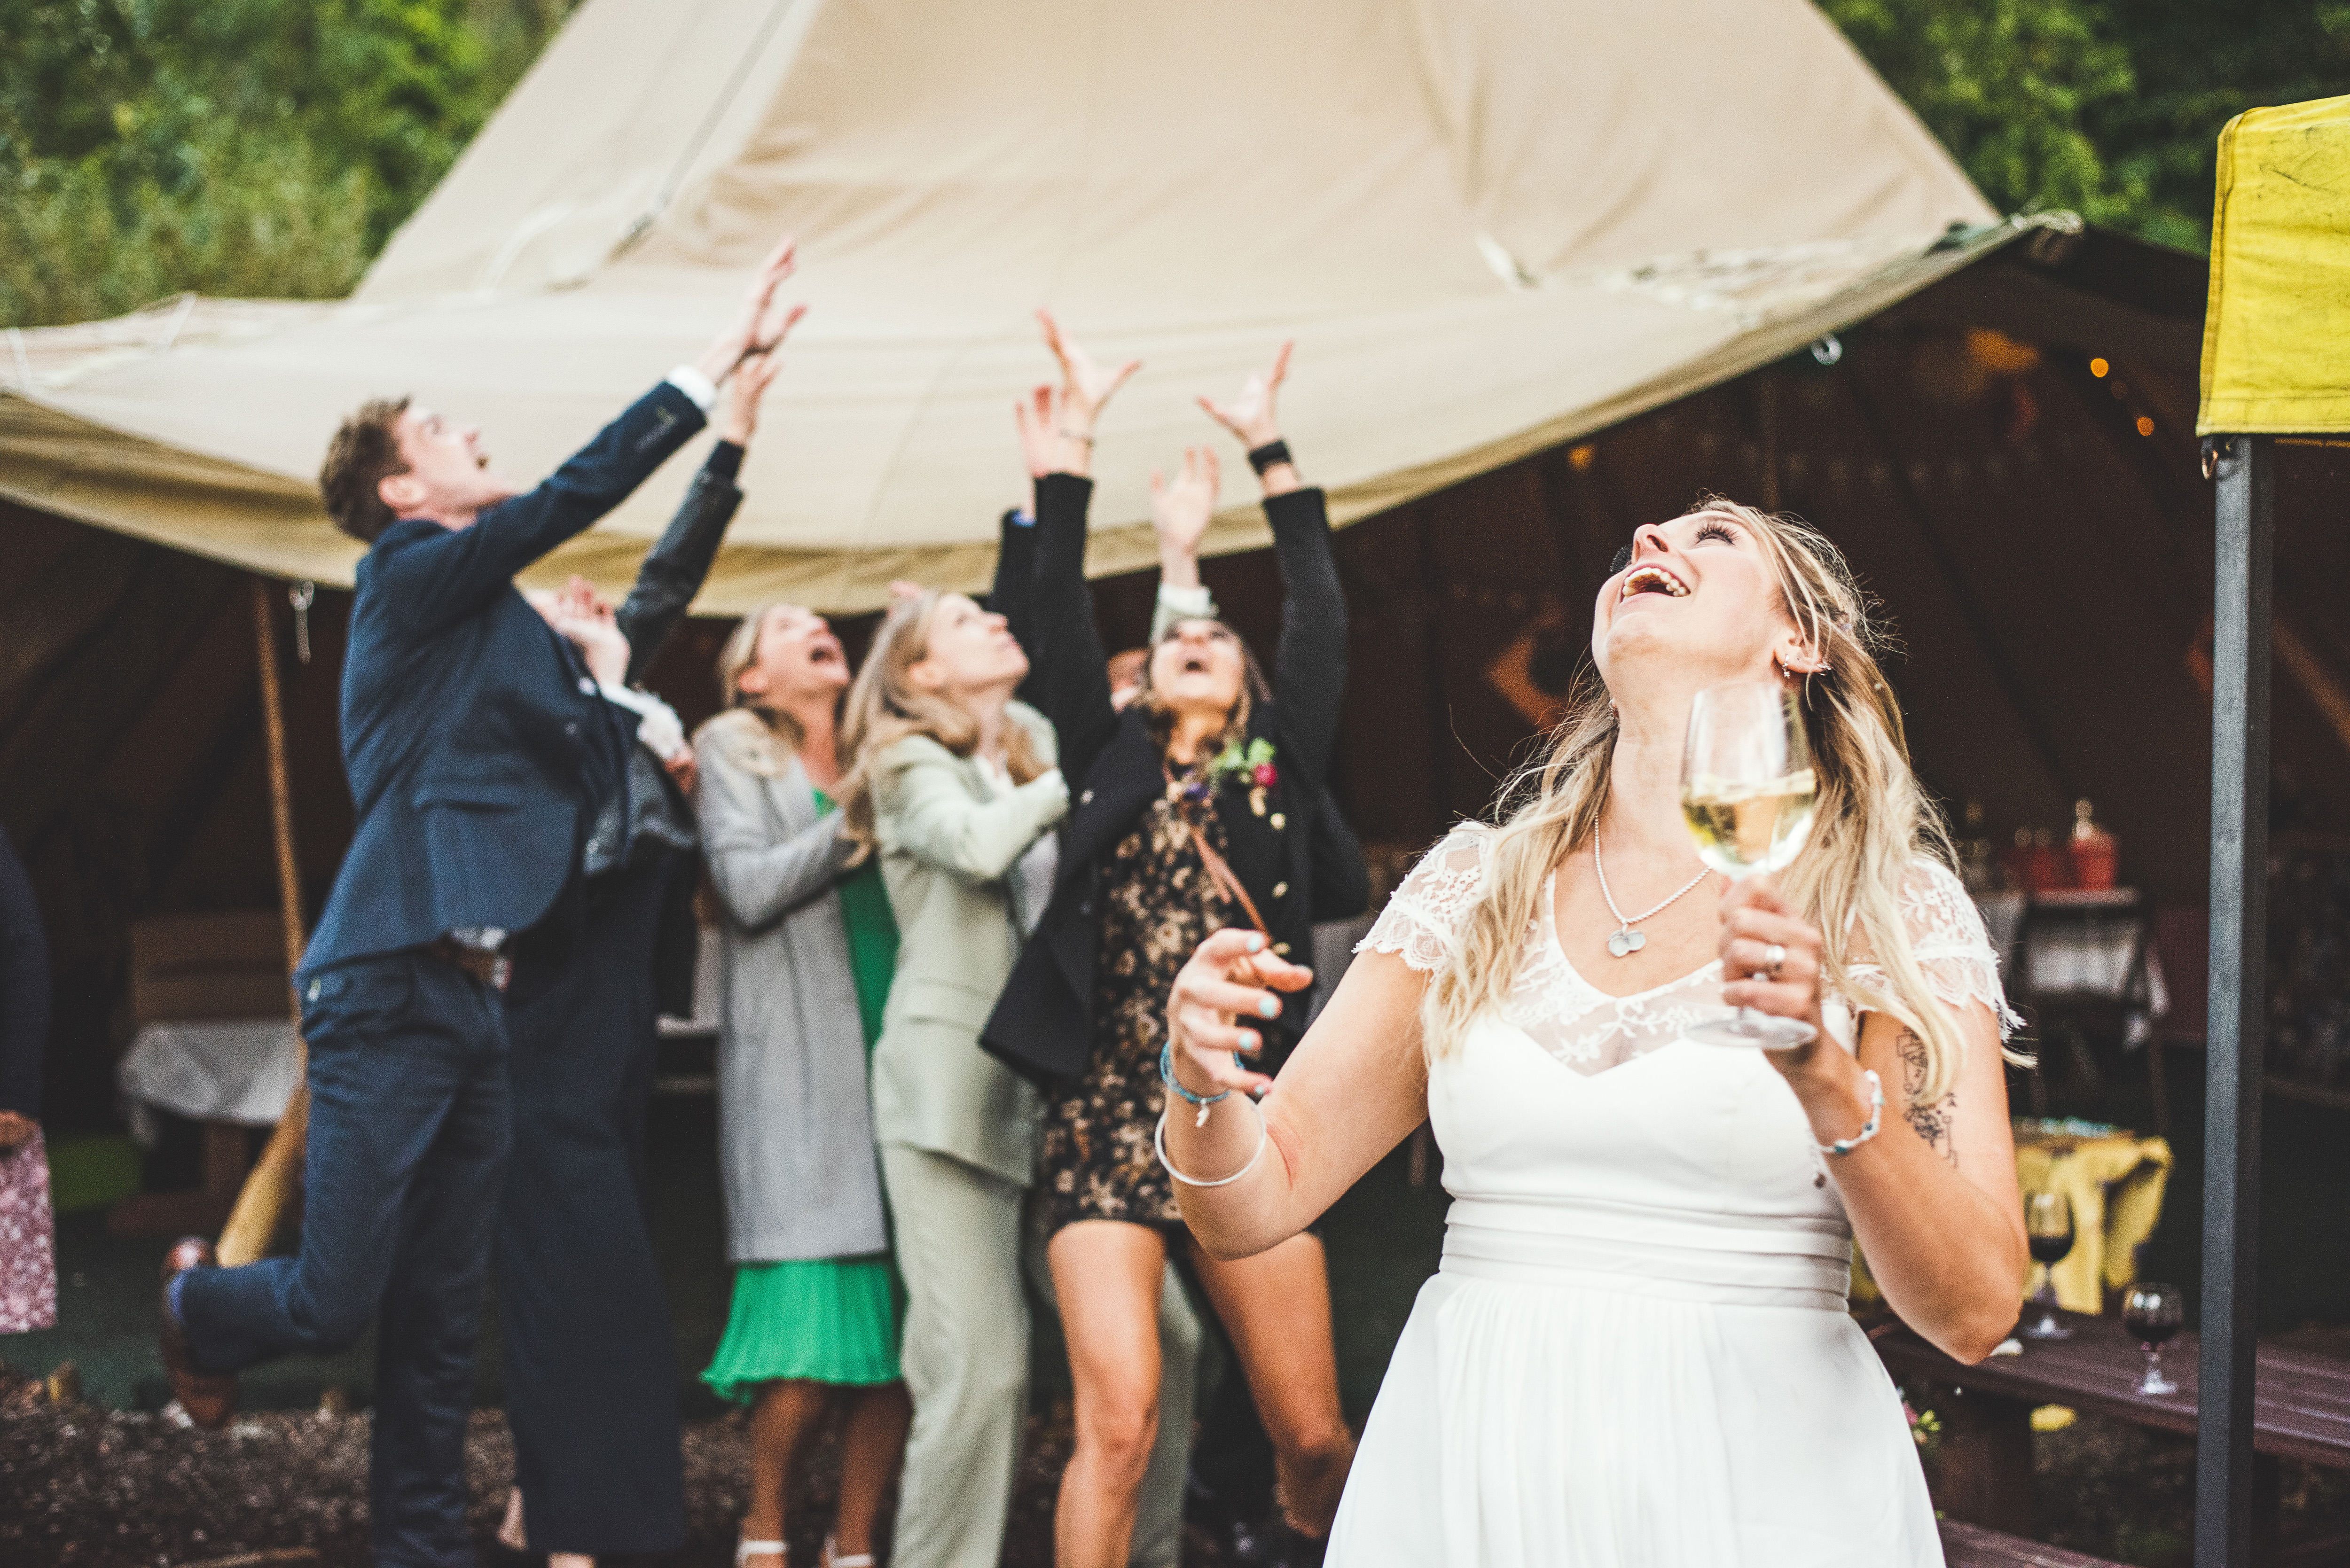
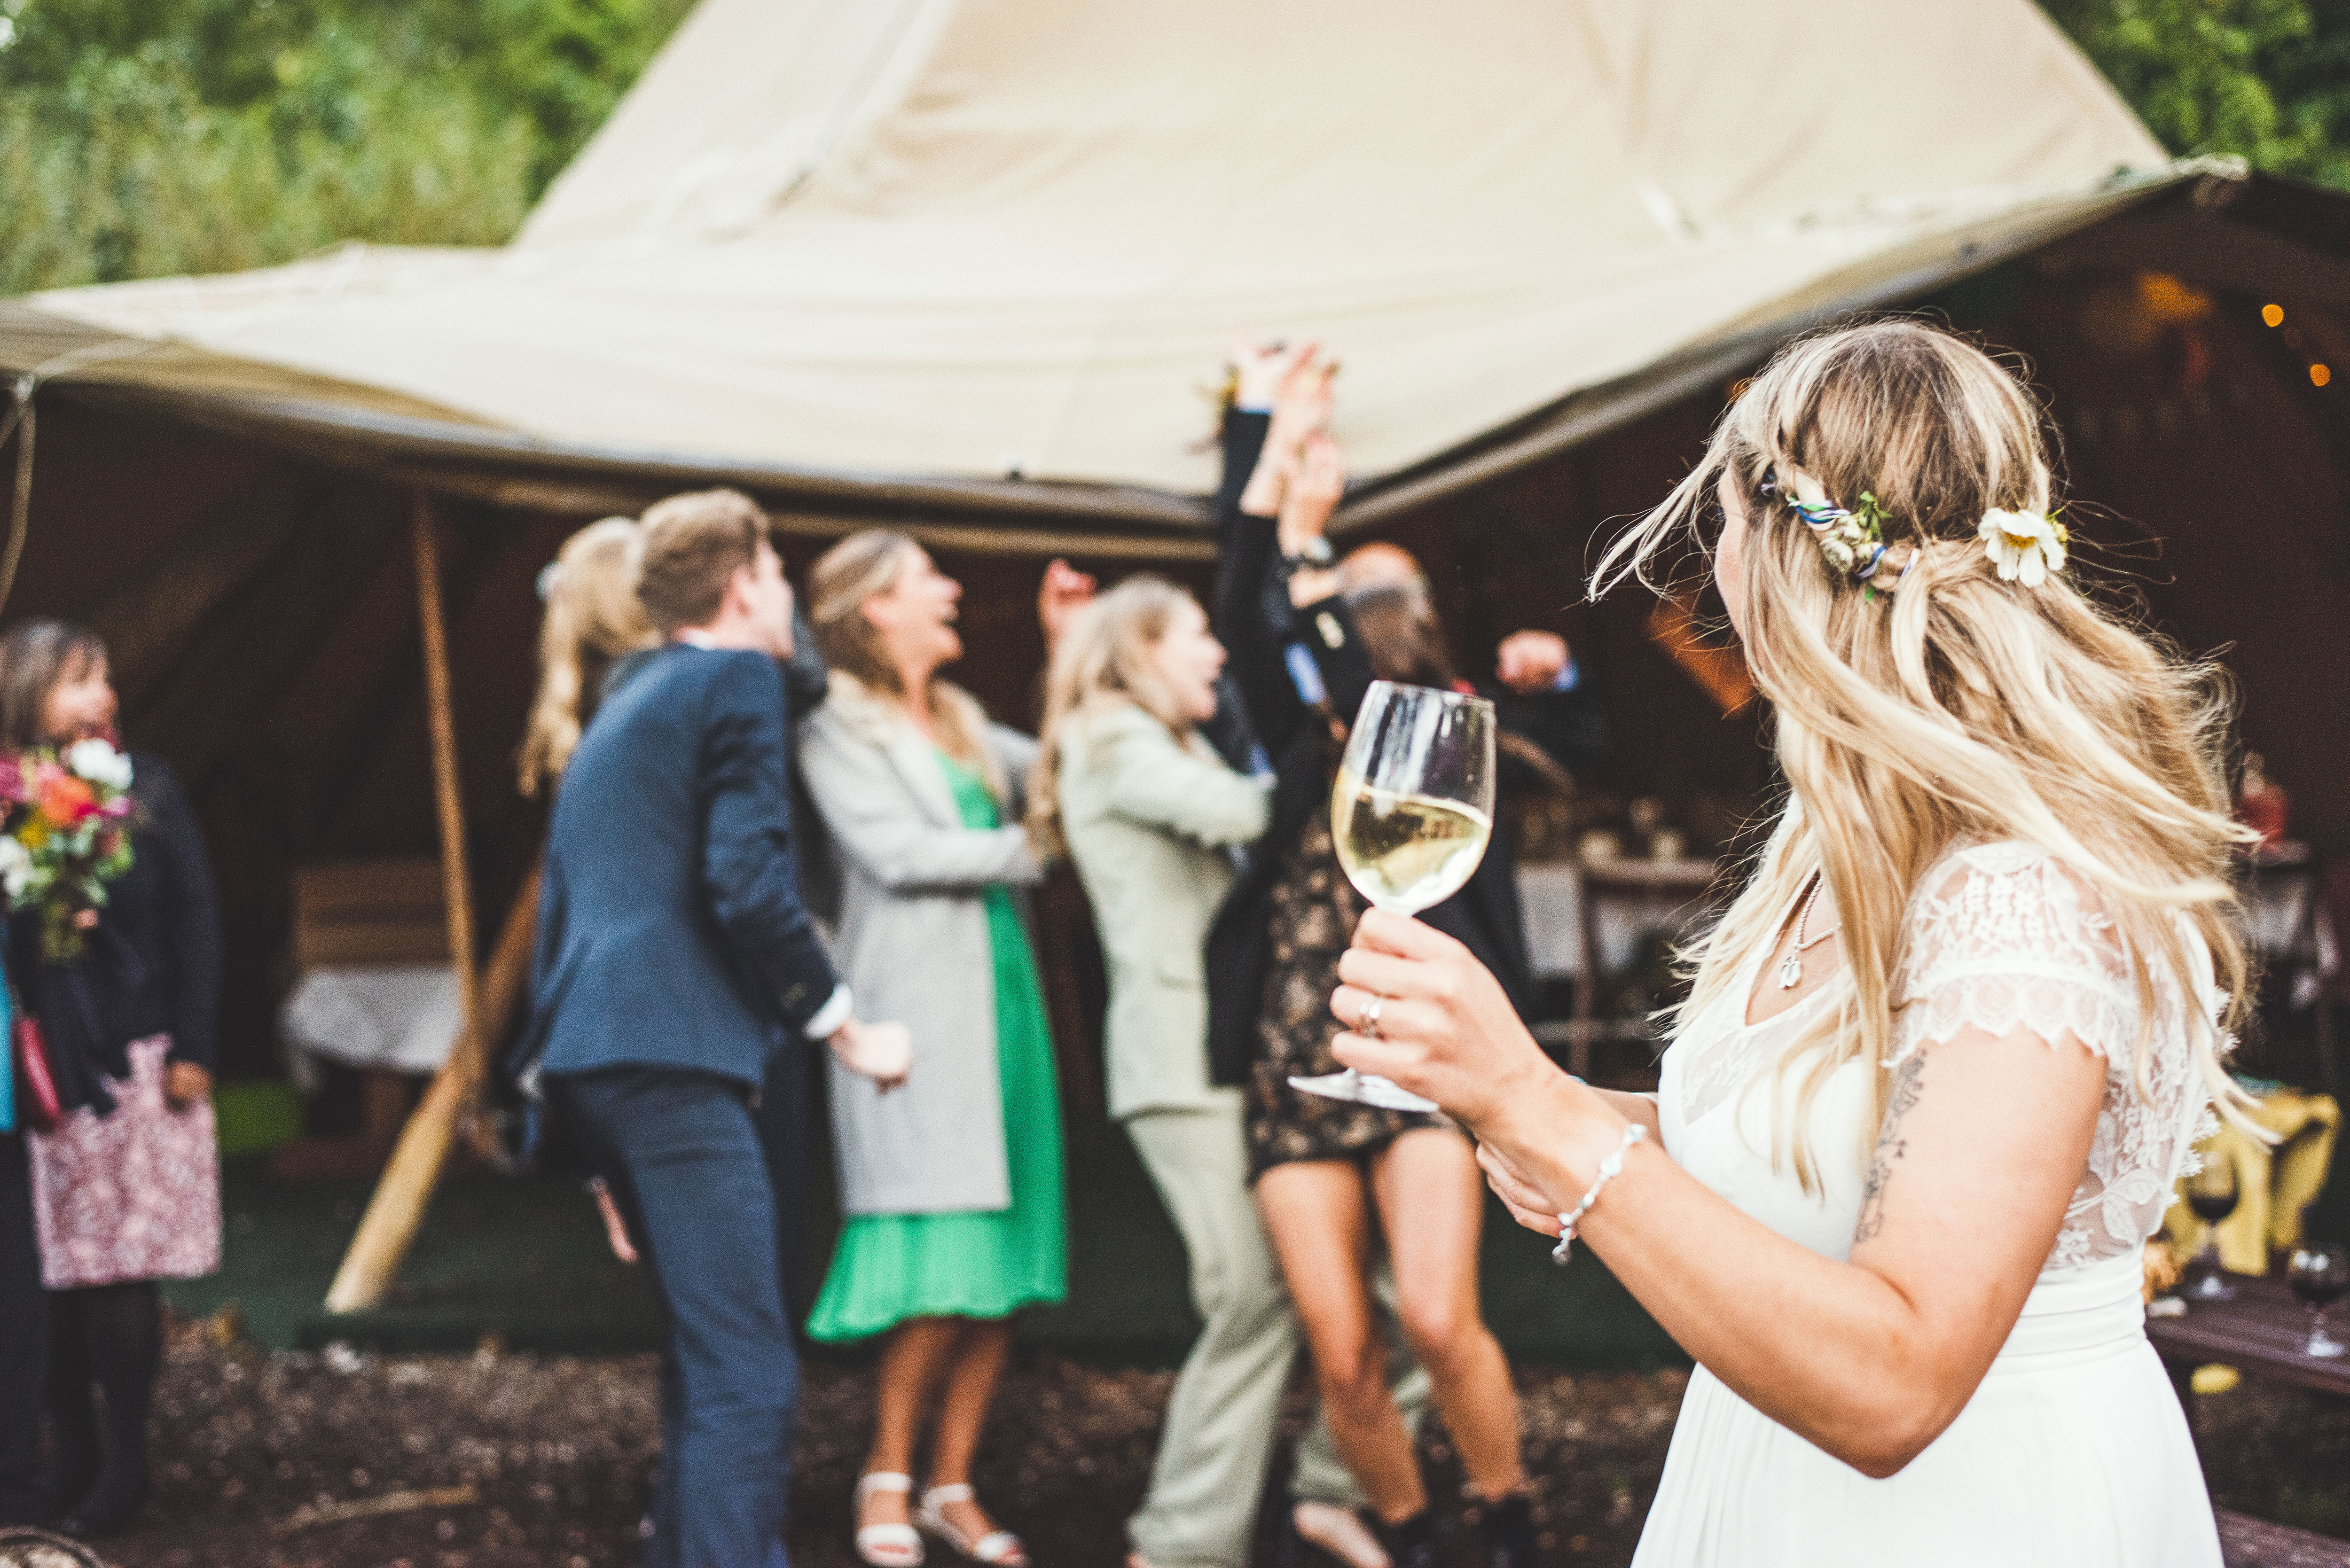
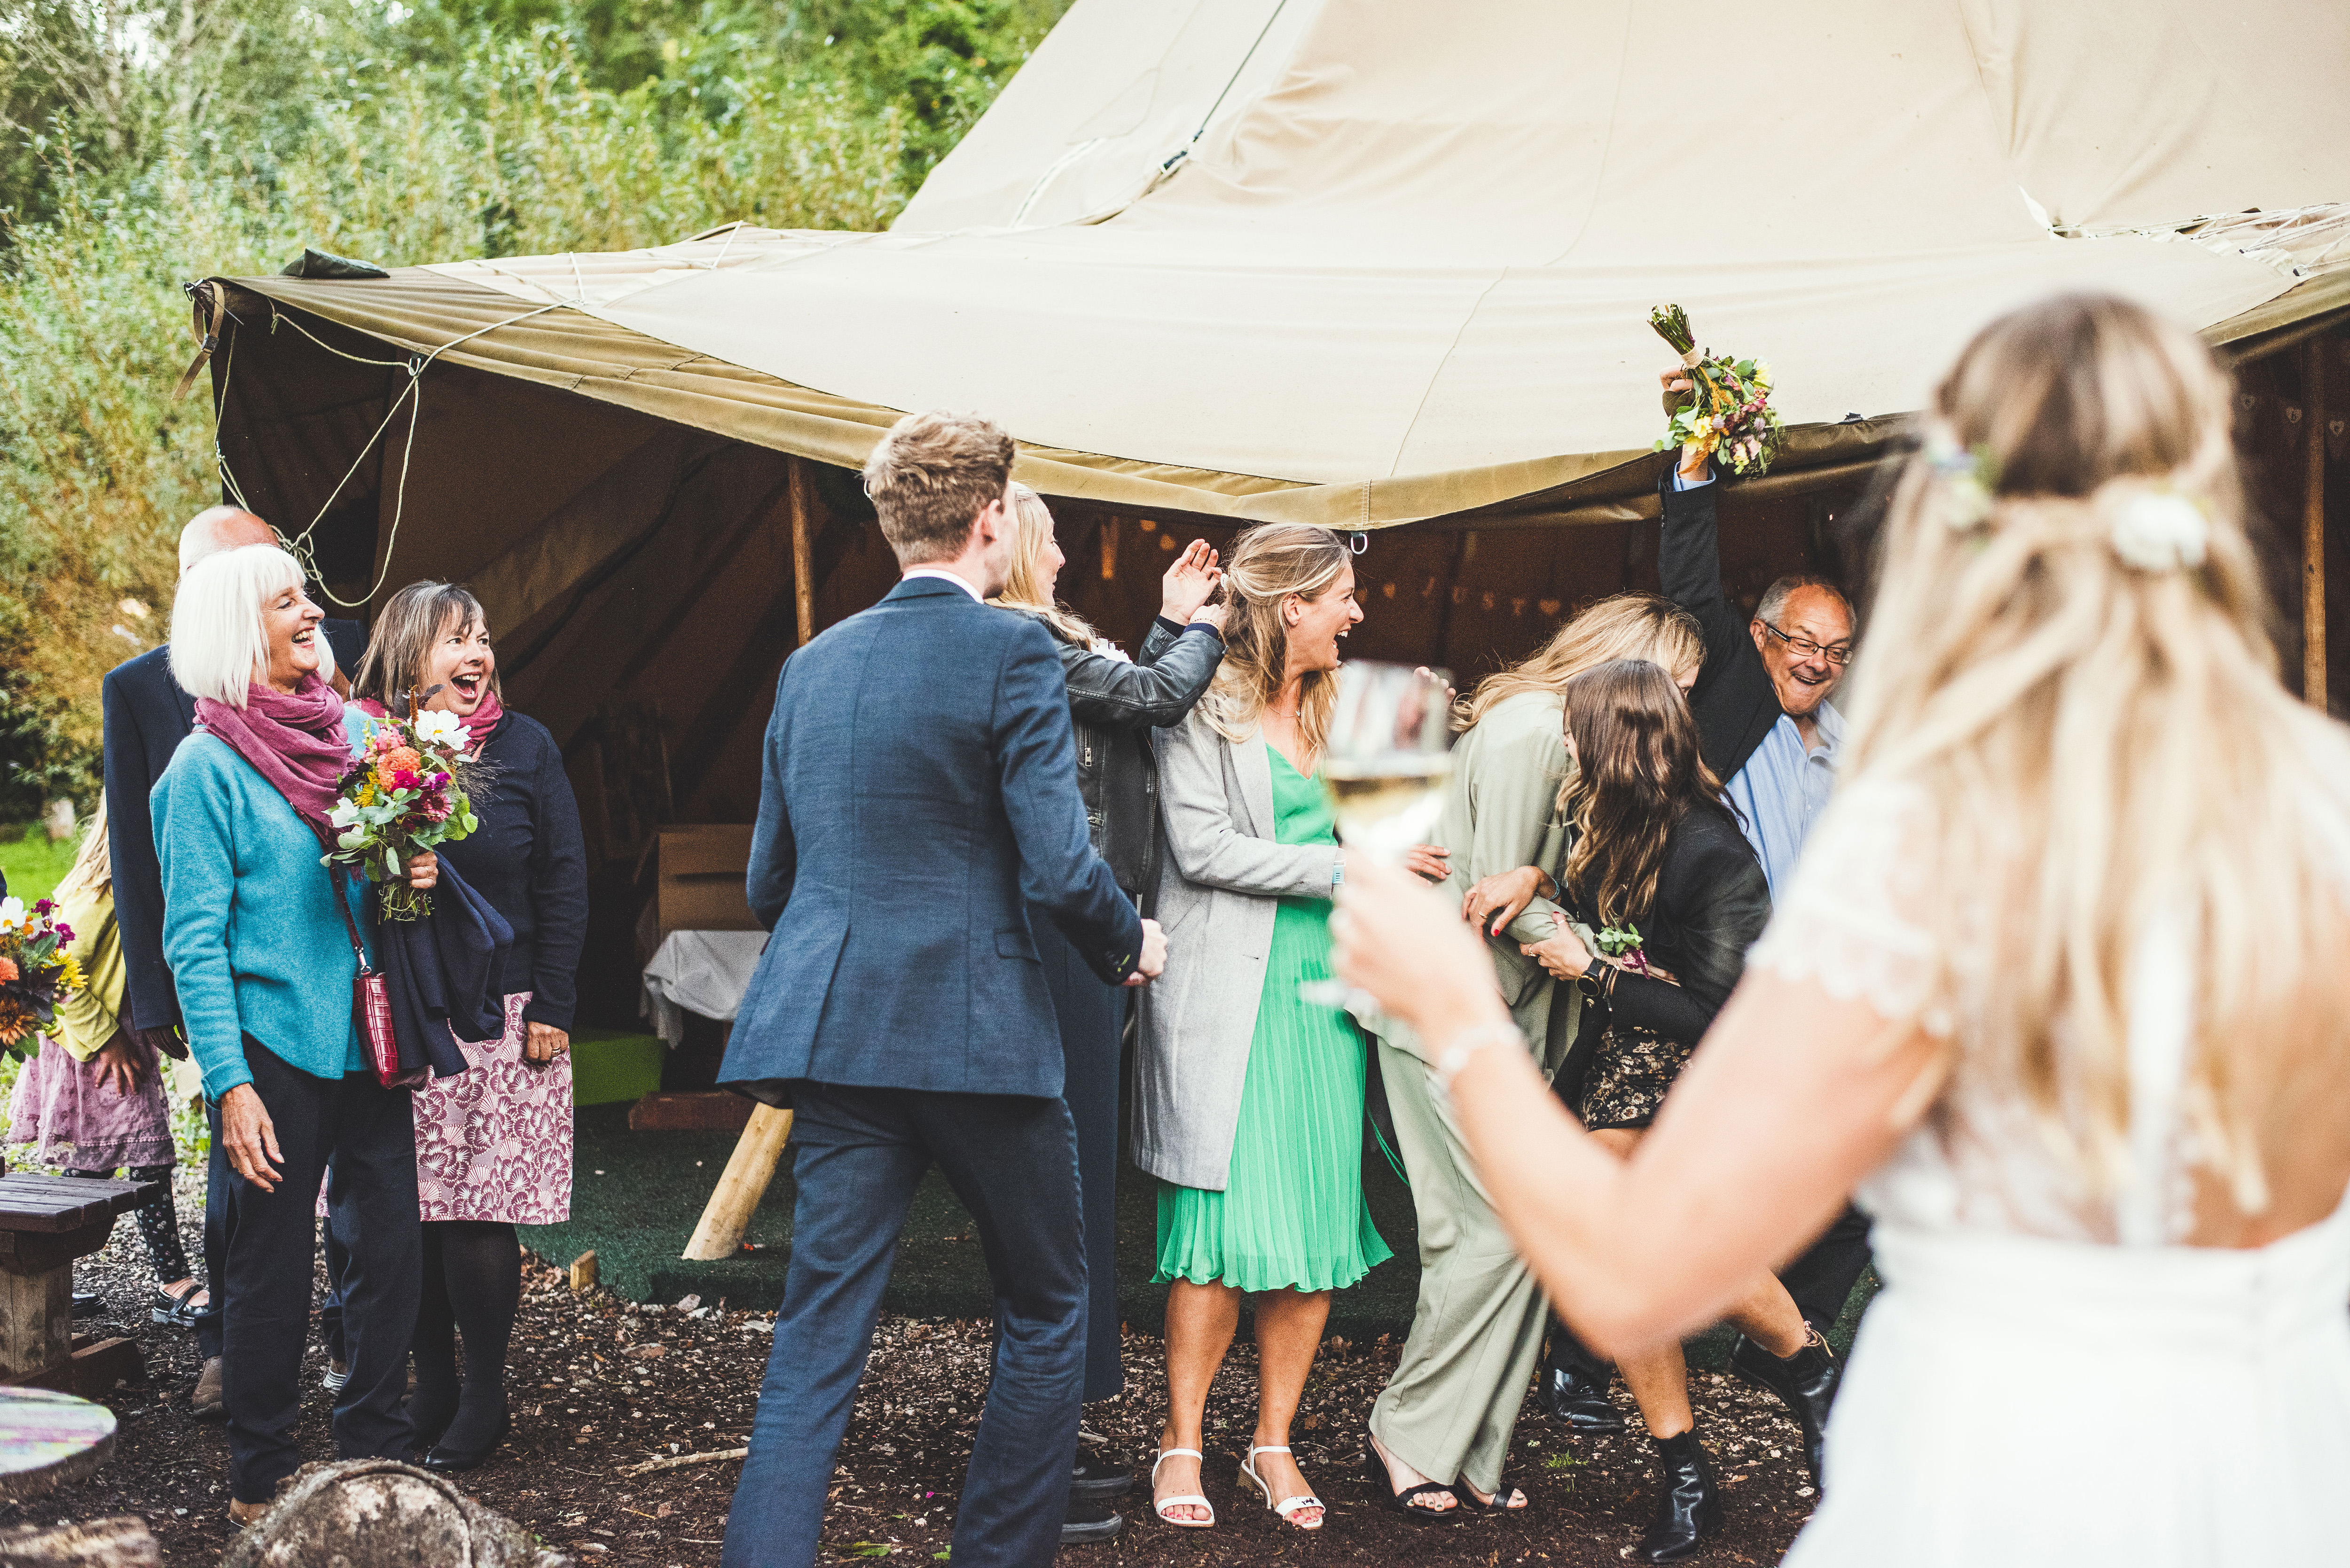
Sometimes one image can’t say it all and when this is the case shoot an action sequence! When thinking about how your action sequence will be presented, bear in mind that you need to include a beginning, middle and end with a minimum of three images. Remember it’s all about your positioning and being in the right place at the right time. Try to play out what is going to happen beforehand so you can track the sequence from beginning to end. In our case the bride throwing the bouquet was at the start of our sequence, then at the end we knew we’d need to switch our focus to the crowd catching it.
Expert advice
• Select burst mode on your camera and use back-button focus as you track the action.
• Shoot more frames than you need and then edit them down. You want each image to be different from the previous one and to tell the story of what is happening.
• Increase the ISO to ensure that your shutter speed is fast enough to capture the action. You can always fix a little noise at the editing stage but it’s impossible to sharpen something that is blurry.
19 Control the composition
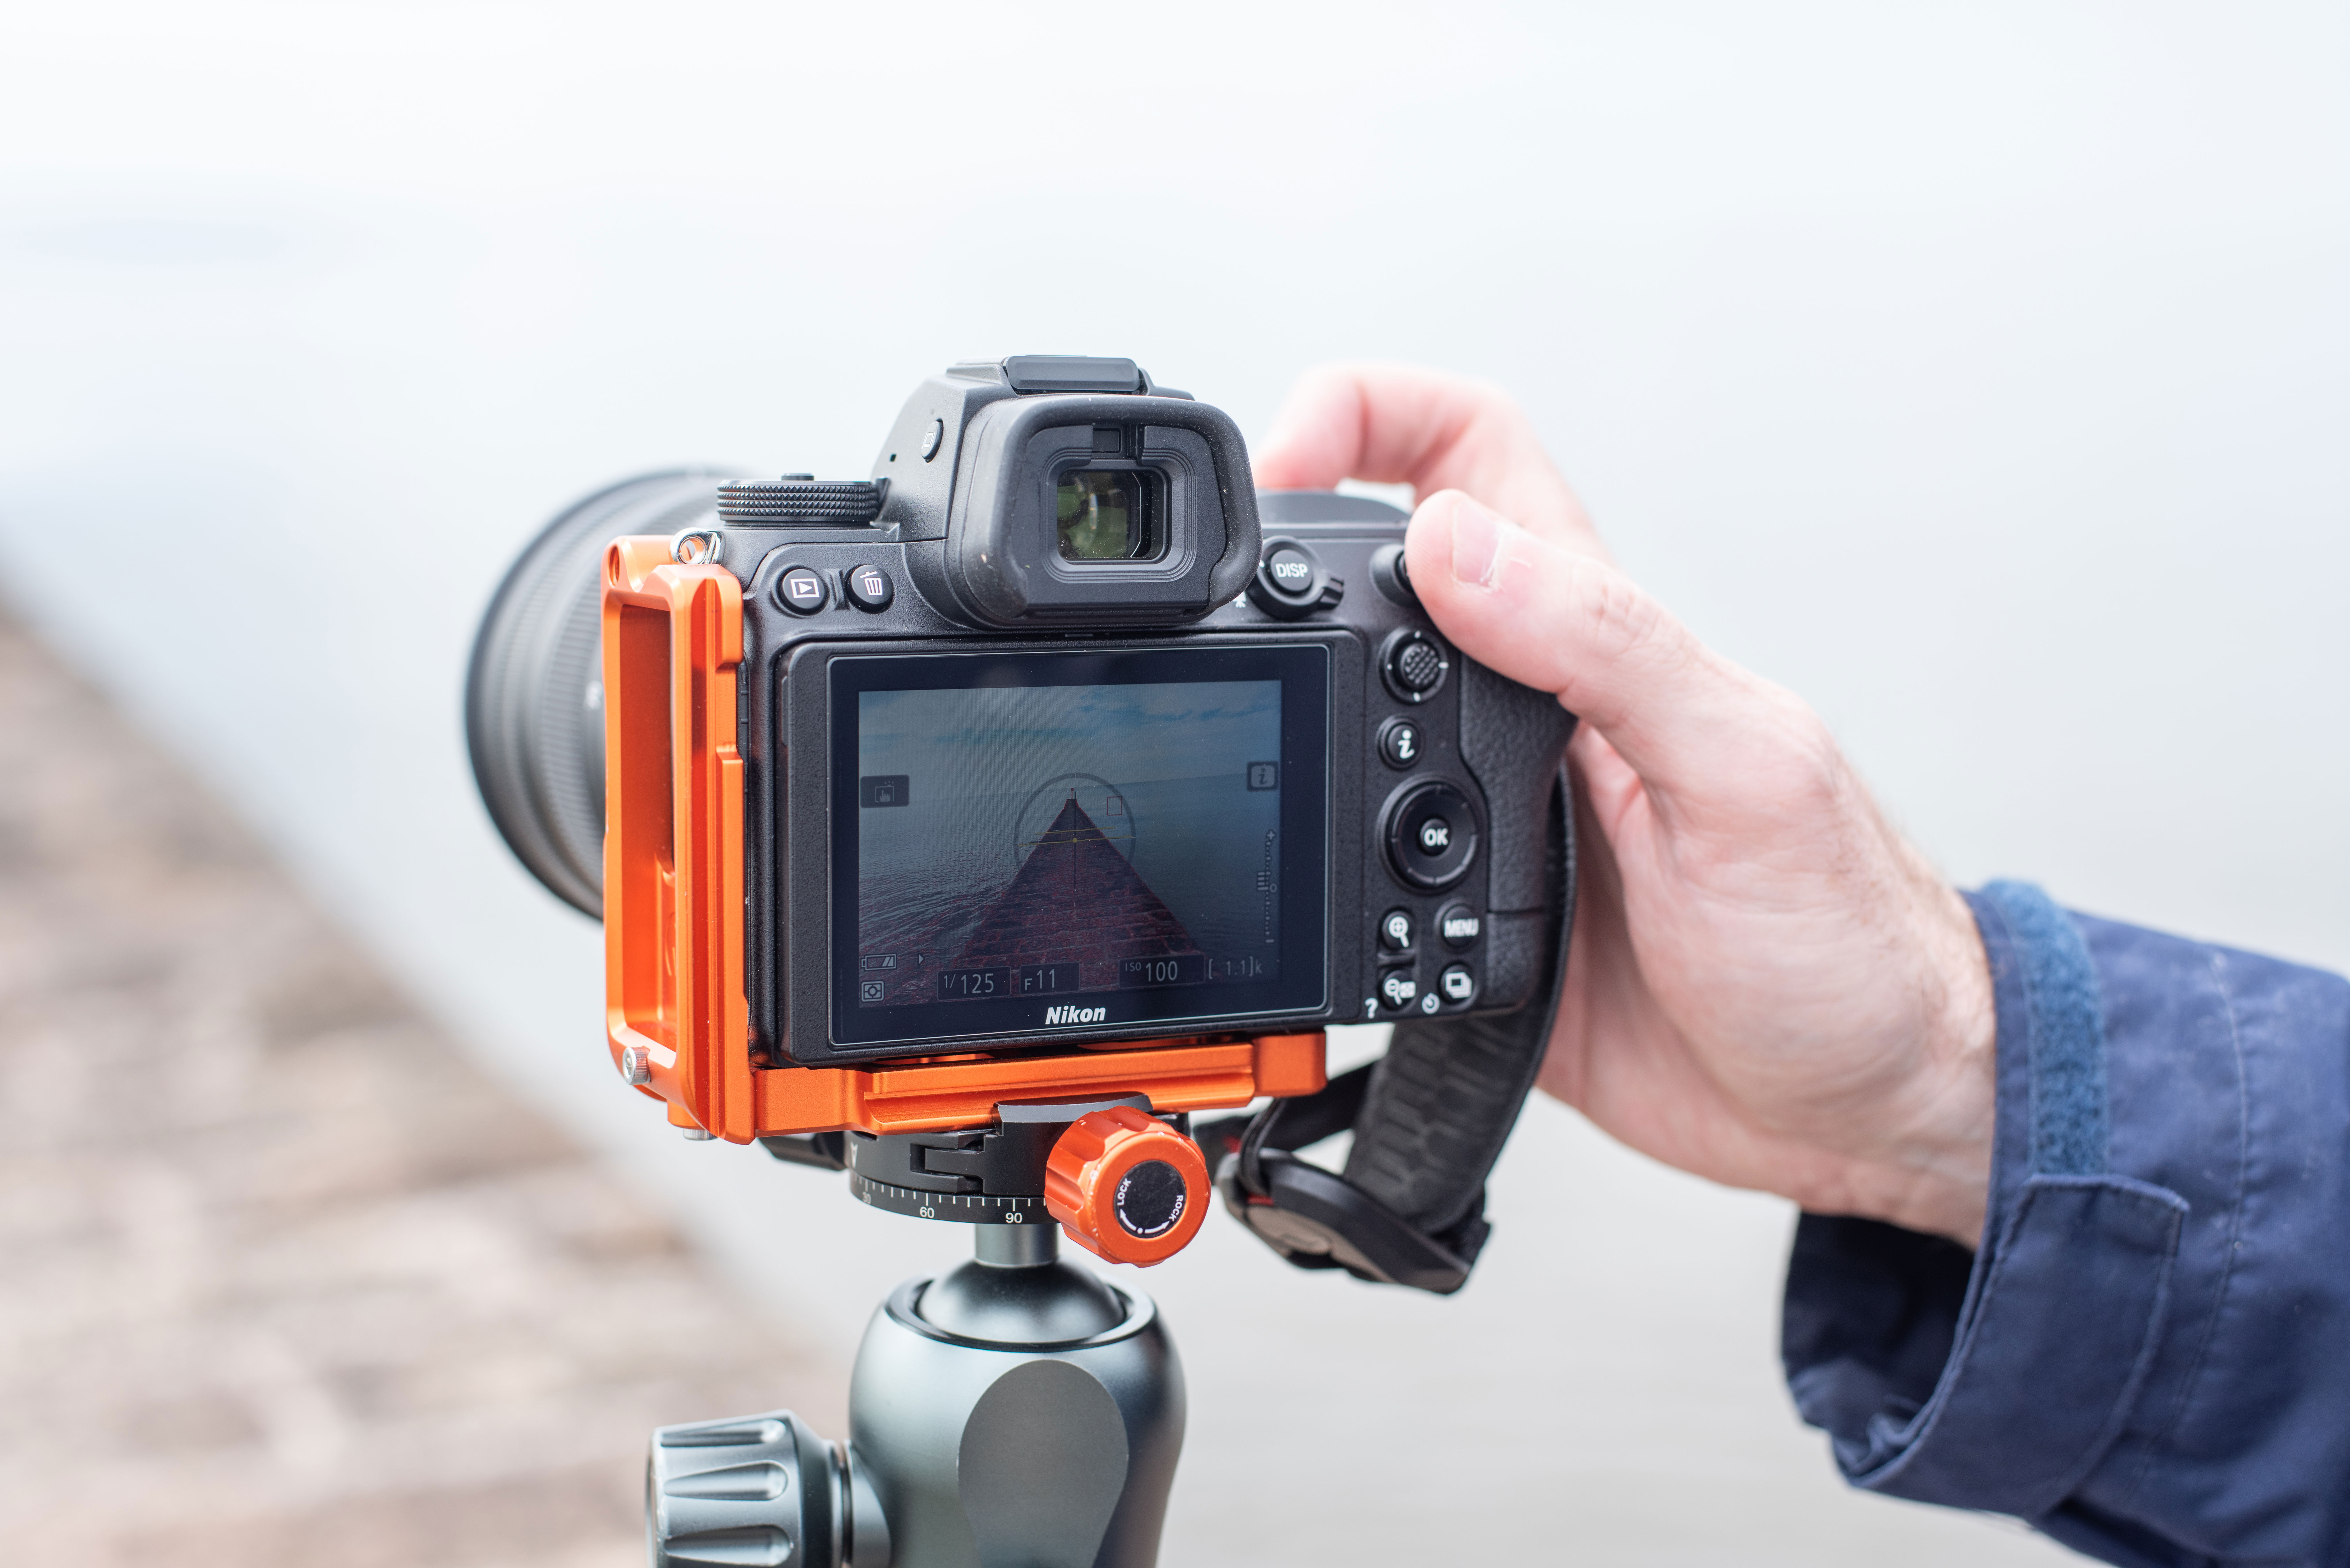
One thing to focus on in 2022 (and every year from now on) is to work up better and stronger compositions for your images. Even hardened pros out there will continually be evaluating and analysing their compositions to help them greatly improve their photography. One way to improve your compositions is to use a tripod so you have to slow down and consider what you are shooting more.
20 Long lens
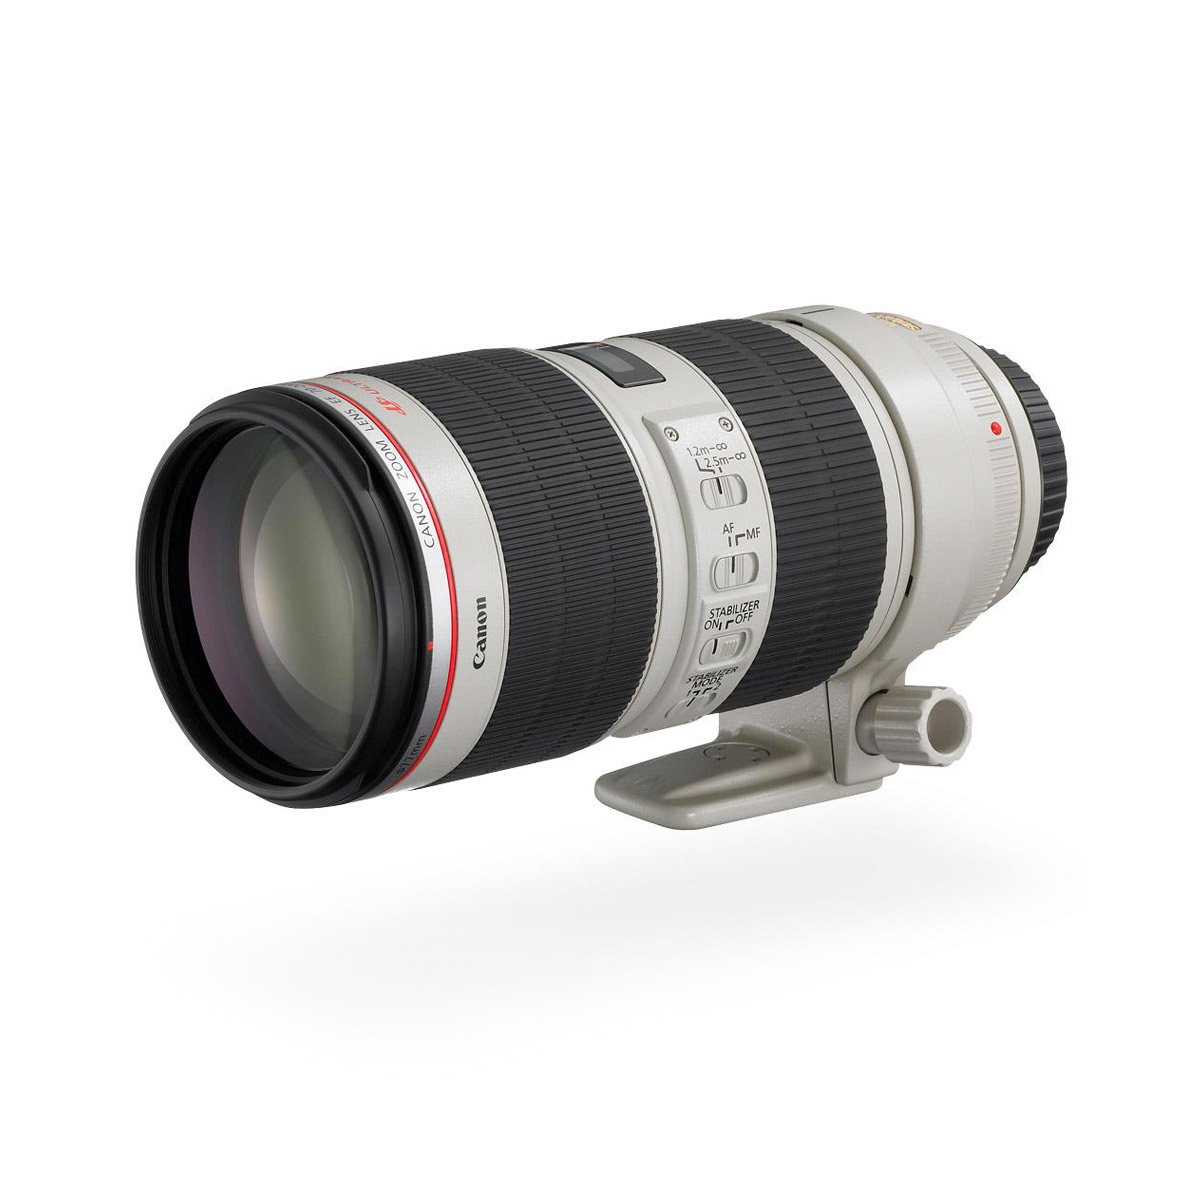
There will be times in 2022 when a long lens will be the right choice. If you are fanatical about wildlife, for example, then a lens with a longer reach will be a definite advantage. Long lenses aren’t just great for wildlife and sport. If you are a portrait photographer, a medium telephoto zoom like a 70-200mm is great for producing flattering portraits, and for landscape photographers this focal length lens can also prove worthy in some situations.
21 Smart technology
This year, why not download one of the many handy apps for photographers? If you like shooting landscapes and using filters, then the Long Exposure Calculator app will come in handy. You can quickly work out your exposure settings and filter strength you’ll need in a few simple steps. There are many apps available out there that are free or cost a minimal amount so have a search to find something to aid your shoot.
22 Have fun!
As well as being a year of learning, make sure 2022 is also fun… and what better way to have fun then by taking a child’s portrait? Photographing children comes with challenges, and we're not going to lie! Their attention span isn’t usually as long as an adult (although many are less camera-shy) and they are far more unpredictable; however, their bags of energy and enthusiasm make them fun subjects to work with.
Although our fun child photoshoot was based in the studio, you could do your shoot anywhere. Outdoors on location is often a popular choice for children as they can run and jump around; just make sure that your autofocus is set to the tracking mode to keep up with them.
Expert advice
• Whoever you are photographing, whether your subject is old, young or middle-aged, make sure you engage with them first and chat about what you want to do on the photoshoot and if they have any ideas. You want them to feel as relaxed as possible, so if they have any nervous energy try to get this out before you start.
• Chat as you shoot. Although there are a million and one things you are trying to think of, it is vital that you engage with your subject so they feel at ease. If you need to have a break to work out some technical issues, that is fine. Best to stop and to sort it out rather than trying to push on and lose your connection to your subject.
• Have fun and make 2022 a year that counts!
Digital Camera Magazine is the definitive guide to digital photography. Every issue comes packed with expert advice, in-depth tutorials, free gifts and inspirational images. Digital Camera’s sole aim is helping you to become a better photographer.
Read more:
Best DSLR cameras in 2022
Best mirrorless camera in 2022
Best photography tips
How to do a 365 photo challenge
Claire is a professional photographer and writer, and lives by the the sea with her two young children, husband and cat in the southwest of the UK.
After graduating from The Bournemouth Arts Institute with a first-class degree in photography, Claire worked for a number of years in the publishing industry, including as Technique Editor for Digital Camera magazine.
She loves anything and everything to do with photography, from creating magazine articles to photographing ballerinas on the beach and newborn babies (but not at the same time). She mainly shoots with digital DSLRs, but does dust off her beloved Hasselblad medium-format film camera once in a while…
