Digital Camera World Verdict
Cinema Grade makes grading video straightforward; the easy shot-matching makes getting a consistent look quicker, and the Looks help to deliver your creative vision.
Why you can trust Digital Camera World
Video editing can be a time-consuming business, and grading is an art that can take years to master. Cinema Grade simplifies and speeds things up by enabling intuitive adjustments and easy shot-matching.
It works as a plug-in for Final Cut Pro X, Adobe Premiere Pro or DaVinci Resolve on MacOS (there’s currently no Windows version). You need to purchase the correct version for your editing software, but if you use more than one package, you can unlock Cinema Grade for three host applications for an additional fee of $29.
Basic, Pro or Filmmaker?

The Basic version of Cinema Grade costs just $69 (approximately £51), but it doesn’t have the shot-matching with groups, or the automatic Log correction and Xrite chart compatibility that you get with the Pro version costing $99 (approx £73) – both key features for speeding up video grading.
Article continues belowIf you’re feeling reasonably flush and you’re new to color grading, the Filmmaker version is worth considering at $199 (around £148), as in addition to extra film looks and the Look Hacking System that enables you to match the appearance of your favorite film and TV shows, it gives you access to an excellent collection of tutorial videos that explain the grading process in general, as well as how to use the software, its tools and three video scopes.
For this review, we tested Cinema Grade Filmmaker with Final Cut Pro X.
• See Best video editing software for vloggers & filmmakers
Handling
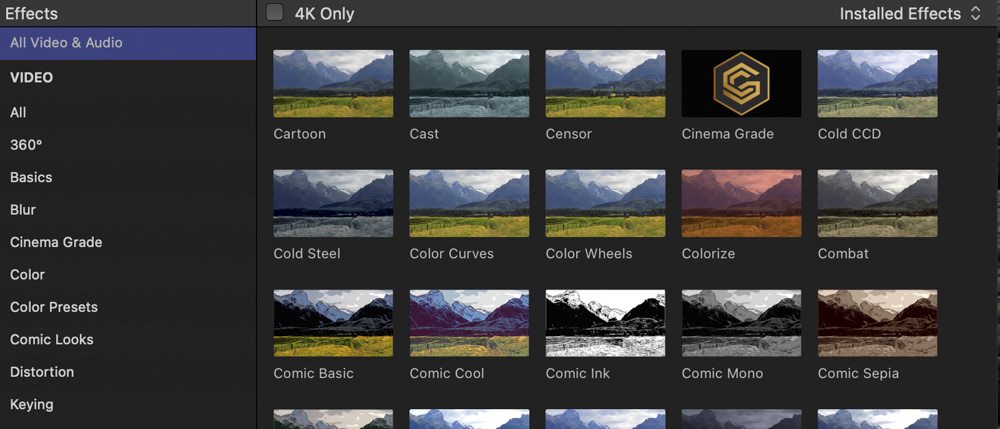
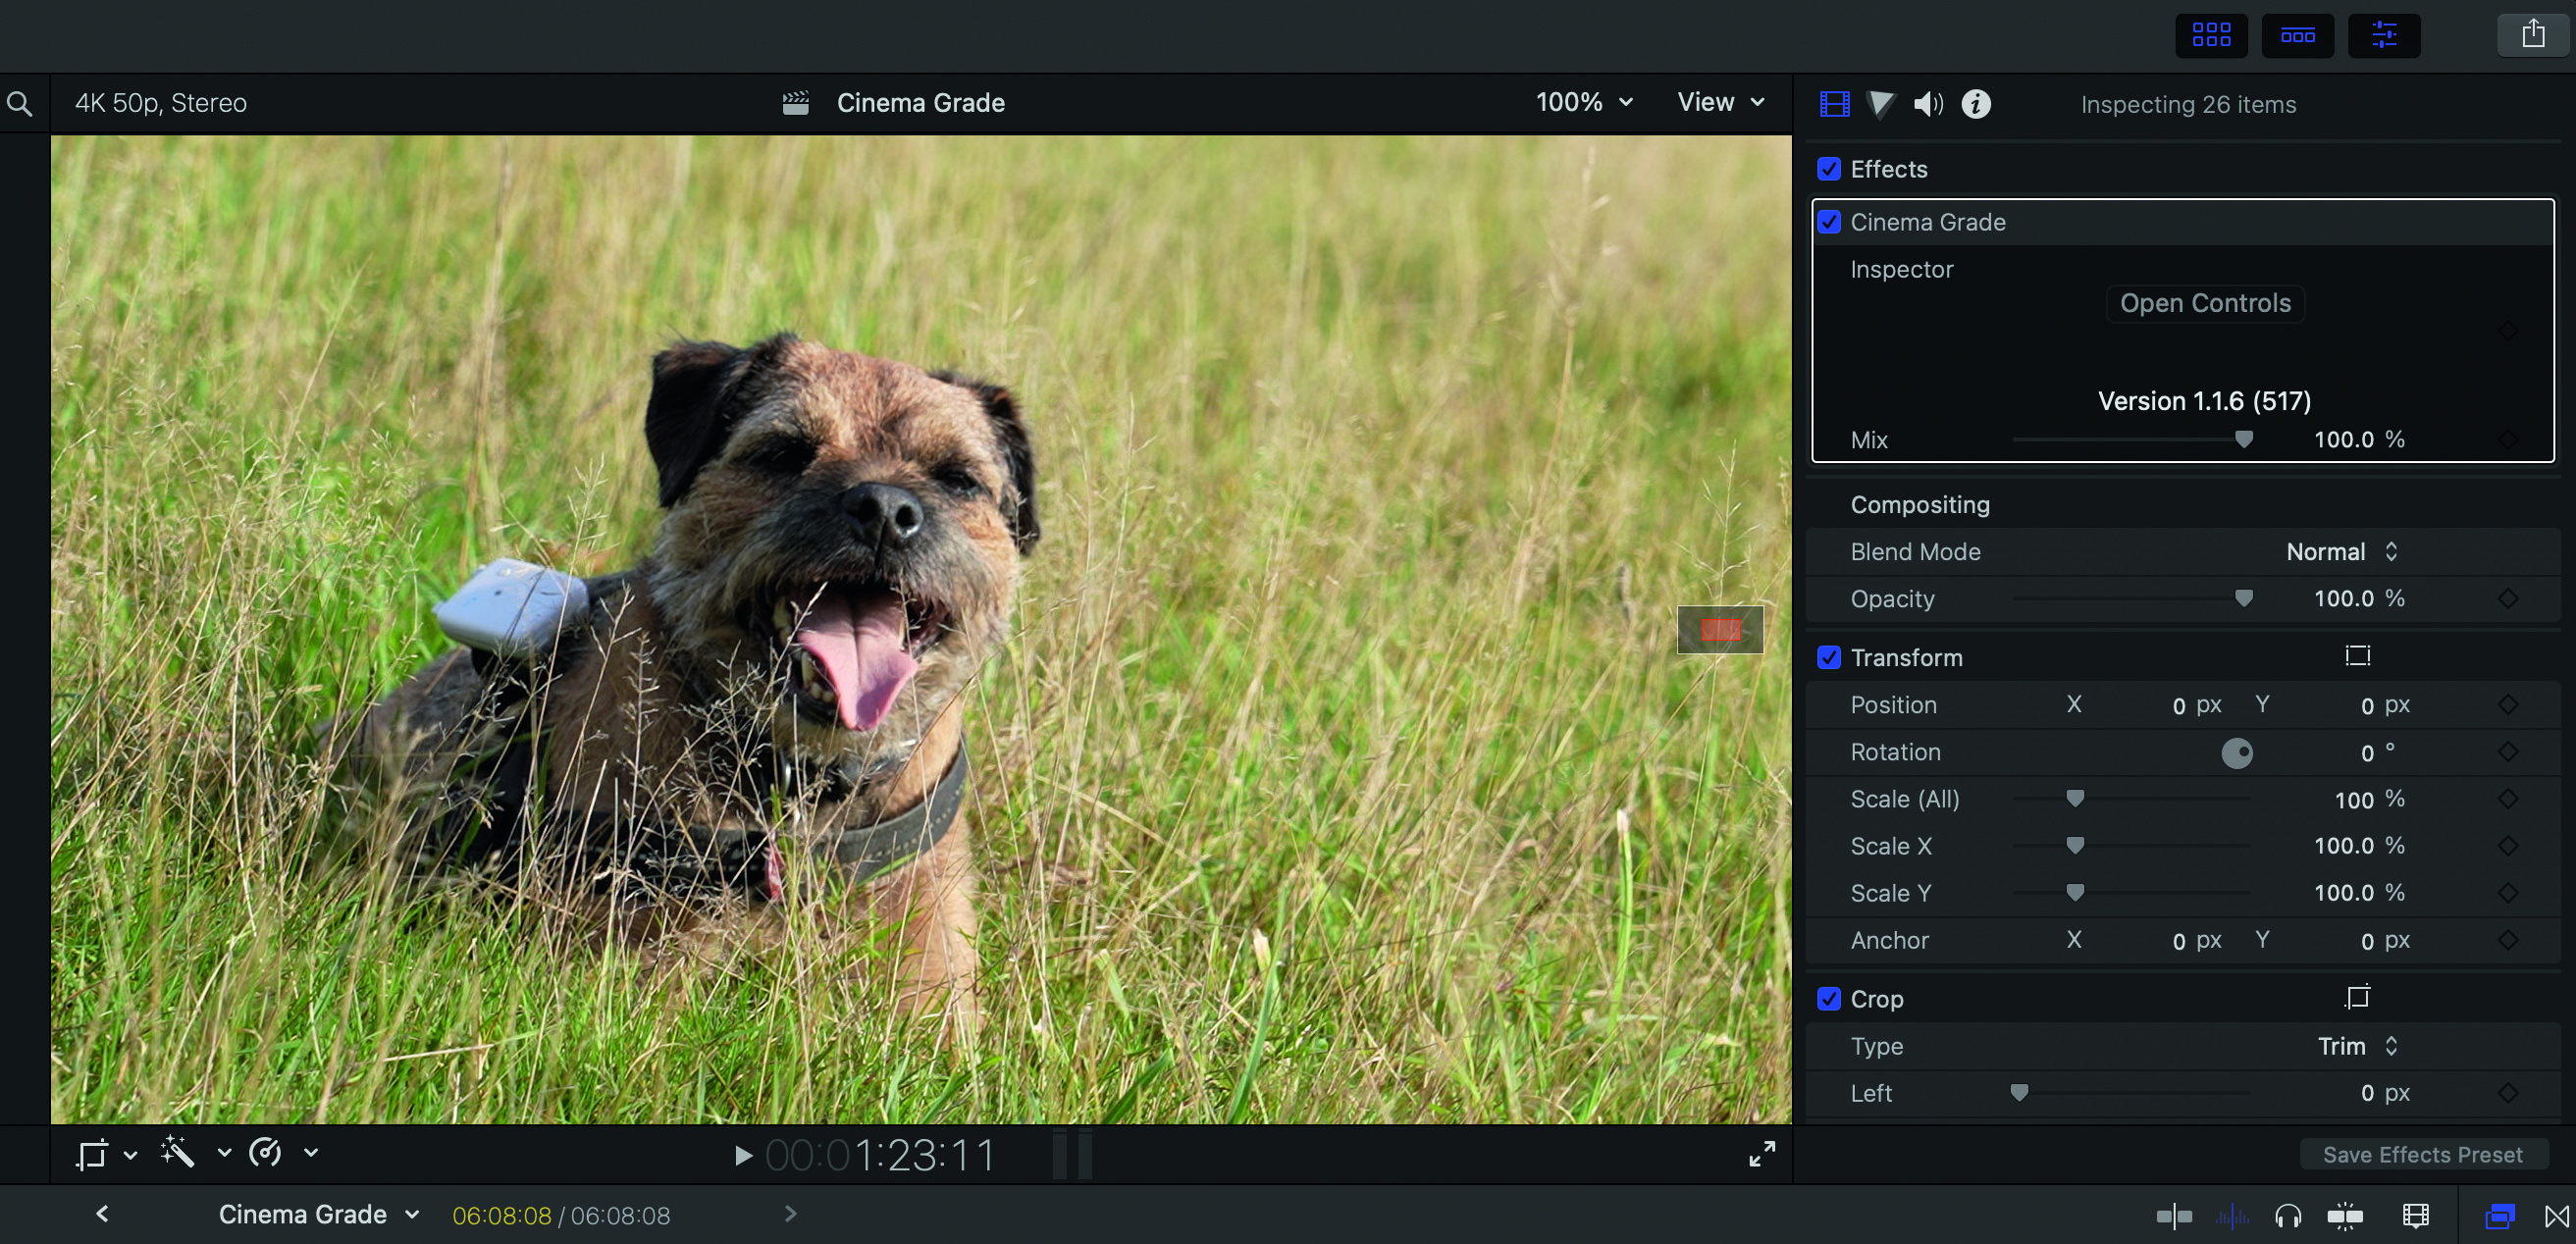
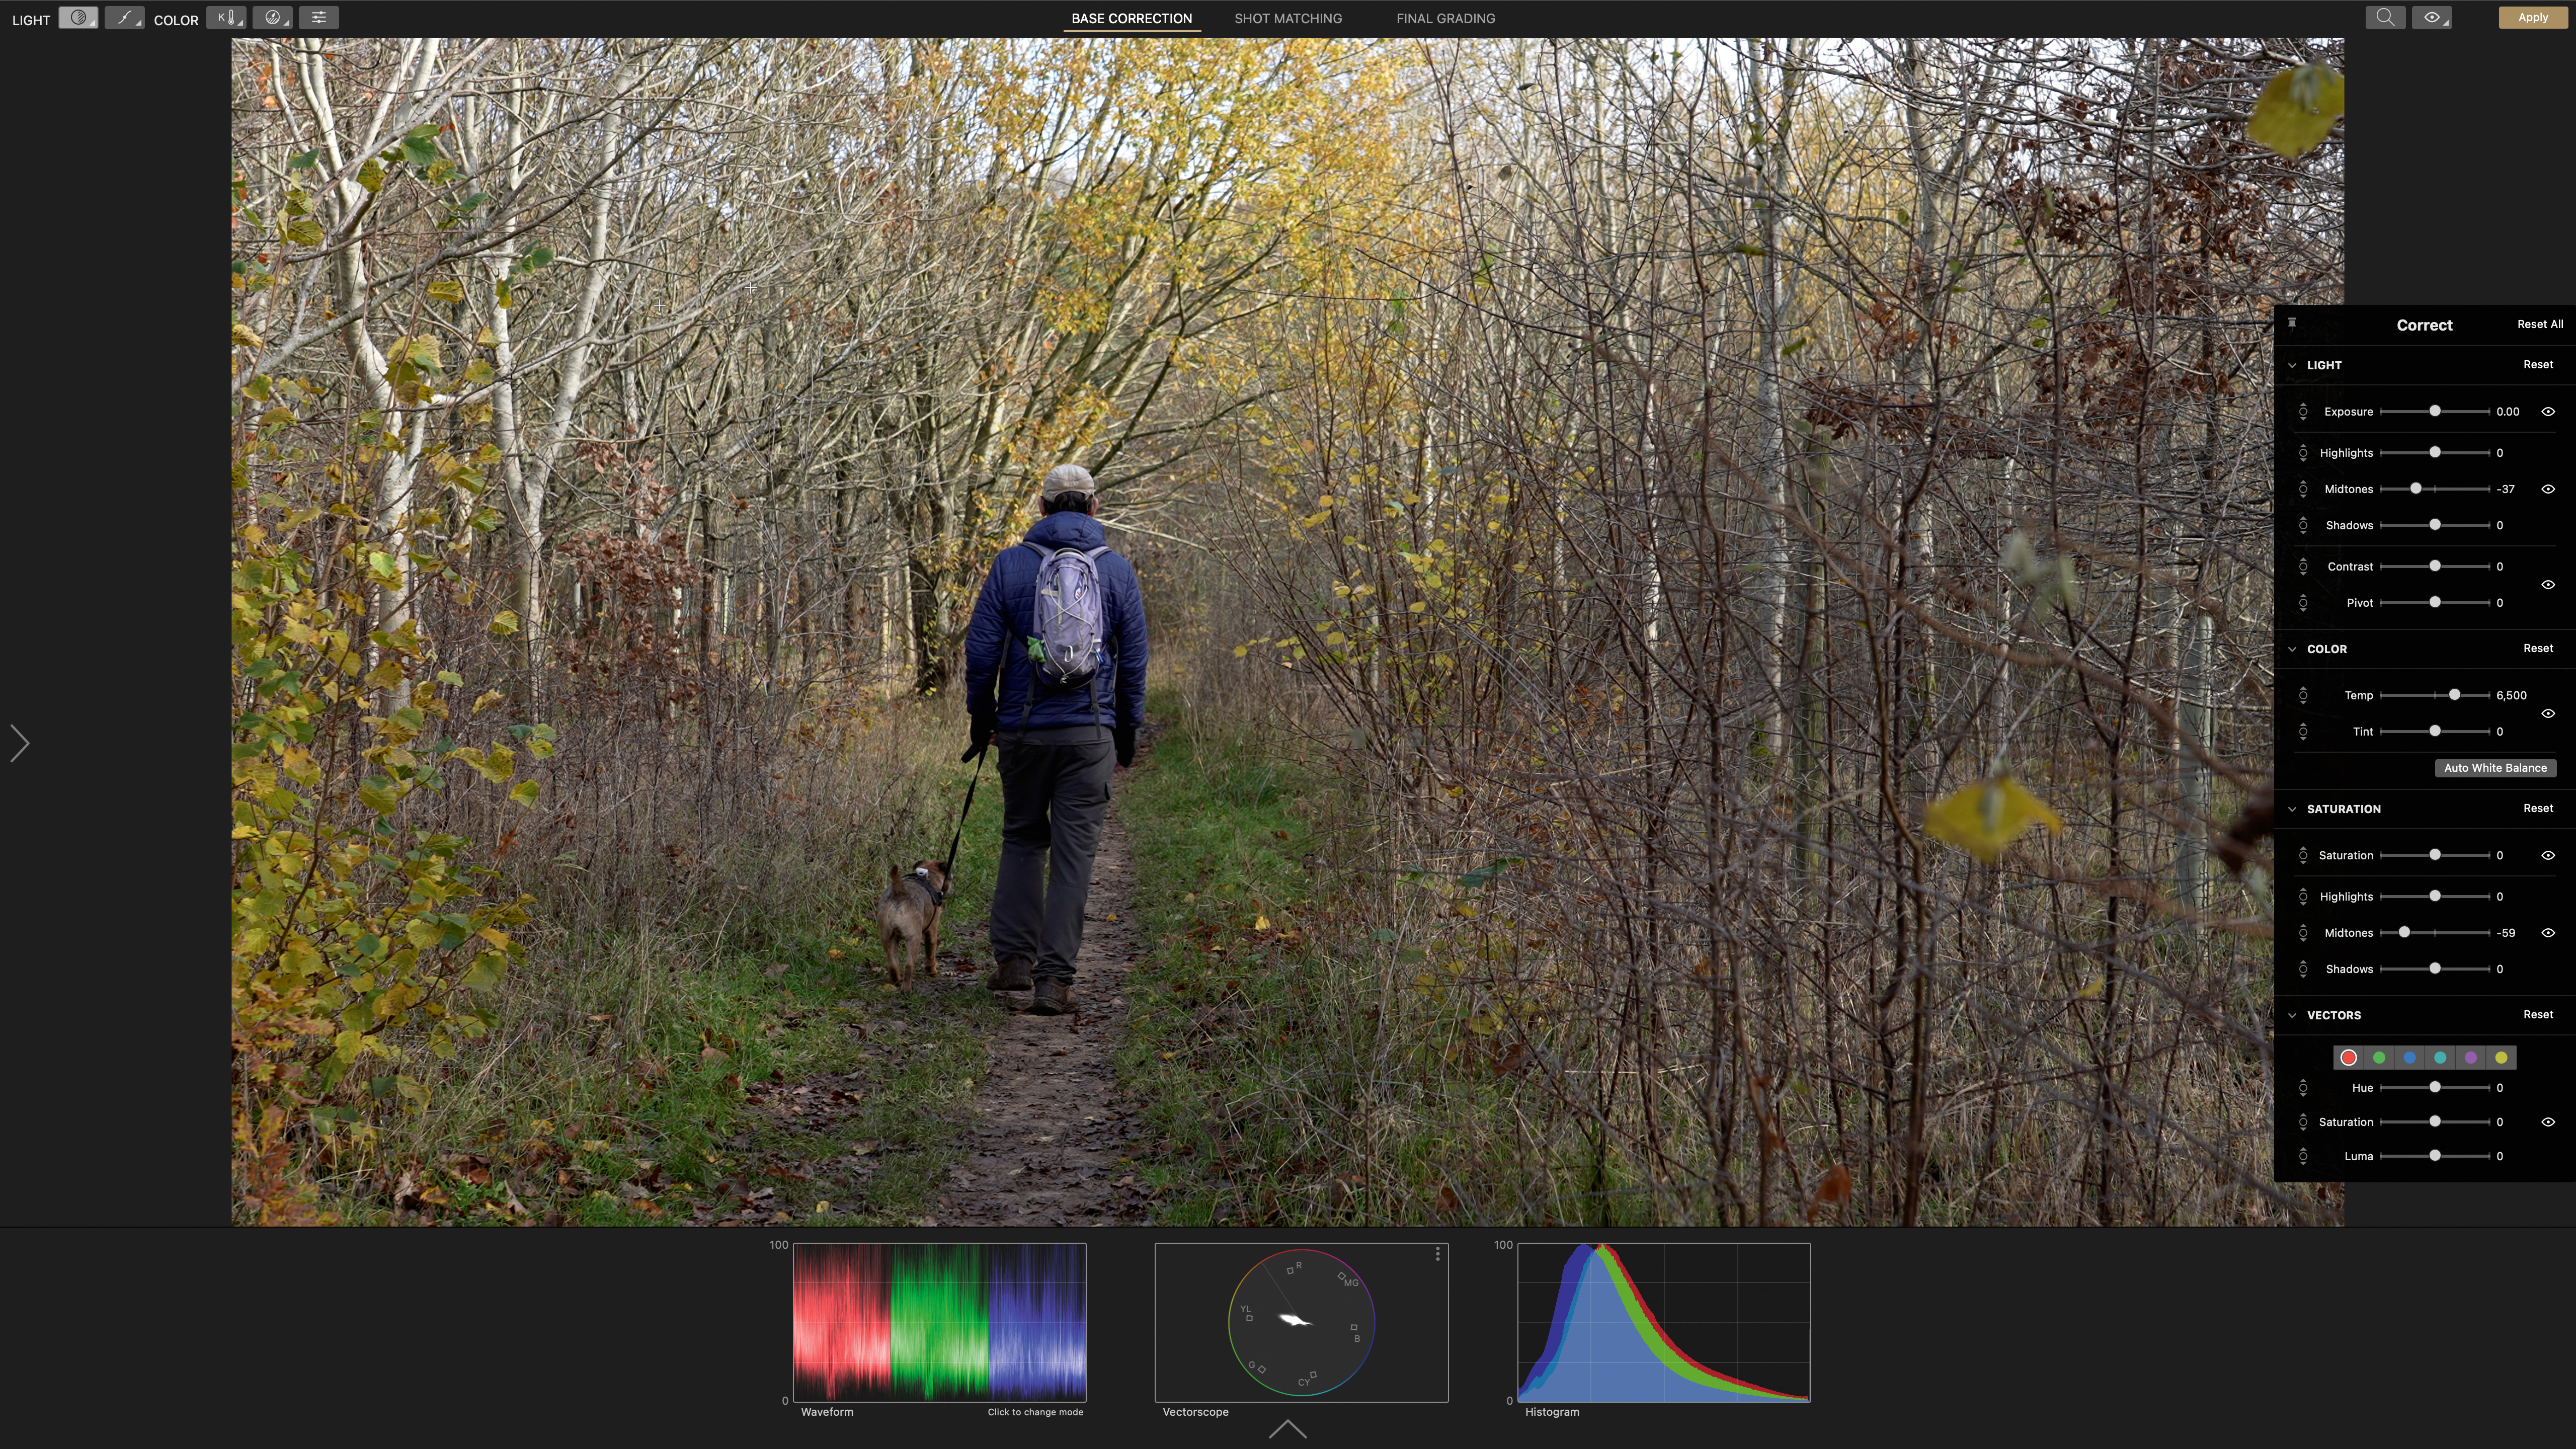
After downloading and installing Cinema Grade, it’s accessed via the Effects window of Final Cut Pro. Then it’s simply a case of selecting the clips you want to grade and double-clicking on the Cinema Grade icon in the Effects panel, before clicking Open Controls in the Inspector panel. This opens the Base Correction section, with a frame from the clip under the playhead being displayed at the centre of the screen. Use the up and down keys on your keyboard to toggle through clips, and the left and right keys to step through frames until you find the right one.
The best camera deals, reviews, product advice, and unmissable photography news, direct to your inbox!
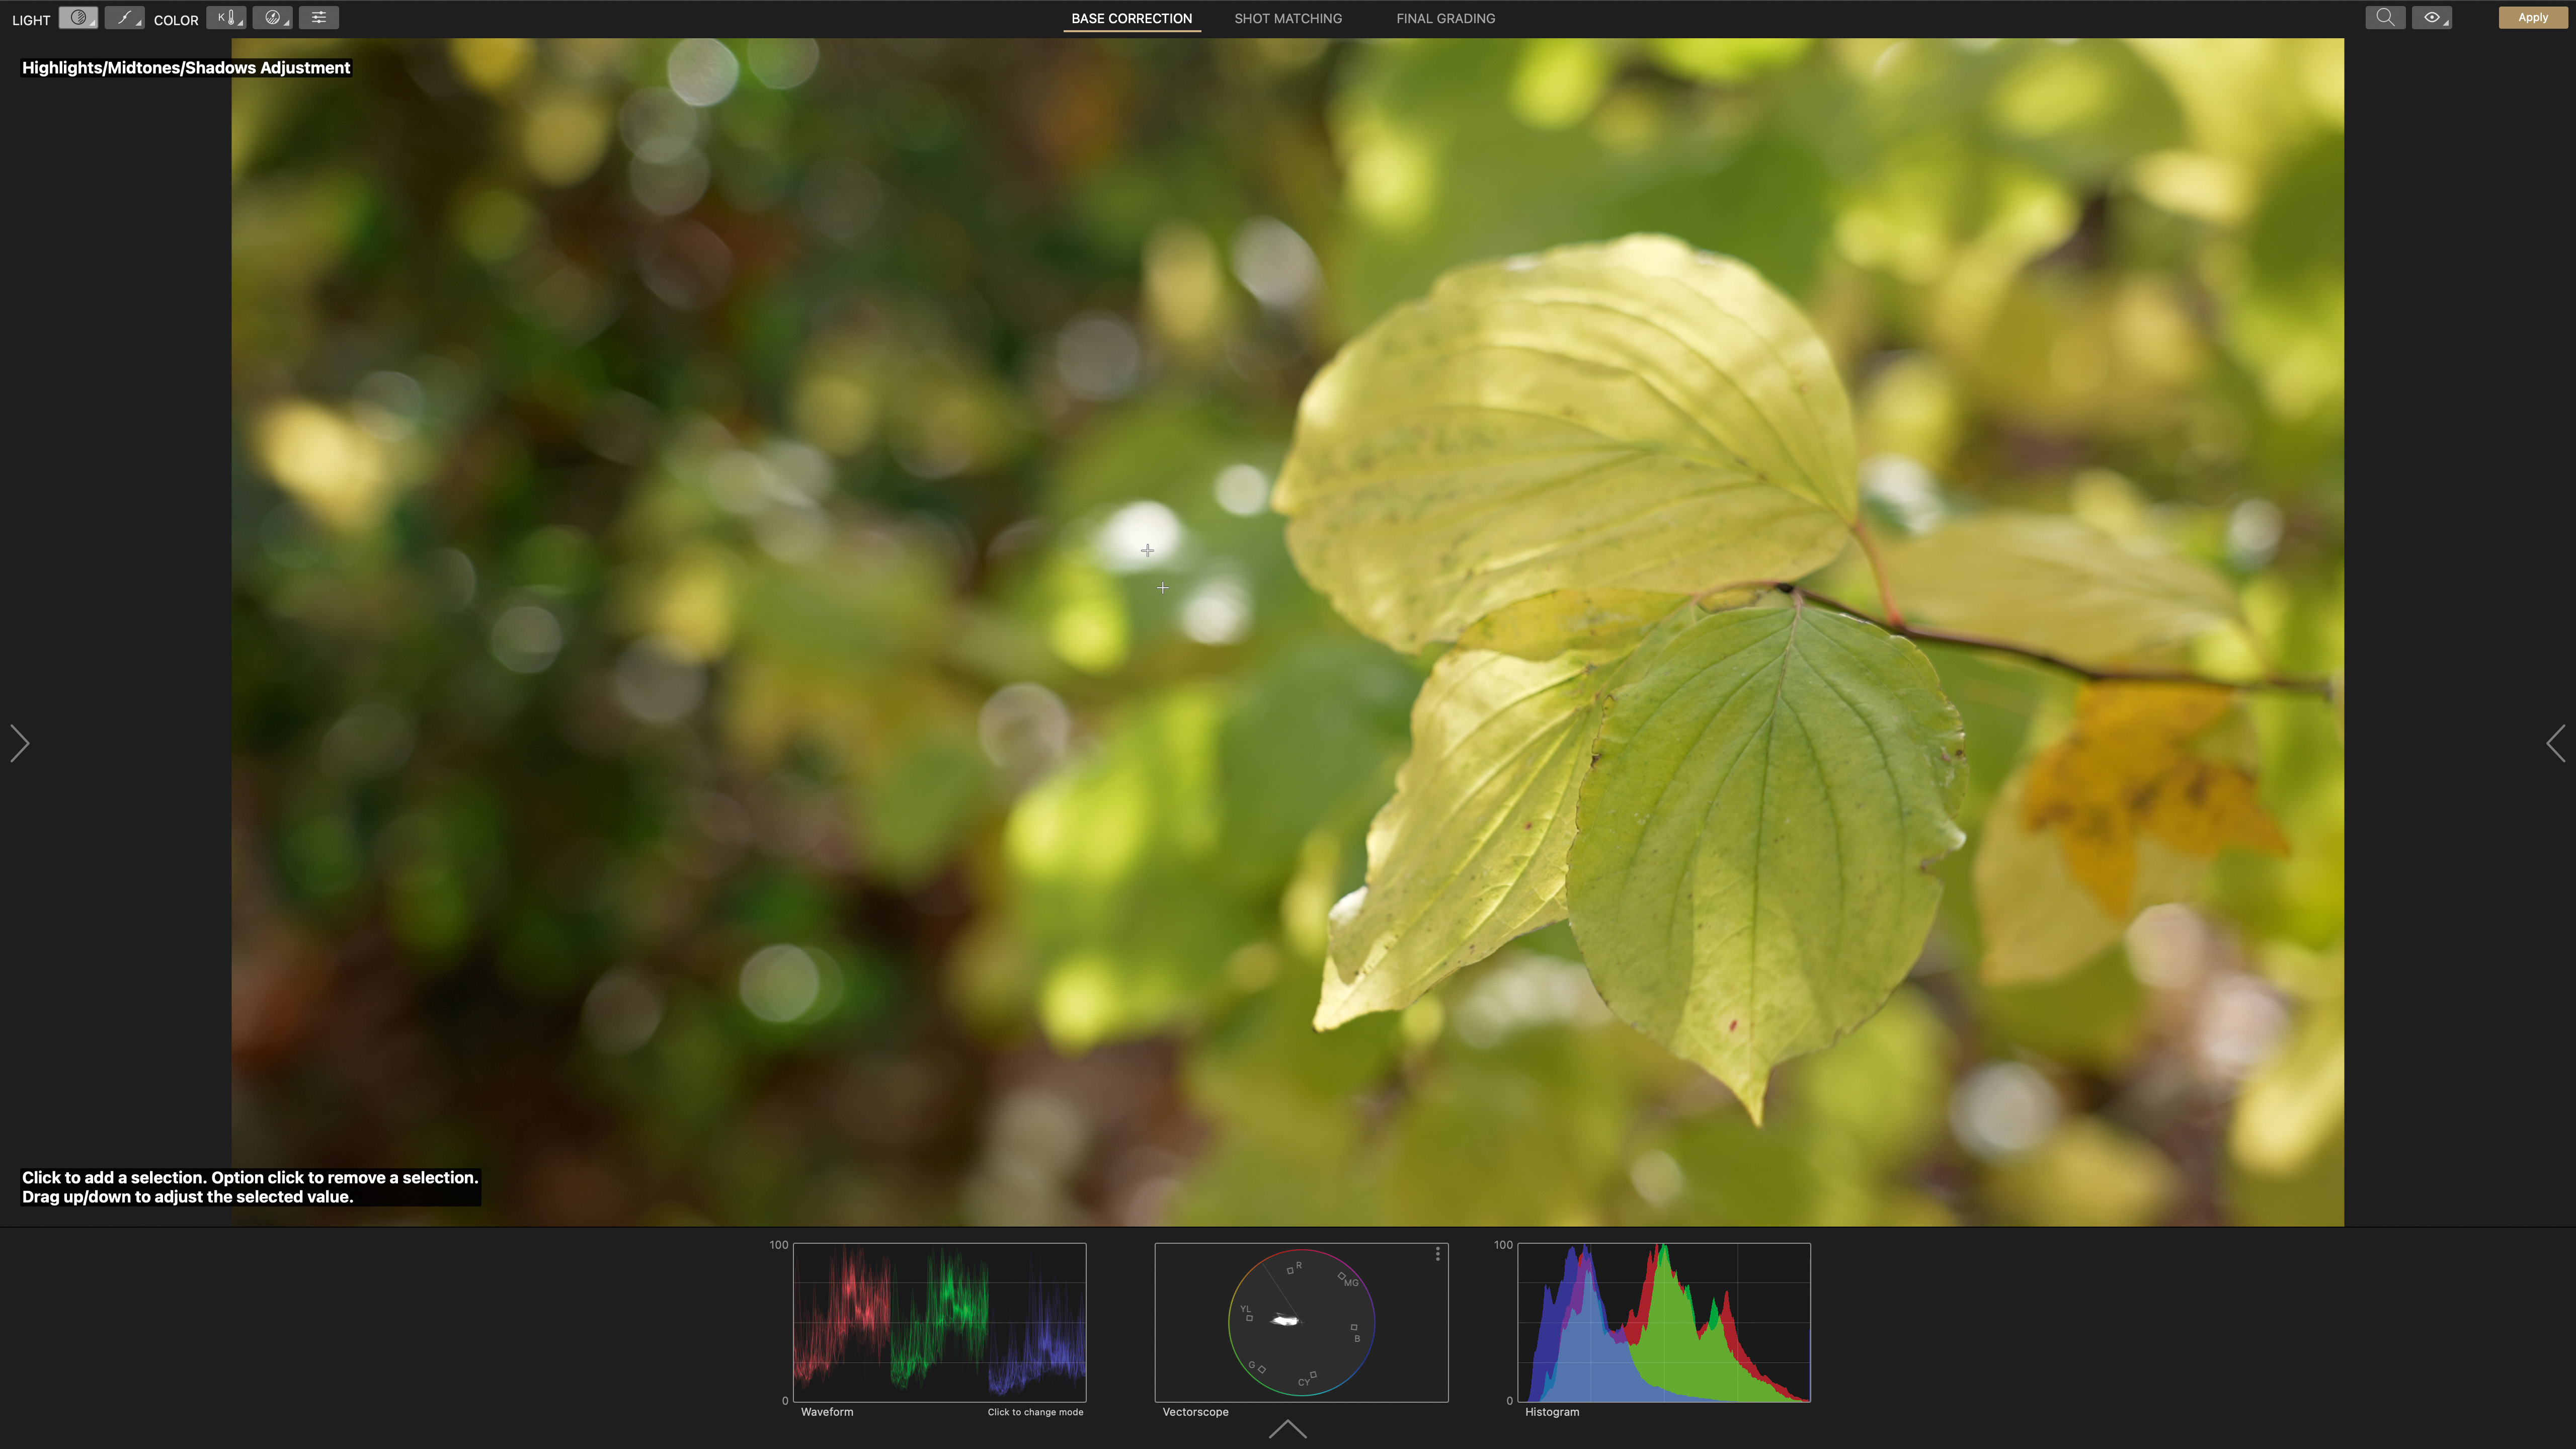
The aim of the Base Correction phase is to ensure that all your shots have good exposure and color balance. The first step if you shot in Log mode is to make the footage look a little more normal. Cinema Grade can do this automatically using the Color Management tools, accessed by clicking on the arrow on the left of the screen. It’s just a case of using the Camera dropdown options and selecting the appropriate Log setting.
Cinema Grade is also compatible with the X-Rite ColorChecker Video and X-Rite ColorChecker Passport Video charts, so if you include one in the scene at some point in your clip, you can use the Color Chart section of the Color panel to transform the footage instantly.
With the automatic corrections made, you’re ready to make further adjustments using the controls shown along the top left of the screen, or by clicking on the arrow on the right of the screen to access the sliding controls. The controls at the top offer a more intuitive click-and-drag form of editing.
Once you’ve selected a tool, click on the image to add a control point, and then drag up or down to adjust it. With the Light (Shadows, Midtones, Highlights) or Color (Shadows, Midtones, Highlights) adjustment tool selected, you can adjust the brightness or saturation of specific tonal regions just by clicking and dragging on them. Click on a highlight area with the Light tool selected, for example, then drag down to darken brighter parts of the scene without changing the shadows. The slider controls on the right are useful if you want to reset or tweak any adjustments.
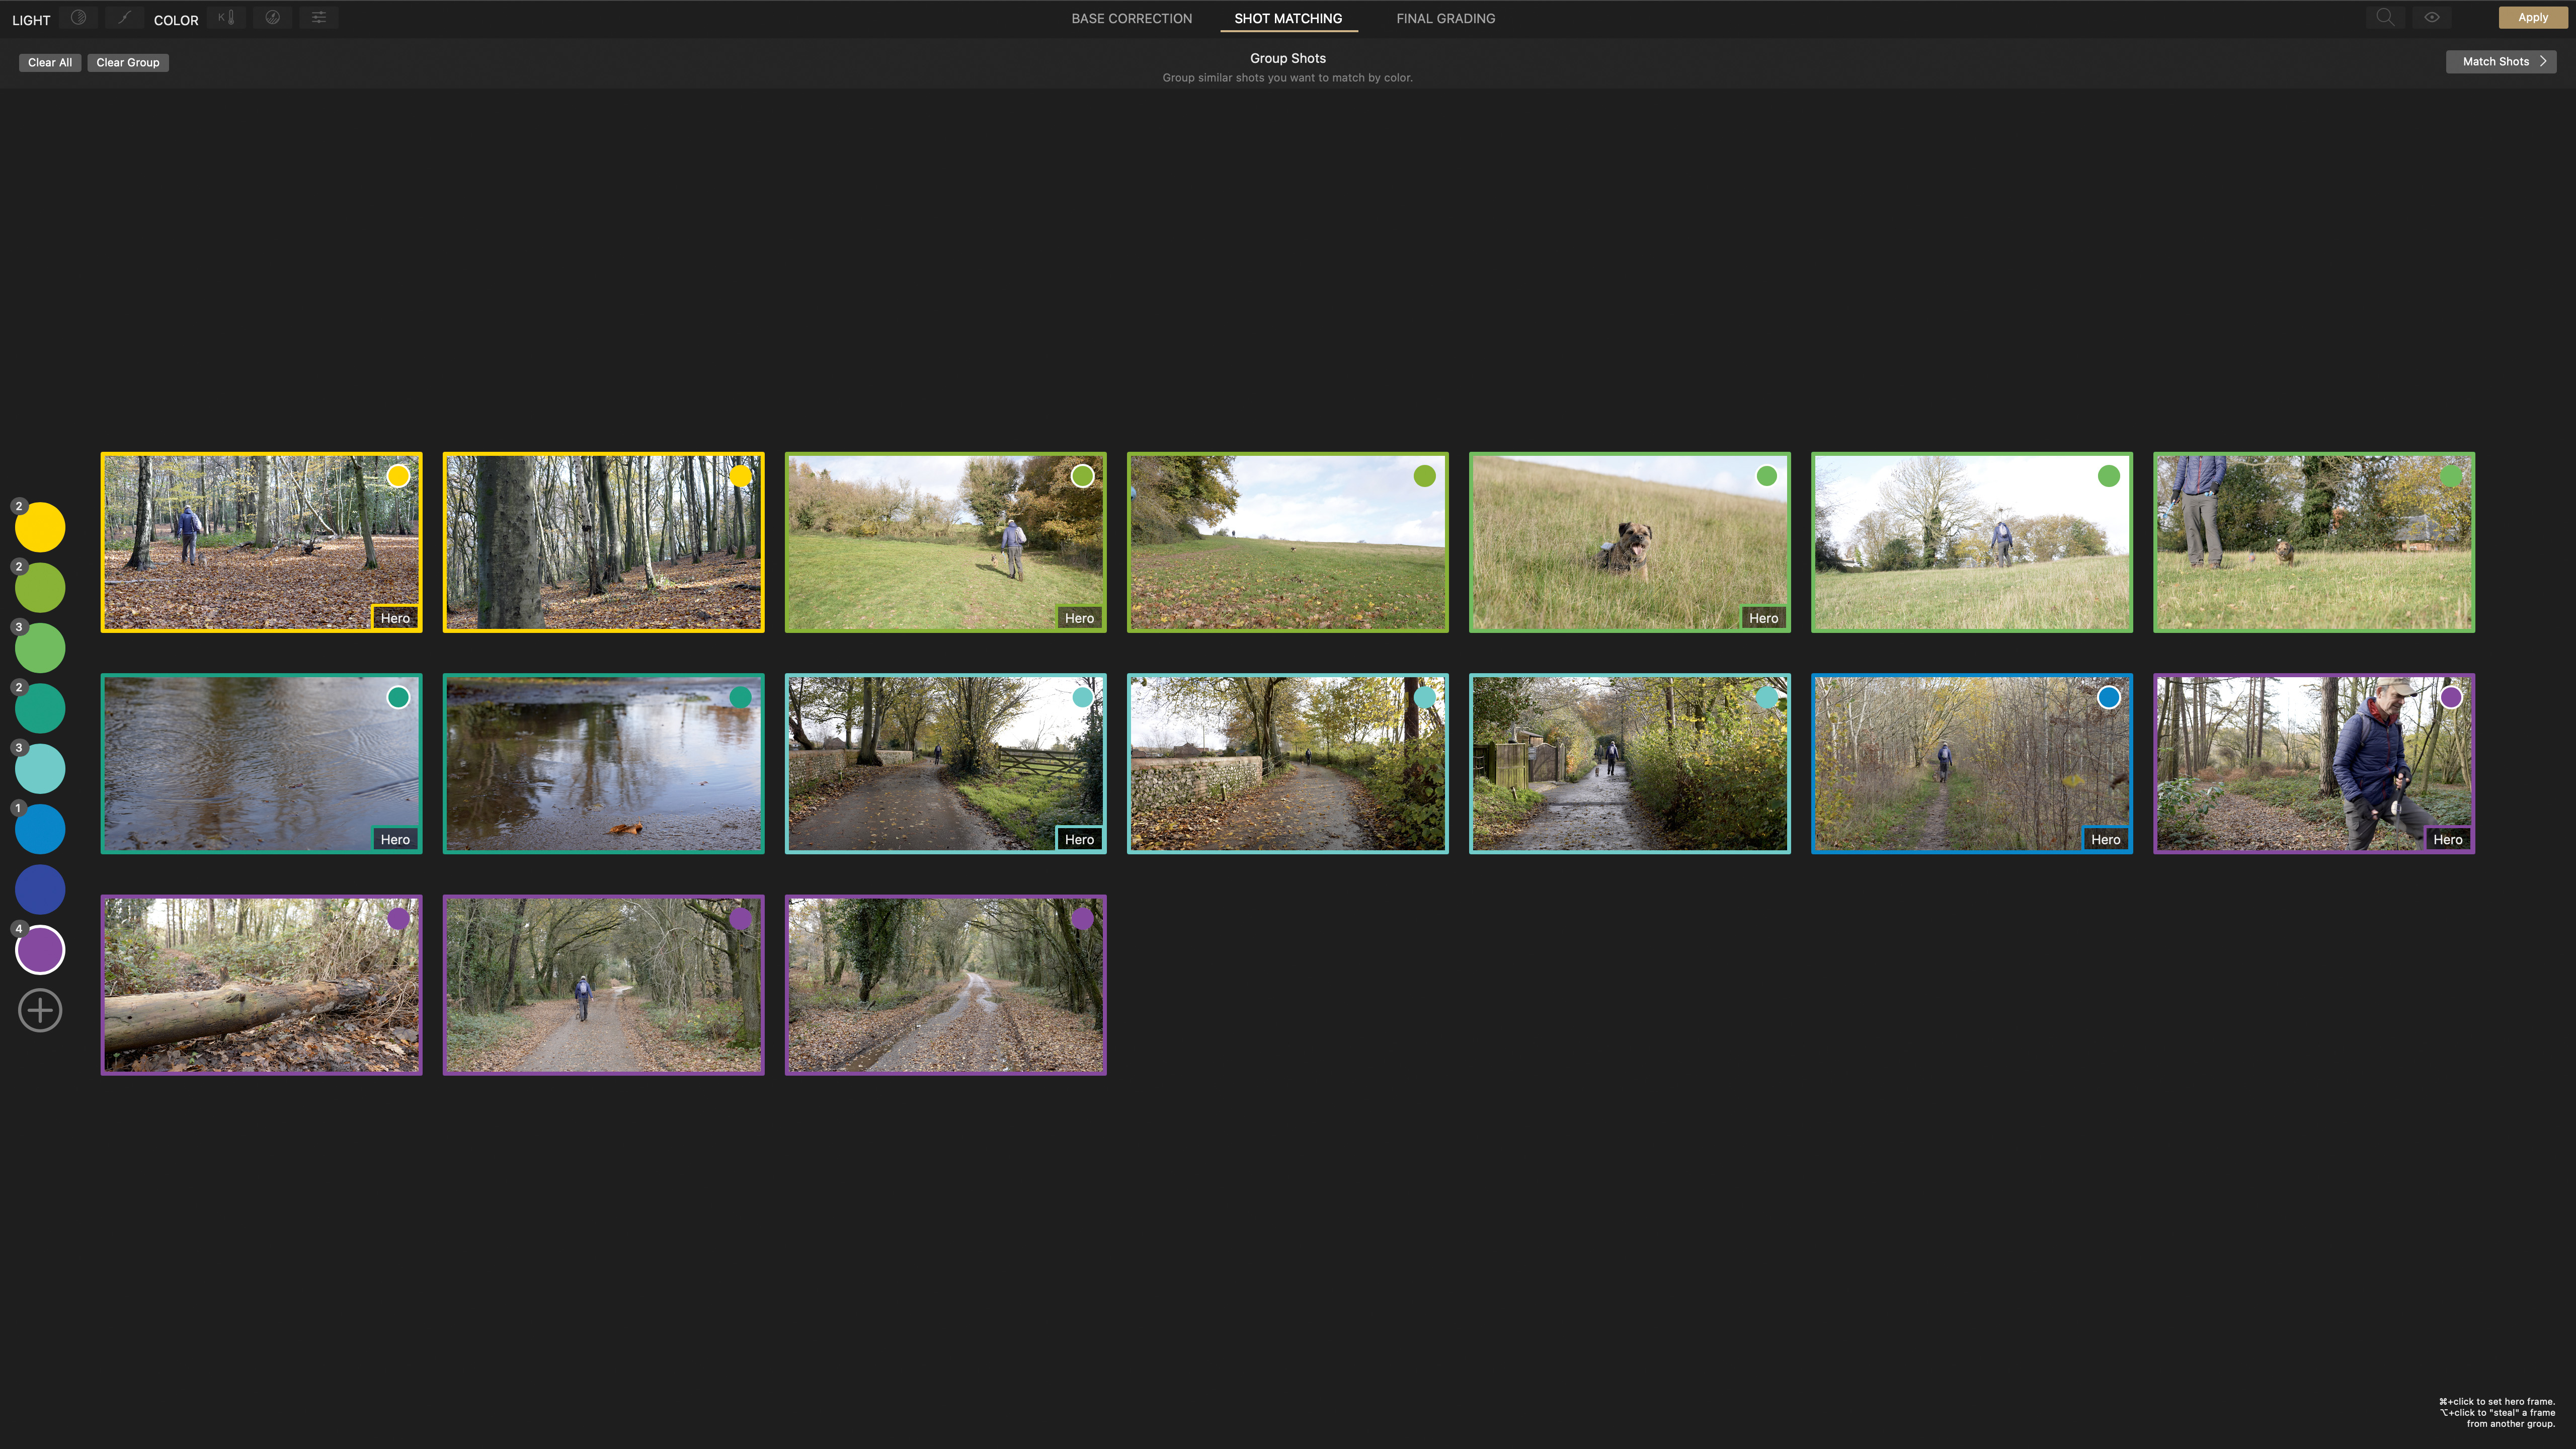
Once you’re happy with the exposure and color balance of each clip, it’s time to click on Shot Matching at the top of the screen. In this second stage you need to group all the shots that should match. To do this, pick a color from the options on the left, and then click on the first clips that should match. Switch to another color to group the next set of clips, and so on. Clicking Match Shots enables you to see the clips side by side (with or without the video scopes visible), so that you can make any further adjustments or just apply the Hero shot’s corrections.
With the shots matched, you’re ready to progress to the Final Grading section to give your video its mood and character. The exposure and color adjustment tools are all still available here, but their effect is applied to all the clips in the group to ensure a uniform look. Over on the left of the screen you can also reveal a panel to select Looks, or LUTs, to apply to your clips in one go. It’s even possible to transfer the look from a favorite clip or image, making the software very flexible: the Look Transfer tool analyses your source image or clip and then tries to transfer it to your new clip. As with the other Looks and LUTs, you can then adjust its intensity and use the Final Grading tools to tweak the result until you’re completely happy.
The final step is to hit Apply to return to your editing software. Now, when you play the video, you’ll see the impact of your grading.
Read more:
The best laptop for video editing
Best video editing monitors in 2021
Best keyboard for video editing
Best mouse for photo & video editing
Best recovery software for photos
Angela has been testing camera gear from all the major manufacturers since January 2004 and has been Amateur Photographer’s Technical Editor and Head of Testing for Future Publishing’s photography portfolio (Digital Camera Magazine, PhotoPlus: The Canon Magazine, N-Photo, Practical Photoshop, Photography Week and Professional Photography magazines, as well as the Digital Camera World and TechRadar websites). She is the founder of SheClicks - a community group that encourages and supports female photographers.
