I'm a photographer, and I took STUNNING cinematic photos in The Last of Us game
Learn how to make the most of the lighting features in The Last of Us' photo mode for amazing in-game virtual portraits
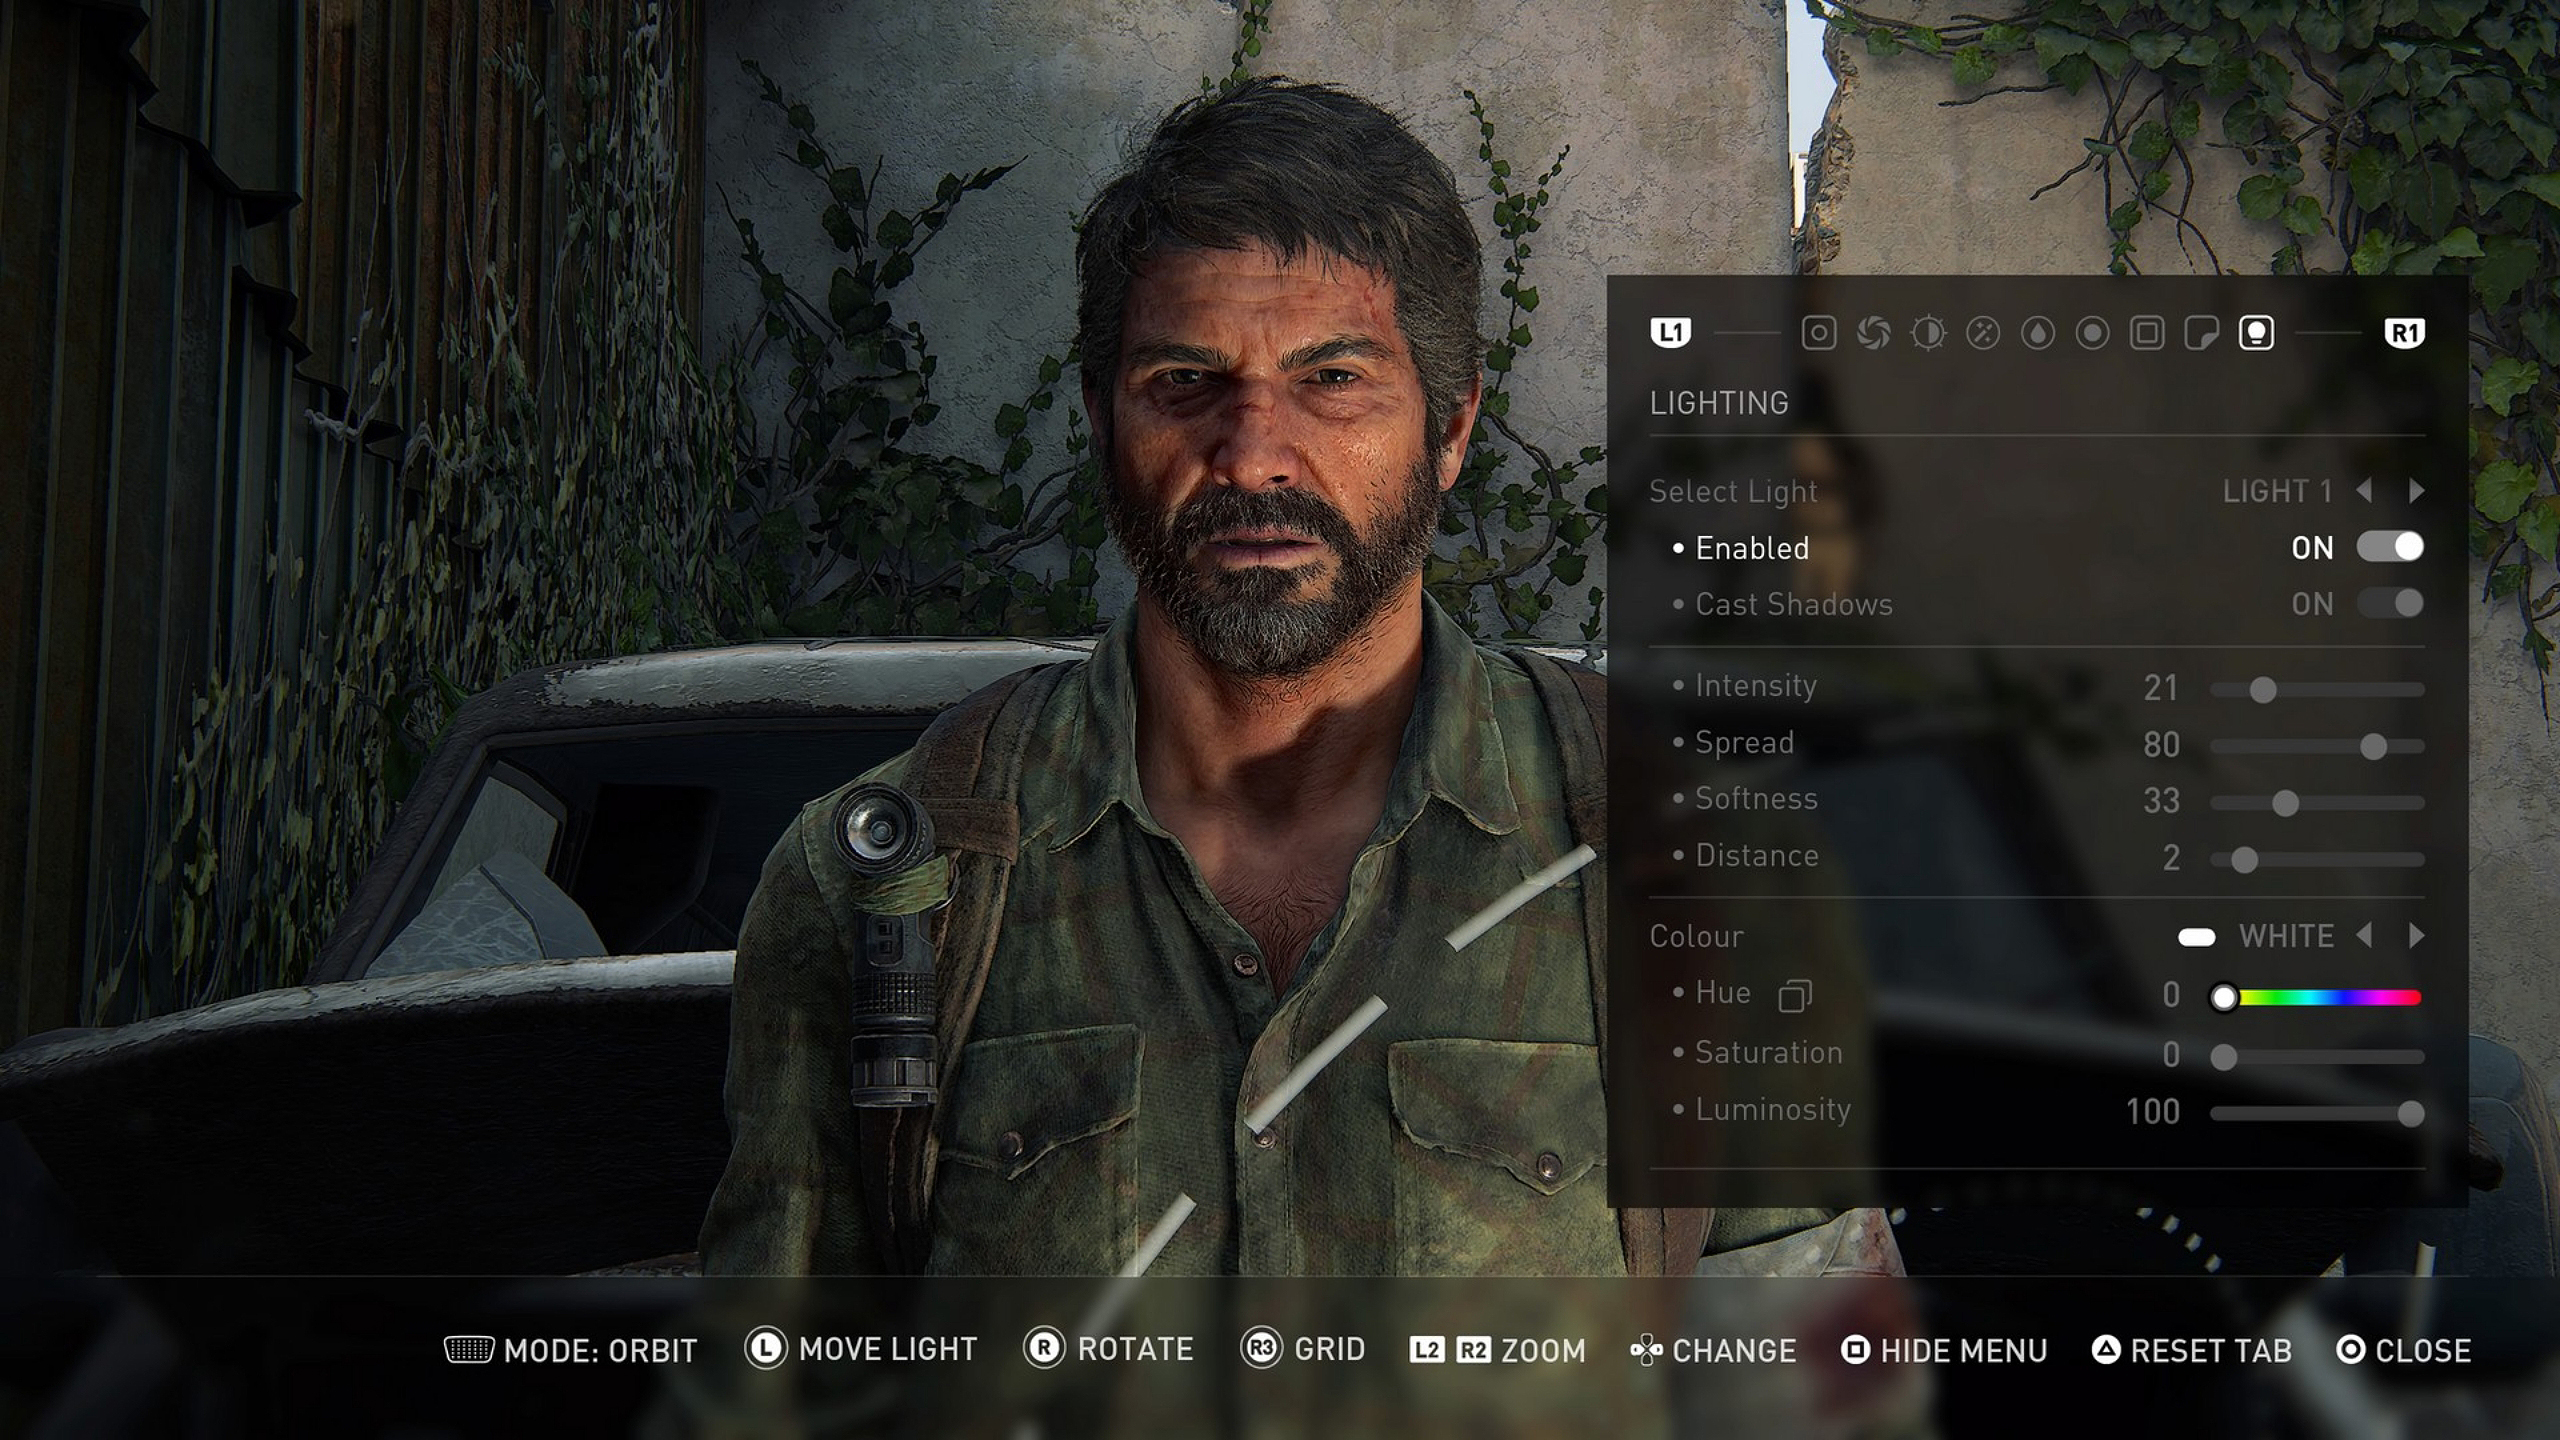
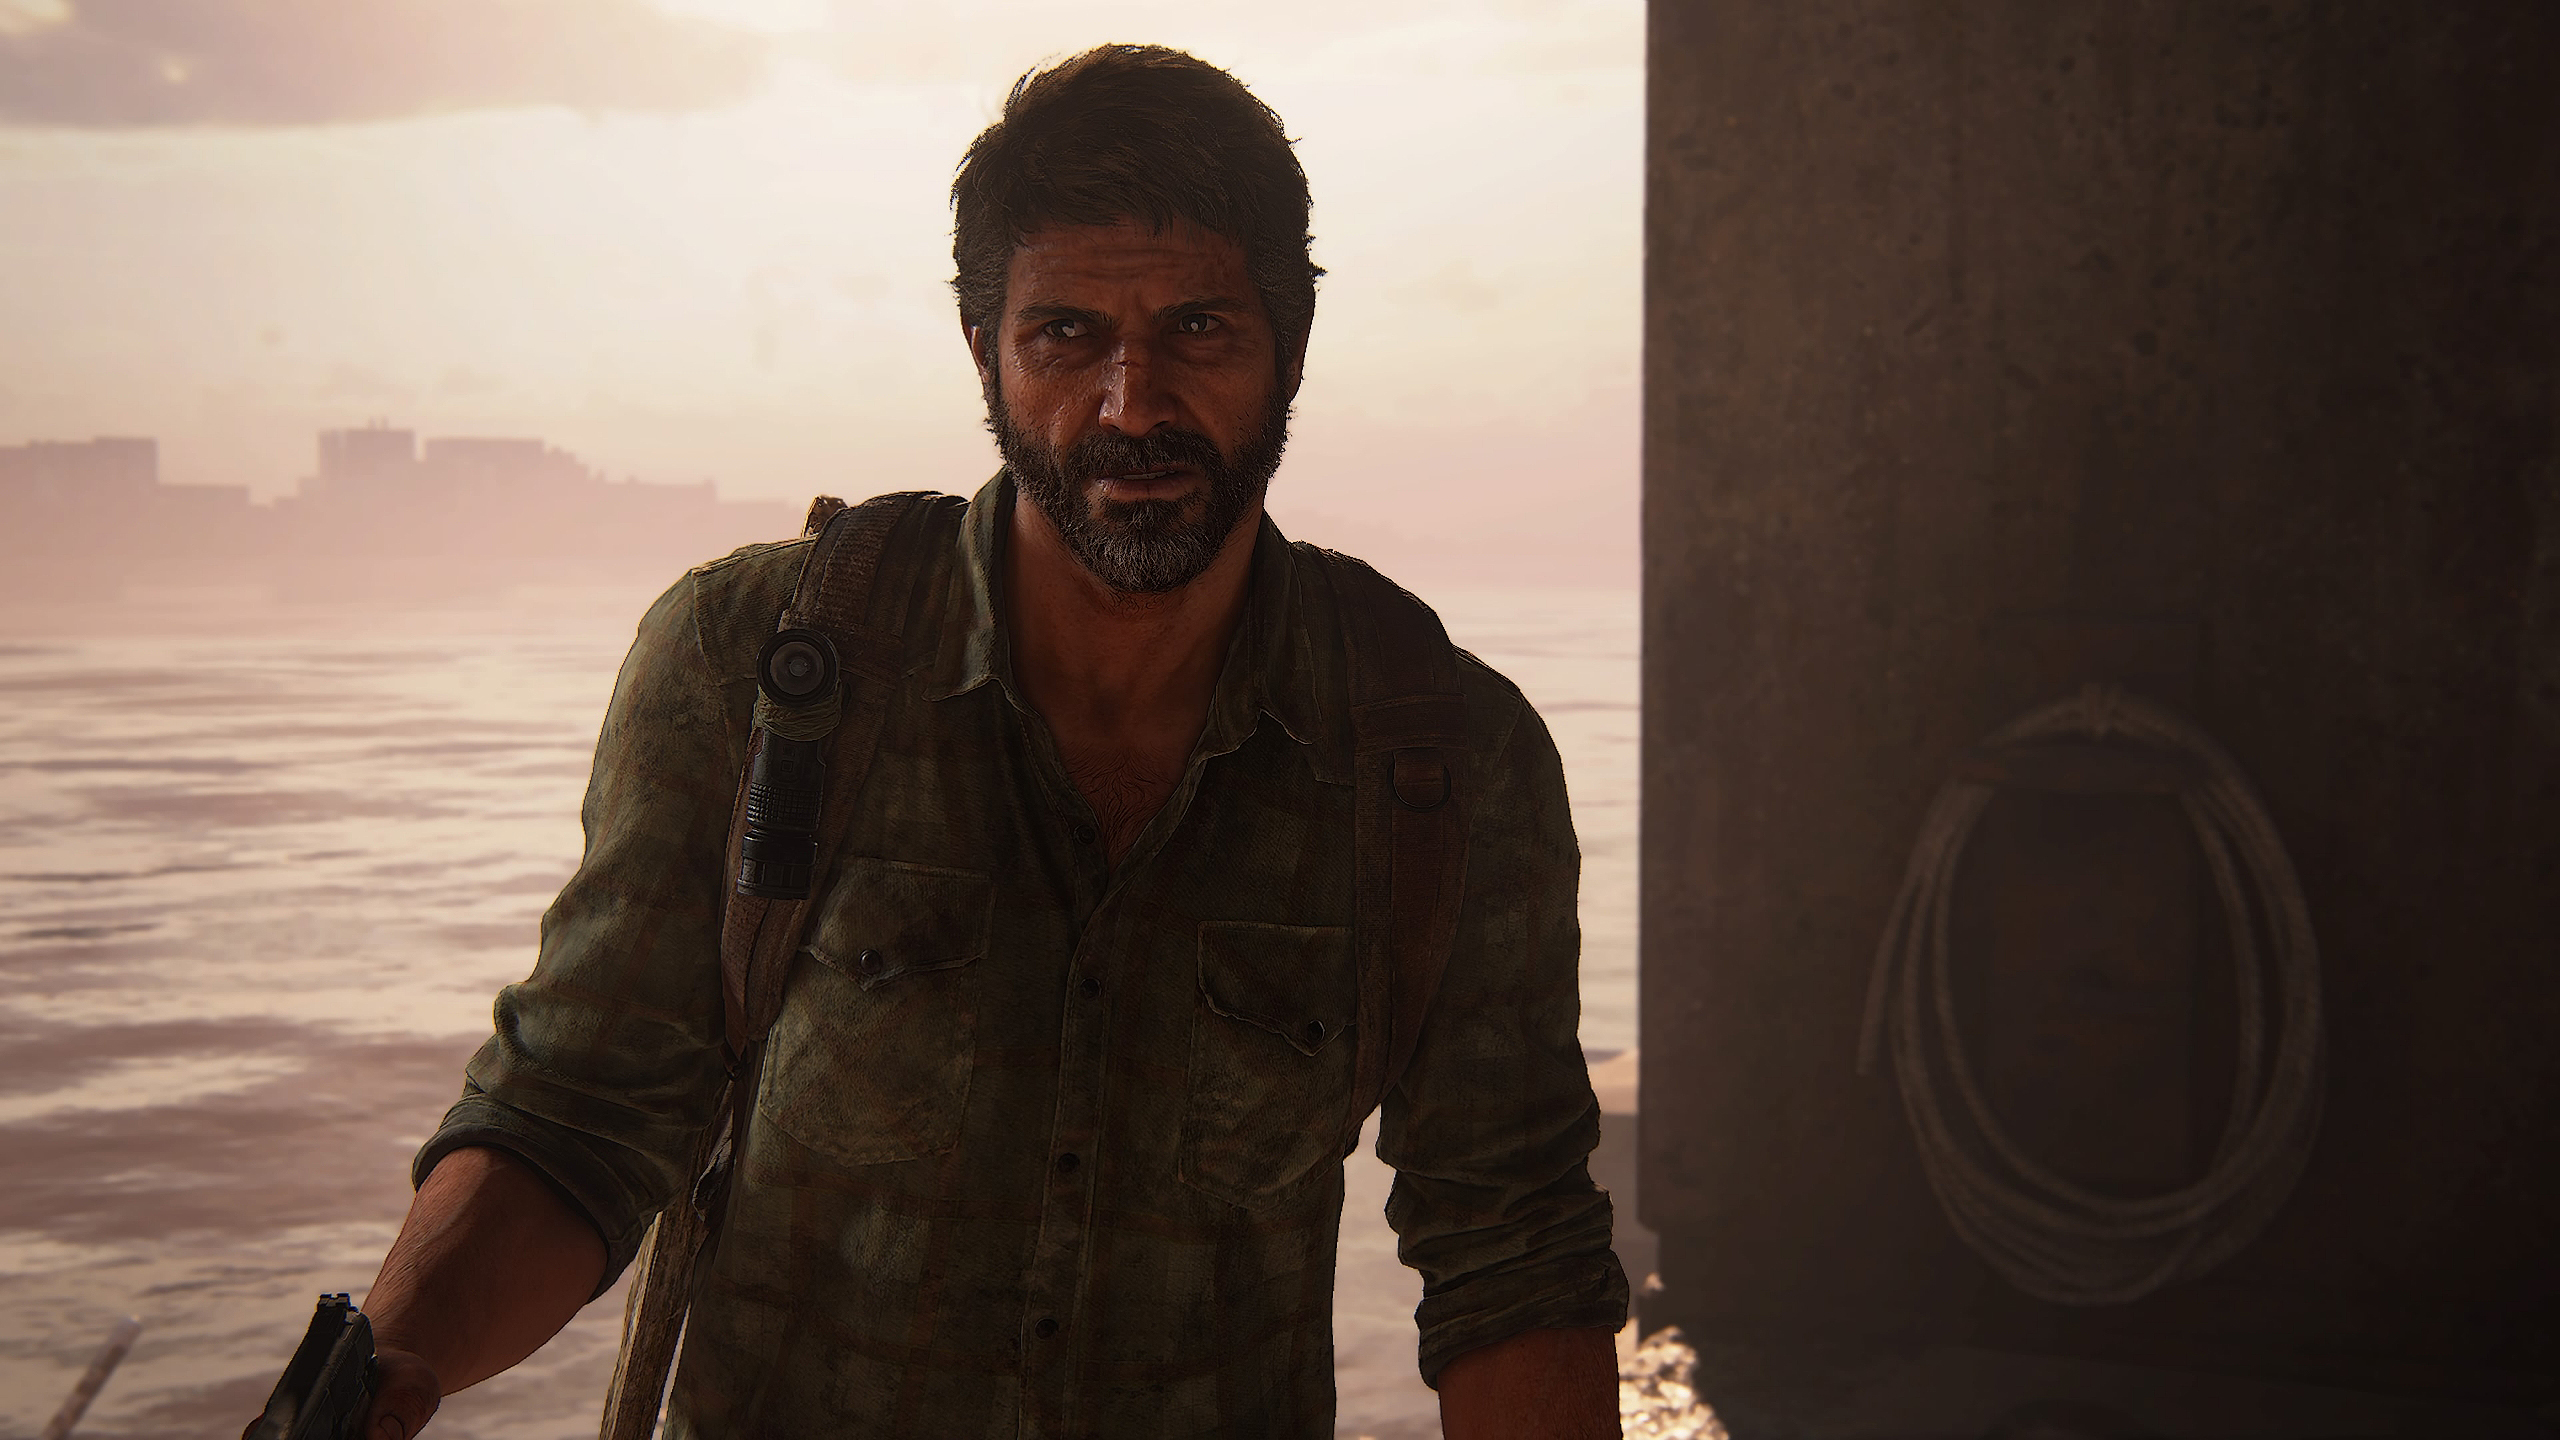
The post-apocalyptic world of The Last of Us game (and now TV) franchise is actually pretty beautiful with all things considered, and if you take a break from killing clickers in the game, the surroundings make for some stunning cinematic portraits of the main character Joel when using the games built-in photo mode and customizable lighting adjustments. It's undoubtedly one of the most picturesque videogames for virtual photographers.
I’m having a replay of the first-ever The Last of Us (TLOU) Part I game, purely for nostalgia purposes while waiting patiently for the next episode of the series, and thought I’d share some tips I’ve found for how to make the most out of the game’s underappreciated photo mode which is adept for use by in-game photographers.
Everyone is hyped about the live-action The Last of Us series which has begun streaming on HBO Max, with new episodes released on a weekly basis. The series is not only inspired by the original game franchise created by Naughty Dog but is also heavily authentic to the main storyline of the game, following it almost precisely with incredibly accurate elements and shot-by-shot comparisons proving how much attention to detail has been created by the directors and cinematographers.
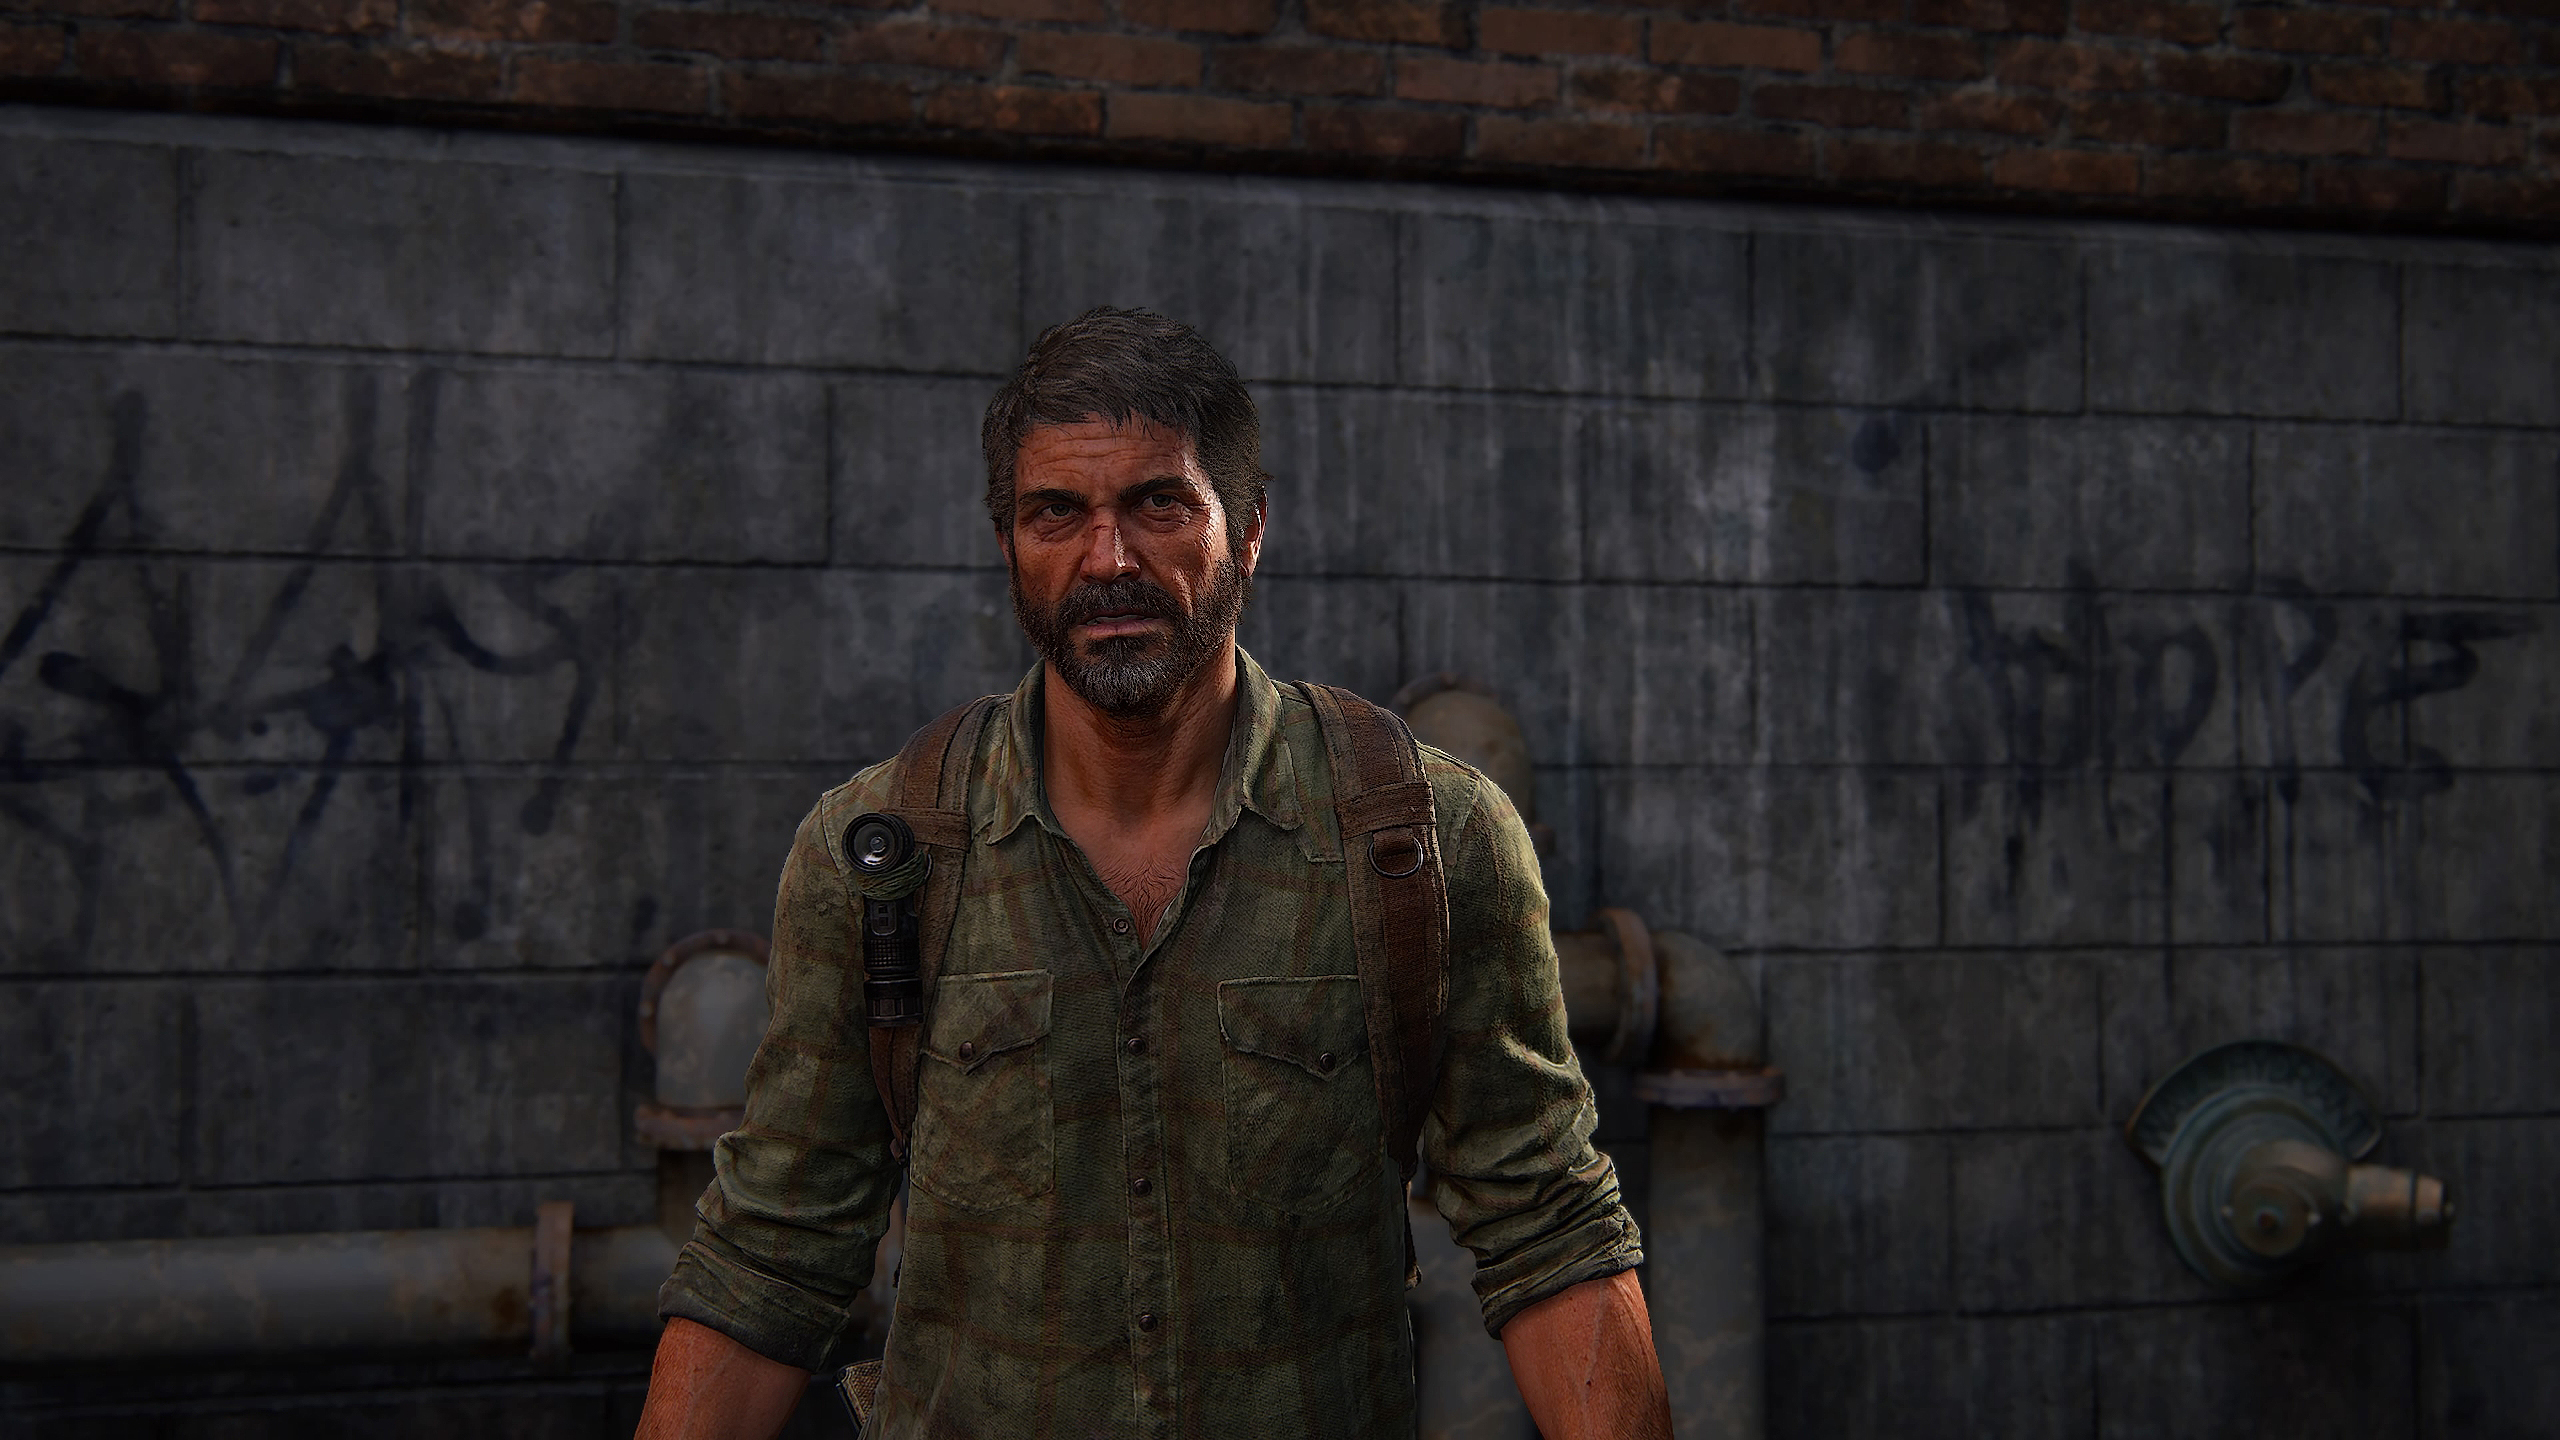
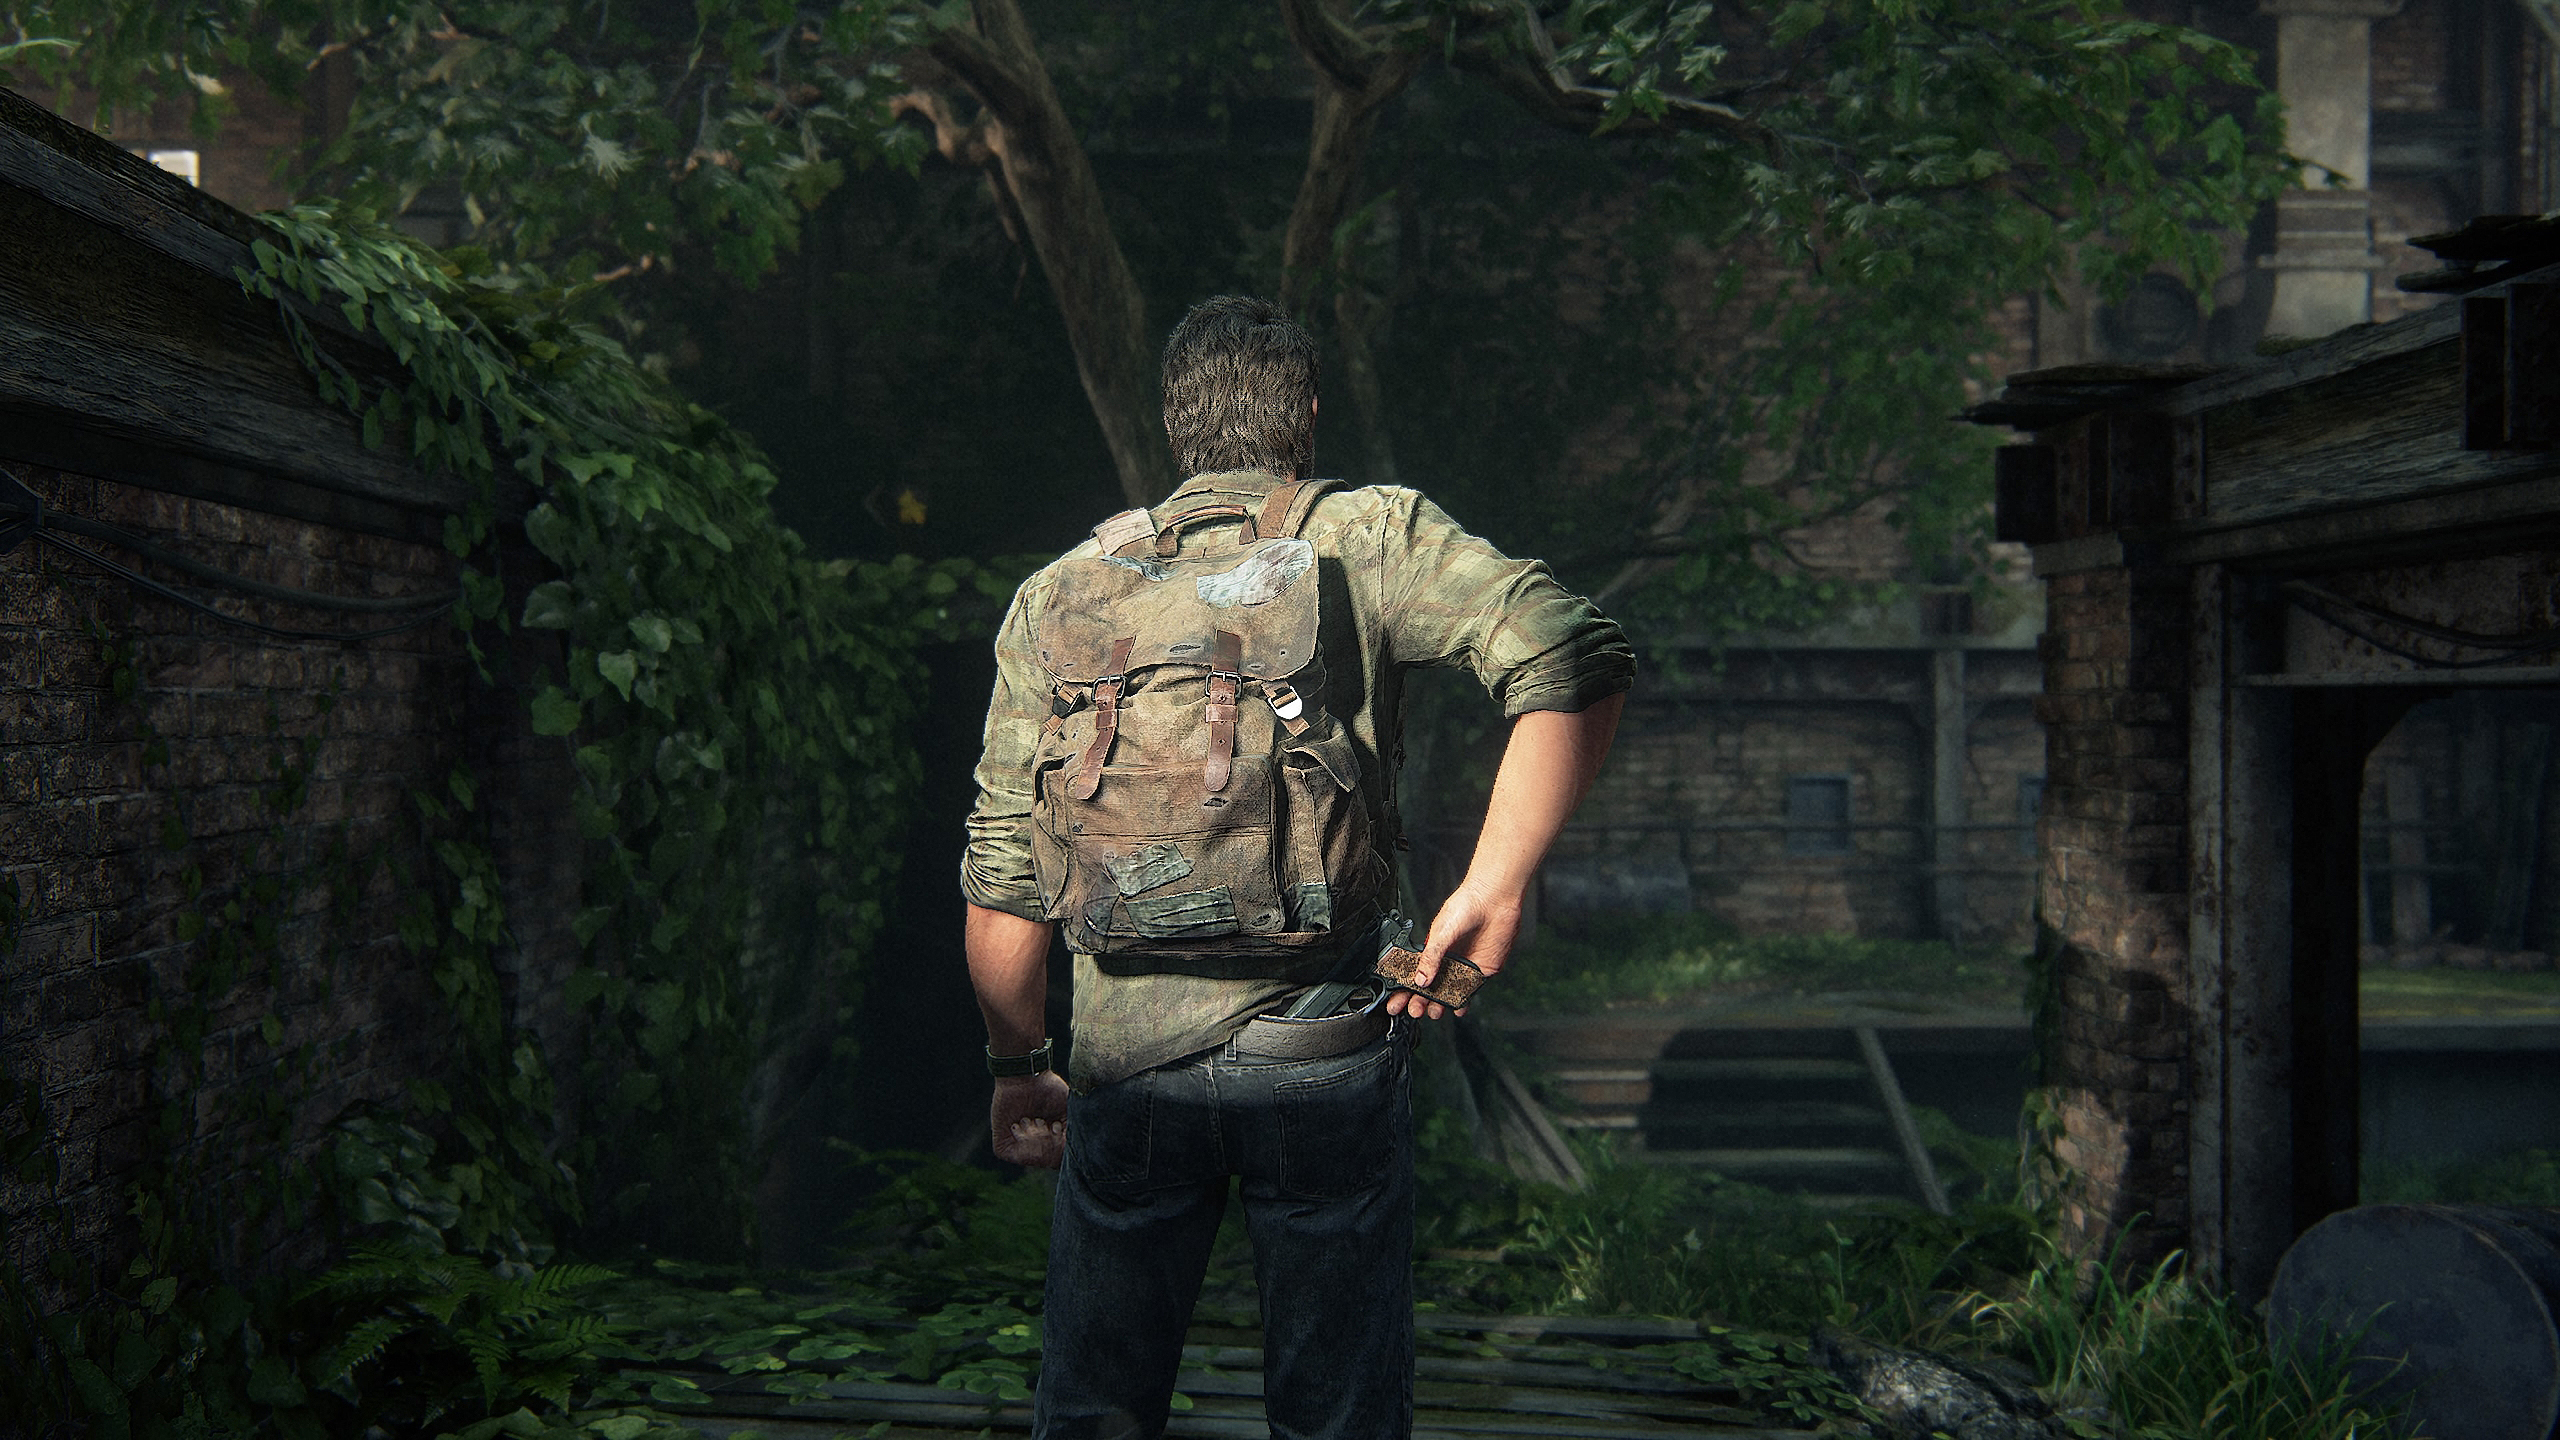
During my replay of the Playstation 5 remastered version of the first game (Part I) I’ve been having so much fun with the game’s photo mode and been stopping so much throughout the gameplay to take portraits of Joel (the main protagonist) as well as other ally characters up against scenery and intriguing walls that stood out as I ventured through the game which is set in a post-apocalyptic world.
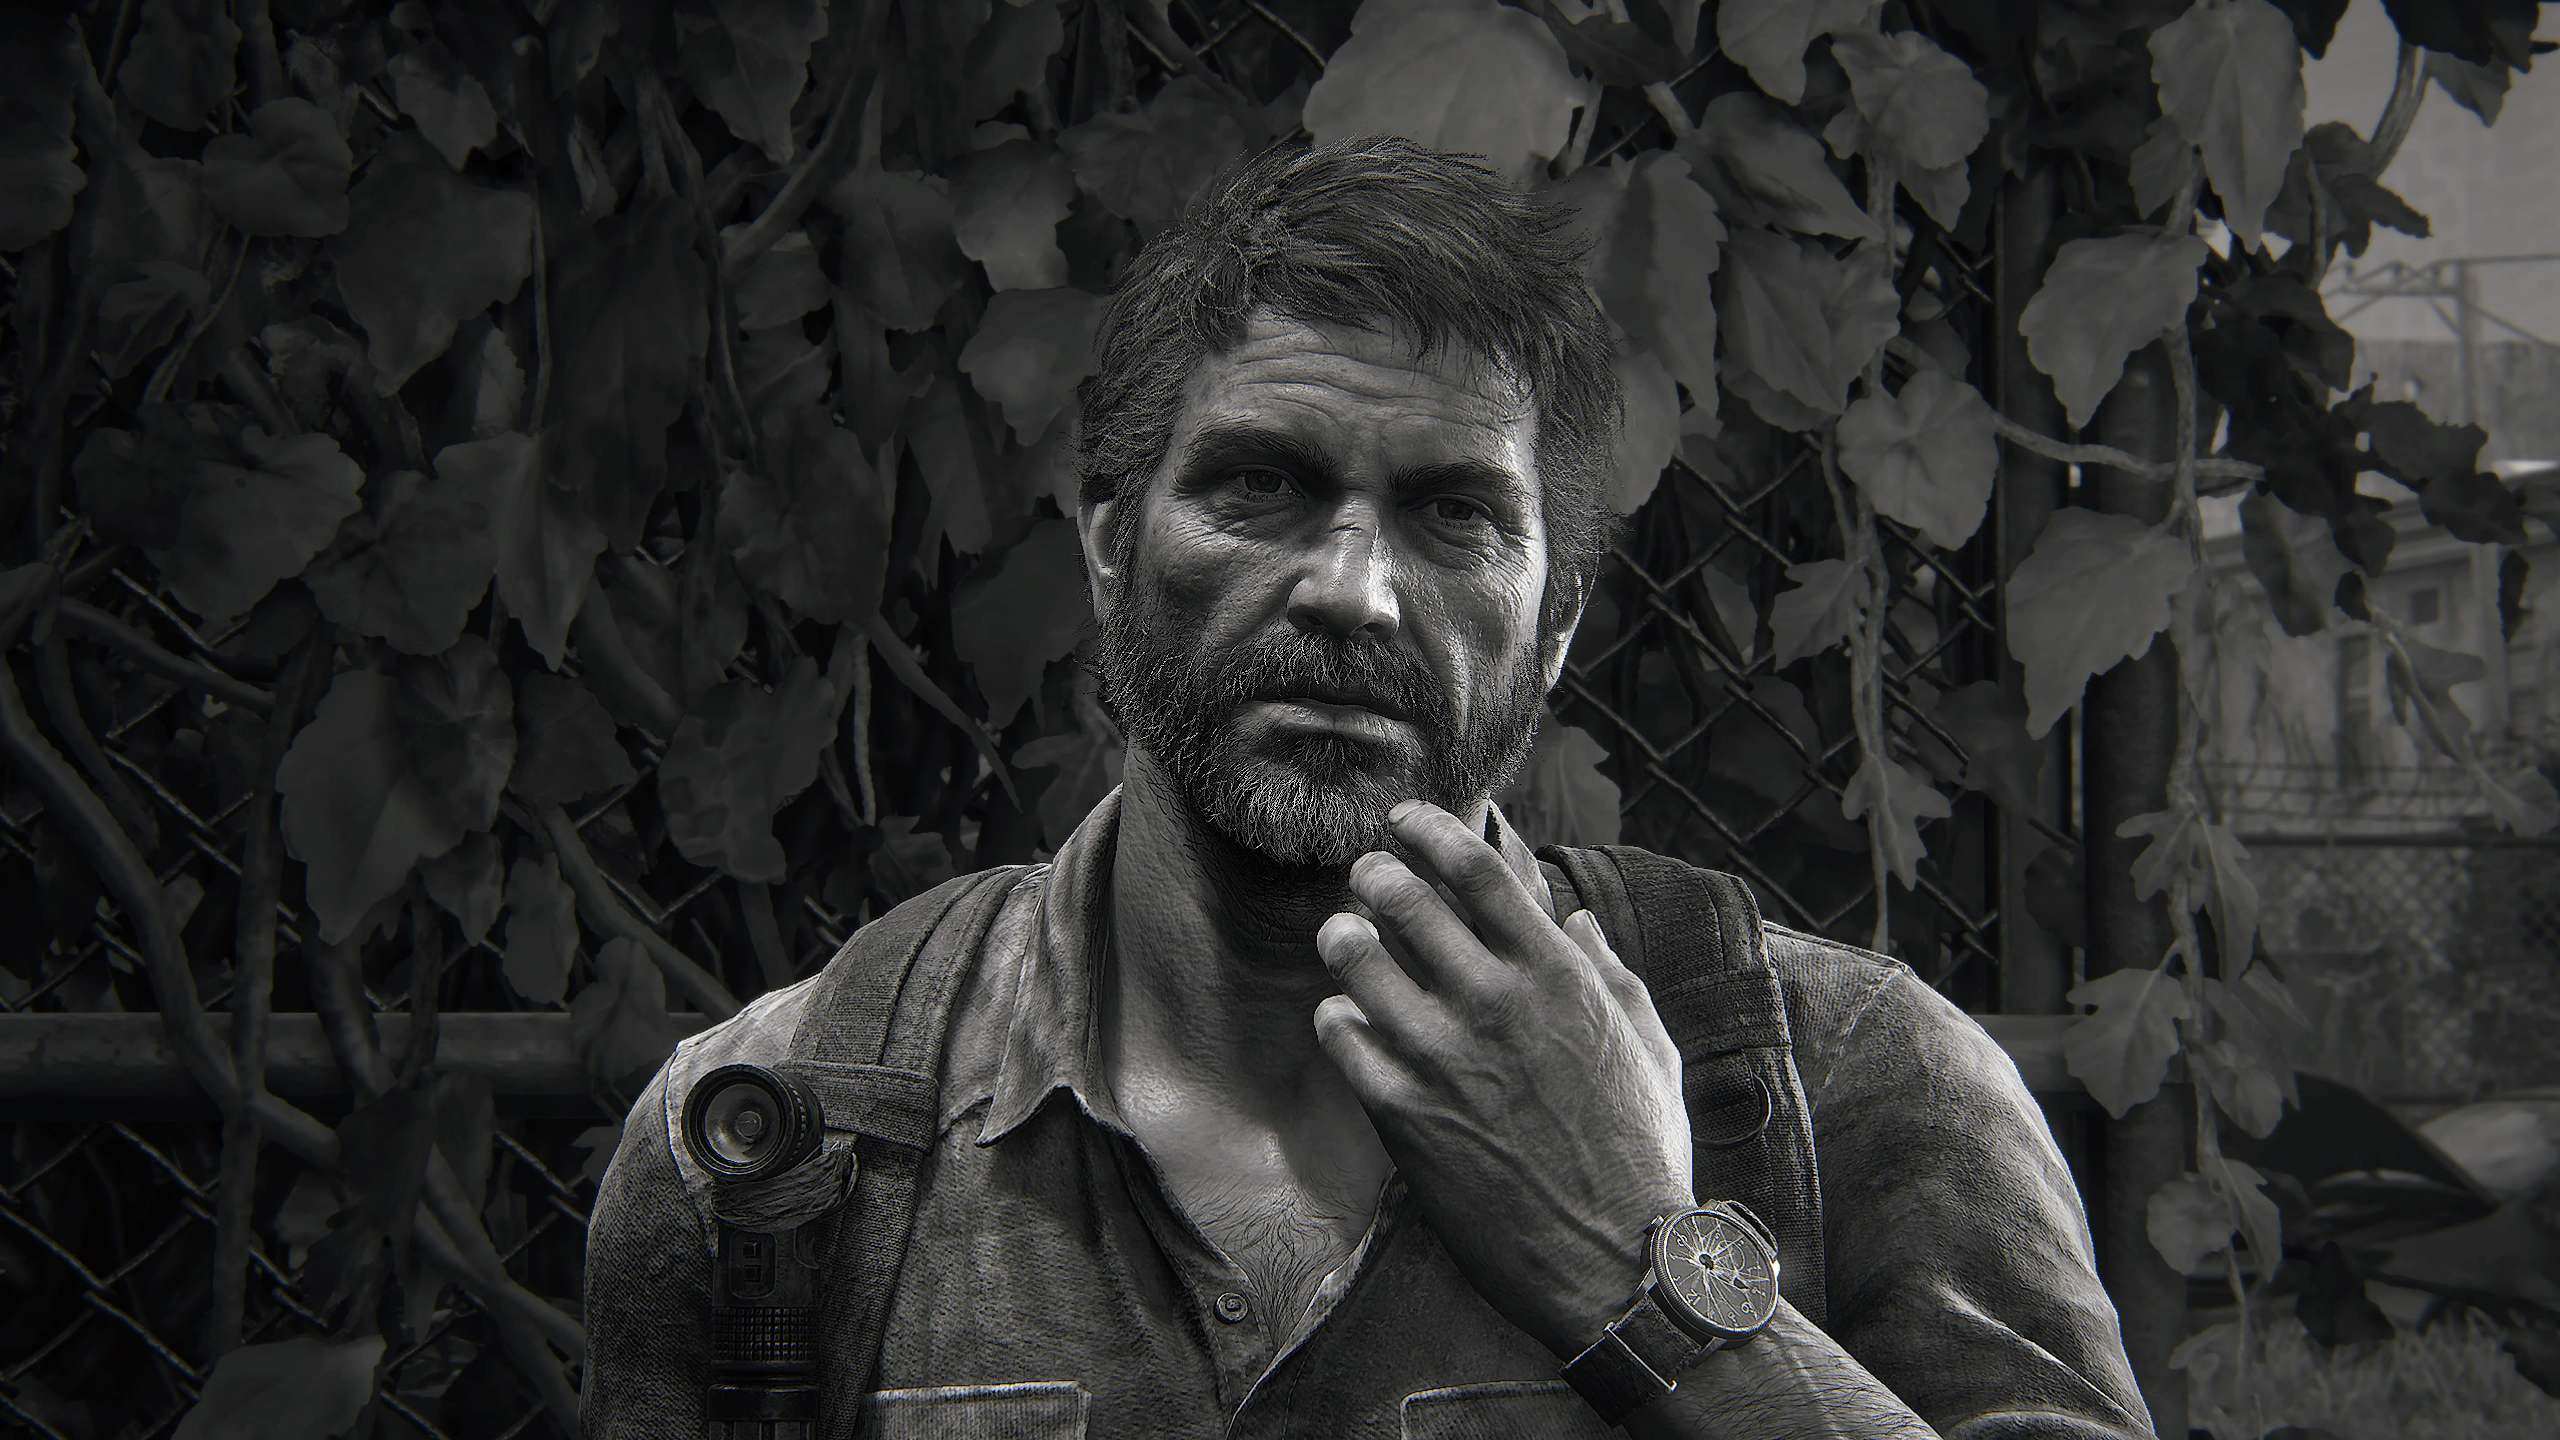
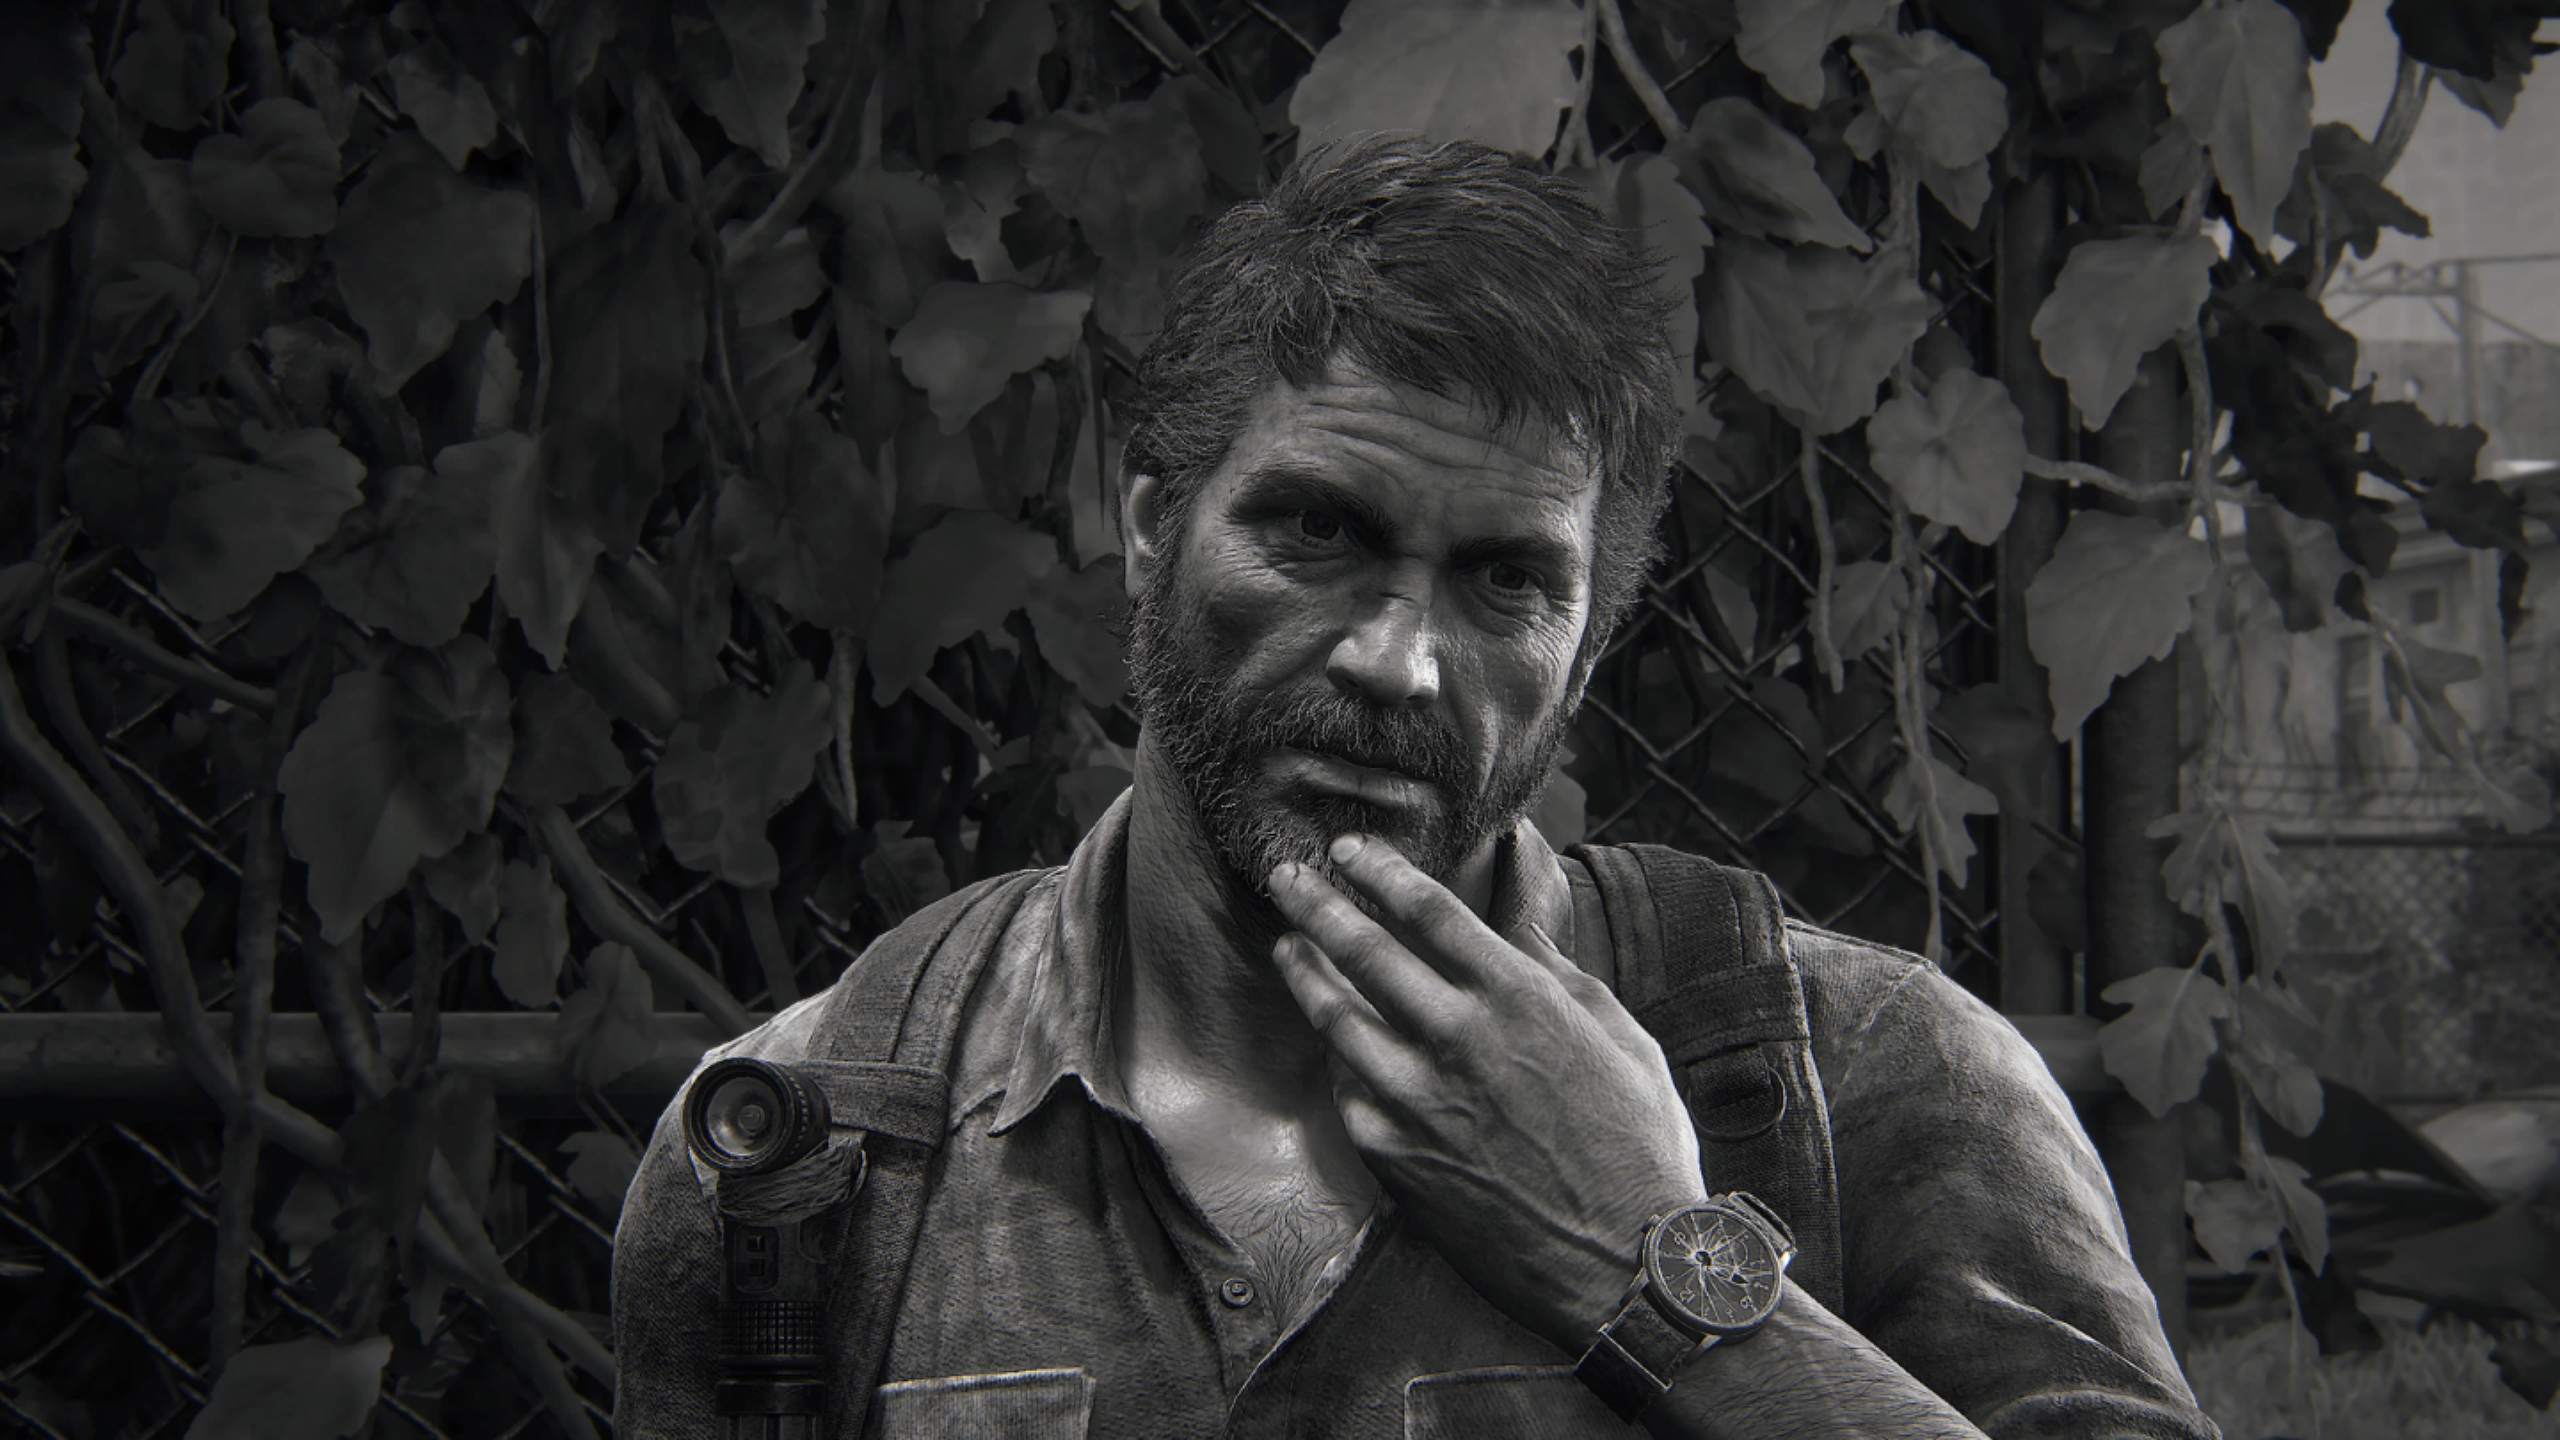
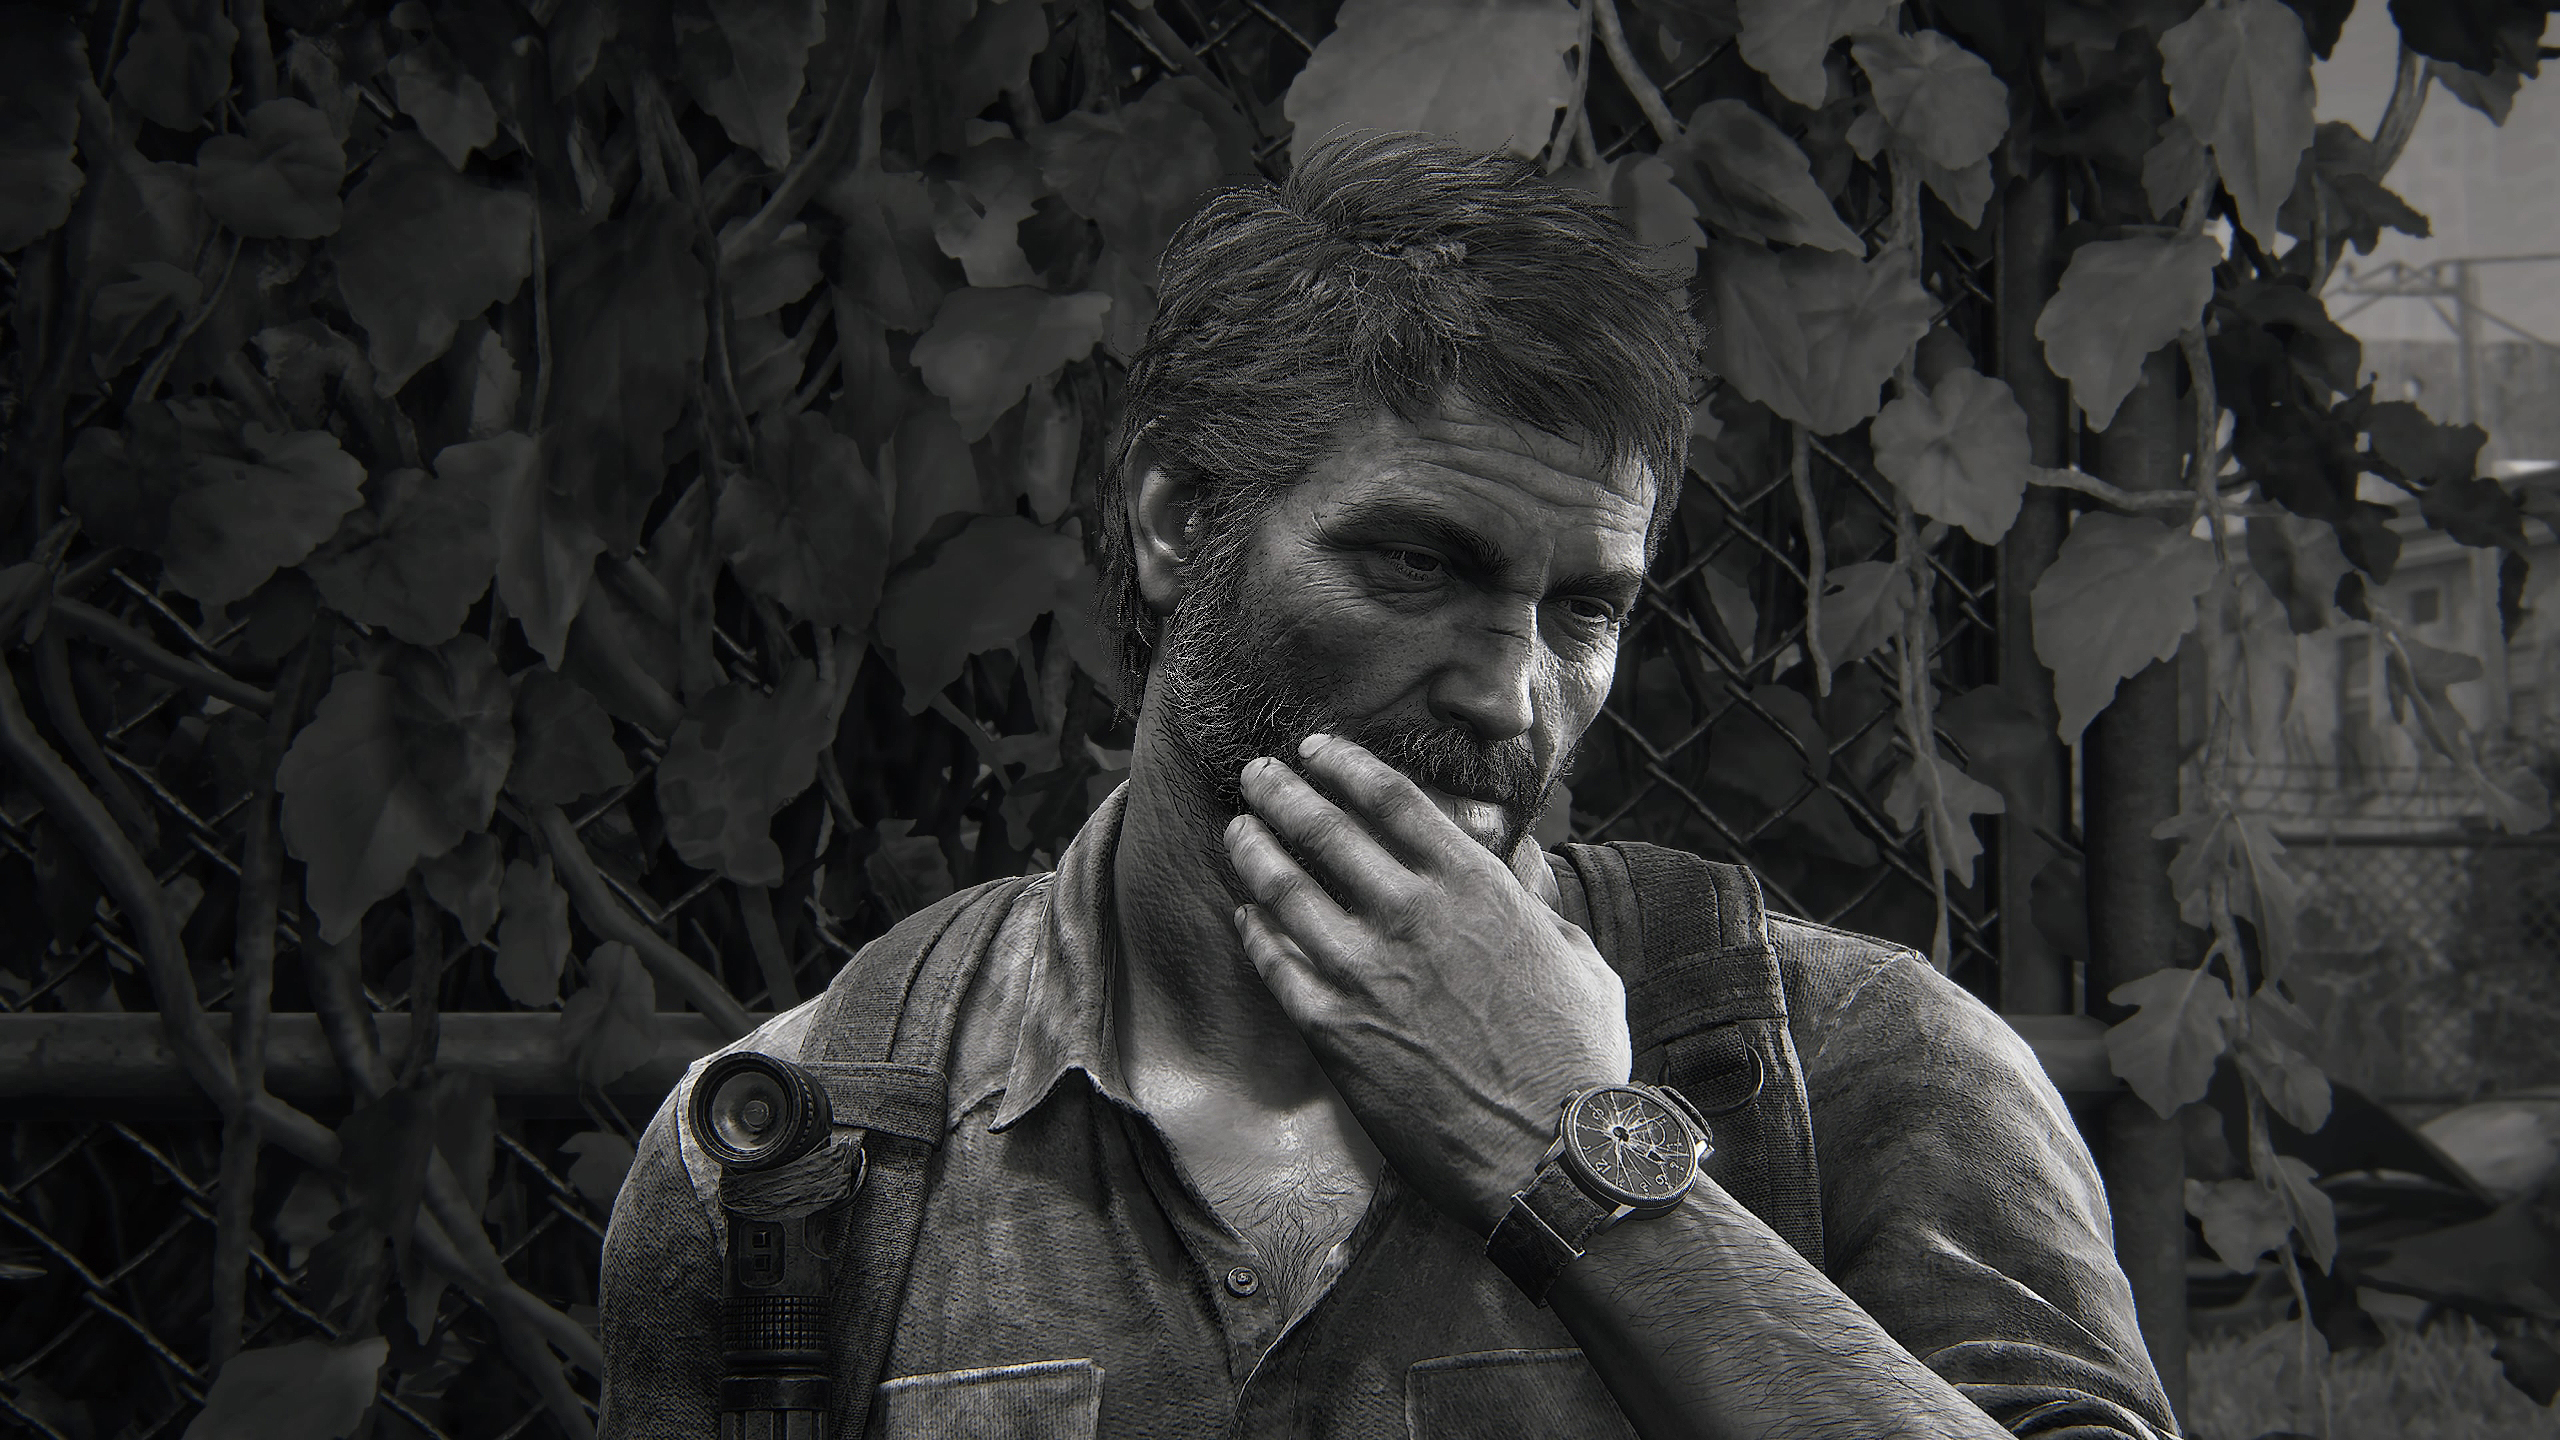
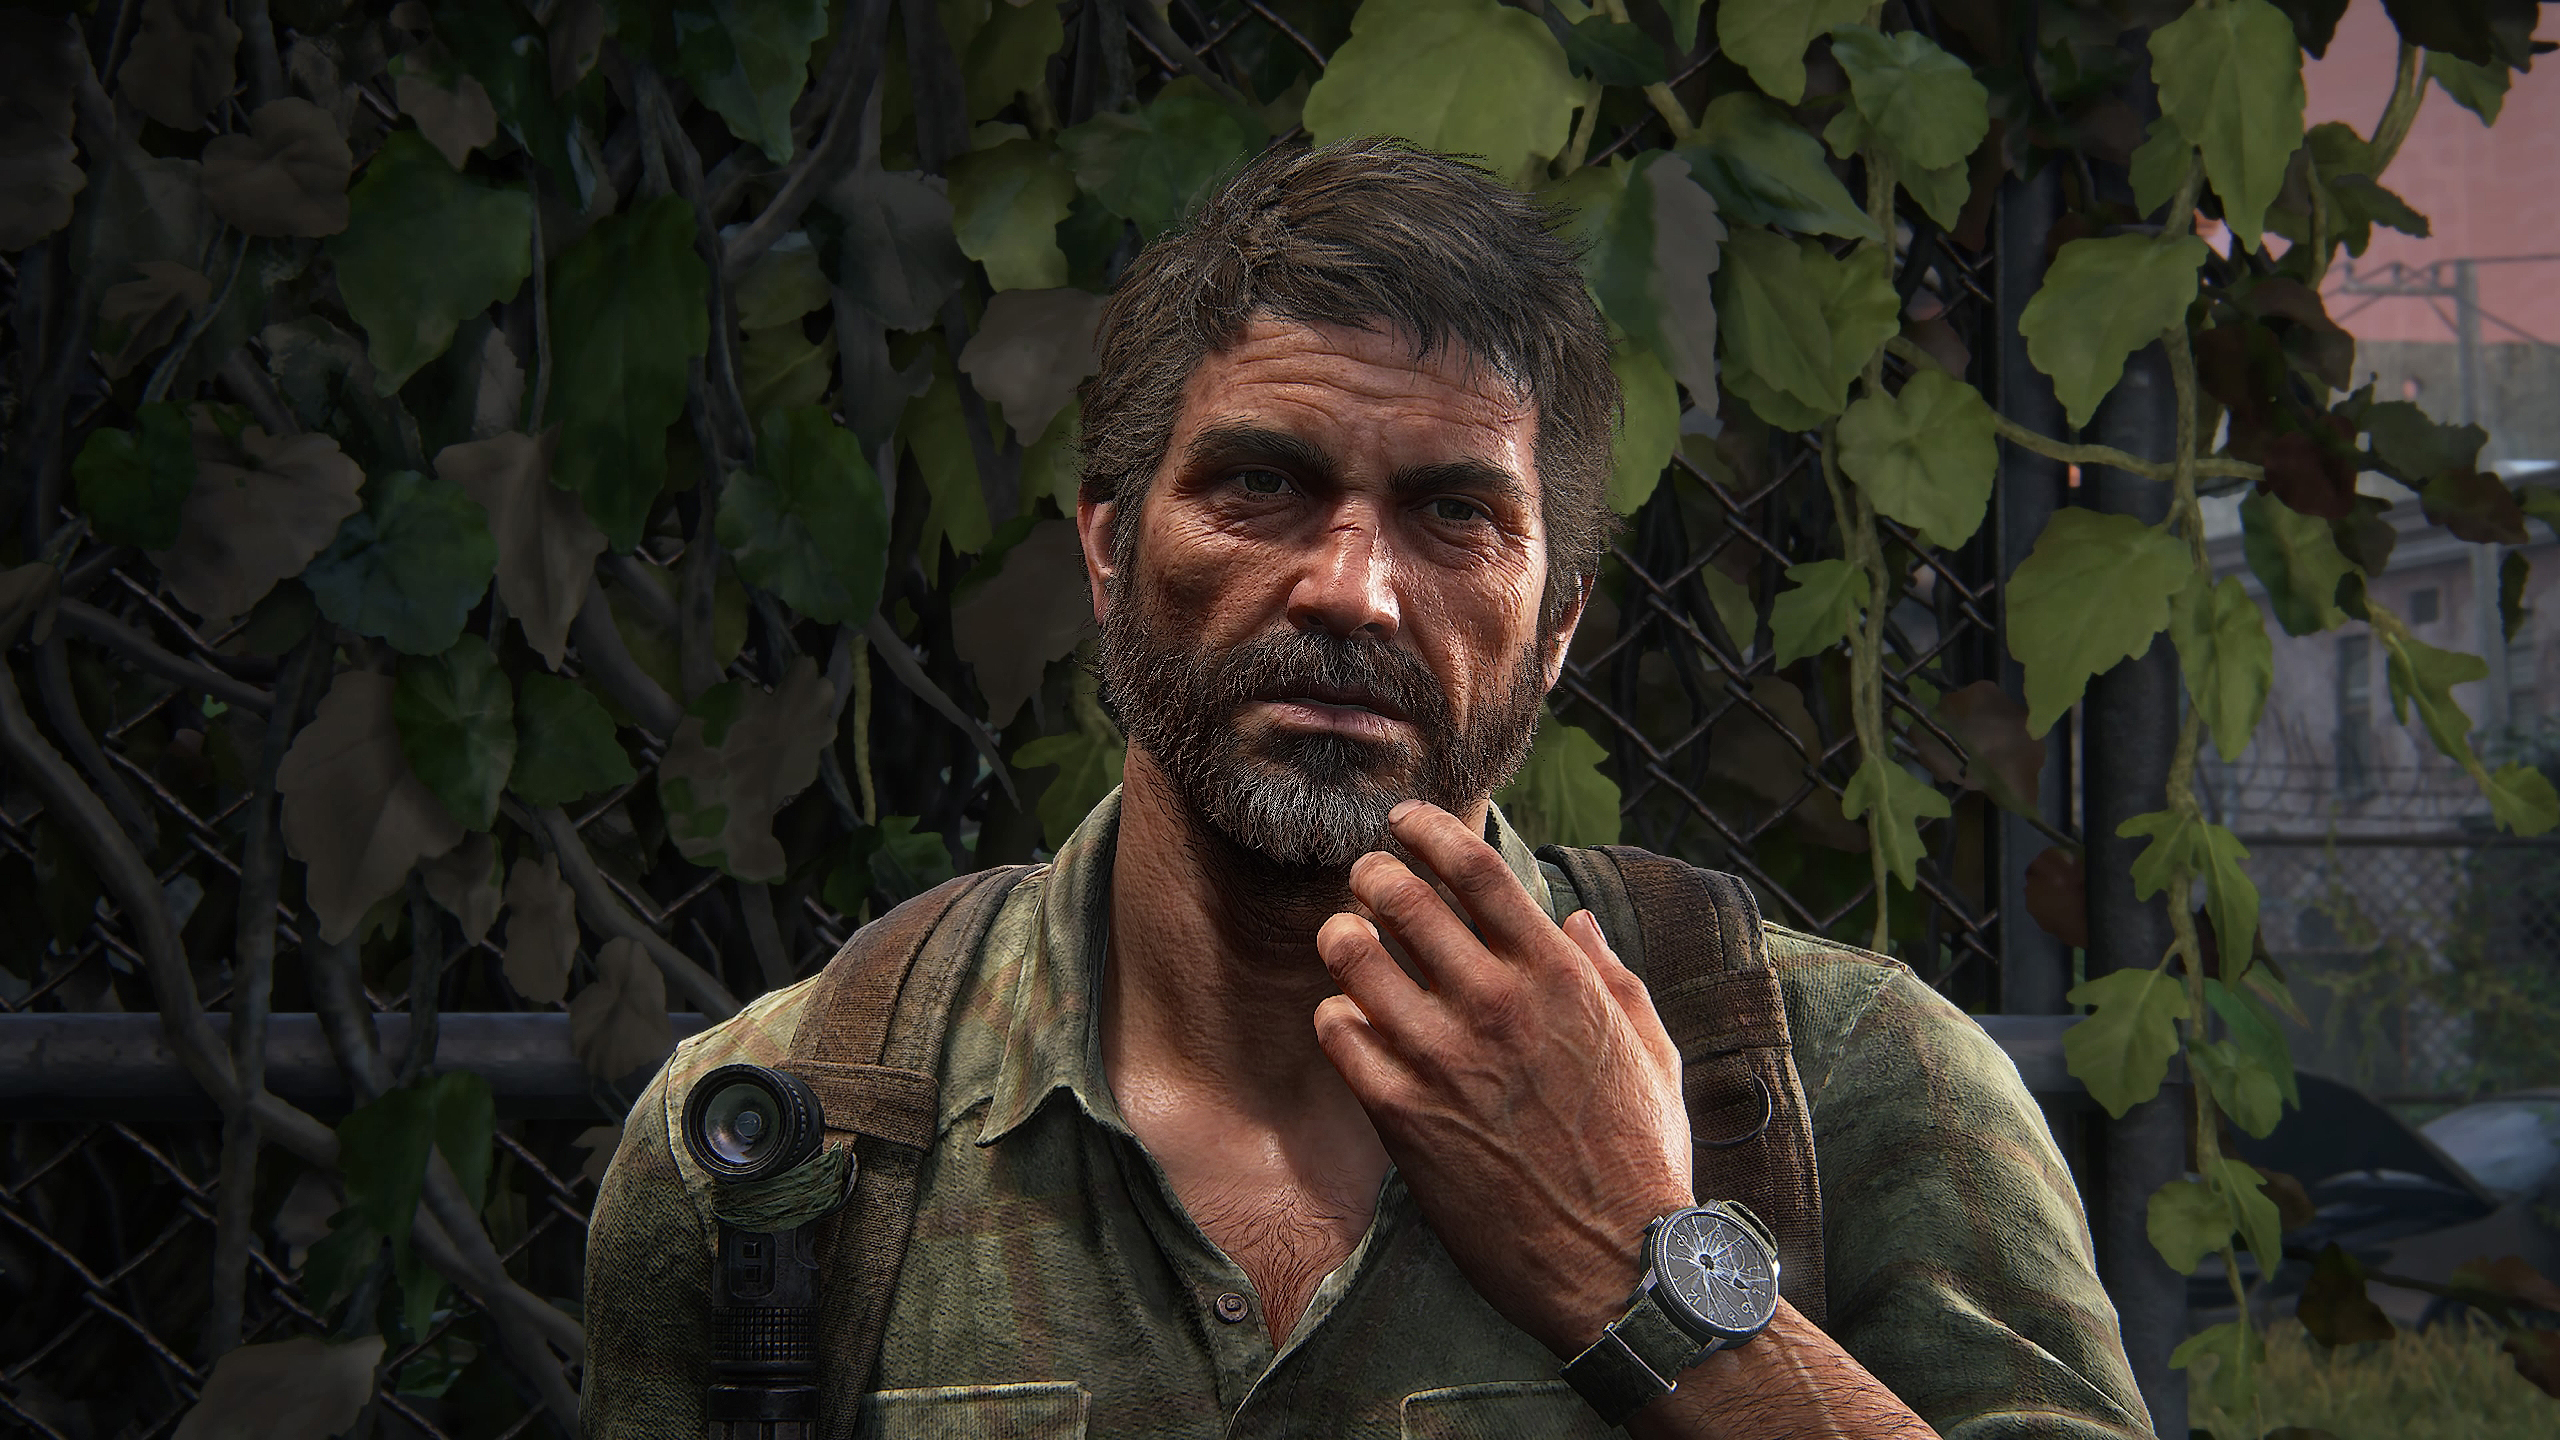
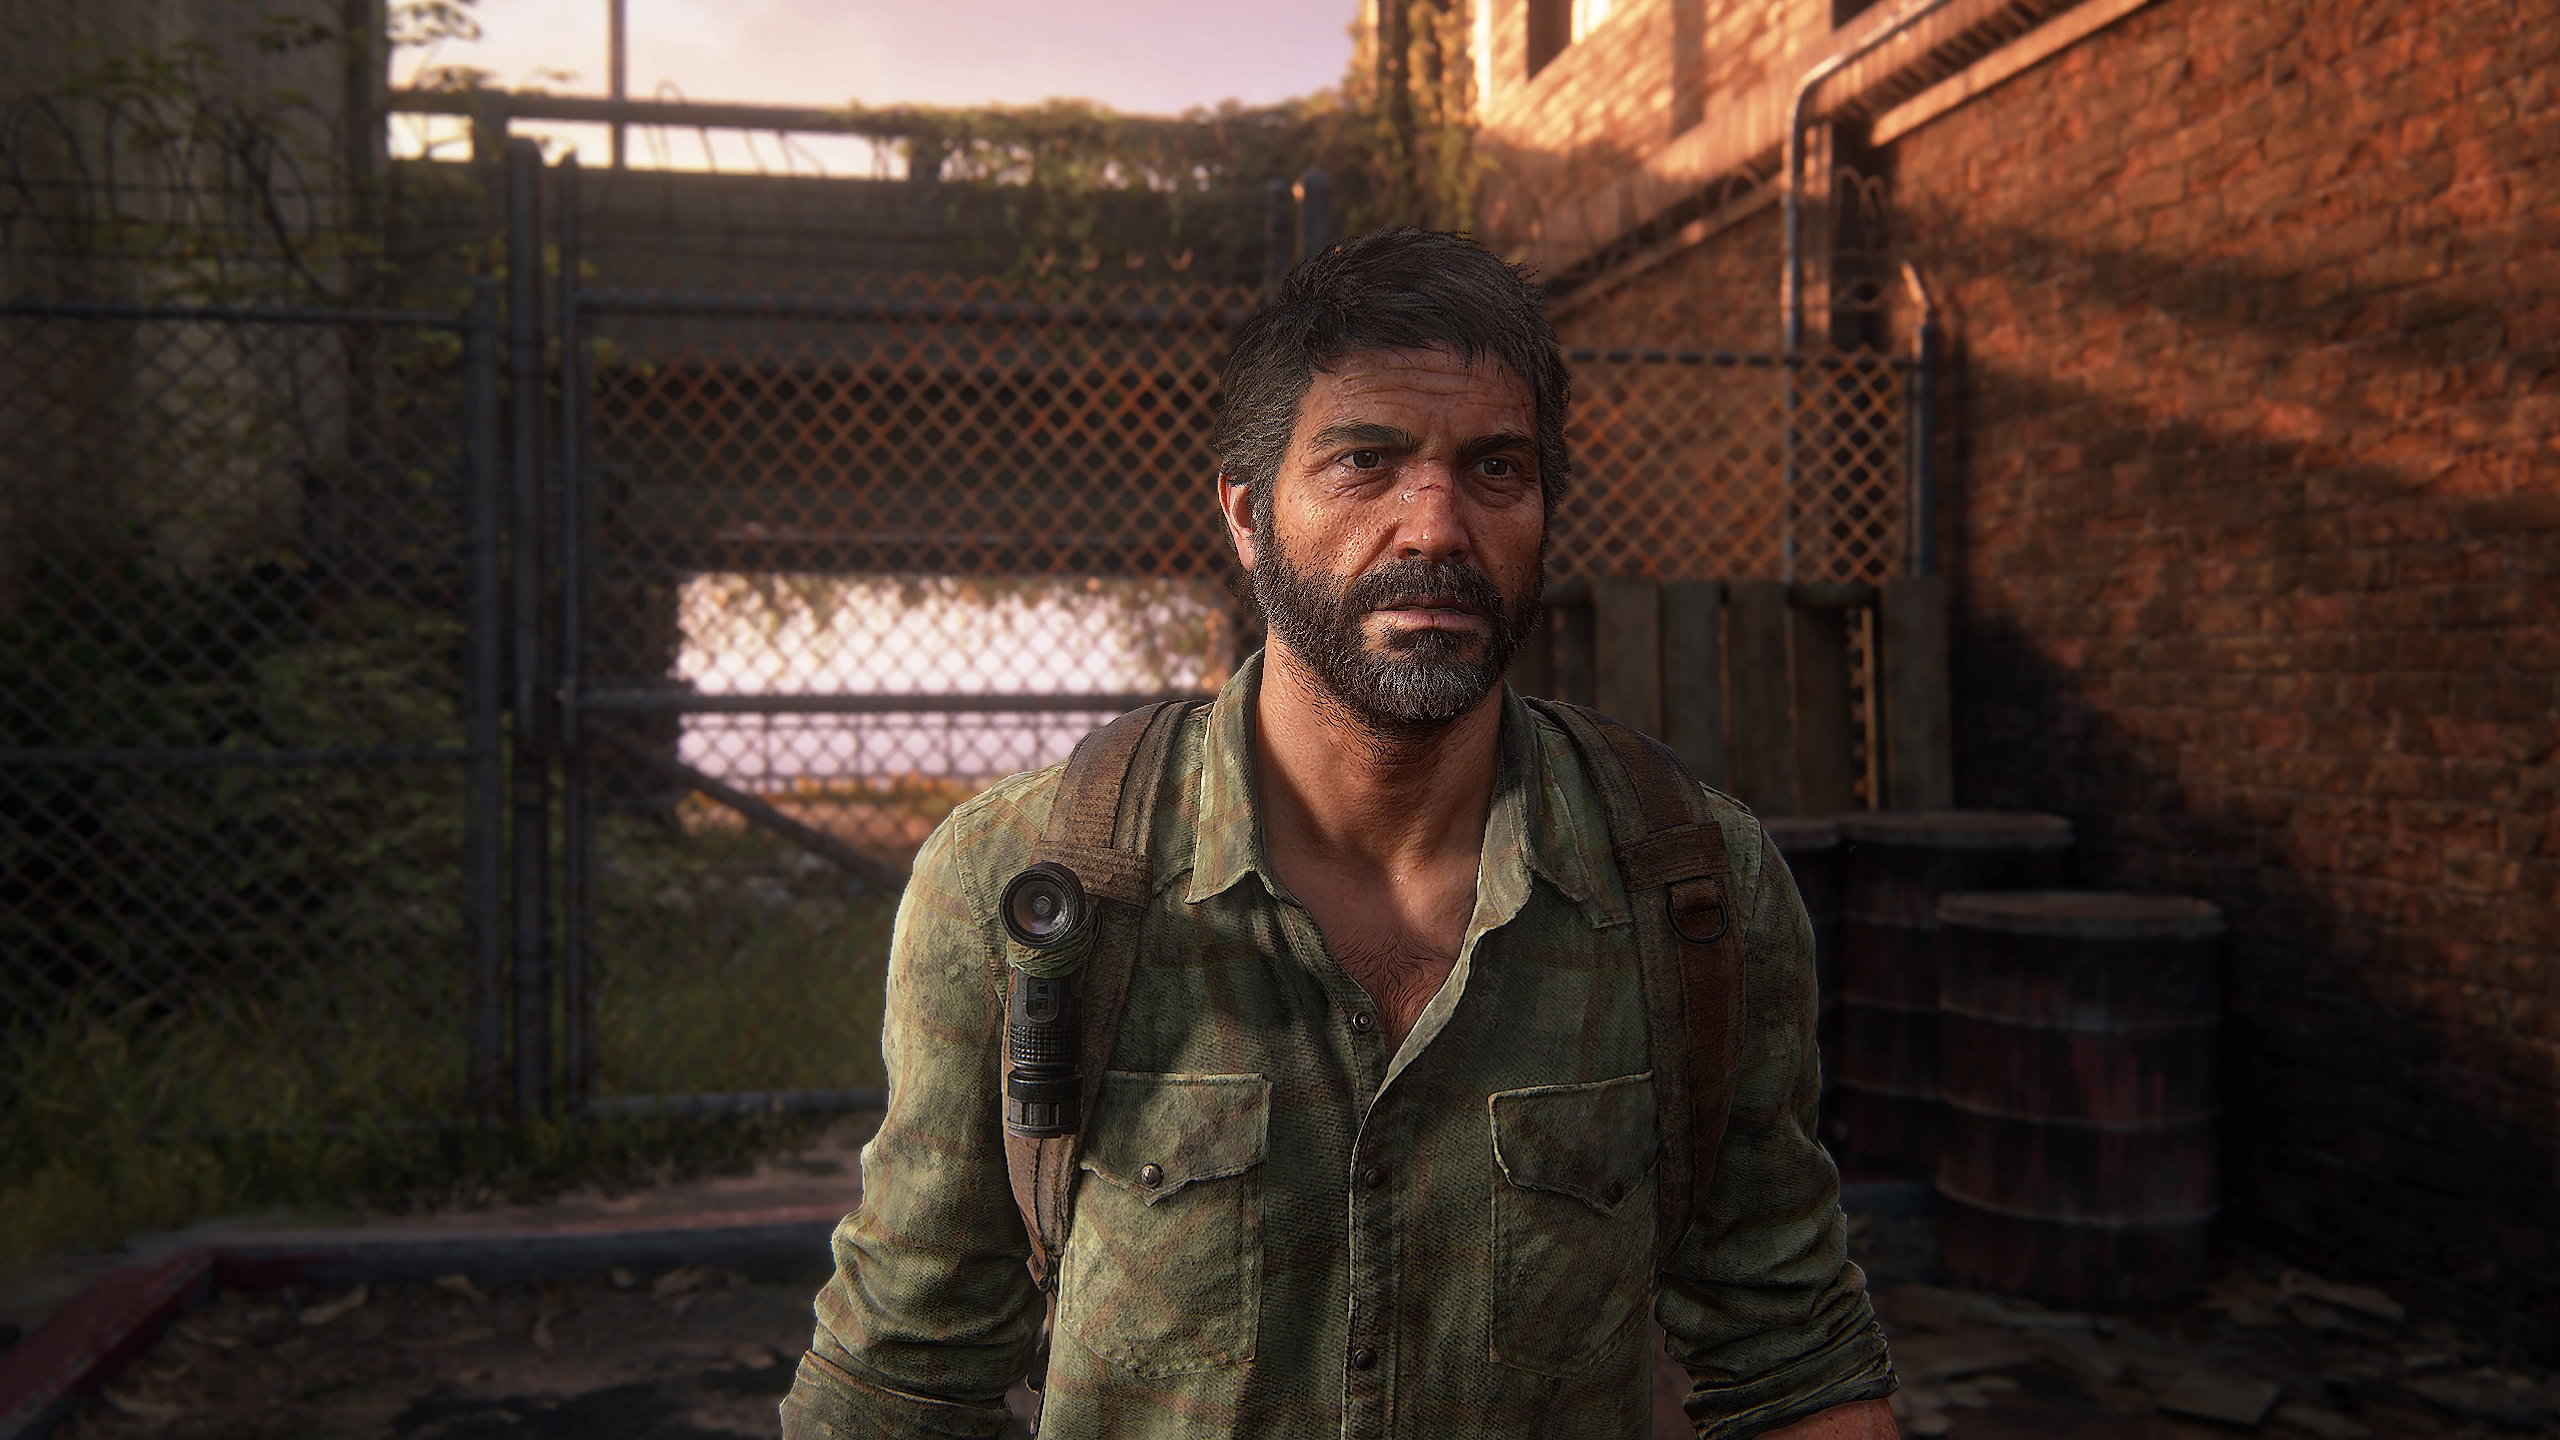
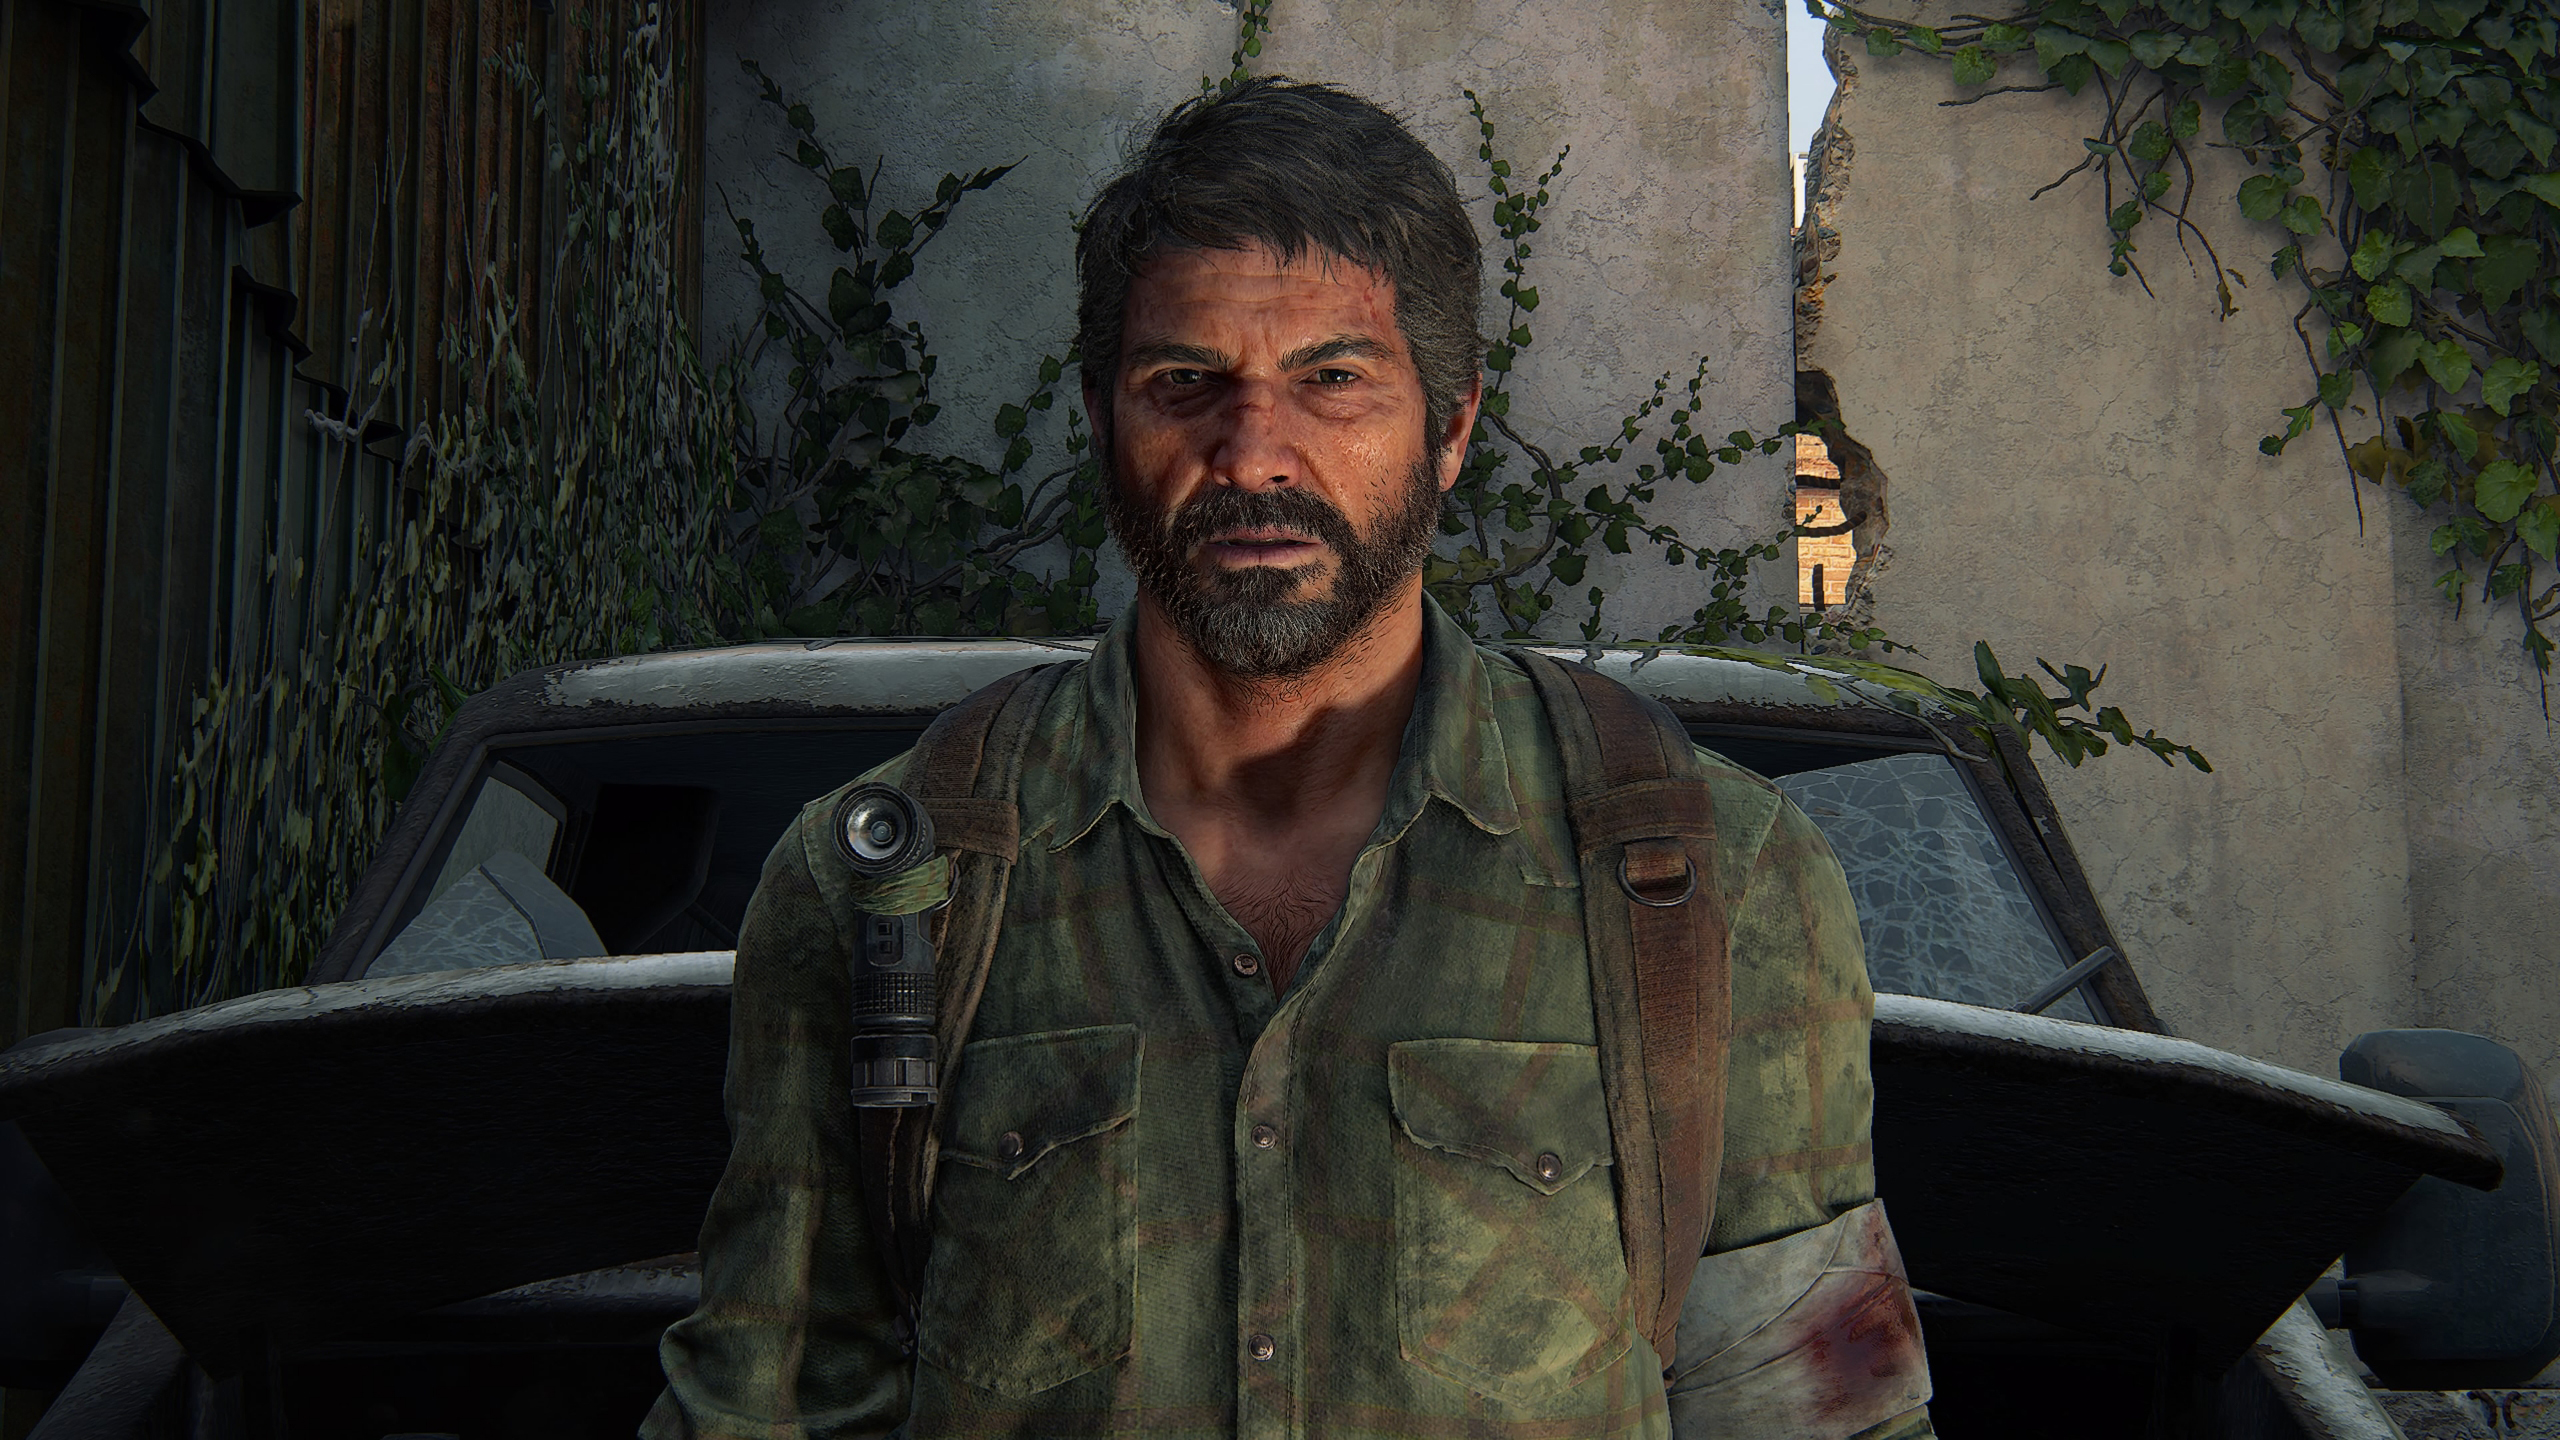
Take a look below to see some recorded footage from the PS5 edition of TLOU Part I and discover how I captured a Portrait of Joel during the first half of the game (don’t worry – these videos are spoiler-free for any key storyline details), and the photo mode choices that I made to enhance the images and add depth and sometimes drama to the captured in-game portraits.
Firstly, if you’ve never used photo mode before or aren’t sure what it does, it’s a super helpful tool that most newly released games have built-in to help you capture an image (screenshot) during gameplay by adjusting your surroundings and settings such as lighting, depth of field, sharpness, and colors – just as you would when shooting manual with a digital camera.
1. Access Photo Mode
To access Photo Mode, simply press the options button or whichever button brings up the pause menu depending on your console, and select photo mode from the list of options. This will essentially freeze the game and pause your progress while you enter photo mode and can freely navigate the camera around the scene to frame your subject how you wish.
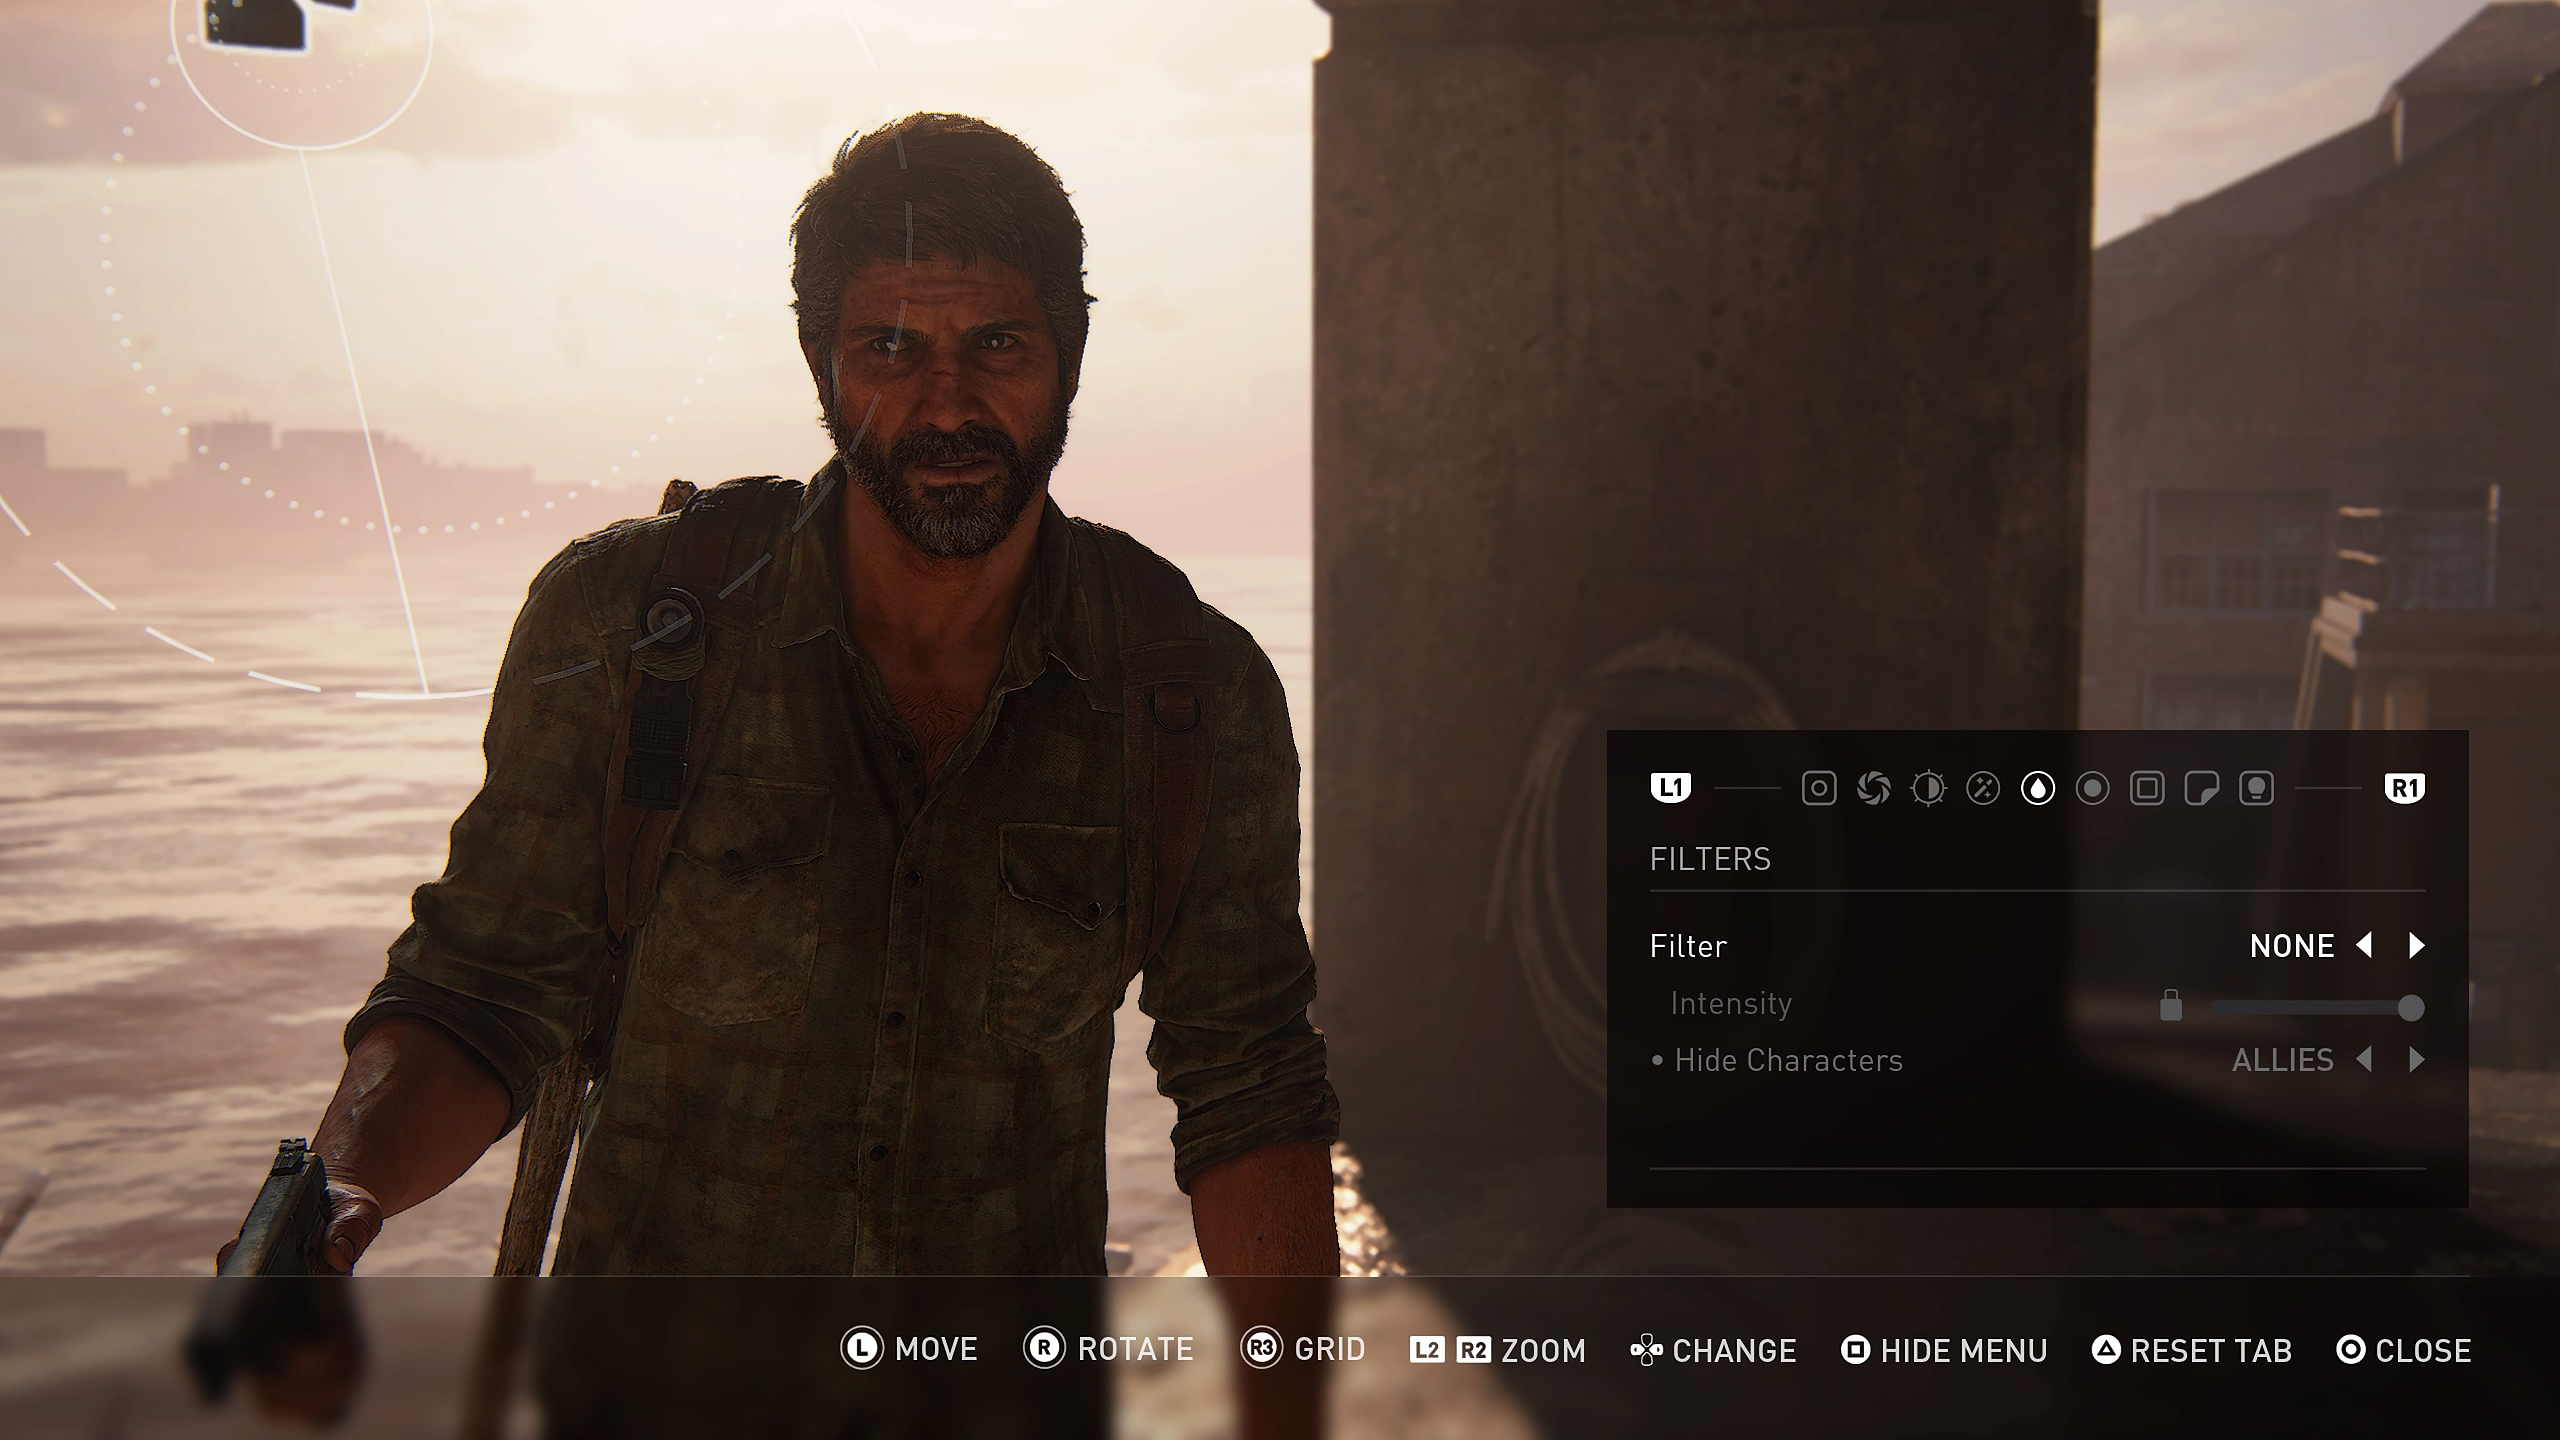
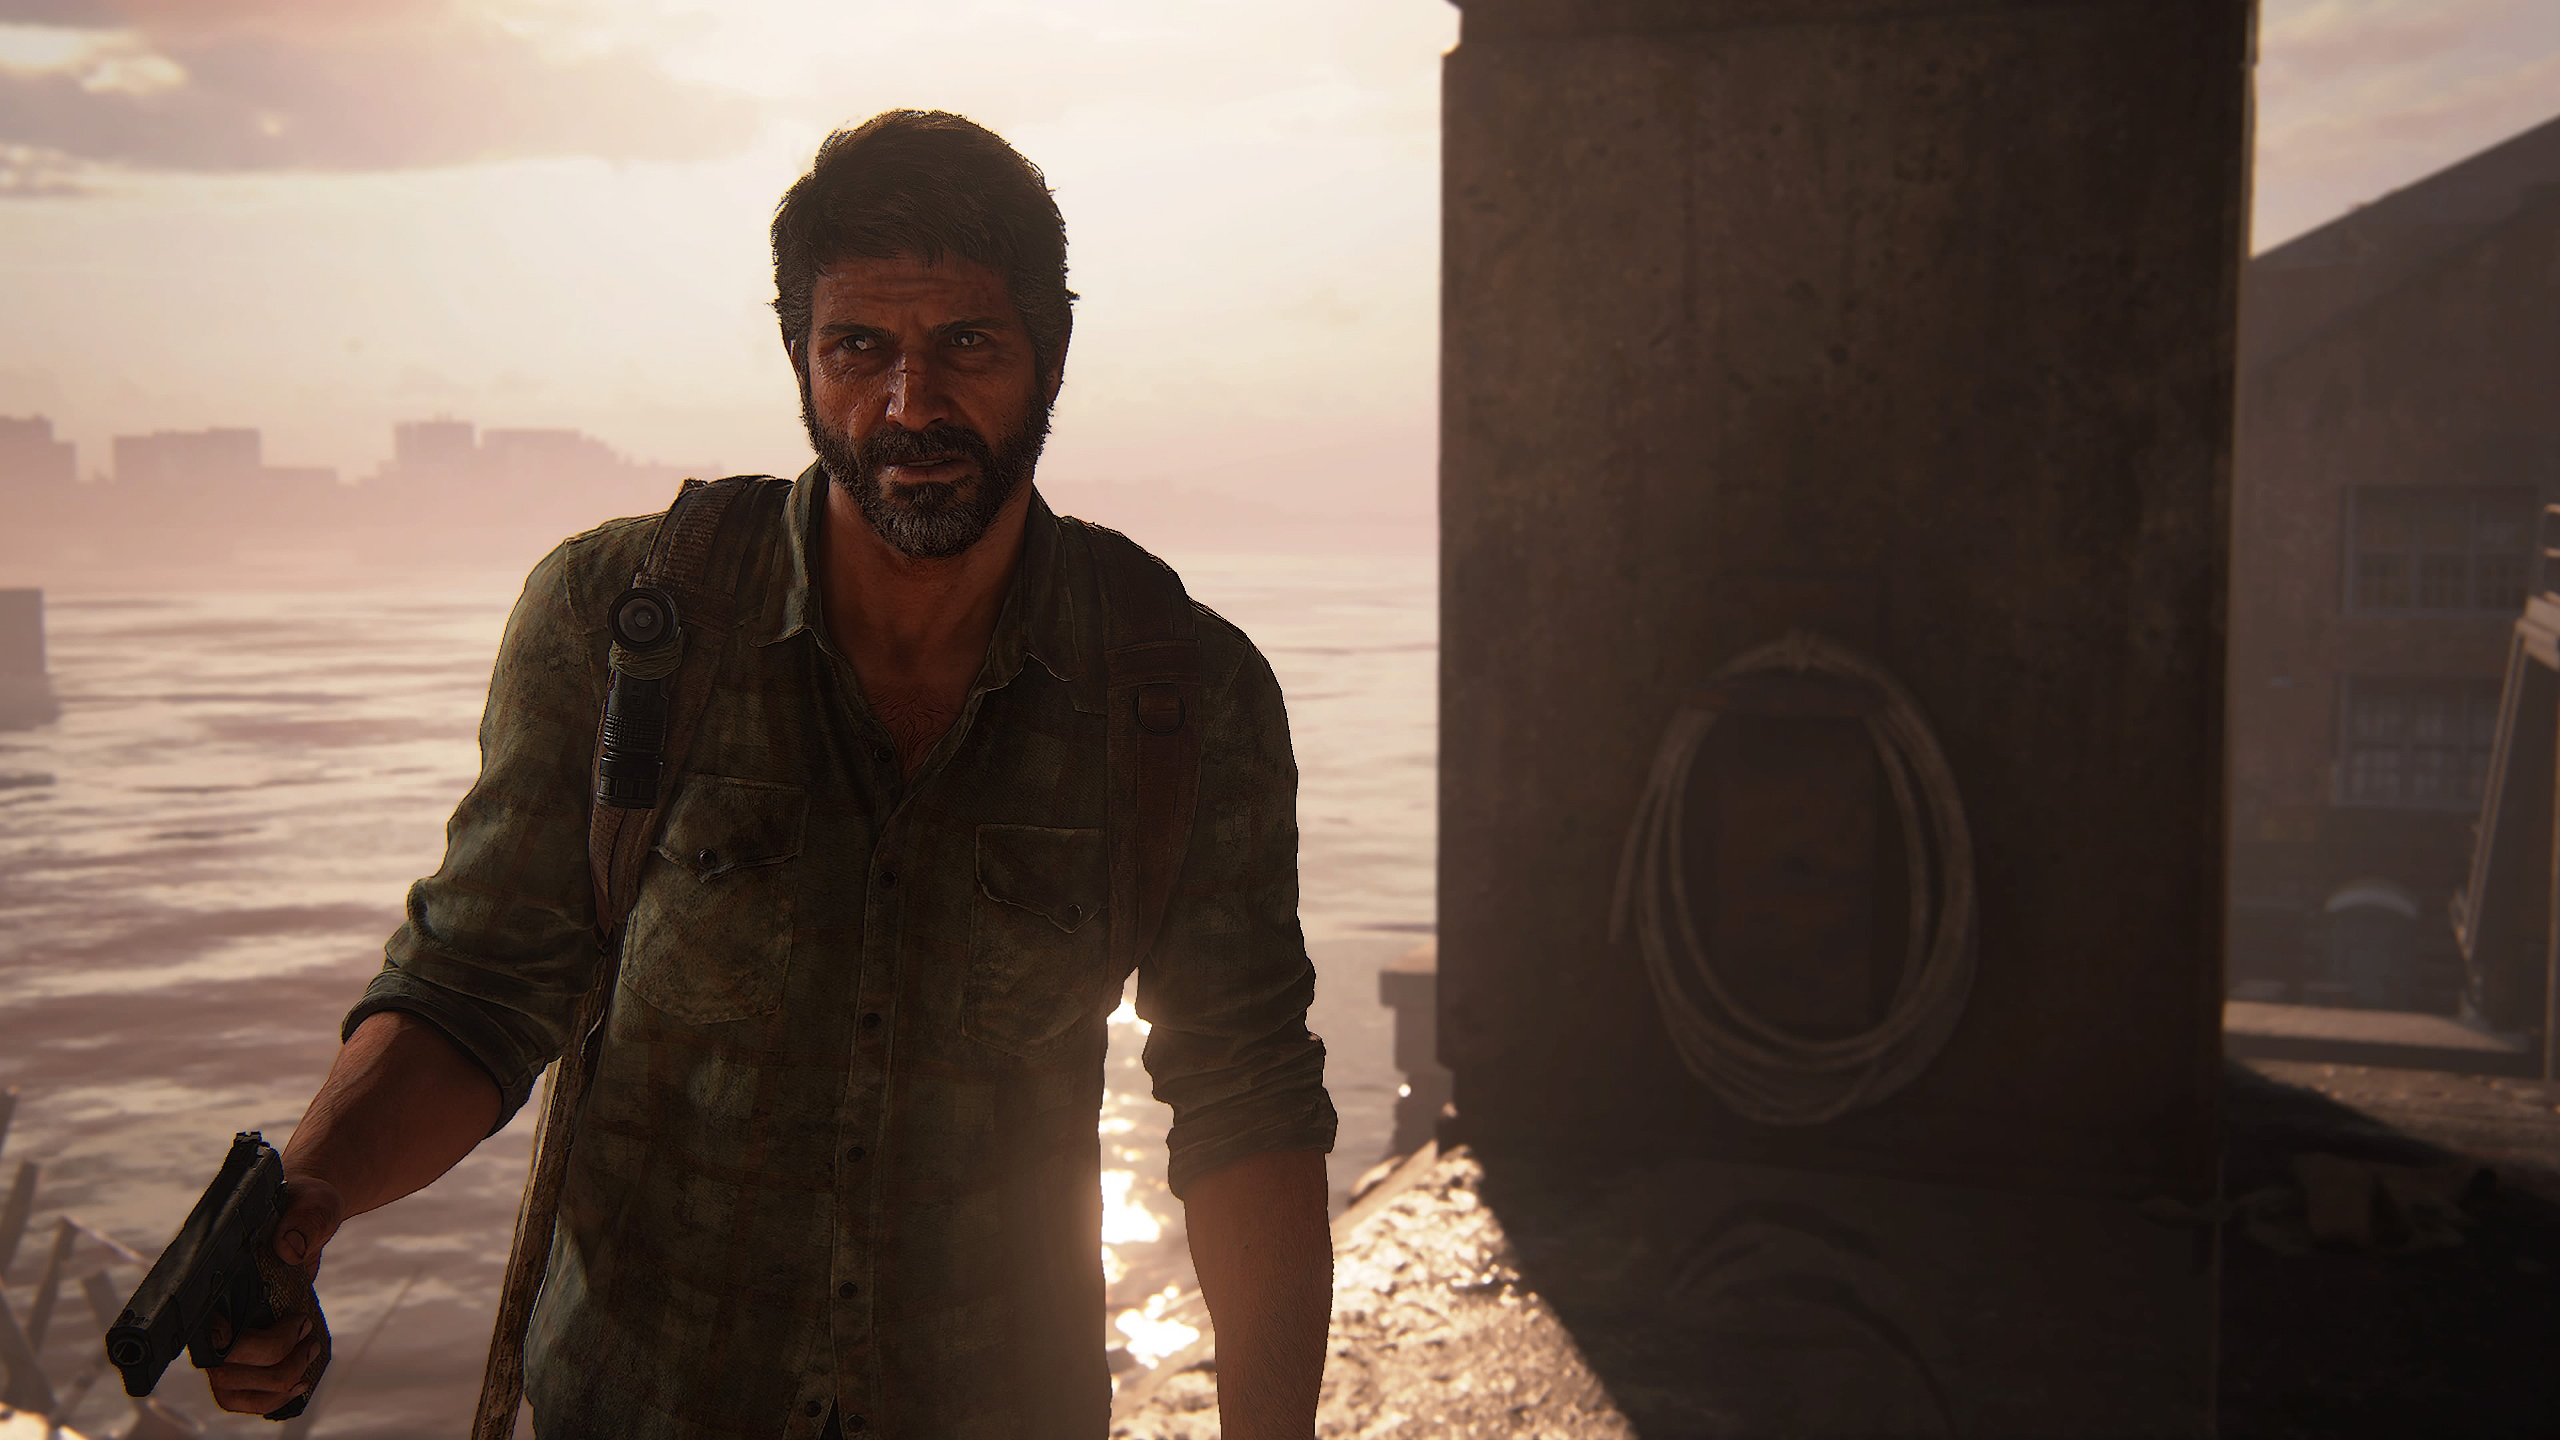
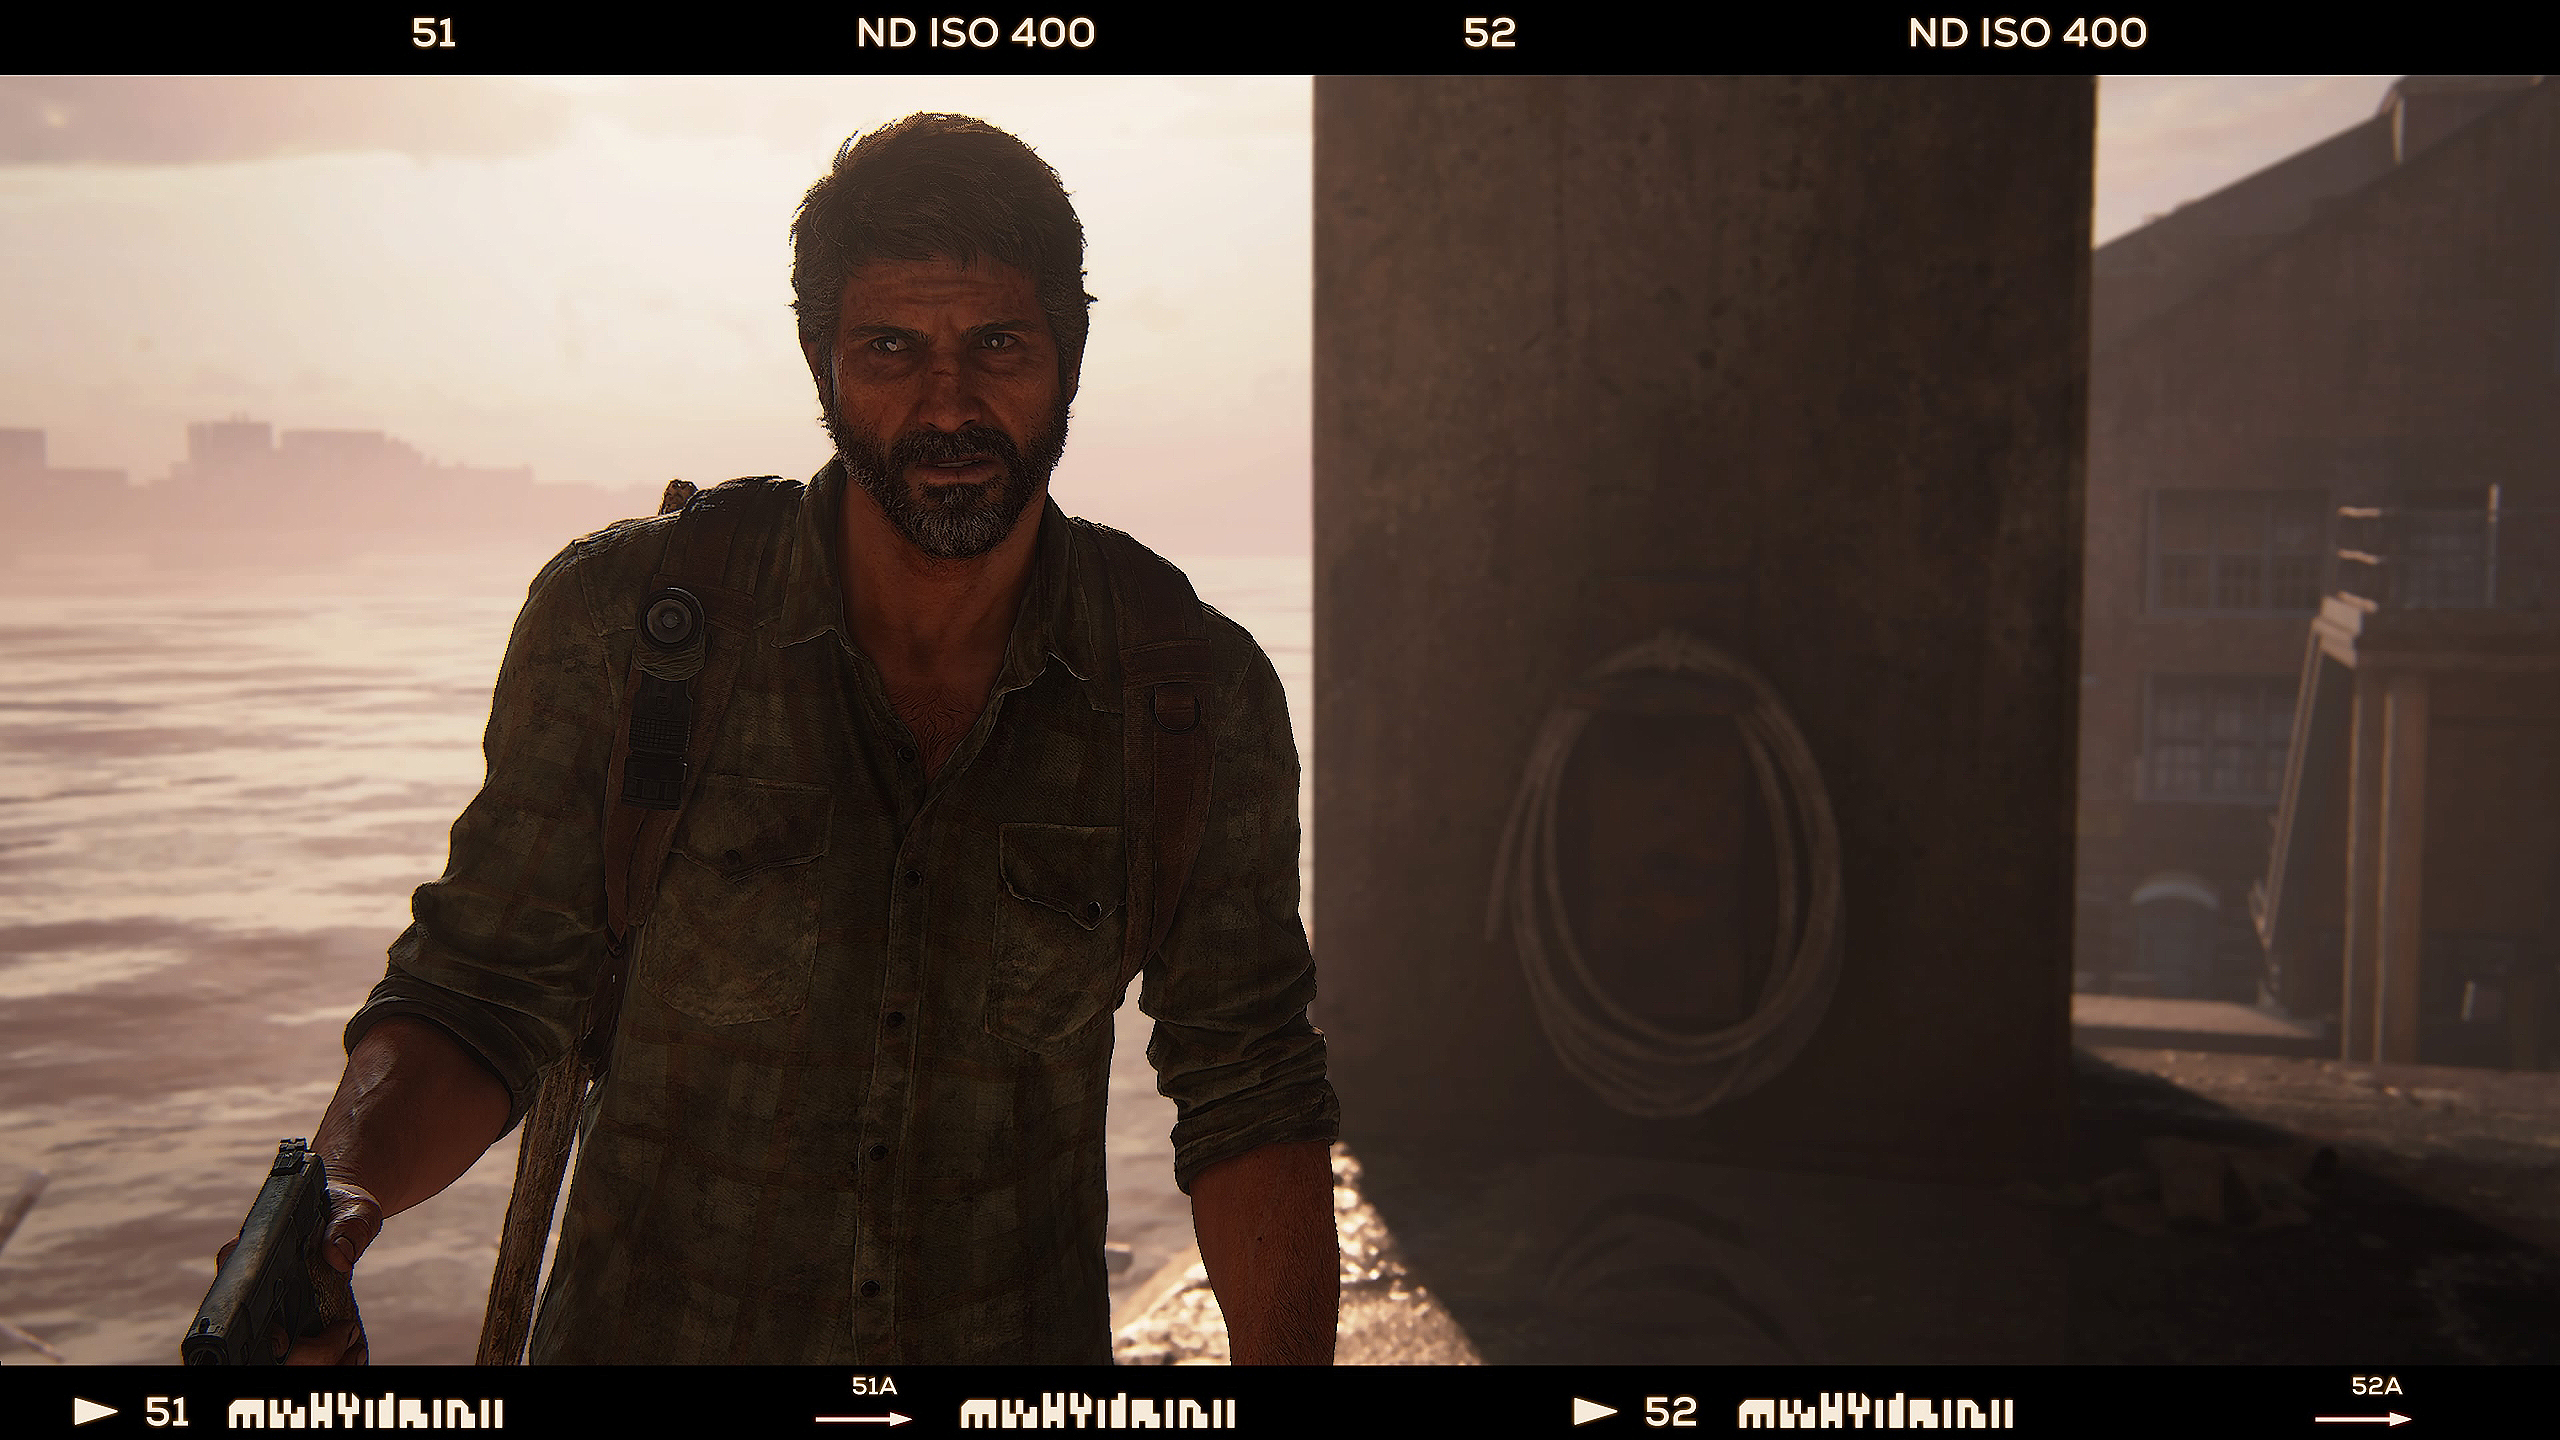
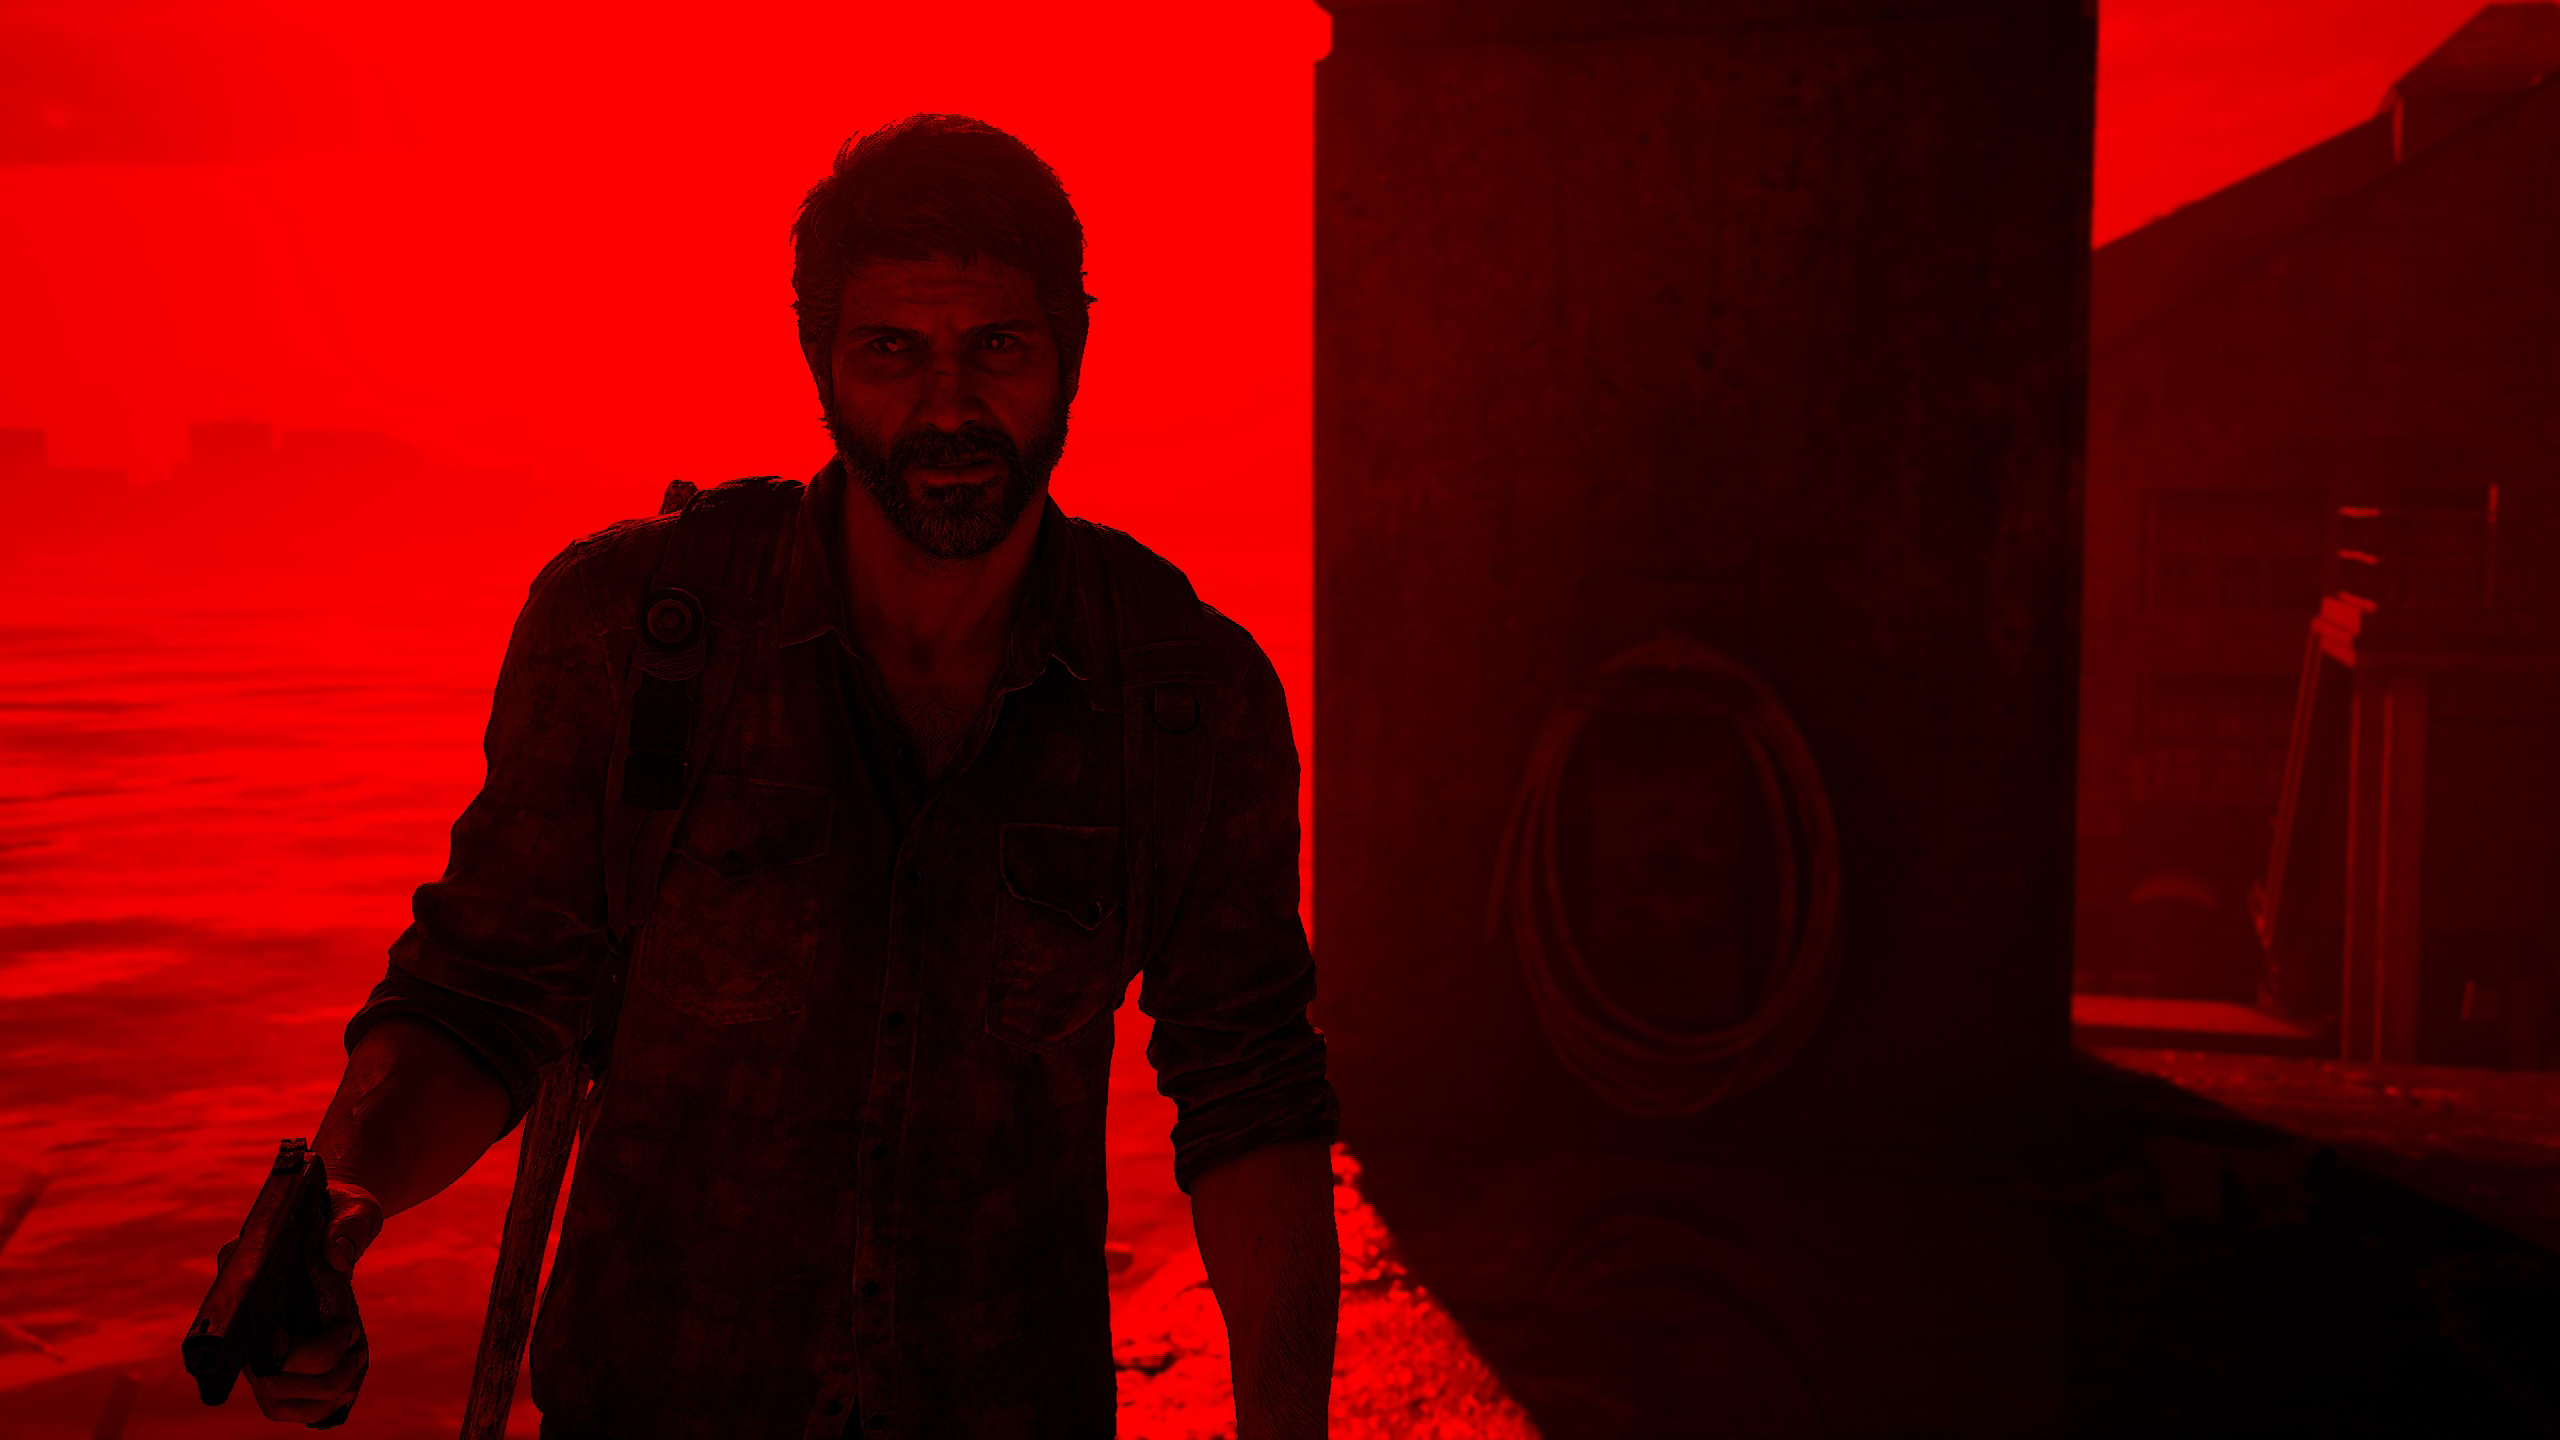
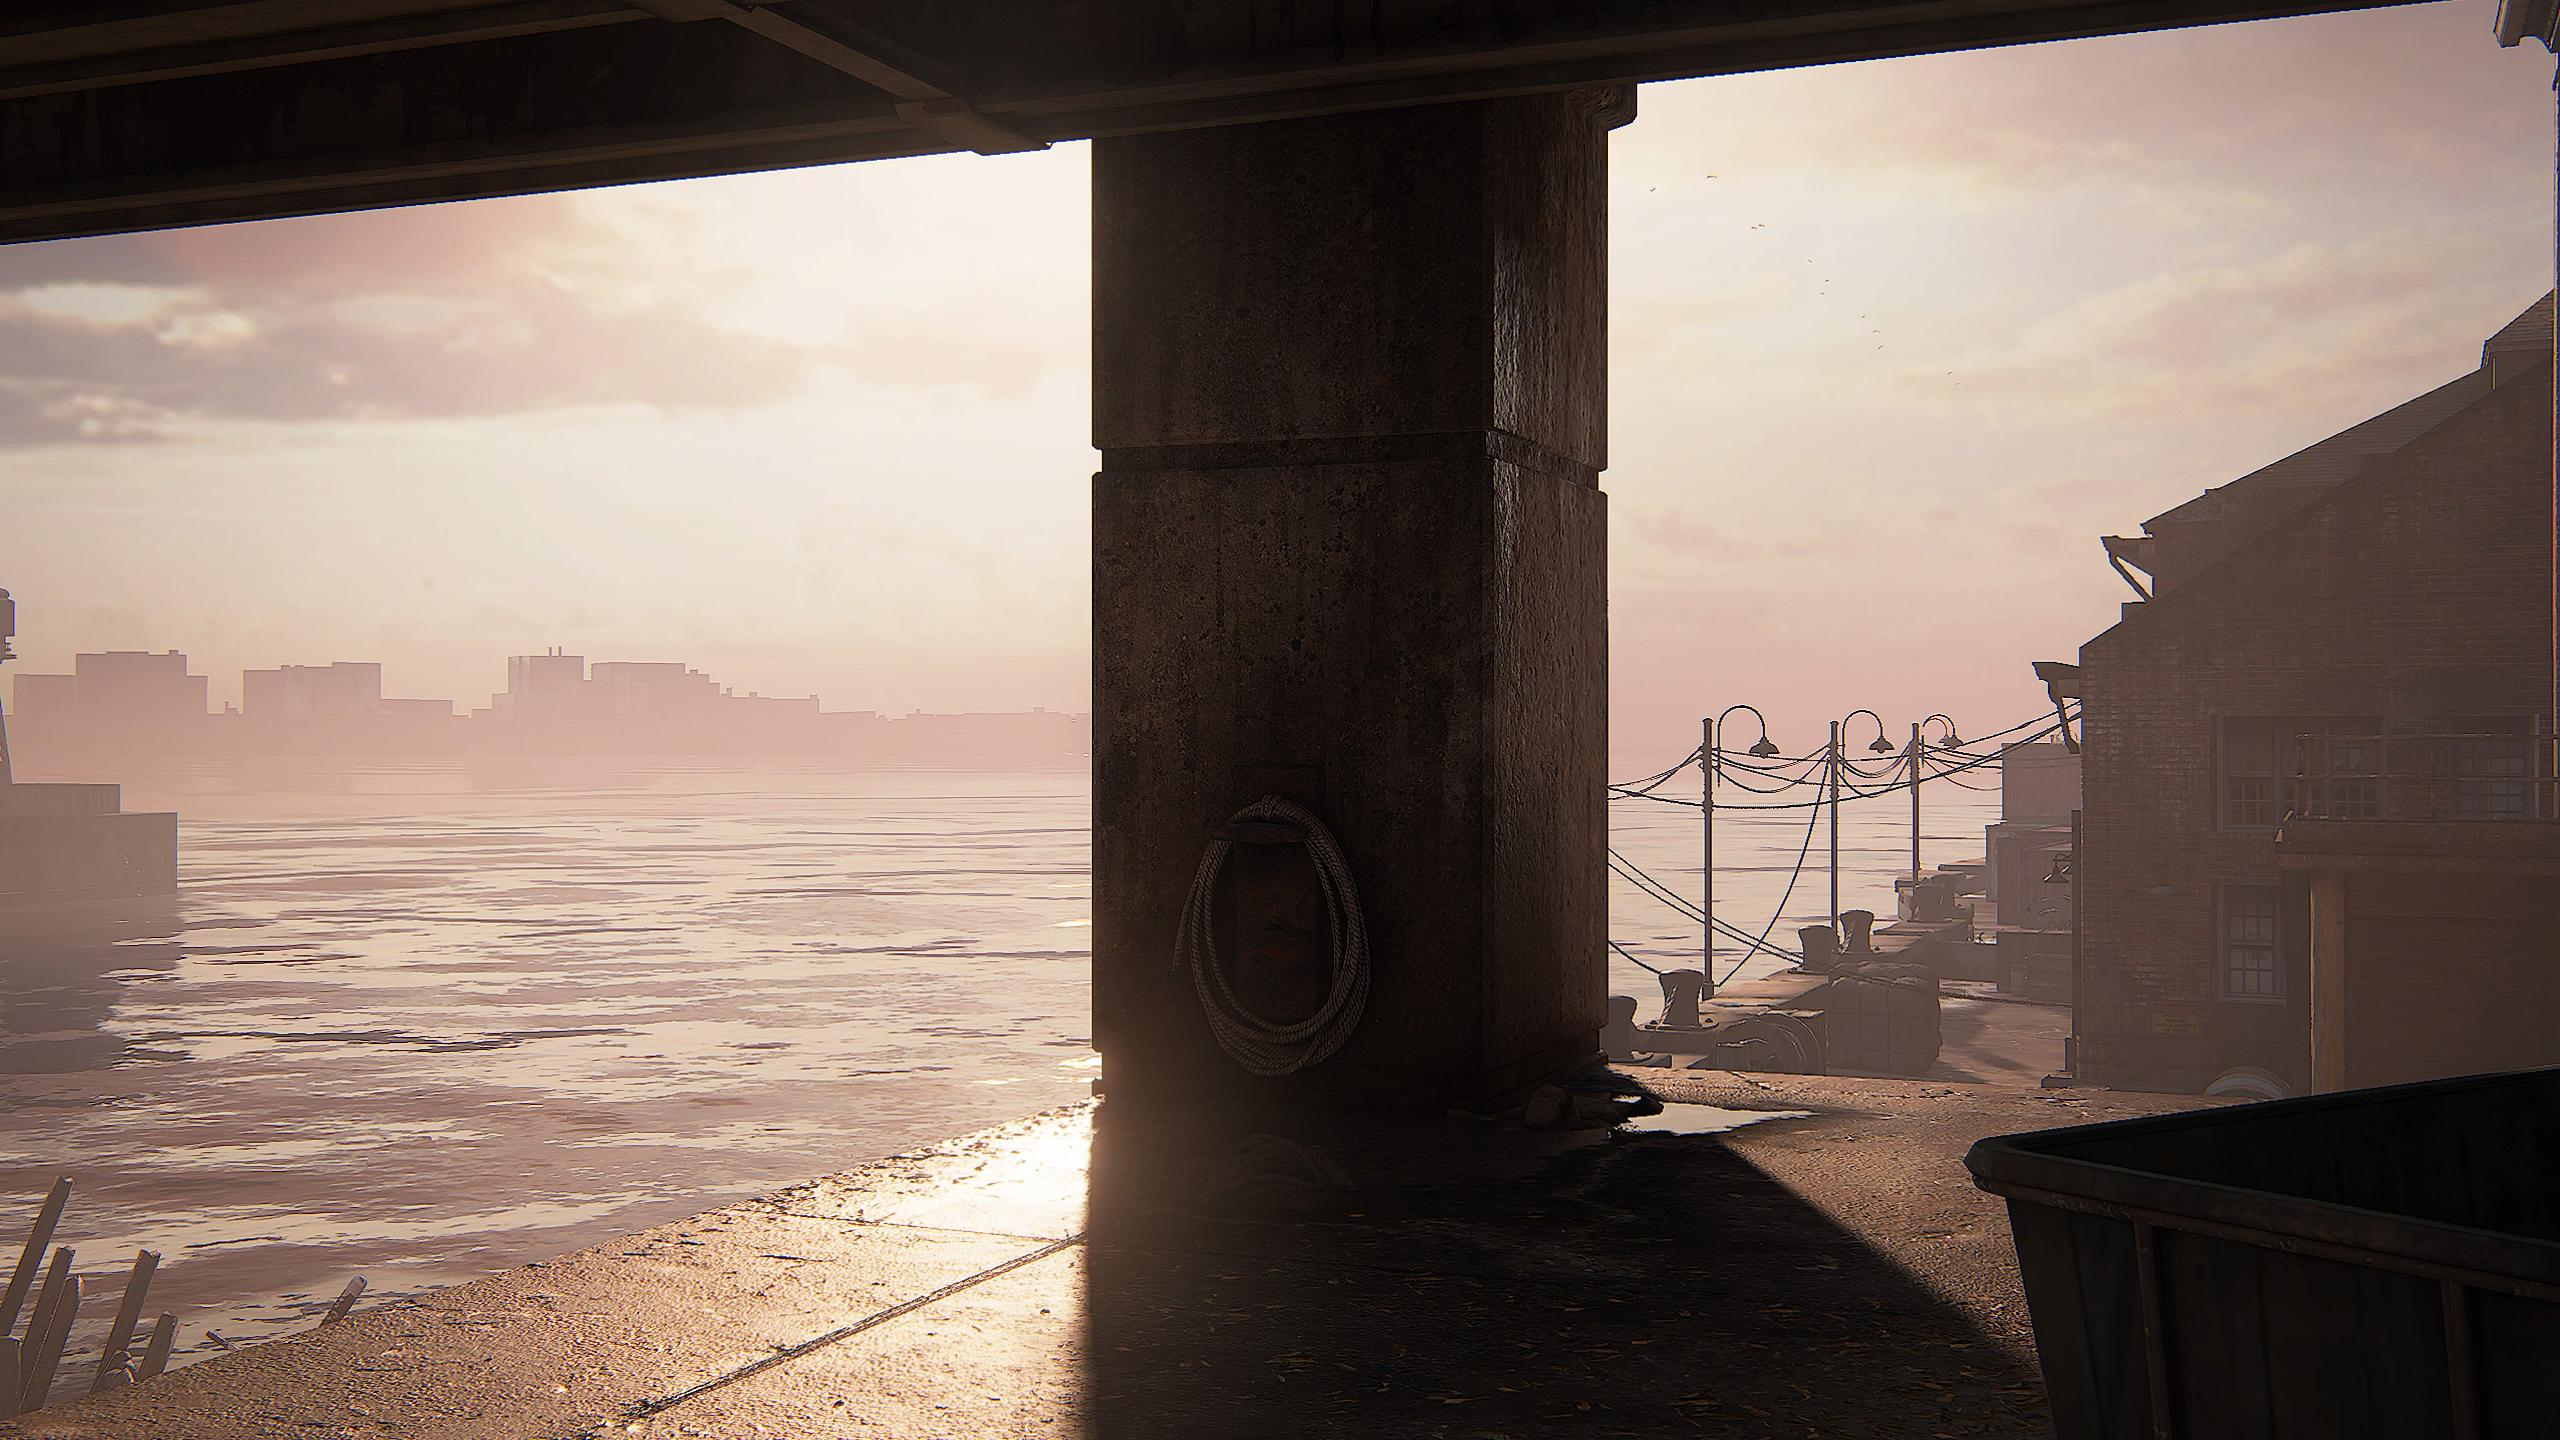
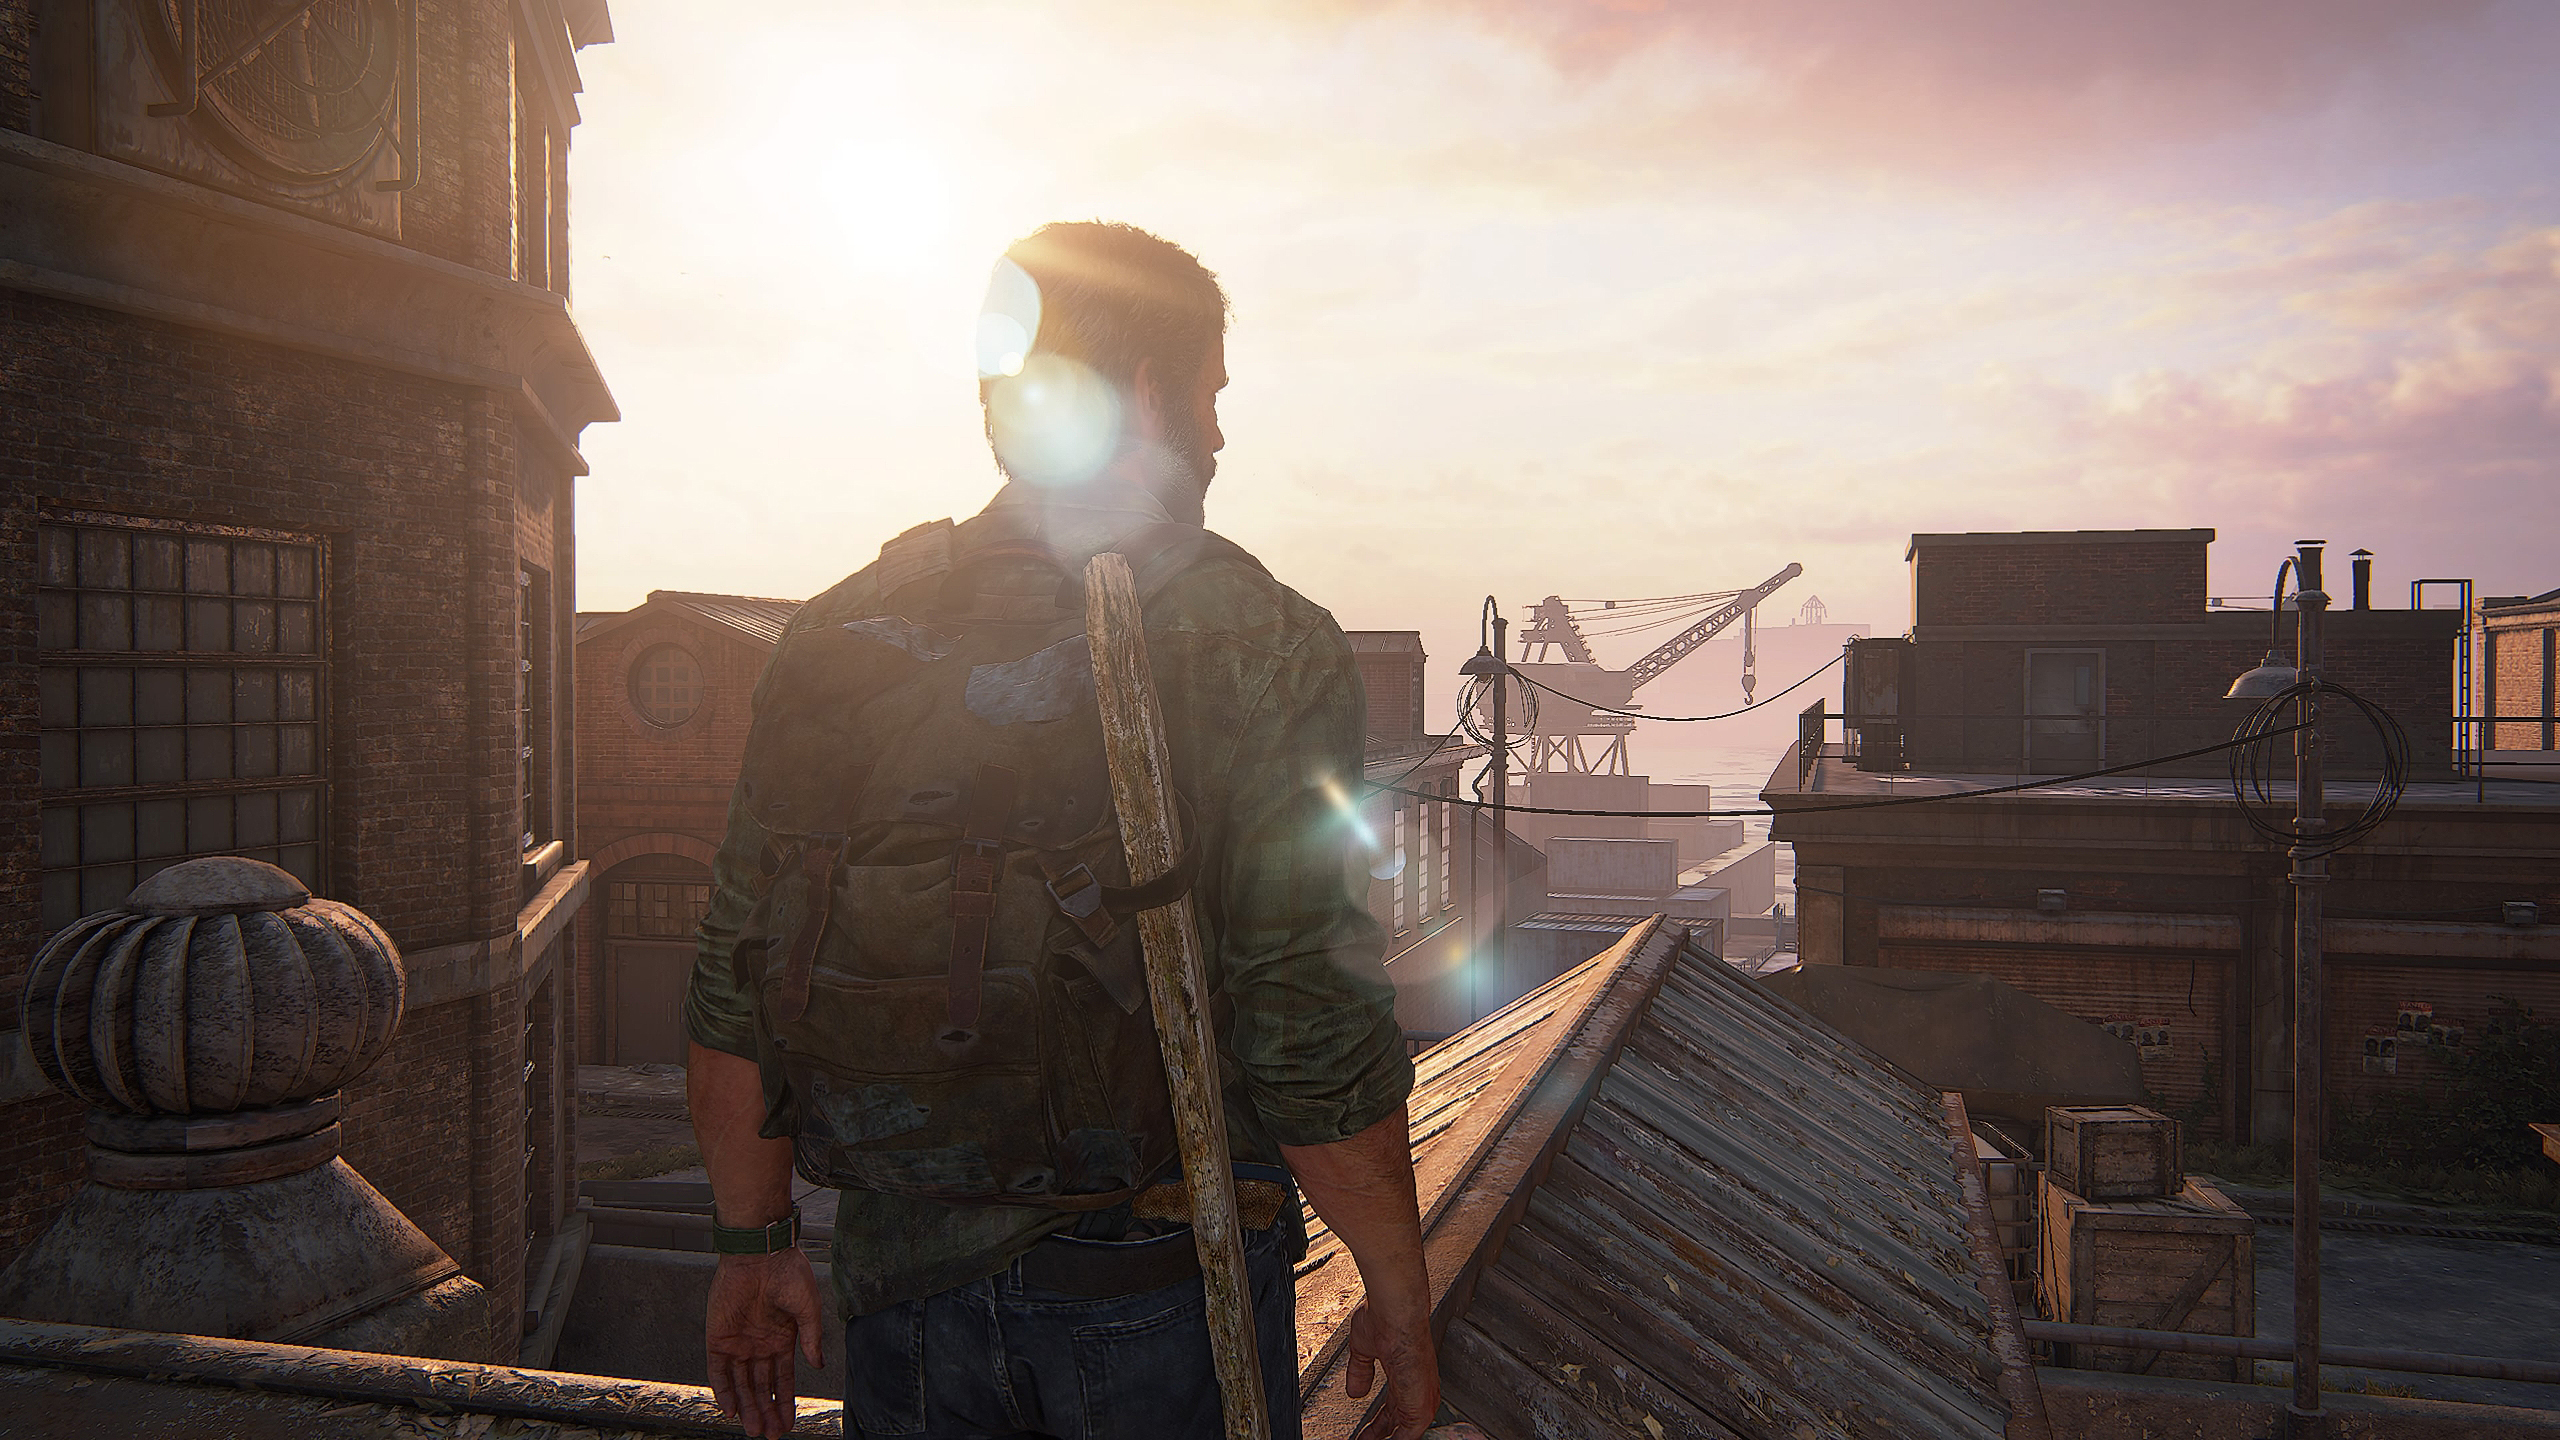
2. Consider your character
You should note that your character (in this case Joel if starting from the beginning) will be frozen in his current position, so you should make sure he is facing away from the background you wish to photograph him against before you enter photo mode. Some games have photo modes that are a little different and can allow you to move the position your character is facing, and even change their facial expressions, but sadly TLOU doesn’t support this.
3. Play with settings
Once you have your subject framed nicely in front of the background of your choosing, you have plenty of tools and settings to play with to create the perfect image. This might seem a little daunting or overwhelming at first, especially if you’re new to photography, but have a play around creatively to find out what each setting can do and how it impacts the image.
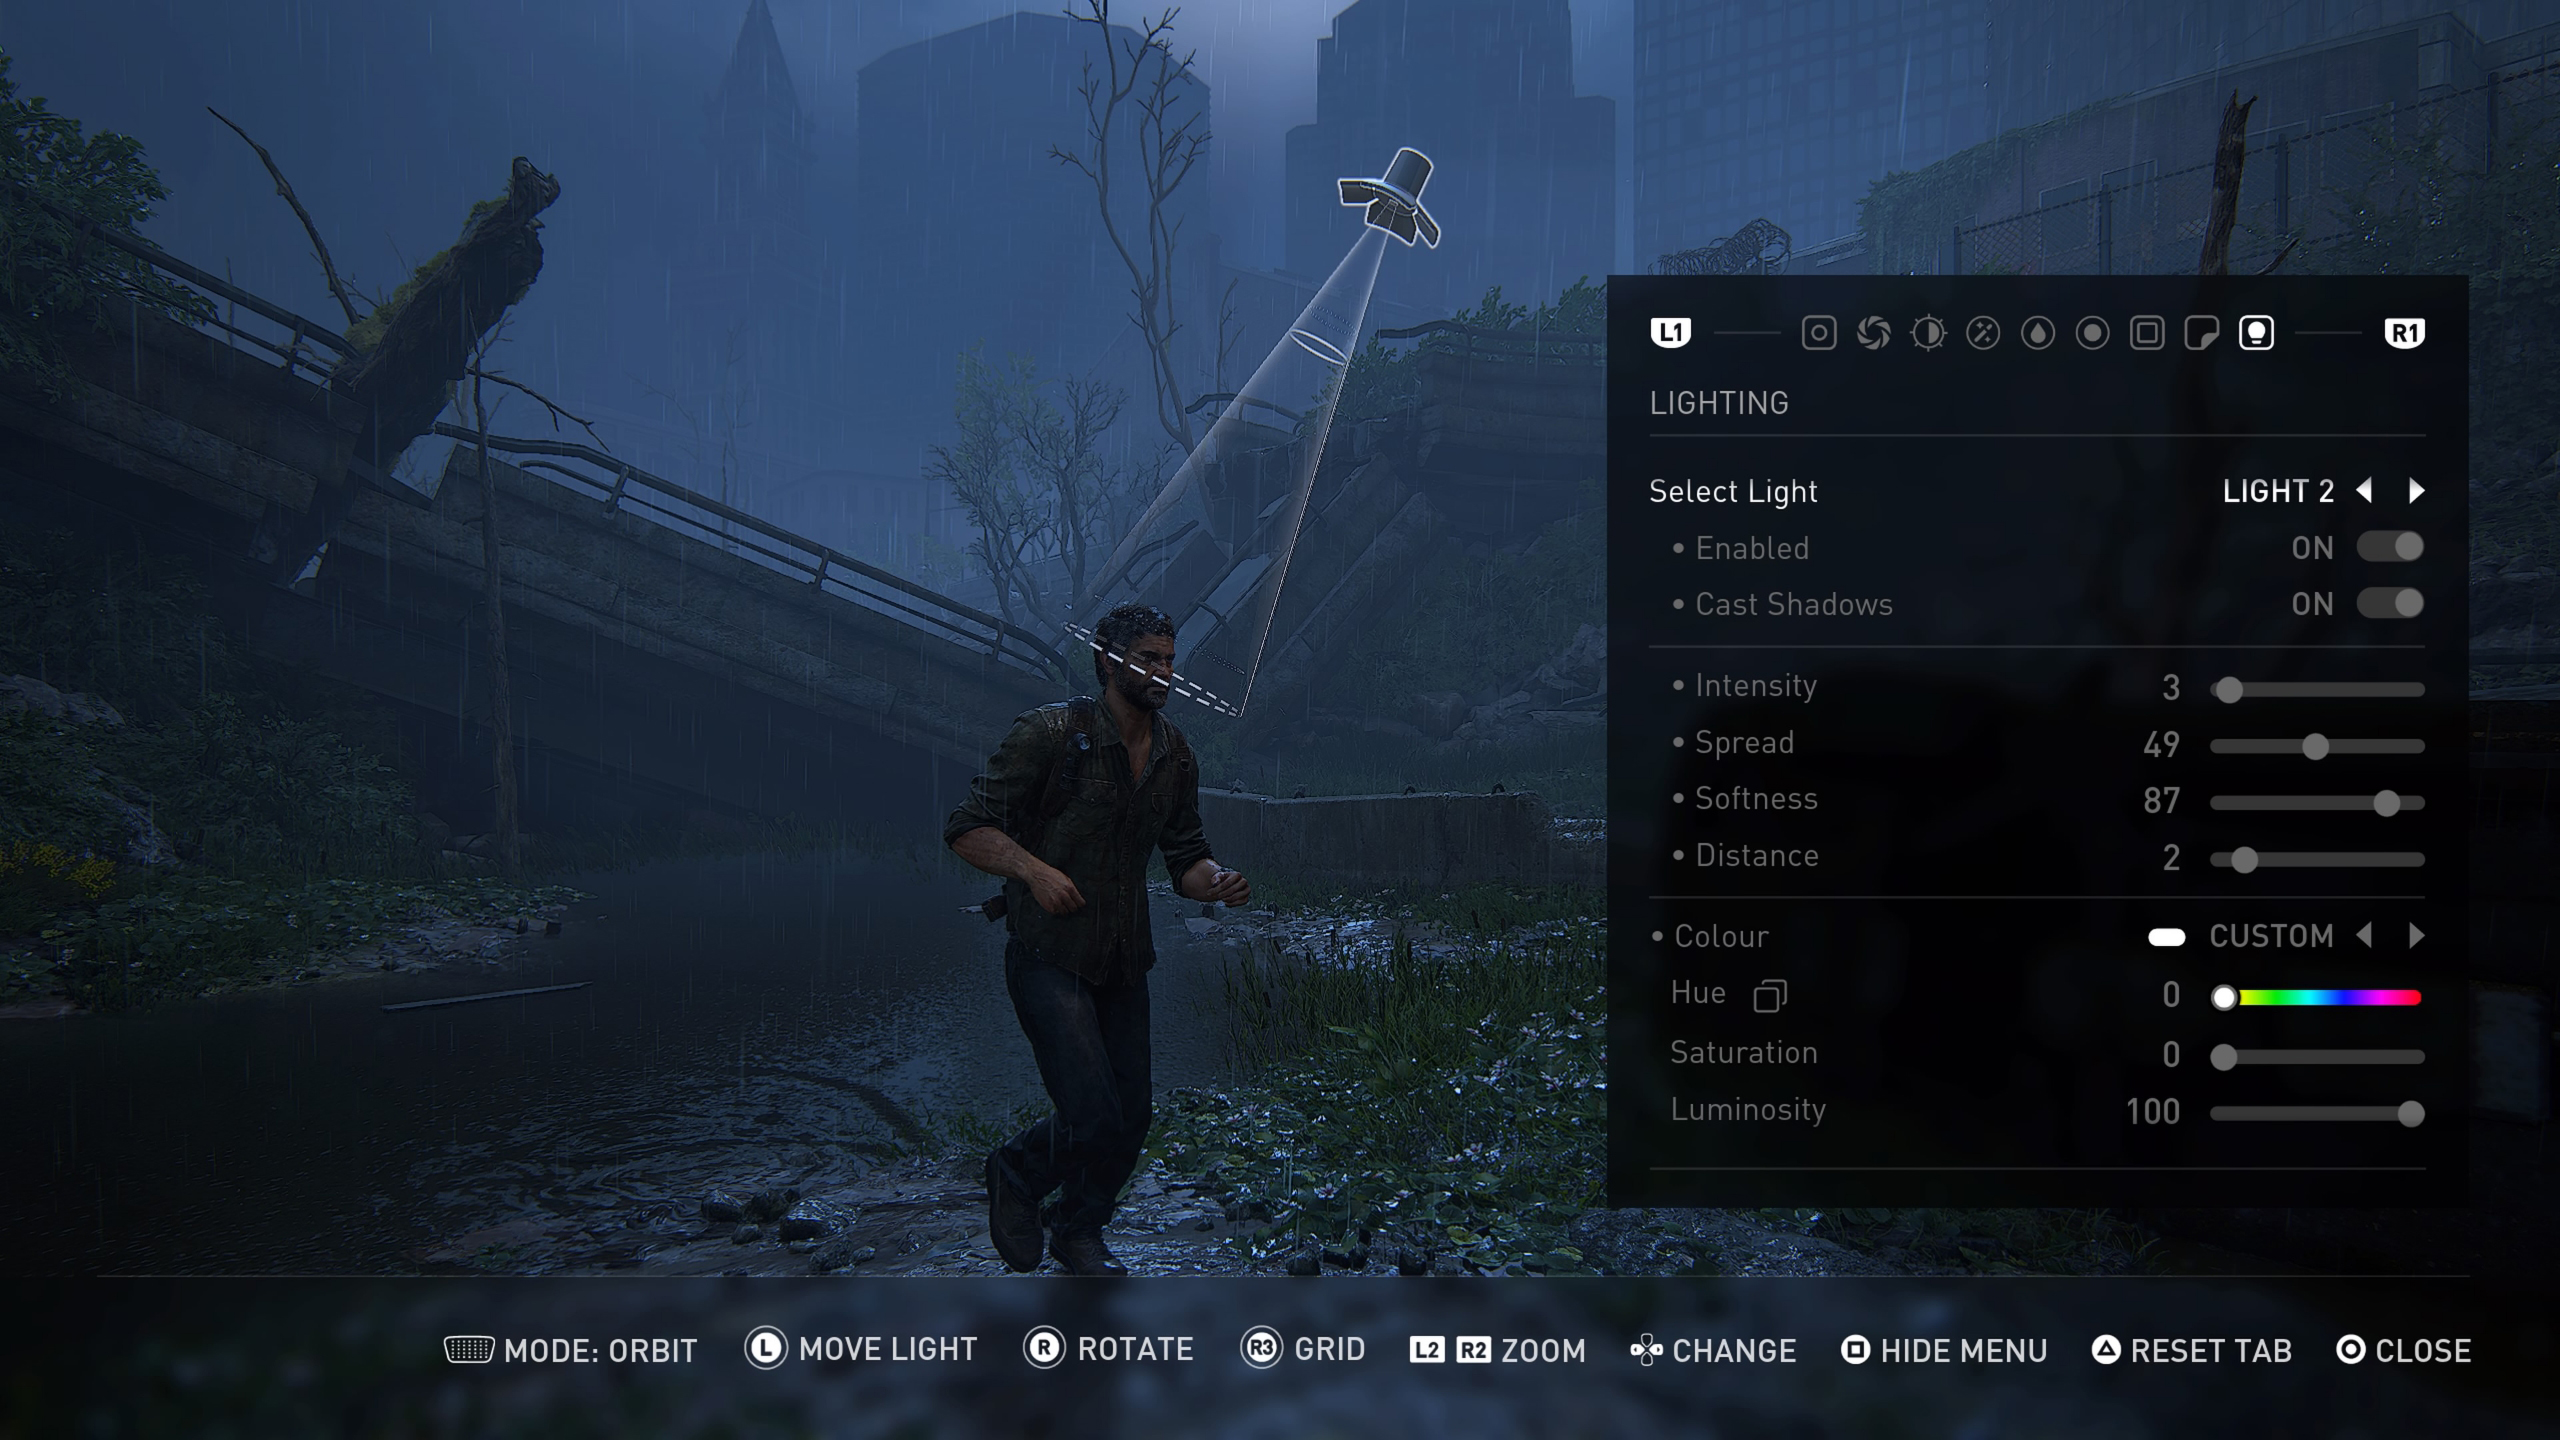
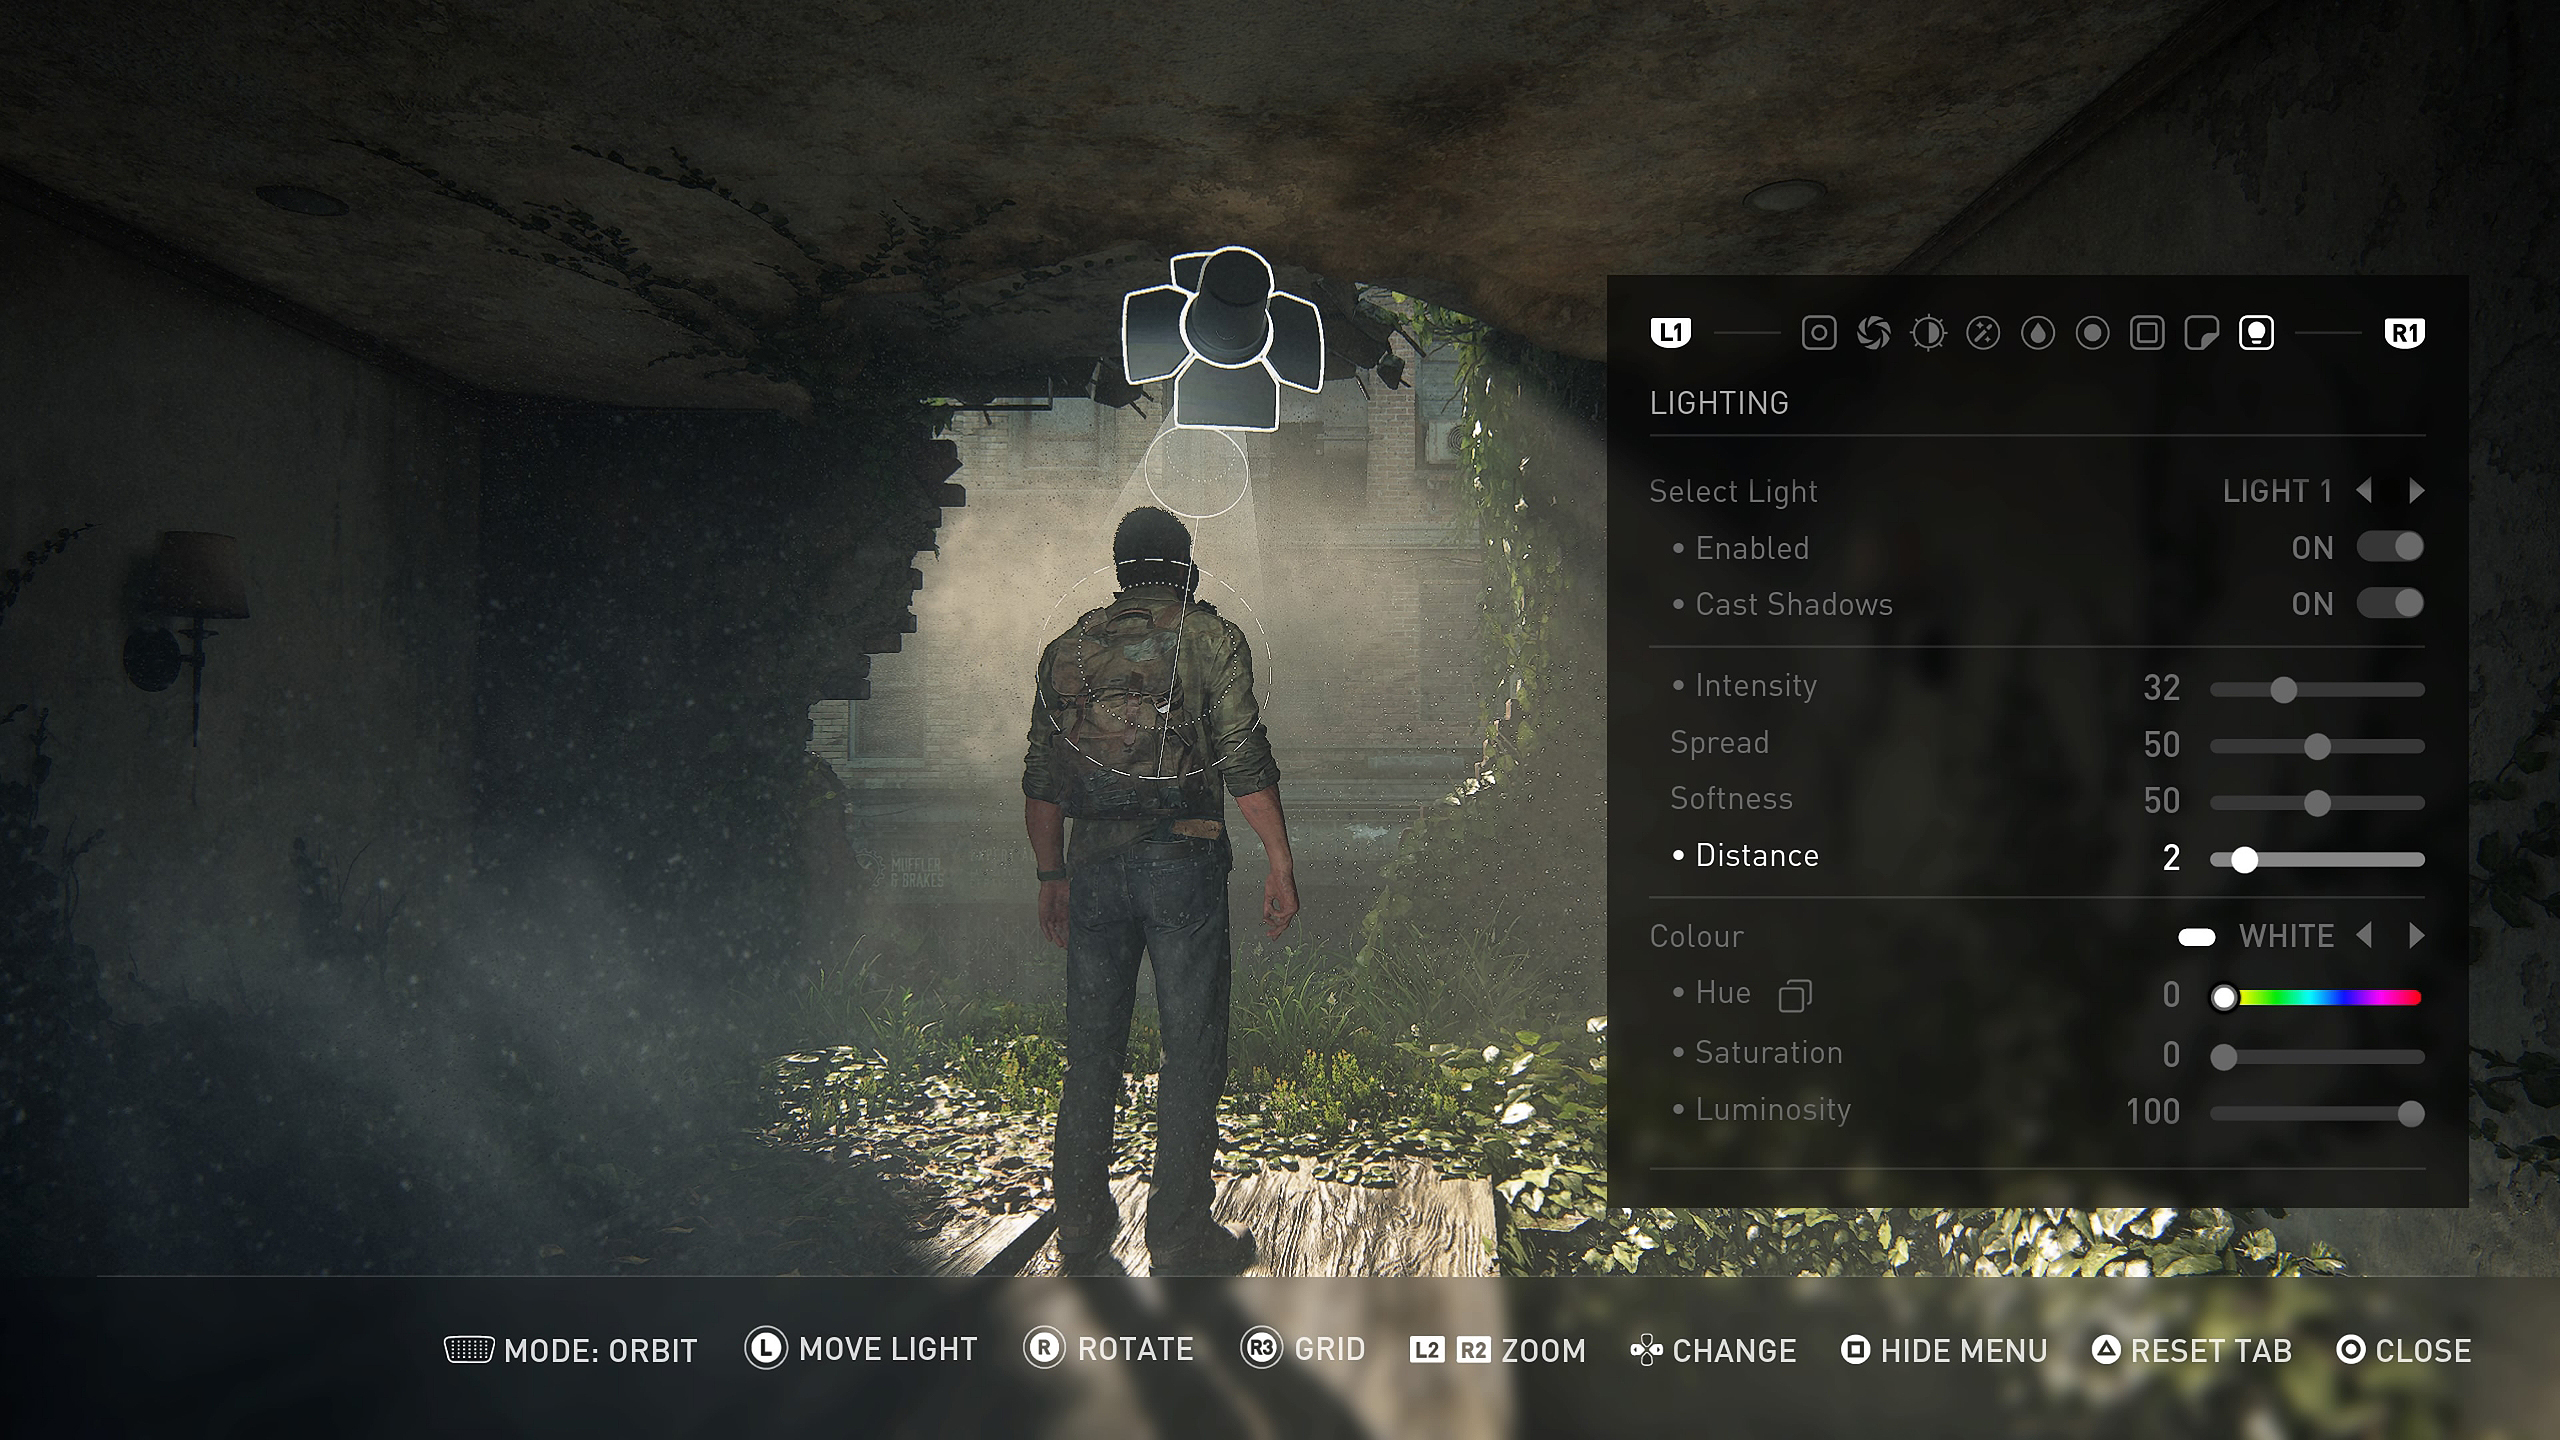
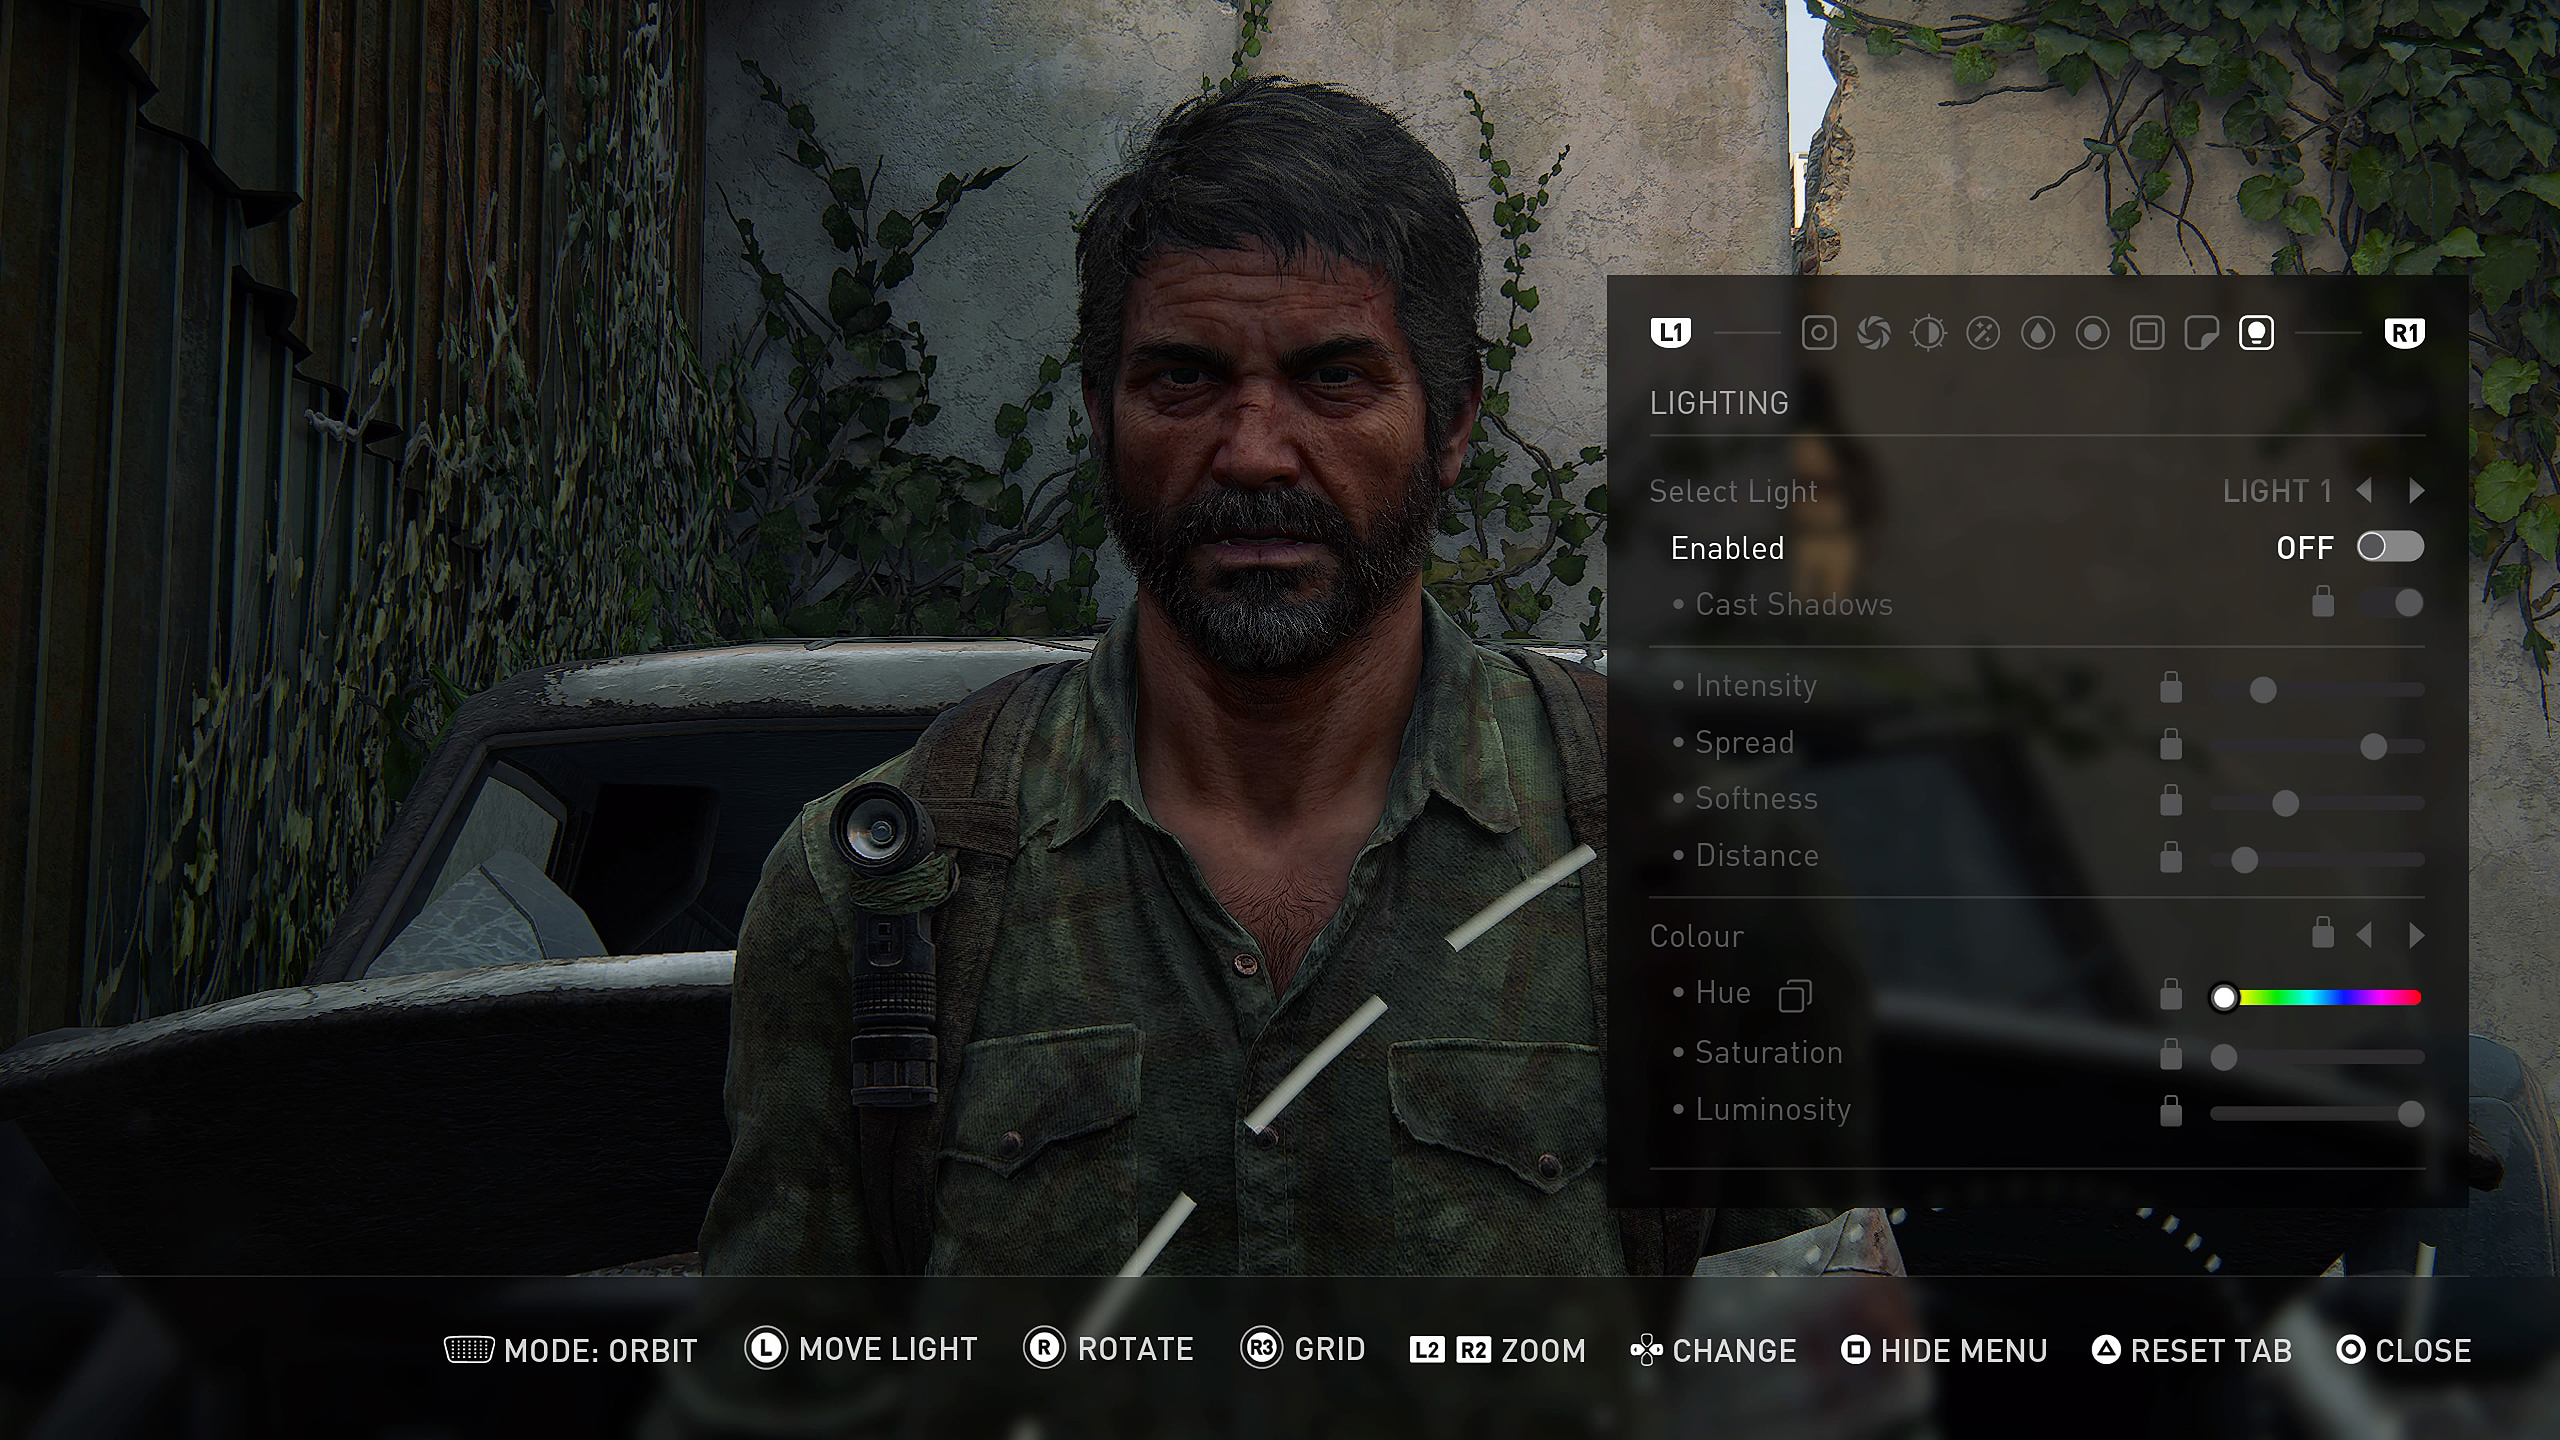
I would usually start with the basics such as sharpness, saturation, and brightness to begin with. The lighting modes in this game’s photo mode are really impressive and are actually a great way to understand and practice how multiple lights can be used together to create the right exposure, and how shadows can make for intense portraits.
4. Use the characters tools
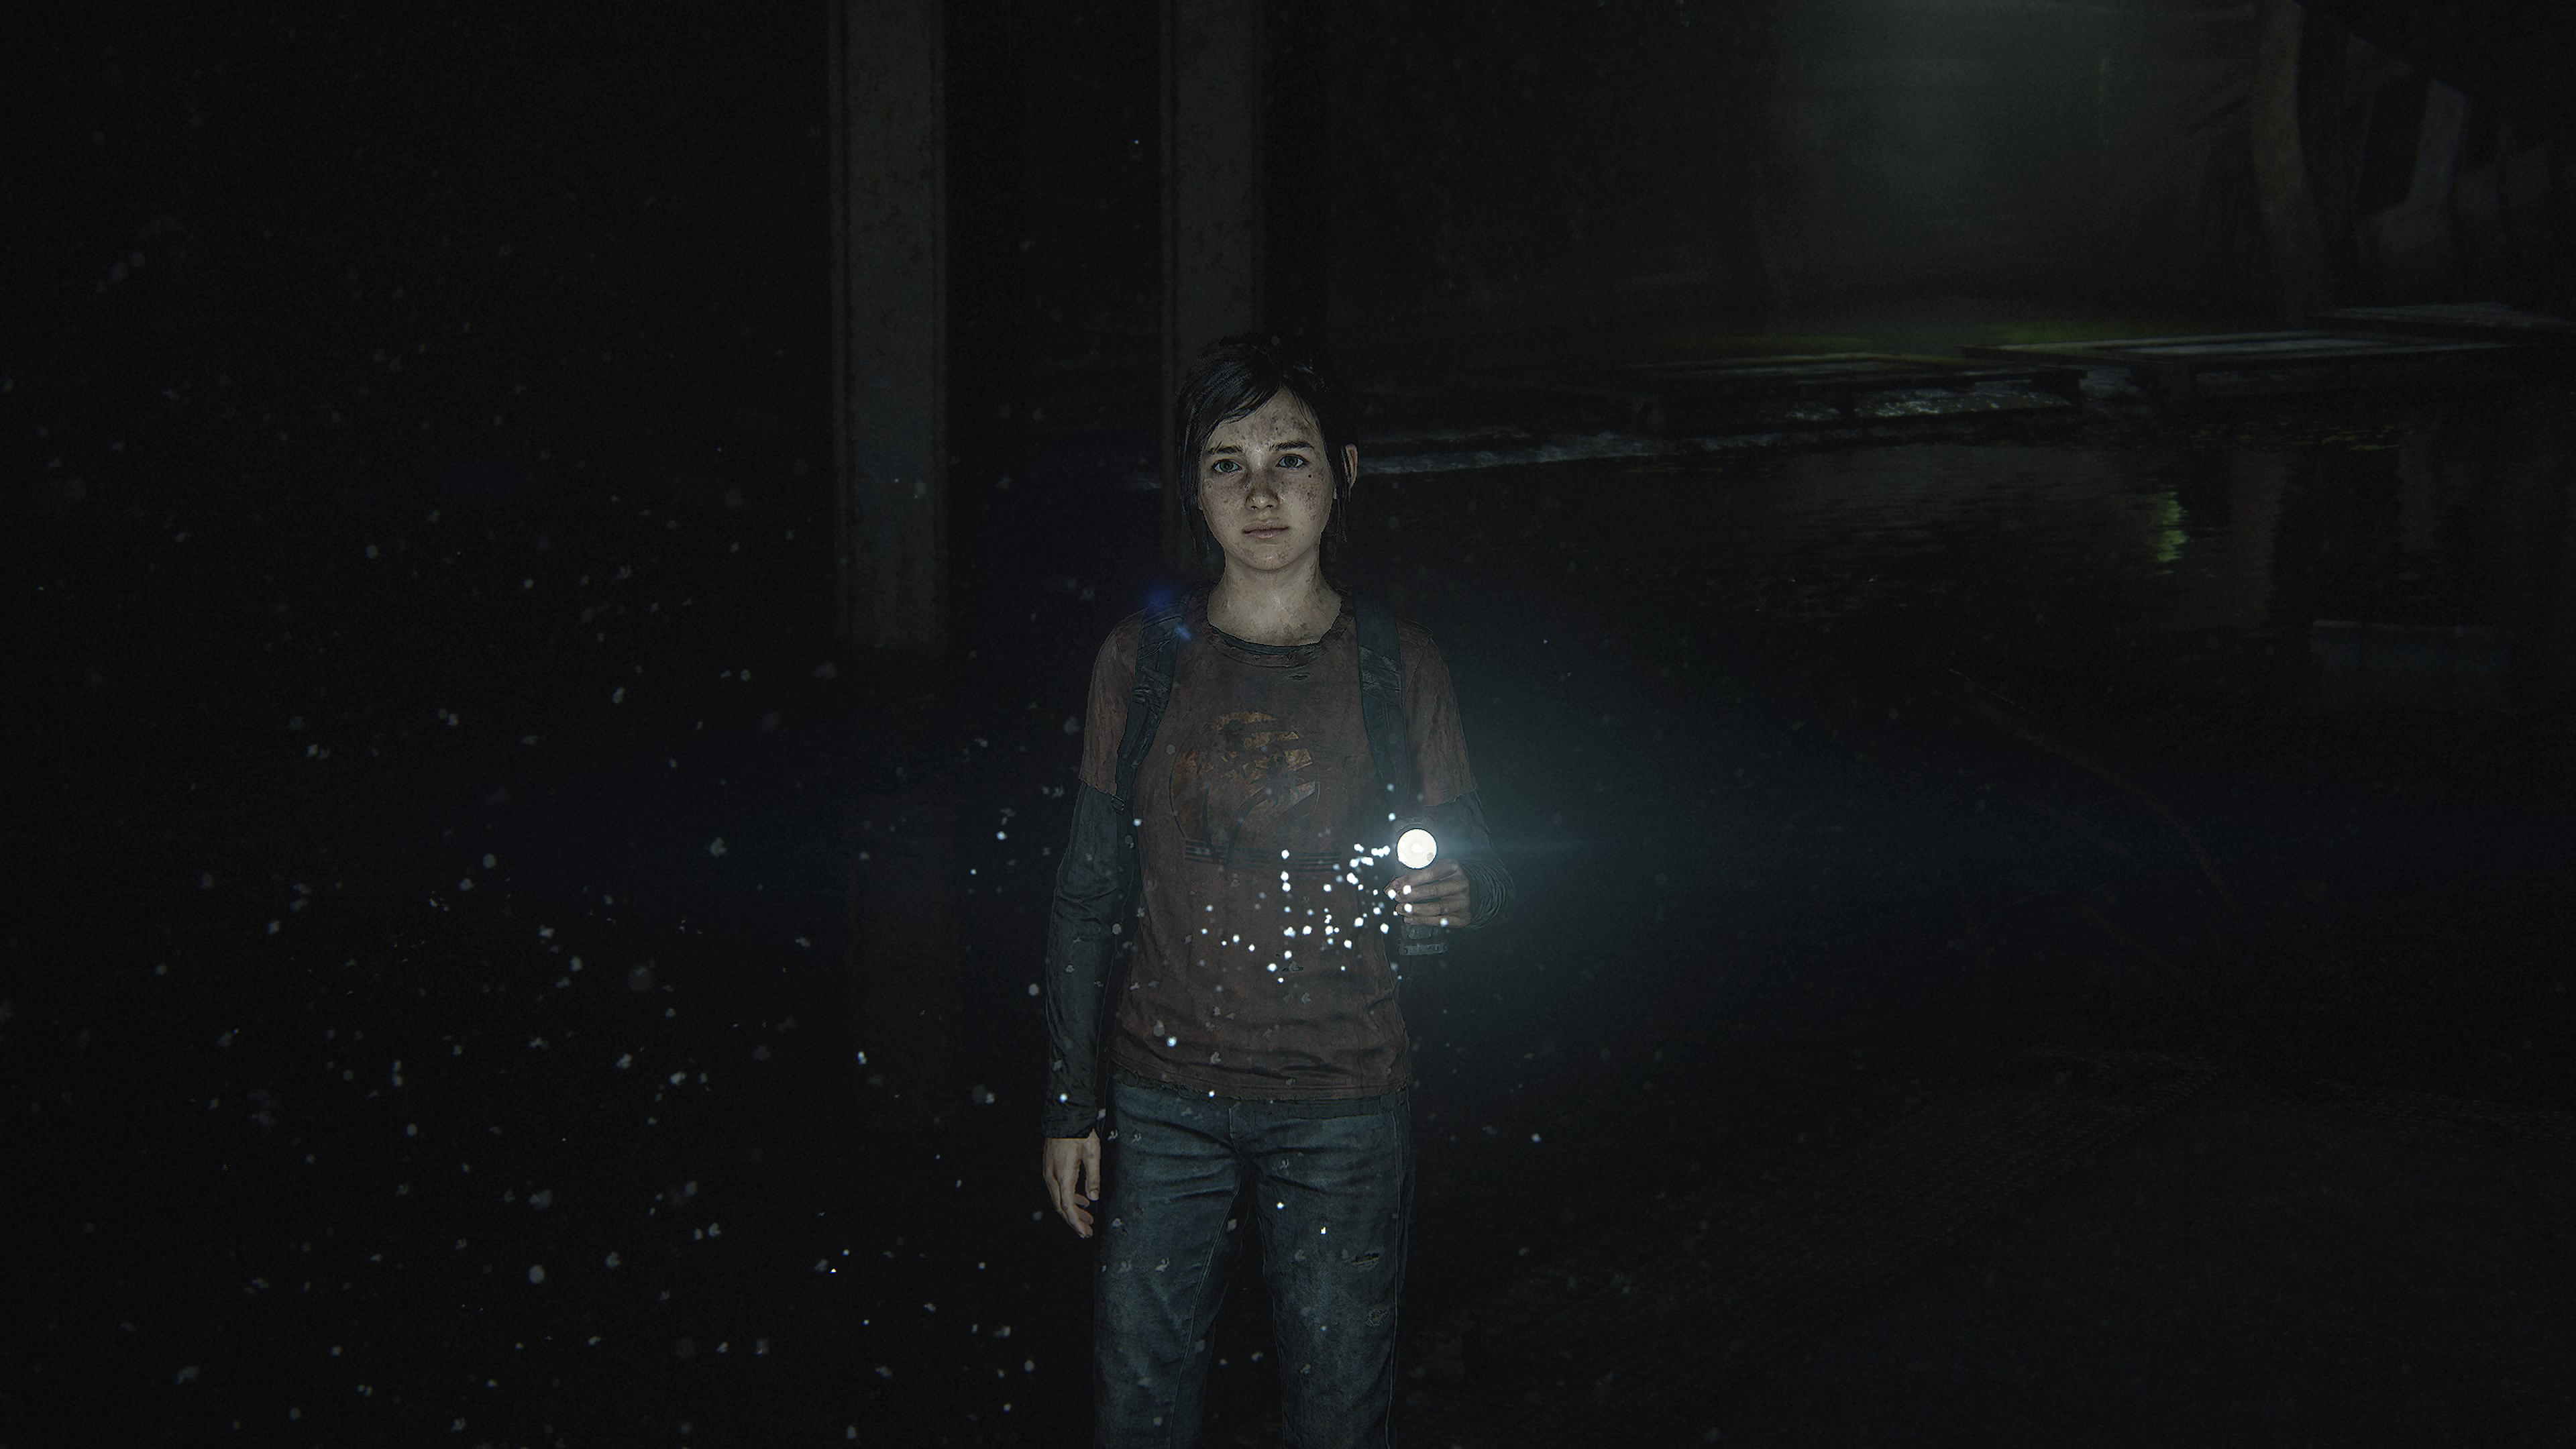
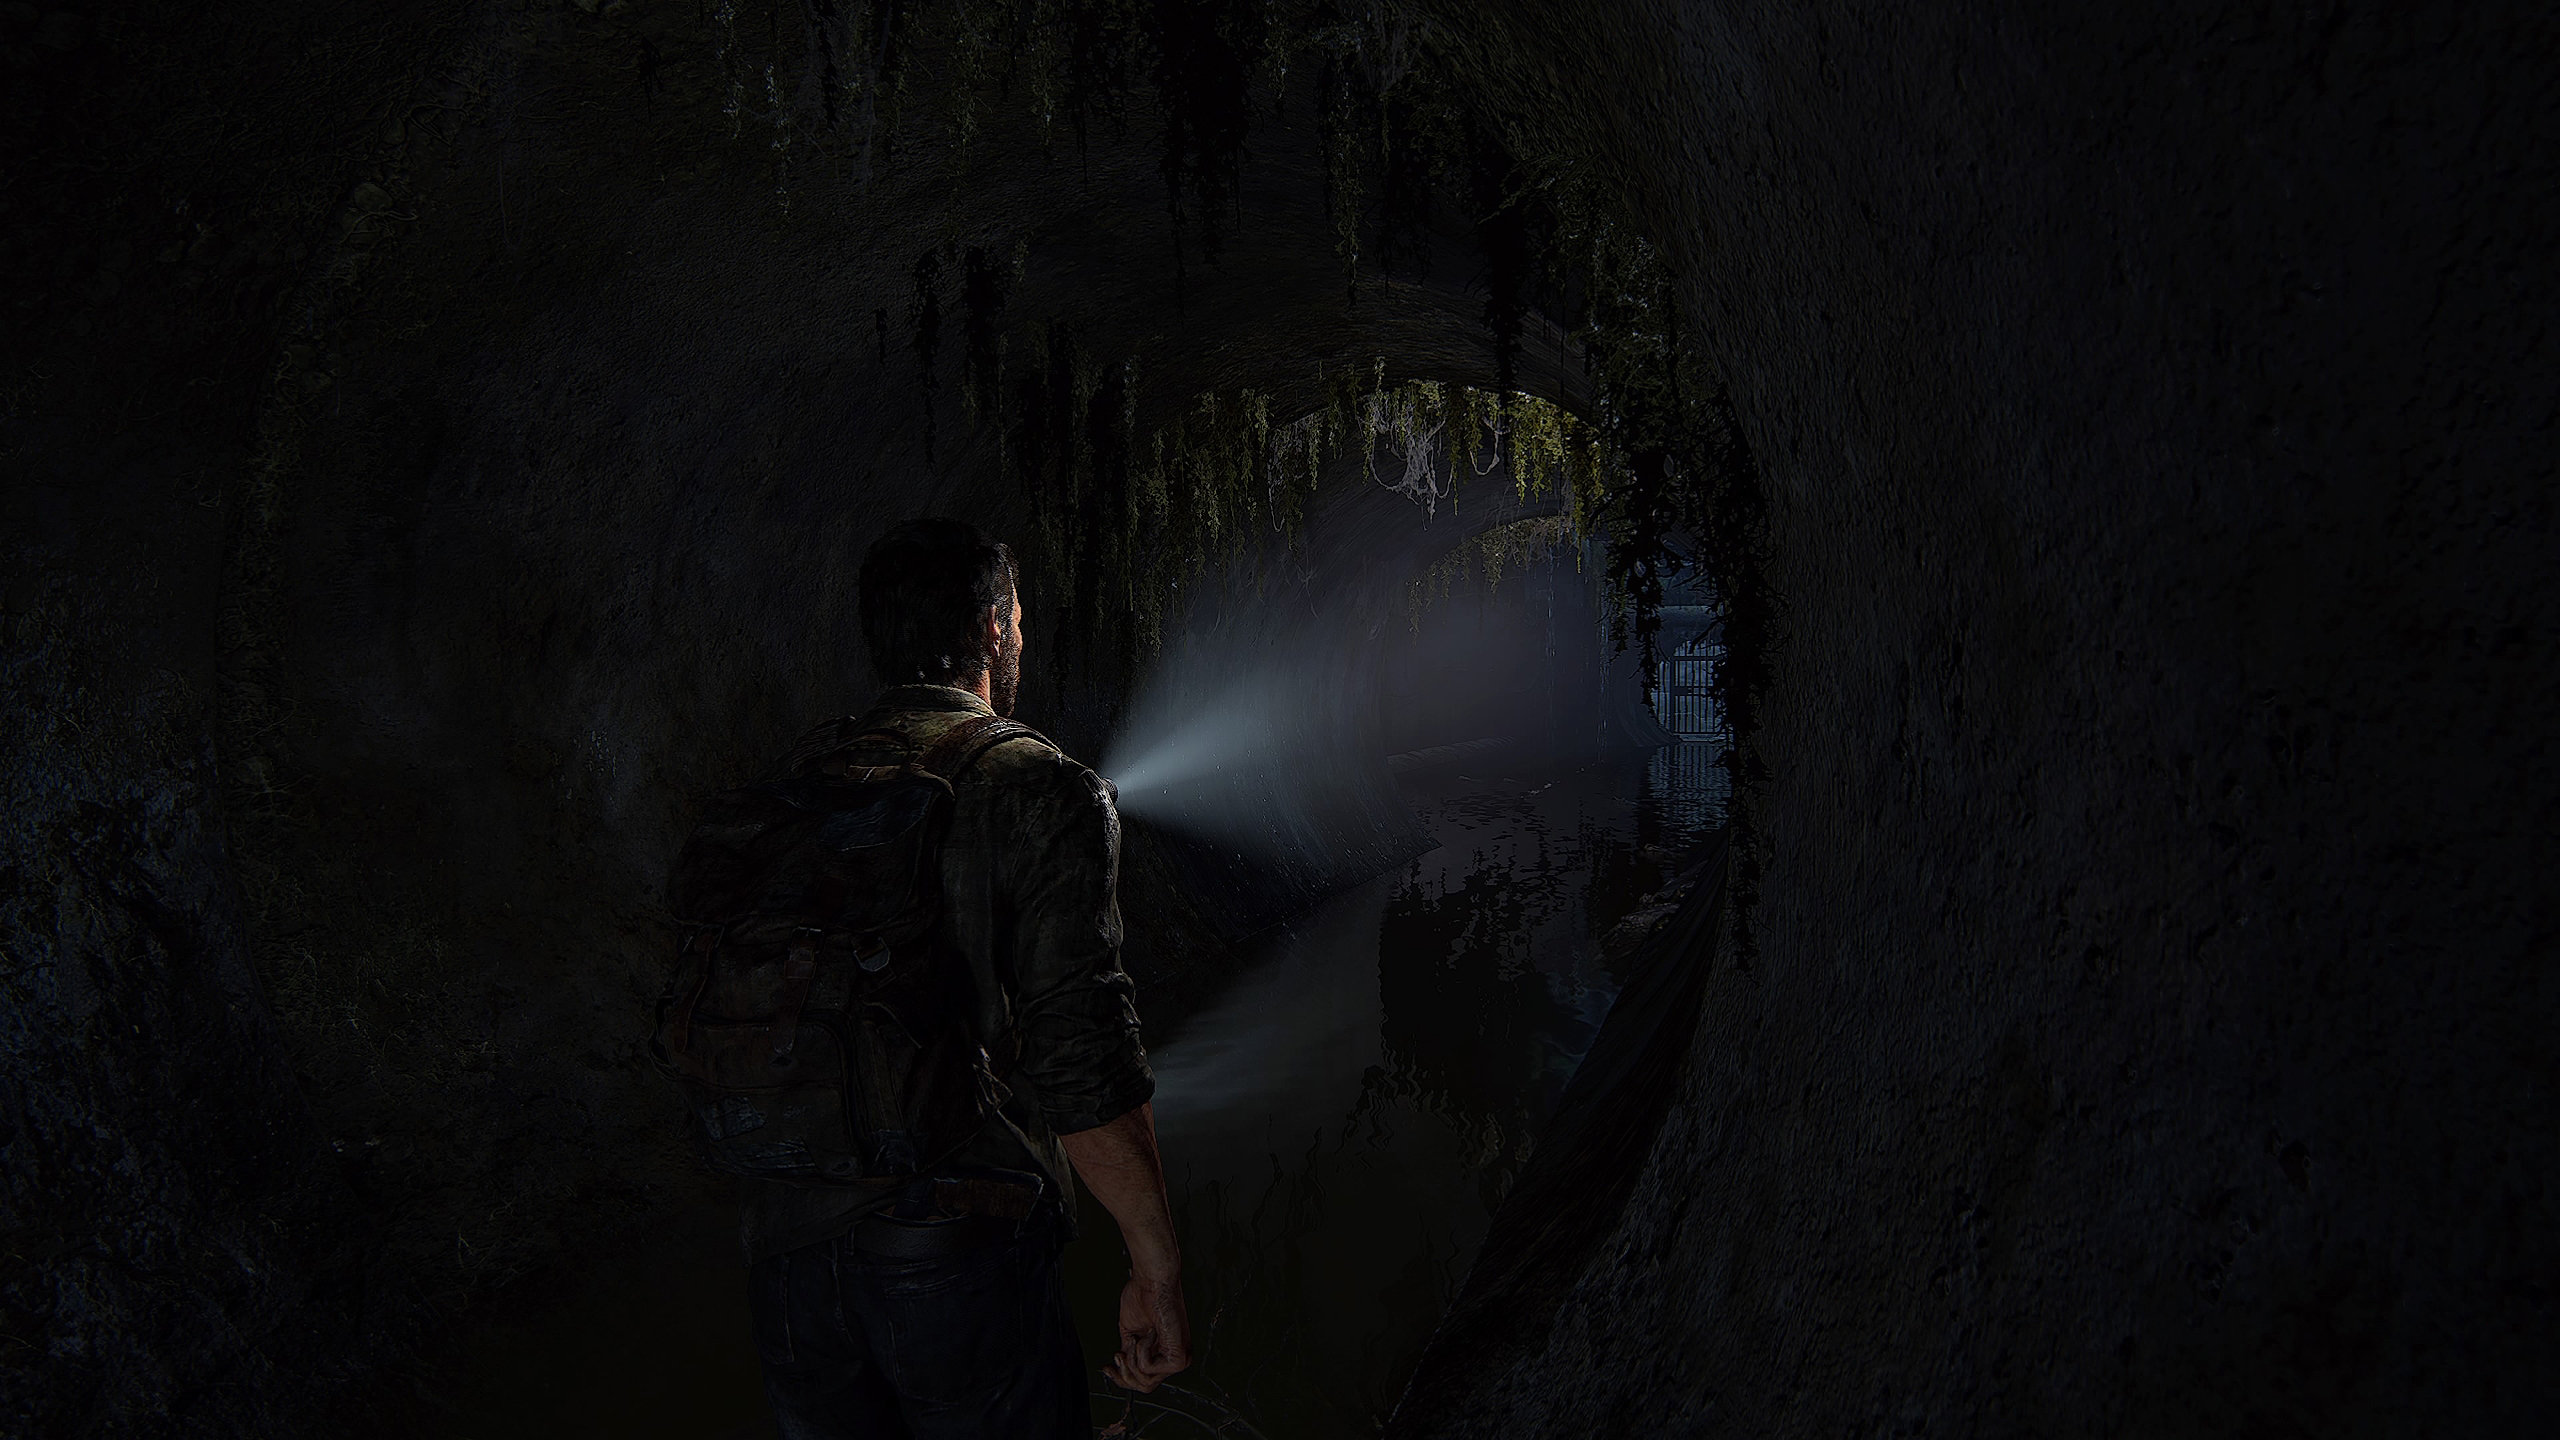
A useful tip would be to use the characters own tools and actions to enhance a scene before entering photo mode, for example, Joel always carries a torch with him which can be toggled on and off by the gamer by pressing R3 (pressing down the right analog stick) on a Playstation 5 DualSense controller, and this can be a great way to shine a light literally on the subject of an image.
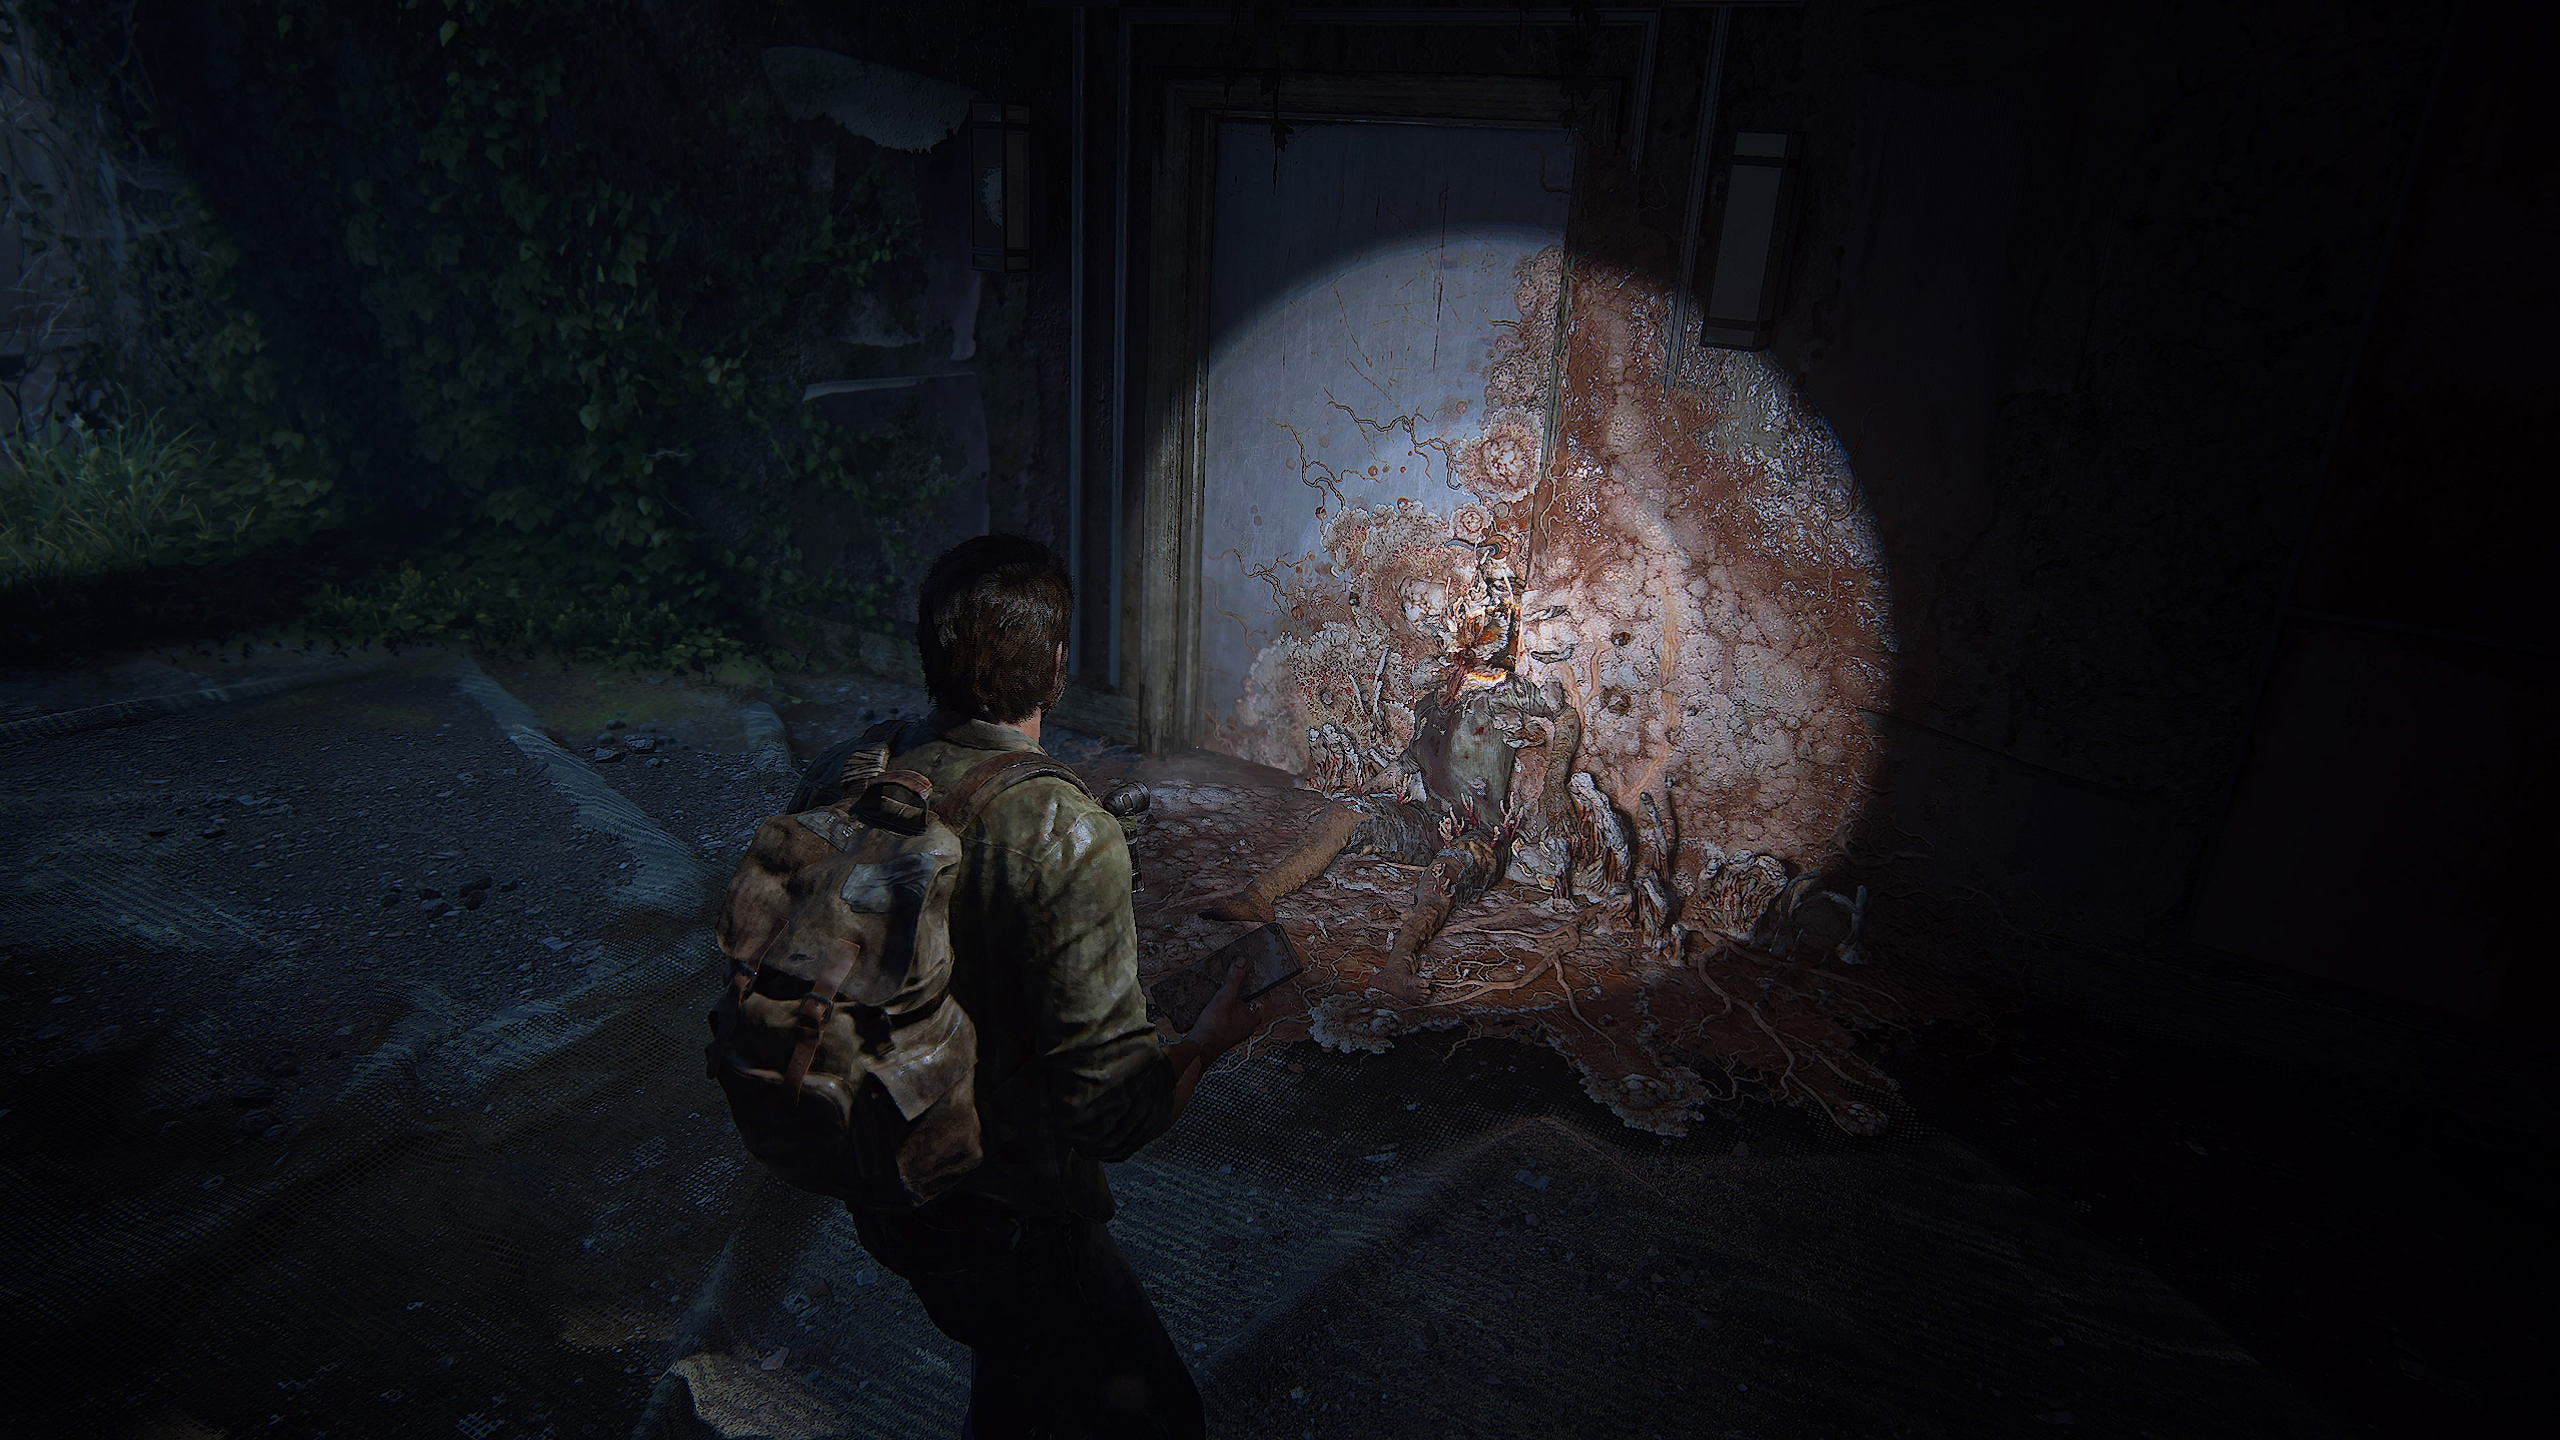
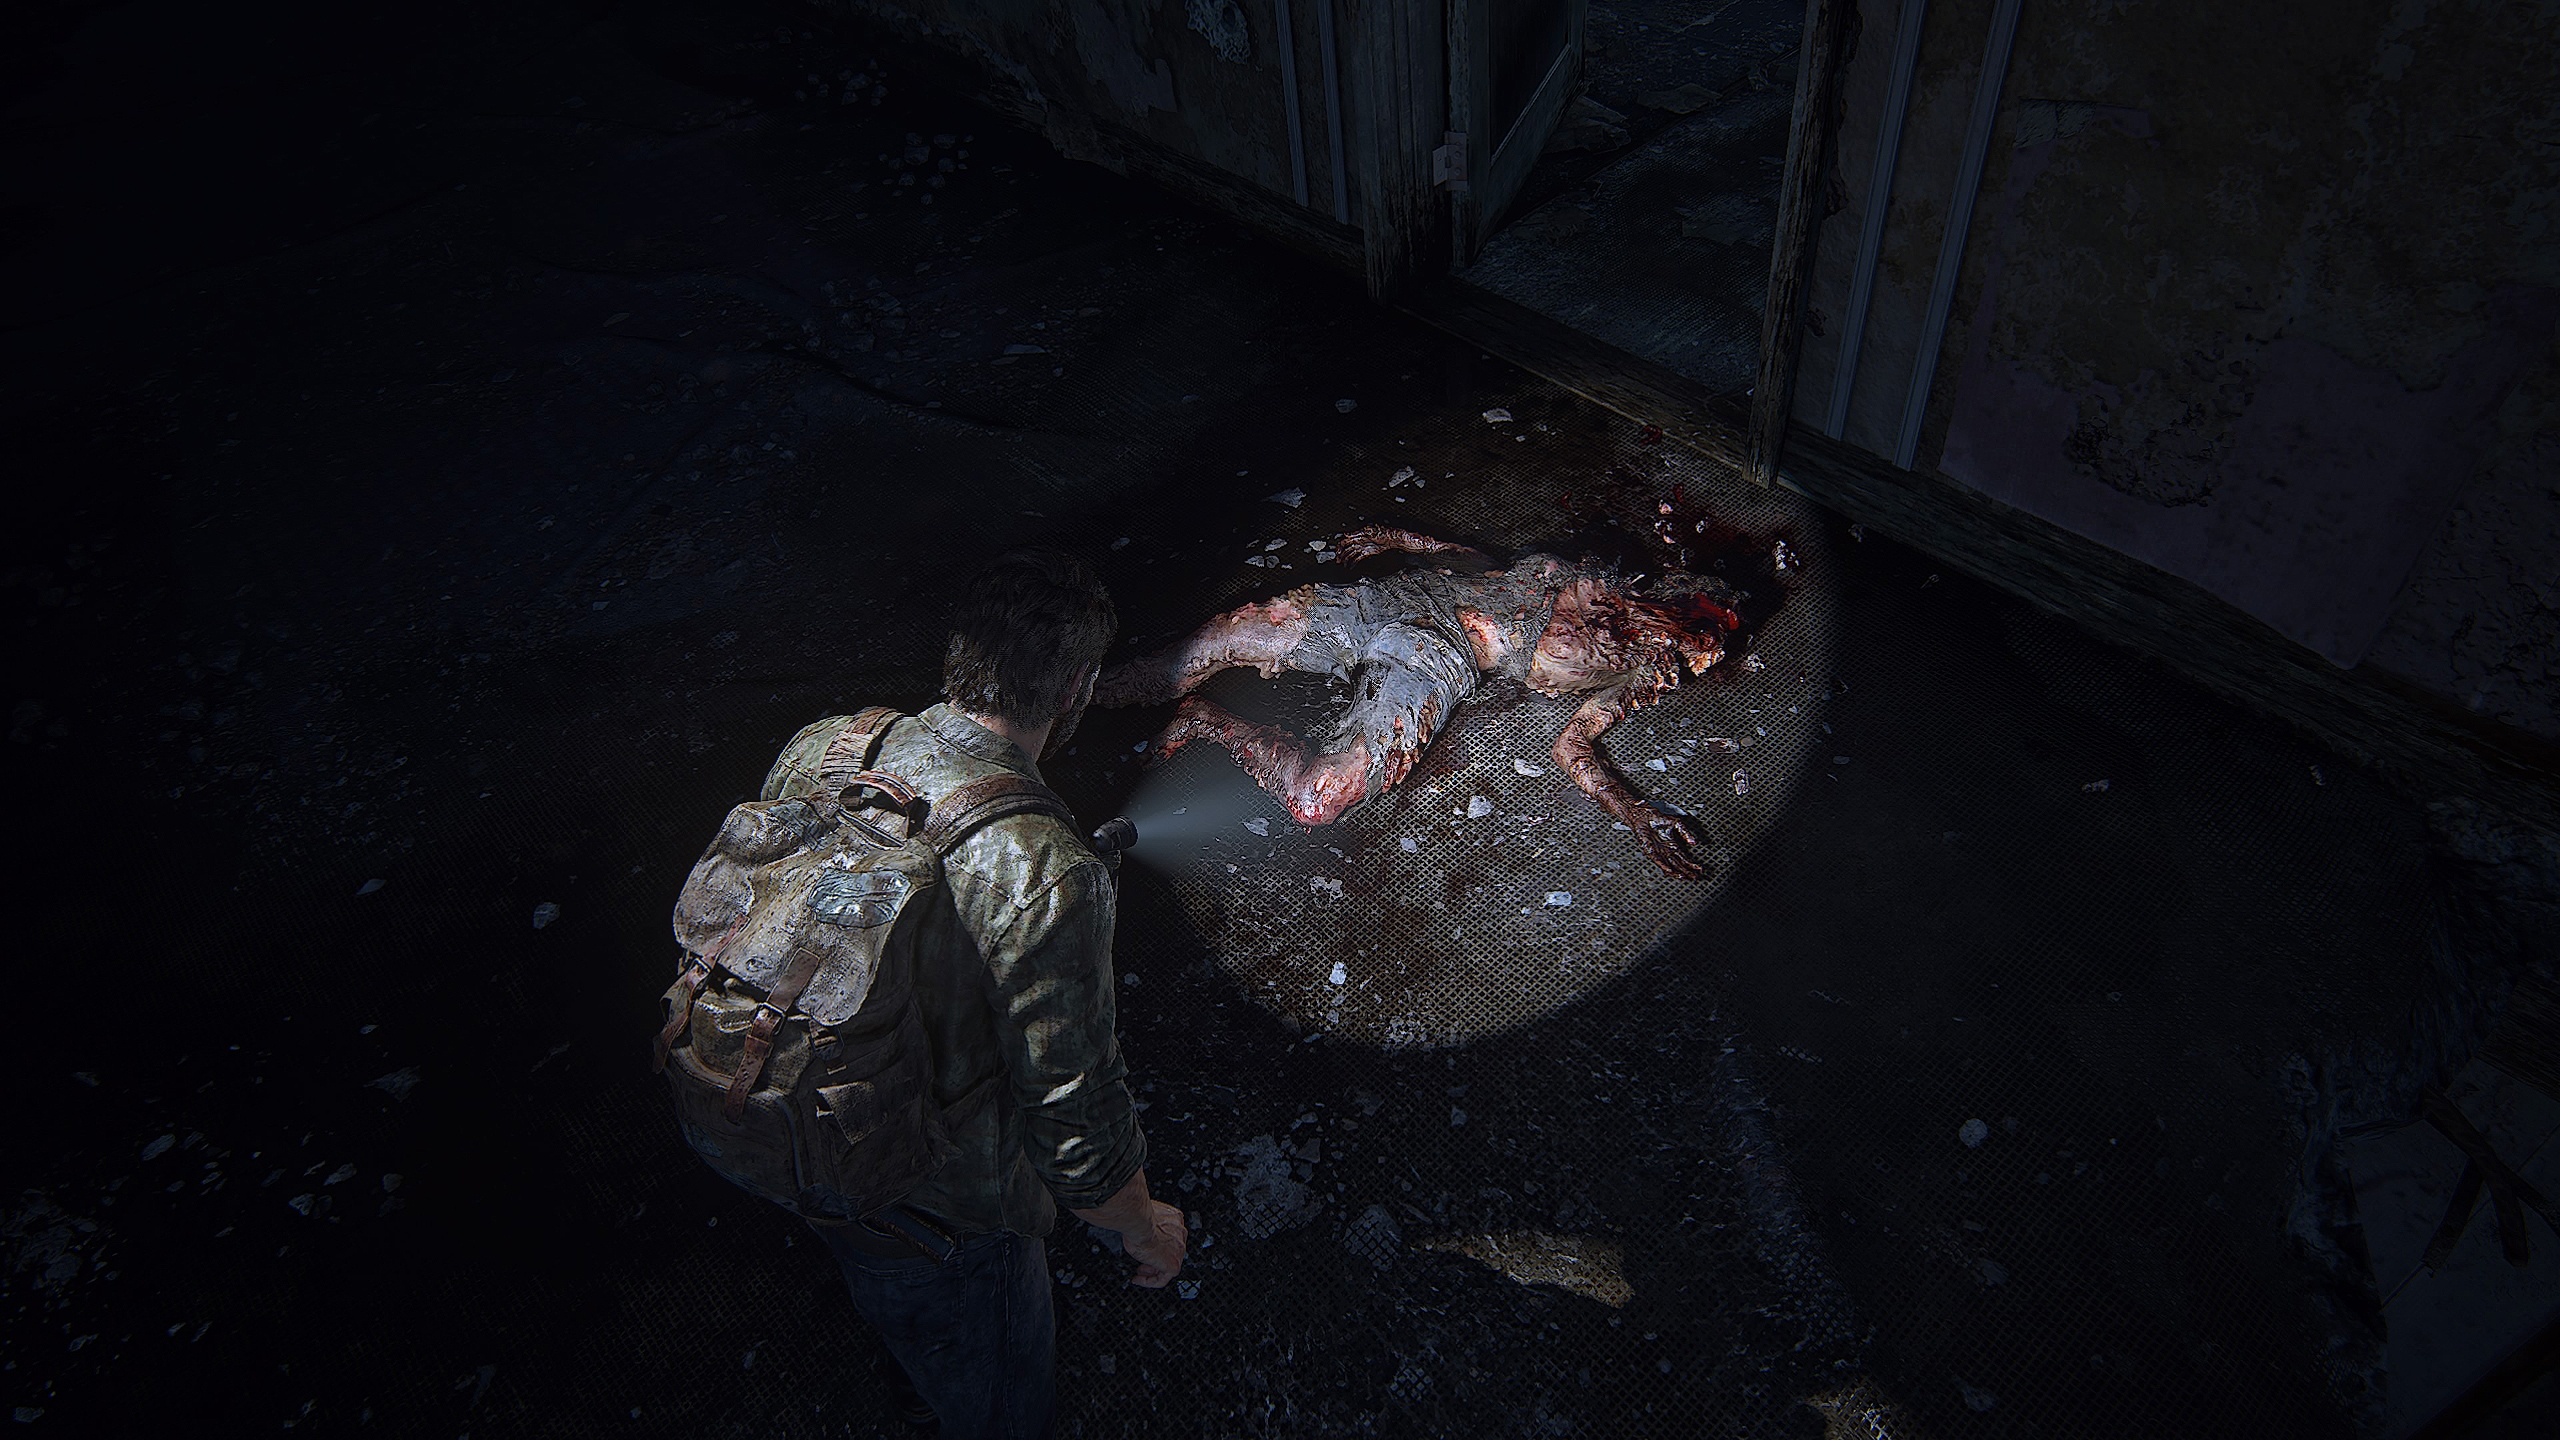
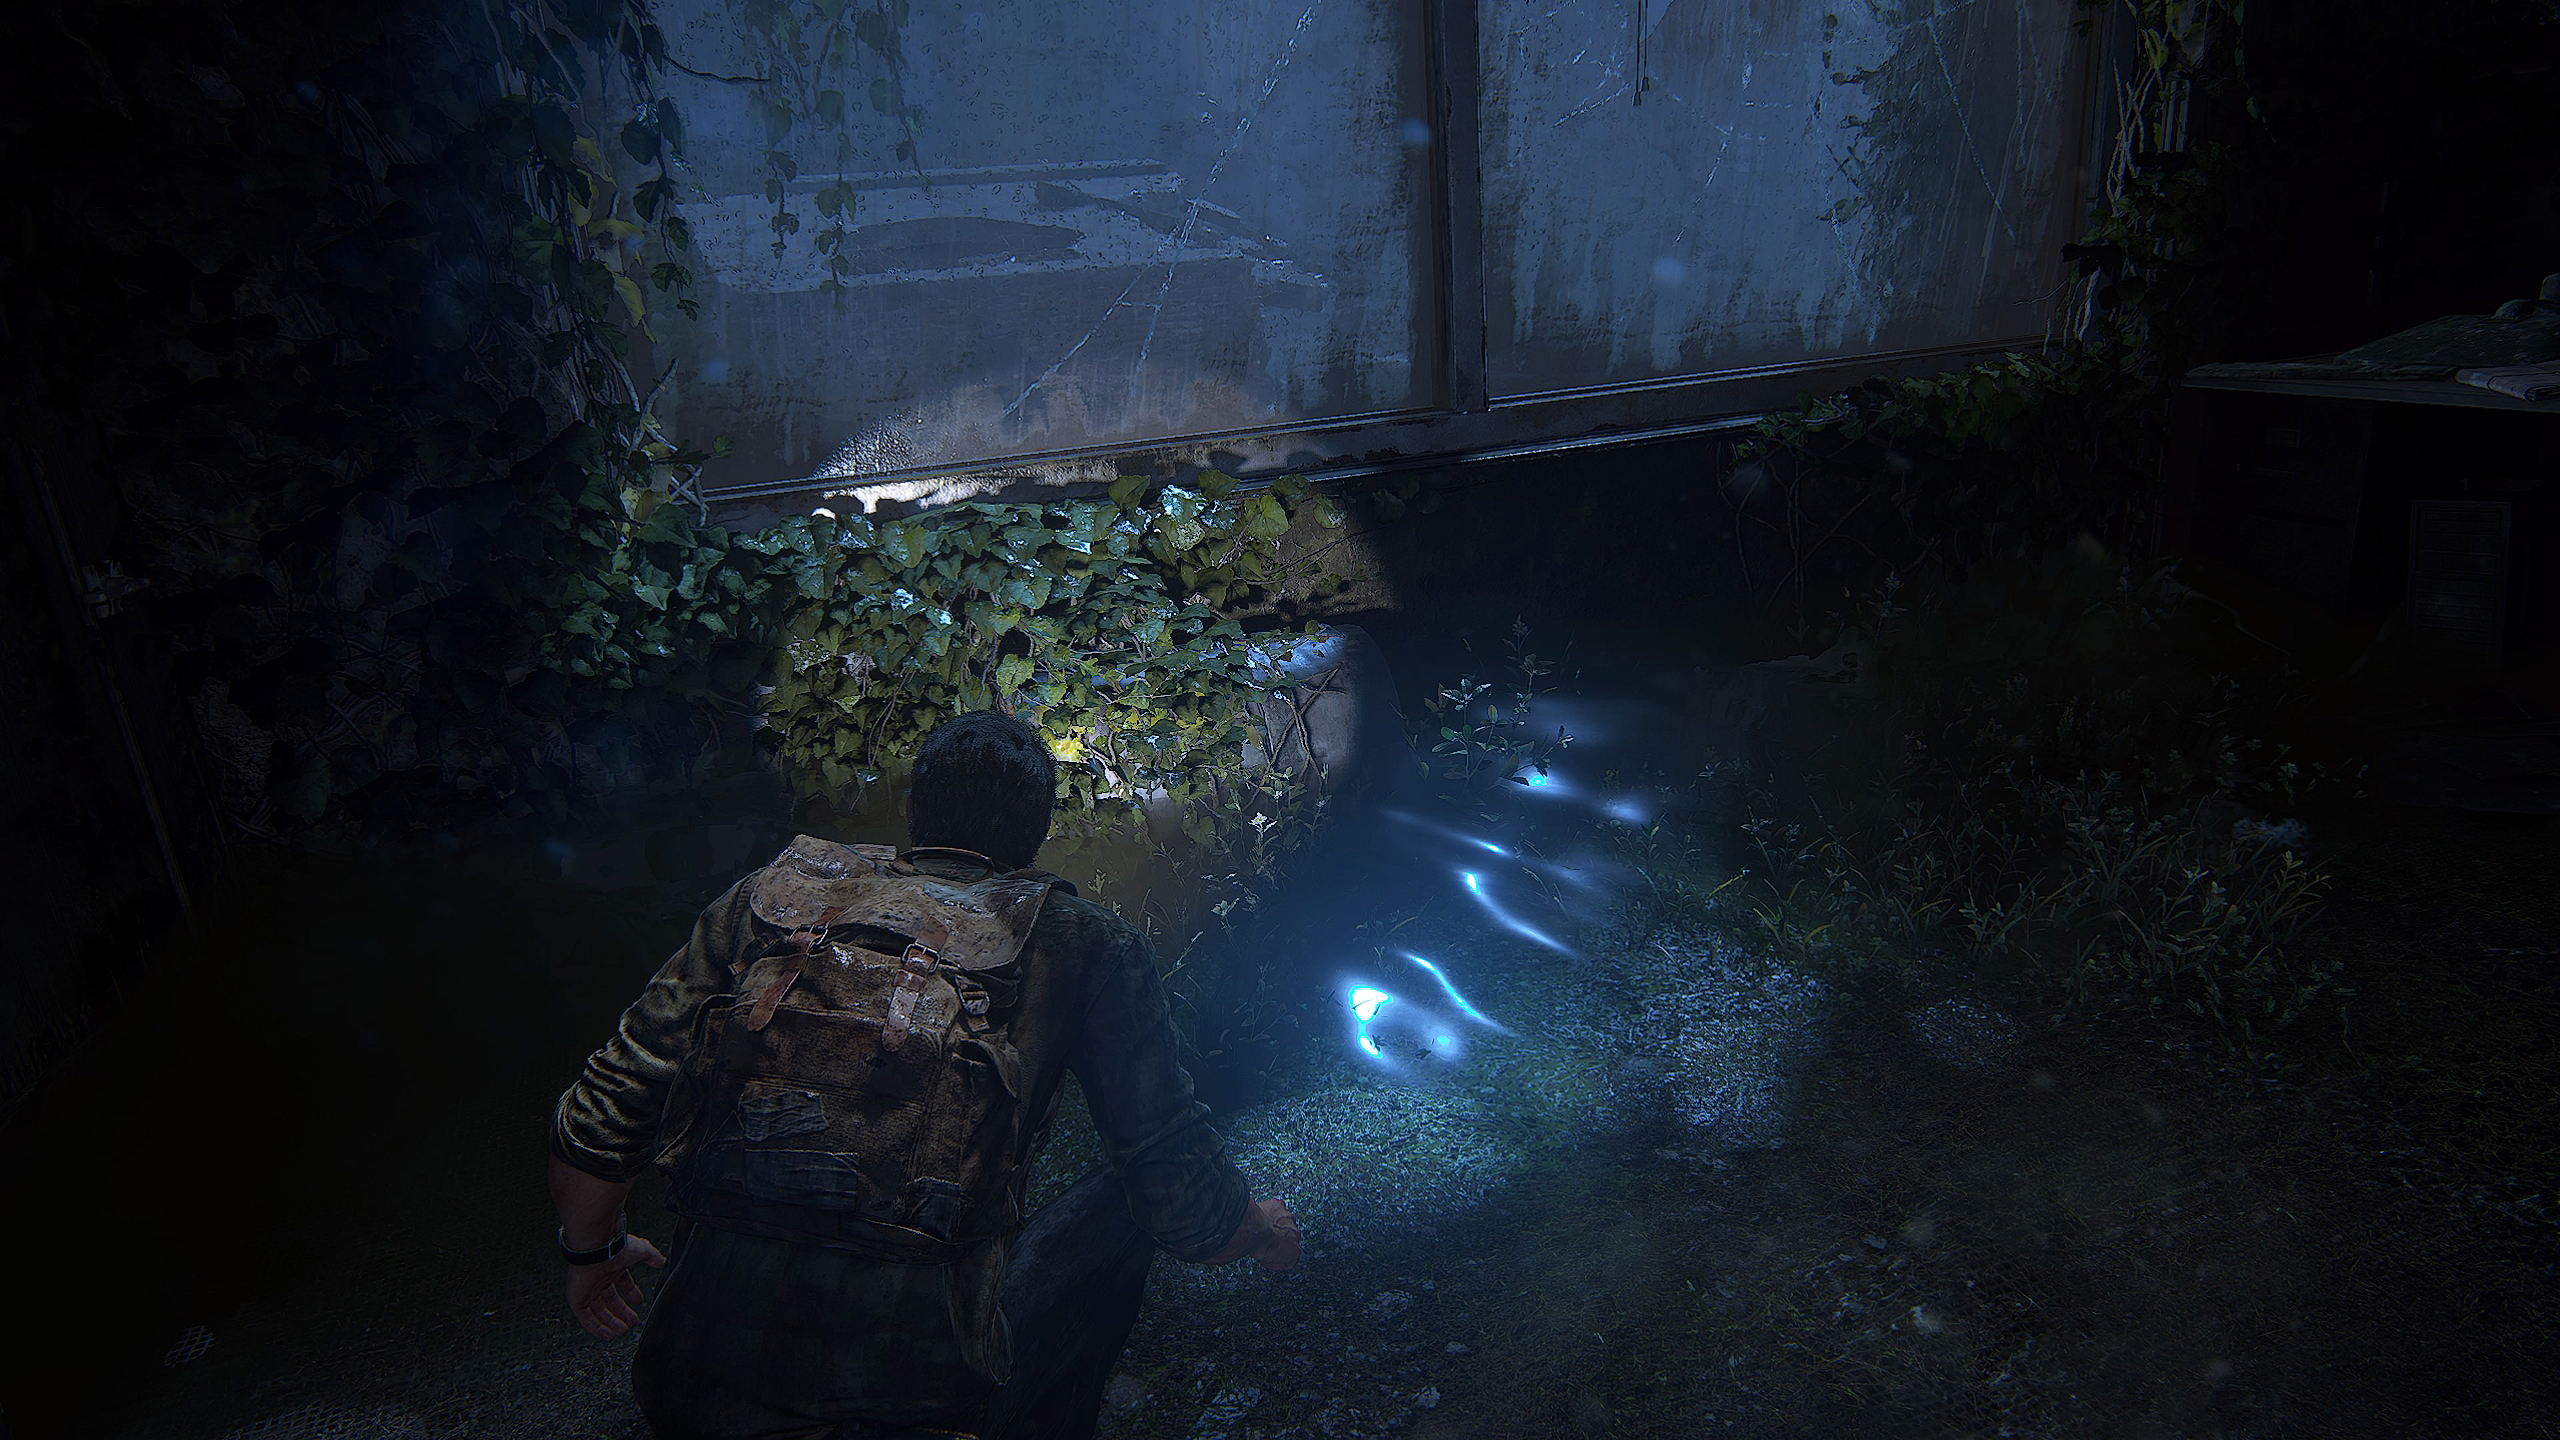
You also don't need to enter photo mode at all to capture an in-game photo, and on most consoles, you should be able to take a screenshot very easily with the tap of a button or the "share" feature. While it's definitely a bonus to tweak the scene using photo mode, it's not always necessary, sometimes a virtual scene can have the perfect lighting just by luck or the perfect timing.
The best camera deals, reviews, product advice, and unmissable photography news, direct to your inbox!
There are three lights to play around with in this photo mode, conveniently named 1, 2, and 3, and can be fully controlled and operated using the analog thumb control sticks to find the right angle of each light and control the intensity of the light adjusted through the sliders in the photo mode tab.
Toggle the square button on your controller to hide the photo mode menu and make your image clear for snapping a screenshot of the final result.
What other video games support photo modes?
More advanced photo modes such as the one on Red Dead Redemption 2 can allow users to change almost anything about the scene, such as the time of day, character position, and even the weather, but I guess this makes things just a little too easy in my opinion, instead of having to work with the scene you’ve got. Plus with TLOU the game setting is intended to be pretty gloomy so changing the weather kinda defeats the point of the game.
The photo mode on TLOU Part I is however seriously lacking in the ability to have complete free-roam of the scene, and navigate towards other characters like Ellie or Tess. This meant if I wanted to capture an image of Tess, I would need to wait until she is in the frame or close enough to Joel before entering photo mode and having to navigate the camera and angle toward her.
Virtual gaming, and in-game photography as it is commonly known, is an extremely fun pastime, especially for those with an interest in both gaming and photography. You can easily spend hours and lose yourself in these virtual environments with endless creative ways to make use of the landscapes and scenes around you for stunning results.
In-game photography is also a great way to practice for photographers who can’t get out much or don’t shoot as often as they’d like. Game photography can be just as cathartic as the real thing, and is being taken very seriously as an art form in the industry now too.
• You may also be interested in the 10 best games for virtual photographers, as well as the 14 best photography video games. Make sure you have one of the best gaming cameras to enhance your live streaming experience, and you can now create 3D models using your iPhone thanks to Epic Games.
• Discover how Photography based videogames are gaining popularity, and why we think Pokémon Snap is inspiring the next generation of photographers, and check out this digital image from Red Dead Redemption 2 that won Virtual photographer of the year
Beth kicked off her journalistic career as a staff writer here at Digital Camera World, but has since moved over to our sister site Creative Bloq, where she covers all things tech, gaming, photography, and 3D printing. With a degree in Music Journalism and a Master's degree in Photography, Beth knows a thing or two about cameras – and you'll most likely find her photographing local gigs under the alias Bethshootsbands. She also dabbles in cosplay photography, bringing comic book fantasies to life, and uses a Canon 5DS and Sony A7III as her go-to setup.

