Watch video above: How to create your own David Hockney portrait montages
At the end of last week, we heard the sad news of the death of celebrated artist David Hockney.
Best known for his paintings, Hockney also used photography as part of his work. Back in the 1970s and 80s, the Yorkshire-born artist started piecing together Polaroids into collages that showed a subject from multiple angles. Hockney’s ‘Joiners’ captured the public imagination and made him a household name.
Since then the technique has been much imitated, to the point where it has almost become a bit old hat. There’s even an online app called the Hockneyizer, which will do the entire job for you, but that is about as far from the original spirit of the idea as you can get!
If you experiment with this technique, though, you will find that there is still life in it – in the unusual point of view that it creates, and the amazing effect that it has on an everyday scene.
• Get more photoshoot ideas

To begin, we shoot a set of portraits taken from different angles, some cropped in tight and others looser. Variety is a good thing here, as subtle differences between the frames will help to set them apart. And then, from here, we’ve got two options.
We can either arrange our collage in Photoshop, piecing the images together and then adding shadows to simulate real photographs, or instead we can take the old-school approach by printing out the photos and physically arranging them by hand.
We’ll explain both methods here, and you'll be able to see the differences in each approach and which yields your preferred results…
How to shoot your 'Joiners'

01 Camera settings
These tend to be our stock exposure settings for outdoor portraits: manual mode, shutter speed 1/250 sec, aperture f/4, Auto ISO. This way the shutter speed will be fast enough to freeze the action, and the wide aperture blurs the backdrop.
02 Move around
Take a series of shots of the face; you’ll need at least 20. Move around slightly
as you shoot to capture different angles. Try adding variety with your focus point; perhaps focus on the closest eye in one frame, and the furthest eye in the next.
03 Subject movement
As well as shifting your camera position, ask your subject to move in-between frames. Shoot them straight on, try capturing their profile, or position them at 45 degrees. For a strong shape to your collage, keep the neckline clear from clothing.
04 White wall
You can try the technique on any scene, but if you want to create the kind of strong shape of the head shown in our example, a simple clean backdrop will work best as it helps to define the shape of the face. We used a plain white outdoor wall here.
05 Soft light
We shot our set of portraits outdoors on a cloudy day. Being soft and diffuse, this kind of light is flattering for portraits and perfect for the Joiner technique, as it means that the light stays even and consistent across the different frames.
06 Zoom lens
You’ll want to vary the crops as you shoot, with some frames tight to different parts of the face and others further away. A zoom lens will help you to shoot in this way. At longer focal lengths, brace the camera as you shoot to avoid shake.
Method 1: Digital David Hockney collage

01 Convert all images to mono
In Adobe Bridge, right-click an image and ‘Open in Camera Raw’, then convert it to mono. Click Done. Right-click the image, choose Develop Settings>Copy Settings. Select the other files, right-click and select Develop Settings>Paste Settings.

02 Copy and paste
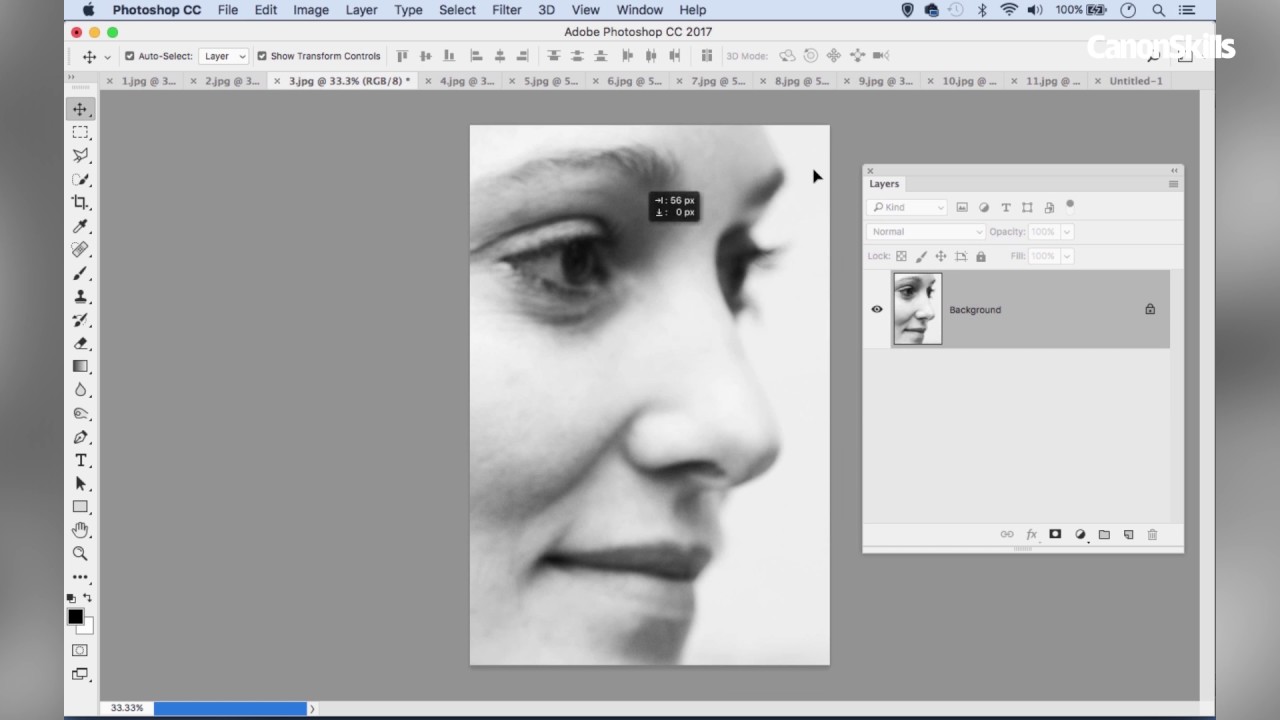
Open one image, use the Rectangular Marquee tool to select a portion, then Ctrl+C to copy. Go to File>New and make a new A3-sized document with white background. Paste in the selection. In the Layers panel, right-click the layer and select Convert to Smart Object.

03 Resize and position
Select the Move tool, tick Show Transform Controls and Auto-select Layer in its options. Move the piece roughly into position and click the corner of the box if you need to resize (hold Shift). Open another image, select an piece, paste it in and position again.

04 Create shadows
Lastly, we’ll add shadows. Double-click any layer to open the layer styles box. Highlight Drop Shadow, then adjust the settings to tweak the shadow size and position. Once done, hold Alt and drag the drop shadow effect from one layer to another to copy it.
Method 2: The old-fashioned approach

01 Make prints
We used a high-street printer to make our set of 6x4 prints – some verticals, others horizontal – then laid them out on a white table. As in Photoshop, we can play with positions and move prints up or down, but it feels more authentic to do it by hand, and the results are more random.
• Best printers for photography

02 Set up a copy table
For even lighting, position two equally powerful lamps either side of the artwork at a 45-degree angle. Set up a tripod directly above the prints and angle your camera straight down. Some tripods enable you to reverse the central column so that the camera faces downwards, which can help.

03 Shoot the prints
Check for hotspots and reflections over the prints and adjust the position of the lights if necessary. Ensure that the tripod legs don’t cast shadows over the print. Set your camera to aperture priority at f/8, at its base ISO, then take your shot. Now you can fix any color casts or convert to mono in Photoshop.
Read more:
The best camera for portraits: cameras and lenses perfect for portraits
The best lens for portraits: our pick of the best 85mm lenses right now

