Video: how to photograph birds in flight
Want to know how to photograph birds in flight? This video shows you hot to take tack-sharp shots of birds of prey
Watch video: How to capture birds in flight
Photographing any animal can be hard enough, but capturing birds in flight is one of the difficult techniques to master. Birds are erratic, extremely agile and incredibly unpredictable – making it hard enough to keep them in the frame, let alone in focus!
You can't just use any old optics; the best lenses for bird photography are a must, but as with any aspect of photography it's about more than just the gear. So we visited the Hawk Conservancy Trust in Andover, England, to hone our snapping skills during their fantastic flying displays.
With birds regularly flying close (and sometimes into) the crowd, you don’t need to invest in a big 600mm lens for these displays; anything above 200mm (in 35mm terms) will do. And unless you’re taking shots in particularly dark woodland, or at dusk, a fast aperture isn’t a must, either.
In fact, using a narrower aperture of around f/8 to create a larger depth of field will make it slightly easier to capture your subject in focus. A shutter speed of 1/1000 sec or faster is a good place to start, and we’d recommend shooting in Shutter Priority mode so that your shutter speed will remain constant even if your subject moves in and out of uneven patches of light.
The AF area mode you choose should be the one that works best for you, but if you’re a dab hand at tracking then you may find single point AF is the most precise. Once you’ve mastered the technique, you can start refining your flight skills!
How to photograph birds in flight
1. Go long
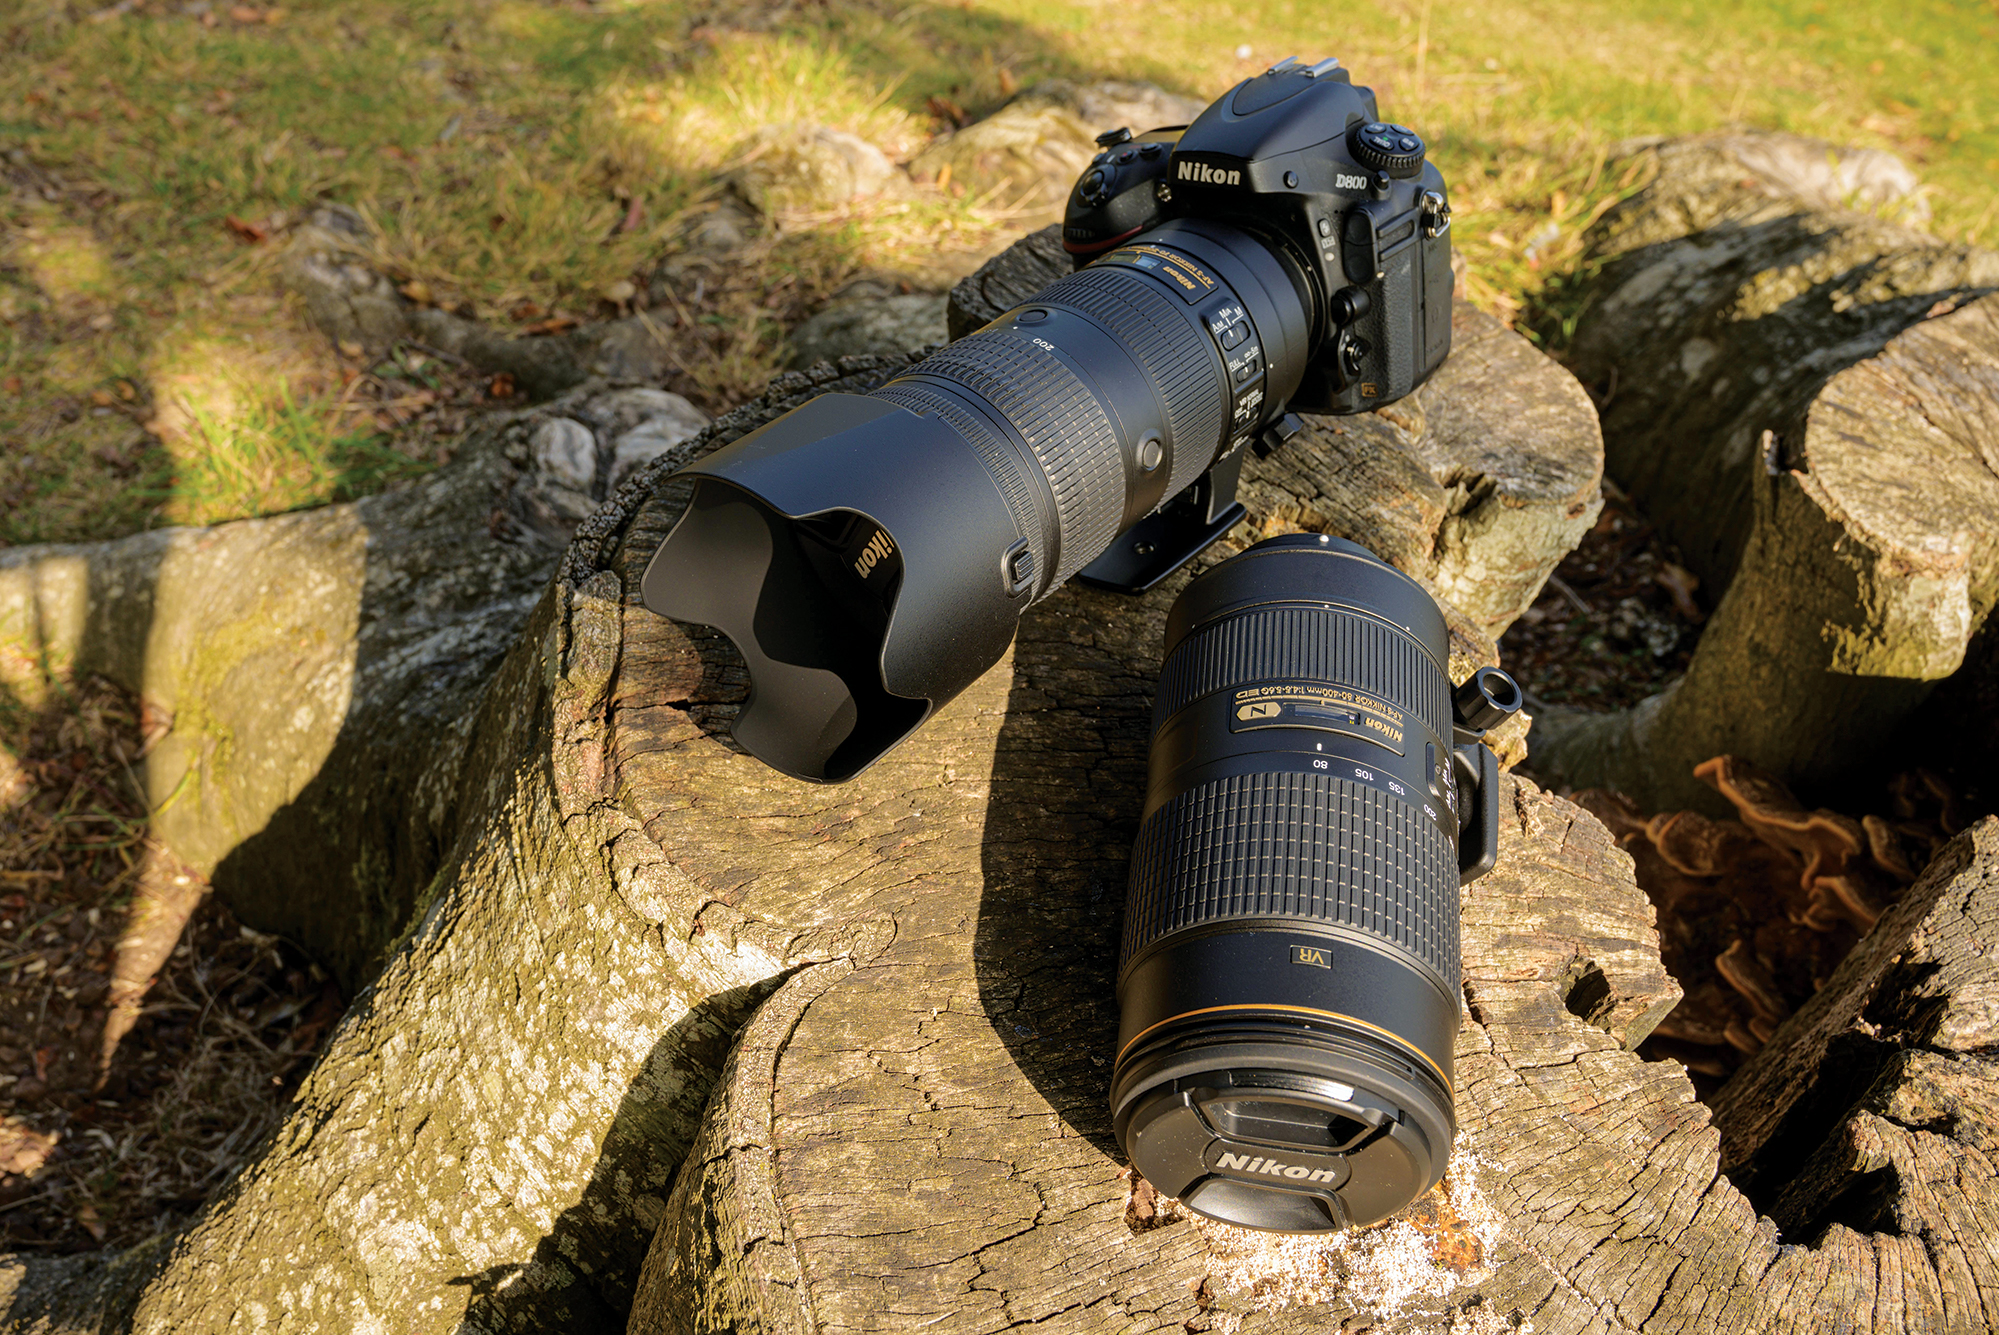
Use a lens that can at least reach 200mm. We shot our images with a Nikon AF-S 70-200mm f/2.8E FL ED VR and 80-400mm f/4.5-5.6G ED VR (both on a Nikon D800). The latter is proof that you don’t need a super-fast lens to take great birding images. While we prefer the versatility of a zoom lens, there’s no denying the imaging capabilities of a quality prime. Either will serve you well.
• Looking for the best cameras for wildlife photography?
2. Attach your hood
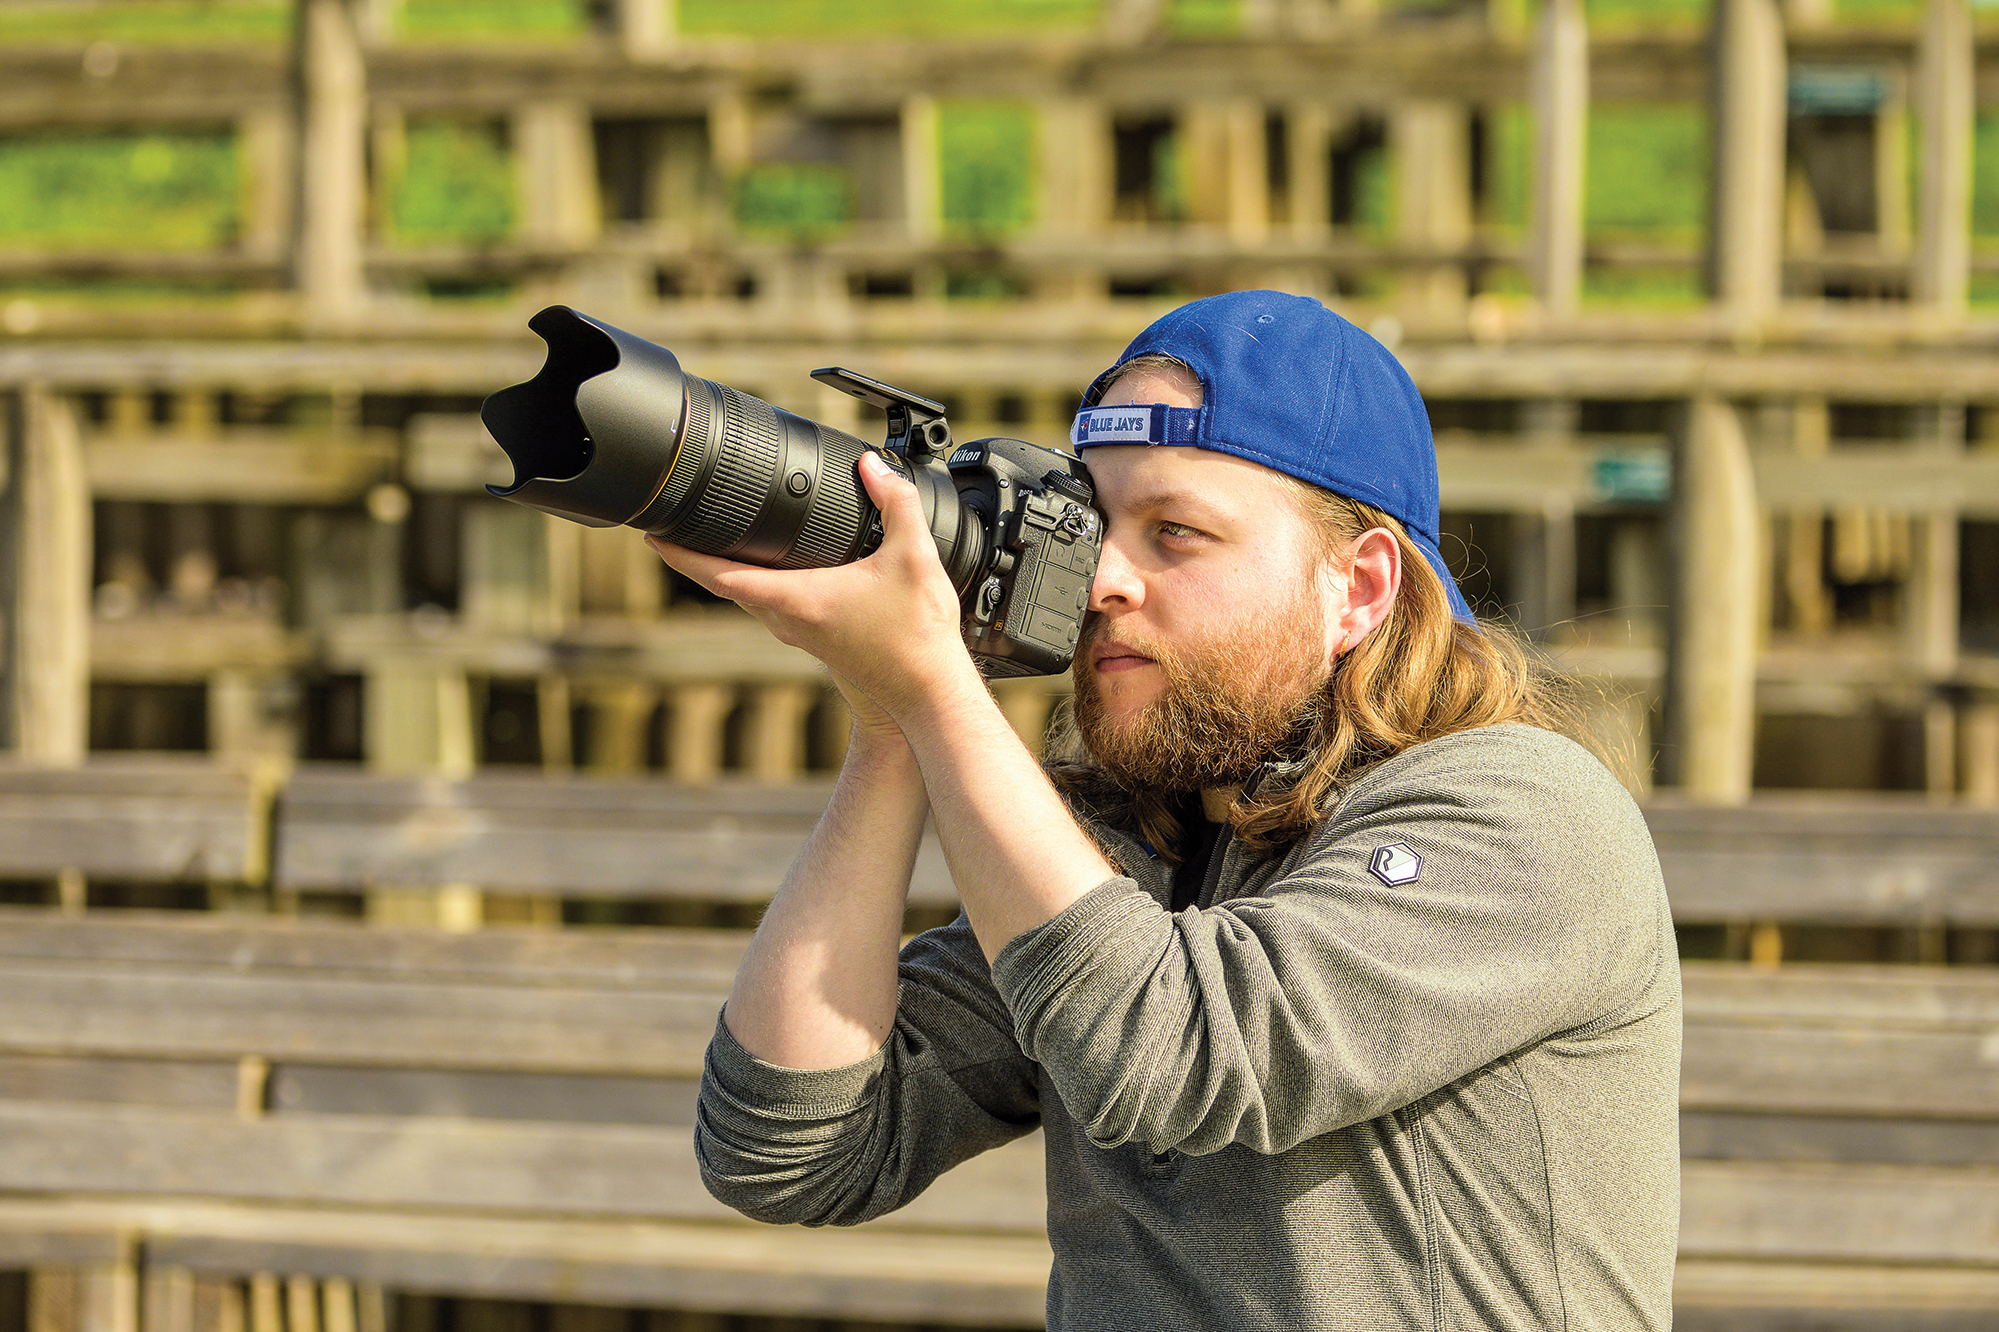
Attach a lens hood if you have one. This will help prevent lens flare and glare, which is particularly helpful when you’re tracking fast-moving subjects through the air. It will also protect your front element should you accidentally pan into a previously unseen fence post. It happens…
3. Prime positions
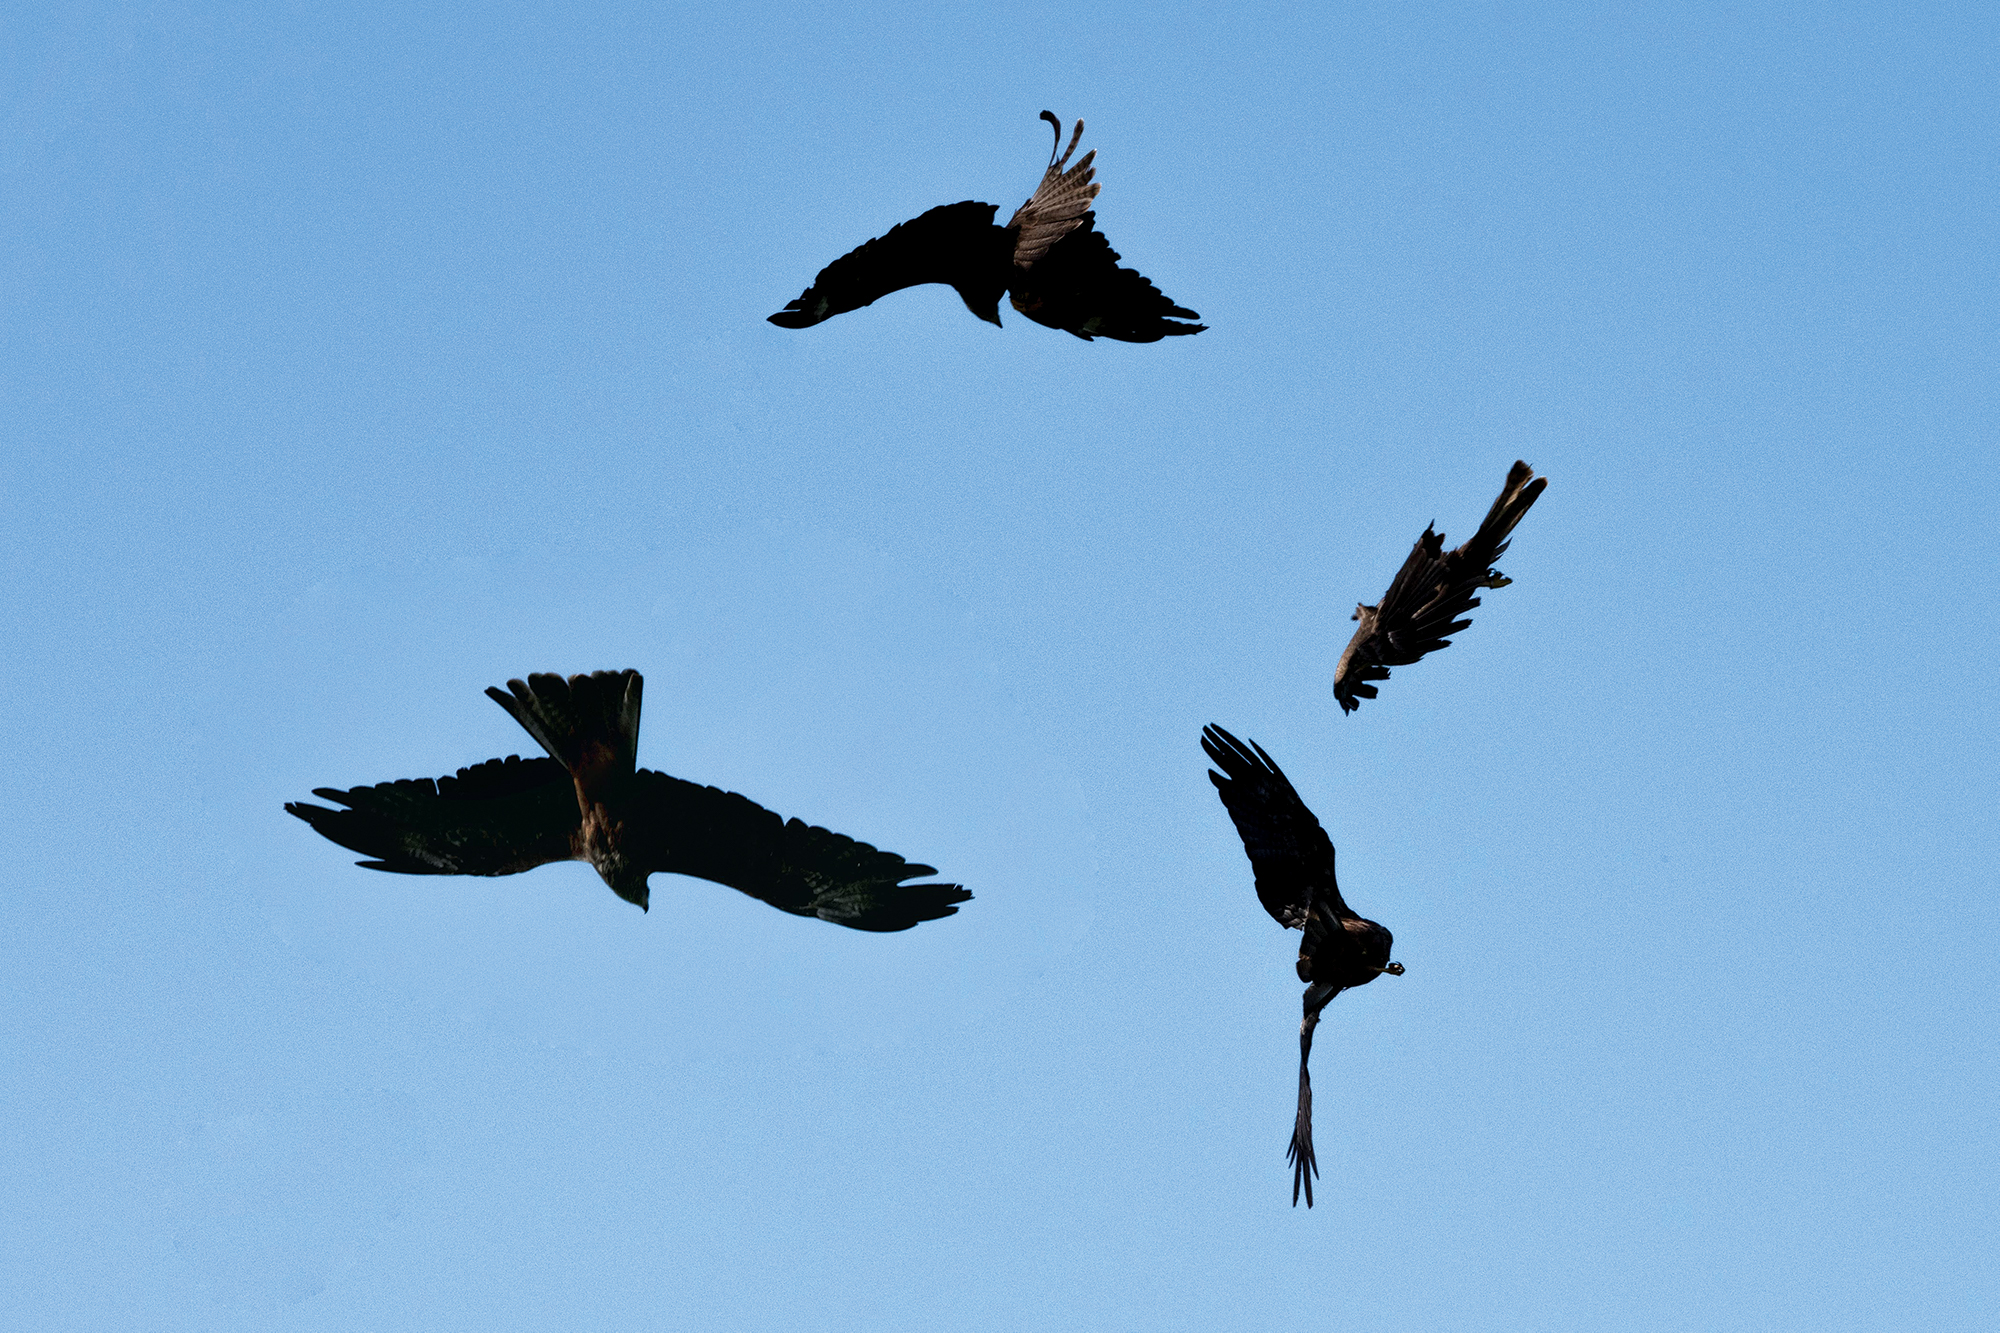
While you can’t control your subject, you can control where you stand. If the sun is behind your subject it will be backlit, which can create an attractive silhouette. But if you want to capture a bird’s plumage in great detail, make sure that the natural light is illuminating it accordingly.
4. Camera settings
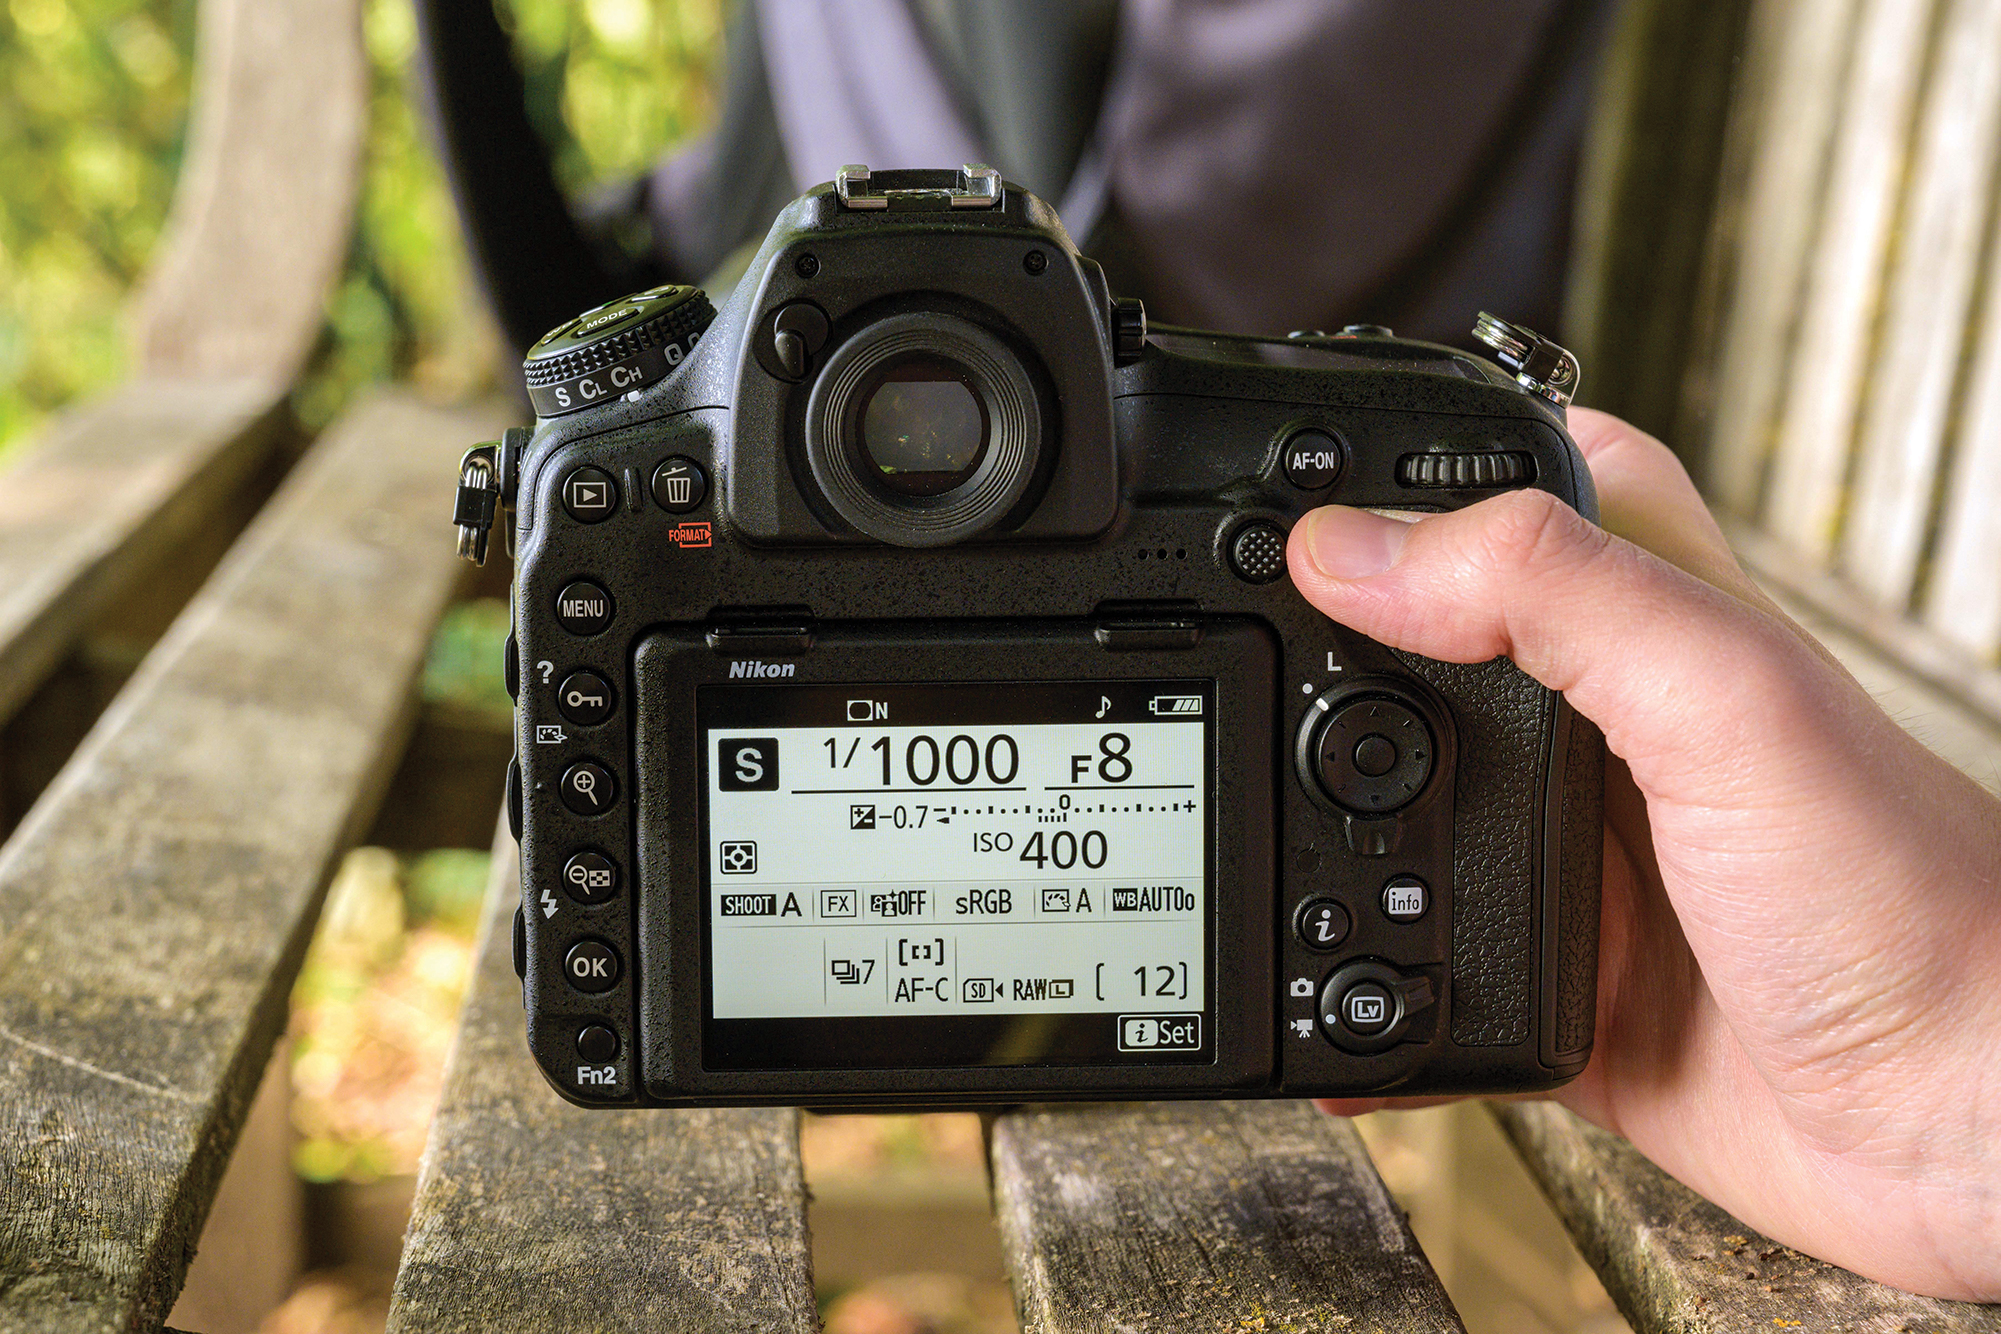
A shutter speed of 1/1000 sec or faster will freeze your subject in midair. If there’s enough light, an aperture of around f/8 will make it easier to nail your focus due to the greater depth of field. Based on your camera’s low-light capabilities, choose a suitable ISO to compensate.
5. Focus tracking lock
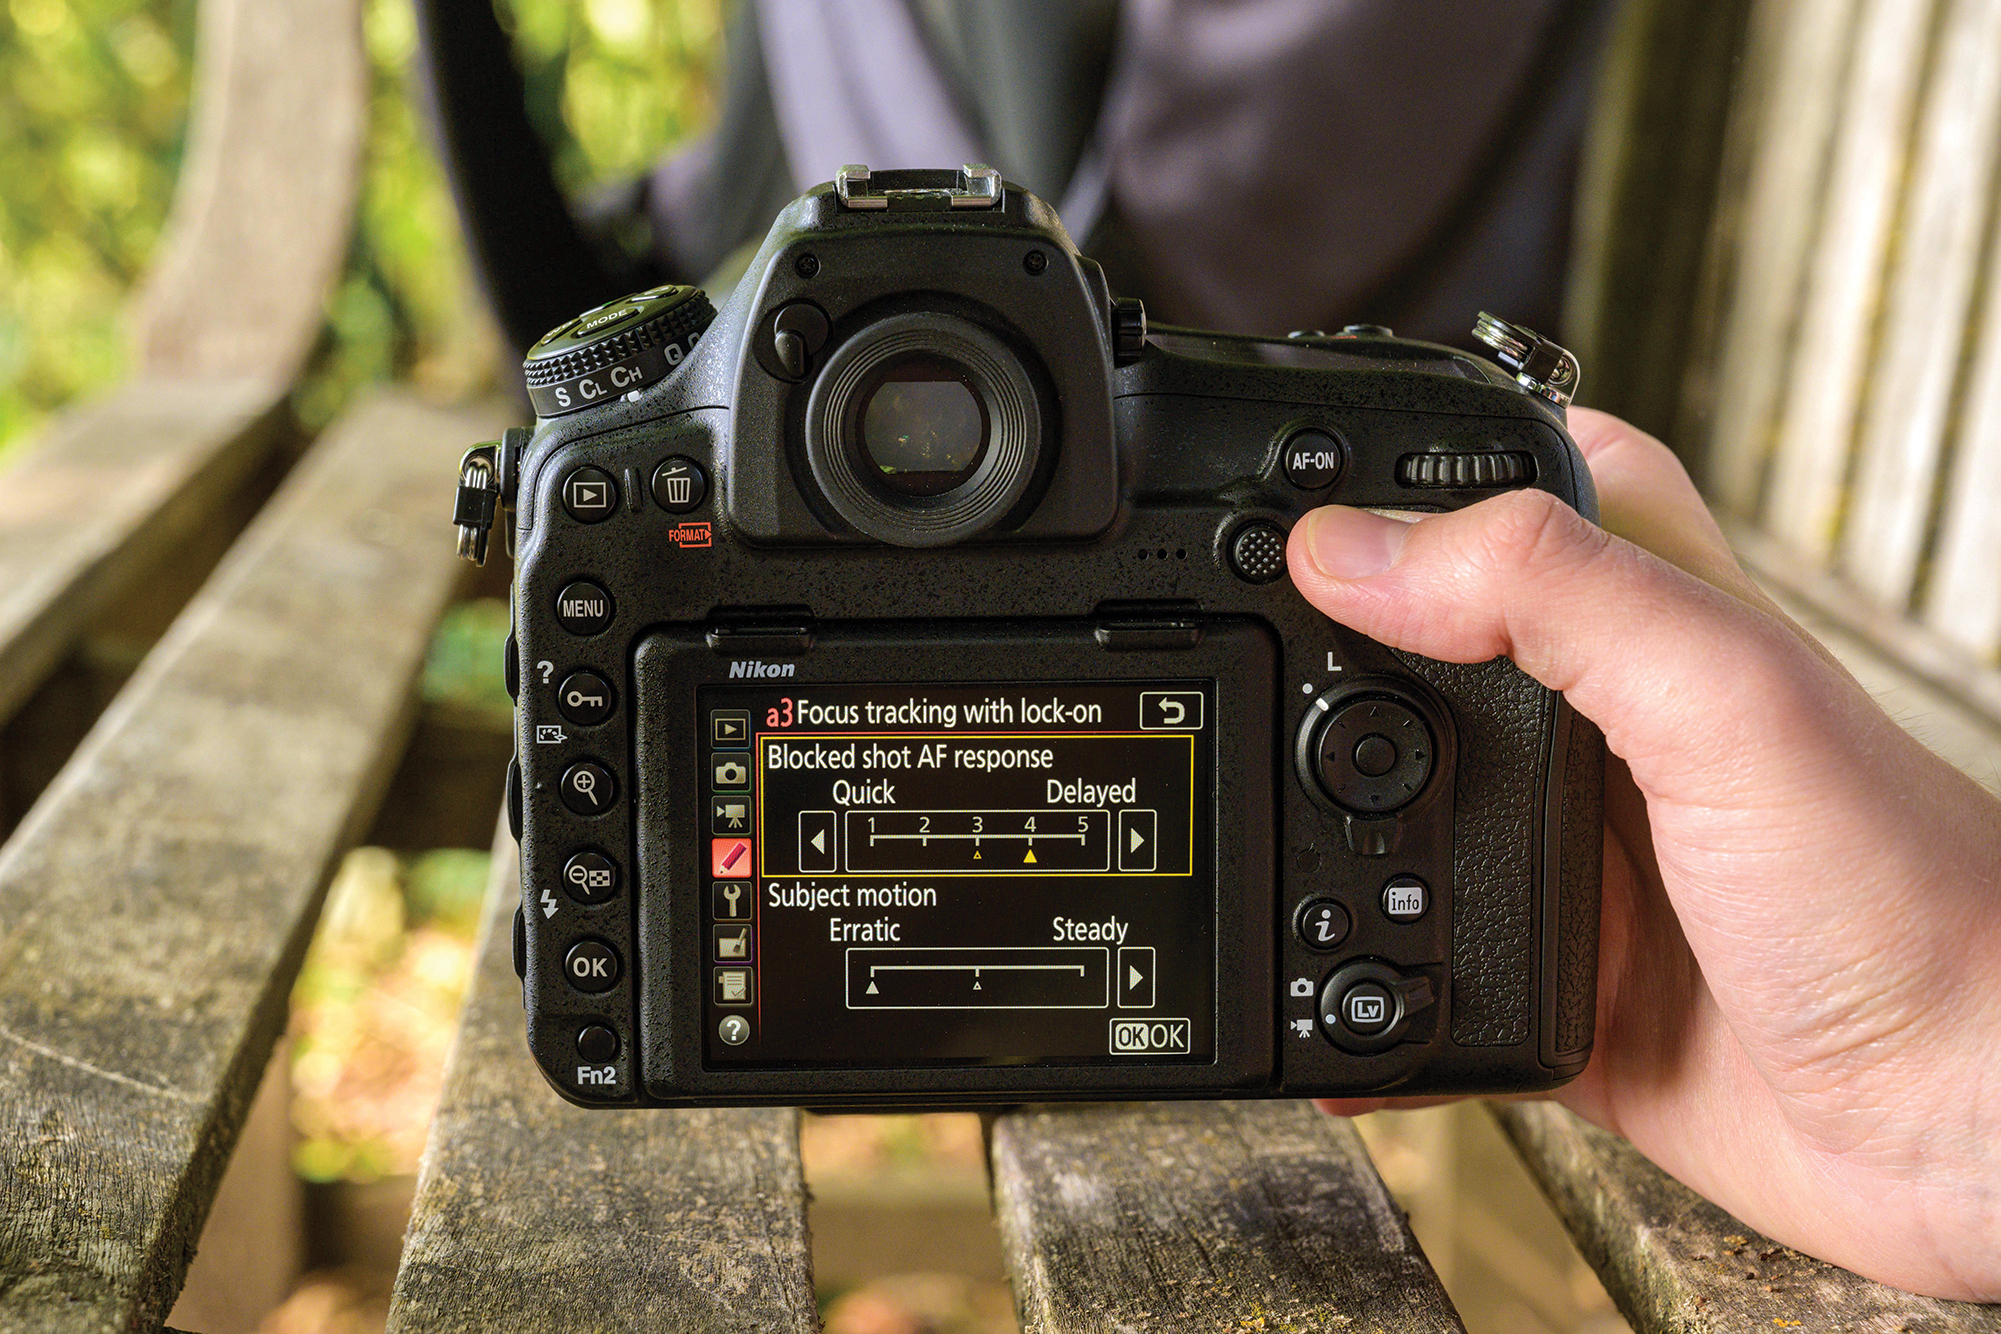
On our Nikon D800 we're going into the Custom Setting Menu to select Autofocus > Focus tracking with lock-on. Blocked shot AF response is helpful when your subject is prone to passing behind objects. The higher the number, the longer the AF will delay shifting focus. This helps you to maintain focus on your subject when it reappears.
Advanced mirrorless cameras, like the Nikon Z6 II and Nikon Z7 II, Canon EOS R5 and Canon EOS R6, and Sony A1 and Sony A9 II have fantastic animal AF modes that will make the process even easier!
6. Avian autofocus
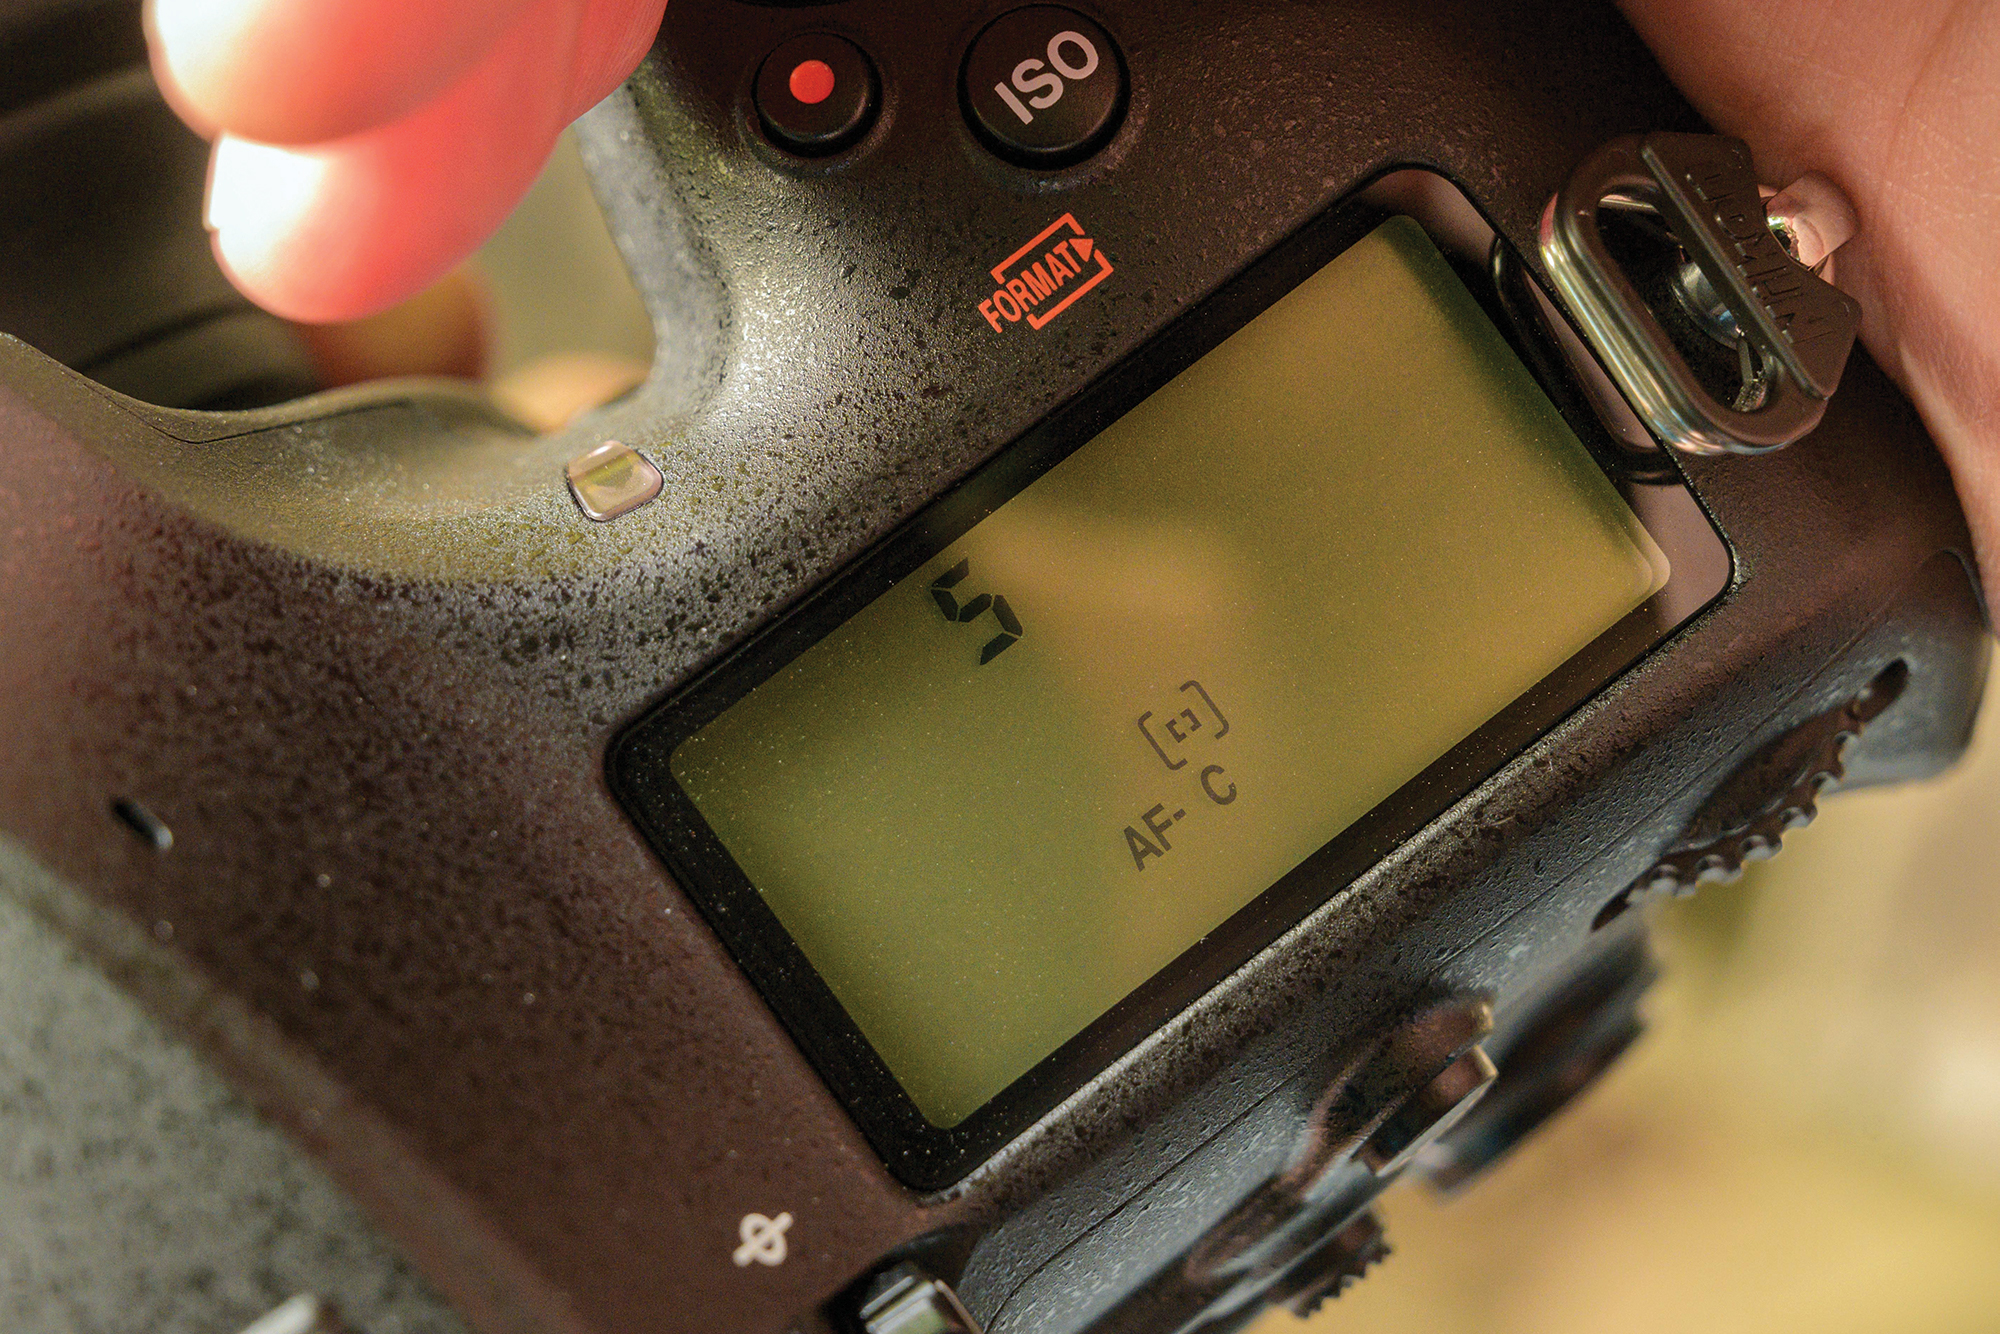
Switch to your camera’s fastest burst mode and use AF-C to maintain focus as you track your subject. You can experiment with your camera’s AF Area Modes, but we had the most luck using Single Point AF, which enables you to precisely focus on your subject’s head.
Bird photography tips and tricks
1. Beautiful bokeh
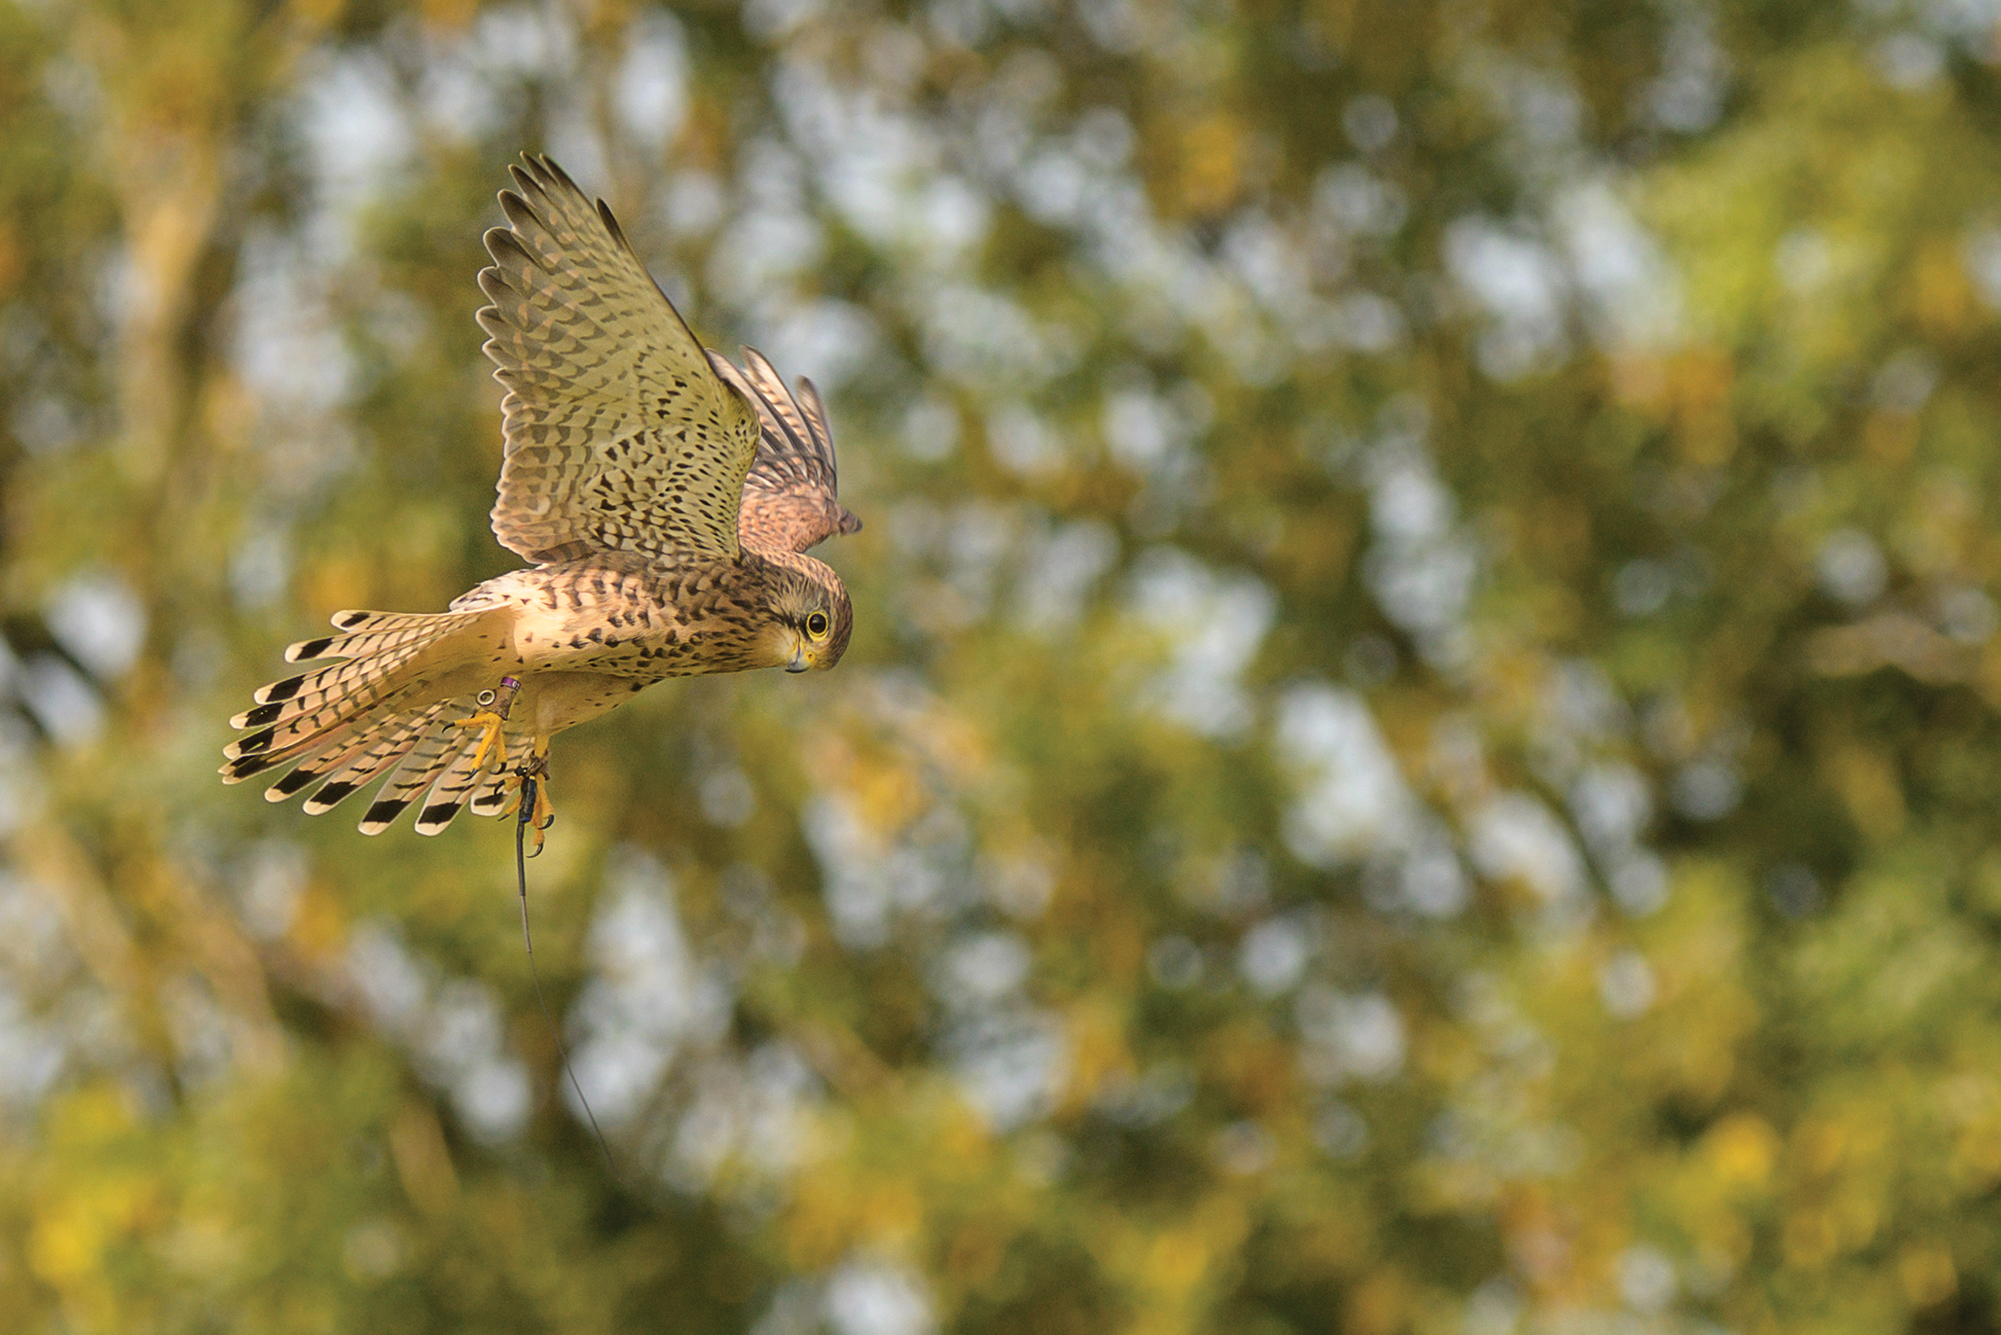
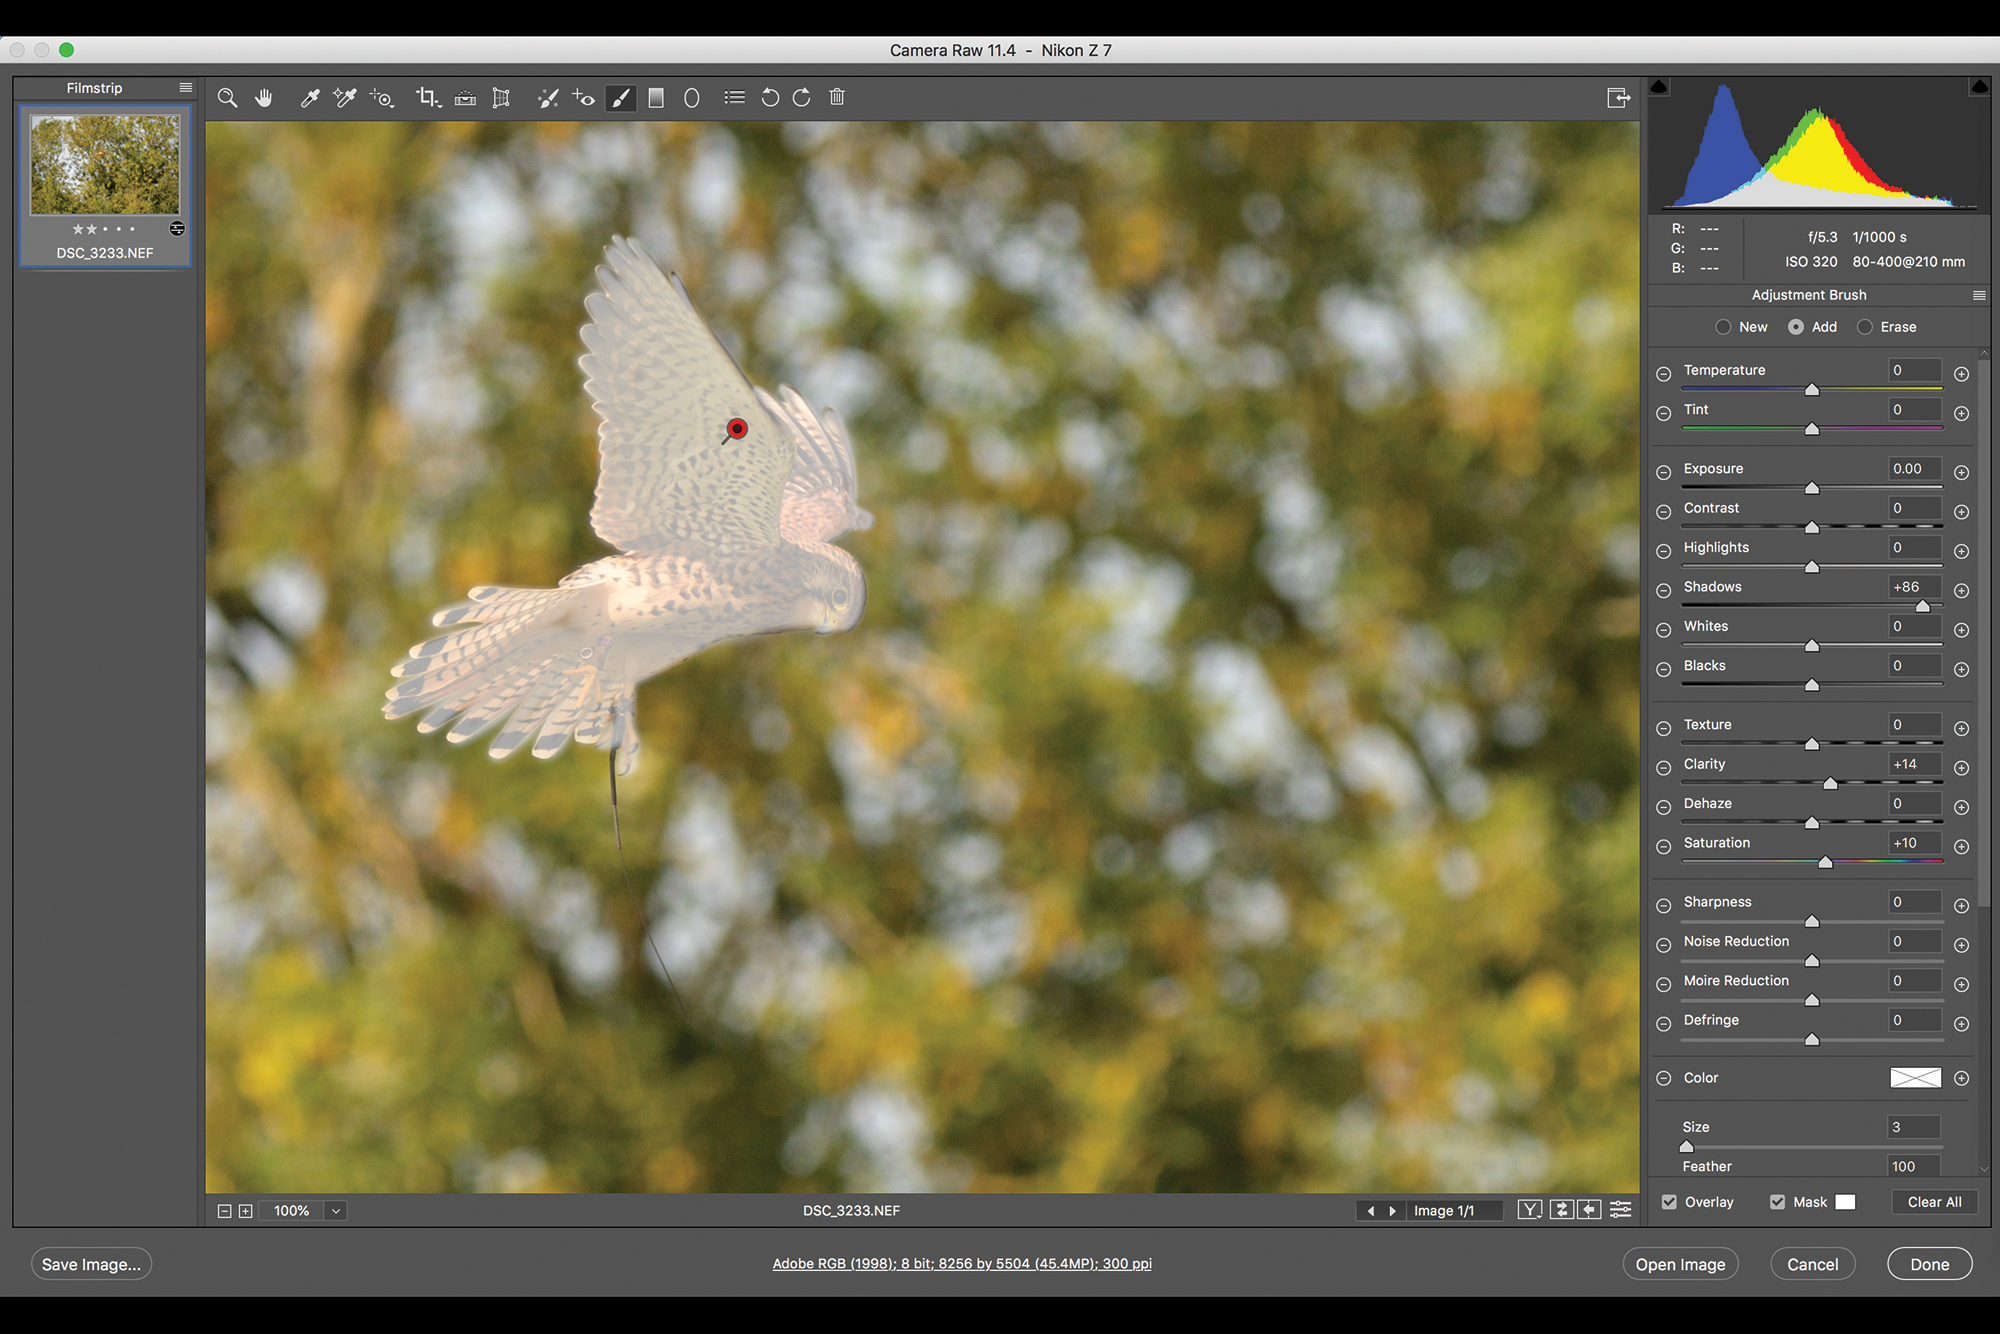
You don’t need to own a super-fast f/2.8 telephoto lens to capture attractive discs of bokeh; the long distance between this hovering kestrel and the trees in the background helped to produce the shallow depth of field. The image was taken at a focal length of 210mm, with an aperture of f/5.3.
2. Add a little punch
We further separated the raptor from the backdrop by using the Adjustment Brush in Camera Raw to mask the subject. Sliders including Clarity, Shadows and Contrast were then used to add extra punch, so the bird really popped against the background.
3. Taking off and landing
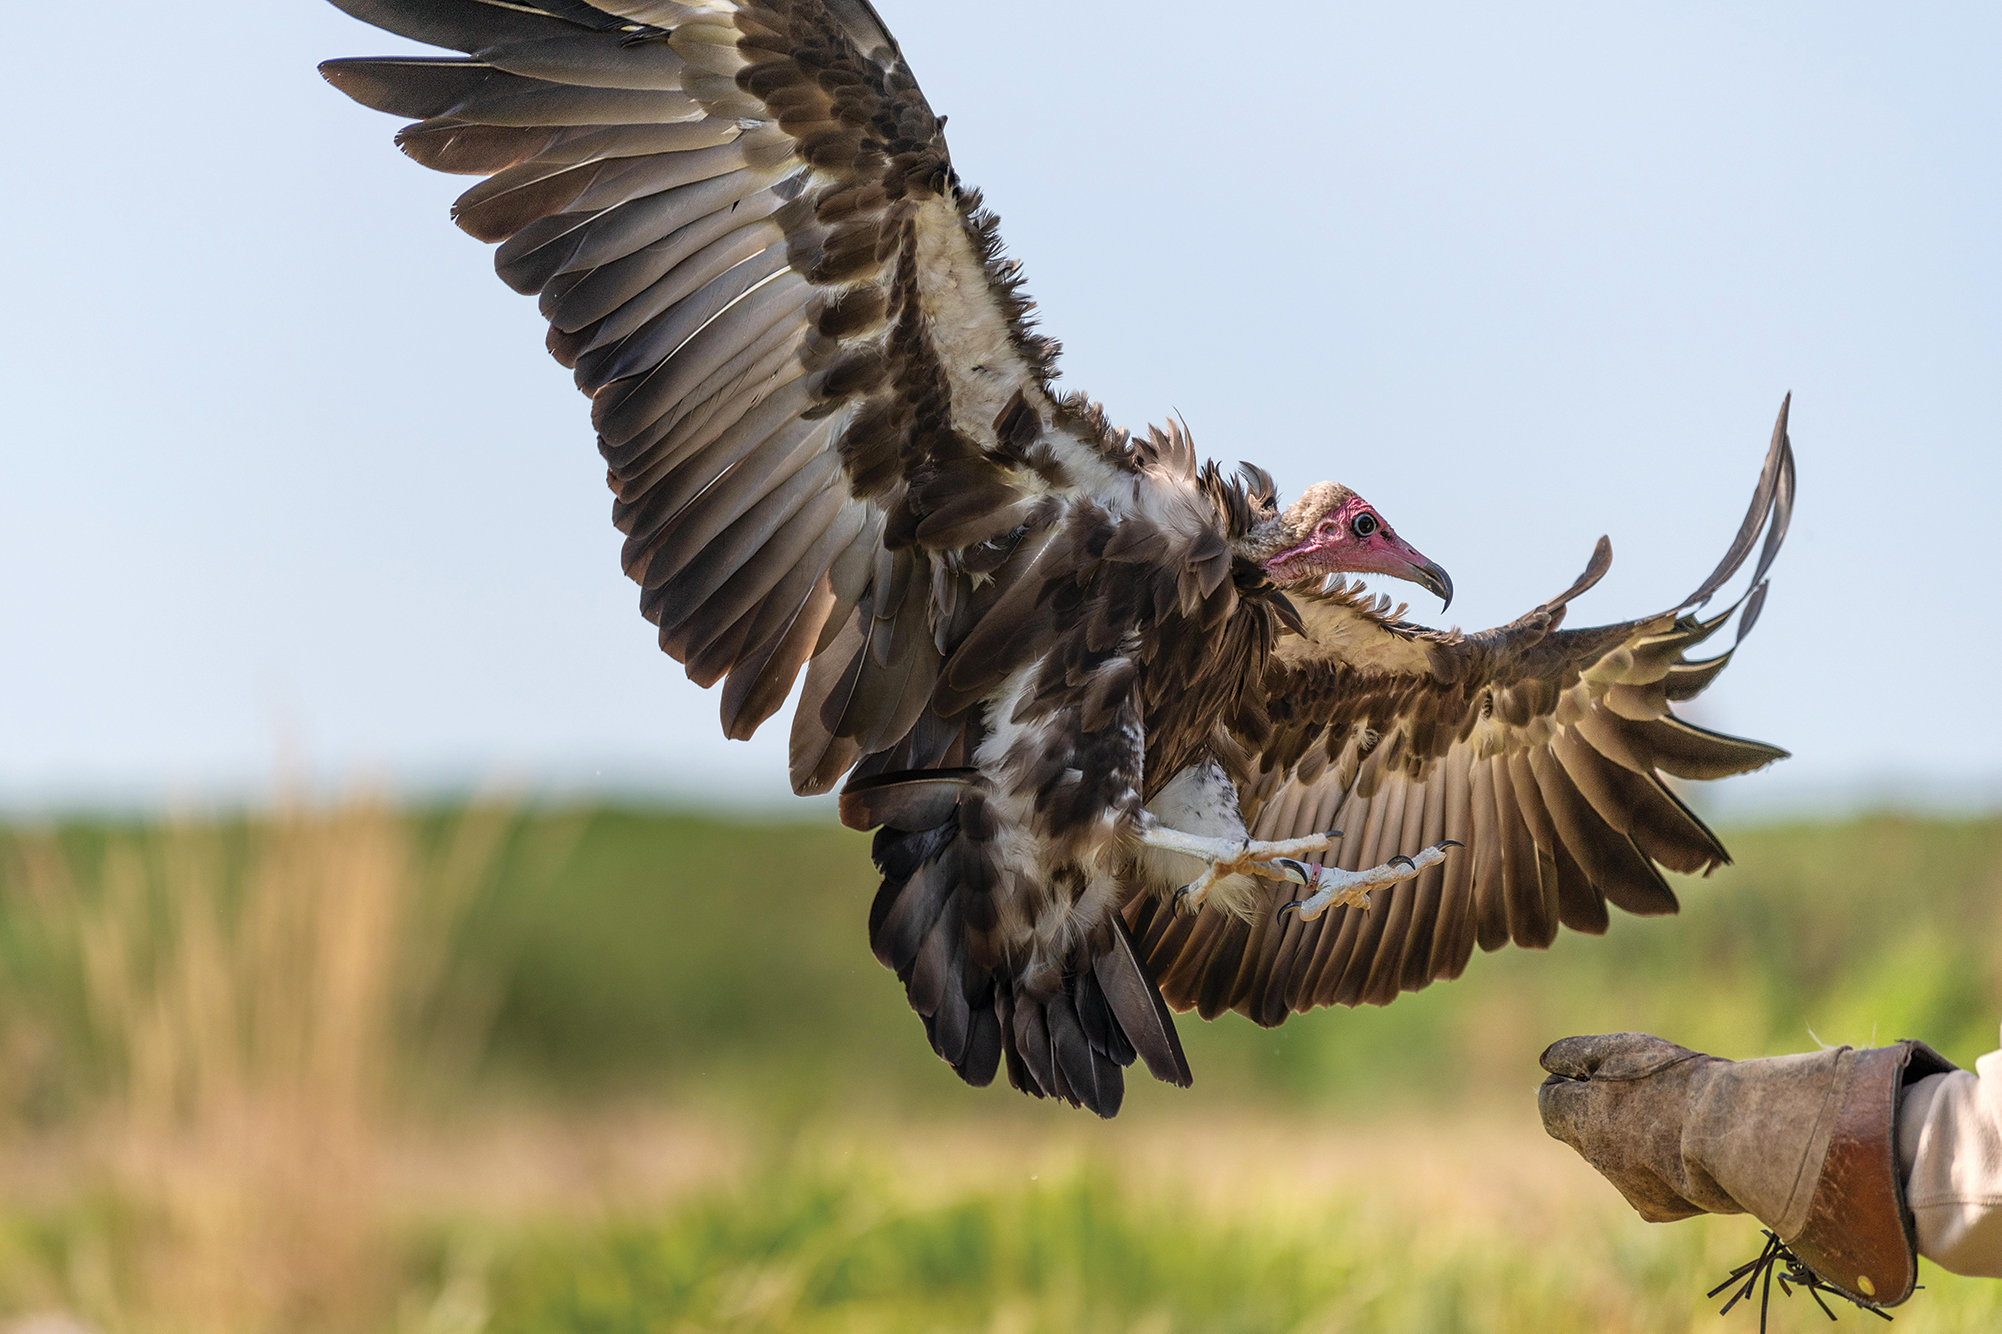
Birds taking off and landing are great moments to capture. Wildlife pros will often spend days and weeks studying their subject’s behavior, so they can develop a third eye for sudden moments of action. Thankfully, the displays meant birds were taking off and landing all the time, so we had plenty of chances to capture one.

4. Turn VR (lens stabilization) off
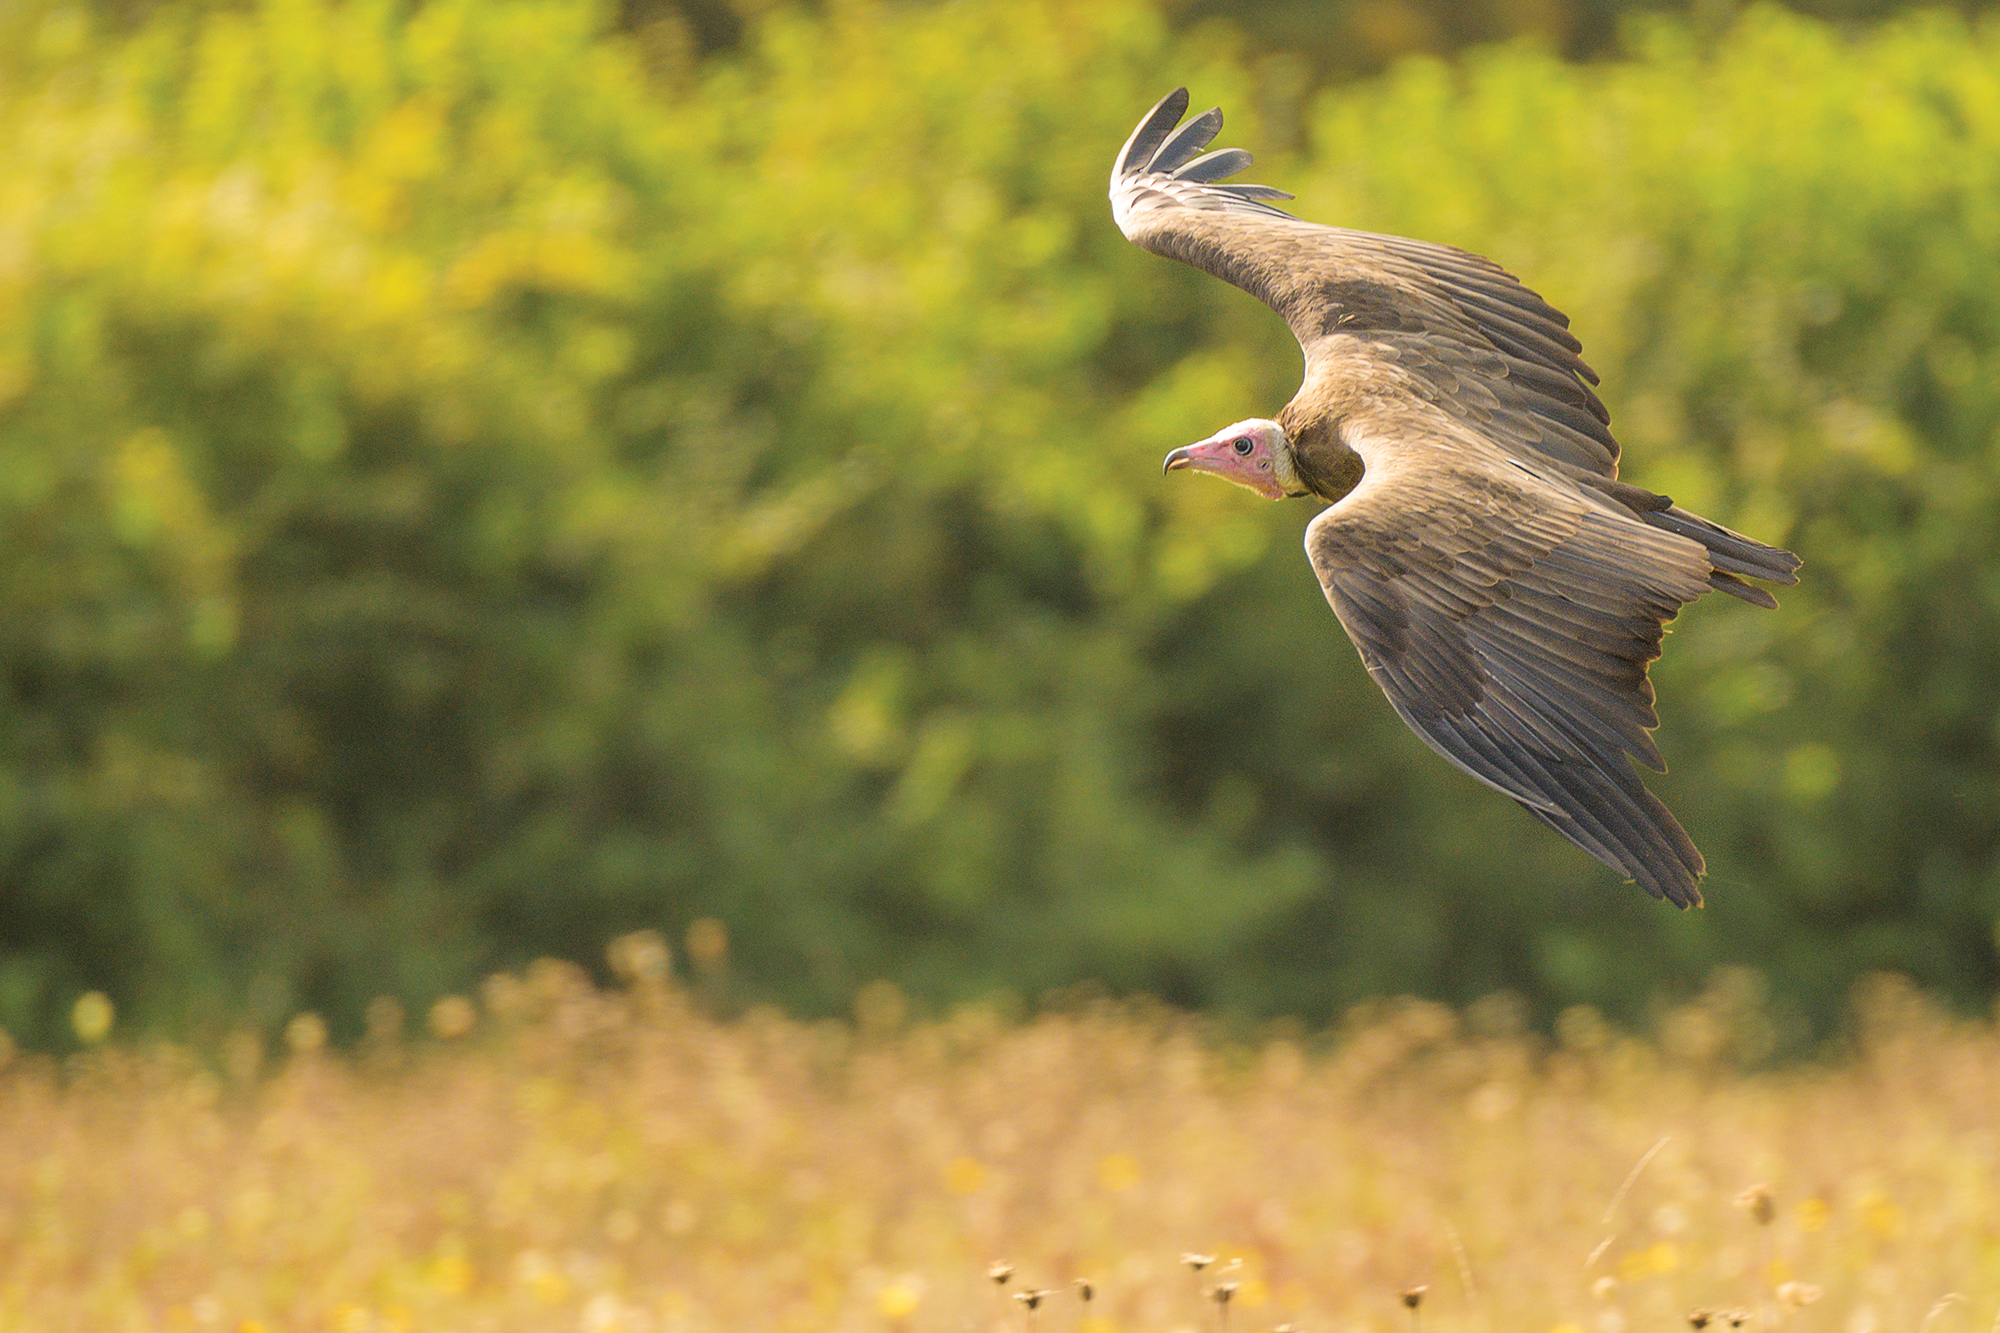
The hooded vulture (previous step) was shot at a fast 1/4000 sec. As you can see, even the very tips of the bird’s wings are frozen still. If your lens doesn’t feature VR, don’t worry, VR won’t have any effect when shooting at such fast shutter speeds as it is most effective below 1/500 sec.
5. Composition
Once you’ve mastered capturing sharp subjects in flight, you’ll want to pay more attention to your composition. Single point AF enables you to move the focus point around the frame, so you can envision where you want to position your subject before you start shooting. However, you’ll also need to consider your background.
6. Backgrounds
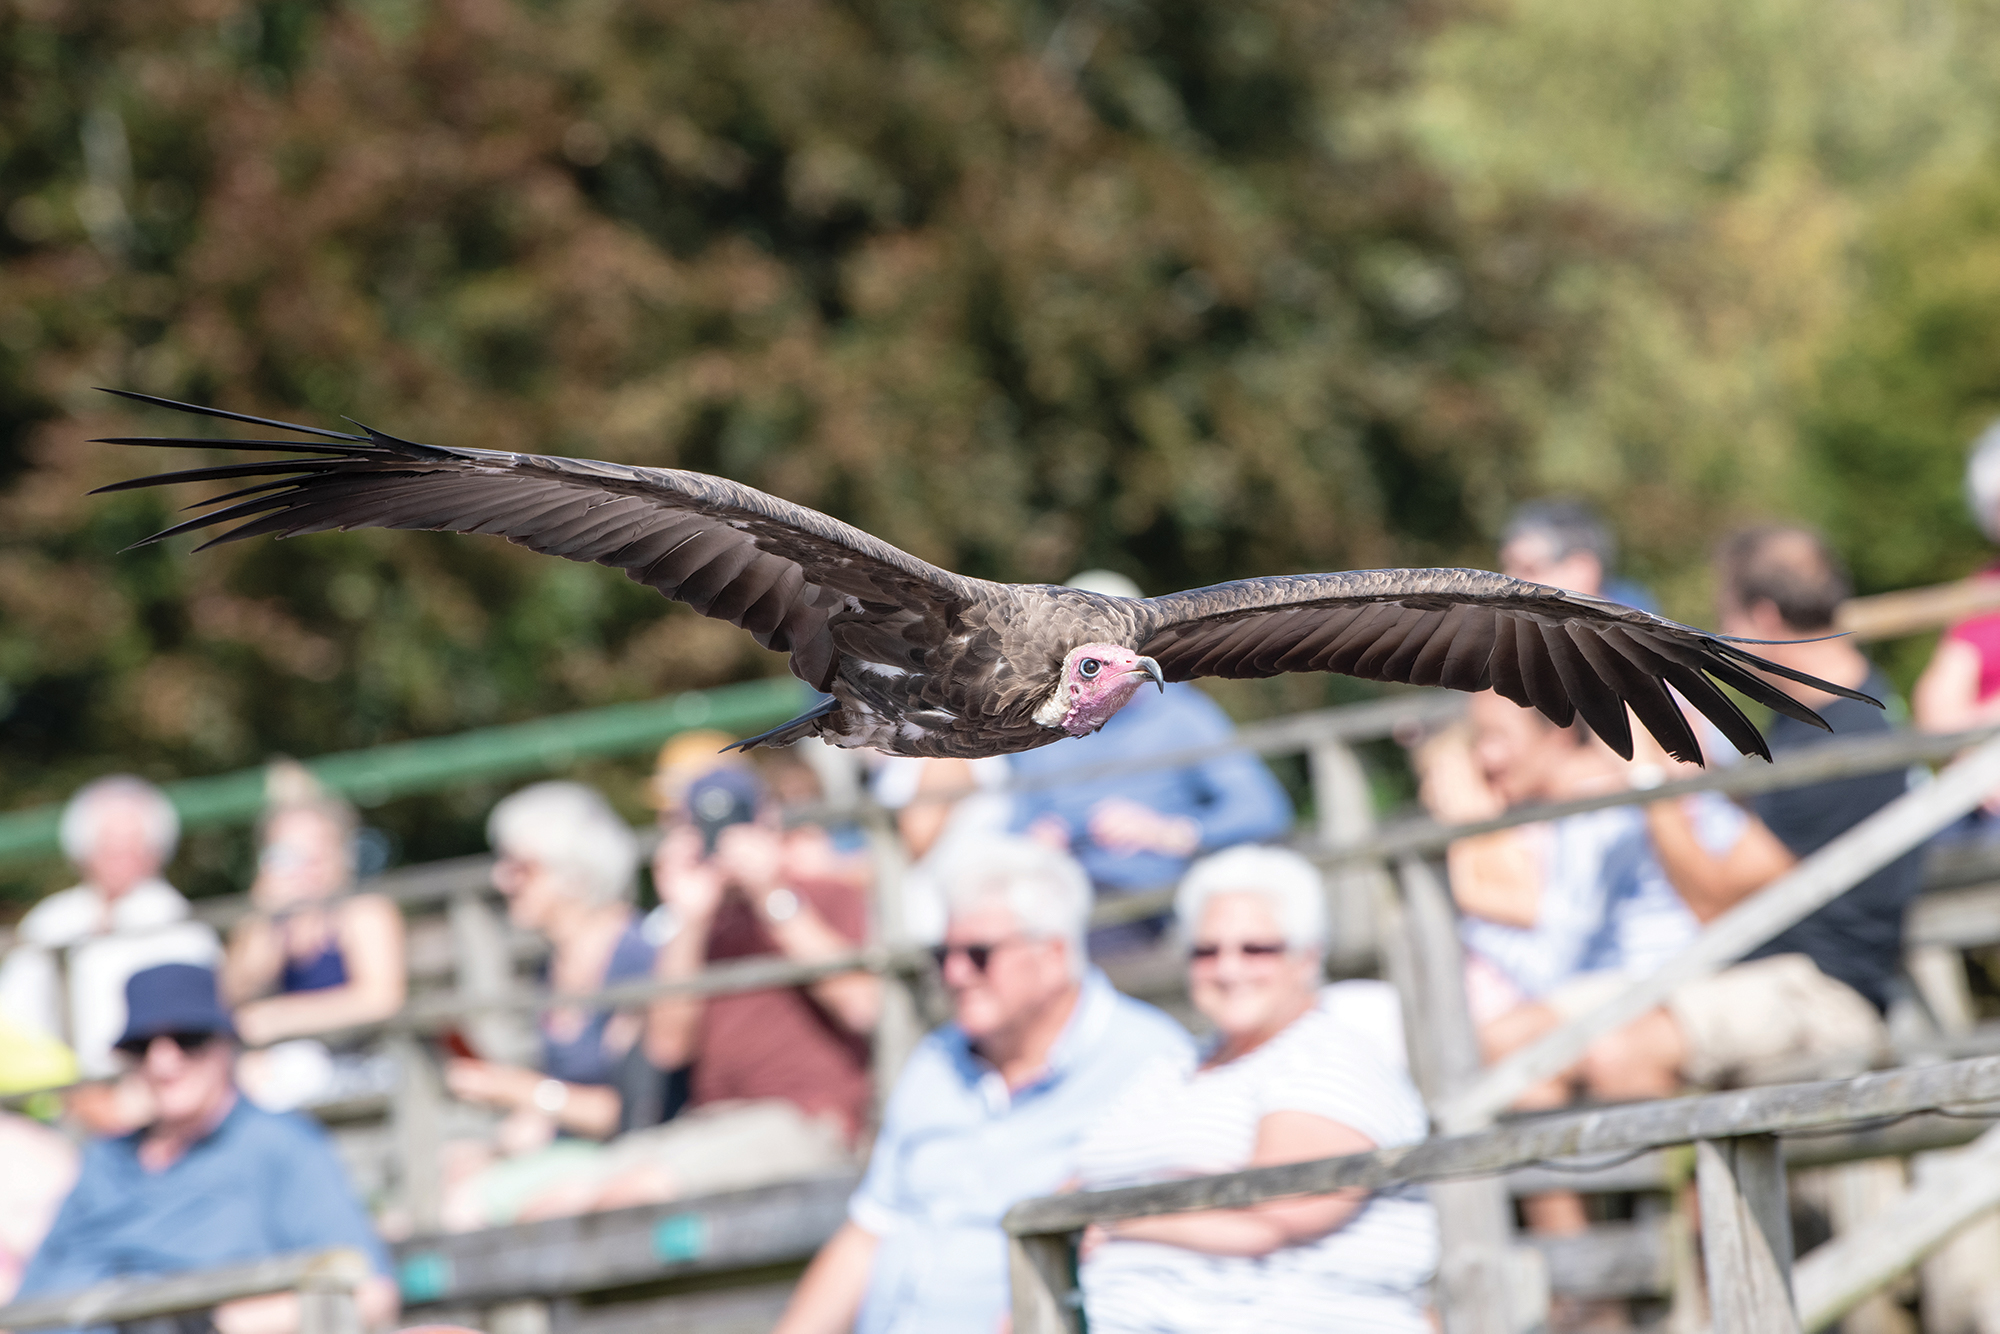
In the previous step our hooded vulture has been captured in front of green foliage and is easily separated from the background. If the scavenger had been captured partially in front of the green background and partially in front of the warmer grasses below, it would have been more difficult to separate and less visually appealing. The image (above) shows another crisply captured vulture, but this time in front of a much busier backdrop. Notice how the eye doesn’t linger on the subject, which has become lost among the distracting spectators.
7. Portraits
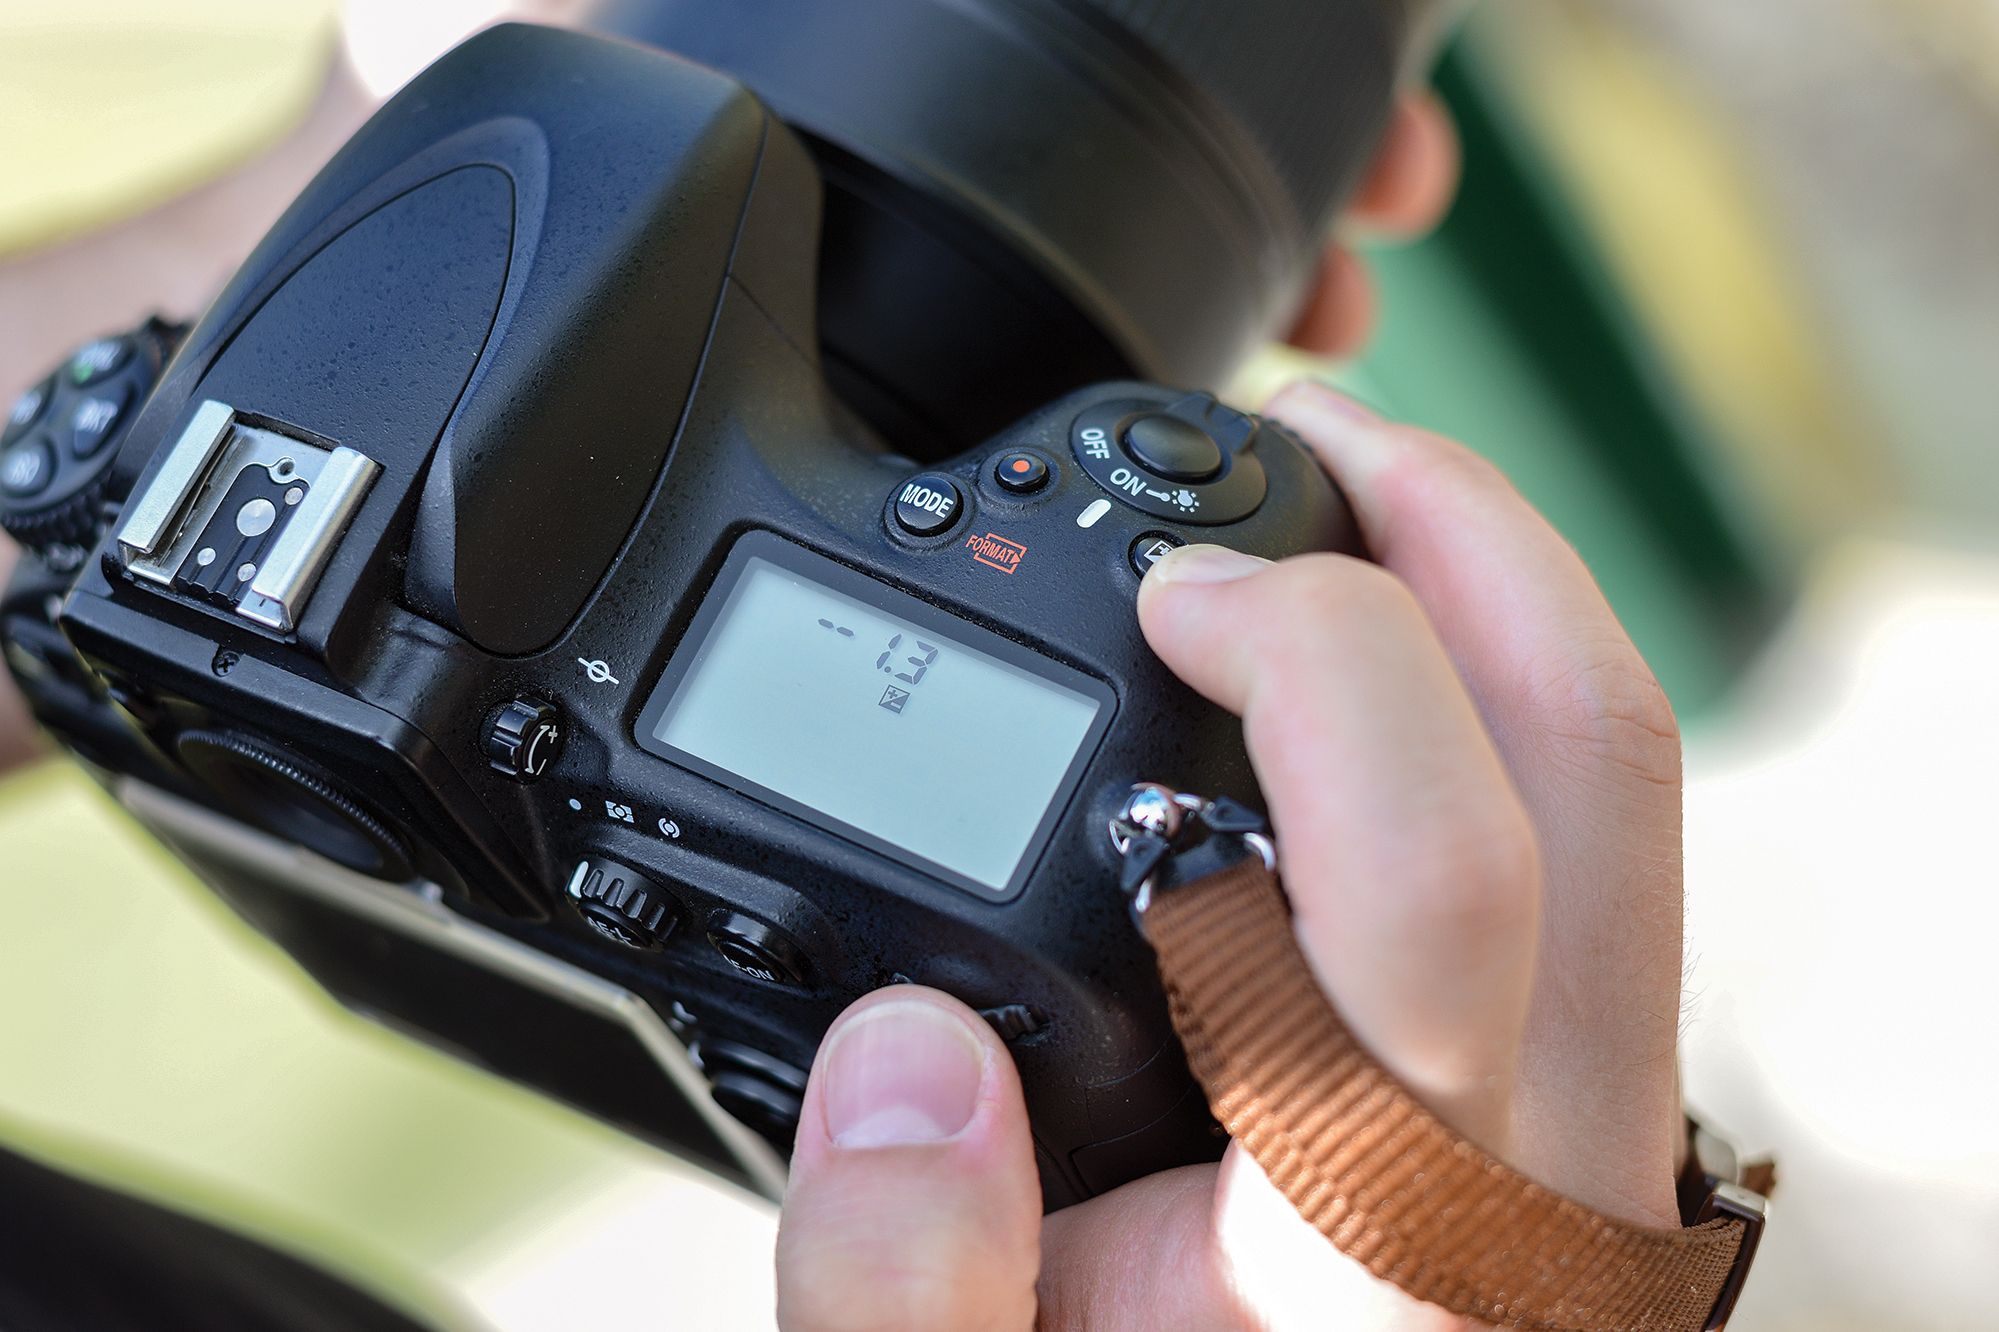
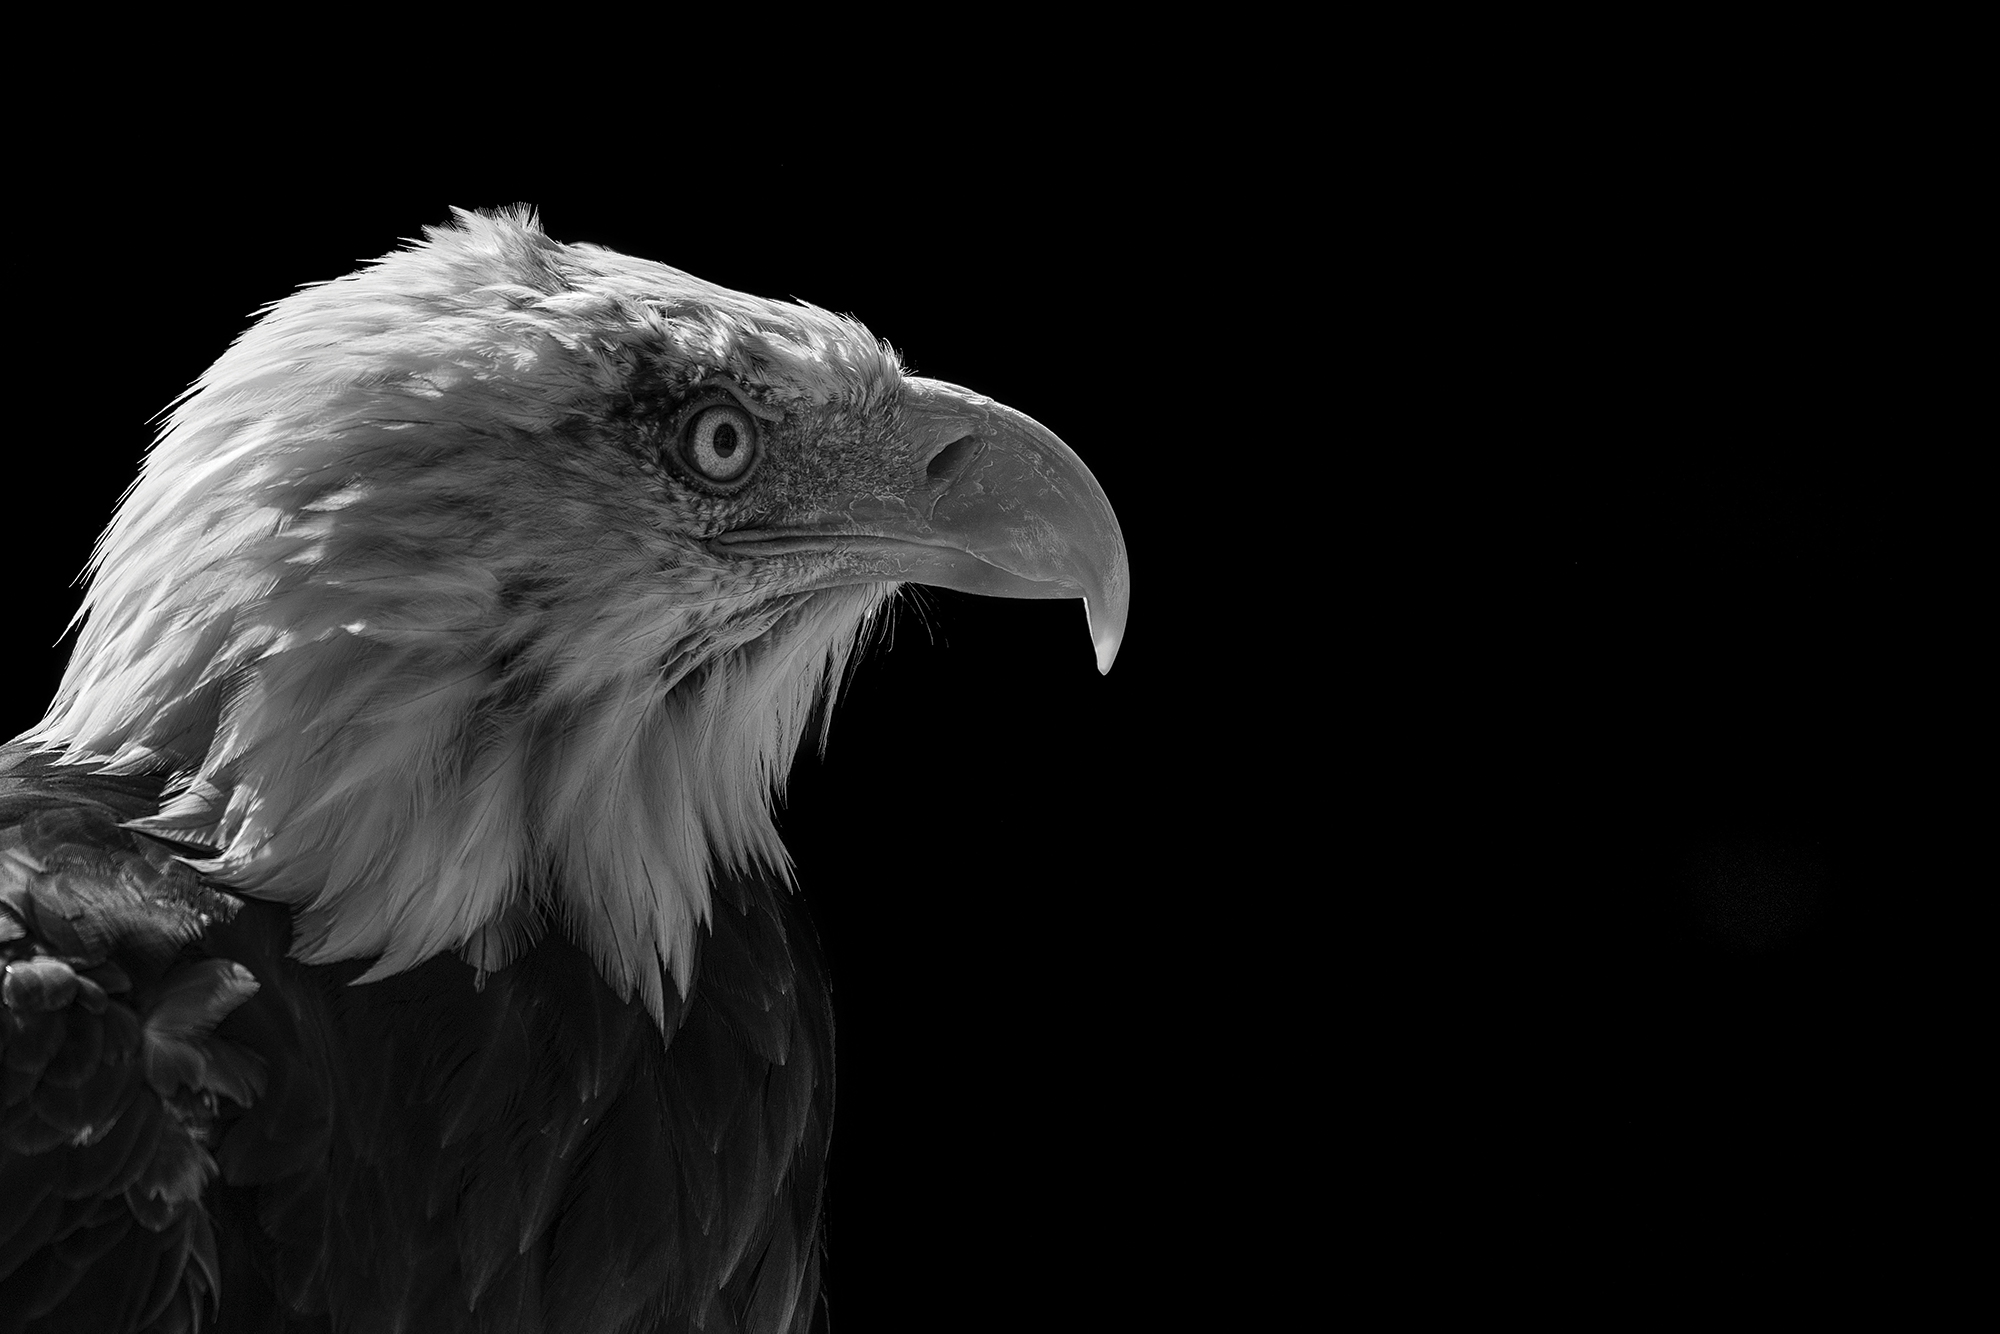
Portraits are a great way to pass the time between flying displays. You can photograph stunning portraits in diffused cloud cover or take advantage of a sunny day by capturing moody low-key portraits. Bright sunshine produces strong highlights and dark shadows, and a little negative exposure compensation will amplify this further.
8. Low-key
If you manage to photograph your subject against a dark background you can create a studio aesthetic by converting the image to black and white in post, and increasing the contrast between the shadows and highlights further. If your background is dark enough you’ll end up with a pitch-black backdrop and a crisp monochrome subject.
N-Photo: The Nikon Magazine is a monthly publication that's entirely dedicated to Nikon users. For the best news, reviews, projects and more, subscribe to N-Photo today!
Read more:
The best camera for wildlife photography
12 top tips to photograph local wildlife
The best trail cameras
The best camera deals, reviews, product advice, and unmissable photography news, direct to your inbox!

Mike studied photography at college, honing his Adobe Photoshop skills and learning to work in the studio and darkroom. After a few years writing for various publications, he headed to the ‘Big Smoke’ to work on Wex Photo Video’s award-winning content team, before transitioning back to print as Technique Editor (later Deputy Editor) on N-Photo: The Nikon Magazine.
With bylines in Digital Camera, PhotoPlus: The Canon Magazine, Practical Photography, Digital Photographer, iMore, and TechRadar, he’s a fountain of photography and consumer tech knowledge, making him a top tutor for techniques on cameras, lenses, tripods, filters, and more. His expertise extends to everything from portraits and landscapes to abstracts and architecture to wildlife and, yes, fast things going around race tracks...
- Adam WaringGuides Editor
