To capture the bounciest balls around
Time: One hour
Skill level: Beginner
Kit needed: DSLR, tripod, remote release, bouncy balls, bucket or box, motionless subjects, one or two lamps
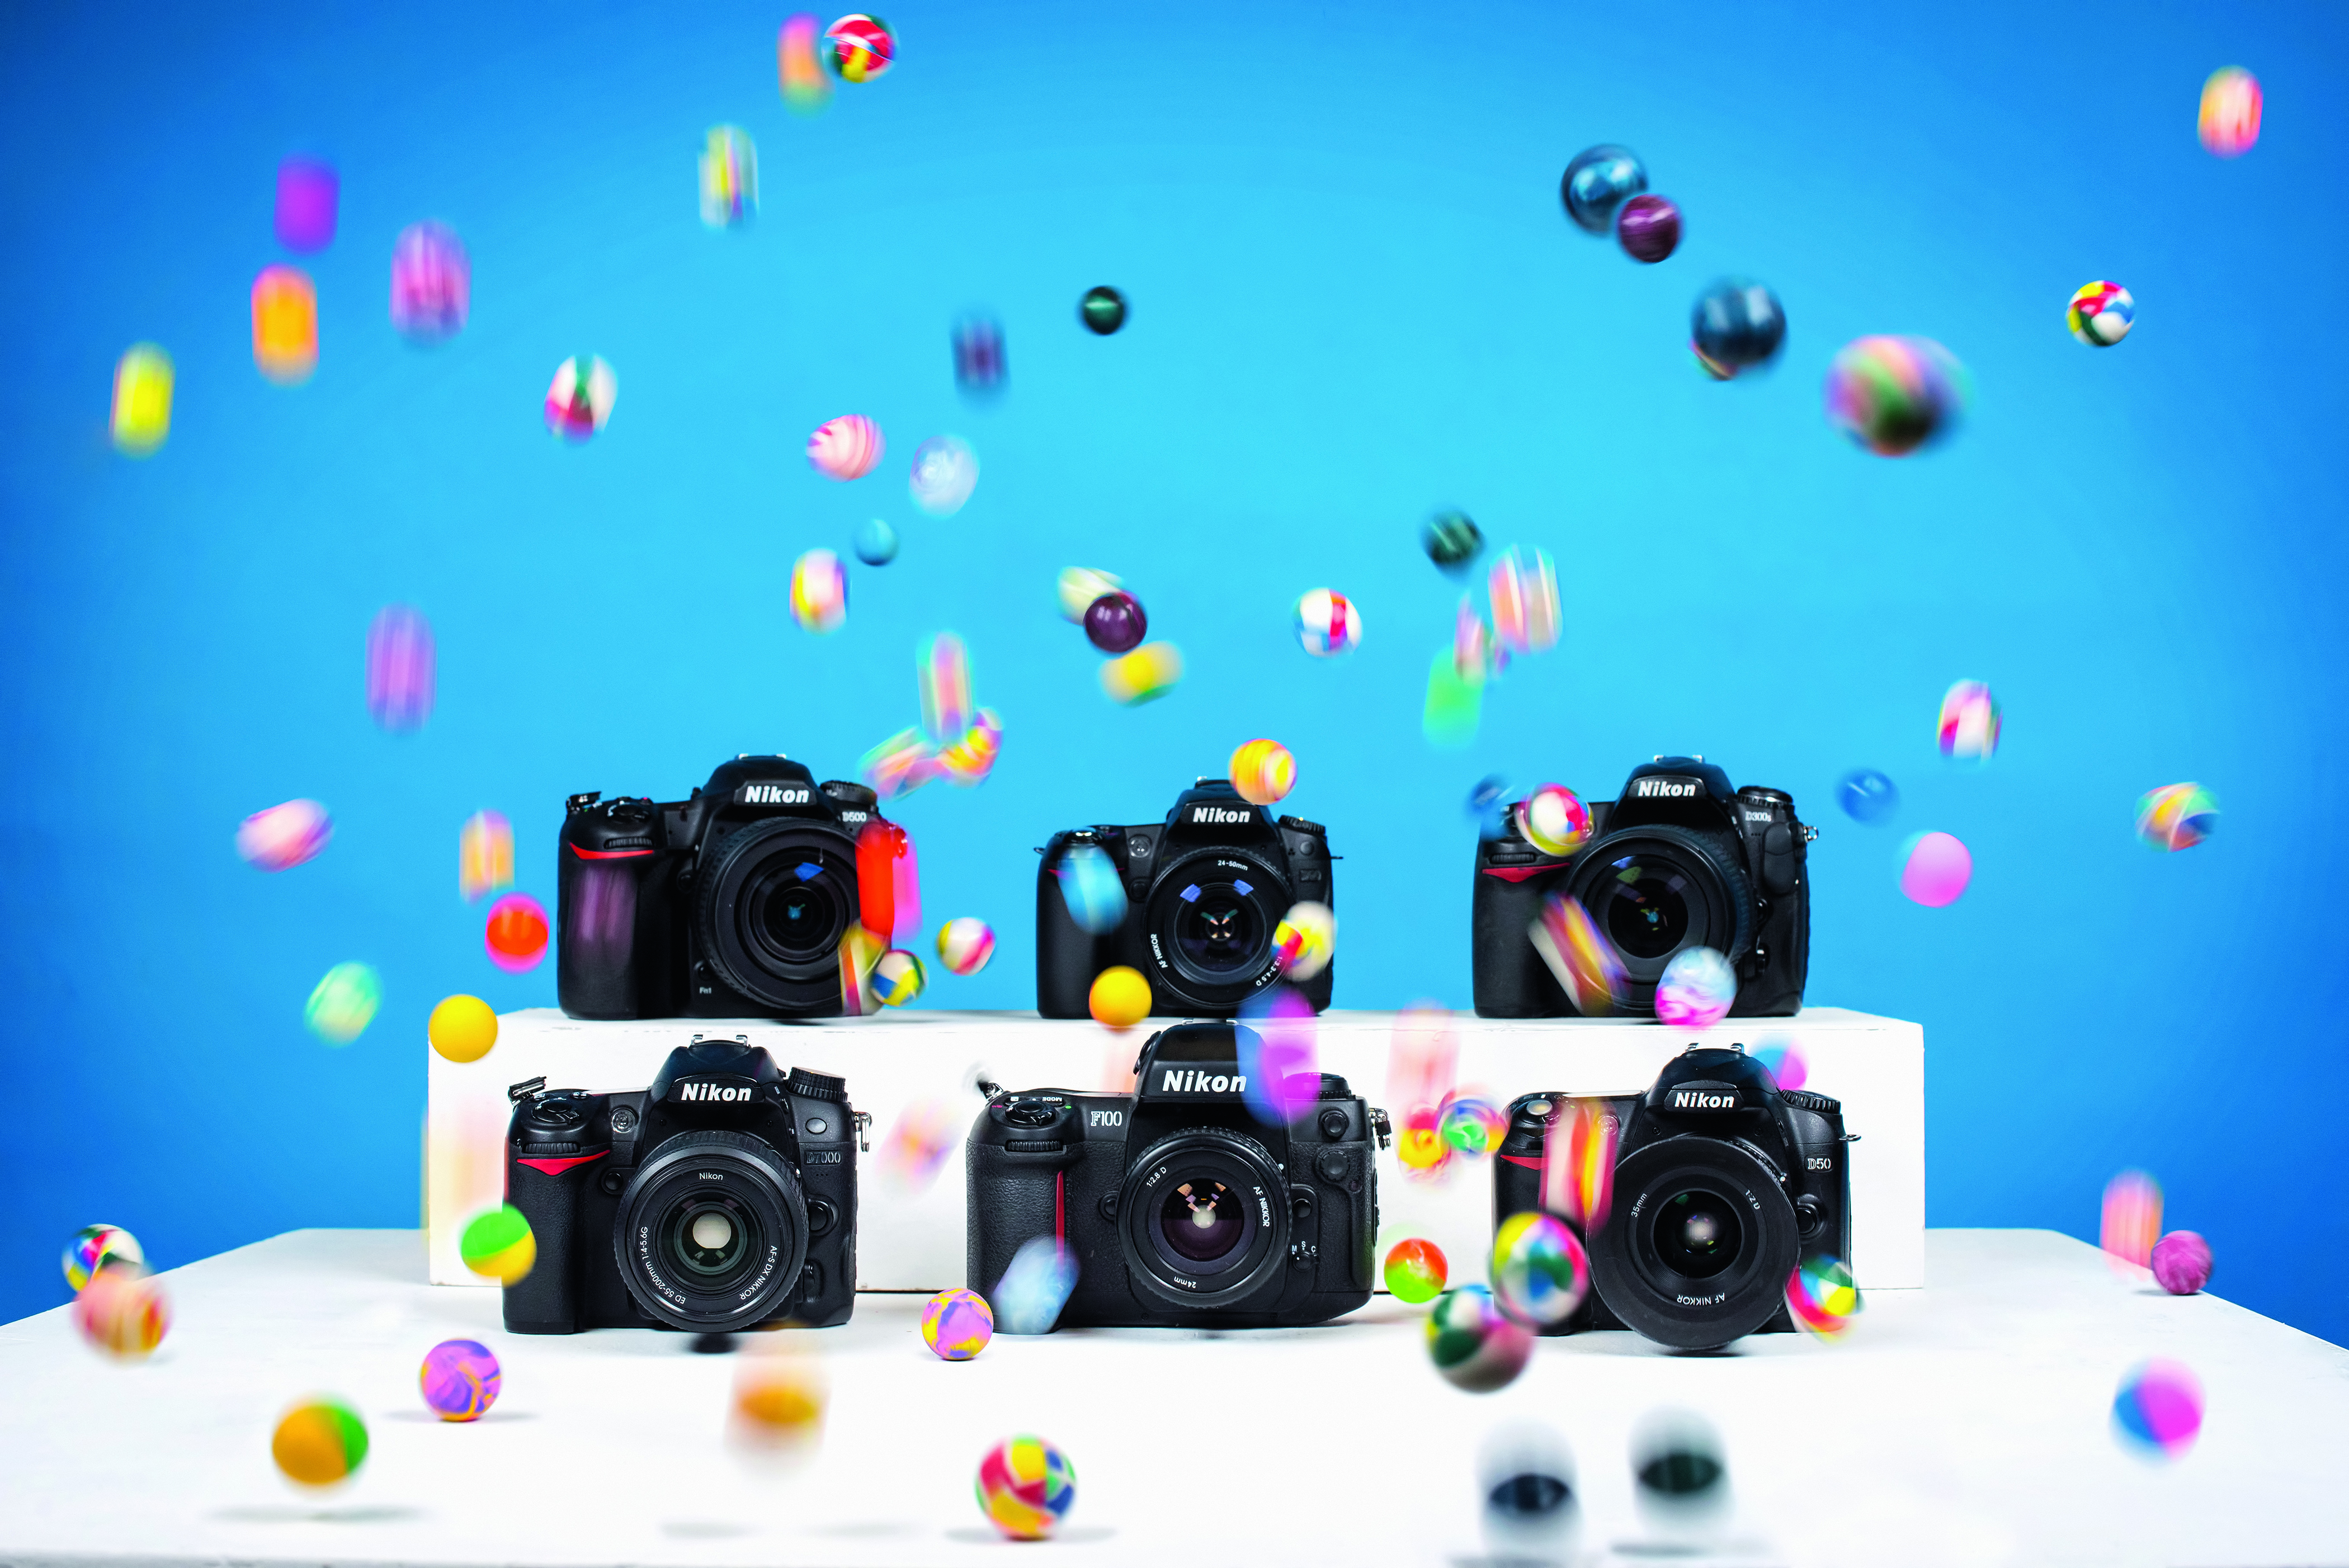
Here’s a fun project to sink your teeth into: make a vibrant bouncing bonanza at home using colourful rubber balls.
There’s no need to buy props (besides the balls), and you don’t need a special flashgun. What’s more, you can do this tutorial at home or in a studio. And if you don’t have many rubber balls, we’ve even got a way around that for you.
It can be hard to demonstrate movement in a still image. But, with a continuous light or two, we’re going to slow the shutter speed until we capture some motion blur in the balls, while keeping others tack-sharp so it’s clear what they are.
Sound impossible? Good, then let’s see how it’s done.
Getting prepared
1. Don't stop shooting
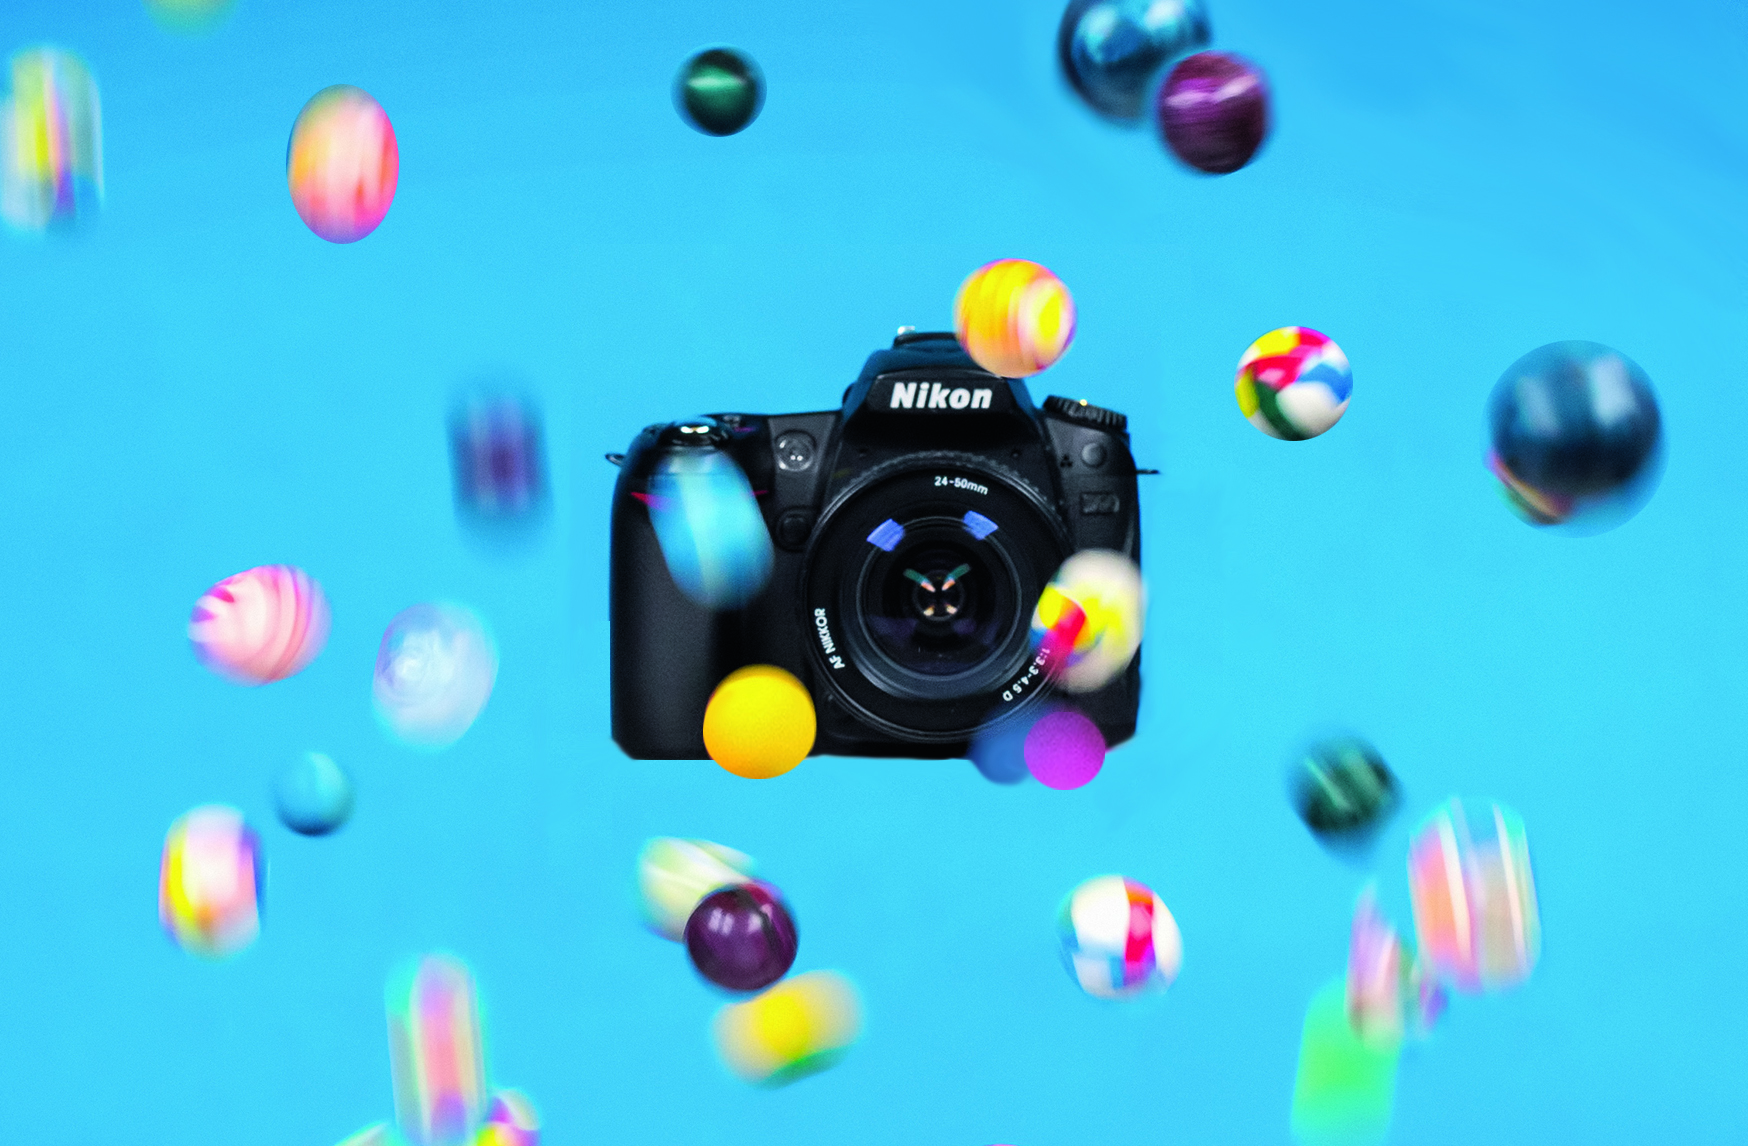
Be ready to snap as soon as the balls are dropped. Hold the shutter release down in burst mode and keep going until there are no balls left.
2. The still element
The best camera deals, reviews, product advice, and unmissable photography news, direct to your inbox!
Get some interesting objects to pour your balls over, but don't put them all on the same level. Stack them on books or blocks of wood to add variety to the height in your image, otherwise you’ll have too much foreground and background.
Read more: How to use clipping masks to blend images and text
3. Bright idea
Make your images look more fun and exciting by putting a vibrant backdrop behind the shooting area. It doesn’t have to be a commercial backdrop; some coloured paper will be smooth and even-coloured enough to do the job.
4. Constant craving
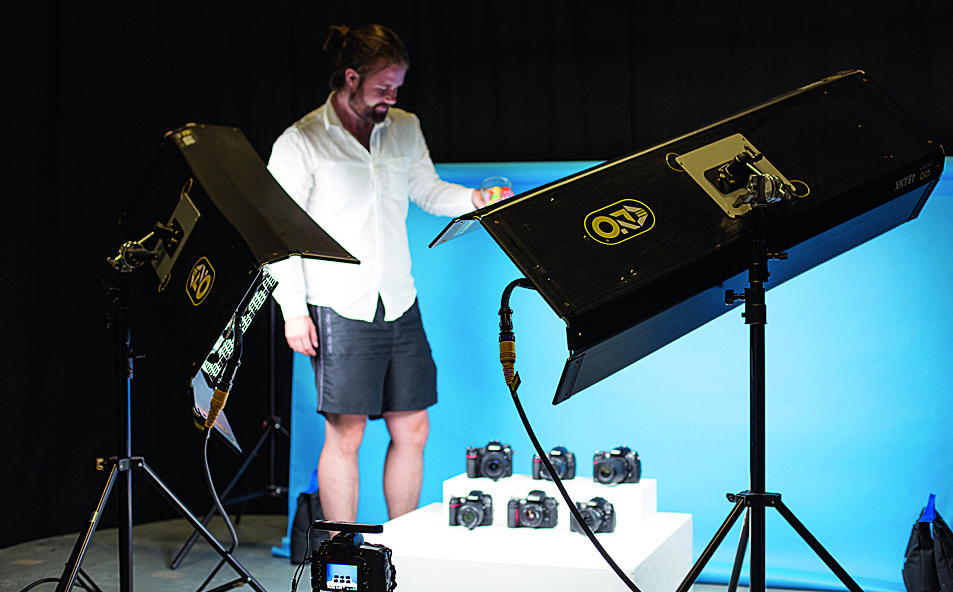
One or two continuous lights are necessary for this project – flashgun bursts are too quick and you won’t be able to blur the motion of the balls properly. LED lights (if you have them) or even an ordinary desk lamp will be perfect.
Step by step: The first bounce
1. Steady as you go
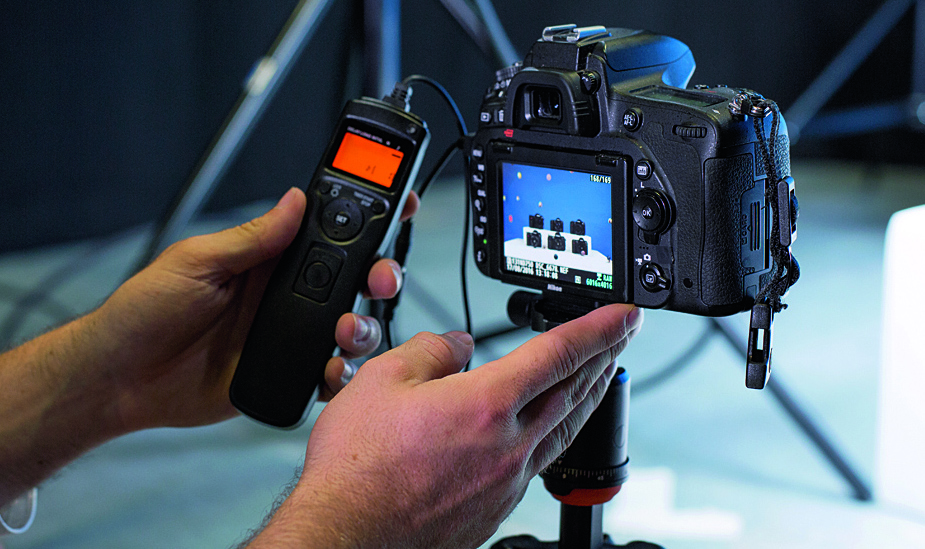
You’re going to be using a relatively slow shutter speed to blur the movement of the balls, so put your camera on a tripod to keep everything steady. Also, plug in a remote release as this will make it easier to time the shot when the balls drop.
2. Light work
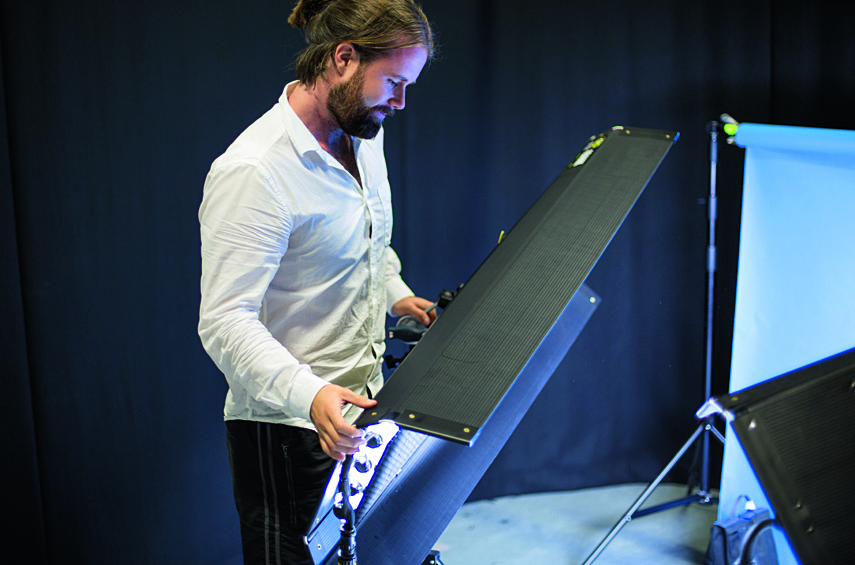
Place one light so the front of the scene is lit up. Slightly to the left or right of the camera is great, but you need to light the whole scene to make a lively, vibrant image. If you have another light, place it adjacent to the first (key) light to fill in any shadows.
3. Don't miss a moment
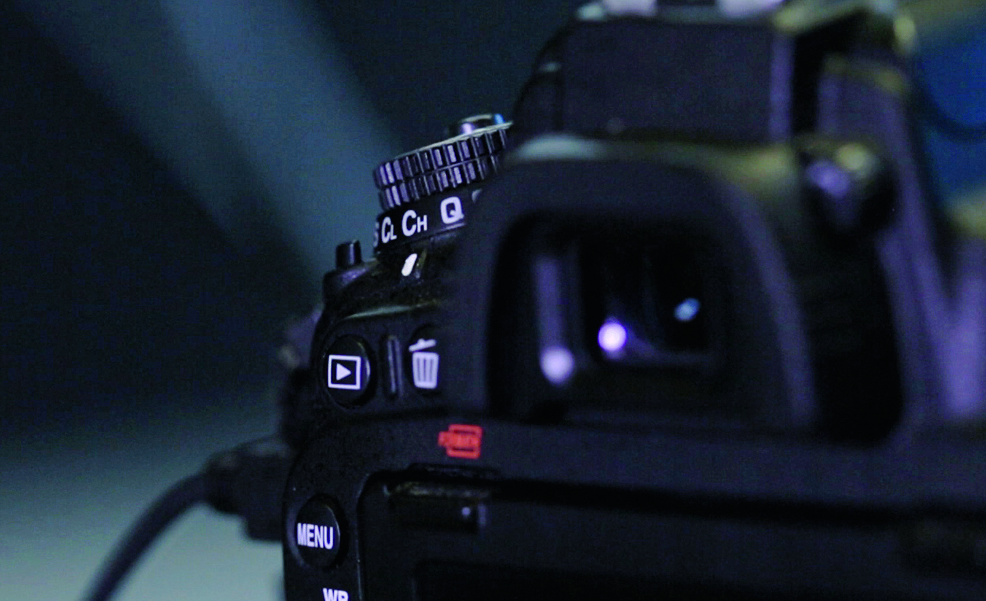
Don’t miss out by taking shots in single-frame mode. Change to continuous high-speed burst mode and prefocus on your scene. To do this, engage autofocus before moving the AF point to the centre of the scene and focusing, then turn off the autofocus to maintain the same focus throughout.
4. The bounce test
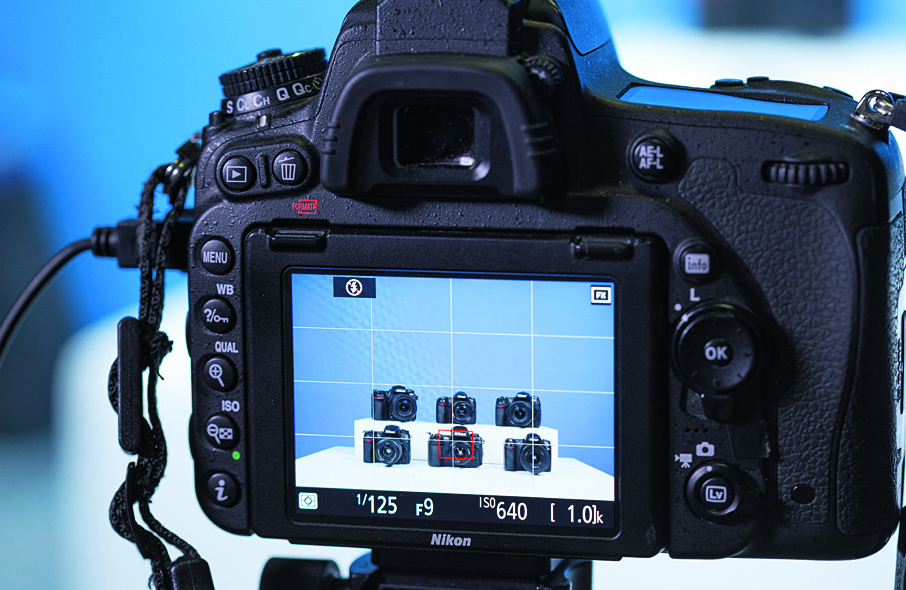
Put your camera in manual mode, set ISO 640 and a shutter speed of 1/125sec. Use an aperture of around f/9 as this will give you enough depth of field. Drop a few balls and take some shots. If the balls are too crisp or blurry, then lower or raise the shutter speed respectively.
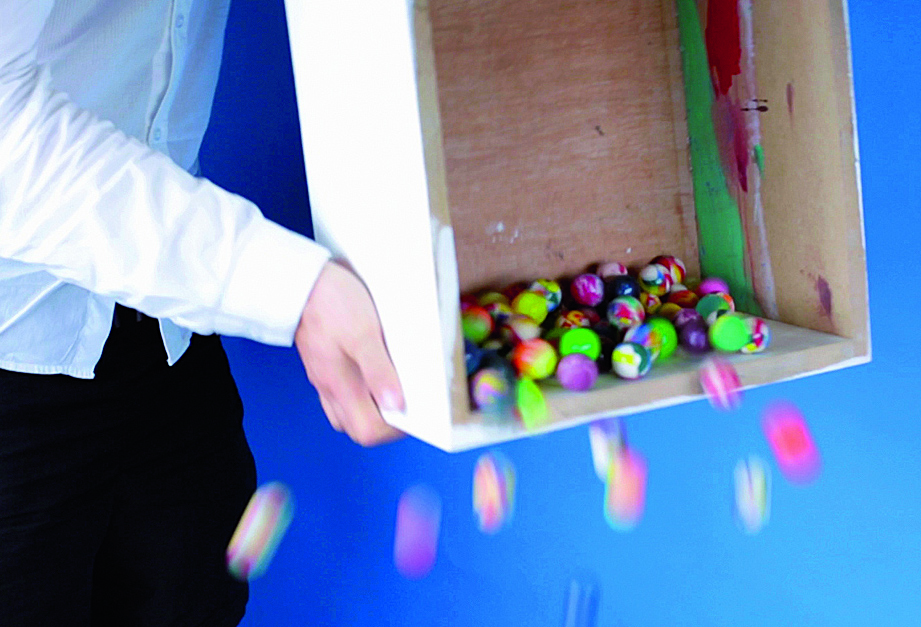
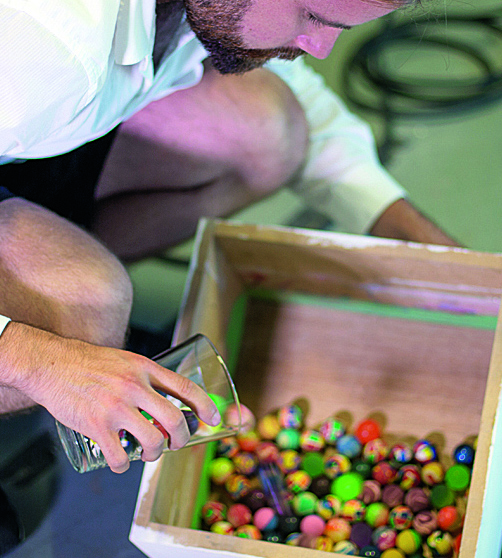
Drop the balls in waves. This way you'll get a range of speeds, with some balls sharp and some blurry
5. Drop everything
Once you’re happy with your settings, it’s time to go for it. Gather your balls in a bucket or box and get ready for the drop. If you move the container back and forth you will get more of a three-dimensional look than if you drop the balls at just one point in front of the camera.
A dustpan and brush will make it easier to clear up after each session. It takes quite some time to get on your knees and pick the balls up one-by-one with your bare hands!
6. Variety bucket
As well as moving the container back and forth and side to side to cover a range of your scene, try to drop the balls from differing heights as well. The balls will move at different velocities depending on the height they’re dropped from, so going for variety is key.
Step by step: Creating extra balls
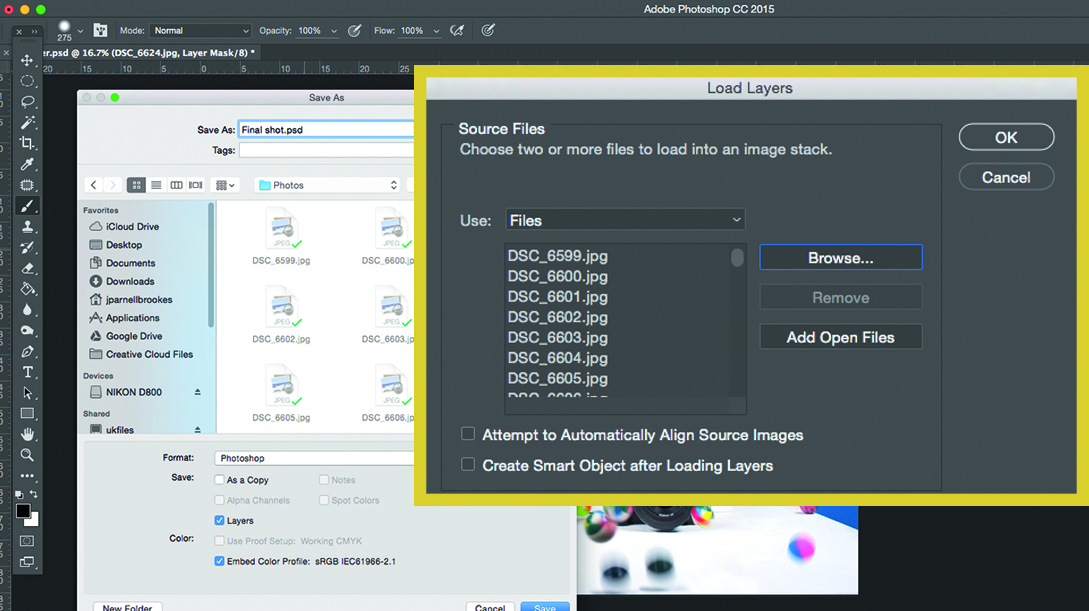
1. Bring them together
If you only have a few balls, take several shots of them bouncing. Open Photoshop and go to File>Script>Load Files into Stack. Select all your shots and click on Open. Hit OK and the Layers palette should populate with all the images on separate layers.
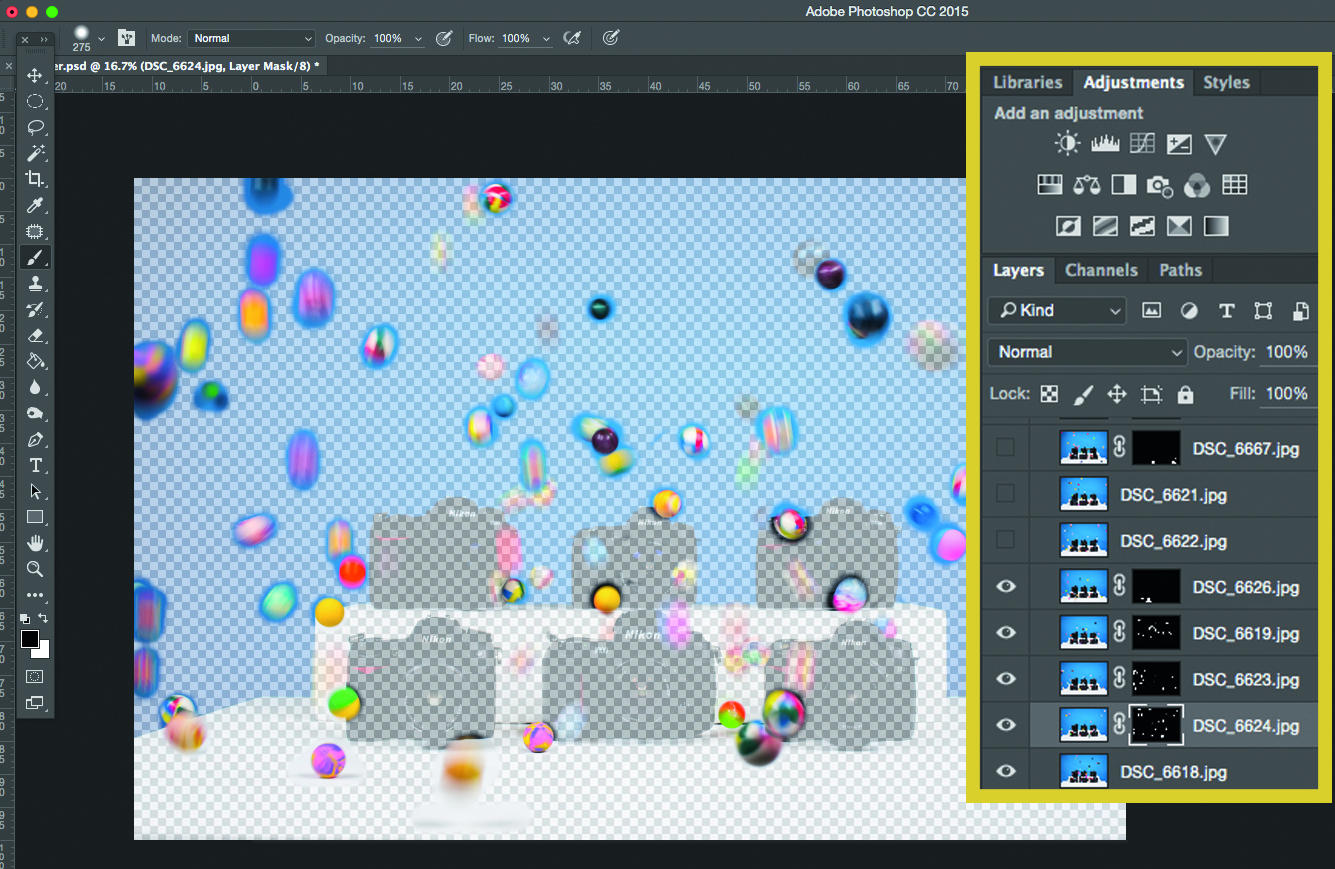
2. Oddballs
To mask in the balls you want in the final image, select the top layer and hit the layer mask button at the bottom of the Layers palette. Paint over the ball in question to remove it. With your layer mask selected hit Cmd/Ctrl + I to invert the mask. Do this for all layers except one.
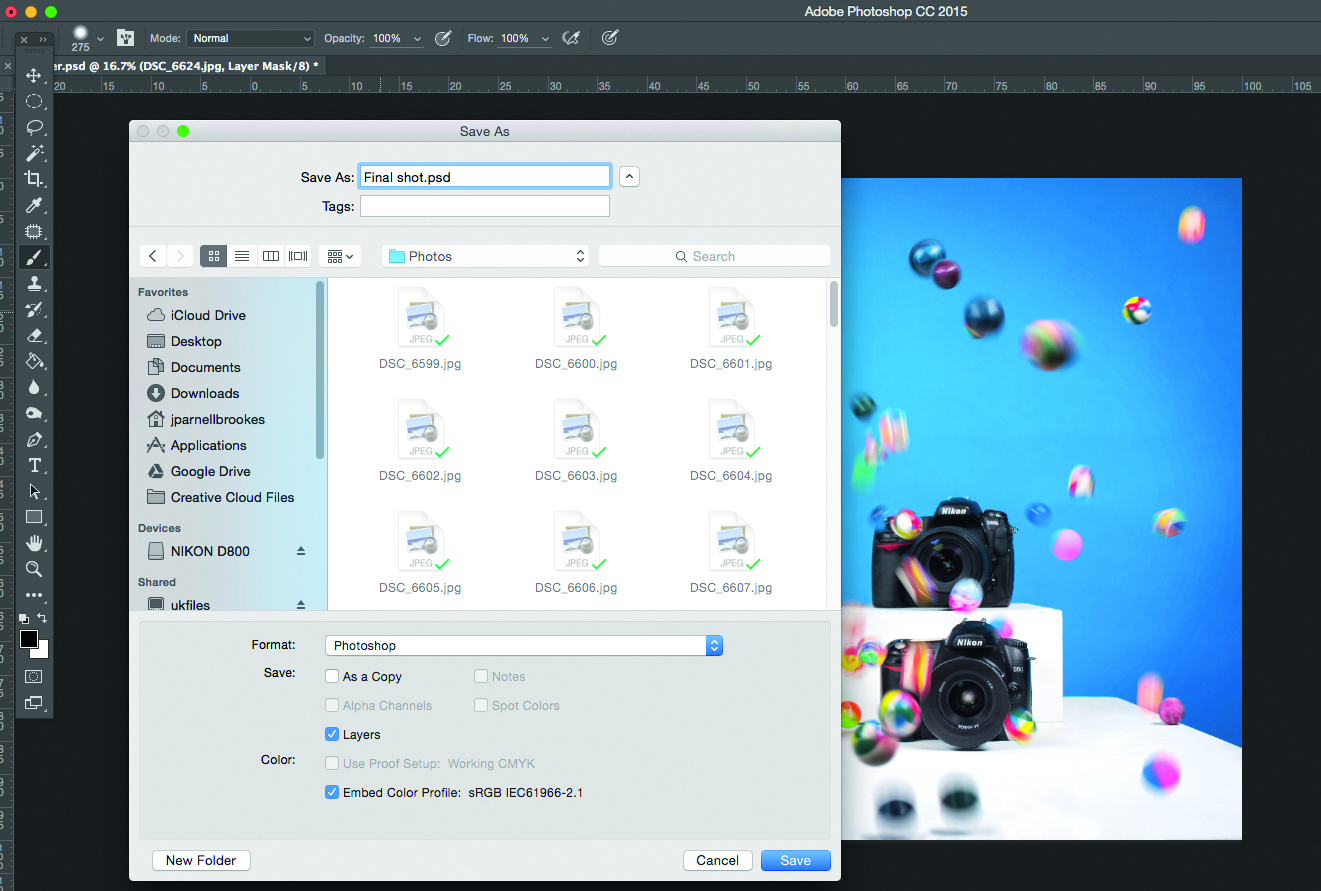
3. Save your work
Once you’re happy with your shot go to File>Save as and choose to save it as a PSD so you have a multi-layer document to edit later. If you want to save it as a flattened image as well, go to File>Save as and change the dropdown to Save as JPEG.
Read more: 7 golden rules of tripod stability
N-Photo: The Nikon Magazine is a monthly publication that's entirely dedicated to Nikon users. As a 100% independent magazine, you can be assured of unbiased opinion from a trustworthy team of devoted photography experts including editor Adam Waring and Deputy Editor Mike Harris.
Aimed at all users, from camera newcomers to working pros, every issue is packed with practical, Nikon-specific advice for taking better photos, in-depth reviews of Nikon-compatible gear, and inspiring projects and exciting video lessons for mastering camera, lens and Photoshop techniques.
Written by Nikon users for Nikon users, N-Photo is your one-stop shop for everything to do with cameras, lenses, tripods, bags, tips, tricks and techniques to get the most out of your photography.

