The power of remote working for photographers
Alistair Campbell uses the power of remote shooting to create images miles away from the model
The best camera deals, reviews, product advice, and unmissable photography news, direct to your inbox!
You are now subscribed
Your newsletter sign-up was successful
If you’re not familiar with the term, ‘remote shooting’ was something that emerged during the time of the first Covid-19 lockdown, when it felt like the established ways of life weren’t going to return anytime soon. While some people believed that they would be able to get back to the good old days of photoshoots in a matter of weeks, unfortunately, this wasn’t the case.
So remote shooting – being able to take control of a camera literally anywhere in the world to shoot photos of the same quality – became a big deal. At first, I was skeptical, wondering if a few seconds would elapse after I pressed the trigger, meaning that I wouldn’t get the shot I wanted, but that wasn’t the case.
Studio lighting made easy: here's a simple setup for portraiture
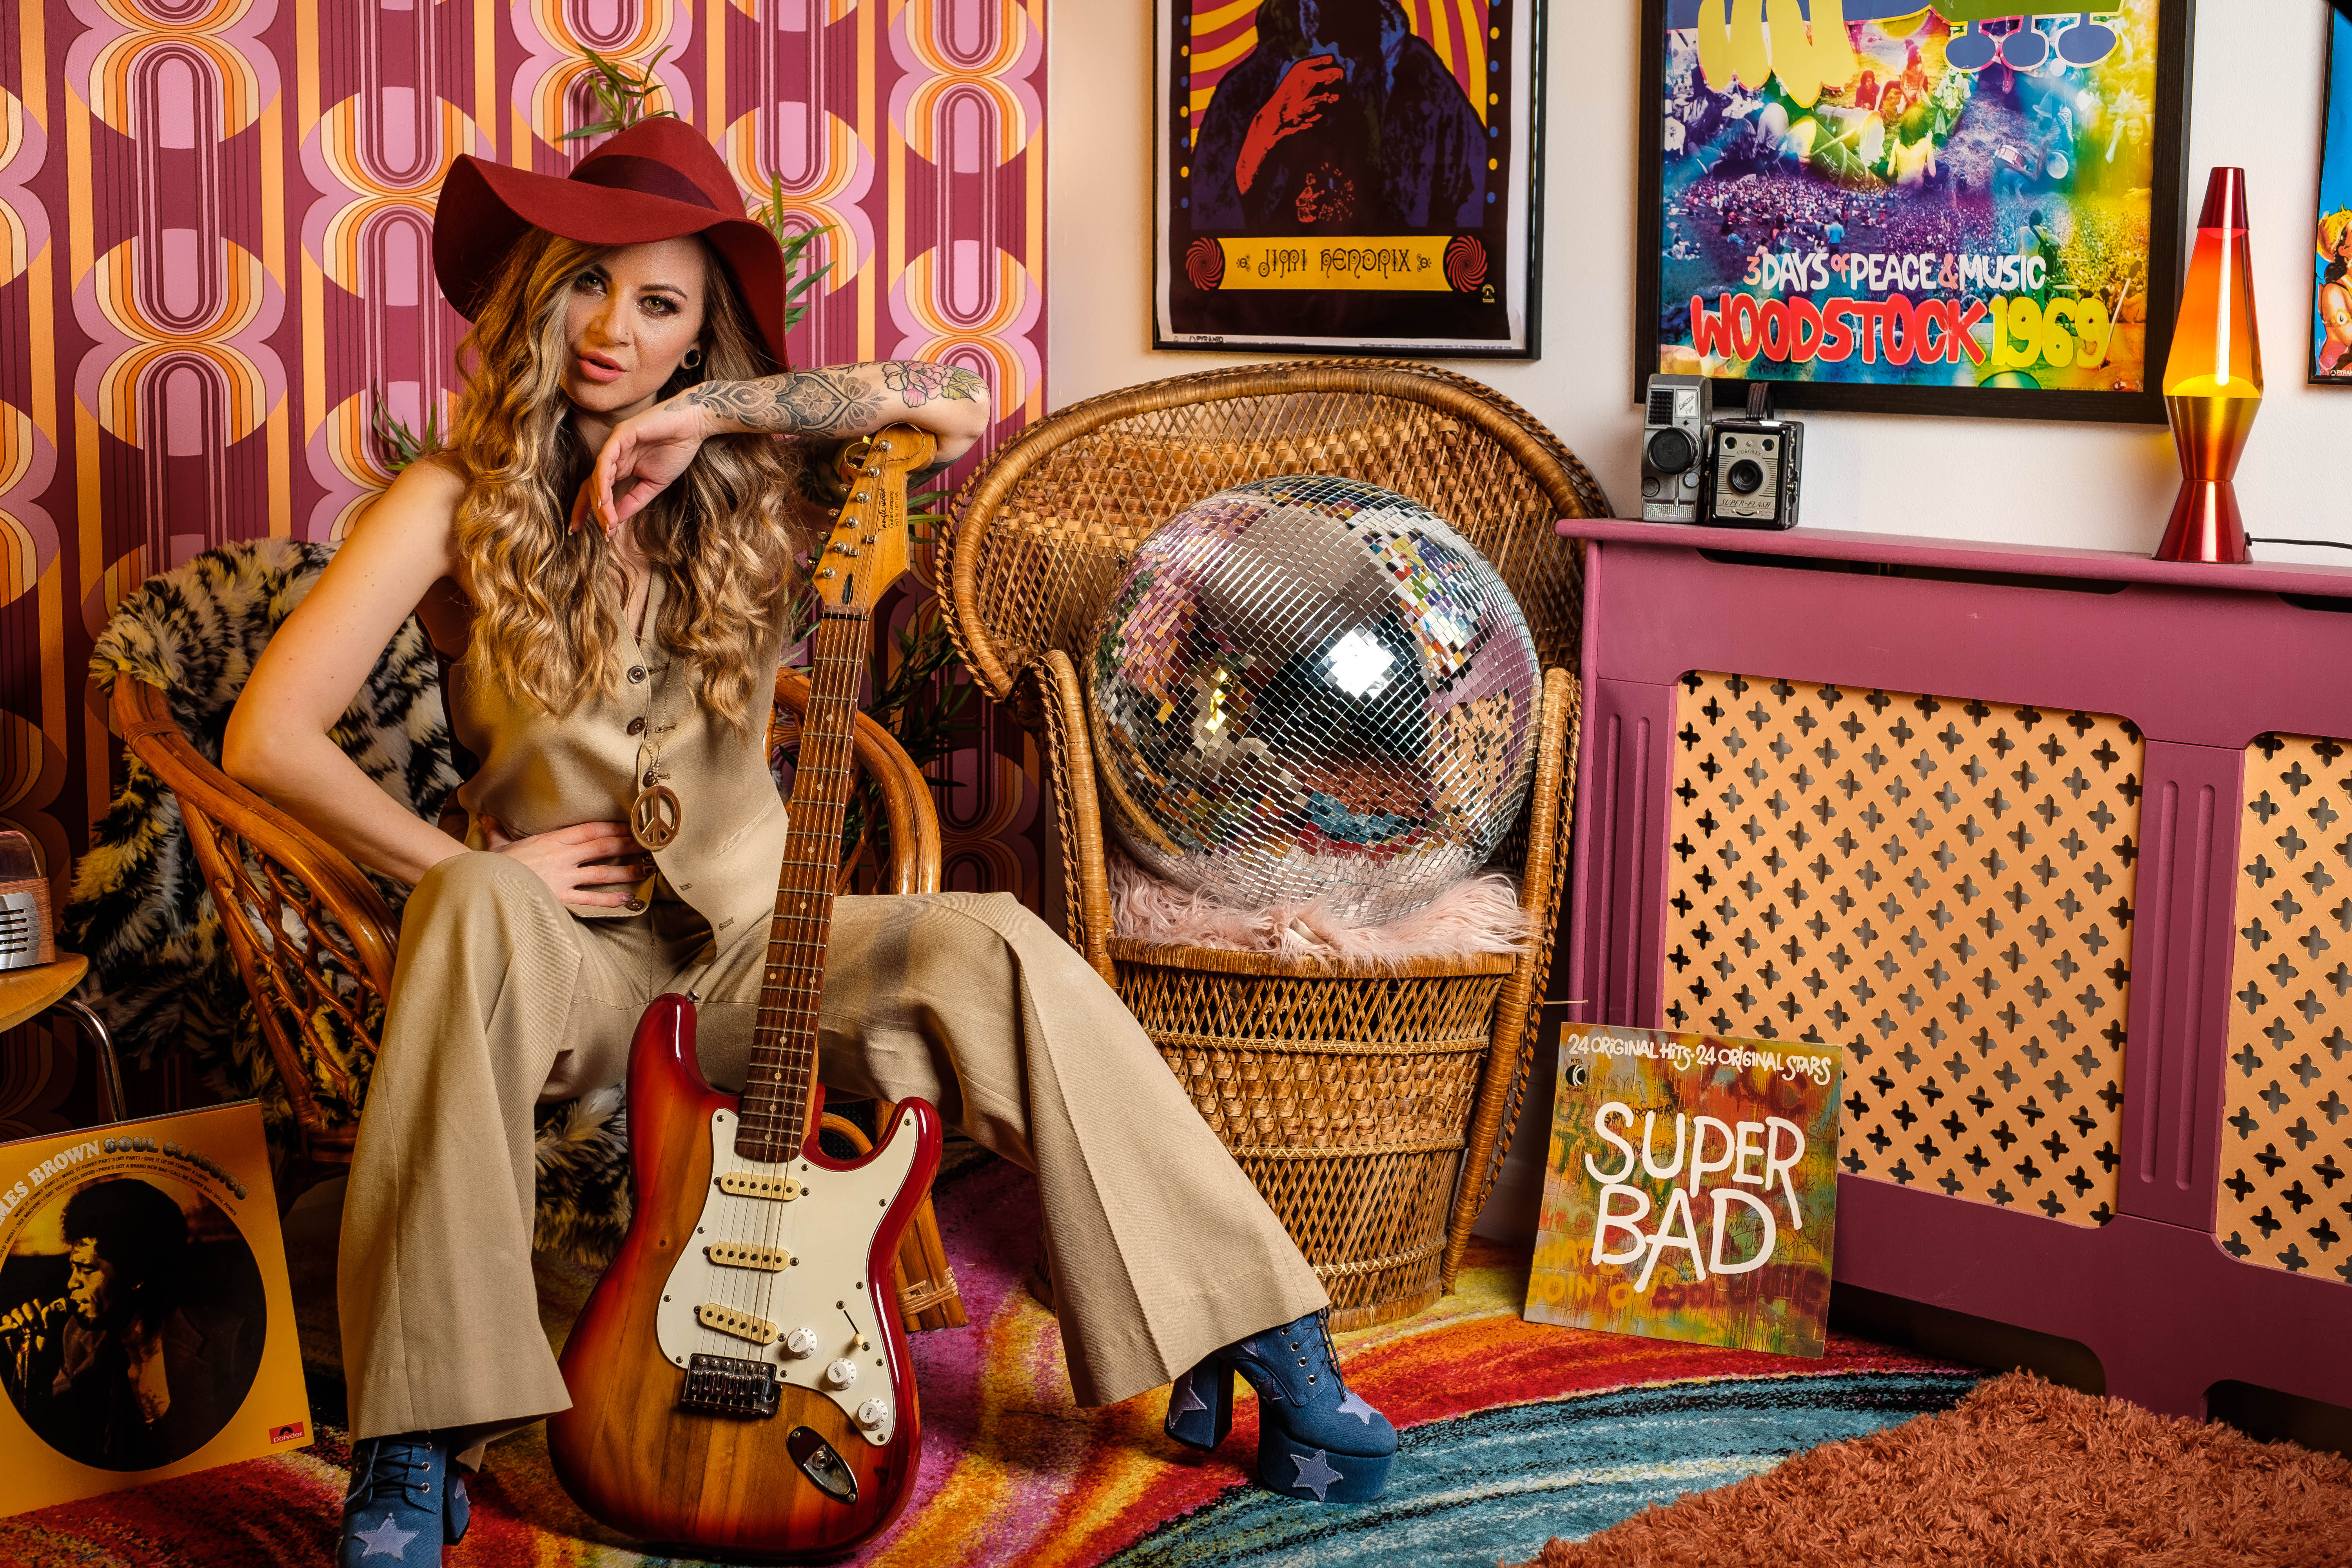
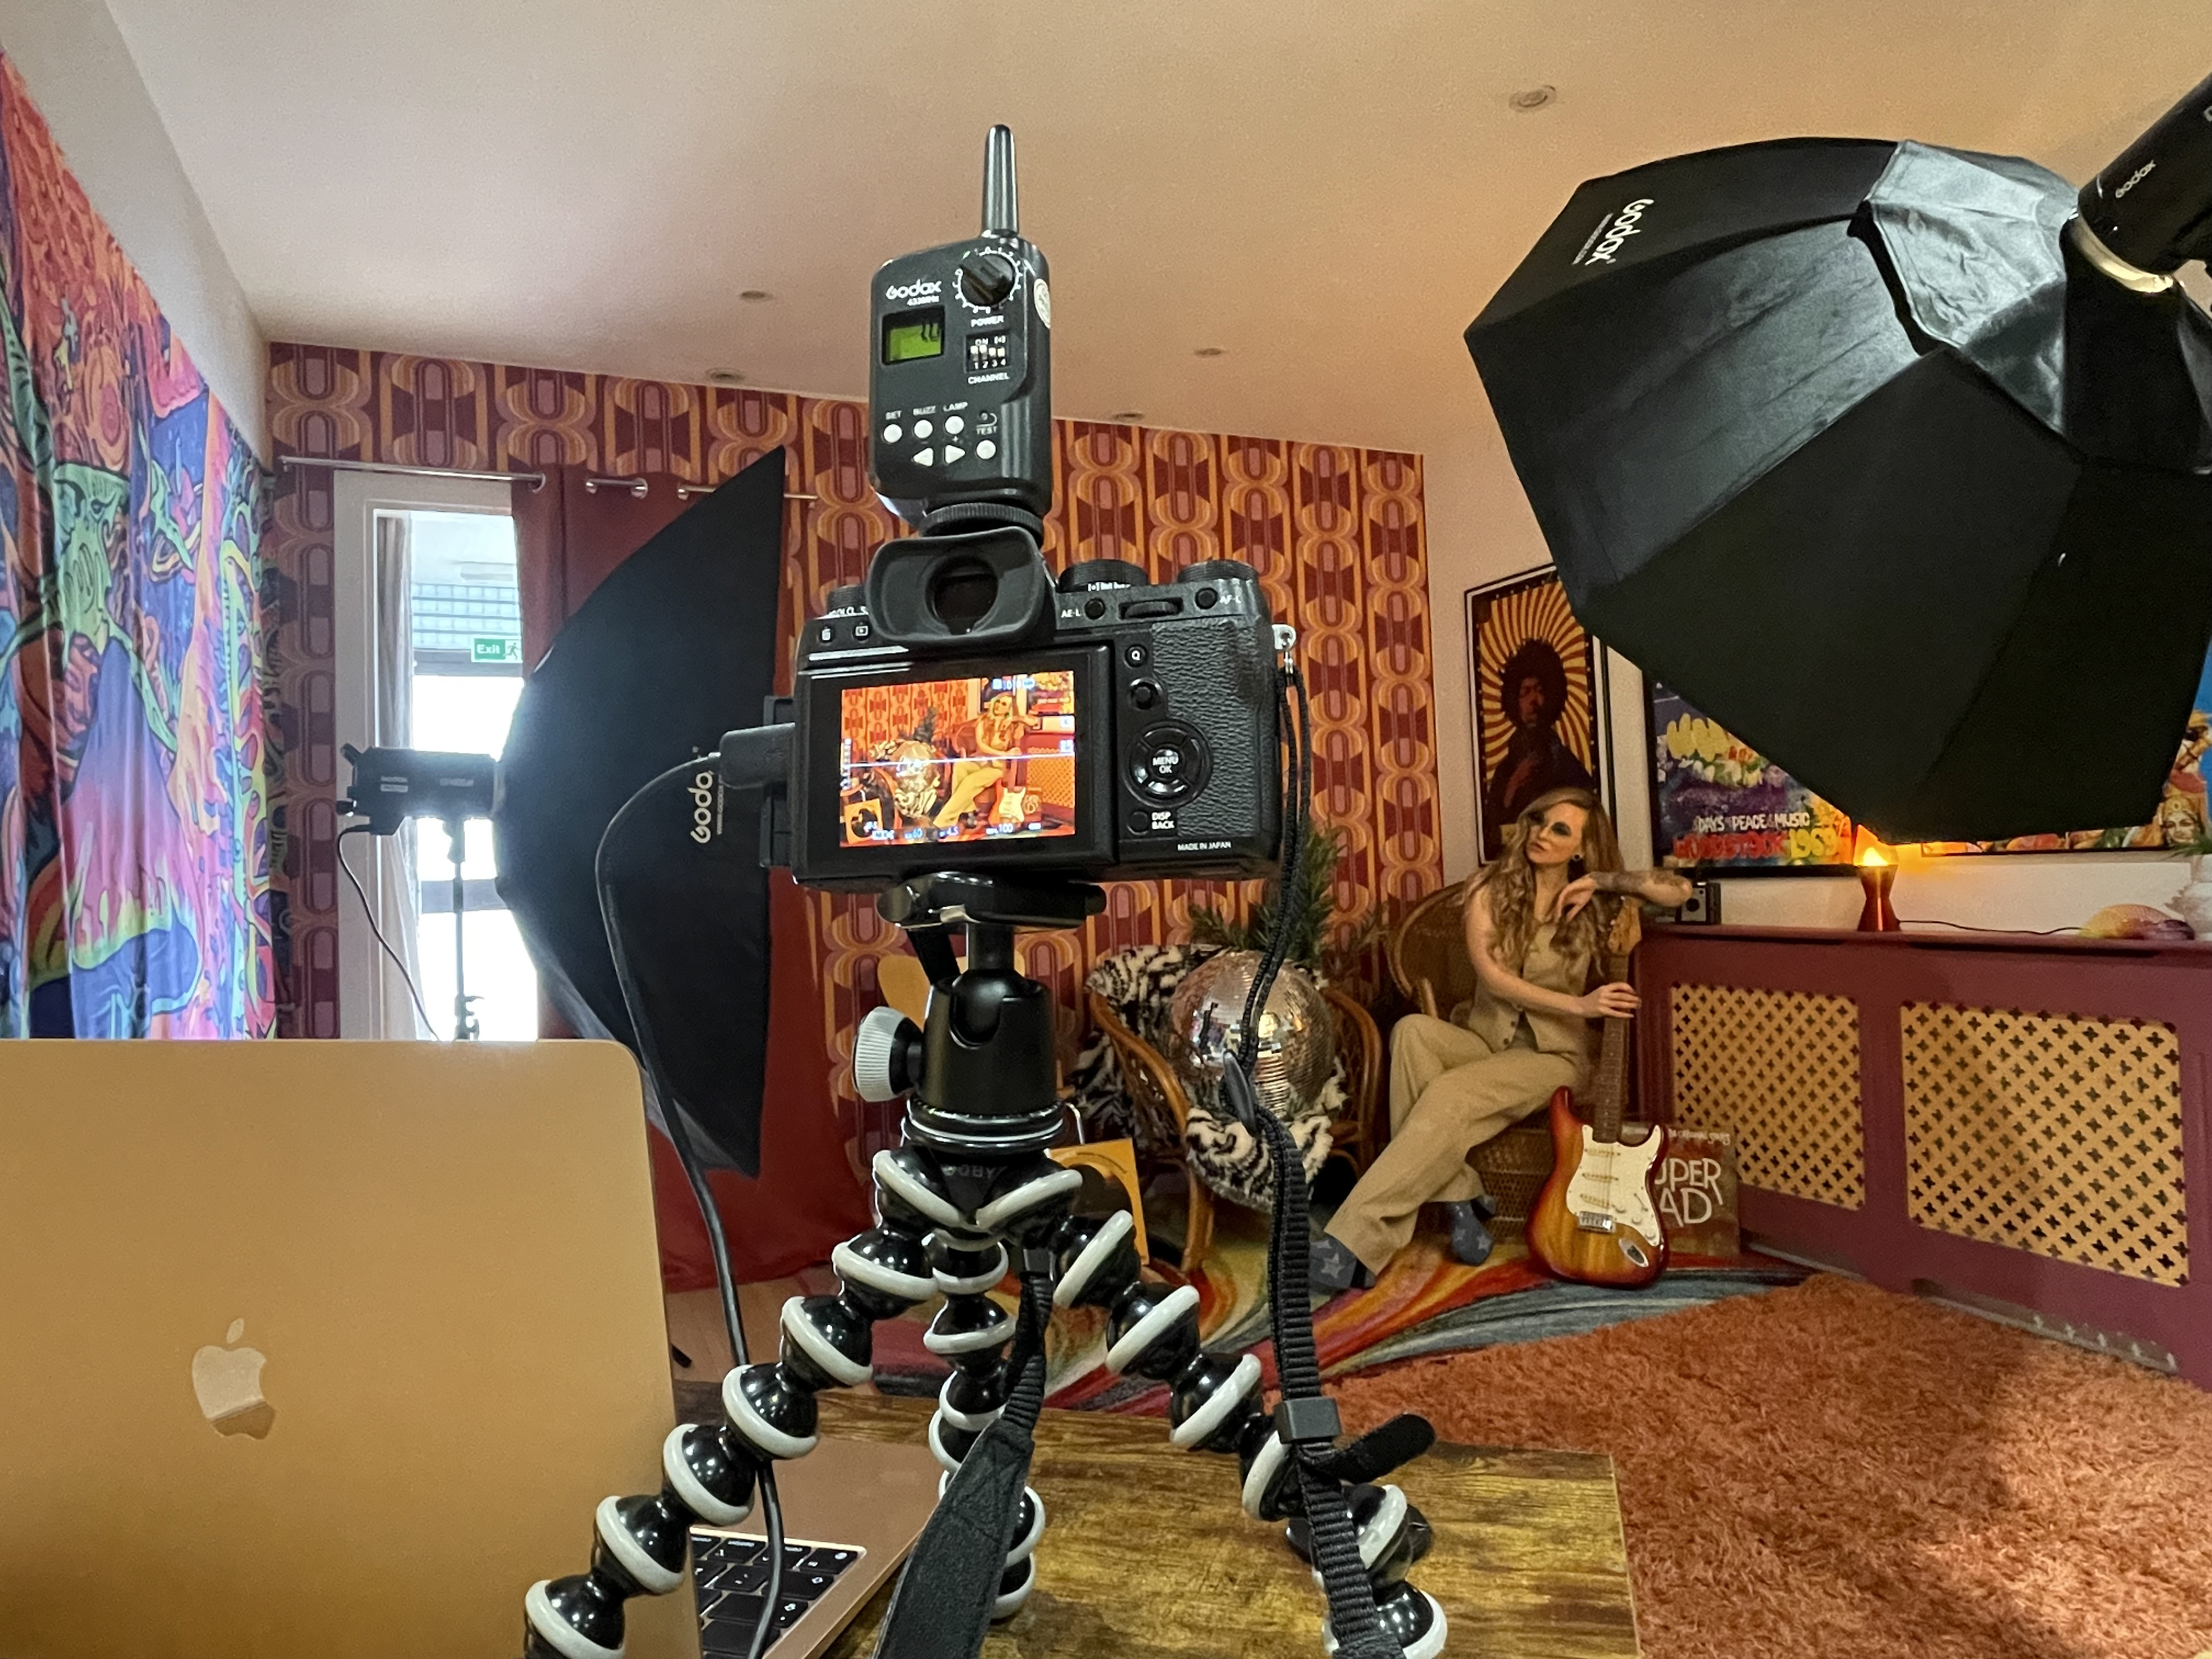
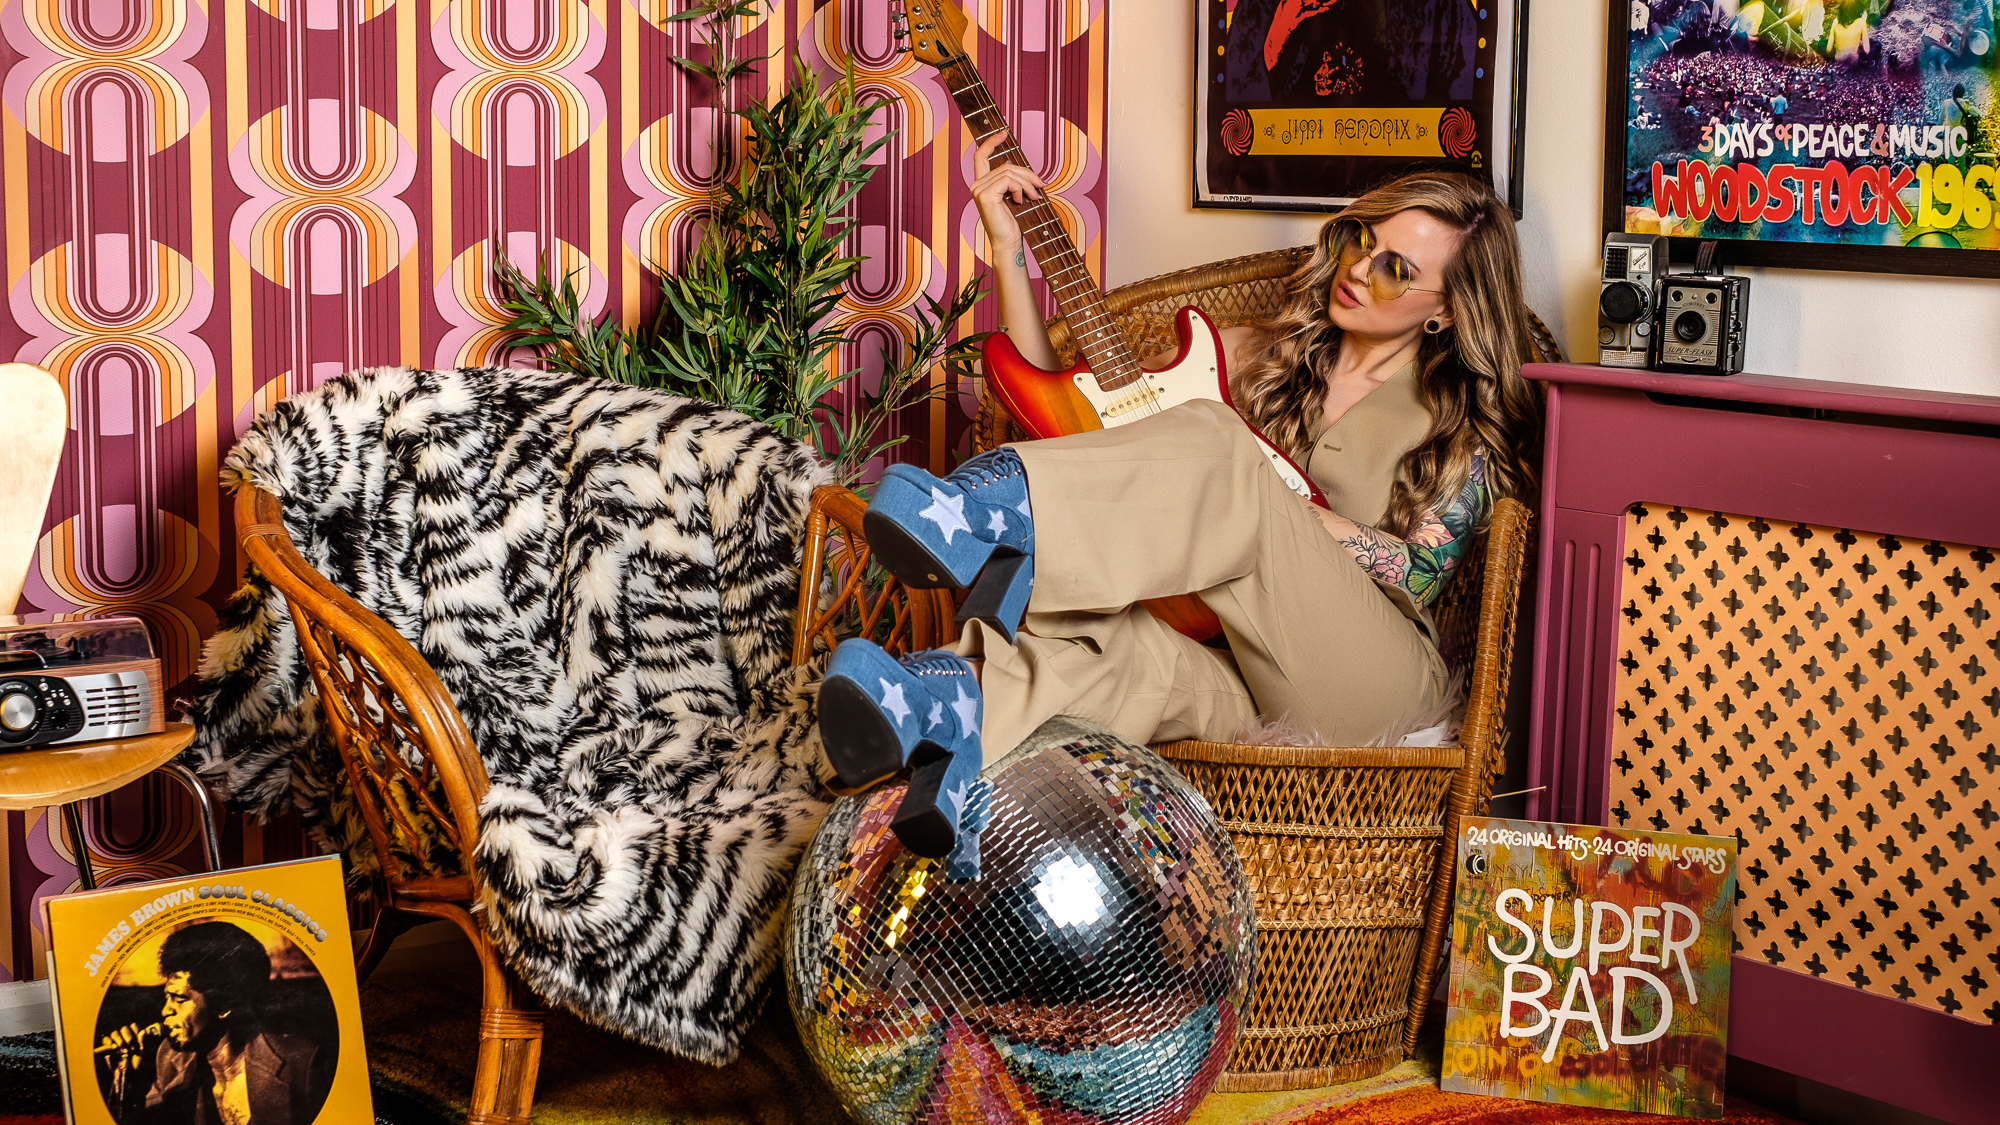
Set up correctly, and with a stable internet connection, after a few minutes, you forgot you weren’t in the same room. The only difference is the lack of physical movement – setting up the scene and positioning and adjusting the cameras or lights are out of your hands. I recently spent an hour remote shooting Natasha at her Neon Dreams studio to create this retro 1970s vibe.
5 steps for setting up a remote shoot in the studio
1. Mount your camera
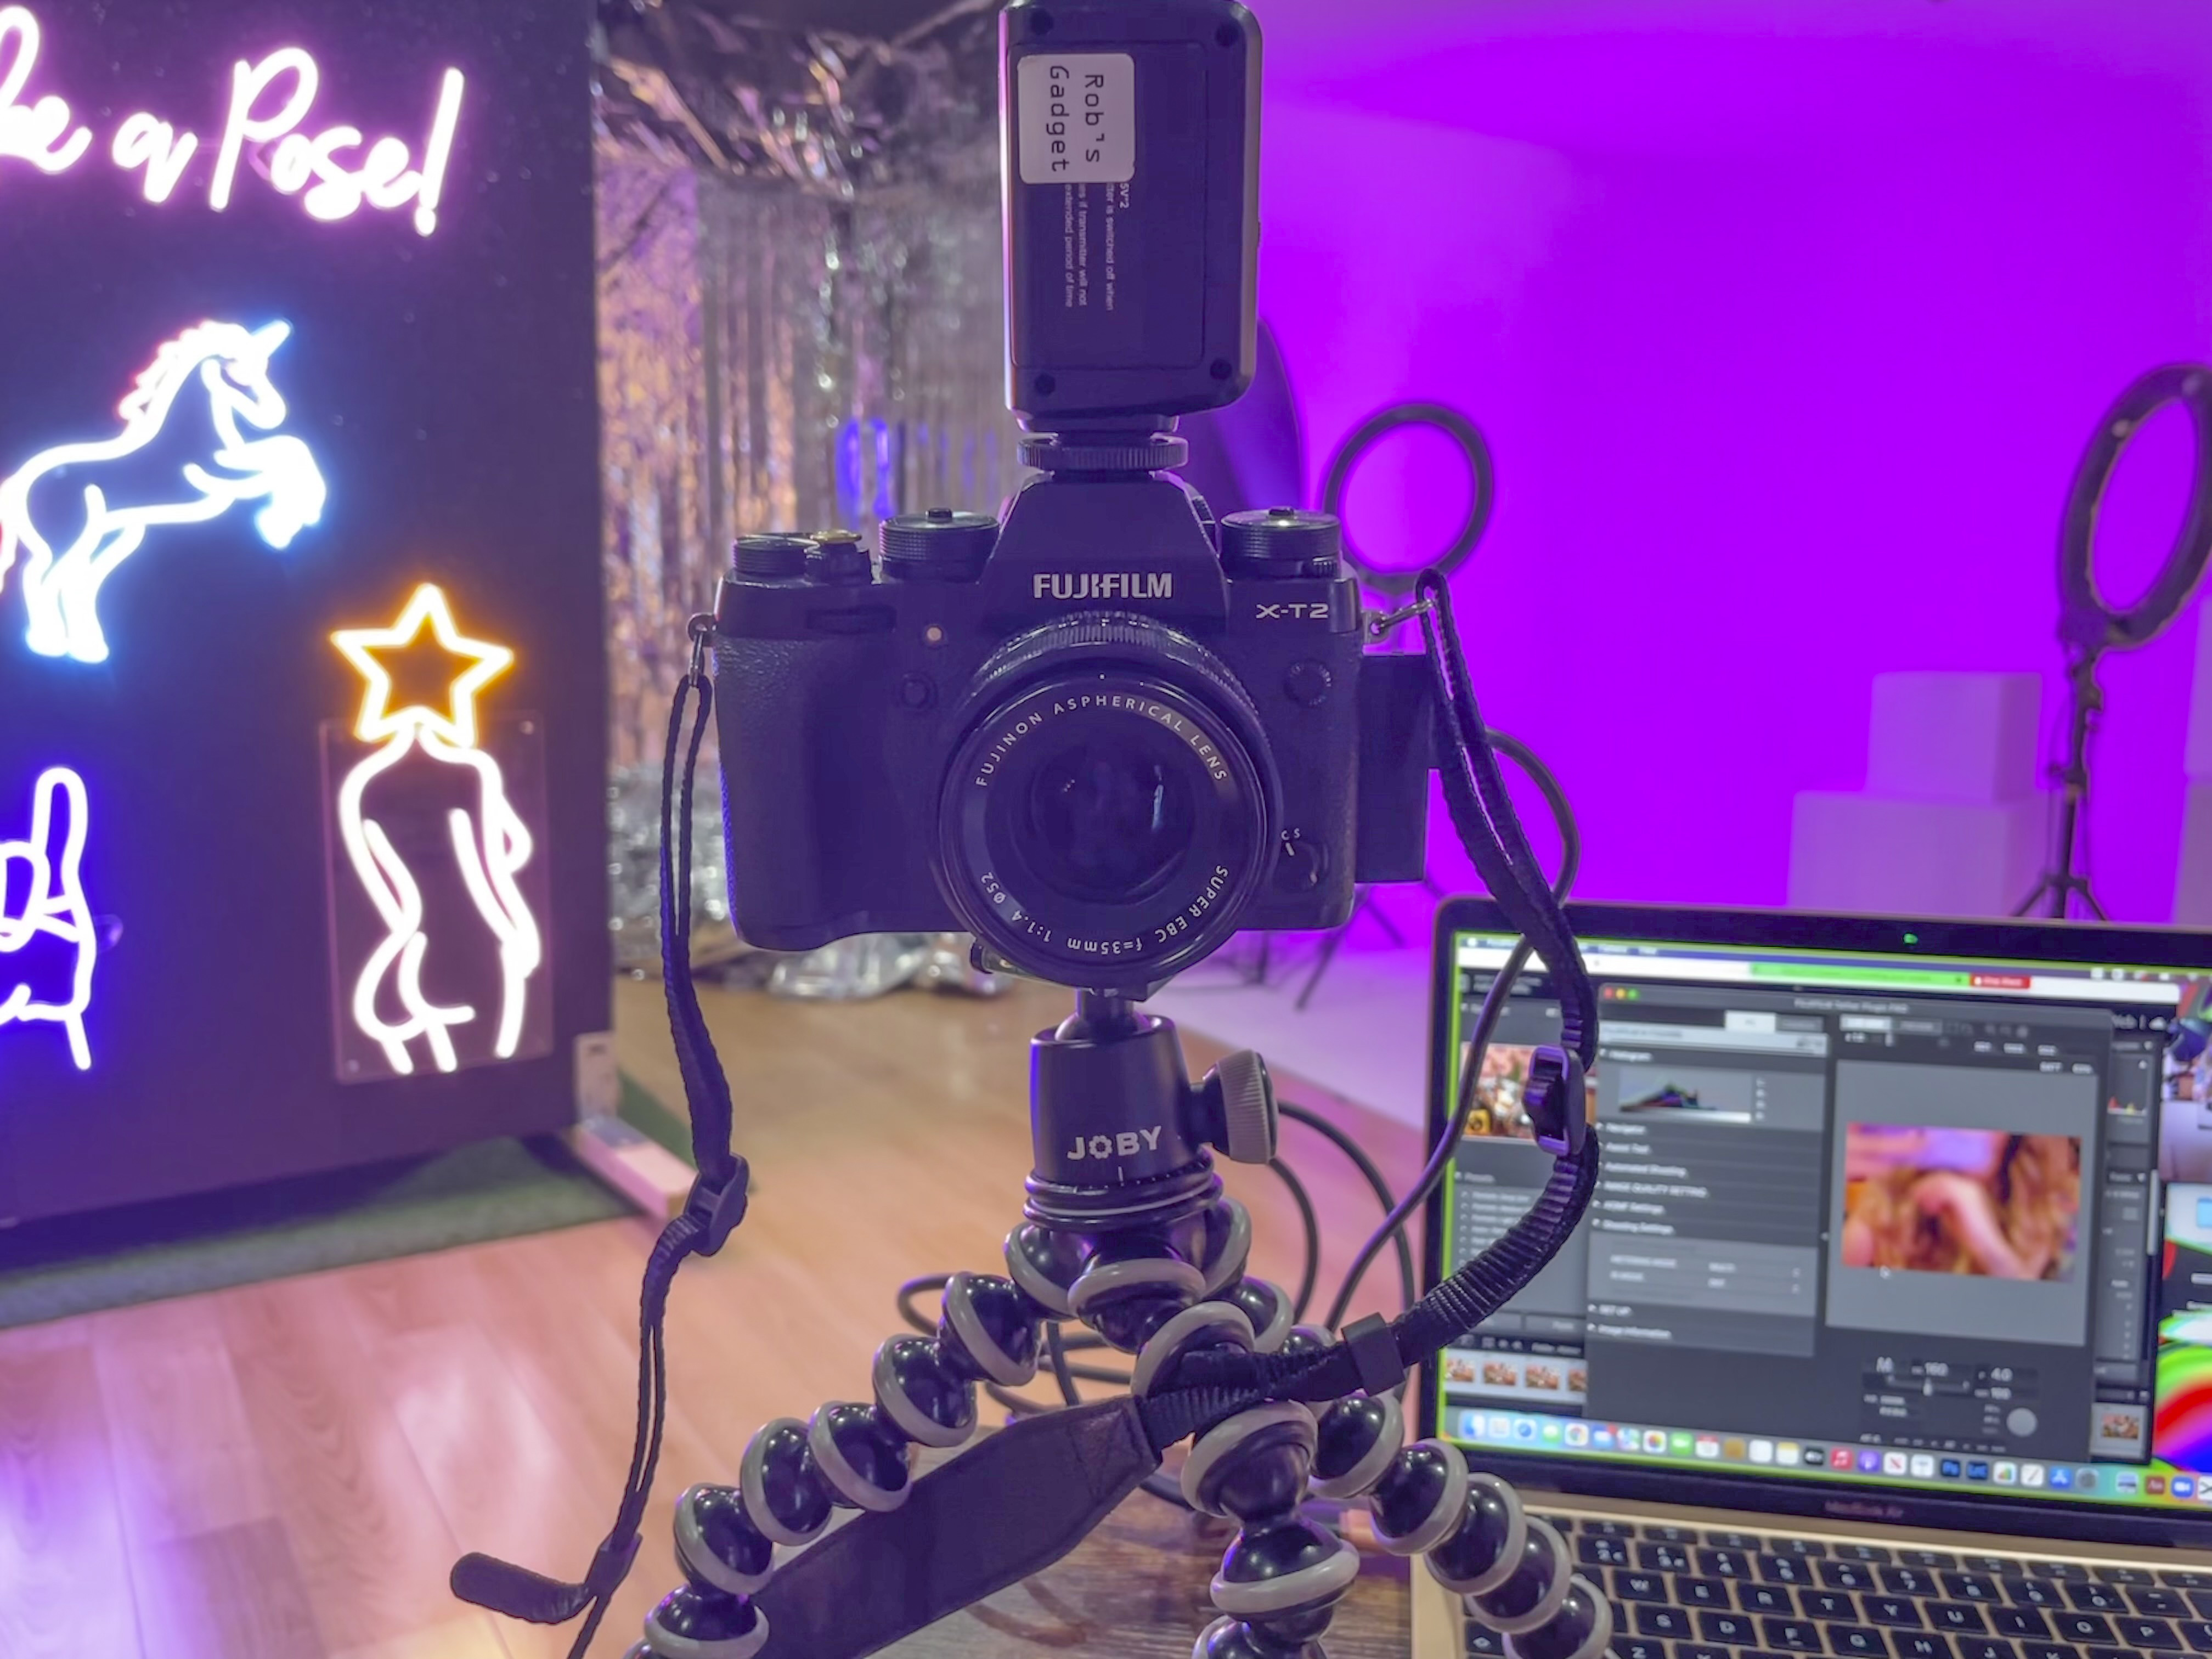
As the photographer can’t adjust it themselves, you might be running back and forth to your camera more often than normal. So make sure it’s mounted securely and try to use something that will let you adjust the pan and tilt quickly. This Joby GorillaPod camera support works perfectly, and it can easily be picked up and moved around as required.
GorillaPod 3K Pro leads Joby’s ‘Metal Revolution’
2. Make the necessary connections
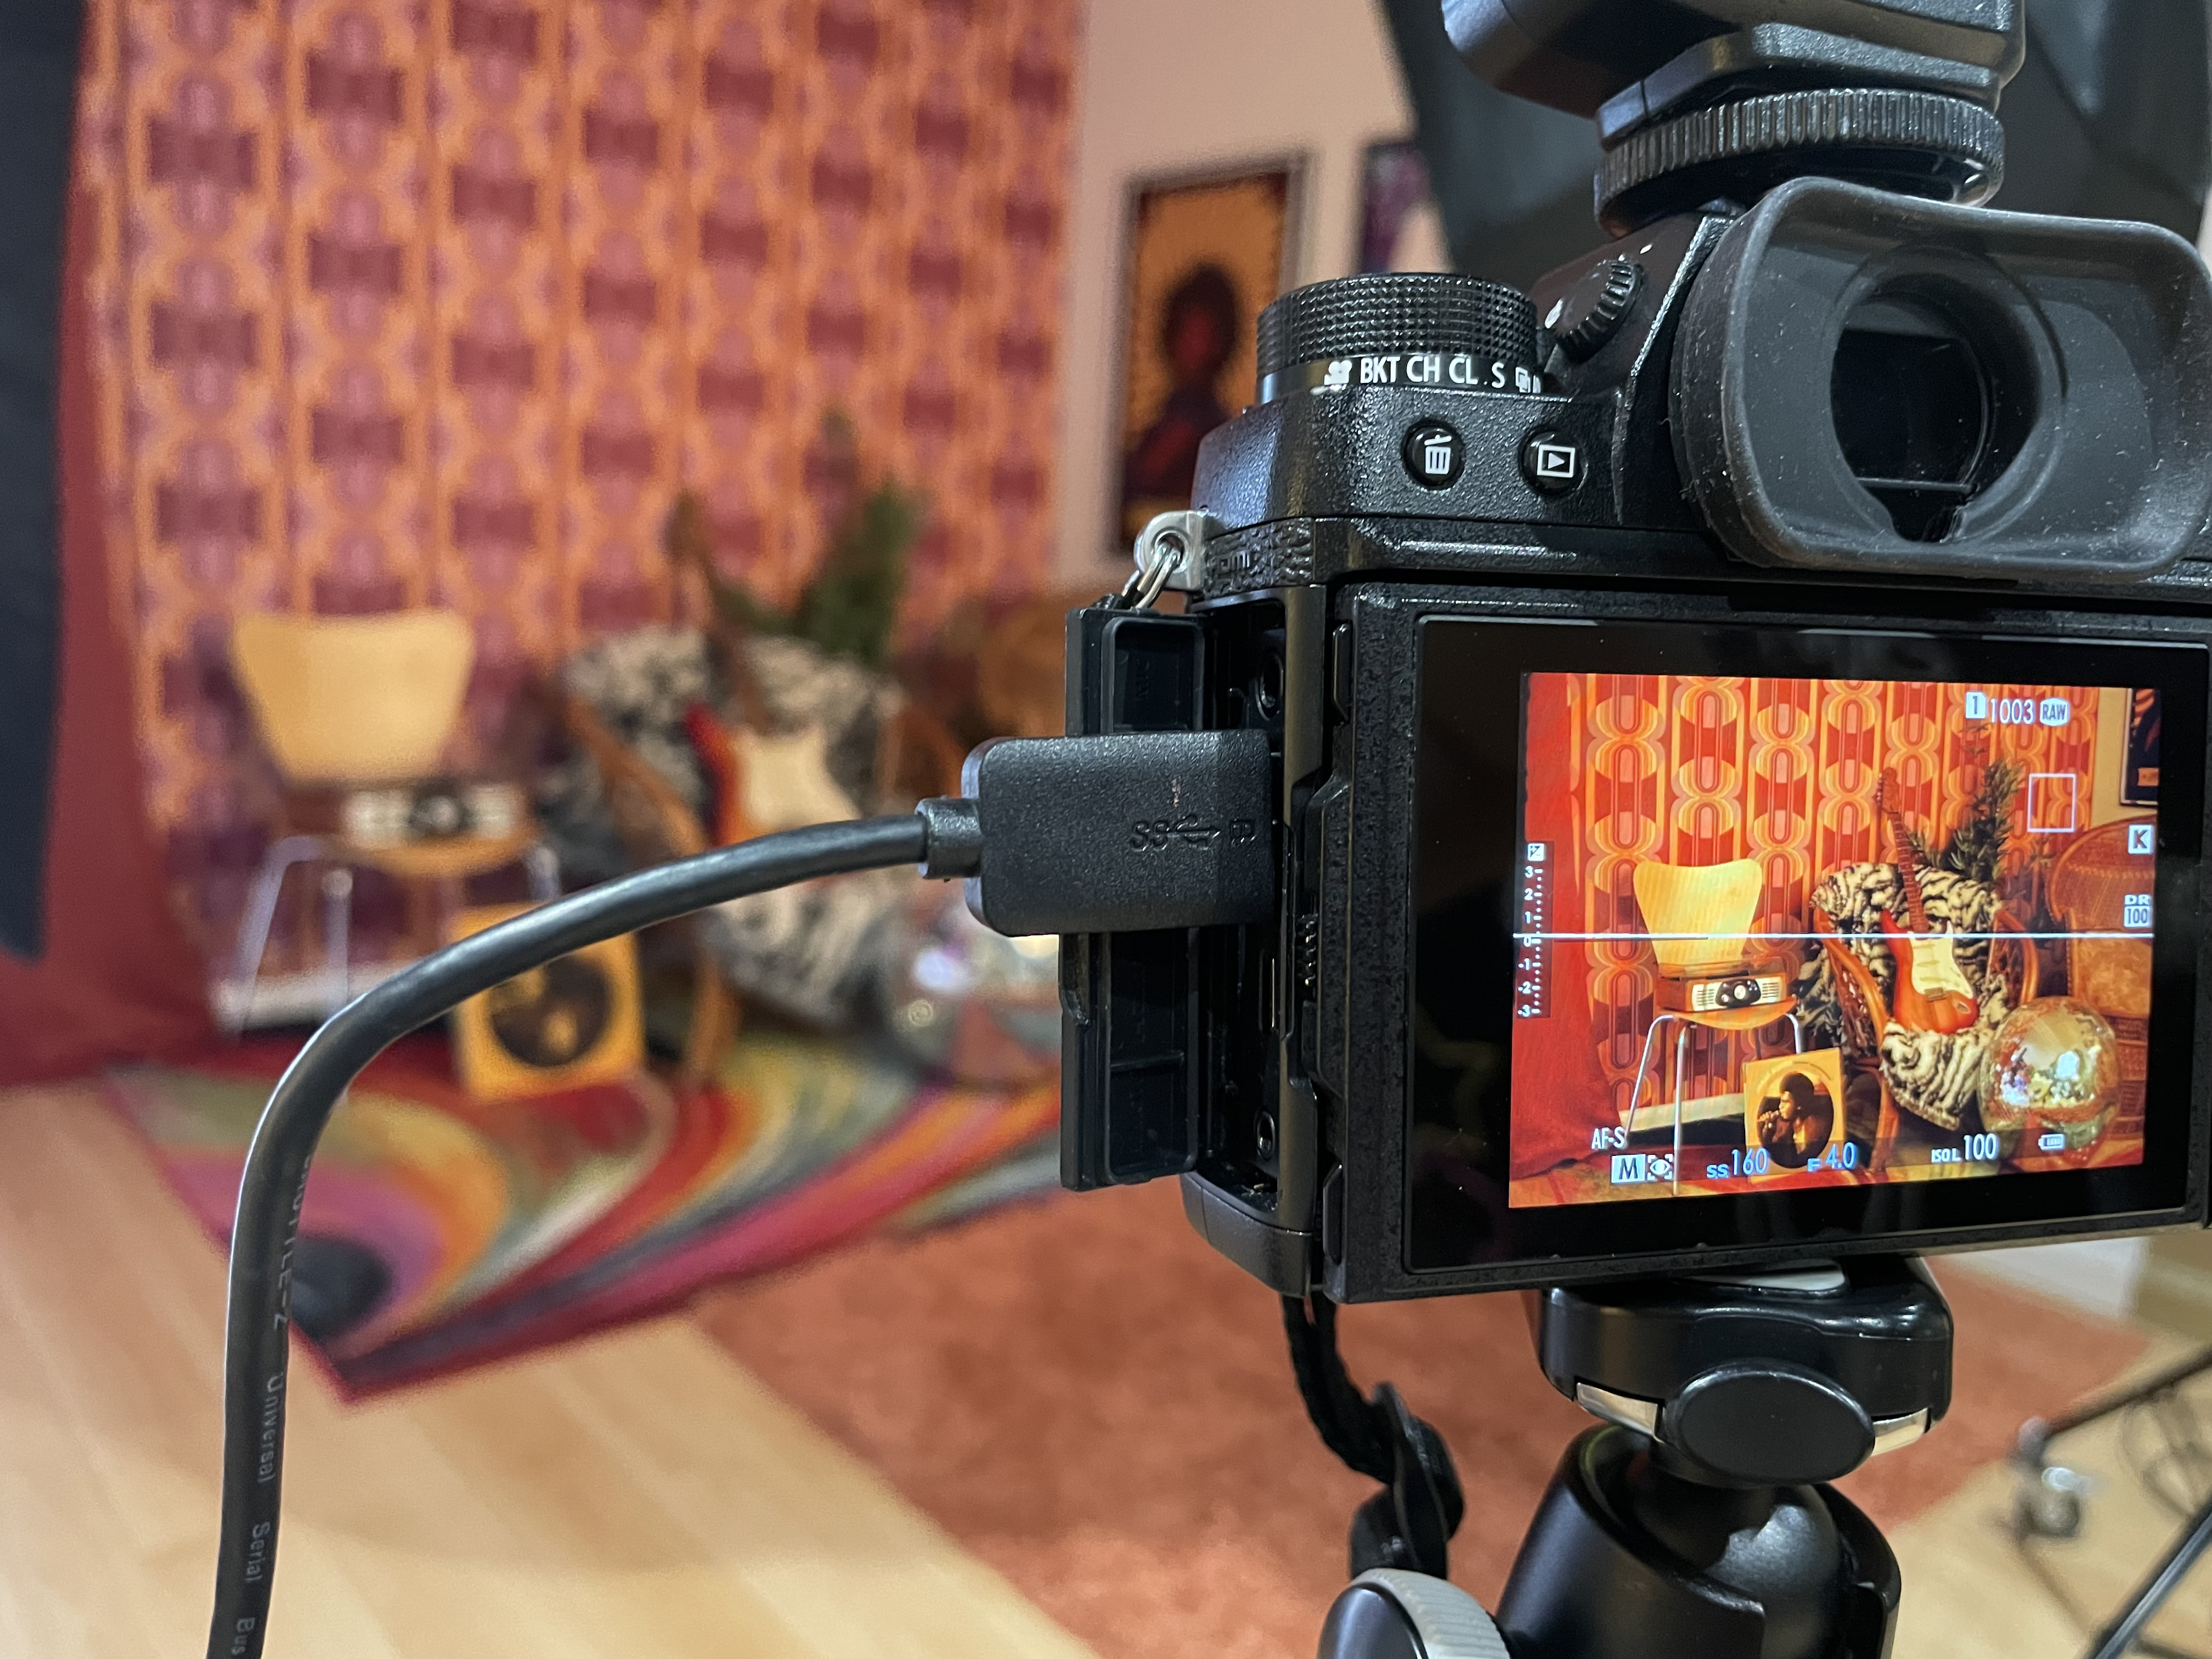
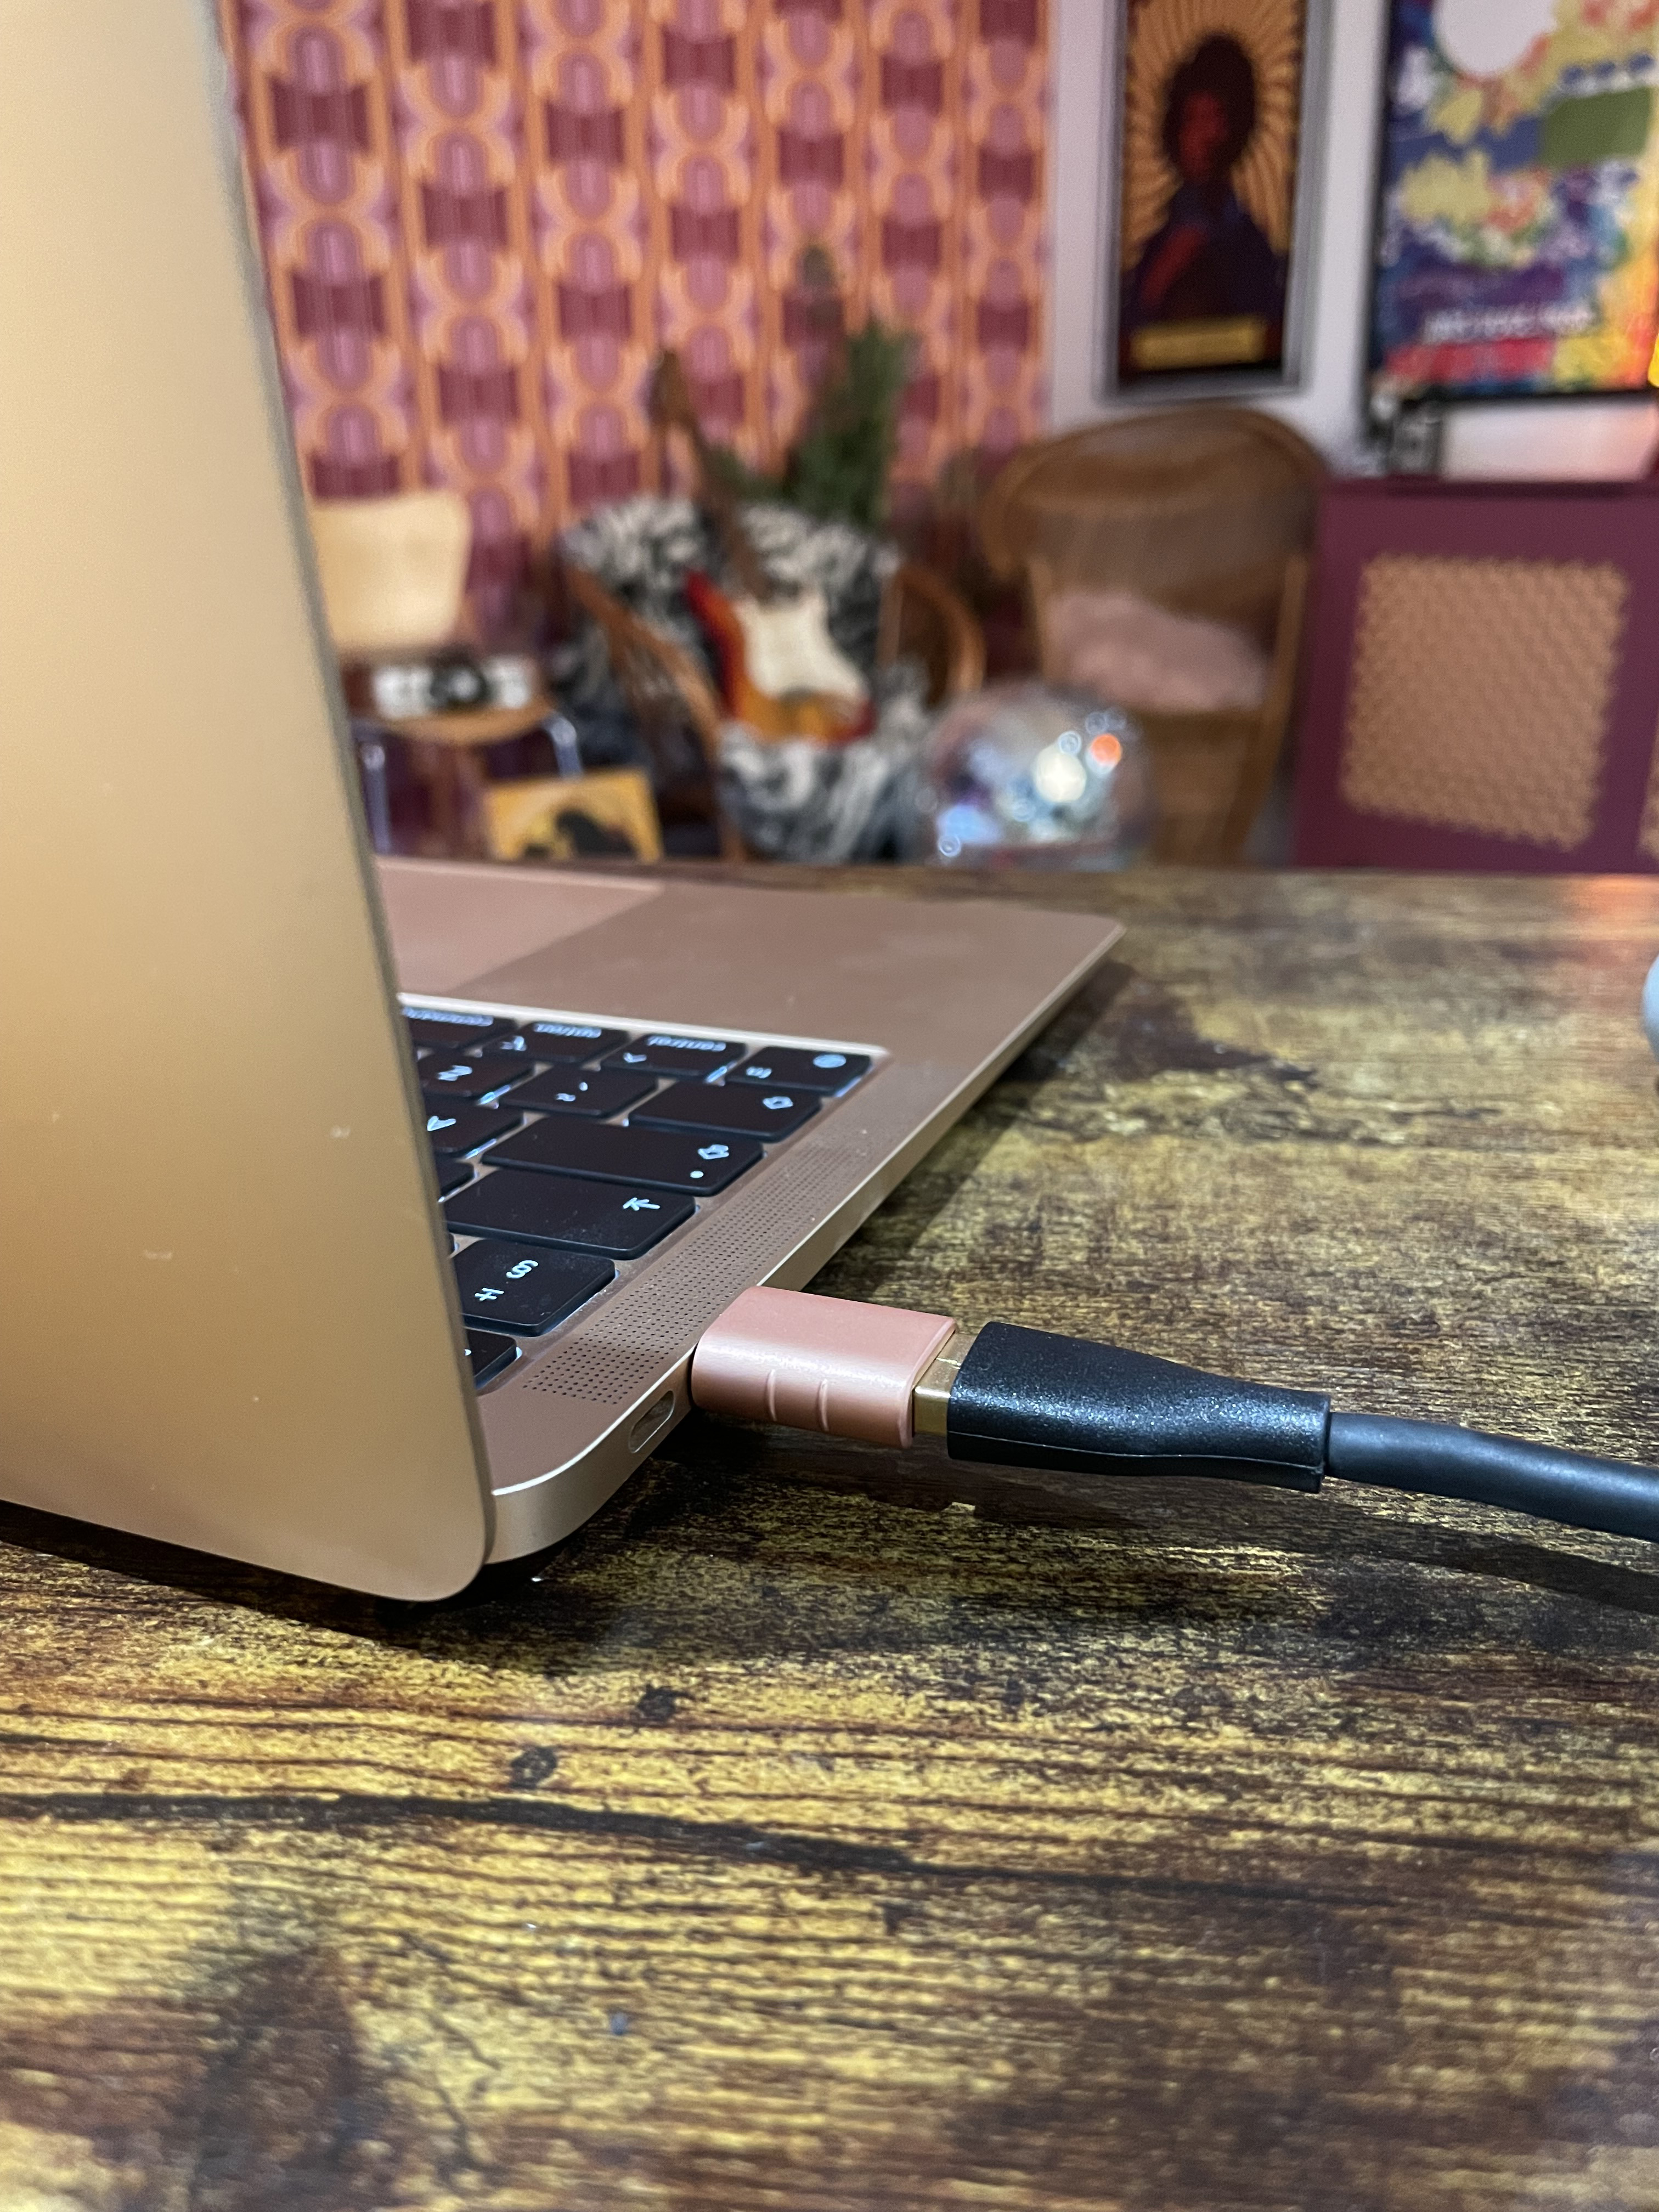
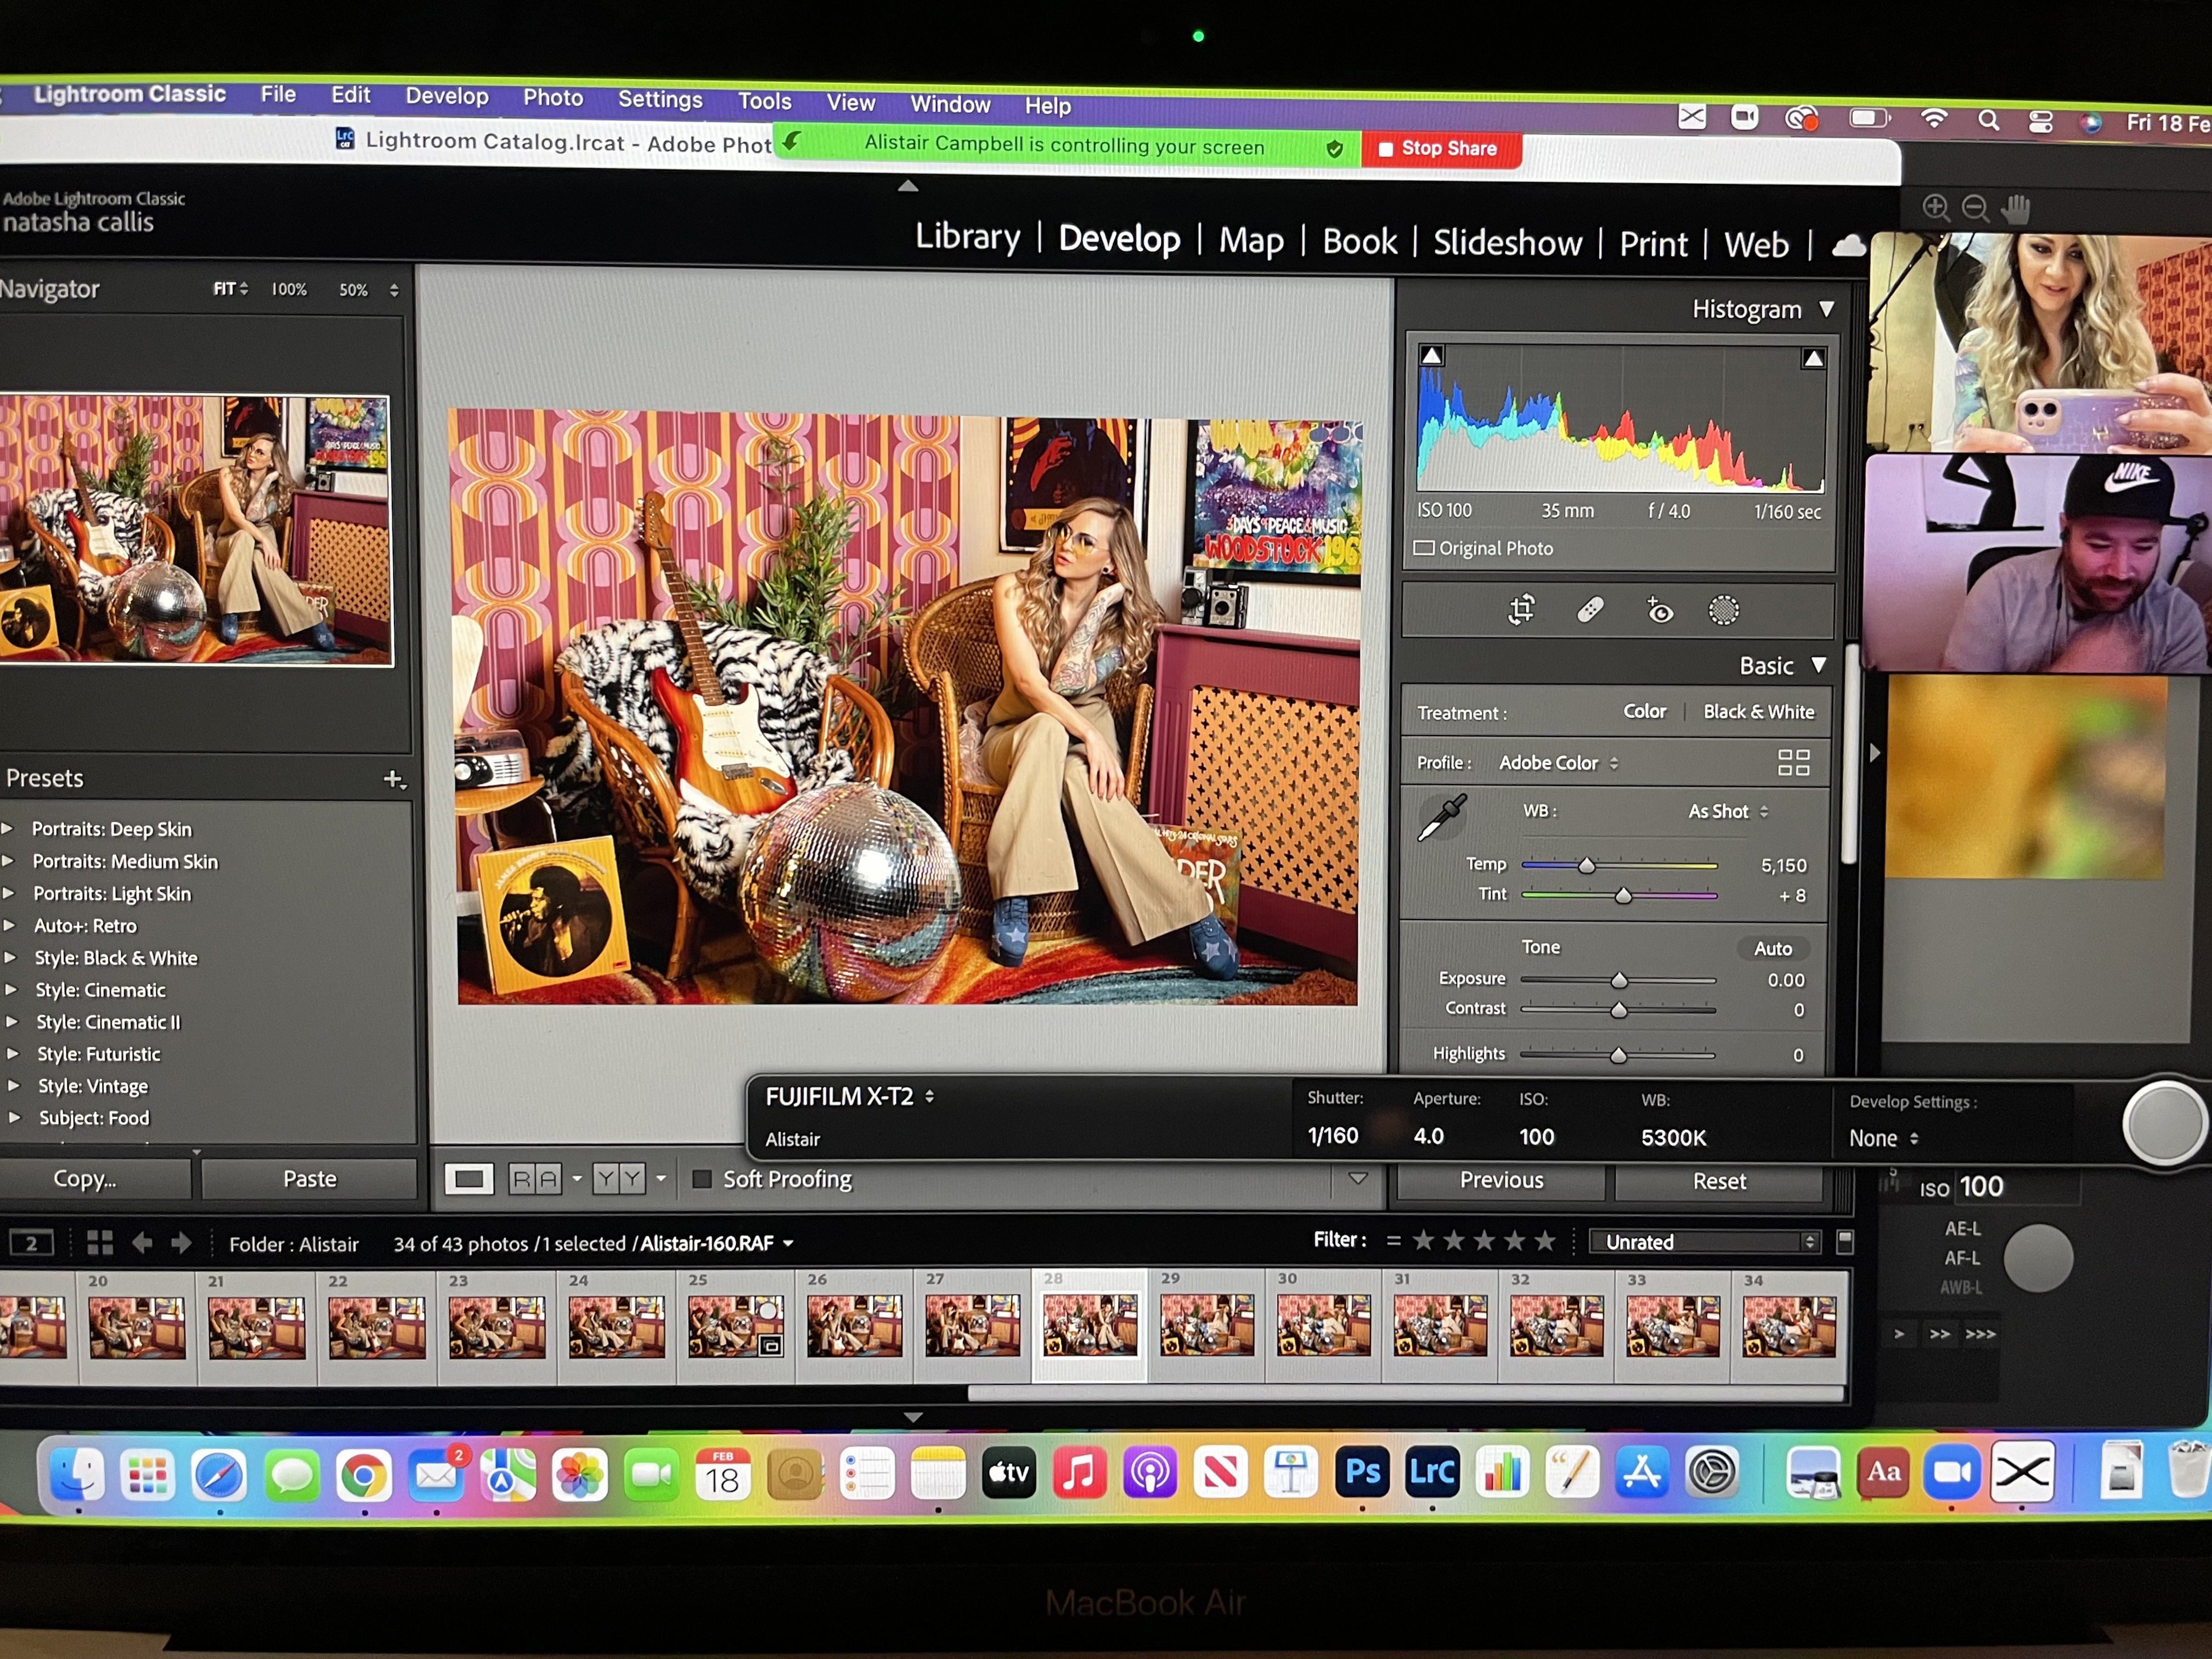
All you need for this stage of the operation is a remote shooting app (we’re using Lightroom) and a USB cable. Connect your camera to your computer; if Lightroom is open, it should auto-detect a camera that’s switched on. You will then have the option to pass the controls over to the photographer on the other end of the connection.
The best camera deals, reviews, product advice, and unmissable photography news, direct to your inbox!
3. Setting up the shooting space
For a successful remote shoot, you will need a well-prepared environment to work from. Ask your model to set up the lighting and the camera in a way that won’t require adjustments being made every 30 seconds. Having to constantly interrupt the flow of a shoot to tweak the position of lights, props, and the camera is not an ideal situation.
4. Shoot from one location to another, anywhere in the world
Now able to access everything I could normally if the camera was in my own hands – shutter speed, aperture, ISO, white balance, and most importantly, the shutter button – I started taking photos. It worked instantly, with little to no lag at all. Speaking via Zoom at the same time, Natasha and I could see and hear each other during the shoot. Simples!
5. The interface
1) Alistair used Lightroom software with Fujifilm Tether Pro. 2) He set up a Zoom video call to communicate with model Natasha. 3) The on-screen shutter release, camera settings, and controls. 4) Once happy with the setup, Alistair could control and fine-tune his camera settings to produce the desired series of shots. 5) The most recent image taken is always displayed in a large window, so the photographer can check what they’re shooting.
Model: @A B S T R A C T R E A L I T Y
These are the best Adobe Photography Plan deals for Photoshop and Lightroom in 2022, the best Fujifilm X-T2 deals, and the best photography lighting kits in 2022: for the studio, location, and video.
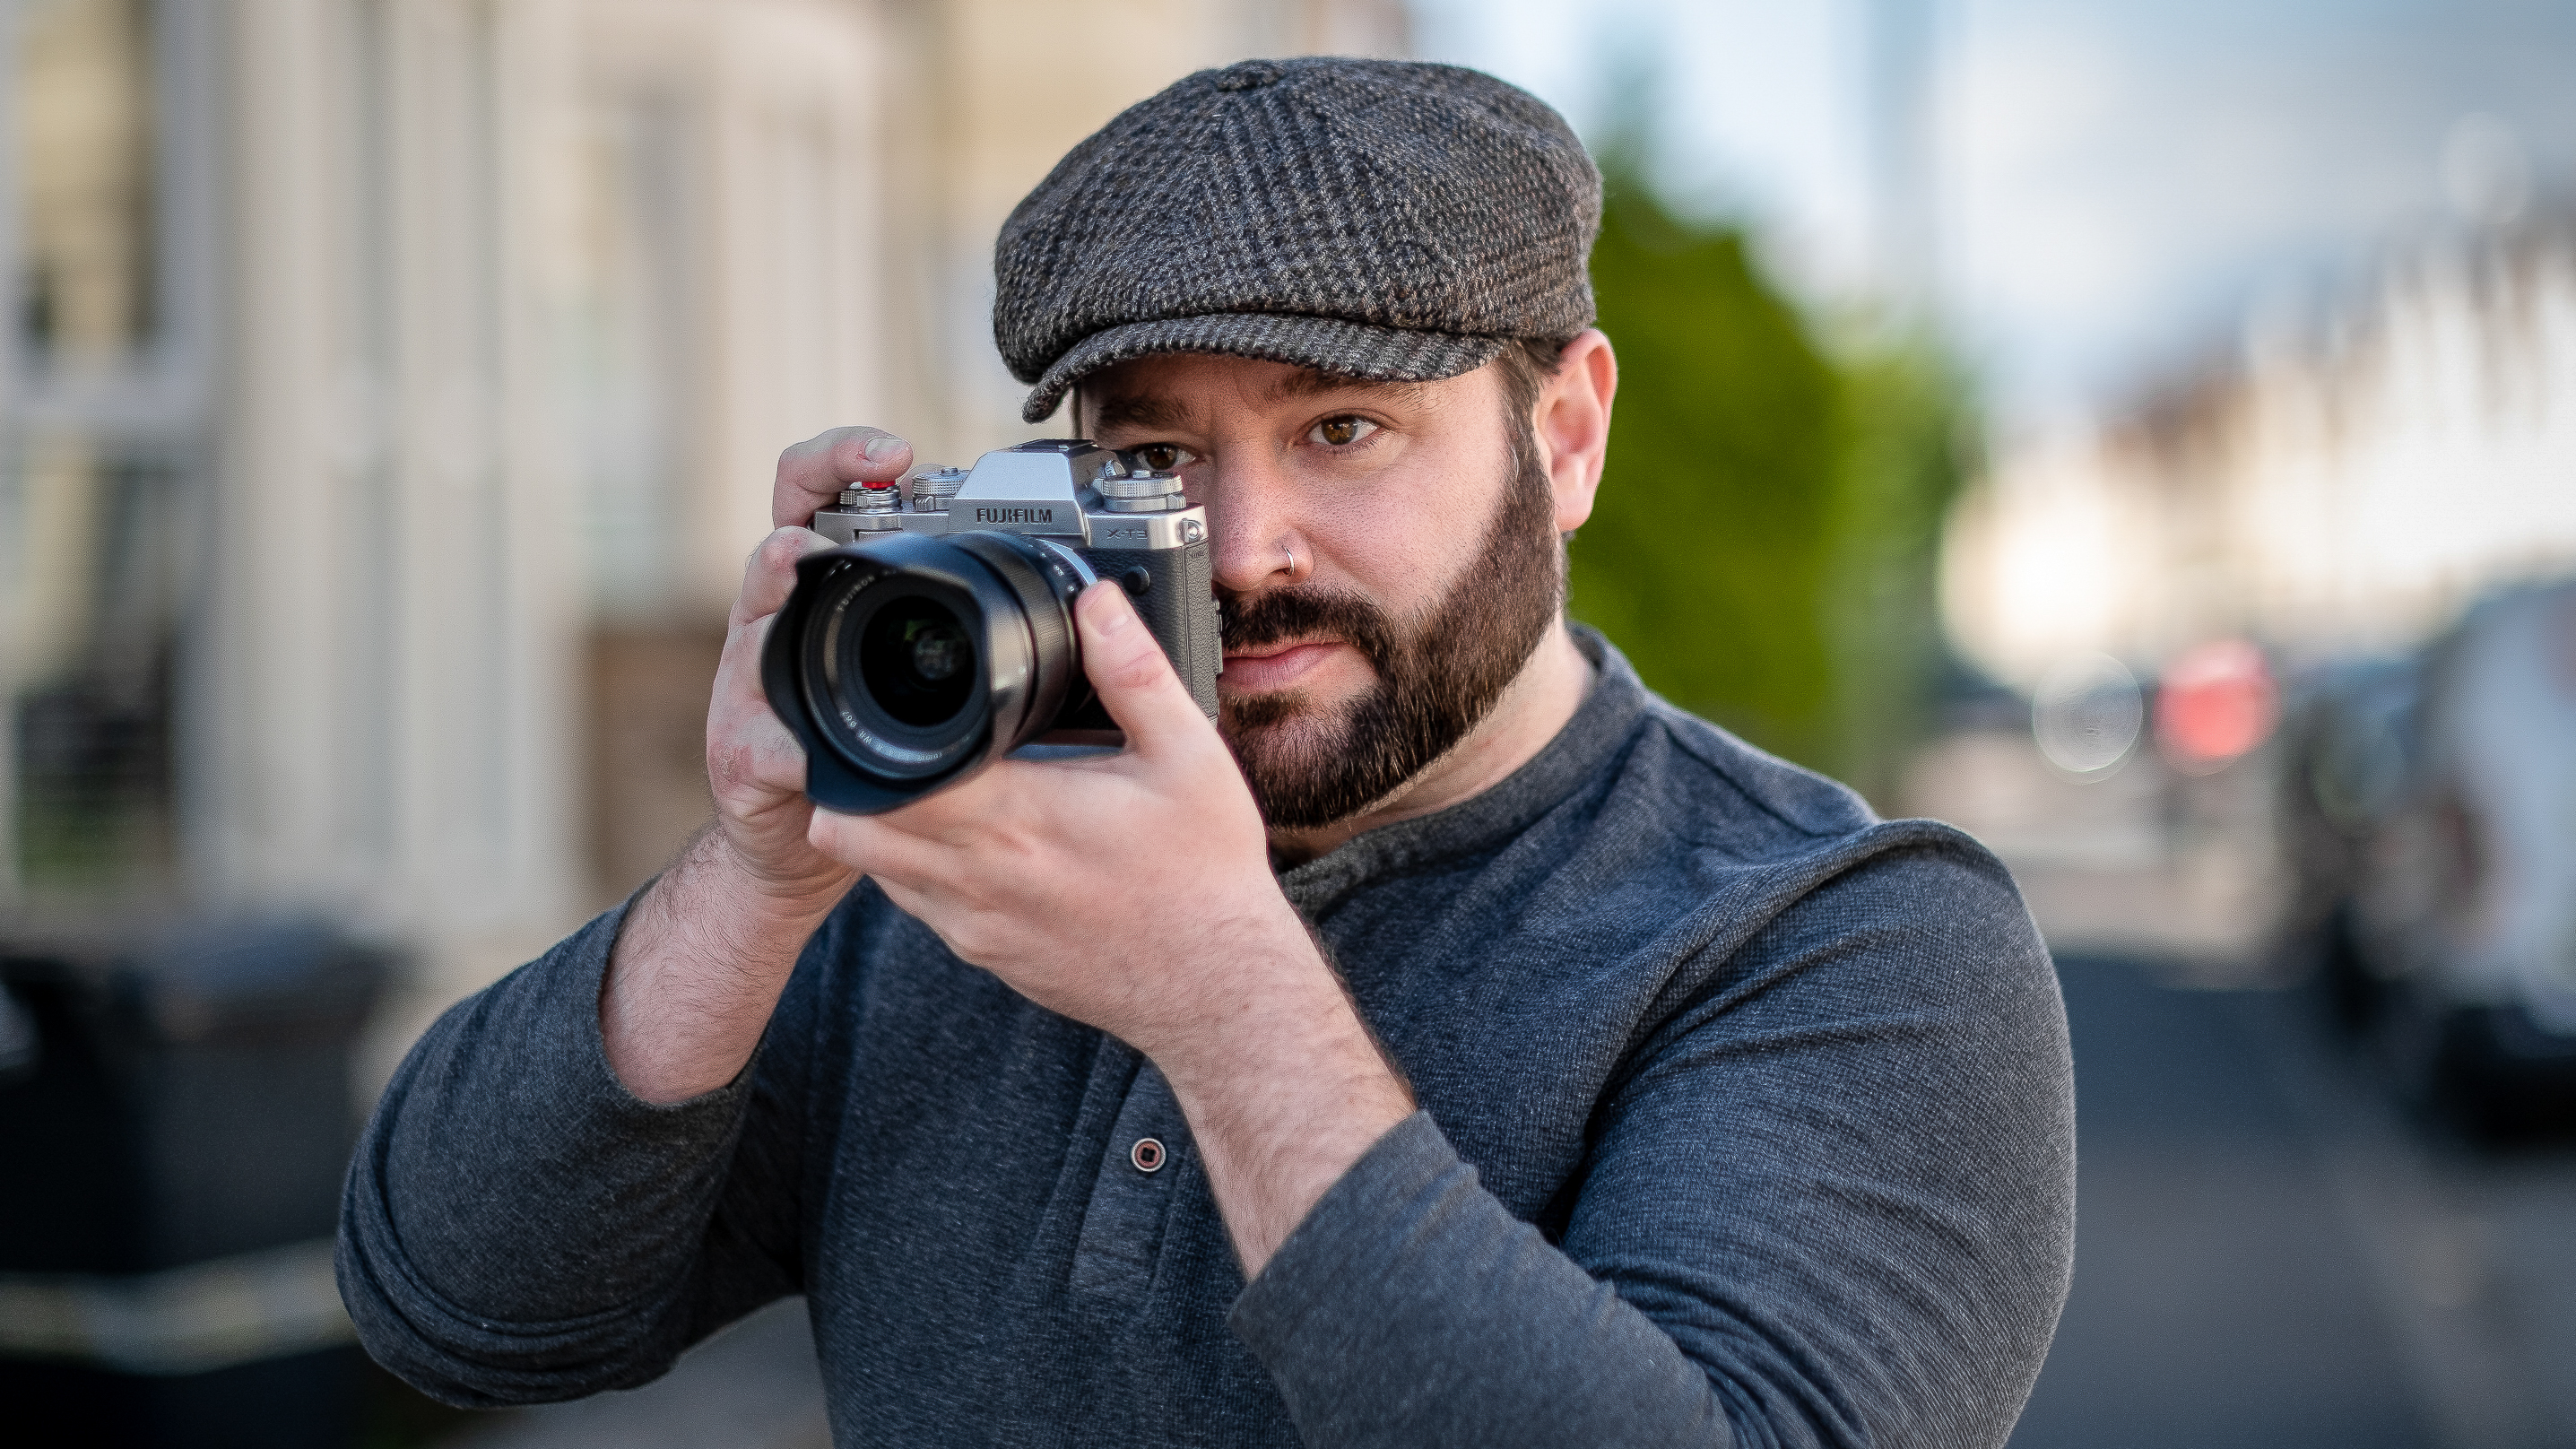
Alistair is the Features Editor of Digital Camera magazine, and has worked as a professional photographer and video producer.
