The best camera deals, reviews, product advice, and unmissable photography news, direct to your inbox!
You are now subscribed
Your newsletter sign-up was successful
Watch video: Take infrared photos on a tight budget with your camera
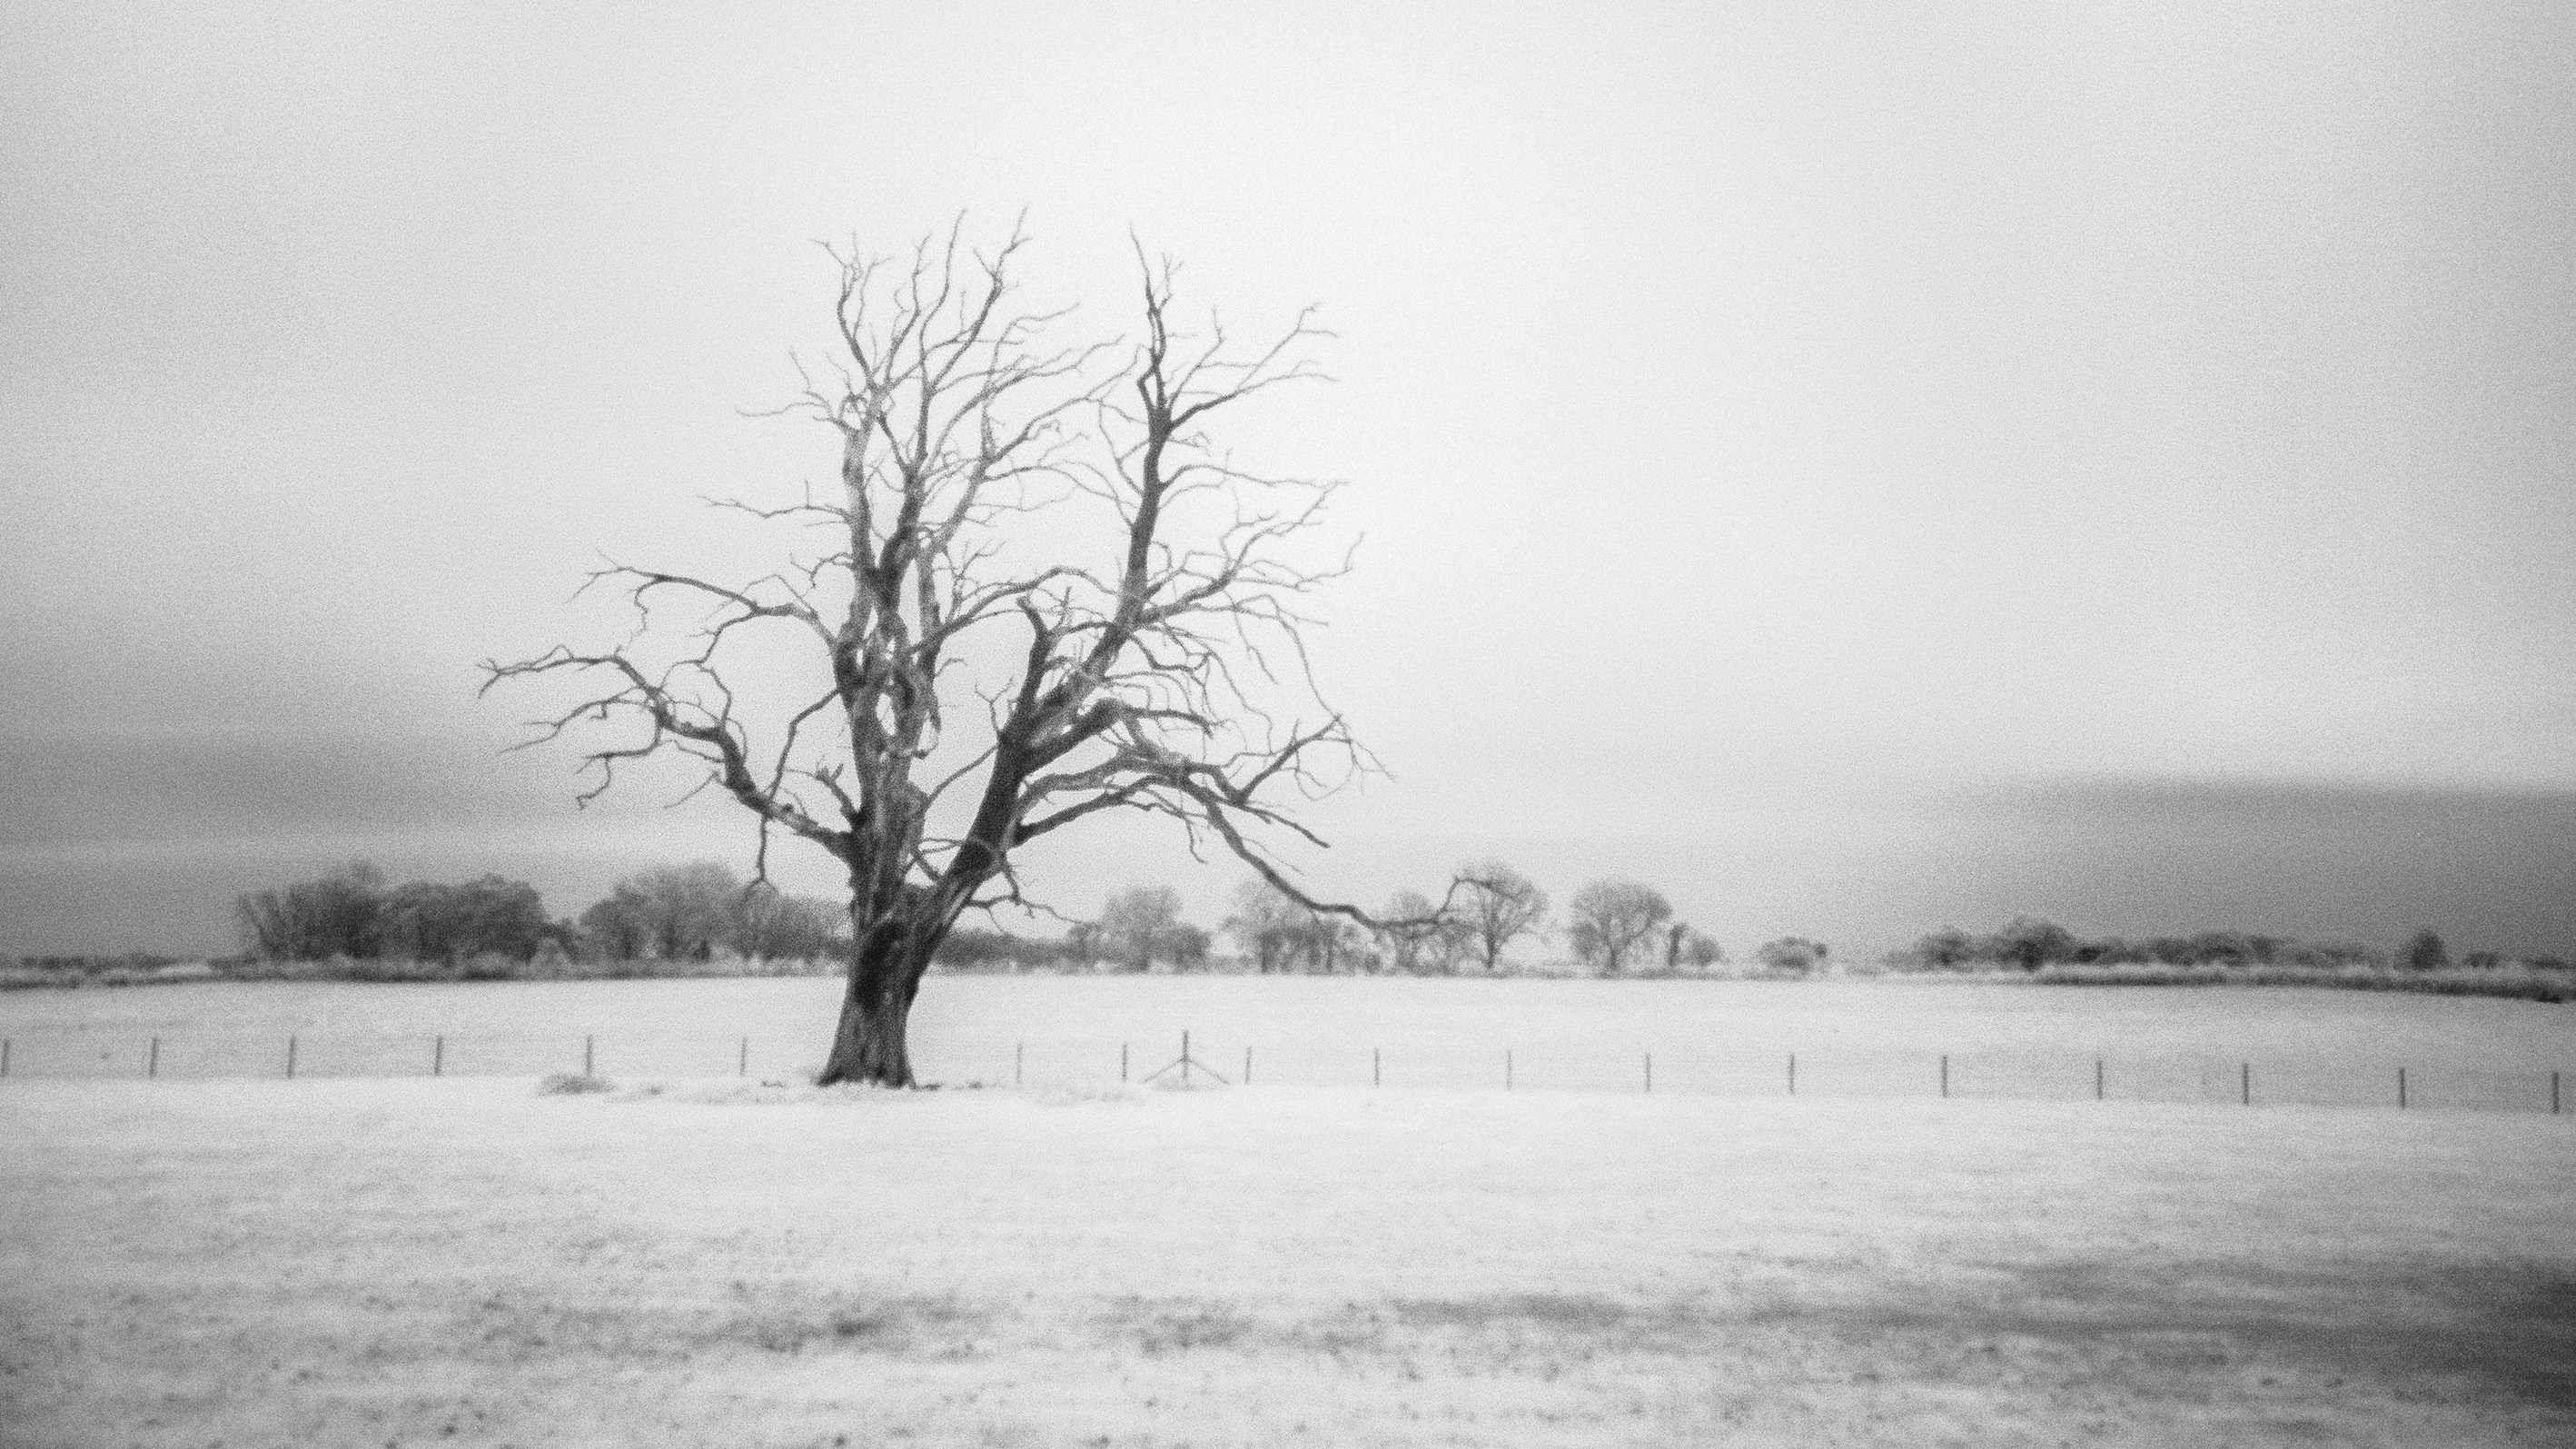
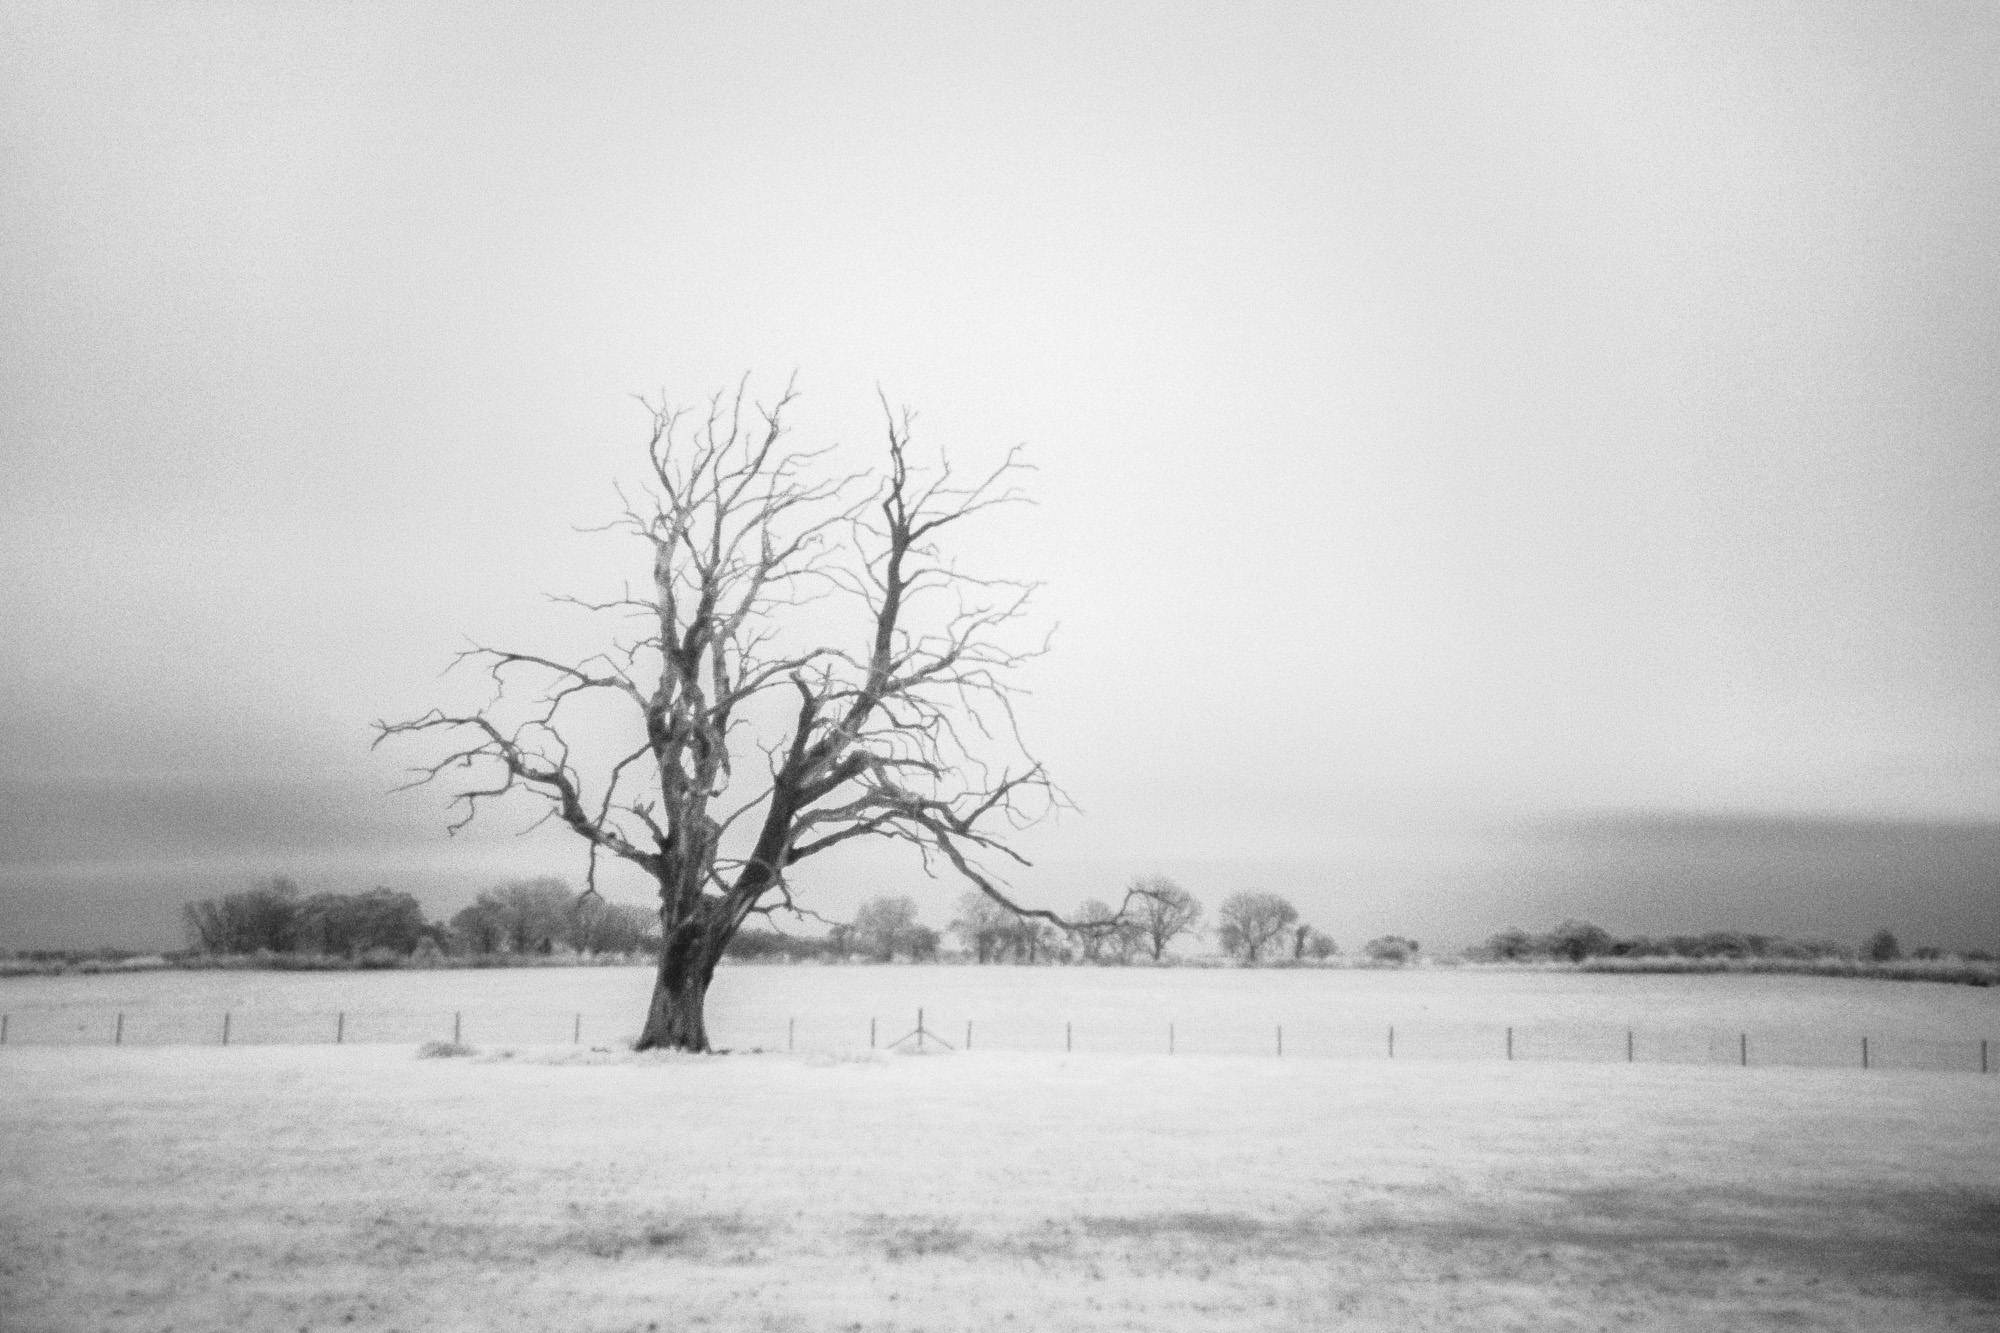
The human eye has the ability to see an extraordinary amount of color and detail, but the world that we see everyday is only a small part of the wavelength spectrum. Just outside of the visible light range is ultraviolet at one end, and infrared at the other side.
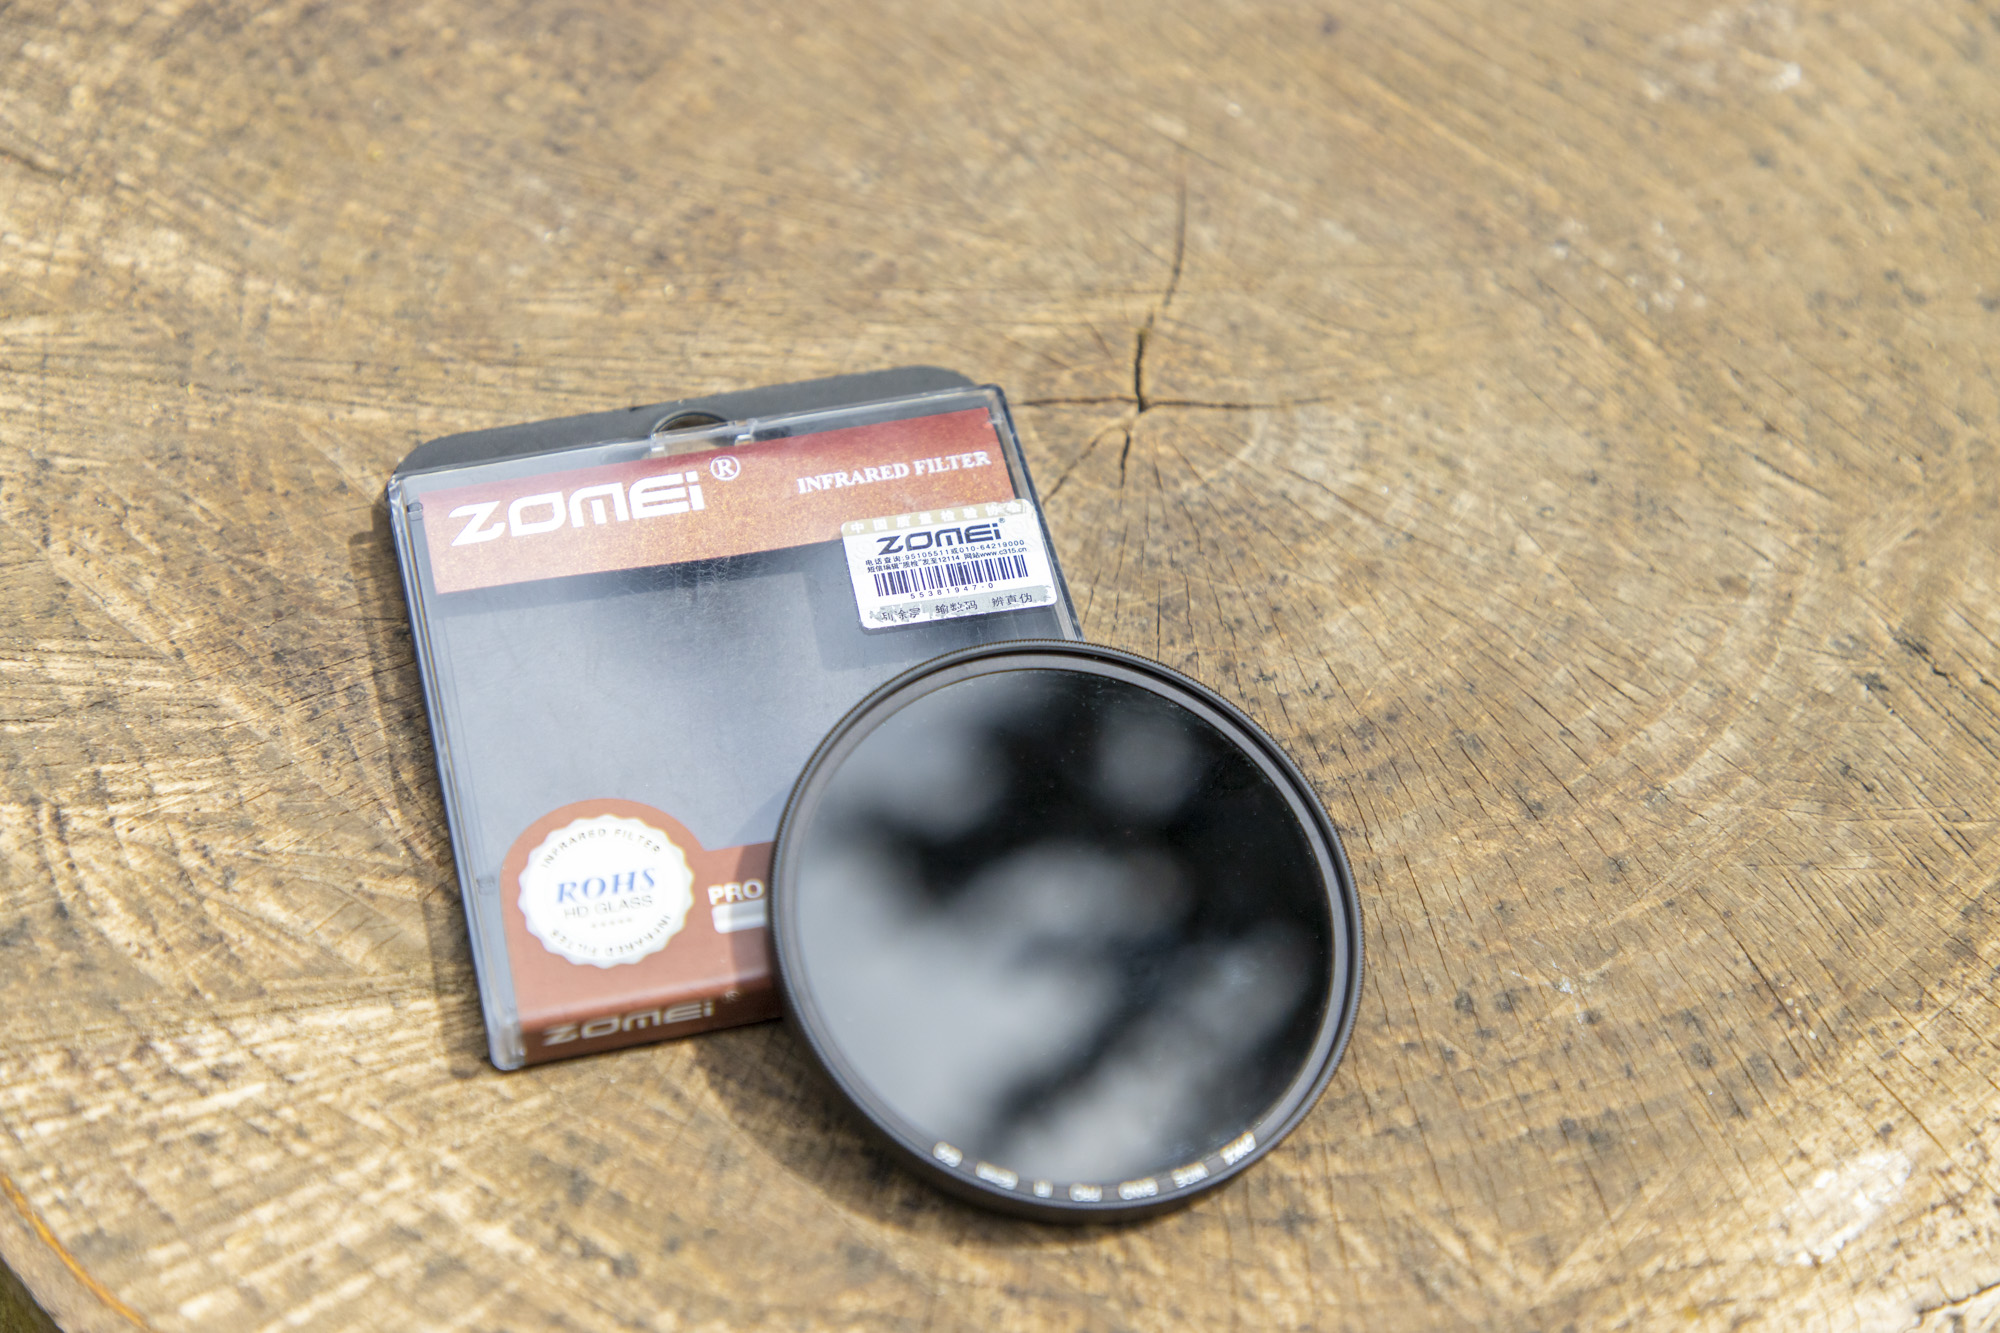
We can’t see infrared light, but we can show you how to take a picture with it! You will need a DSLR or mirrorless camera, and an infrared filter that screws into the front filter thread of your lens.
• Read more: Best infrared filters
This will ensure that only infrared light is coming through the lens and hitting your camera’s sensor, with all other lightwaves blocked out. Just make sure you get one that fits the filter thread of your lens! This is commonly stated on the barrel of the lens or inside the lens cap.
Most modern digital cameras have a filter on top of the image sensor to cut out all but a trickle of infrared light. This means that you will need to use a very long exposure, generally around three to six minutes, to get a usable photograph that is bright enough – and this opens up a world of possibilities to experiment with extremely long exposures!
01 Buy an infrared filter
Infrared camera conversions are costly, but you can buy an infrared filter much more affordably. Our guide to the best infrared filters highlights the best of the bunch – not all filters are made equal, with some models letting in more or less infrared light.
The best camera deals, reviews, product advice, and unmissable photography news, direct to your inbox!
Look out for the Nanometer value (nm), as a filter with a value of 720nm will let in infrared types A, B and C, while a filter with a value of 1600nm will block out type A, only permitting types B and C in to hit the camera sensor and producing different results. The 950nm version we're using delivers quite a strong infrared effect, enabling longer shutter speeds that are ideal for this technique.
02 Compose your shot
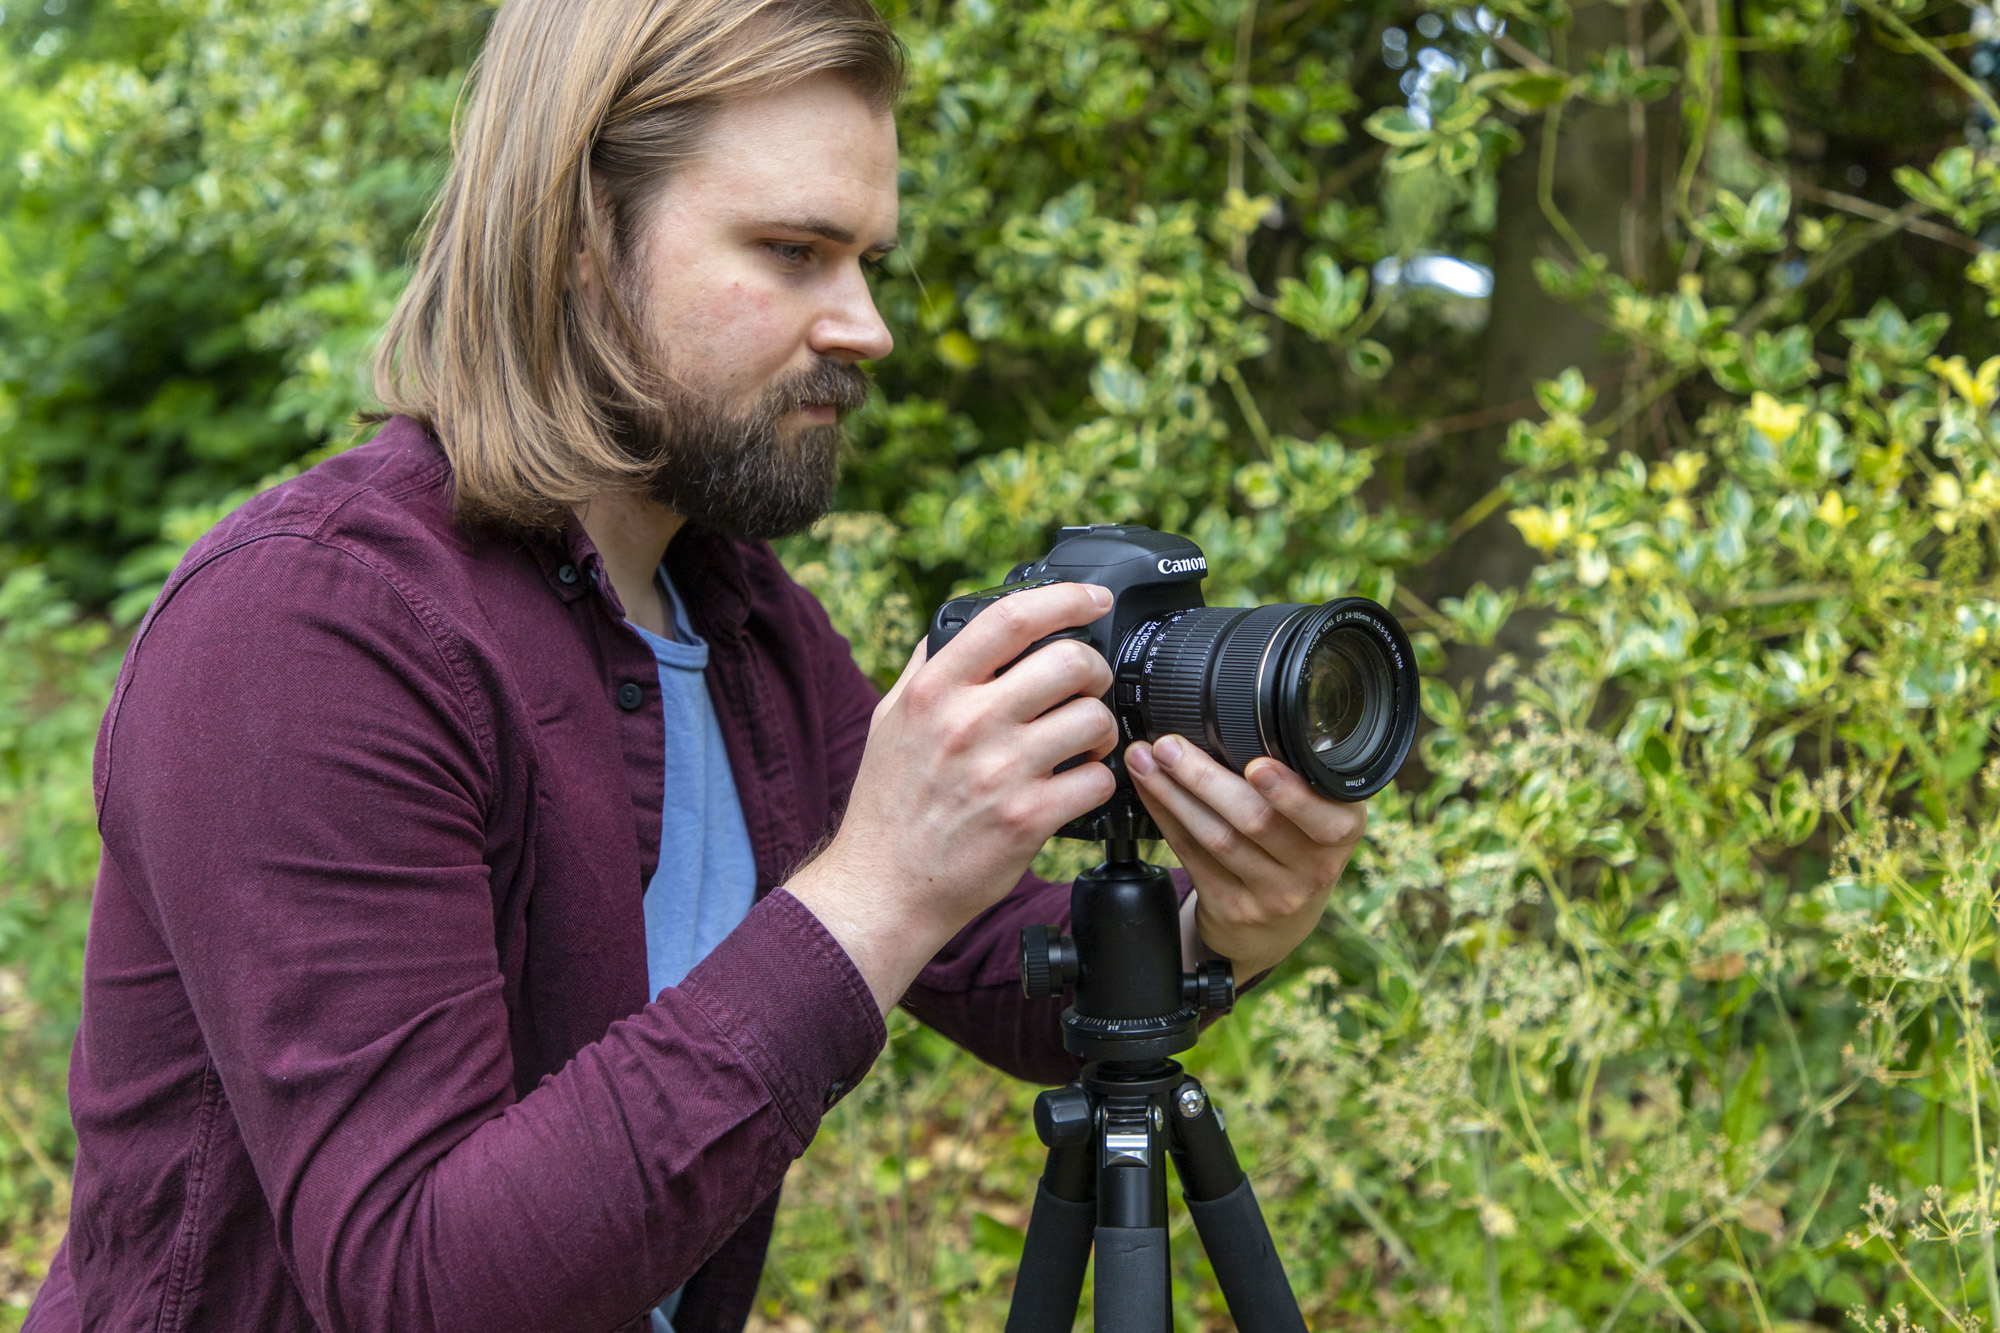
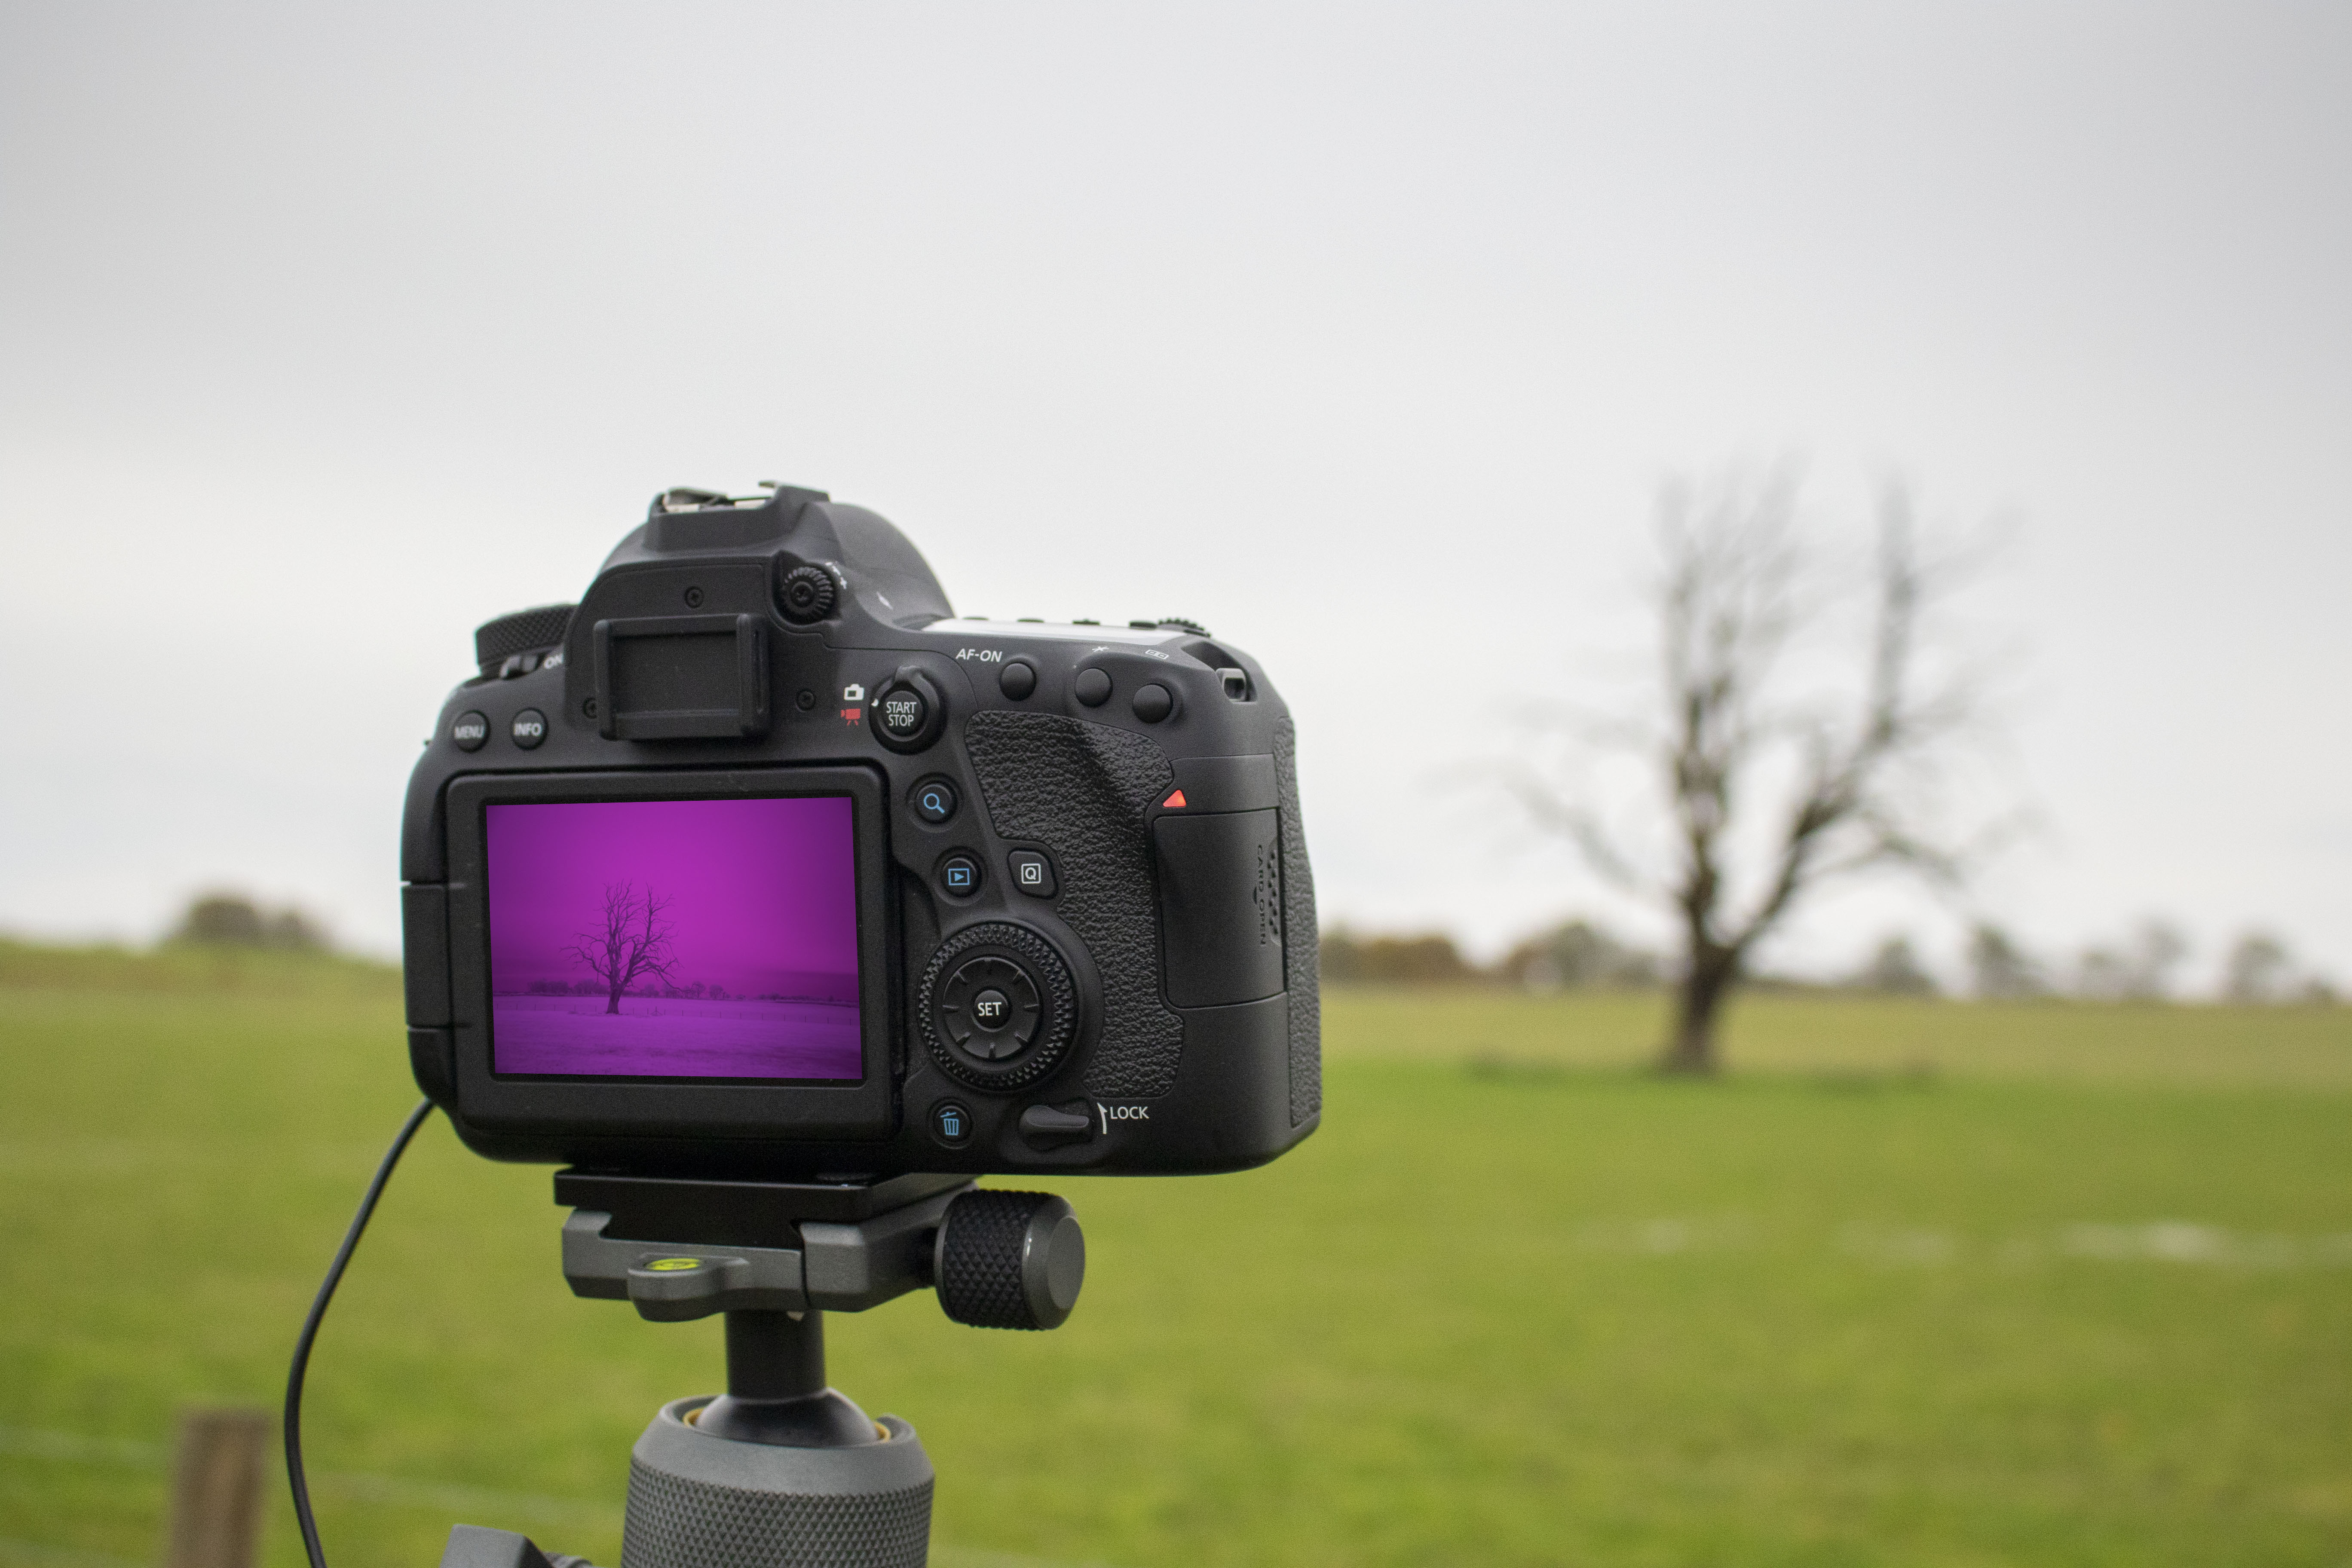
Your camera is going to need a very long exposure to receive enough infrared light for a well-exposed image, so setting it up on a tripod is a must. Frame up to achieve the composition you want and focus on your focal point.
03 Attach the infrared filter
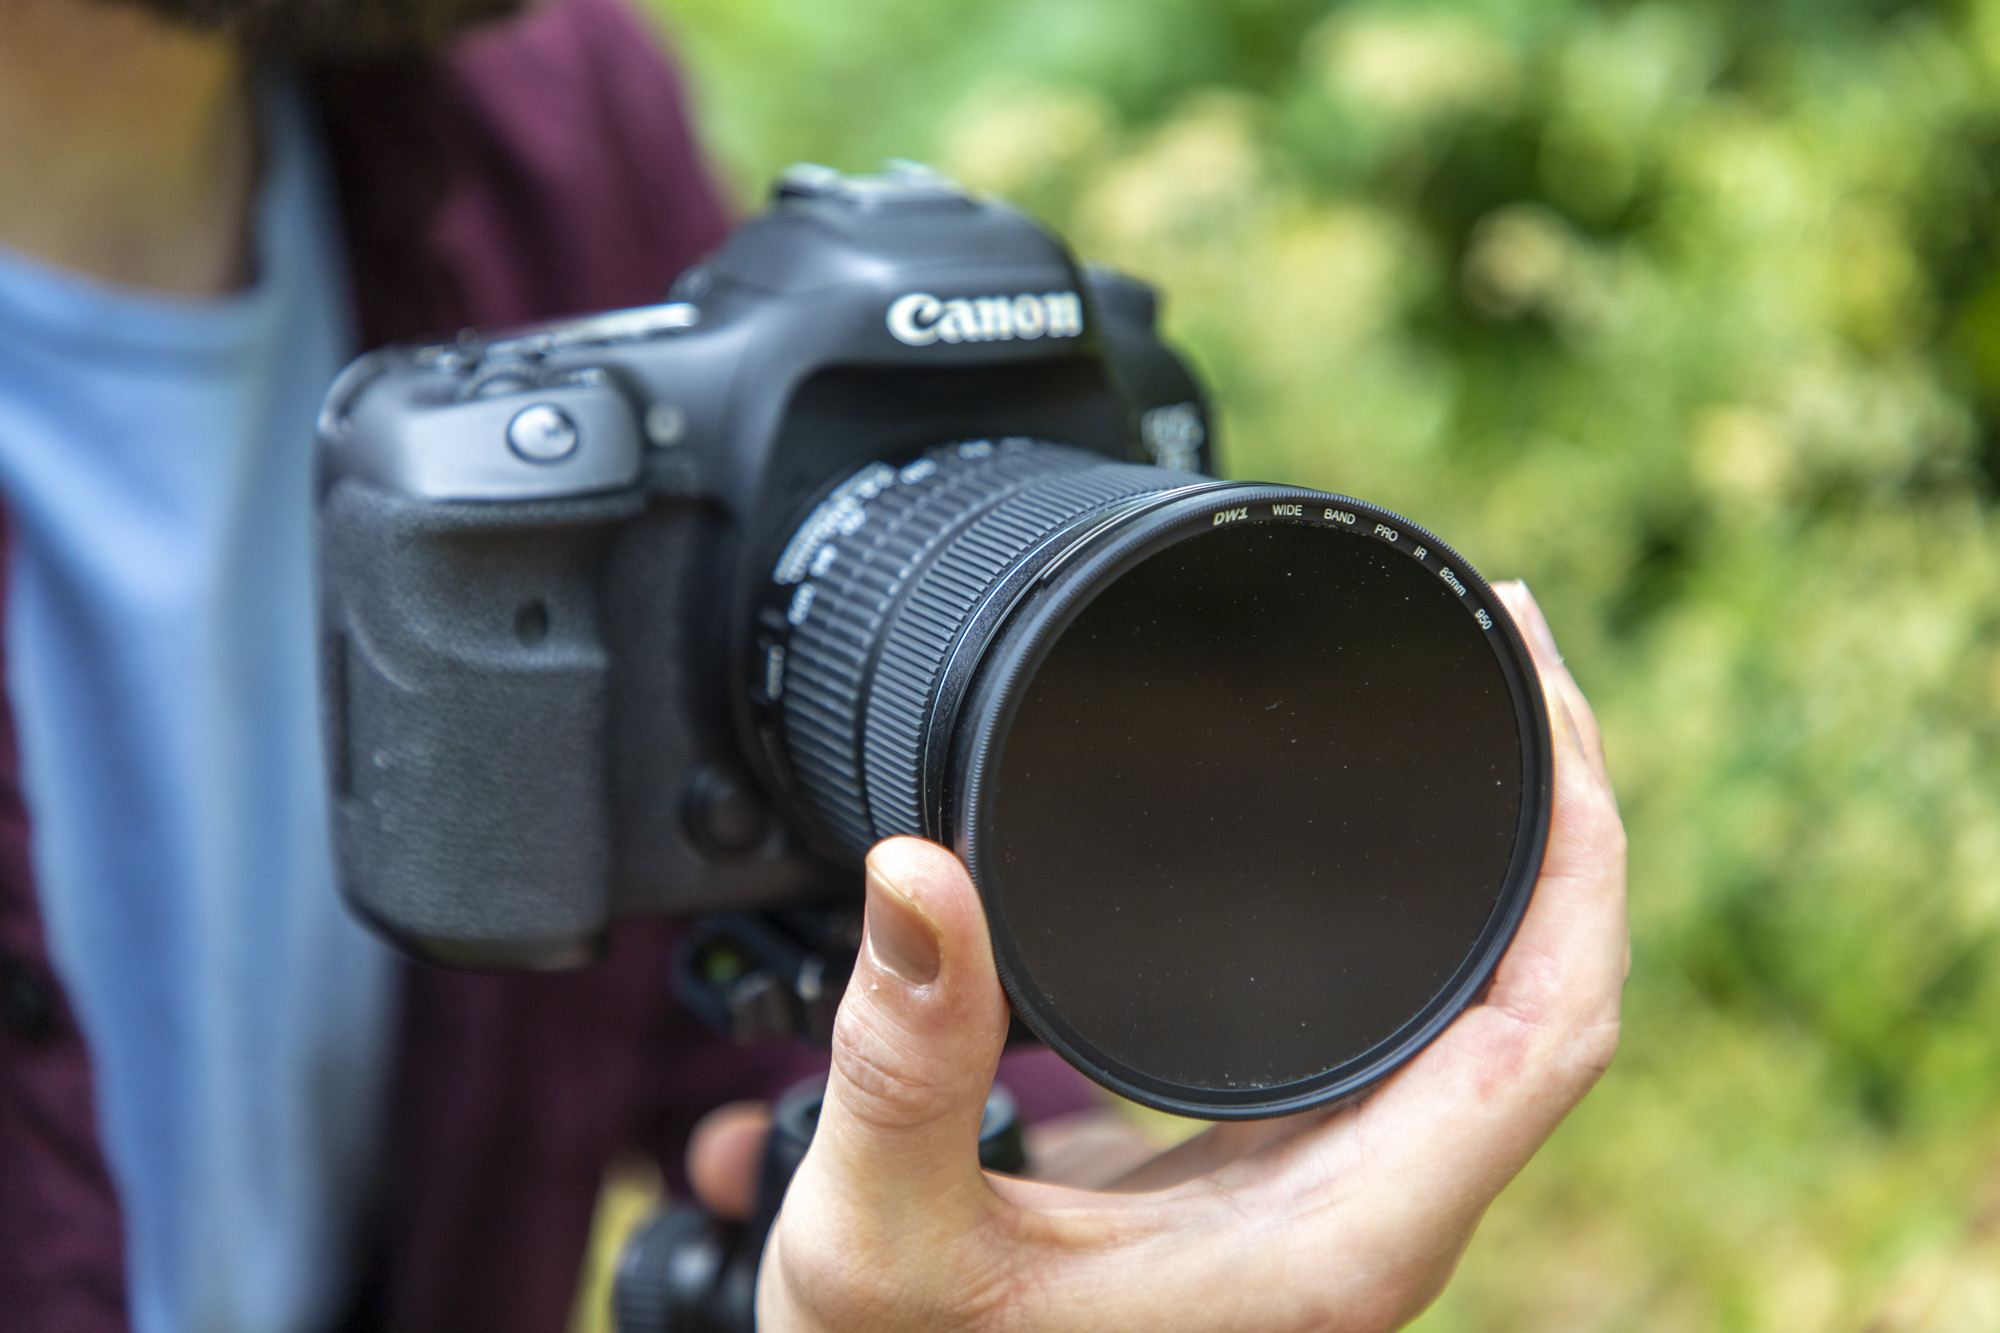
Put your camera into its manual focus mode to lock the focus in place, then carefully screw in the infrared filter, being careful not to knock the zoom or focus rings on the lens. When in place, the viewfinder will be totally black.
04 Block the eyepiece
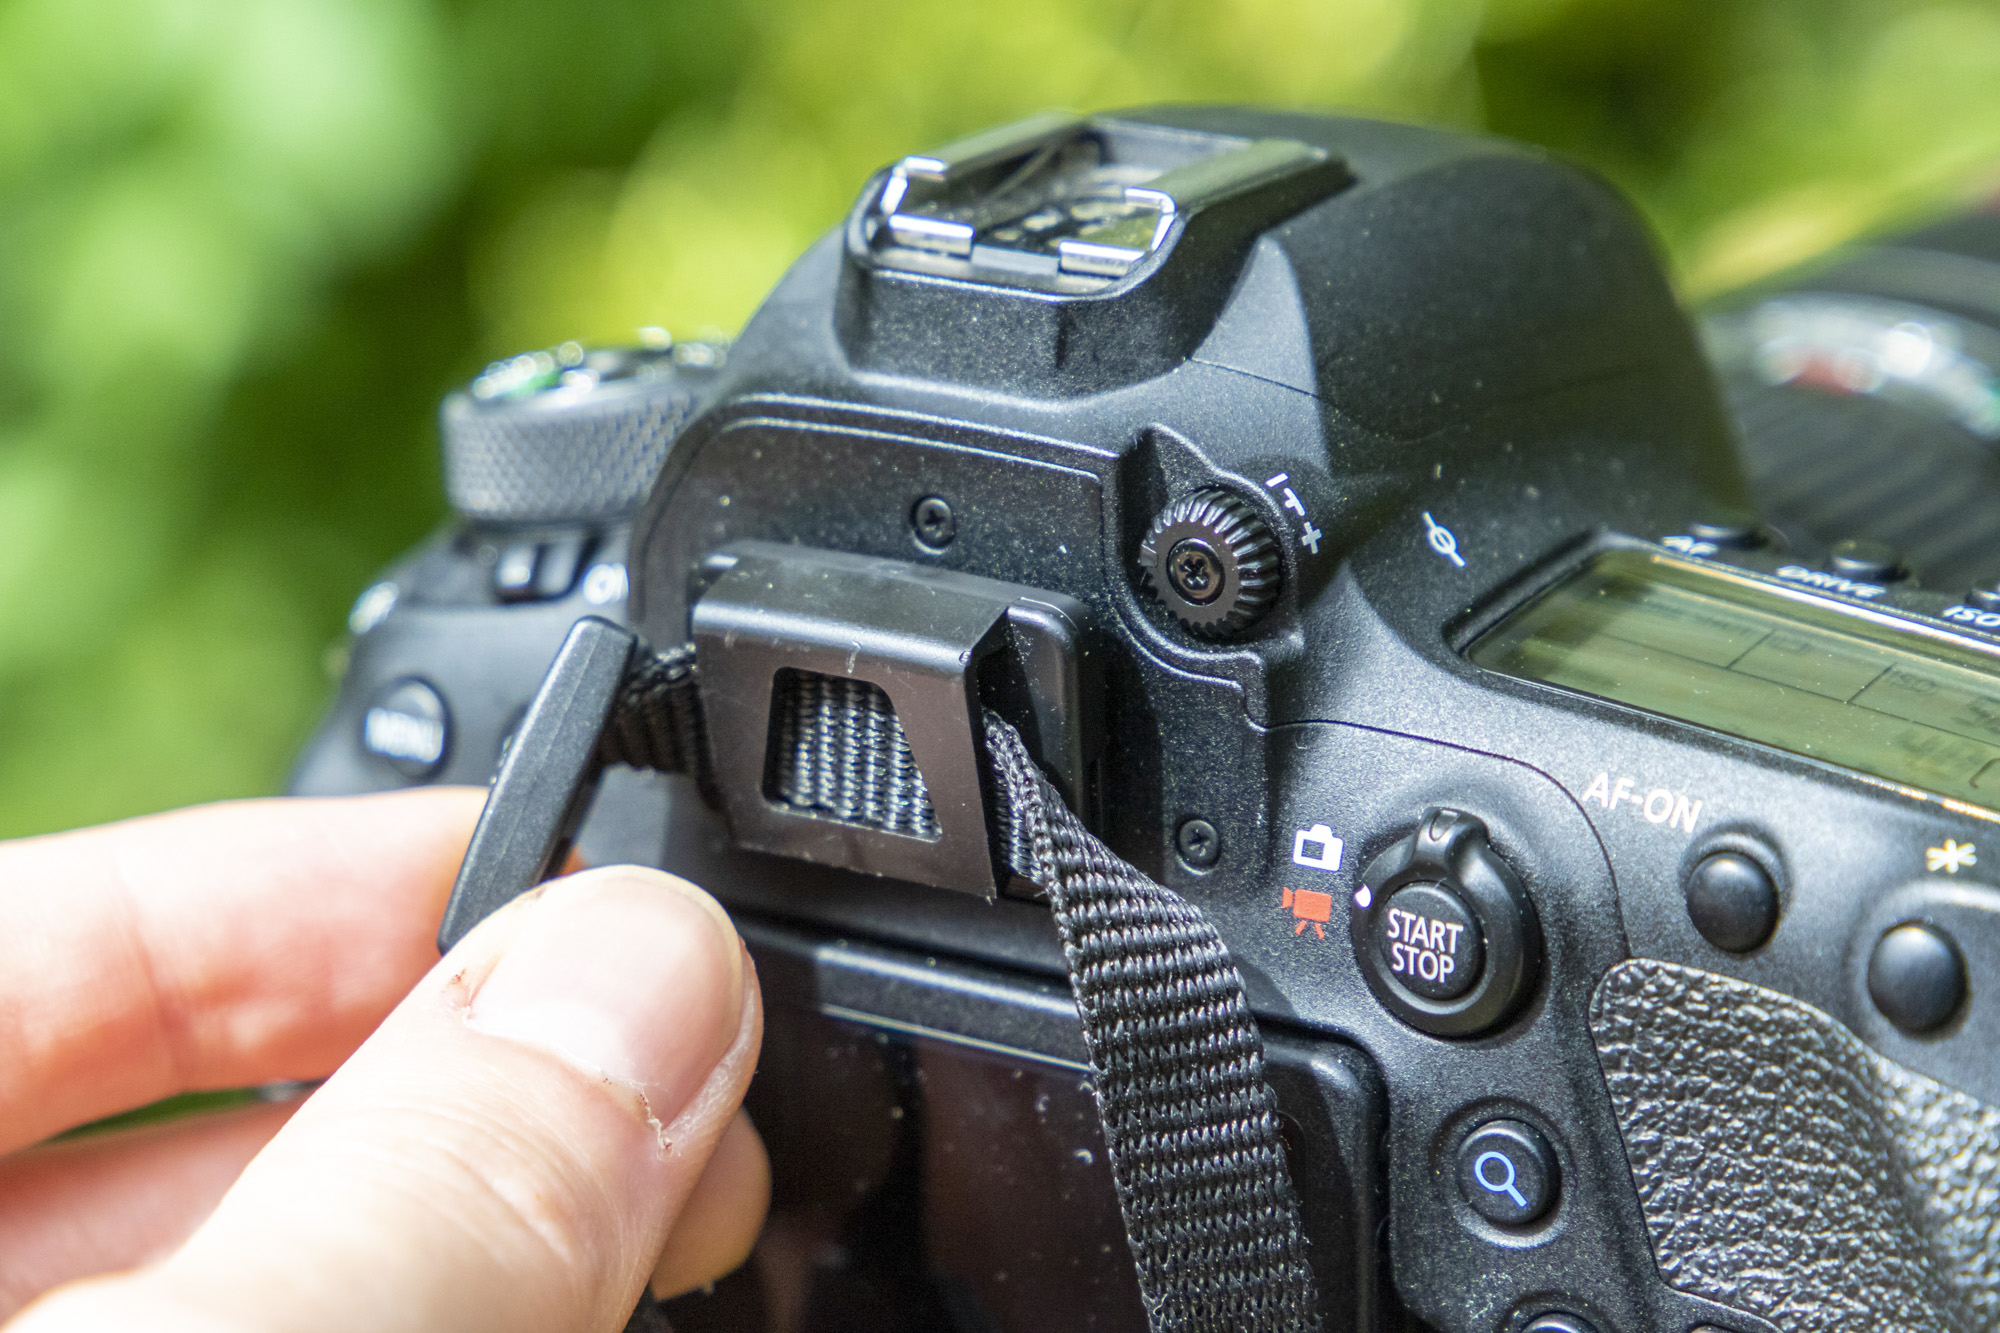
If you’re shooting on a DSLR, you’ll want to stop light coming in through the viewfinder in your long exposure to stop flare. Some camera straps (such as those from Canon) often home the plastic or rubber eyepiece cover, so take off the eyepiece and slide it in place. If you're shooting on a mirrorless camera you won't have this problem, as the viewfinder will be electronic if it has one.
05 Set up to shoot an ultra long exposure
We need a long exposure to record enough infrared light for our shot. First, make sure you’re set to shoot in raw. Then set your Canon camera to Bulb (B) mode and dial in an ISO of 1600 to make the sensor more sensitive to light. You’ll also want to open the aperture – we used an aperture of f/4.
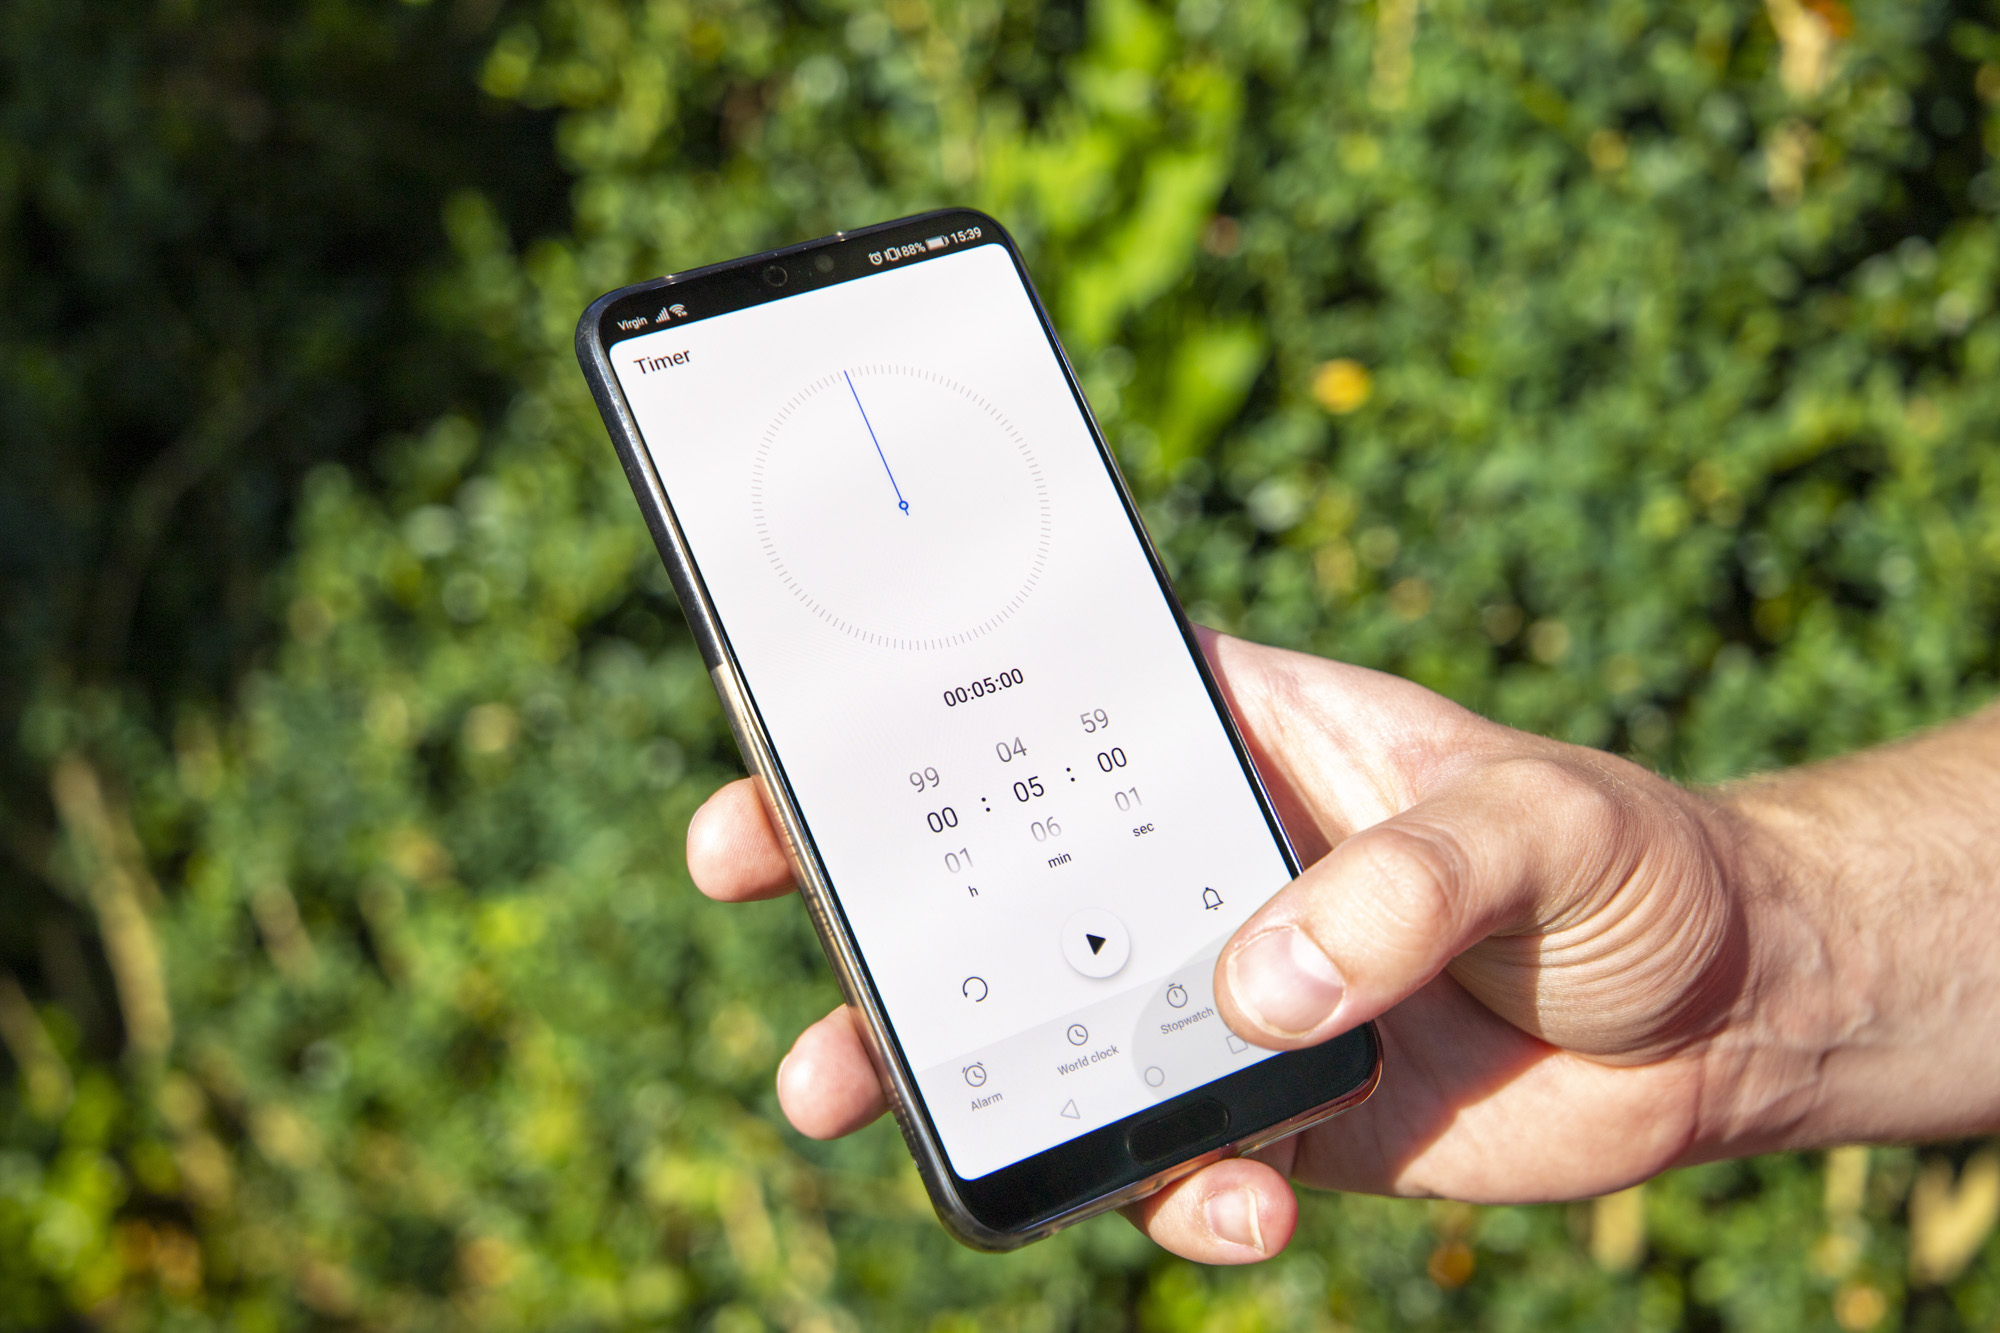
Plug in your shutter release cable and set a timer on your phone for five minutes. Start the timer, lock the shutter release button in place until your timer finishes, then end the exposure. If your image is too dark, increase the time; if it’s too bright, decrease the time. Our final exposure was 5 mins, at f/4 and ISO1600.
06 Edit your Raw file and turn it mono
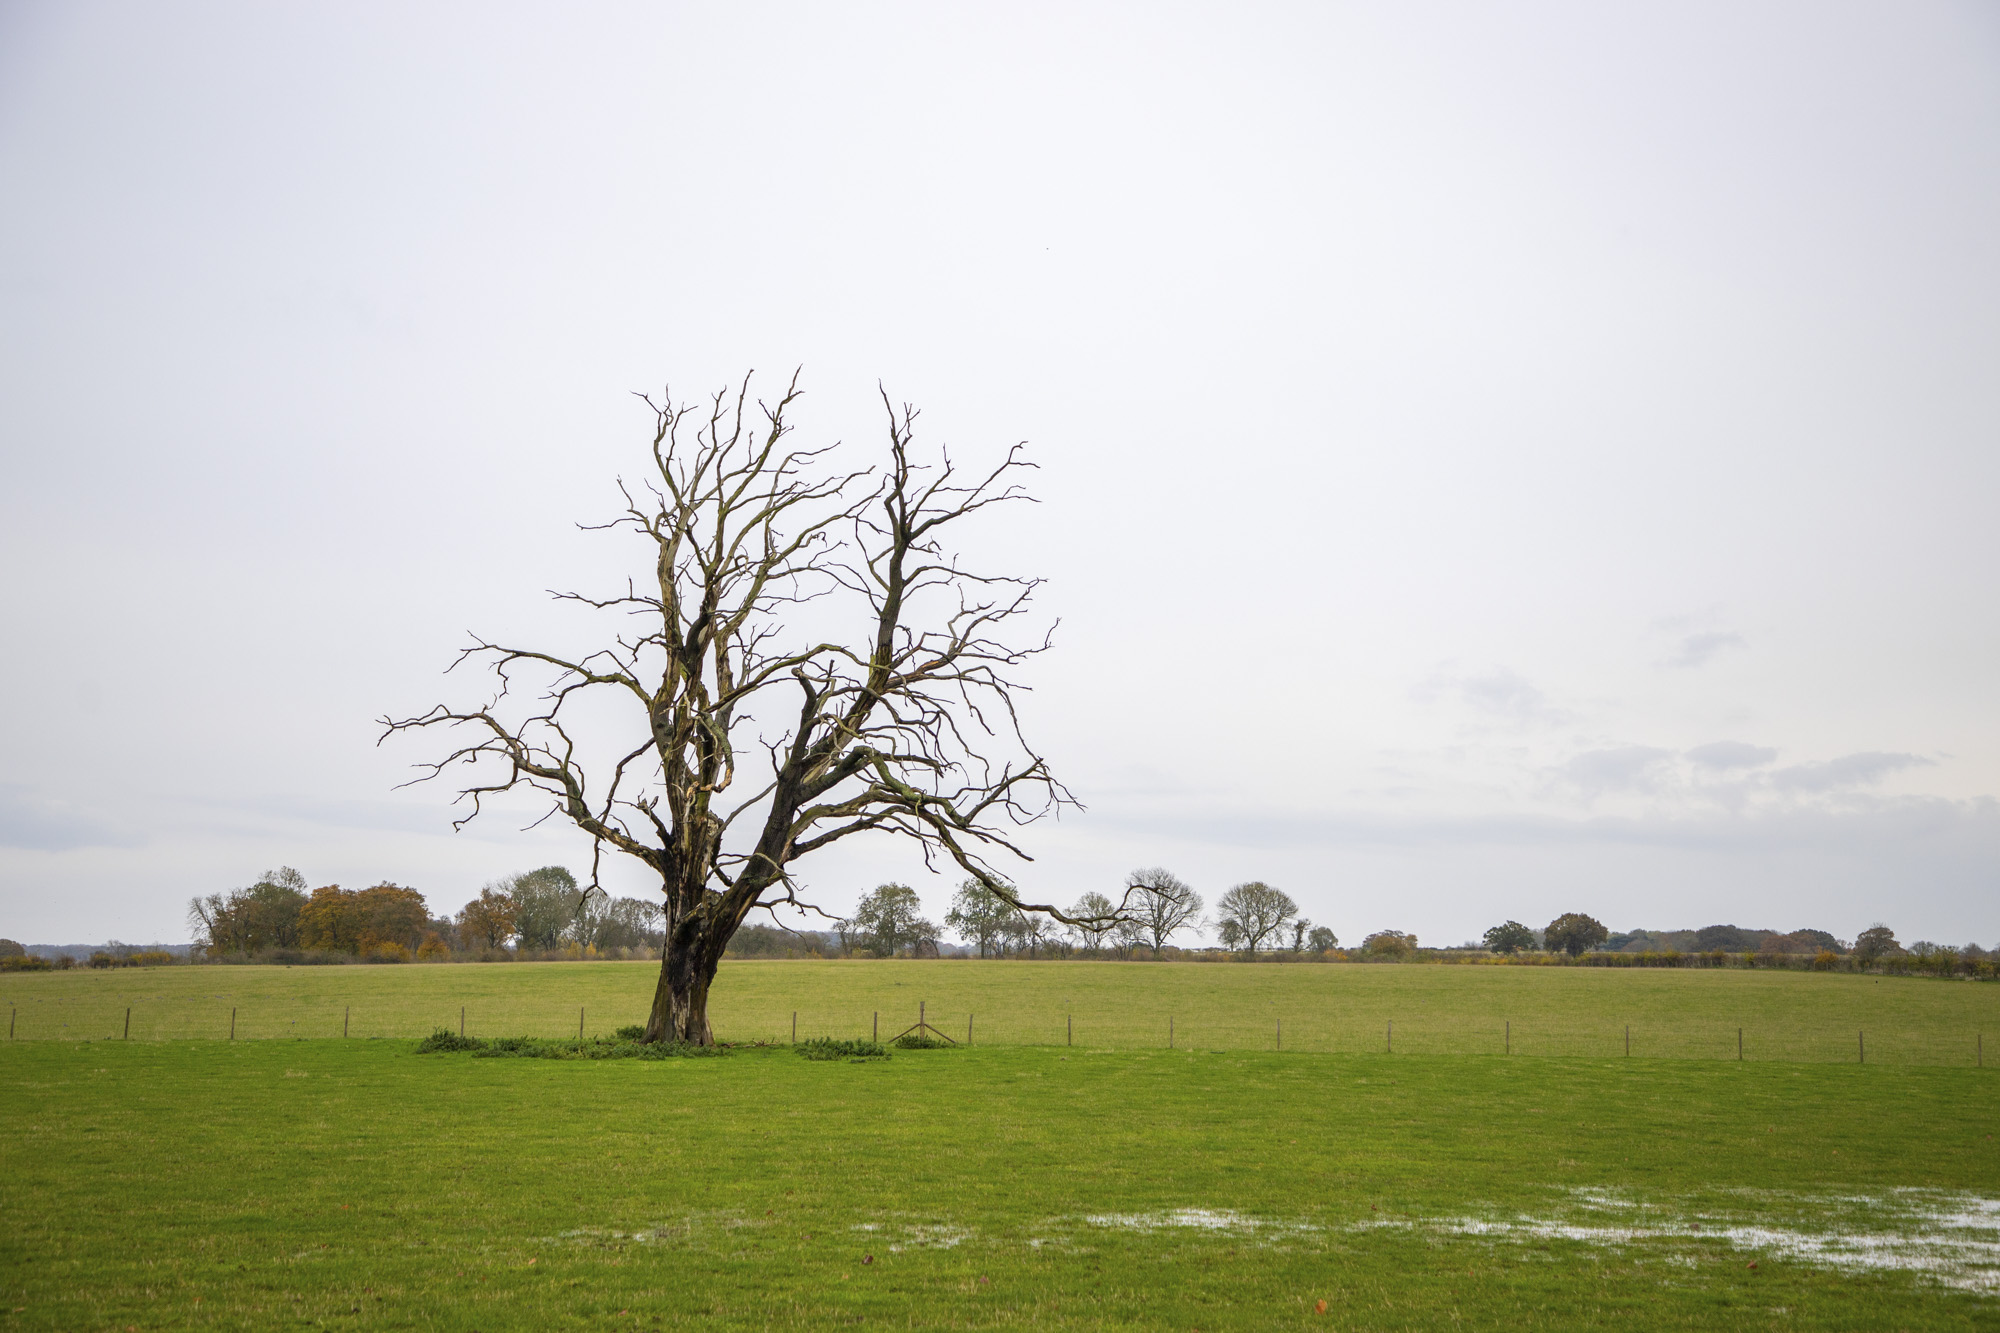
When you open up your shot into Adobe Camera Raw, the first thing you’ll see is a bright magenta image – this is infrared light! So the first thing to do is desaturate your picture by setting the Saturation to -100, or by setting the Treatment in the Basic tab to Black & White. Now, boost Contrast to +25 and Clarity to +50 to make it nice and punchy, then adjust the Exposure until the overall brightness looks good.
You can, of course, tweak the other sliders, such as Highlights, Shadows, Whites and Black to fine-tune the contrast further. You can use the above values as a good starting point, and then further refine them for your own image.
Read more:
Photography tips and techniques videos
The best wide angle lenses: how to get a super wide perspective
The best camera remotes: cable releases and wireless remotes for all budgets
In addition to being a freelance photographer and filmmaker, Dan is a bona fide expert on all things Canon and Adobe. Not only is he an Adobe-certified Photoshop guru, he's spent over 10 years writing for specialist magazines including stints as the Deputy Editor for PhotoPlus: The Canon Magazine, Technical Editor for Practical Photography and Photoshop Editor on Digital Photo.
