Sunbursts and starbursts: shoot stunning sun flare photography
Turn serene sun flare photography into striking sunburst and starburst shots
The best camera deals, reviews, product advice, and unmissable photography news, direct to your inbox!
You are now subscribed
Your newsletter sign-up was successful
Watch the video: Turn serene sun flare photography into stunning sunbursts
This is a simple yet effective photographic technique that works well whether you’re shooting in daytime sunshine, or even at night! By following our easy tips you will be able to turn small light sources into beautiful light bursts. Sunlight will turn into sunbursts, while street lights at night, and lights on your Christmas tree, will be transformed into starbursts.
We’ve used the low evening sun as it shines through the trees. The coming autumn and winter are perfect for these shots, as the sun is lower in the sky for much of the day – making it easier to position yourself to shoot through the tree foliage.
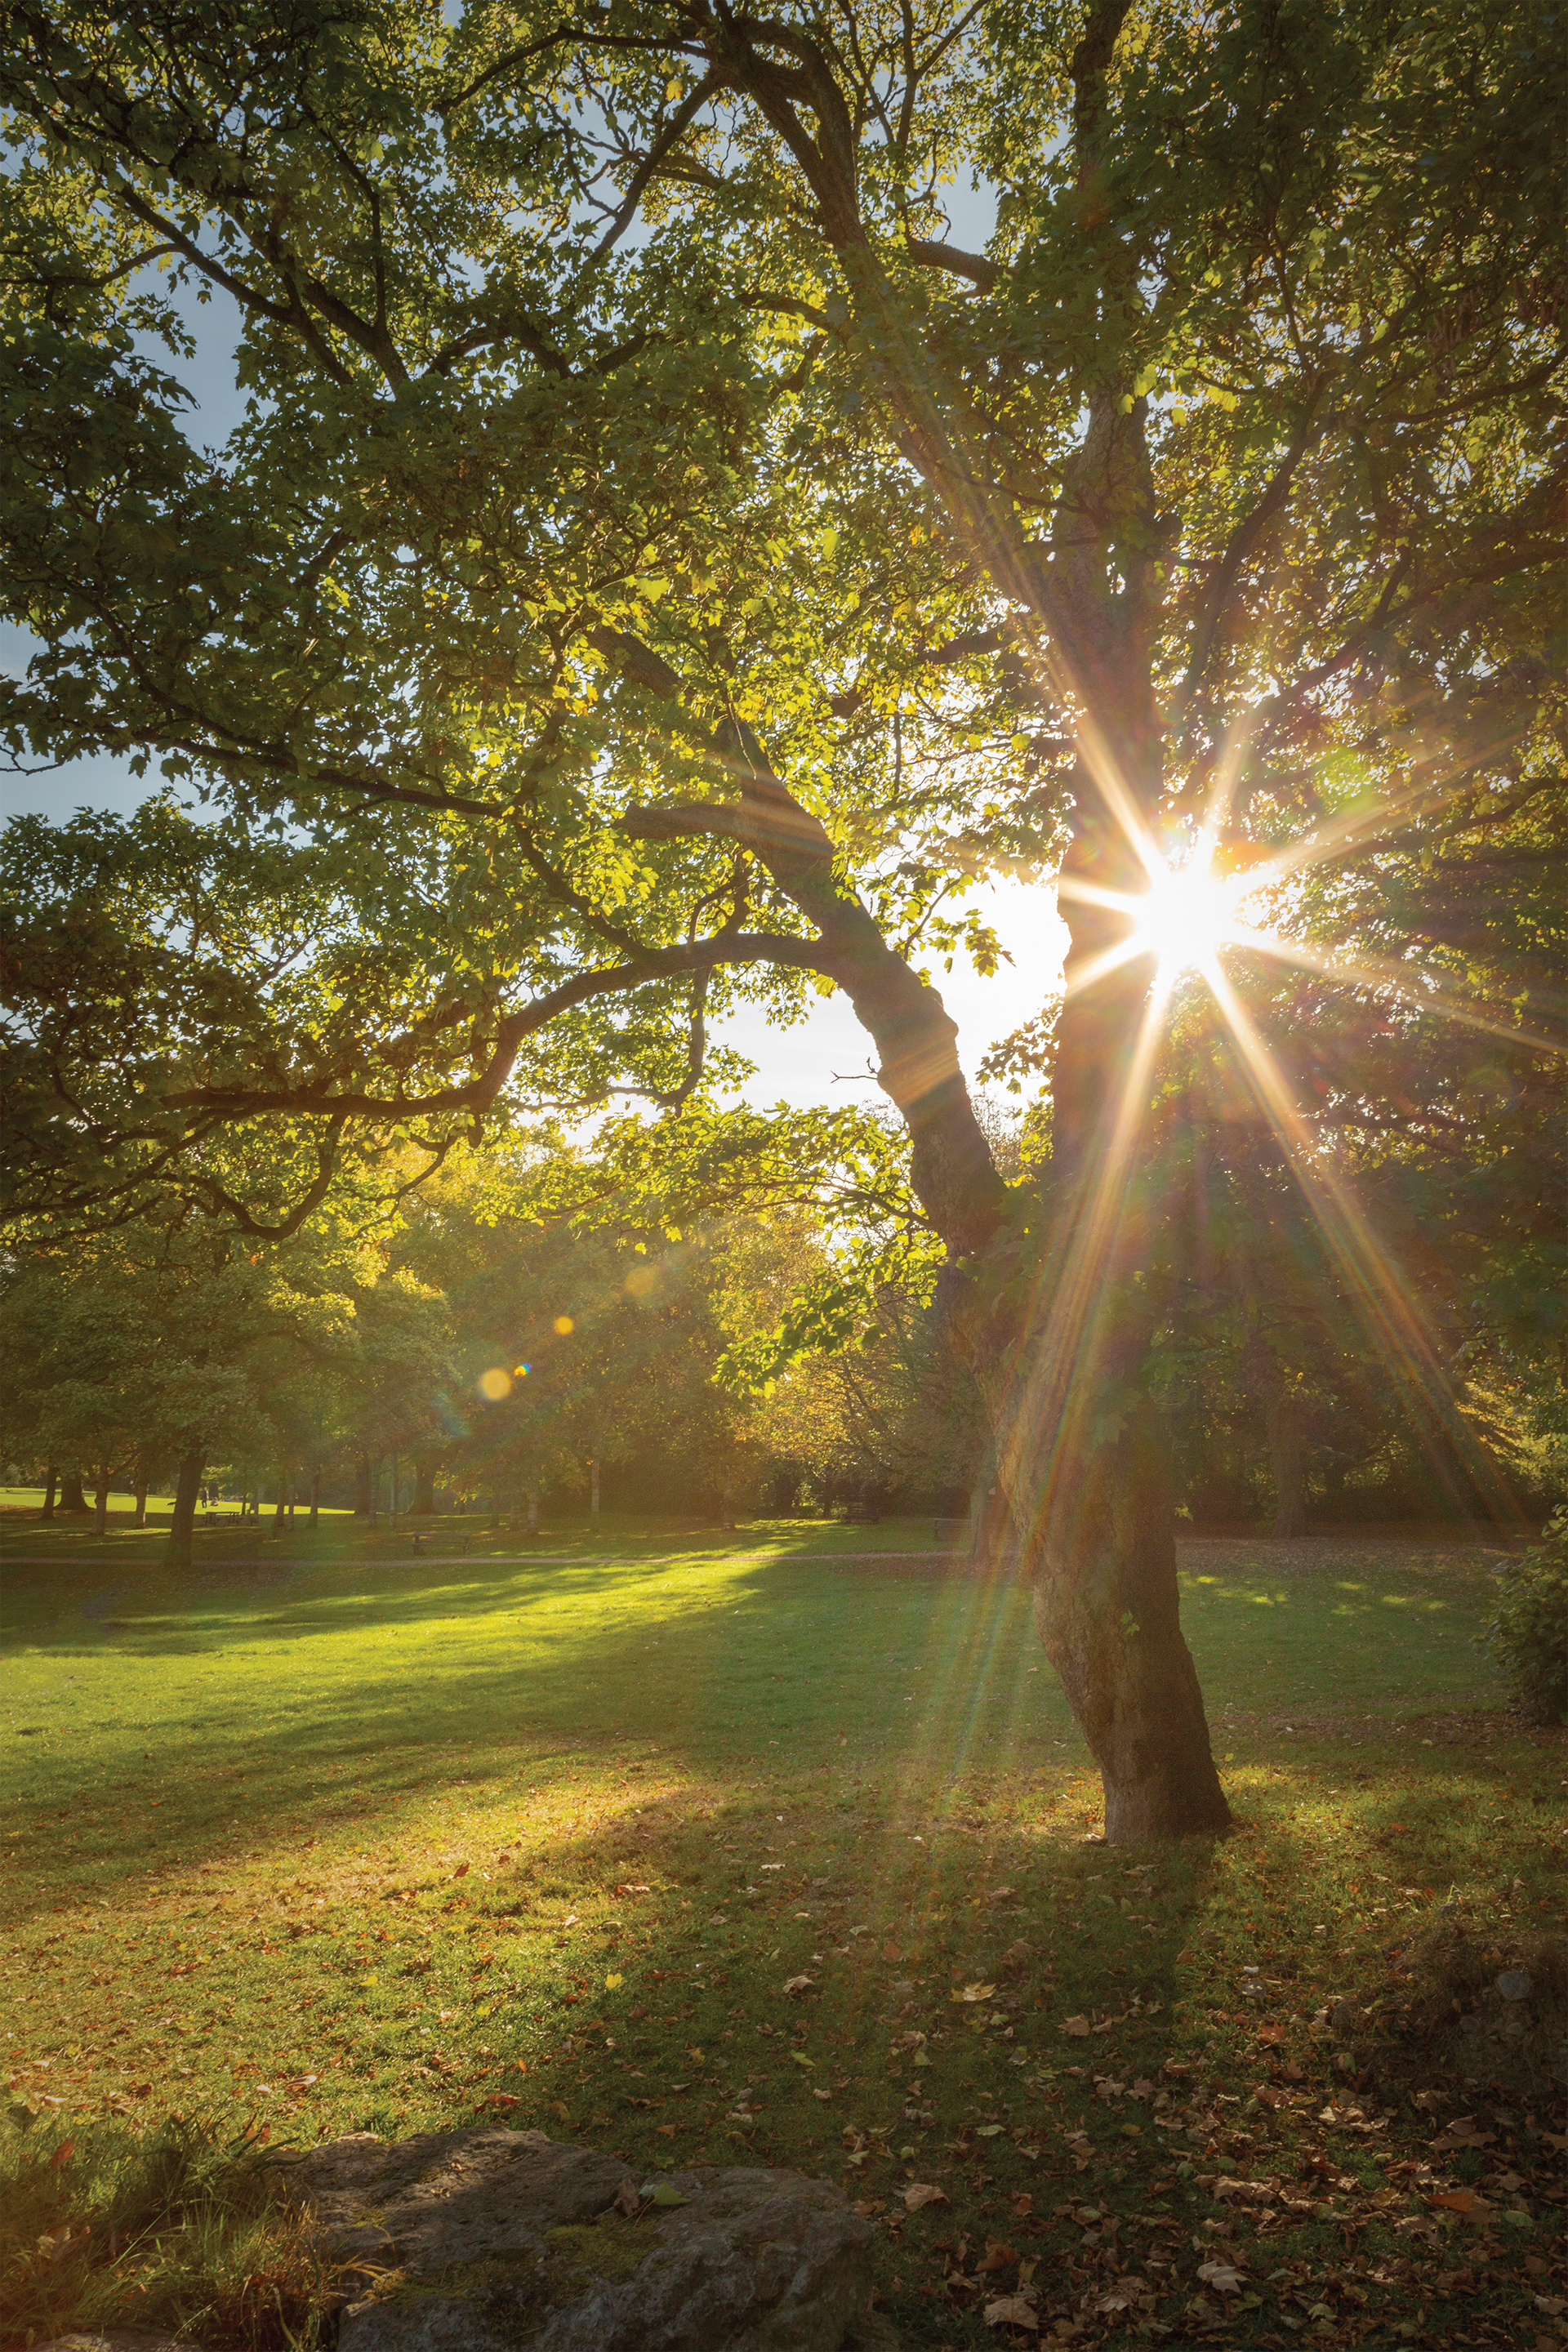
The key to this technique is to use a wide focal length and a narrow aperture of around f/22. As you increase the aperture size on your lens, the sunburst effect decreases. With a narrow aperture, the blades inside your lens close down to create a smaller opening. This creates light diffraction and transforms your small, bright light source – such as the sun – into a sunburst shape while you photograph it.
We’ve shot through a tree so that its leaves and branches partially obscure the sun, helping to accentuate the effect of your narrow aperture and your sunburst. Now it’s just a case of playing with your composition so the sun is hidden behind a tree’s trunk, or leaves and branches. As you compose, move your camera slightly until the sun is poking out, then take your shot.
01 Use a wide focal length
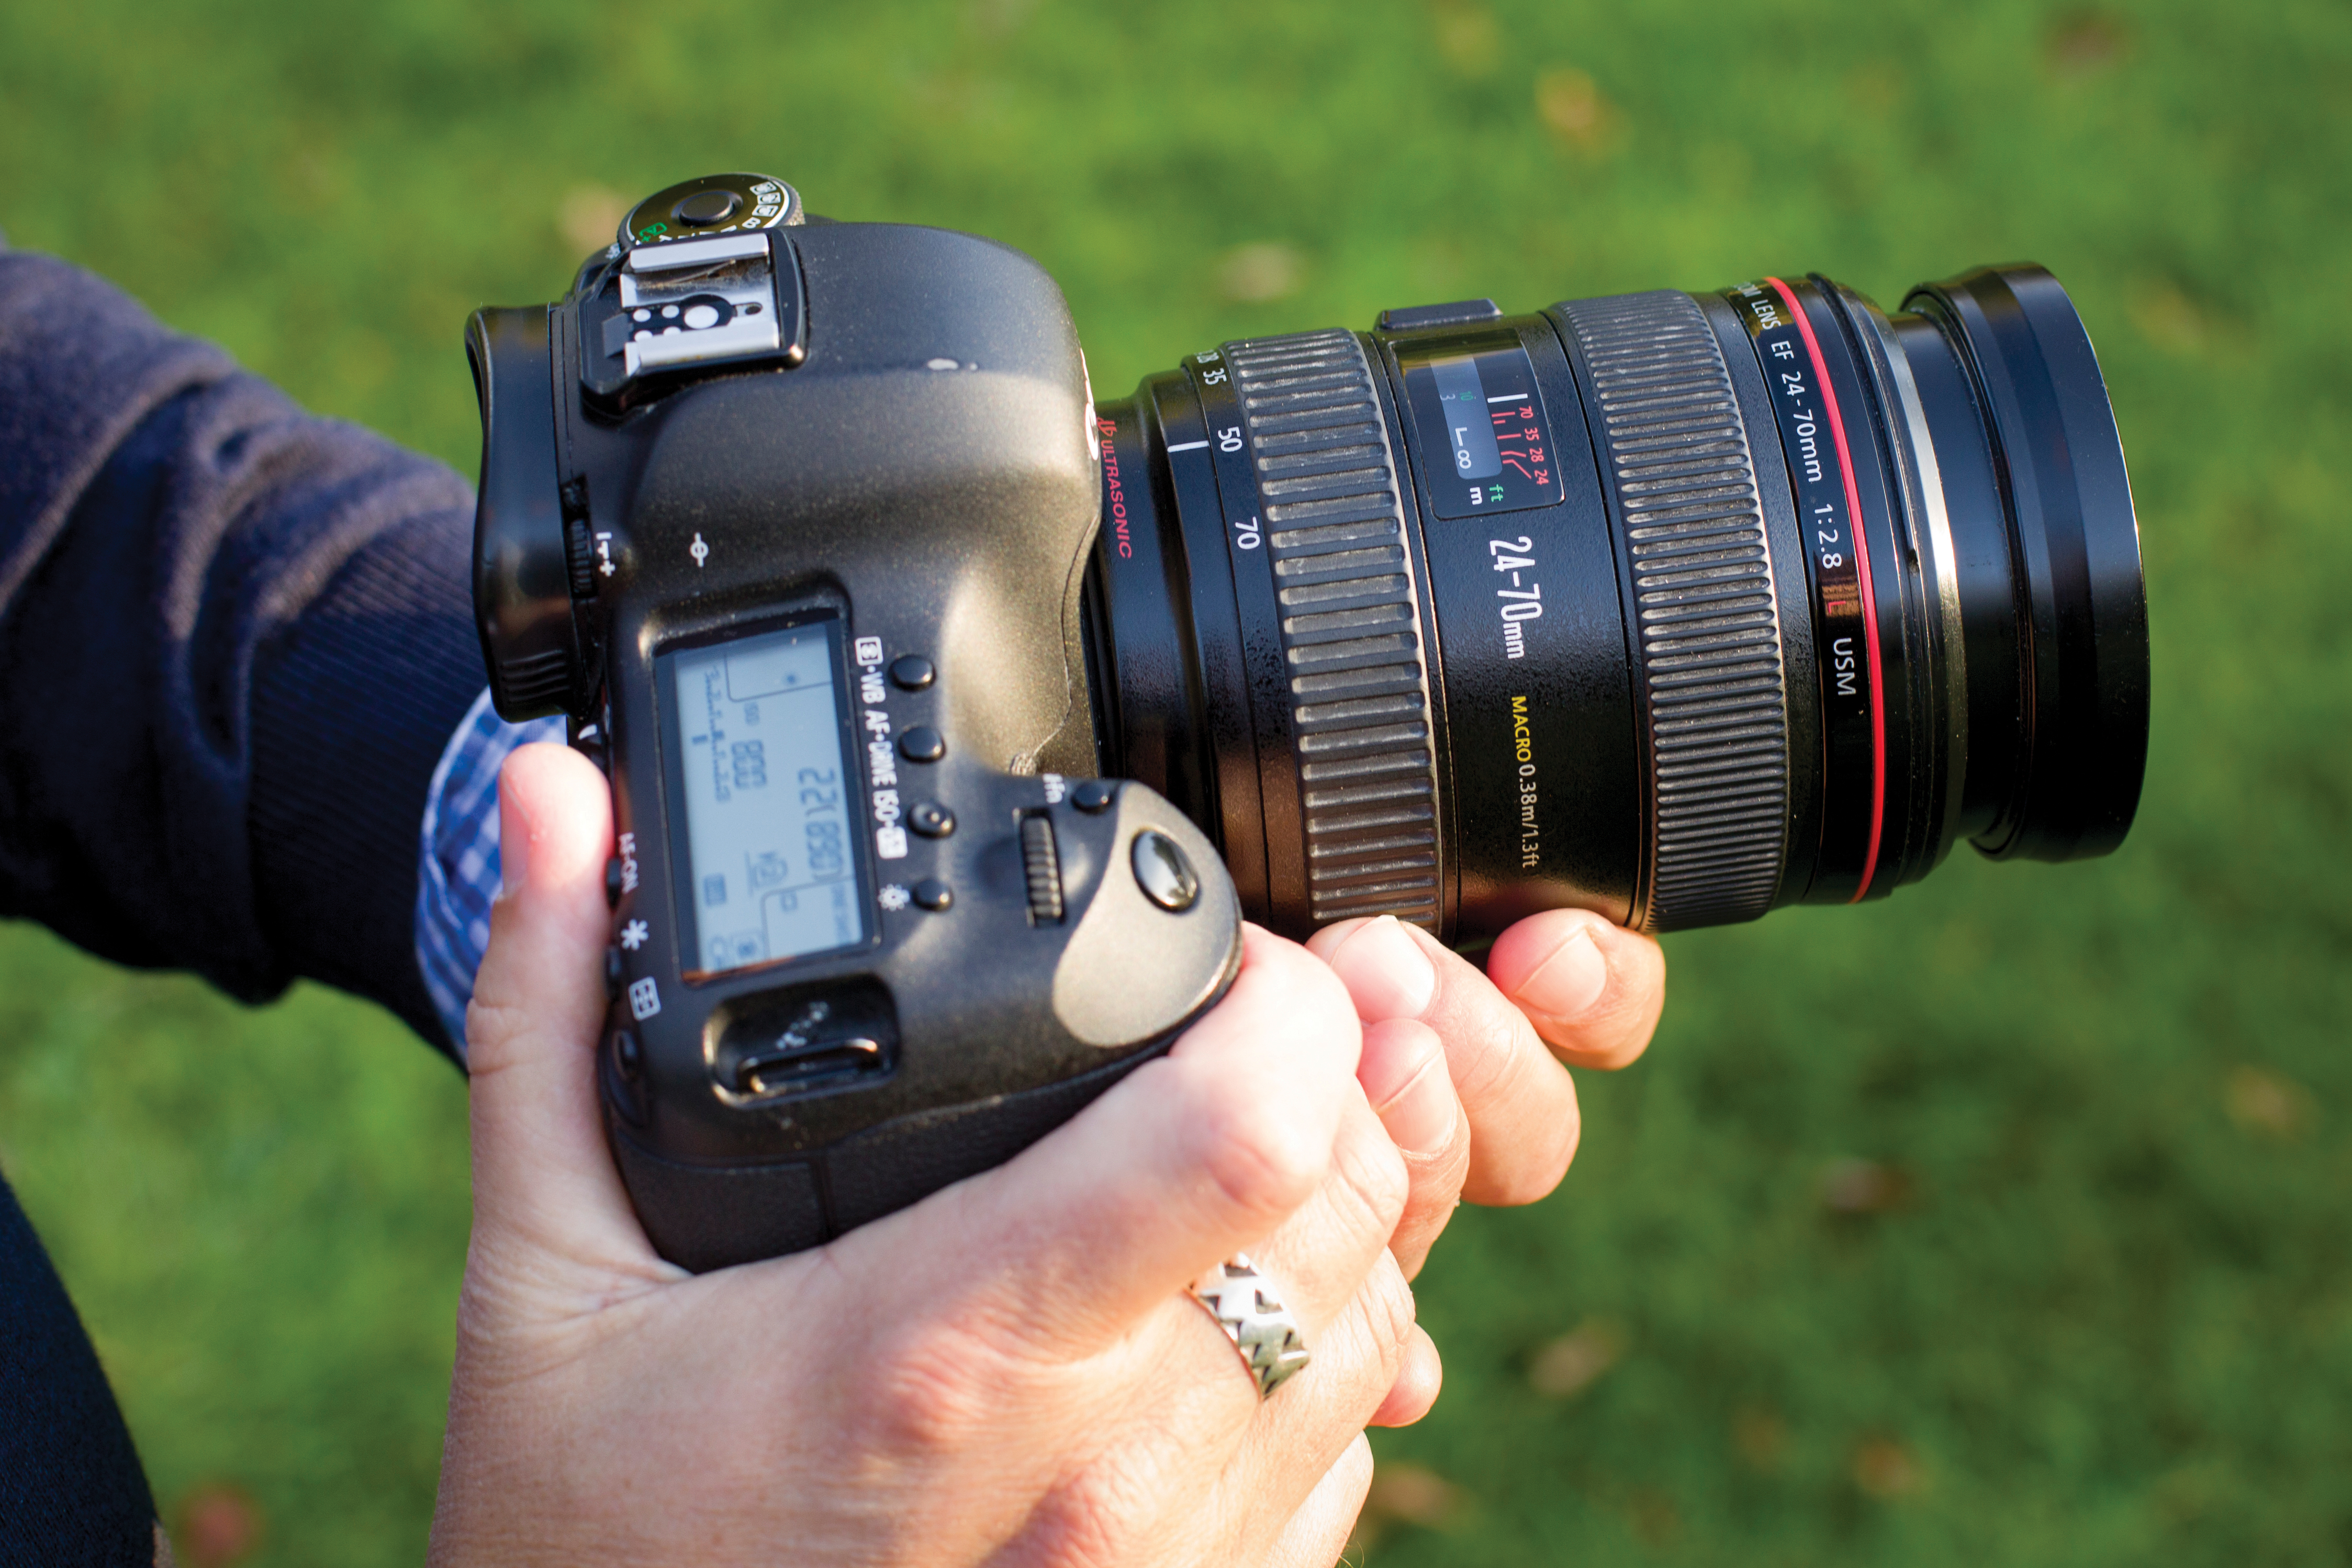
We’ve used a Canon EF 24-70mm f/2.8L lens at 24mm – as a wider focal length means a larger sunburst. All lenses have aperture blades inside, and the more blades your lens has (this lens has nine) the more light rays it produces!
02 Aperture control
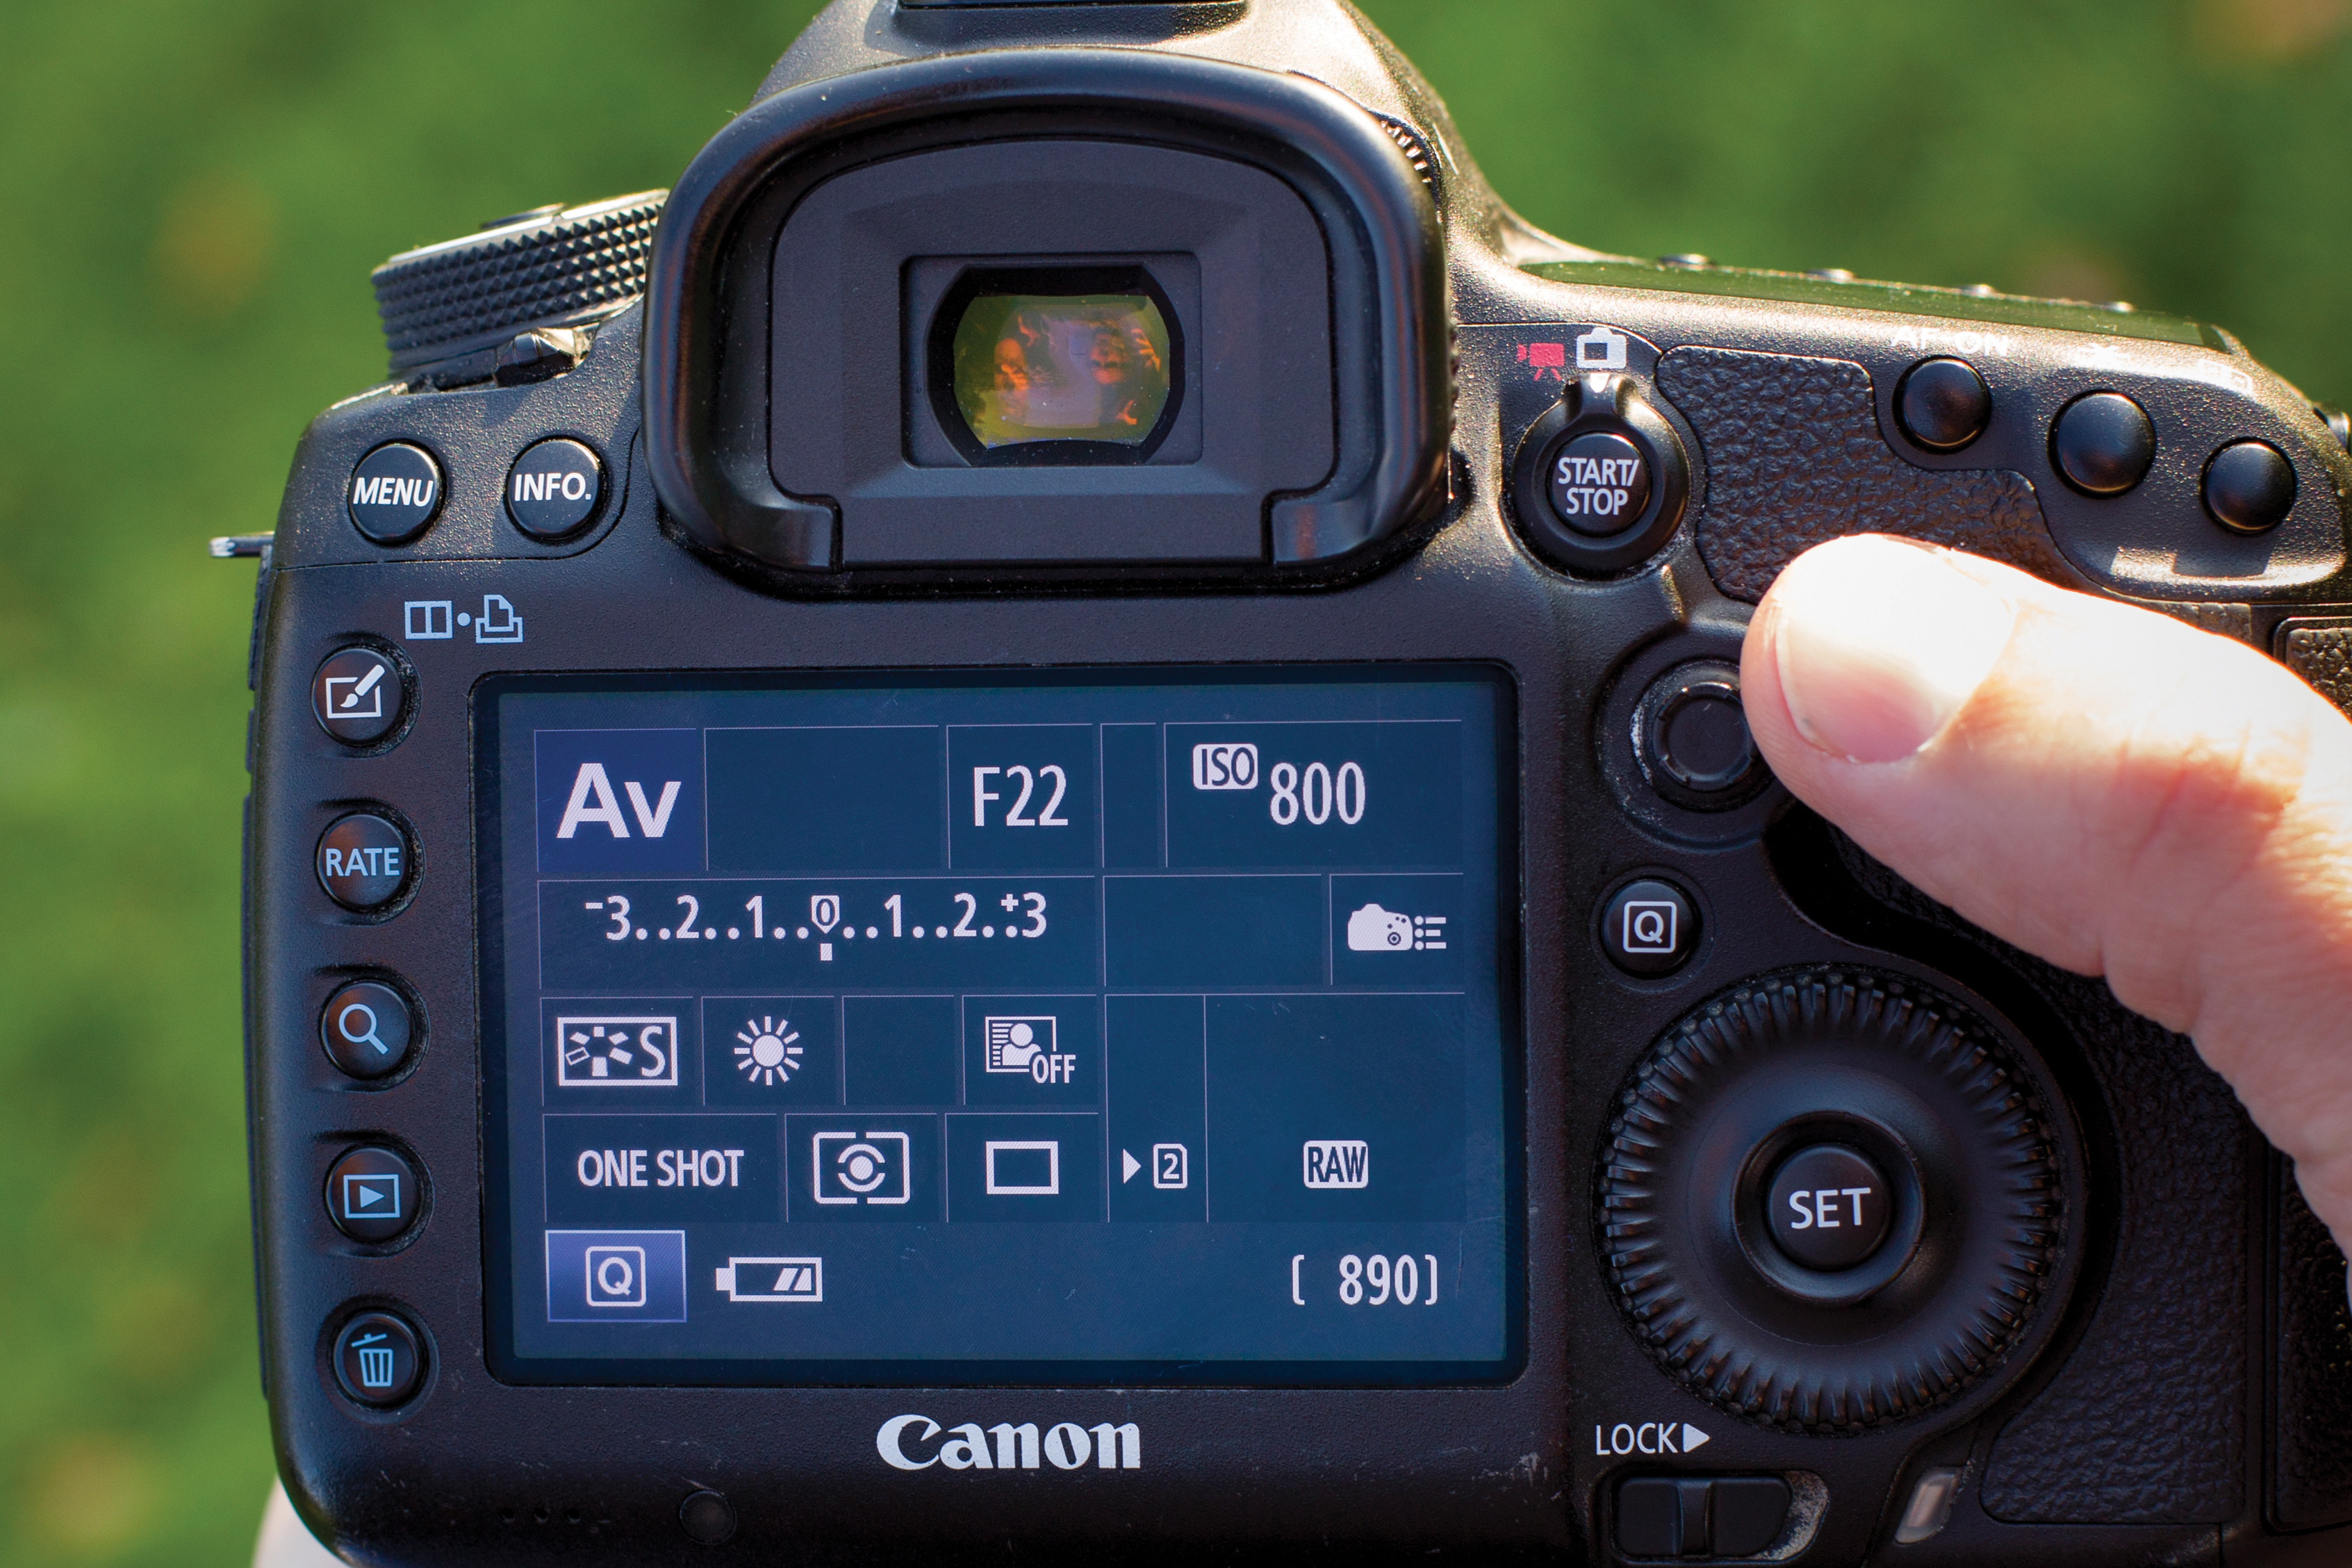
Shoot in aperture priority mode for straightforward control of the aperture of your lens. Now here’s the key – use a narrow aperture of around f/22! Note as you decrease the aperture, the sunburst effect increases.
The best camera deals, reviews, product advice, and unmissable photography news, direct to your inbox!
03 Increase the ISO
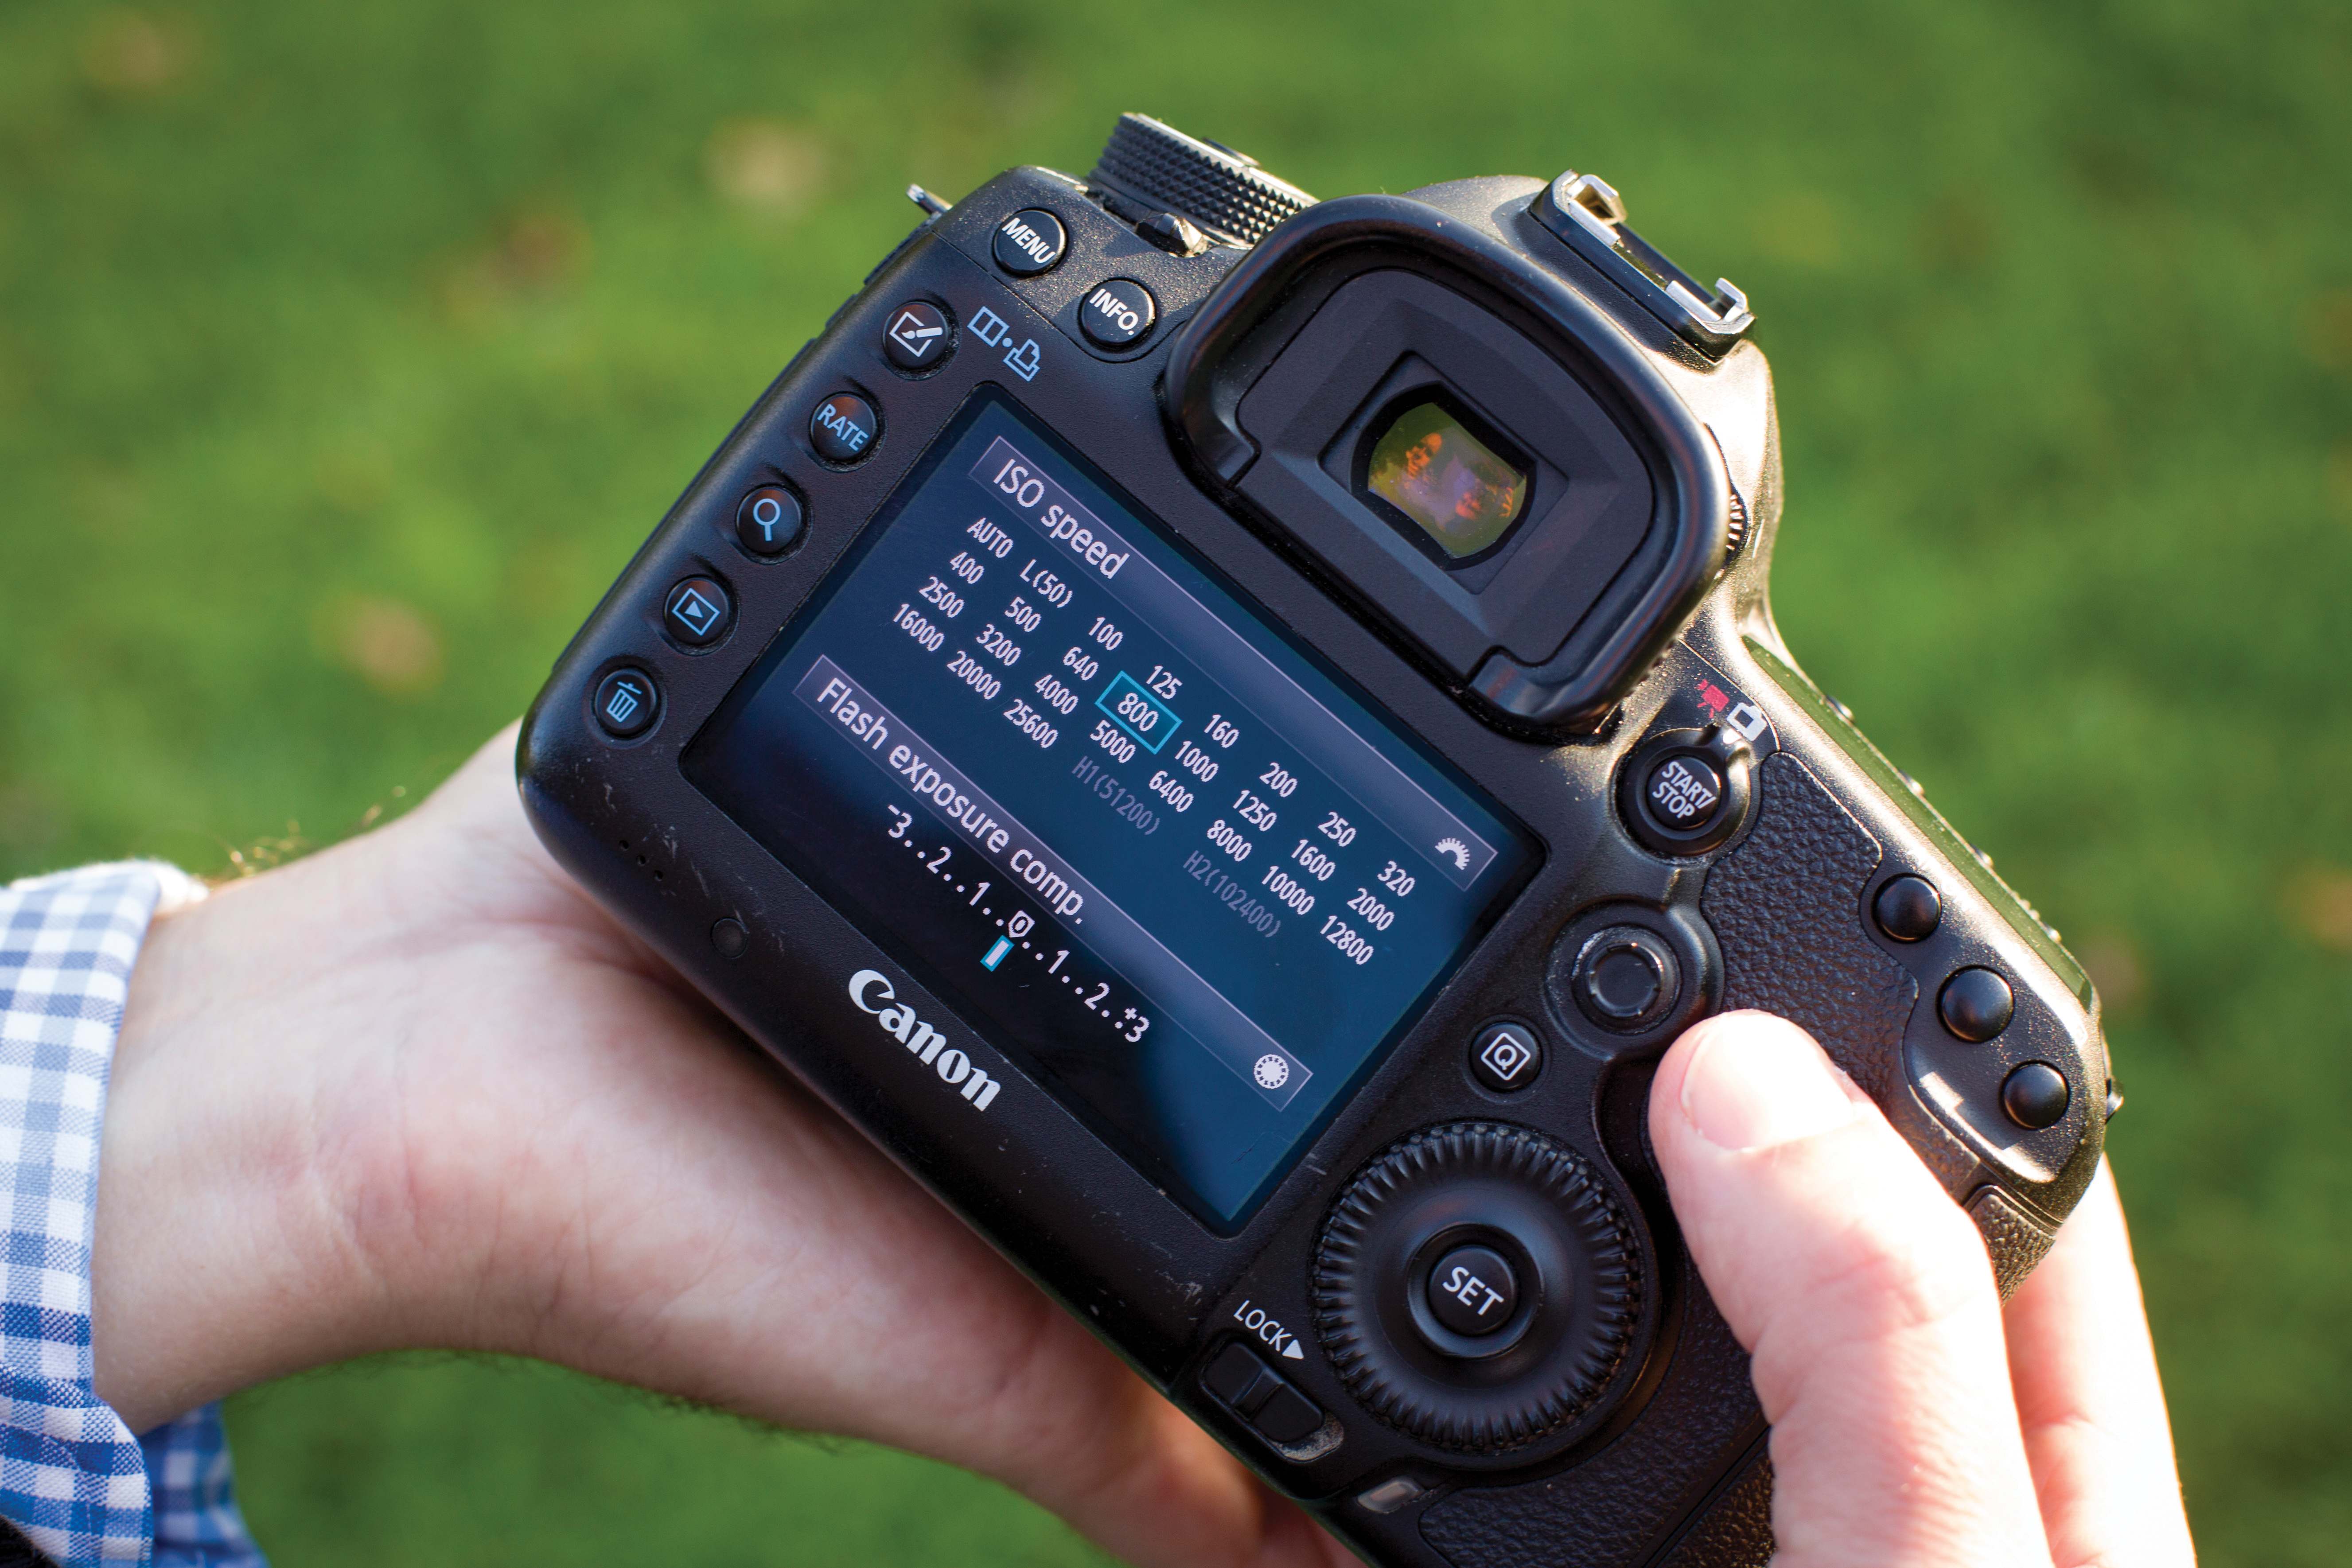
As we’re shooting handheld and with a narrow aperture, our resulting shutter speed is too slow at ISO100. So we upped our ISO to 800 to facilitate faster shutter speeds for a sharper shot.
04 Diffuse the sunlight
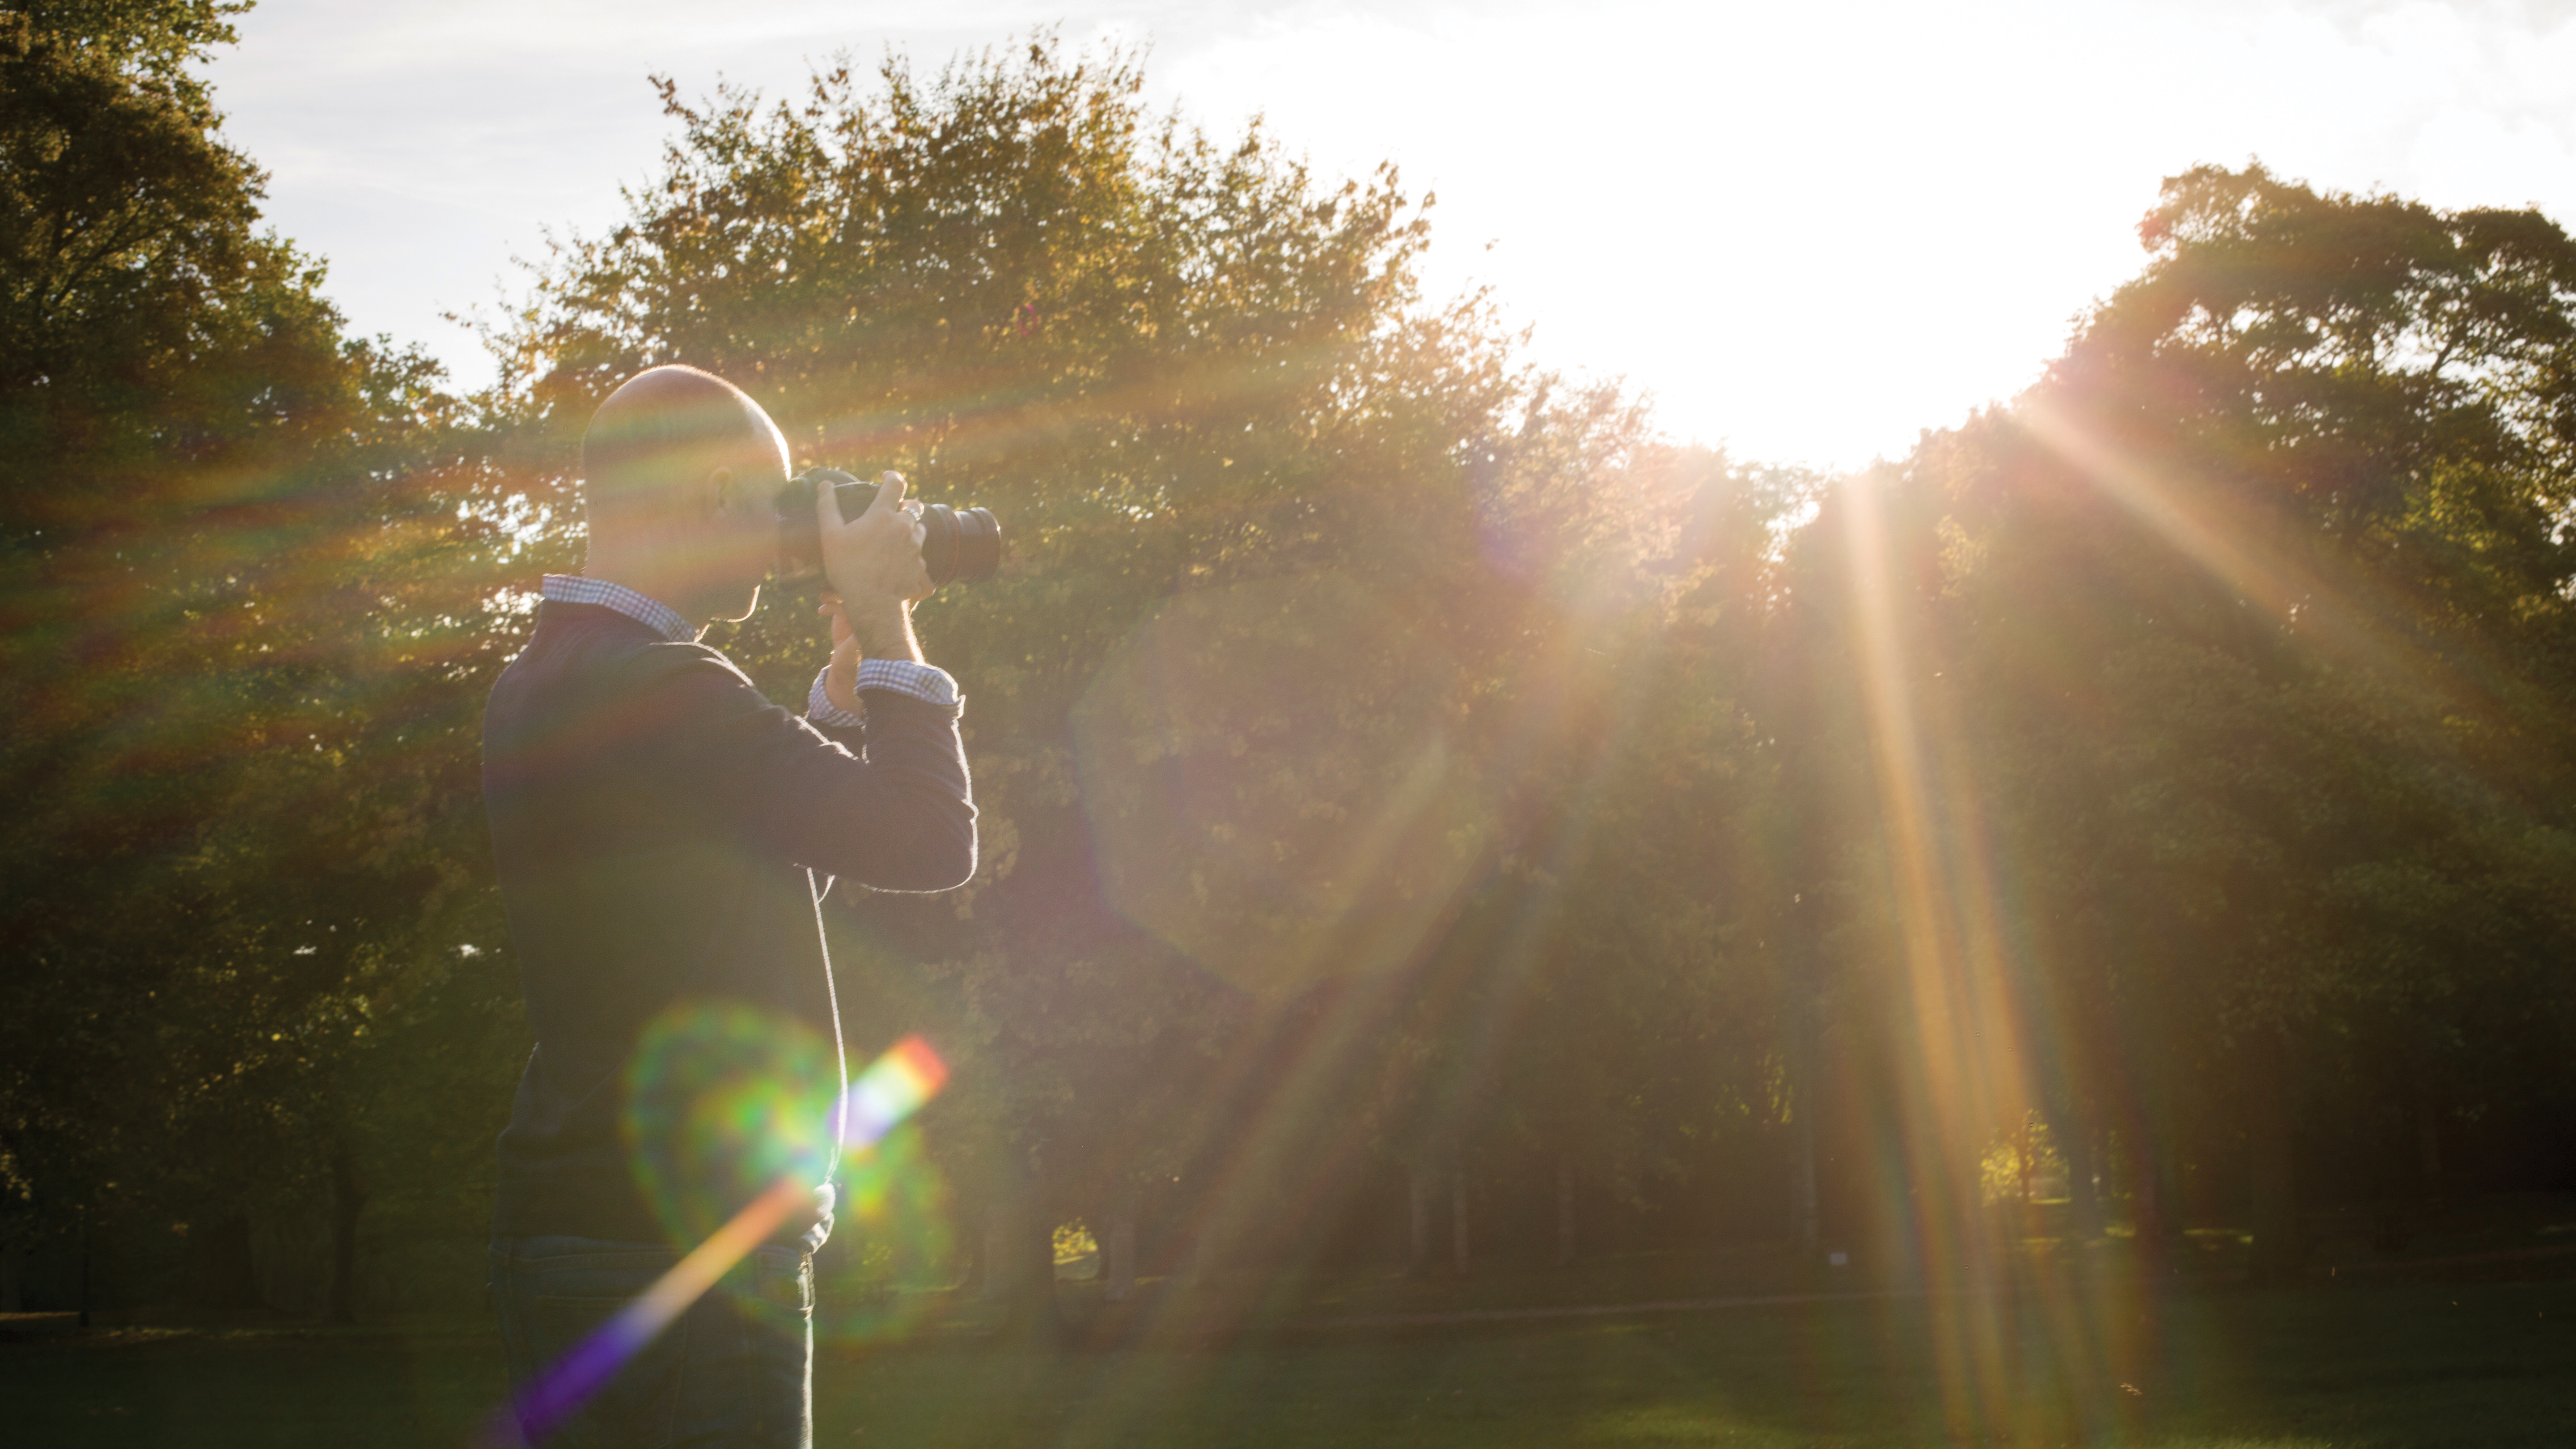
Rather than shooting straight into the sun, we’ve used a tree and its leaves to diffuse the light. This means that the sunlight isn’t as bright, which helps to balance the brightness of the overall scene for a better exposure.
05 Avoid blown highlights
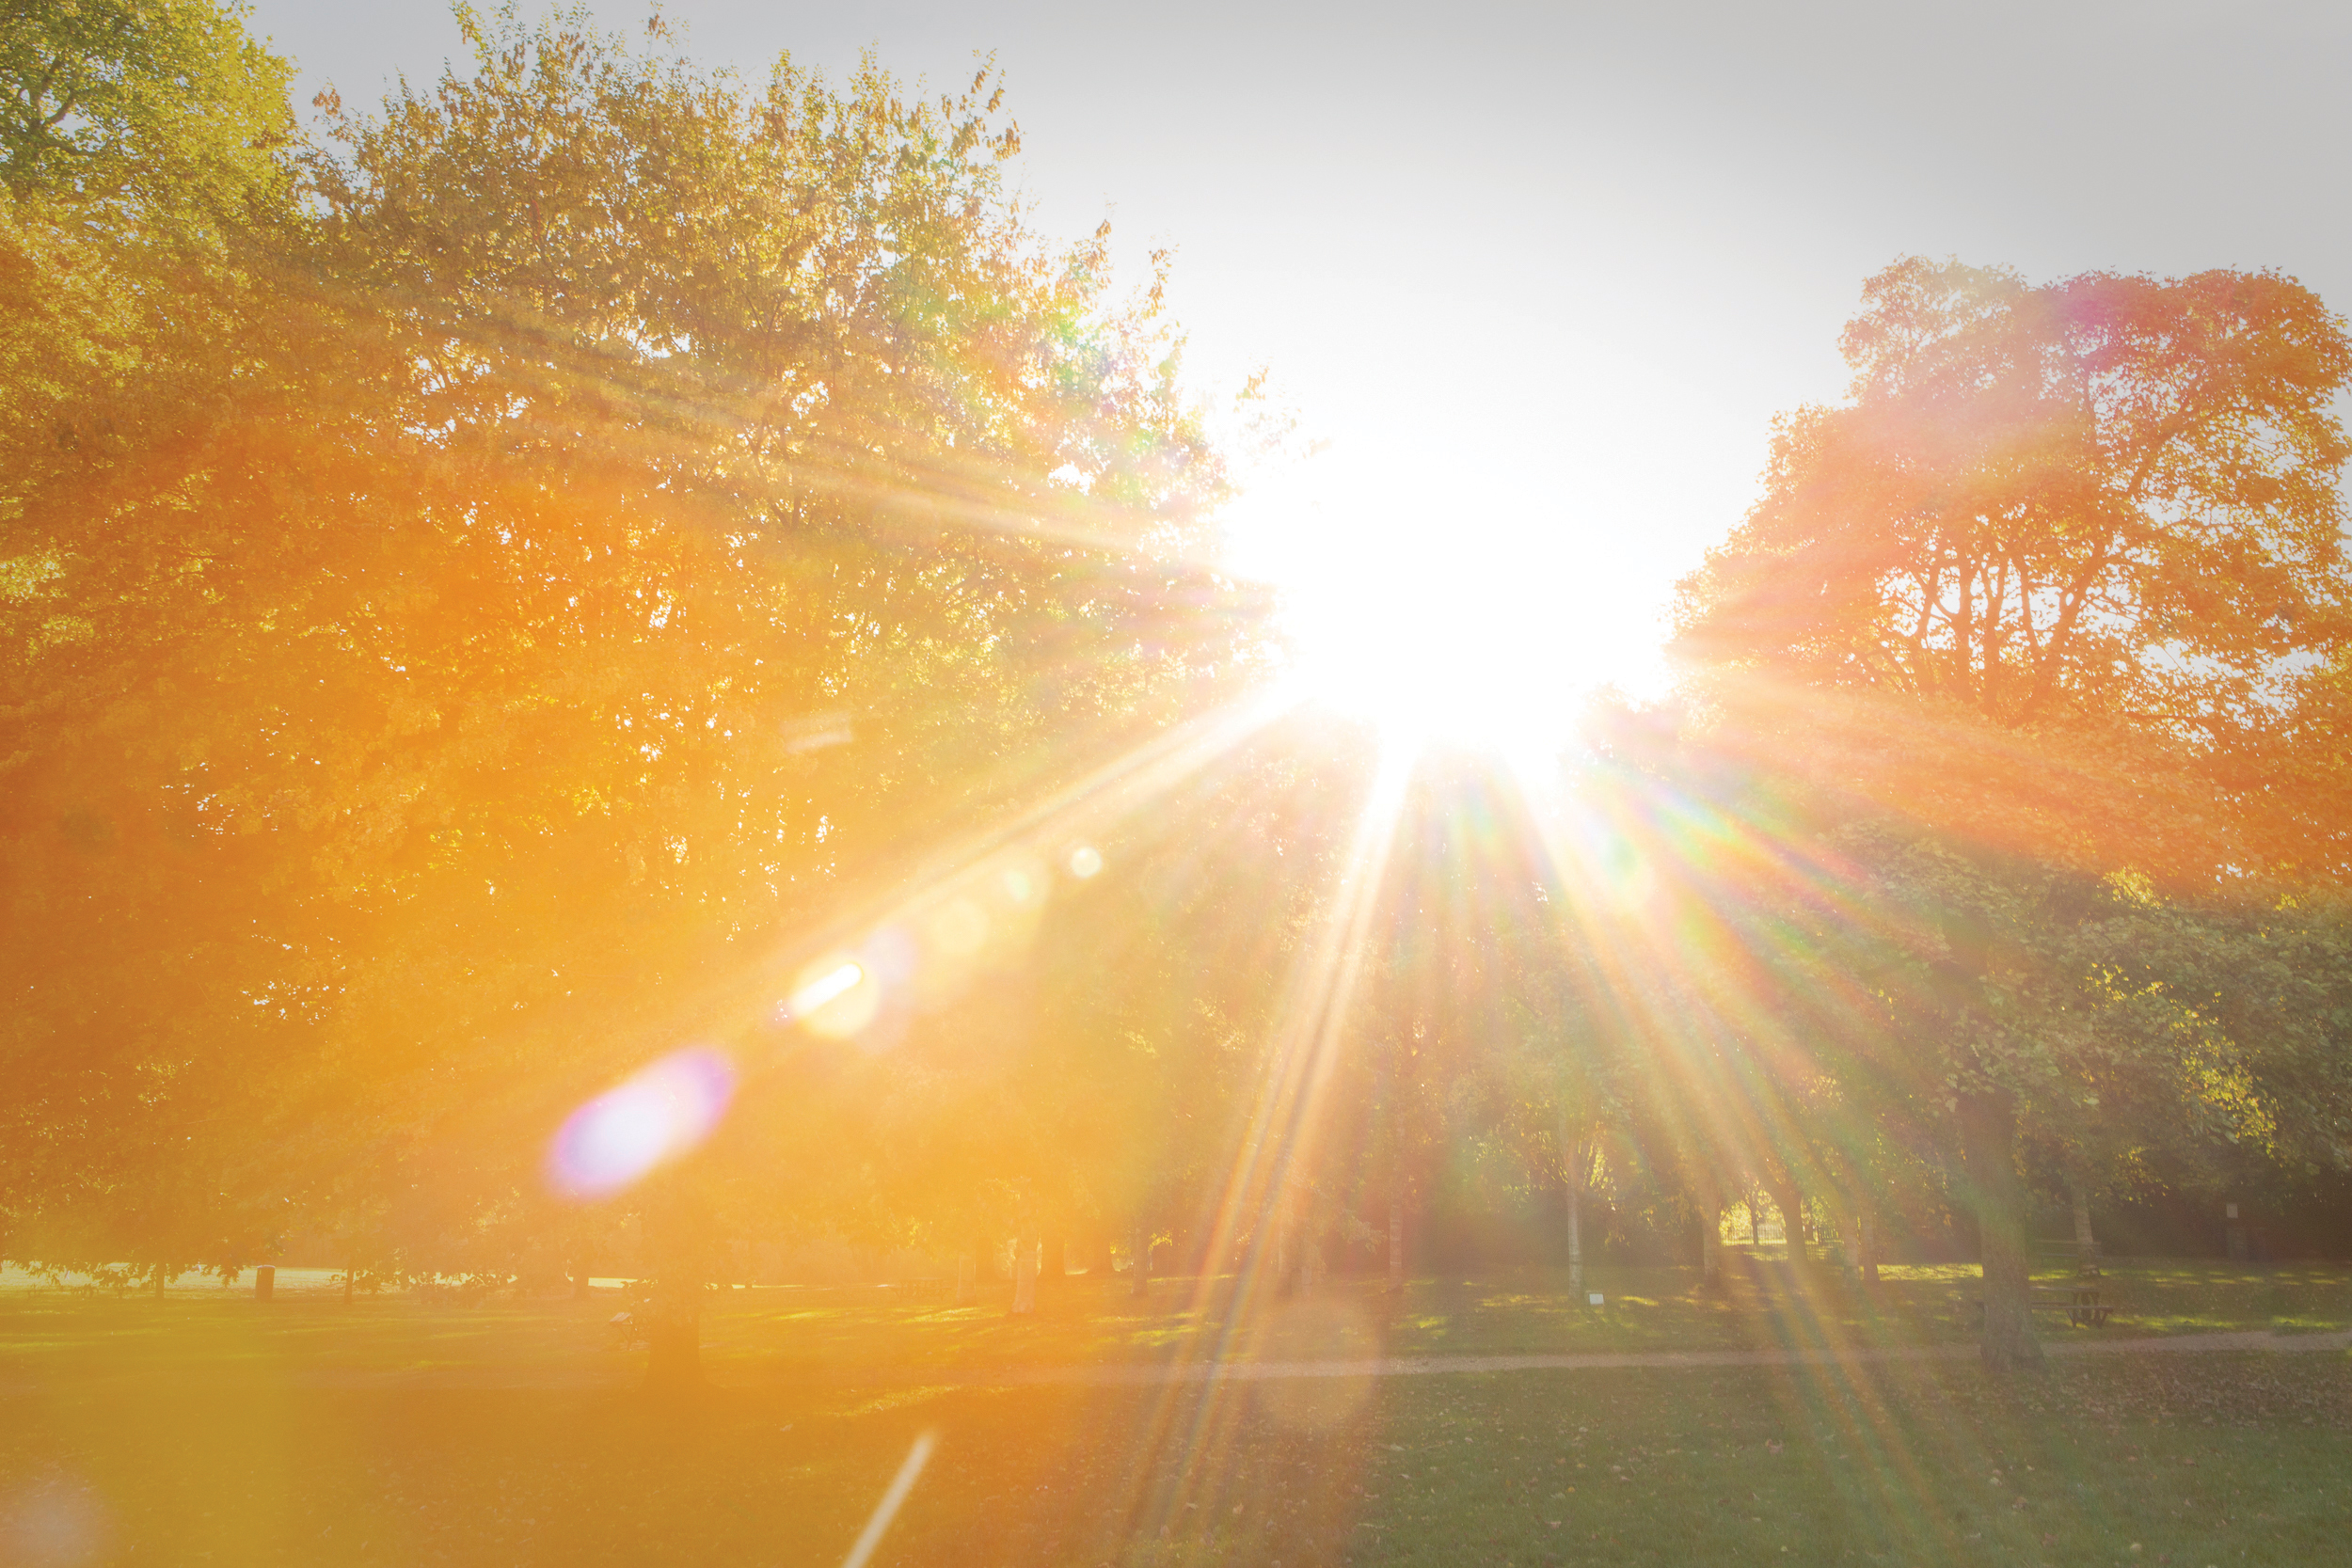
If you were to shoot directly into the sun in the sky, you’d find it near-impossible to capture the sun without the highlights being blown! So, remember to expose for the highlights.
You may find, however, that as you’re shooting into the sun, although it’s being diffused through the trees, your camera will underexpose the image, leaving the rest of the comparatively dark scene very dark. So dial in some positive exposure compensation to fix this.
More videos:
Photography tips and technique videos
Sunset photography: tips and settings for perfect pictures
Star trail photography: tips for achieving amazing astrophotography shots
The former editor of PhotoPlus: The Canon Magazine, Peter has 18 years of experience as both a journalist and professional photographer. He is a hands-on photographer with a passion and expertise for sharing his practical shooting skills. Equally adept at turning his hand to portraits, landscapes, sports and wildlife, he has a fantastic knowledge of camera technique and principles.
He is the author of several published photography books including Portrait Photographer's Style Guide, and The Complete Guide to Organising and Styling Professional Photo Shoots with fellow portrait pro Brett Harkness.
Peter remains a devout Canon user and can often be found reeling off shots with his Canon EOS DSLR and EOS R mirrorless gear. He runs Peter Travers Photography, and contributes to Digital Camera magazine.

