How to get started in street photography
How to get started in street photography with a simple setup, explains Sebastian Oakley
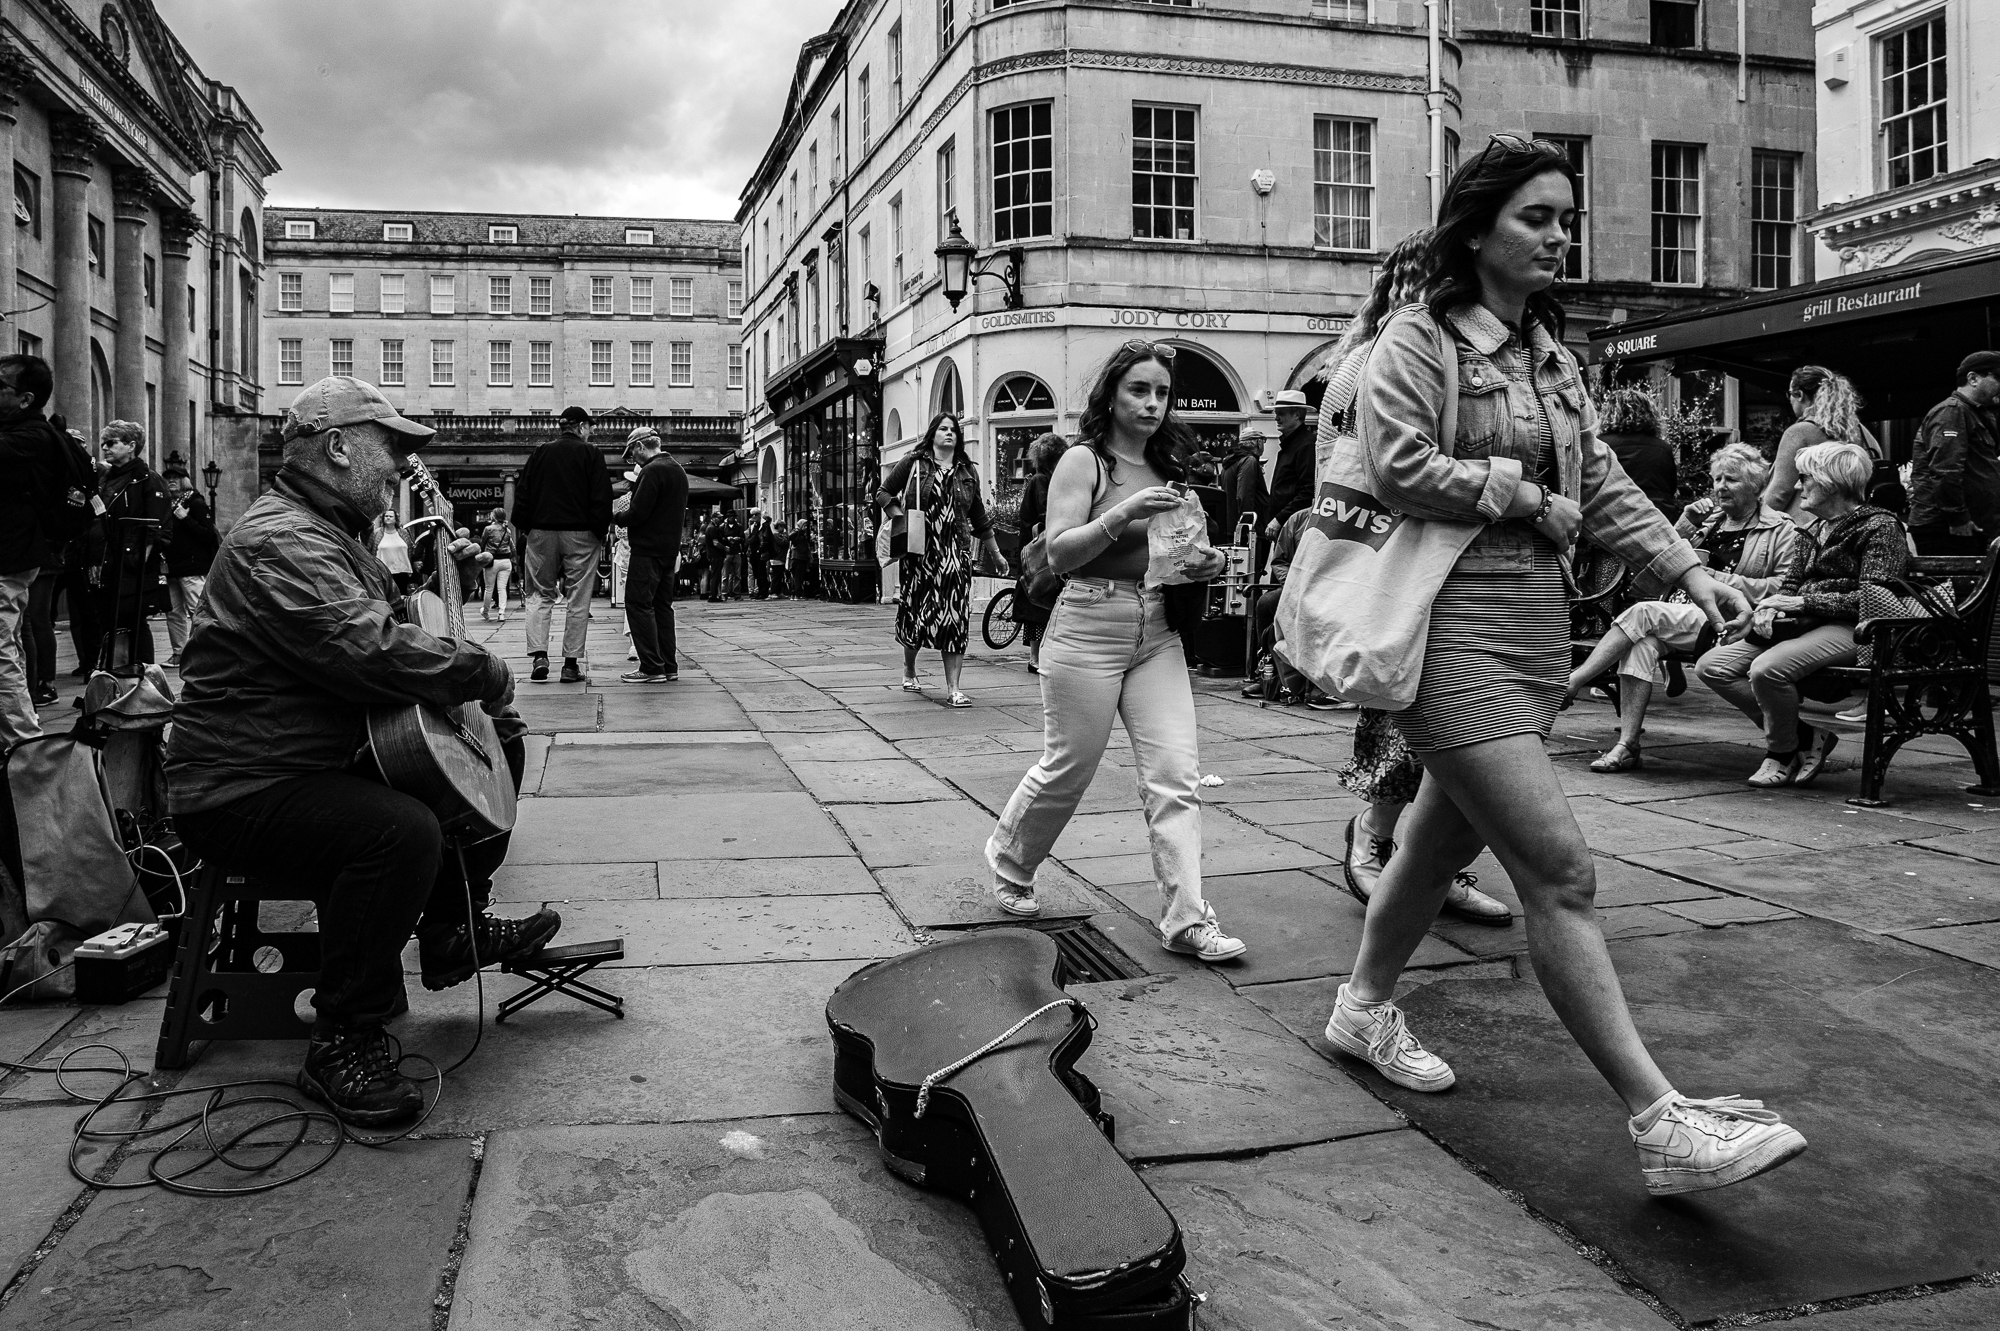
I have been taking photographs for as long as I can remember. My mother and grandparents were photojournalists and made me want to pick up a camera at a very early age, which really nurtured my curiosity about photography. My first memory of photography was sitting with my grandparents – both of them showing me their photos and explaining why they took them in the way they did. I didn’t know it at the time, but they were teaching me the importance of composition and emotion within an image.
My interest became a hobby, and that hobby then became a job working for newspapers, first with film and then on digital. Fast forward to today and one successful career shooting international equestrianism later, I was longing for a new venture that would rekindle my photographic passions. Street photography seemed like a good contrast; if I was successful, then it could get me known for my style rather than just being the guy who photographed horses at the Olympics.
Street photography is the art of capturing photographs of strangers and their surroundings in everyday life and documenting unique moments that are unlikely to occur again. For me, it’s the perfect genre for learning to love photography, and the best camera for street photography can always help with the craft.
5 steps for shooting out on the streets
1. Choosing a setup for street shots
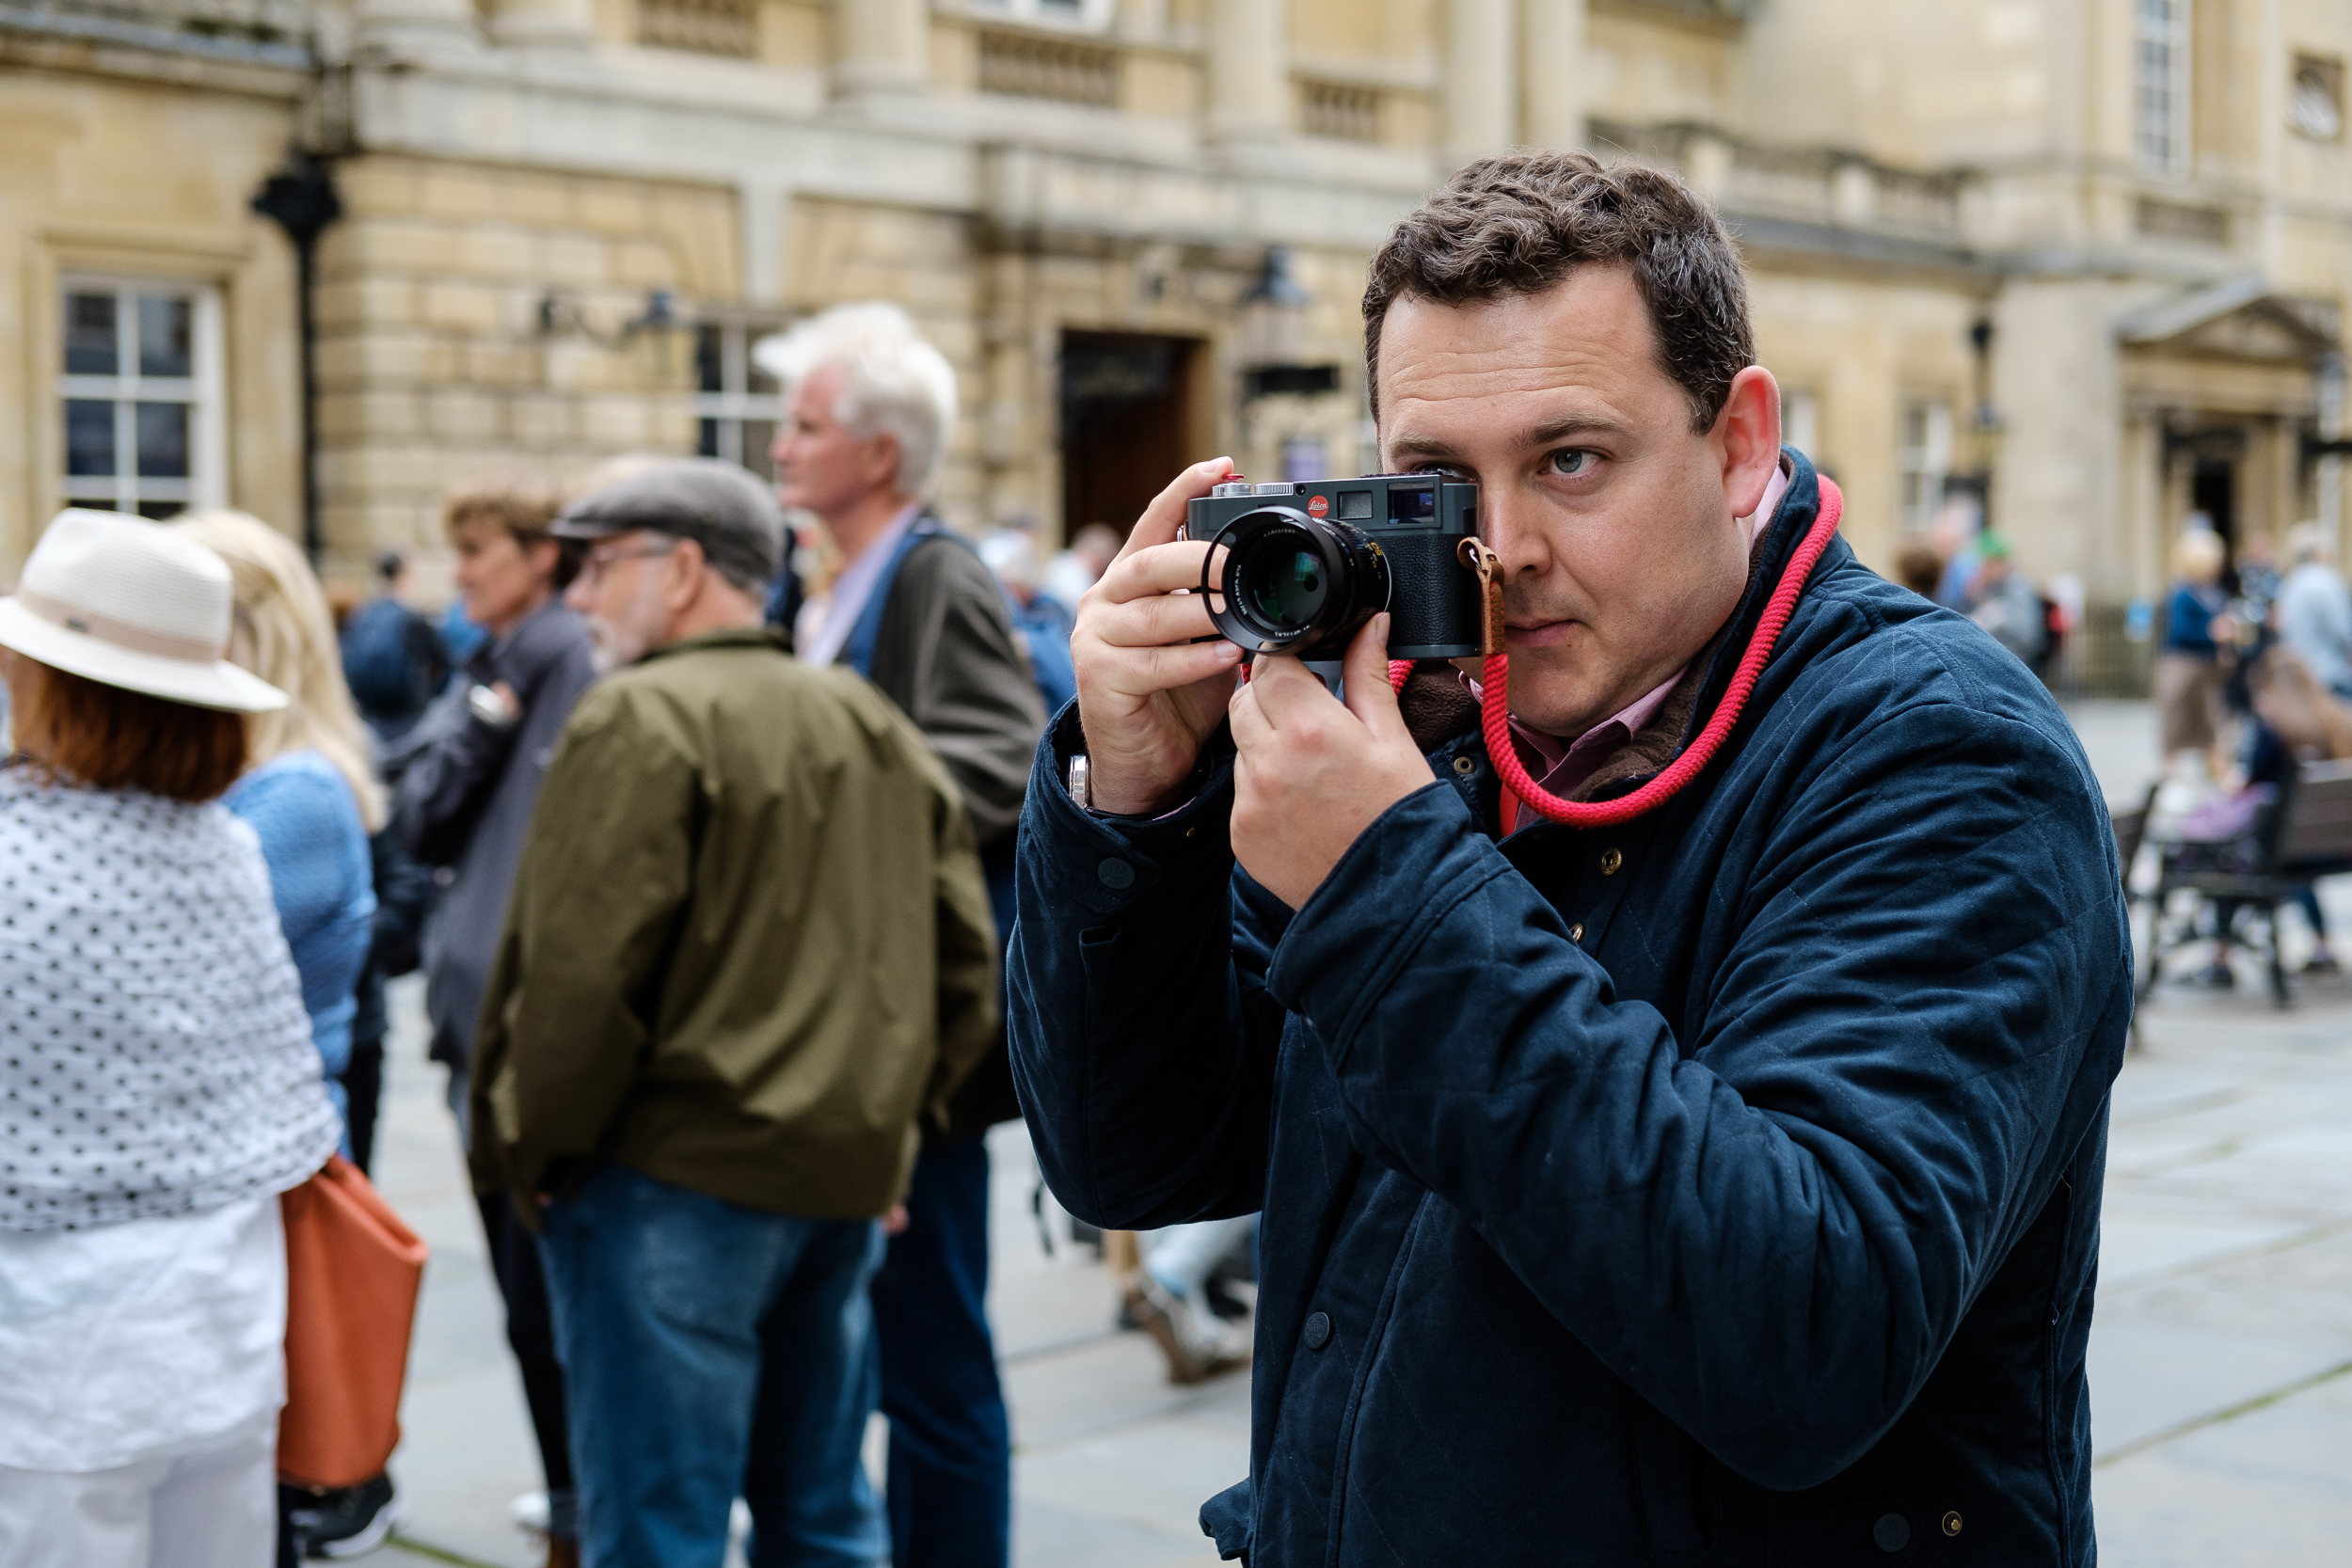
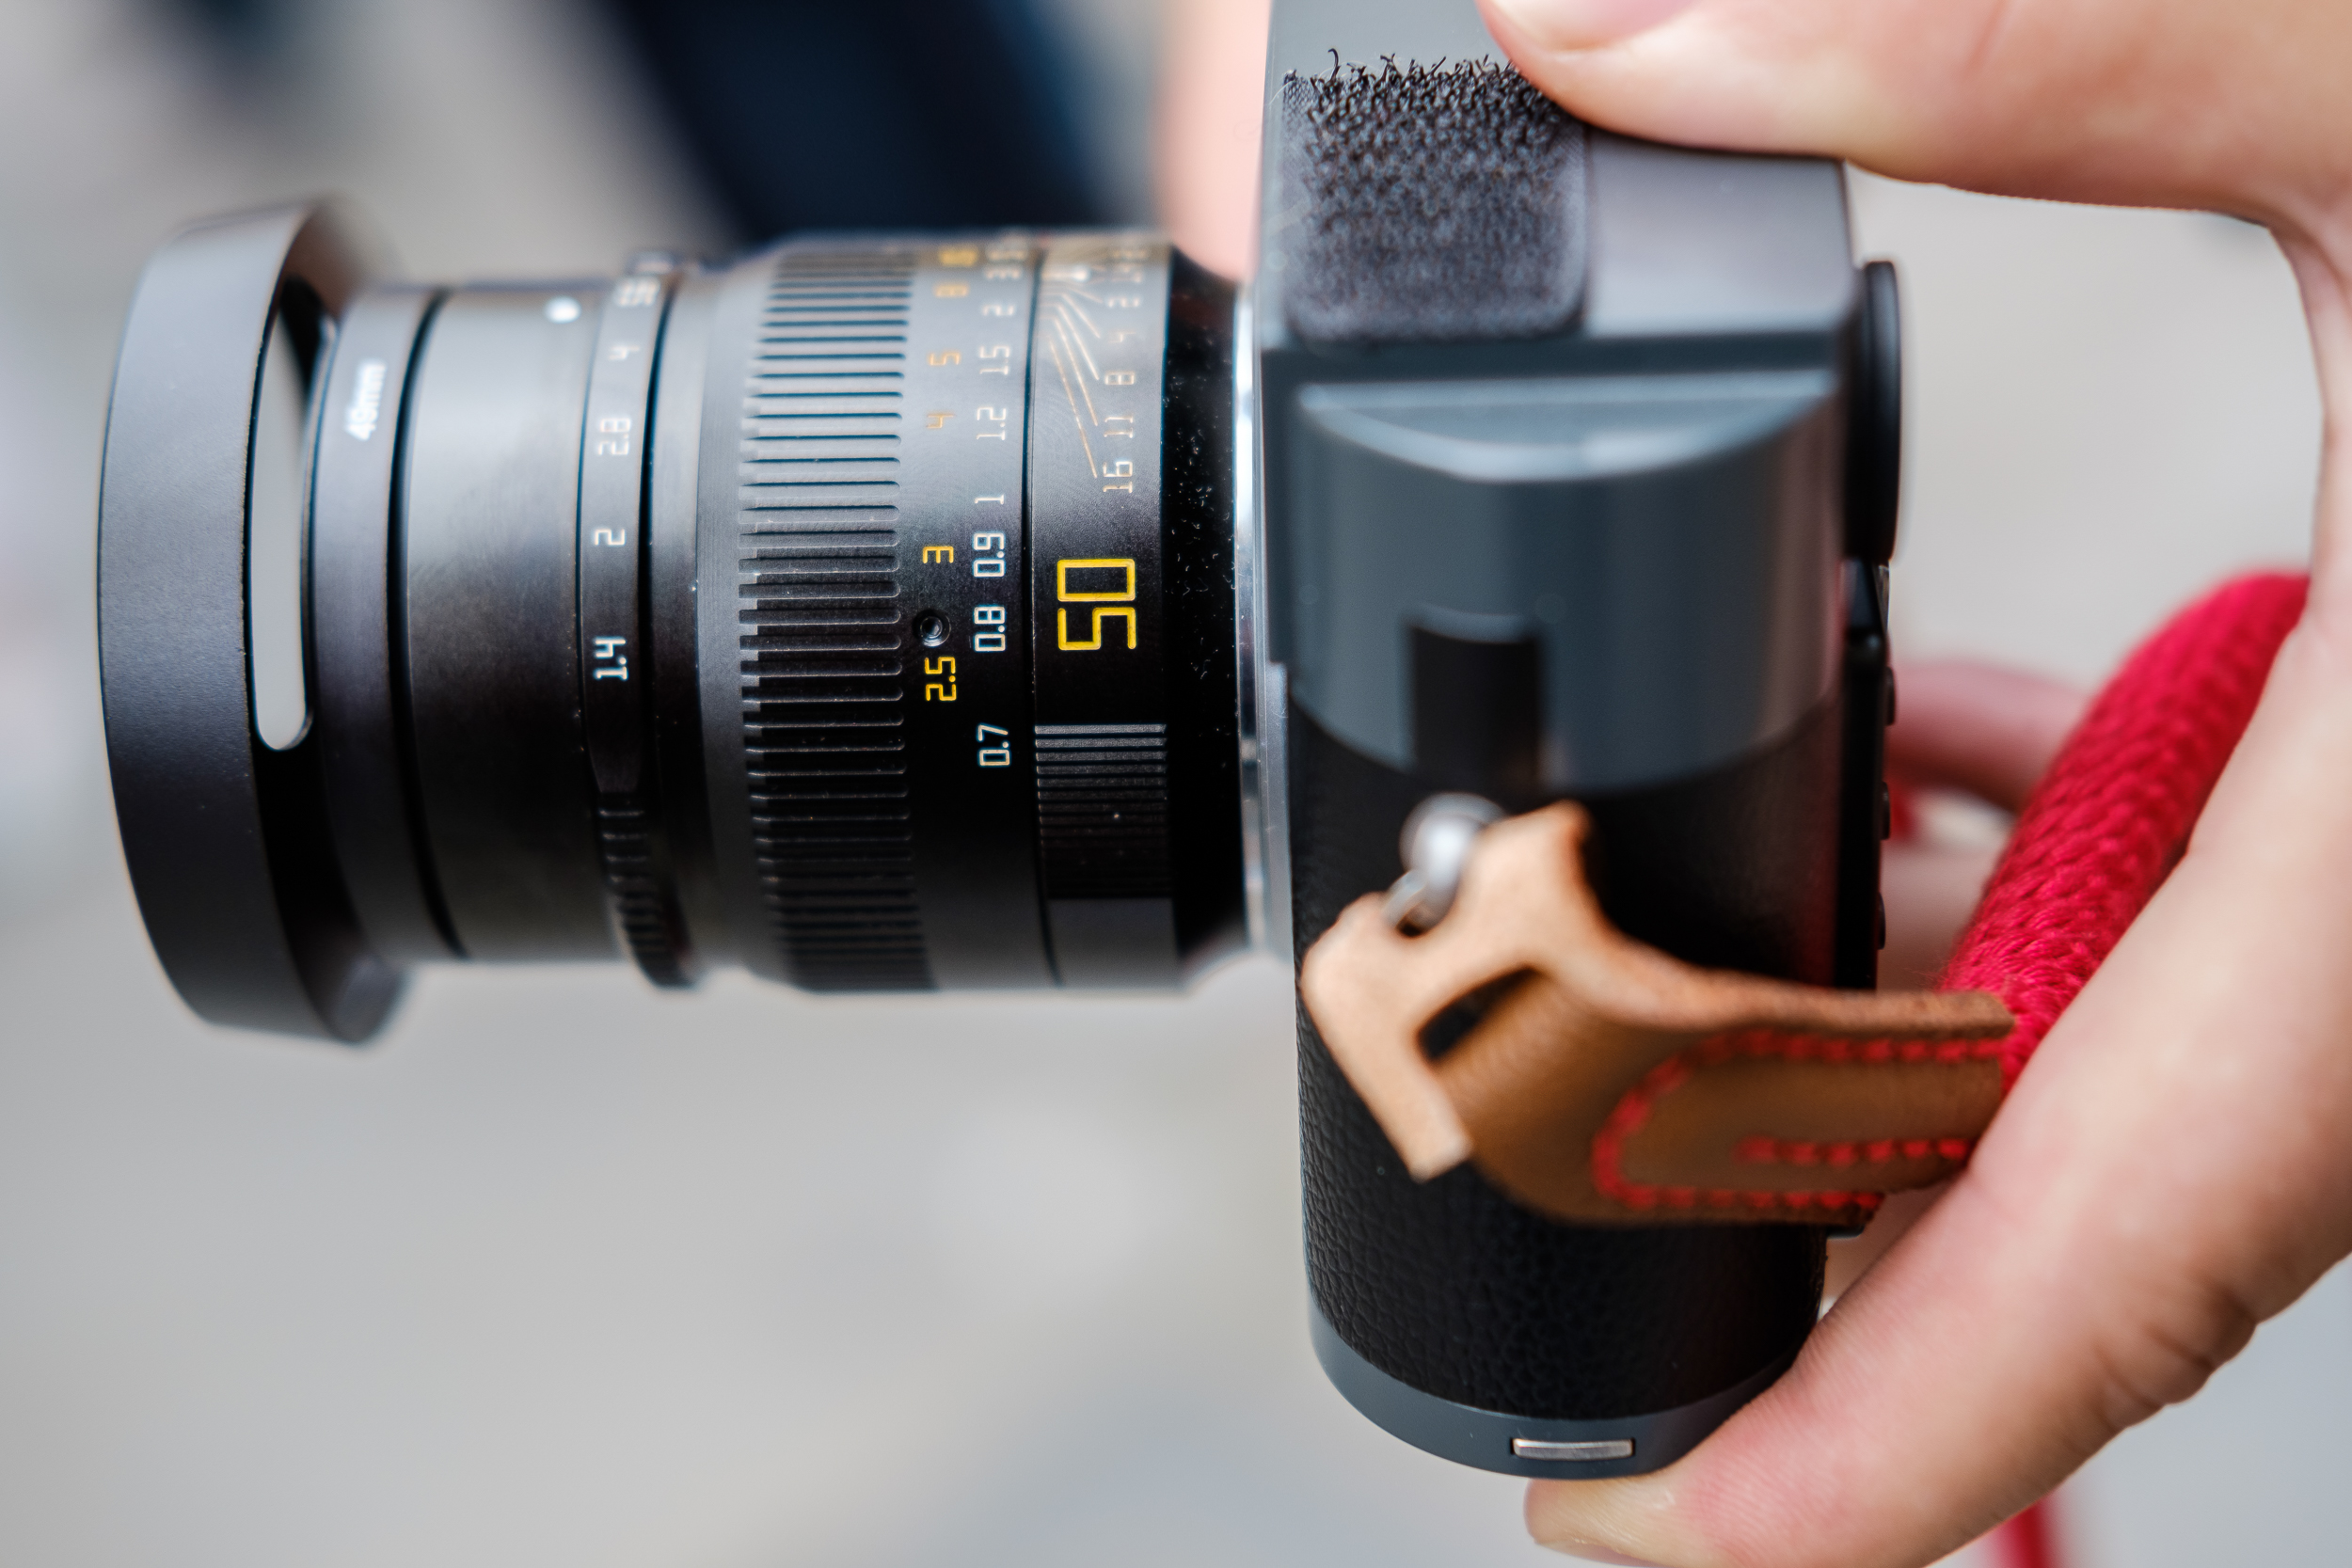
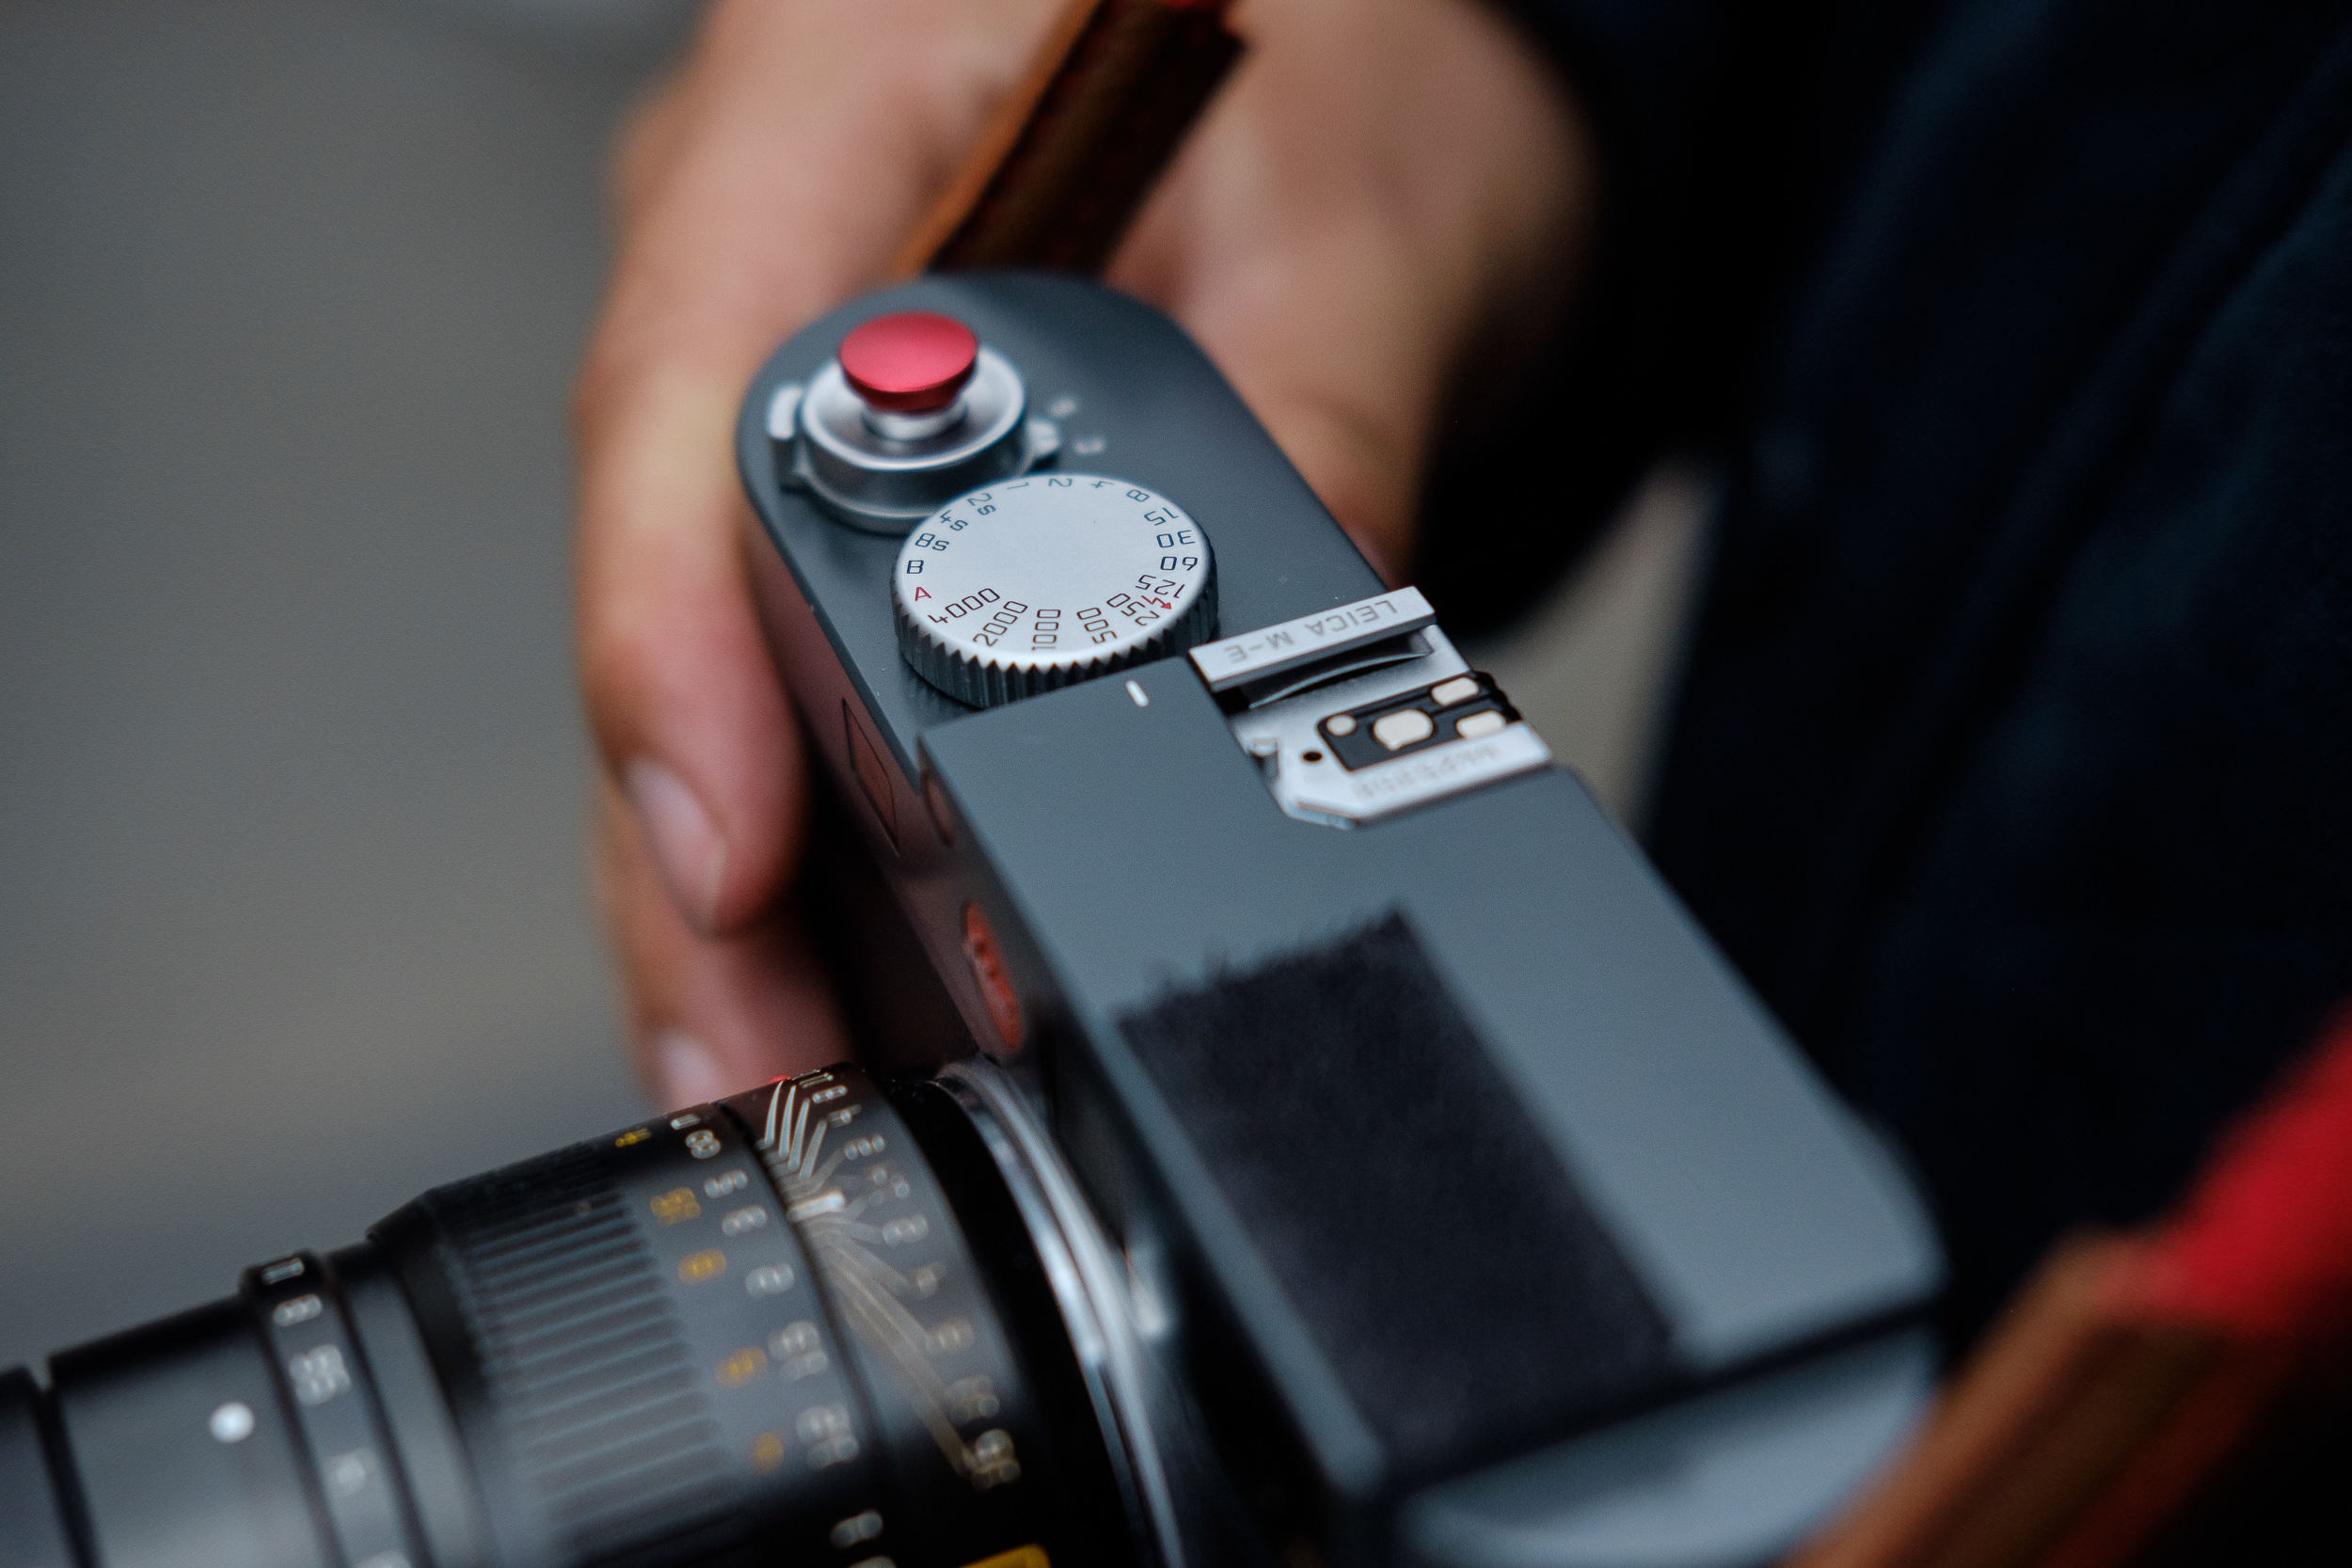
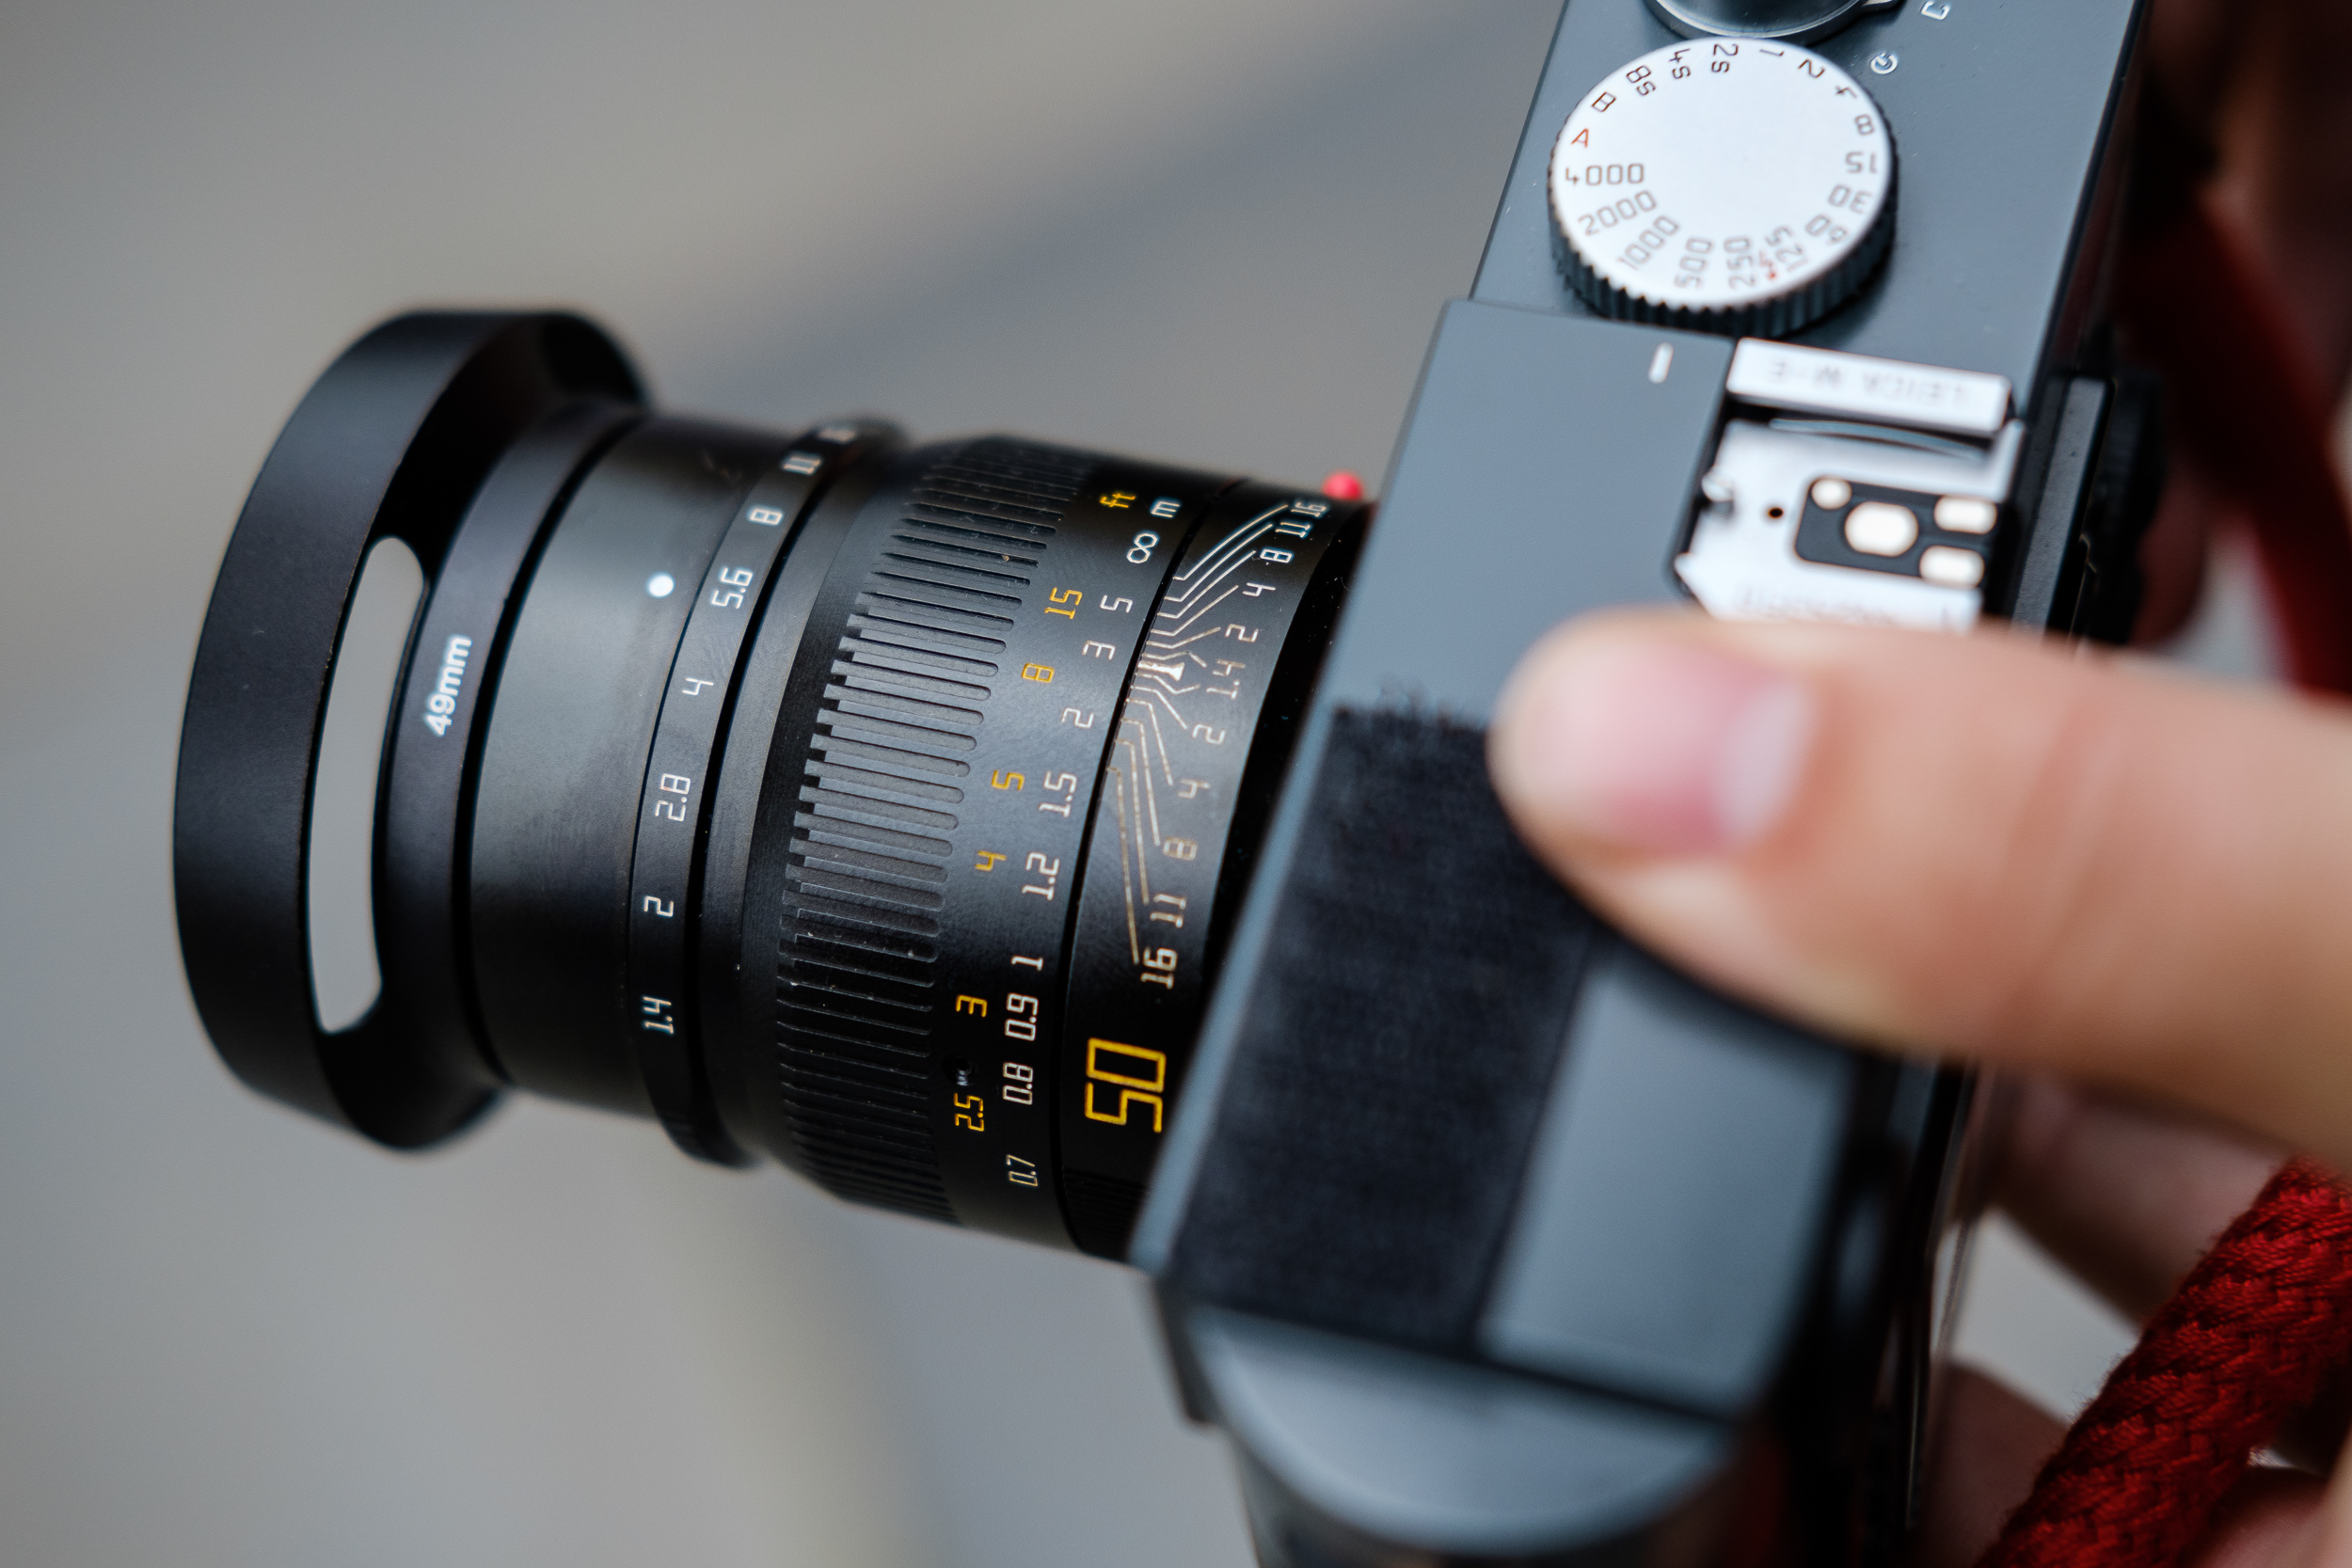
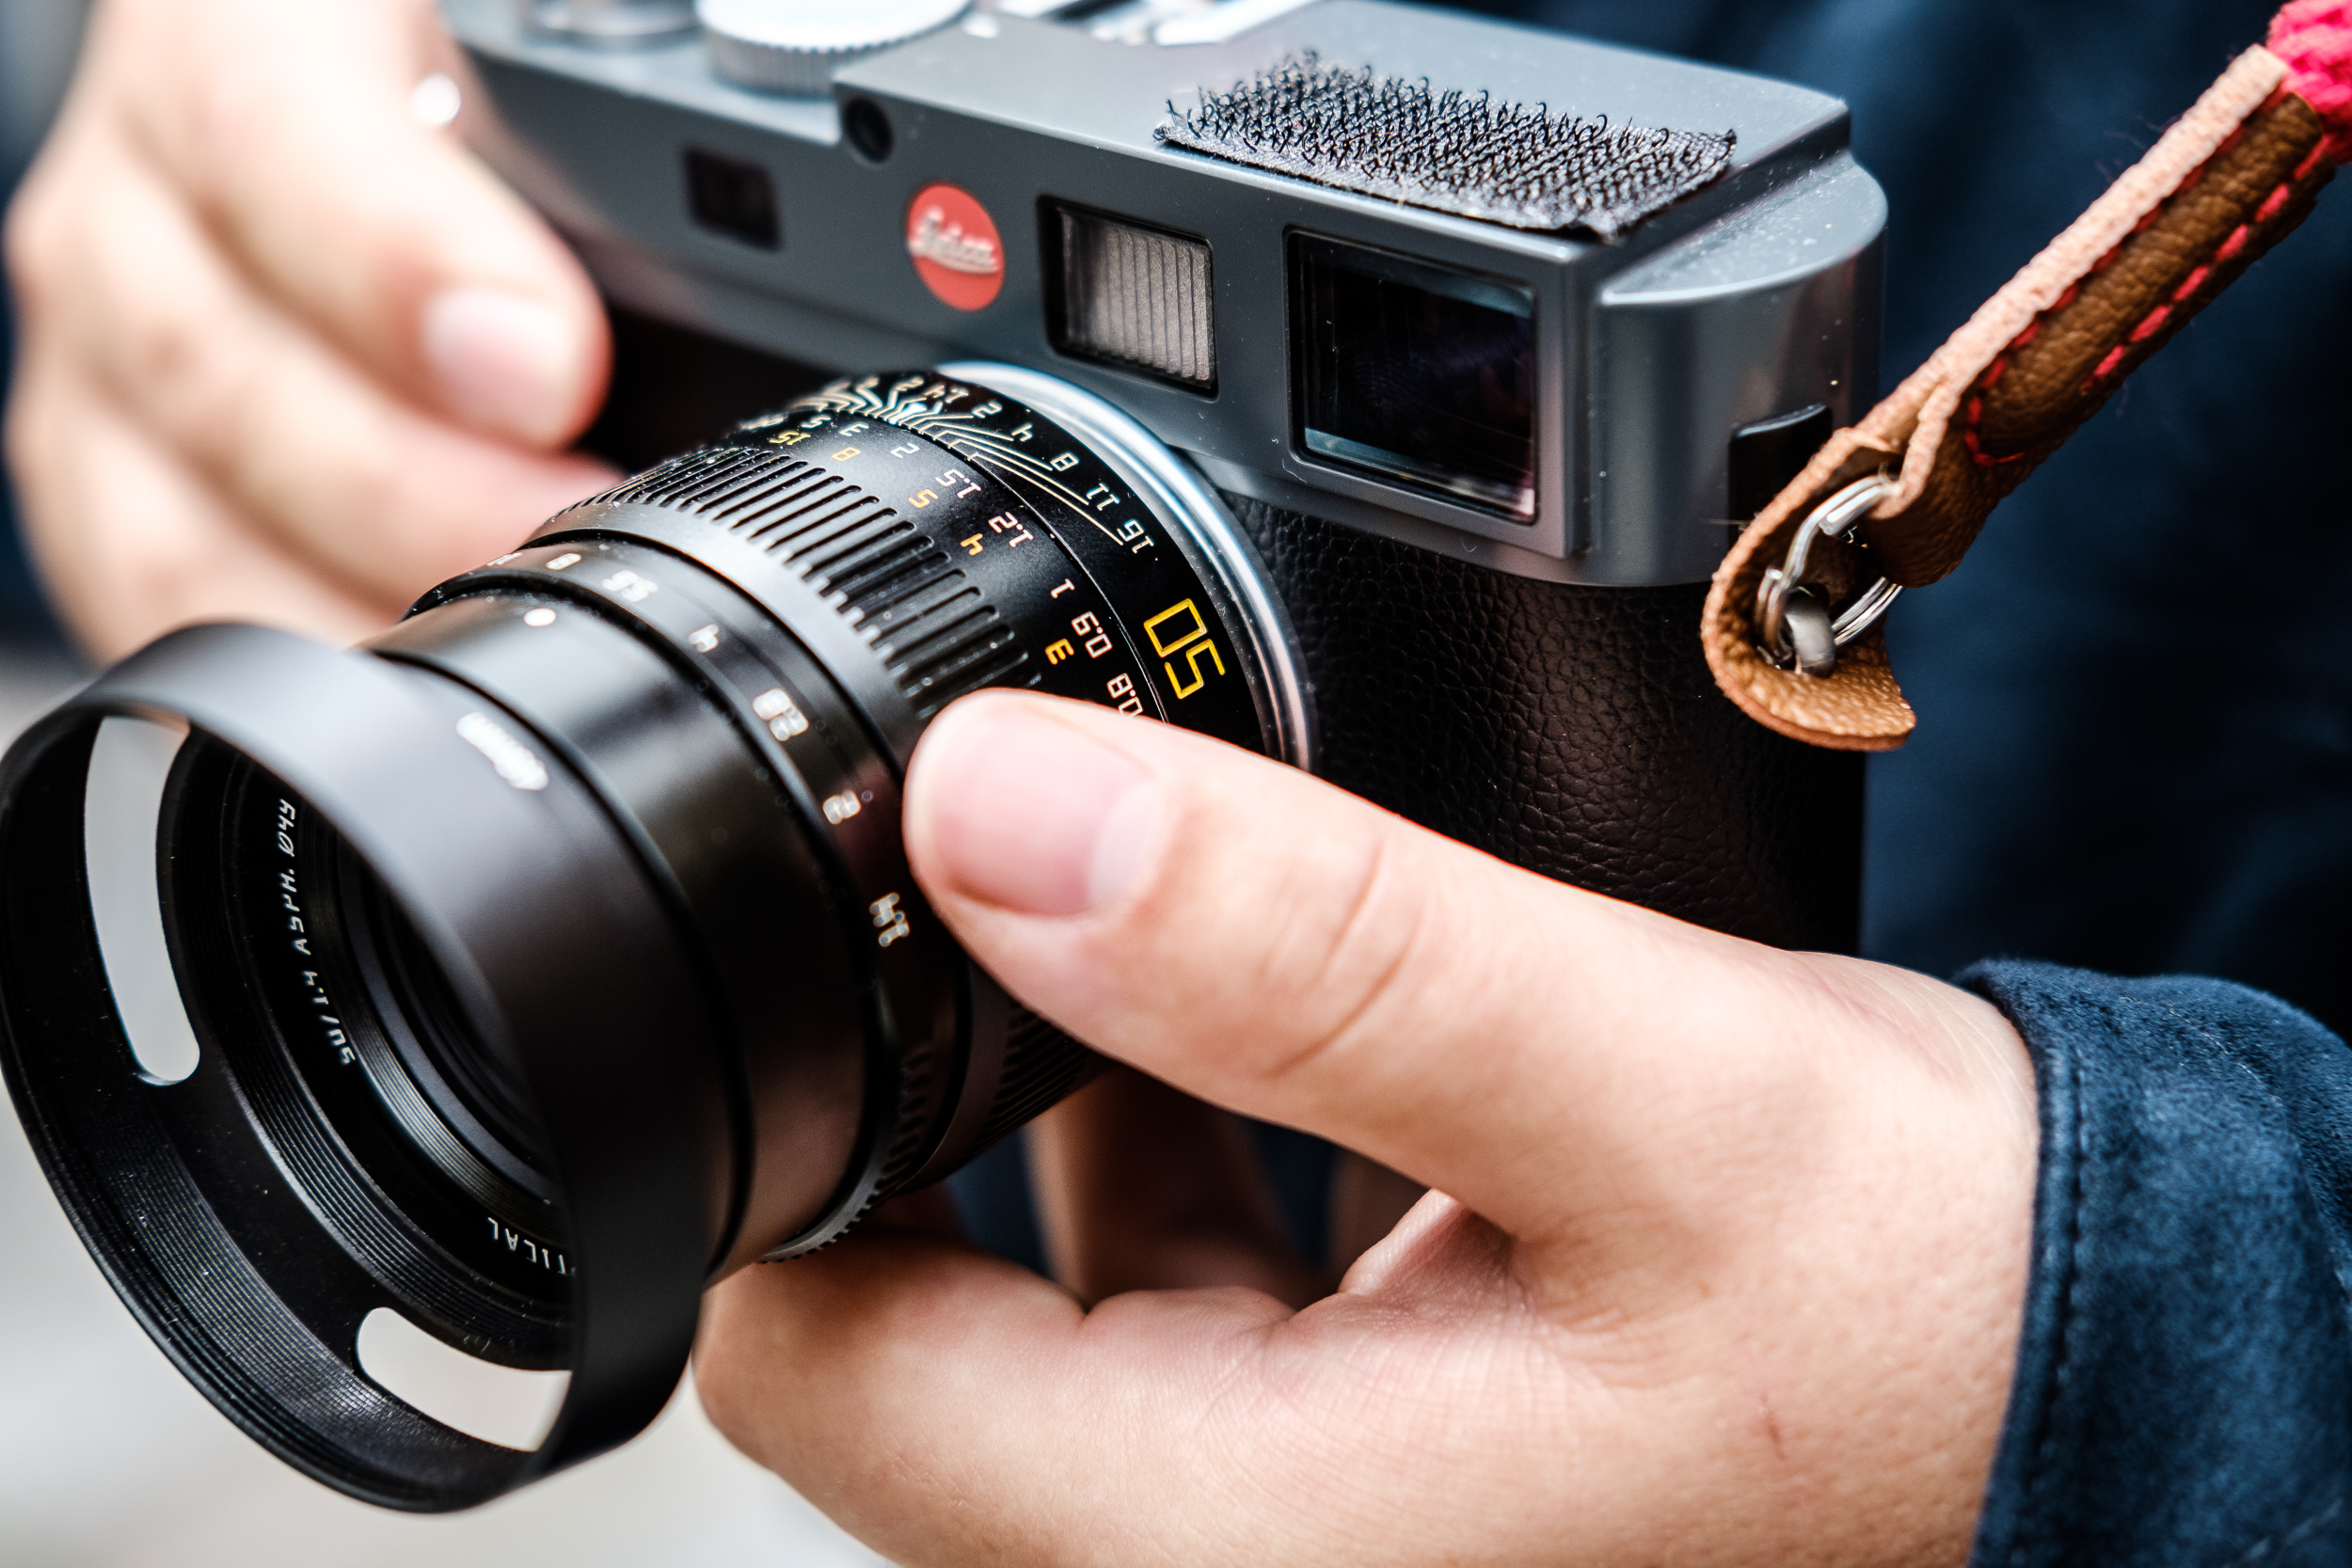
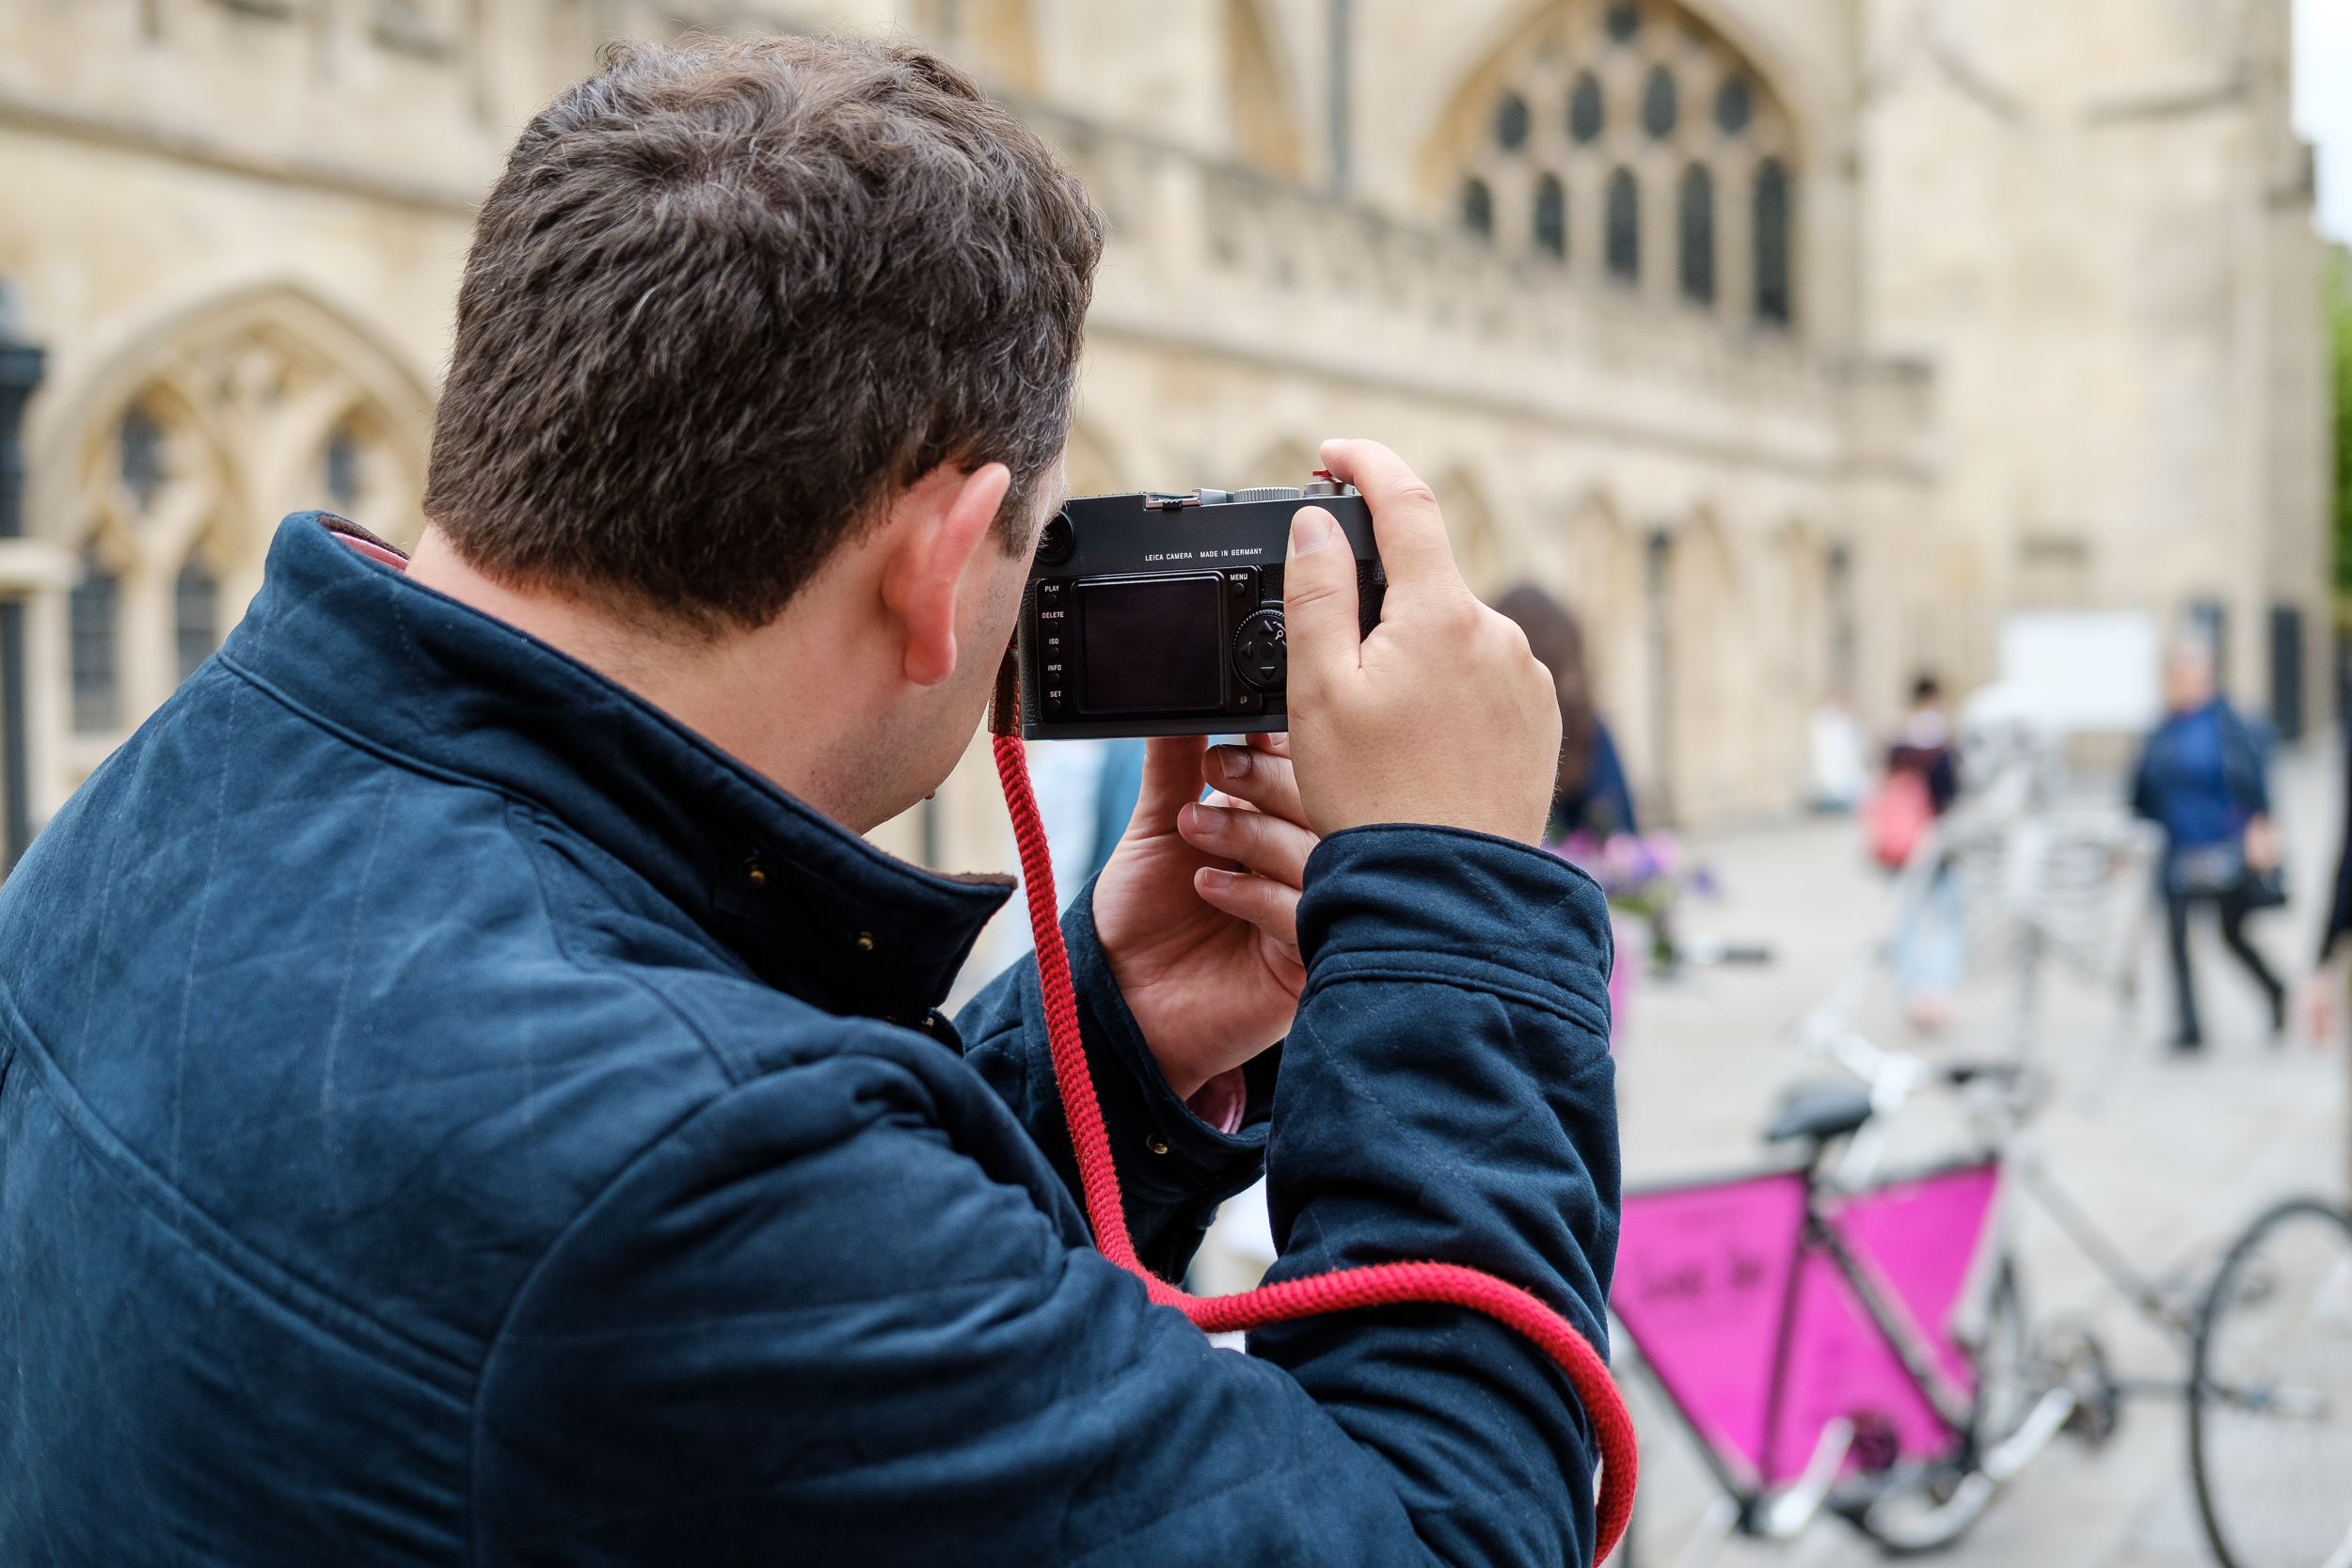
I shoot exclusively with a Leica M-E Typ 220, which always has a 50mm f/1.4 lens attached to it. However, if I’m shooting on tight, narrow streets, I will then opt for the 21mm f/1.4. The Leica M system is the perfect camera for me – its rangefinder is bright and allows me to capture images quickly while seeing my frame lines and who or what is around them.
2. Choose a suitable shutter speed and ISO
I like to keep things simple when I shoot. With street photography, you have to be quick to react to your surroundings and if you are constantly changing settings then you are losing images. Therefore, for days with a lot of clouds or sun, I set my shutter speed to 1/500 sec and keep my ISO at 400. If it’s raining, I set the ISO to 800 and shoot between 1/750 sec or 1/1000 sec shutter speed.
3. Selecting the aperture
I like to keep to the ‘Sunny 16’ rule: this keeps shutter speeds one stop over the selected ISO. I will constantly change apertures, depending on the light available: f/16 for bright sunlight; f/11 for the sun with clouds; f/8 for overcast; f/5.6 for dark days or shooting in shade, and f/4 for times around sunset. In the UK I normally shoot at around f/8-f/5.6, and f/16-f/8 in the US.
4. Focus manually
Leica M bodies do not have autofocus so focusing your lens manually is the only way to focus on a scene. For my style of photography, I enjoy the thrill of getting a sharp shot as I had to work for it. I will also use zone focusing, where I set my lens to a certain f-stop and distance, then everything between me and the subject is in focus.
The best camera deals, reviews, product advice, and unmissable photography news, direct to your inbox!
5. Get your eye in
Sometimes I walk the streets and capture subjects on the move when I spot something I like. At other times I will see a scene that I know will look great, and I wait for the subject to walk into frame – this could be a person or animal. Street photography is about capturing the essence of your surroundings, and pigeons can be a great way to get your eye in when starting out, before plucking up the courage to shoot people.
These are the best Leica cameras in 2022: from classic rangefinders to modern mirrorless, and we've also got our ultimate guide to street photography. You might also want to check out the best Leica M lenses.
Alistair is the Features Editor of Digital Camera magazine, and has worked as a professional photographer and video producer.
