Reverse ND filters: what are they, and when should photographers use them?
ND grad filters where the graduation is reversed from normal are a great asset when photographing sunsets

What is a reverse ND grad?
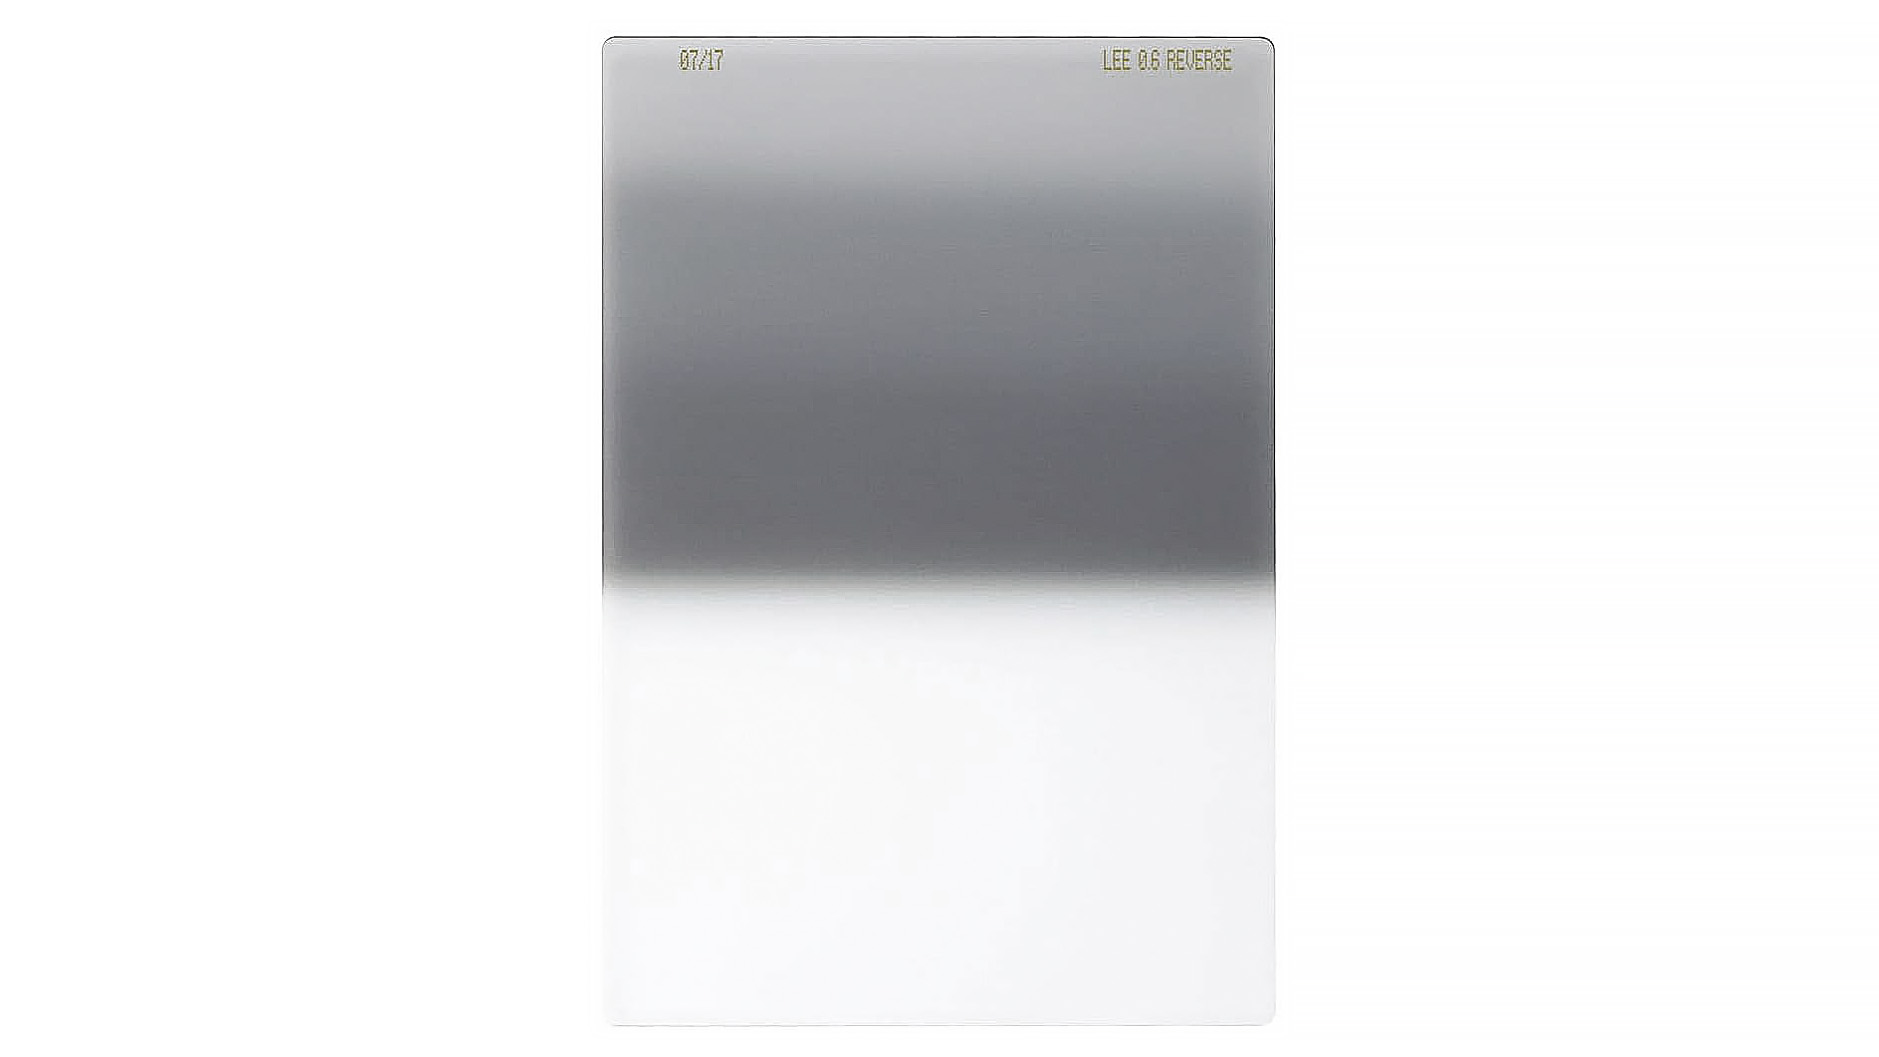
A reverse ND grad darkens skies, just like a normal ND grad, but instead of getting darker towards the top of the filter, it has the darkest part close to the transition in the middle of the filter, and then a lighter area towards the top.
What does reverse ND grad filter do?
A reverse ND grad darkens skies, just like a normal ND grad, but instead of getting darker towards the top of the filter, it has the darkest part close to the transition in the middle of the filter, and then a lighter area towards the top.
When should I use a reverse ND filter?
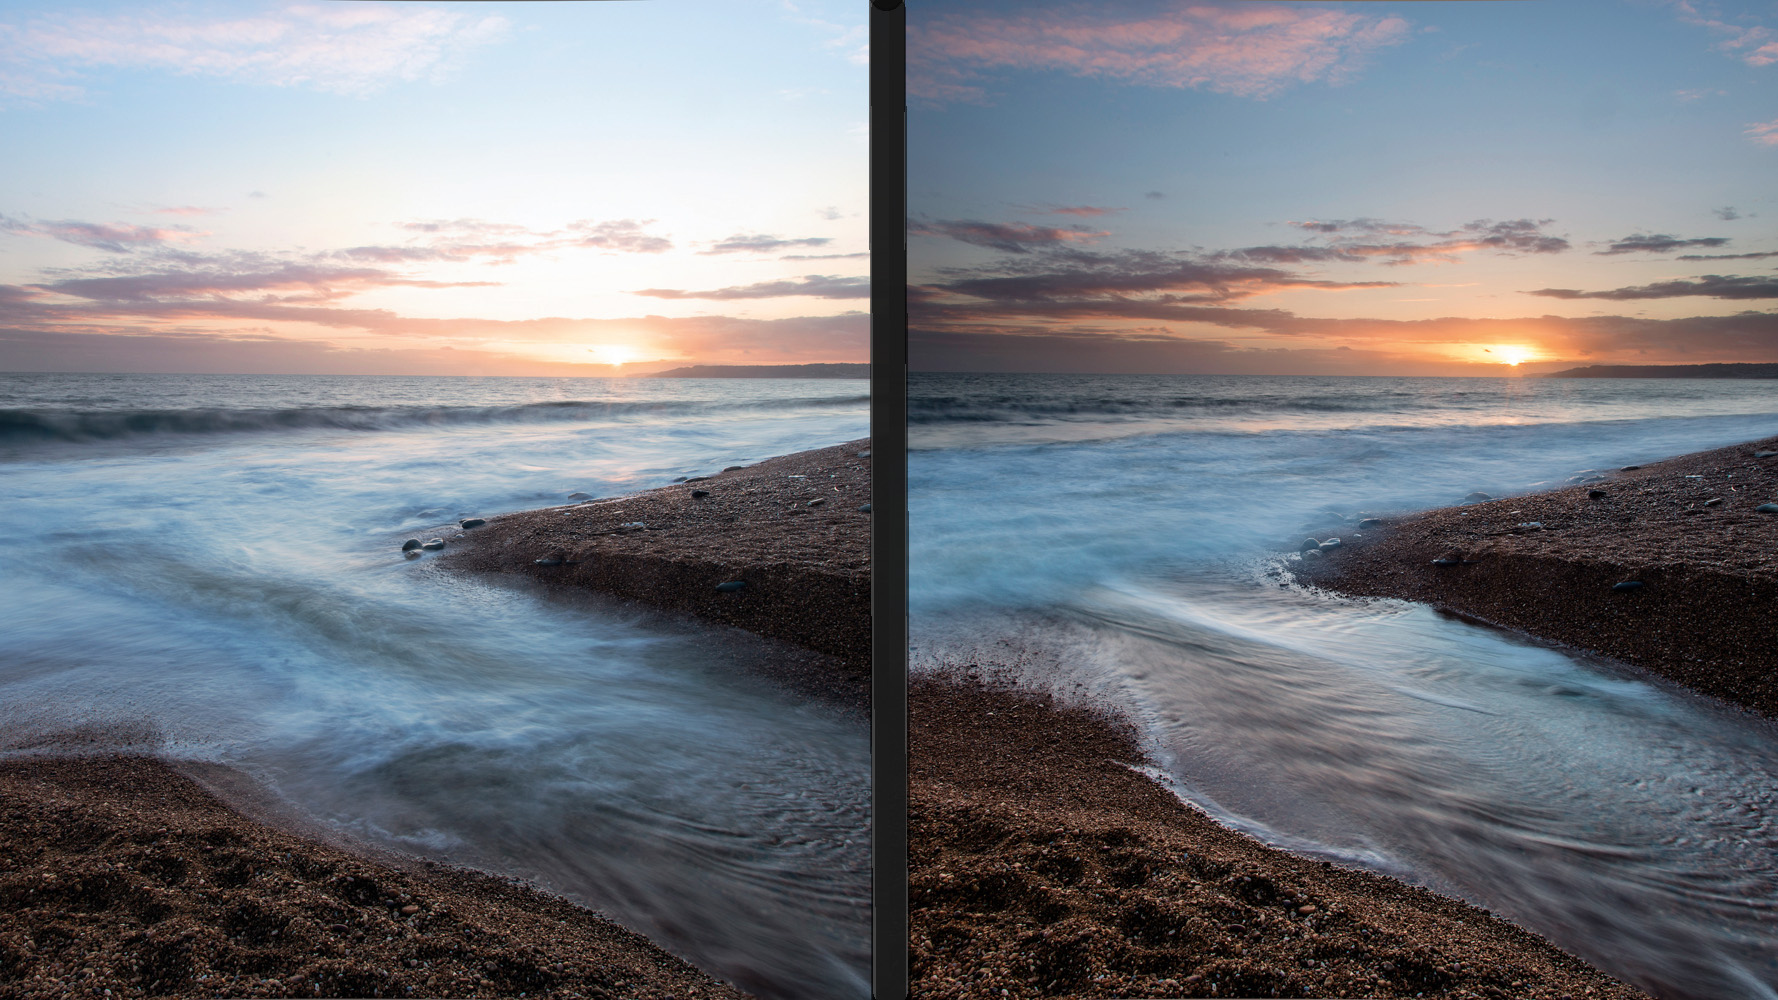
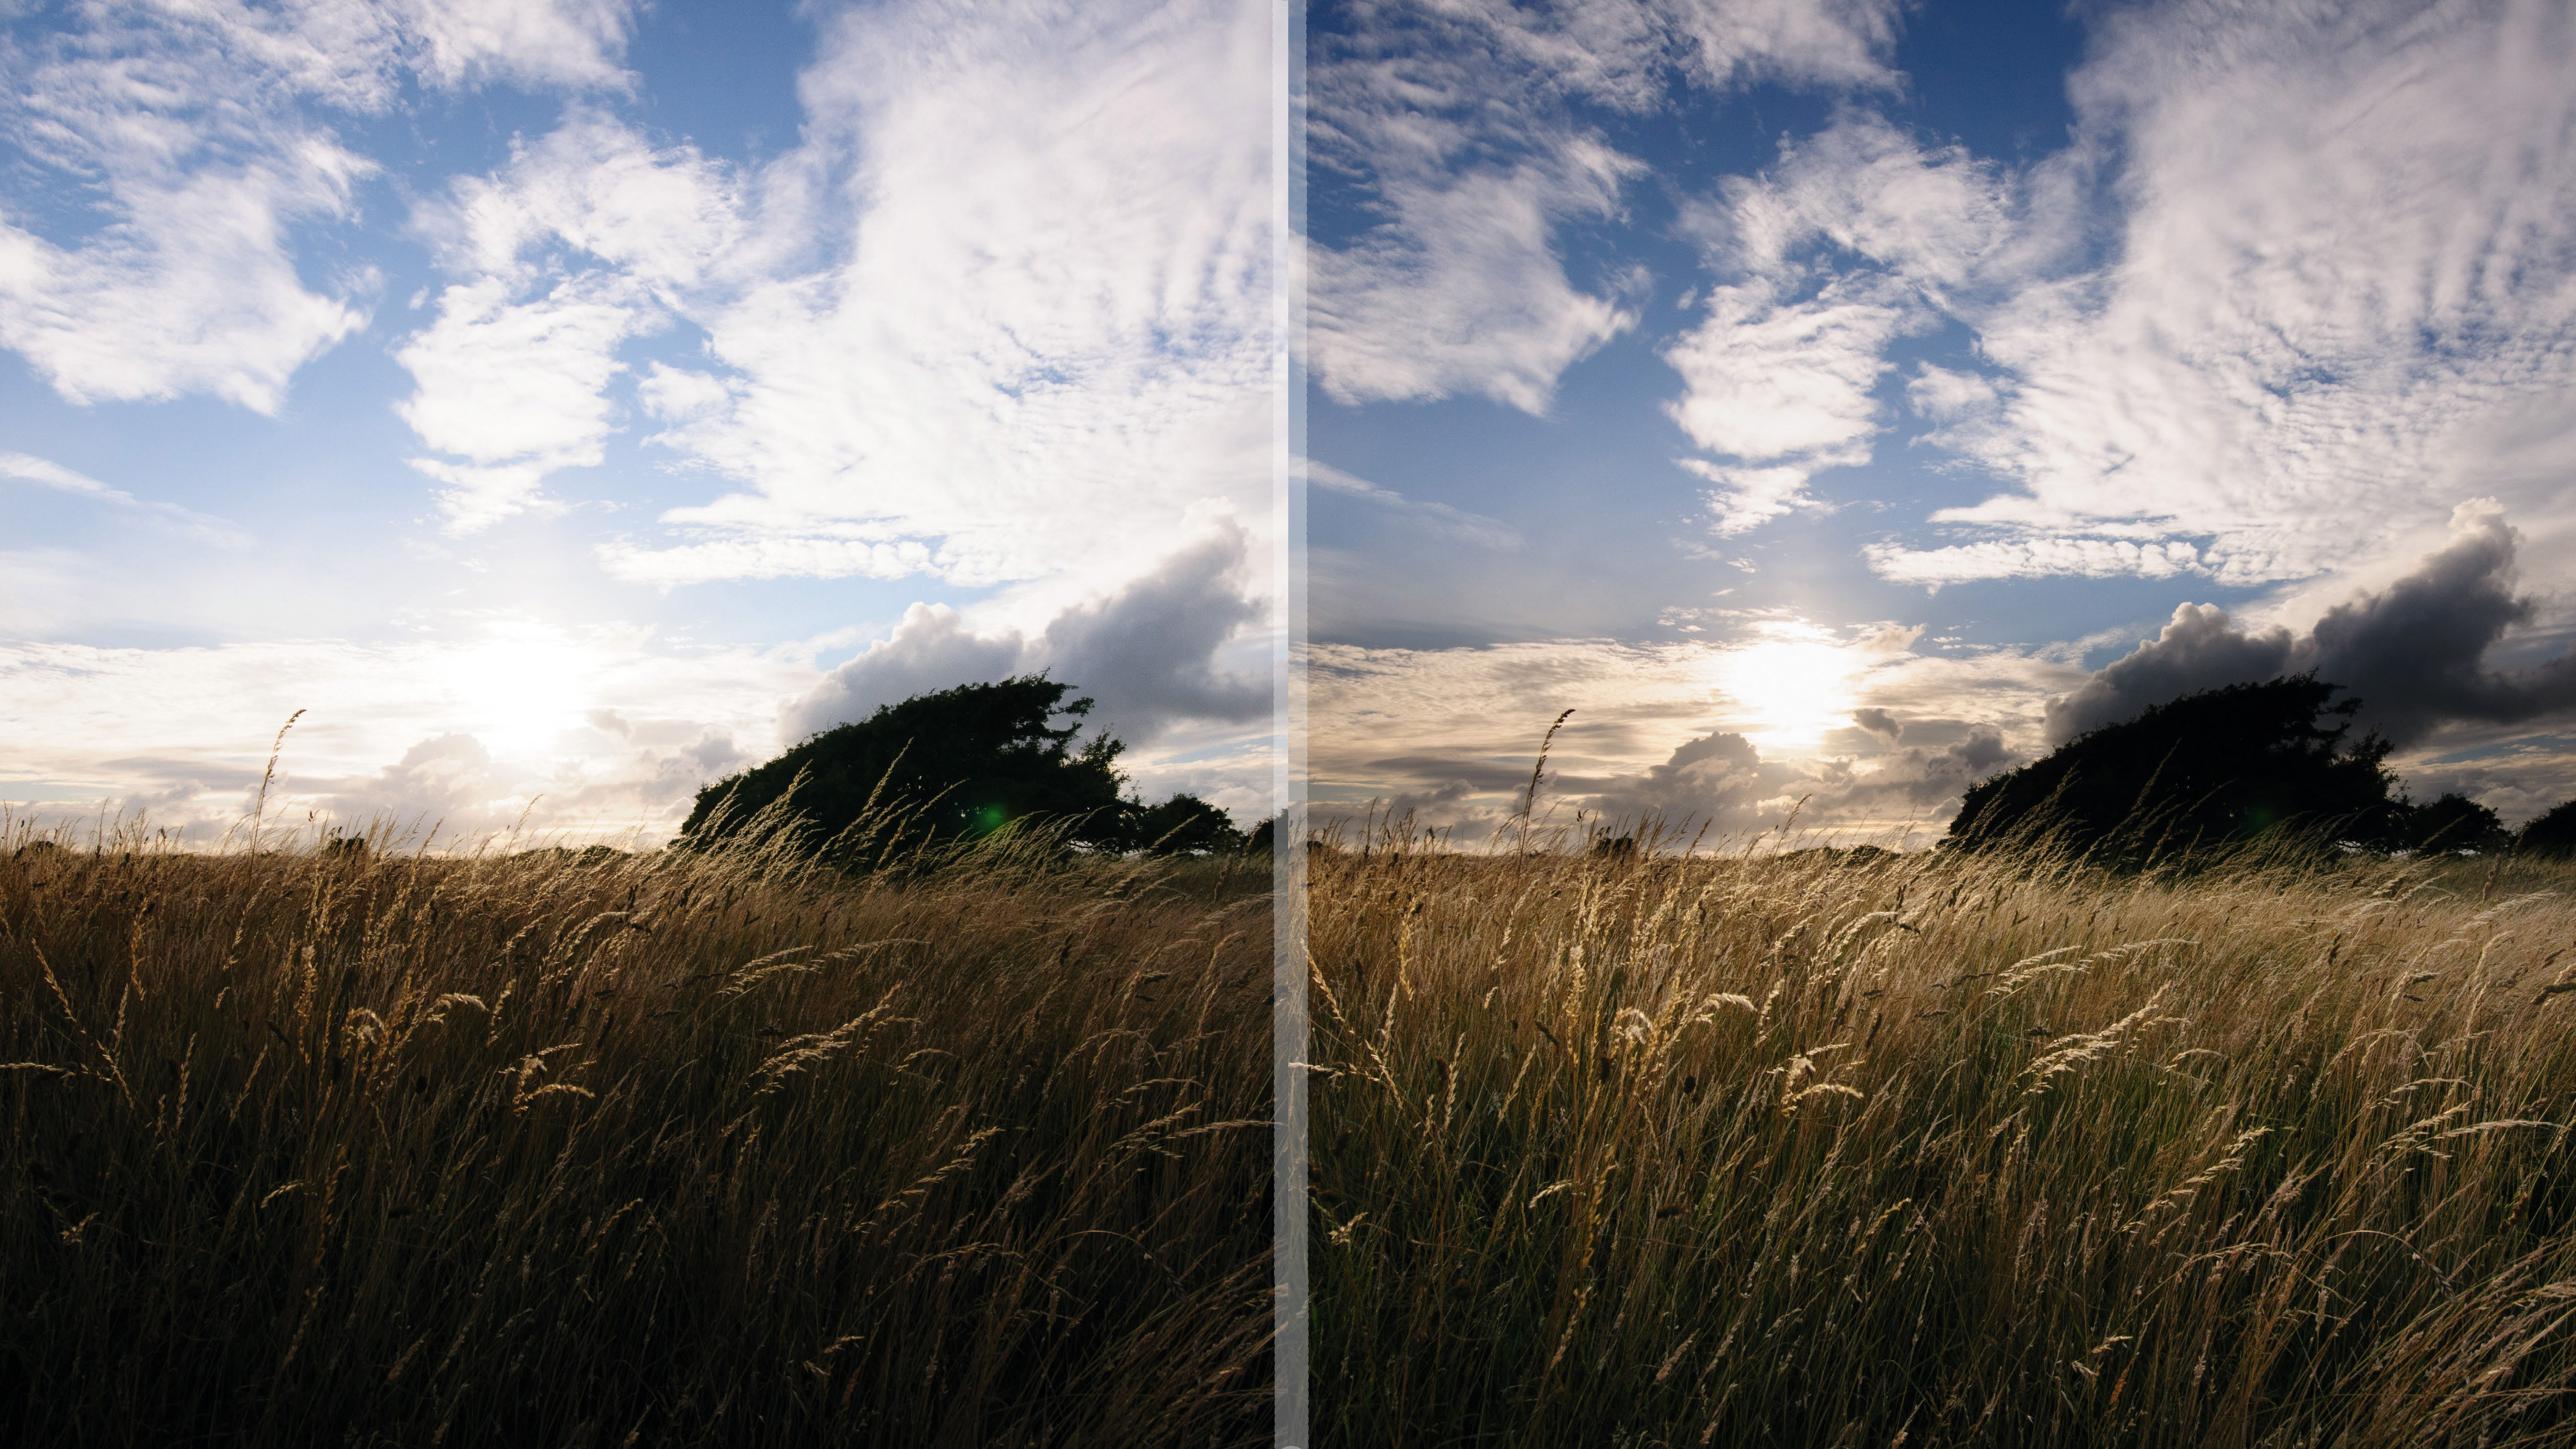
When shooting scenes where the brightest area of the sky is close to the horizon, such as sunrise or sunset, with the sun in the frame.
How is a reverse ND grad used?
Using a reverse ND grad is similar to using a normal ND grad. You need to pay particular attention to the positioning of the filter to avoid darkening the land or sea just below the horizon.
The effect of graduated filters is obvious in the finished picture but not always easy to see in the viewfinder, so you may prefer to switch to Live View as you position the grads. Take time over this, because it’s hard to cover up mistakes later.
Anything else I need to know?
Because the darkest area of the grad is close to the center of the filter, it’s almost impossible to avoid darkening any subjects that are above the horizon line when using a reverse ND grad.
Do I really need to buy another filter?
Some filter makers produce bespoke reverse ND filters which have a darkened strip in the center only. But there is a way to achieve a clever effect without having to buy an extra filter.
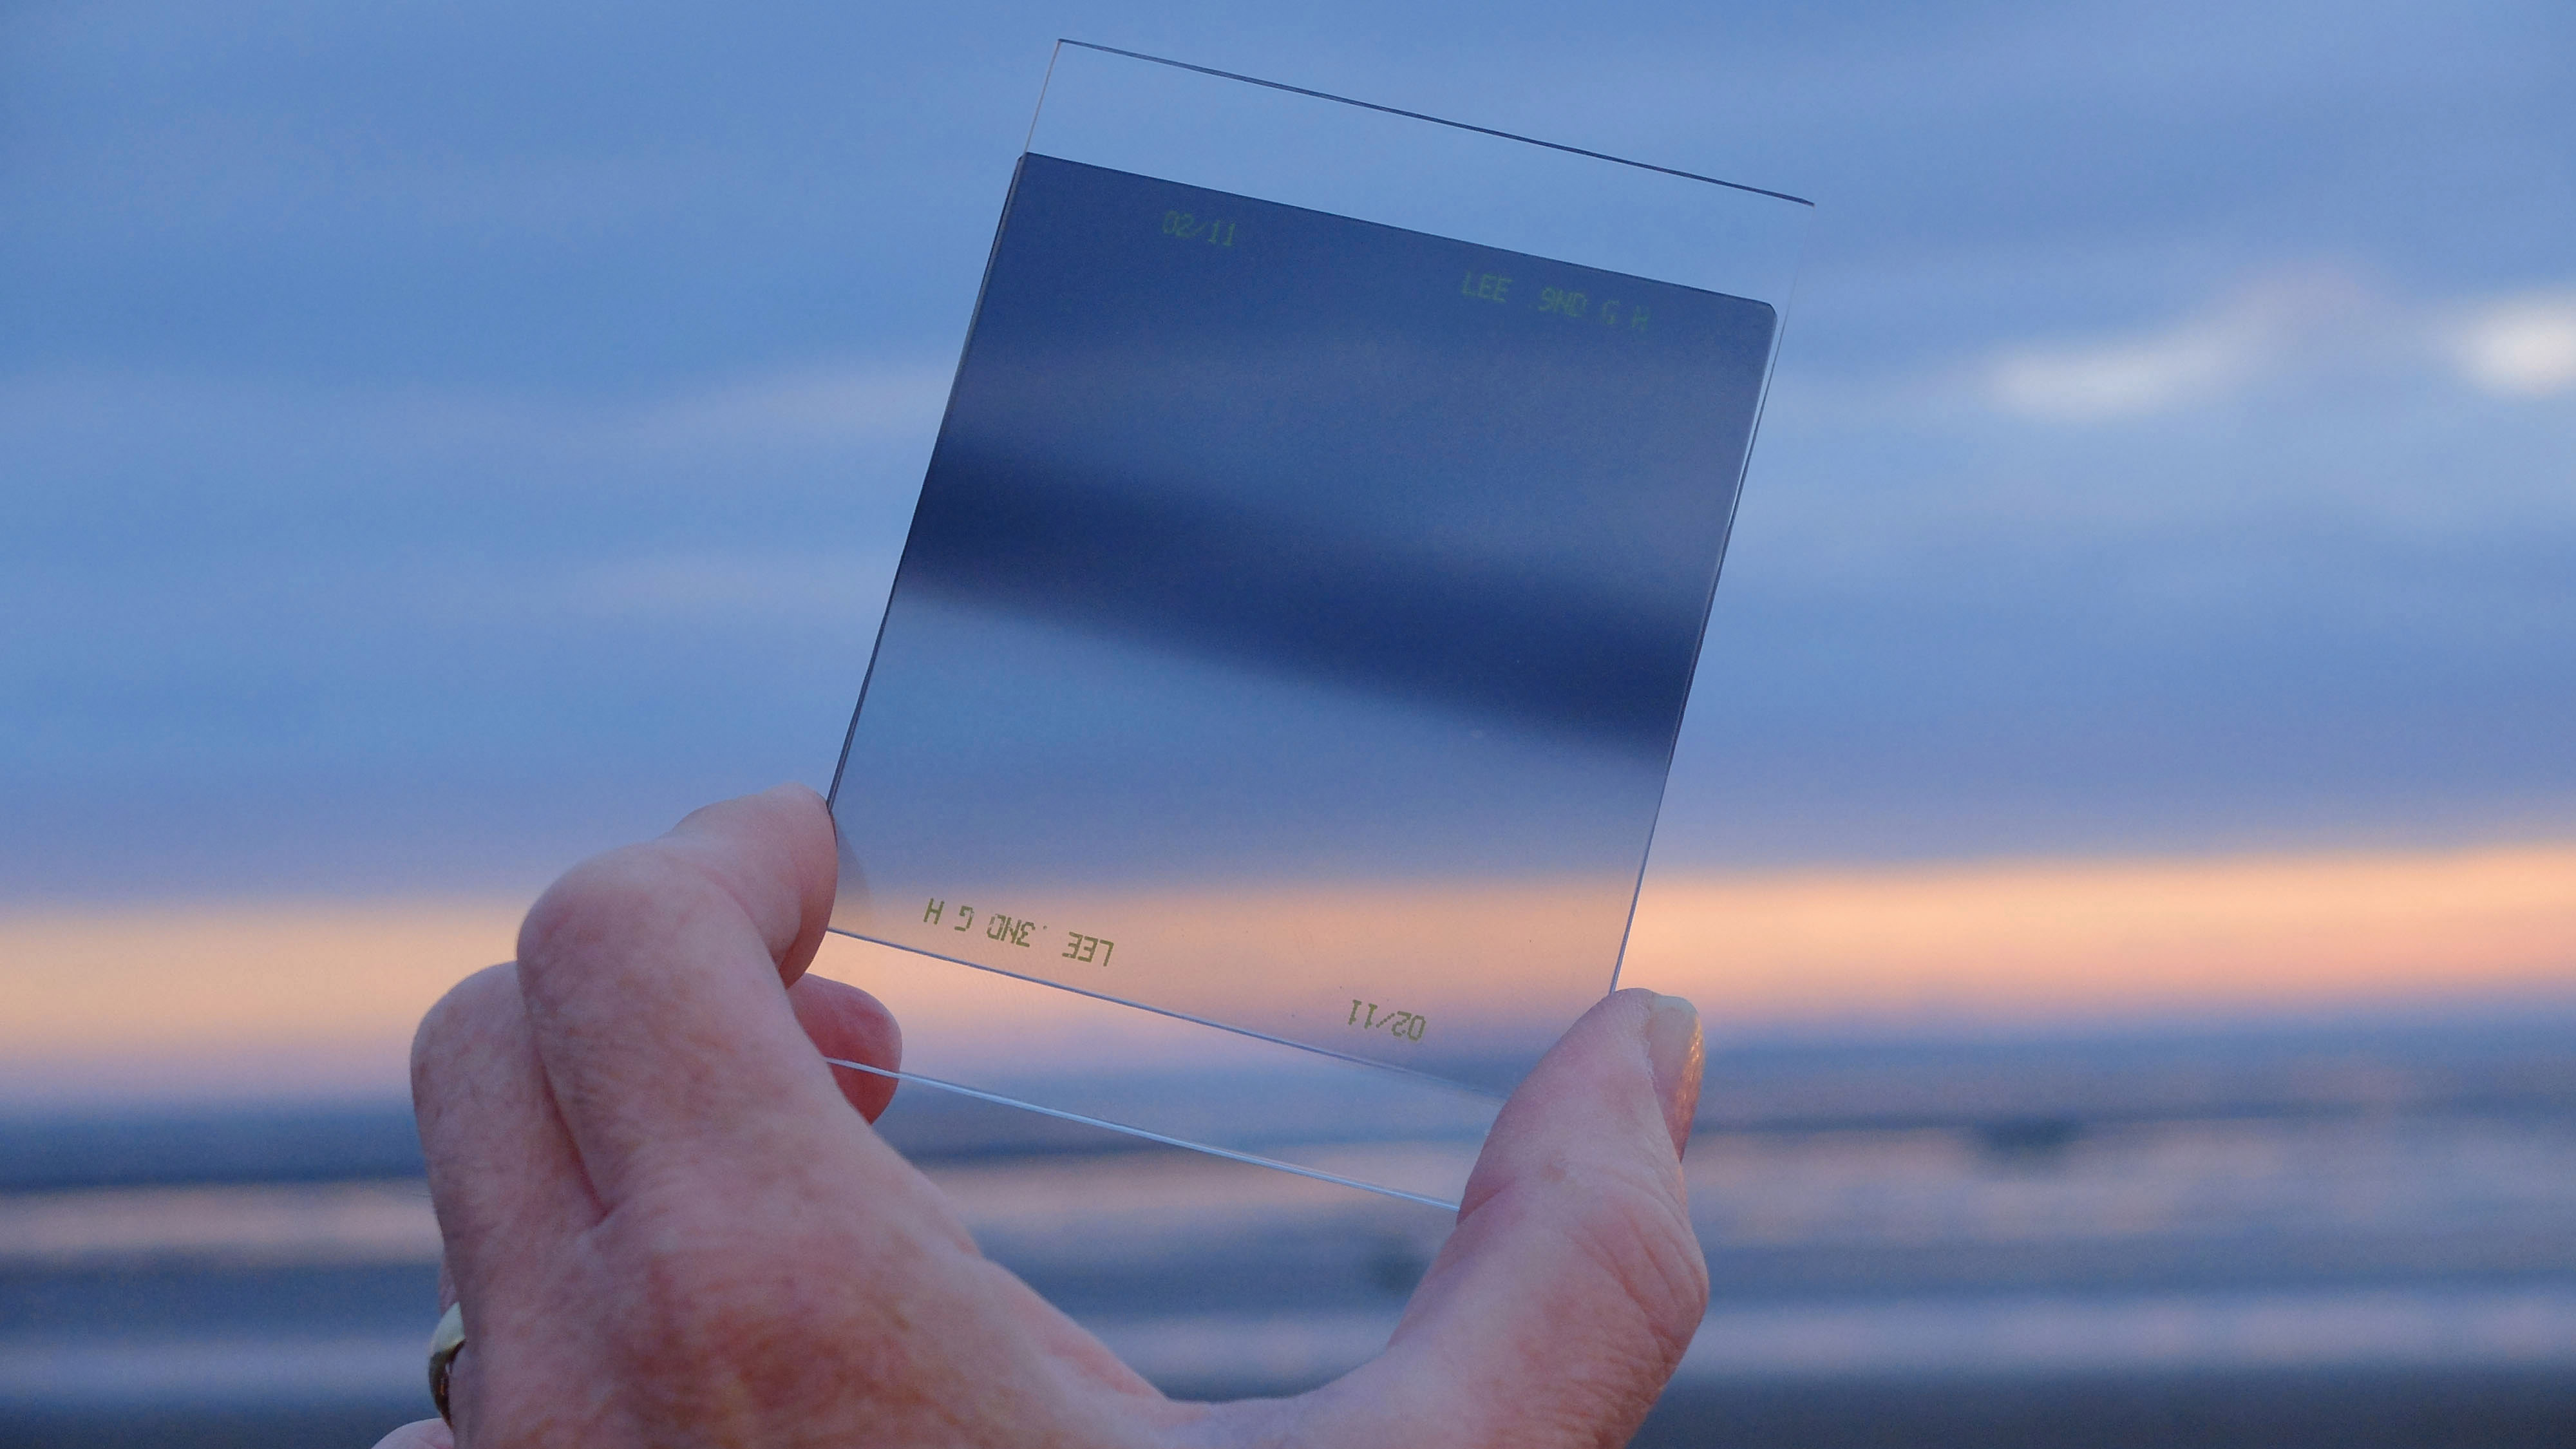
All you need is two graduated ND filters. Instead of using them to double the filter effect, you turn one of them upside down so that it overlaps the first to produce the darker ‘stripe’. As long as you use the weaker filter upside down, the sky will still be darkened relative to the foreground.
Try turning one of the filters upside down. As you move it across the other filter, you’ll see a darker strip appear where the graduated sections overlap. If you’re careful you can align this darker strip with the sun just above the horizon.
- Best filters for photography
- The best ND grad filters
- Best diffusion filters
- Best light pollution filters for night photography
- The best neutral density filters
- The best infrared filter
- The best filter holders
- The best polarizing filters
- The best protection filters for lenses
The best camera deals, reviews, product advice, and unmissable photography news, direct to your inbox!

Rod is an independent photography journalist and editor, and a long-standing Digital Camera World contributor, having previously worked as DCW's Group Reviews editor. Before that he has been technique editor on N-Photo, Head of Testing for the photography division and Camera Channel editor on TechRadar, as well as contributing to many other publications. He has been writing about photography technique, photo editing and digital cameras since they first appeared, and before that began his career writing about film photography. He has used and reviewed practically every interchangeable lens camera launched in the past 20 years, from entry-level DSLRs to medium format cameras, together with lenses, tripods, gimbals, light meters, camera bags and more. Rod has his own camera gear blog at fotovolo.com but also writes about photo-editing applications and techniques at lifeafterphotoshop.com


