Panoramic photography made simple
Photographer Mark Bauer shows you how to create a stunning widescreen landscape using multiple images and a few quick edits
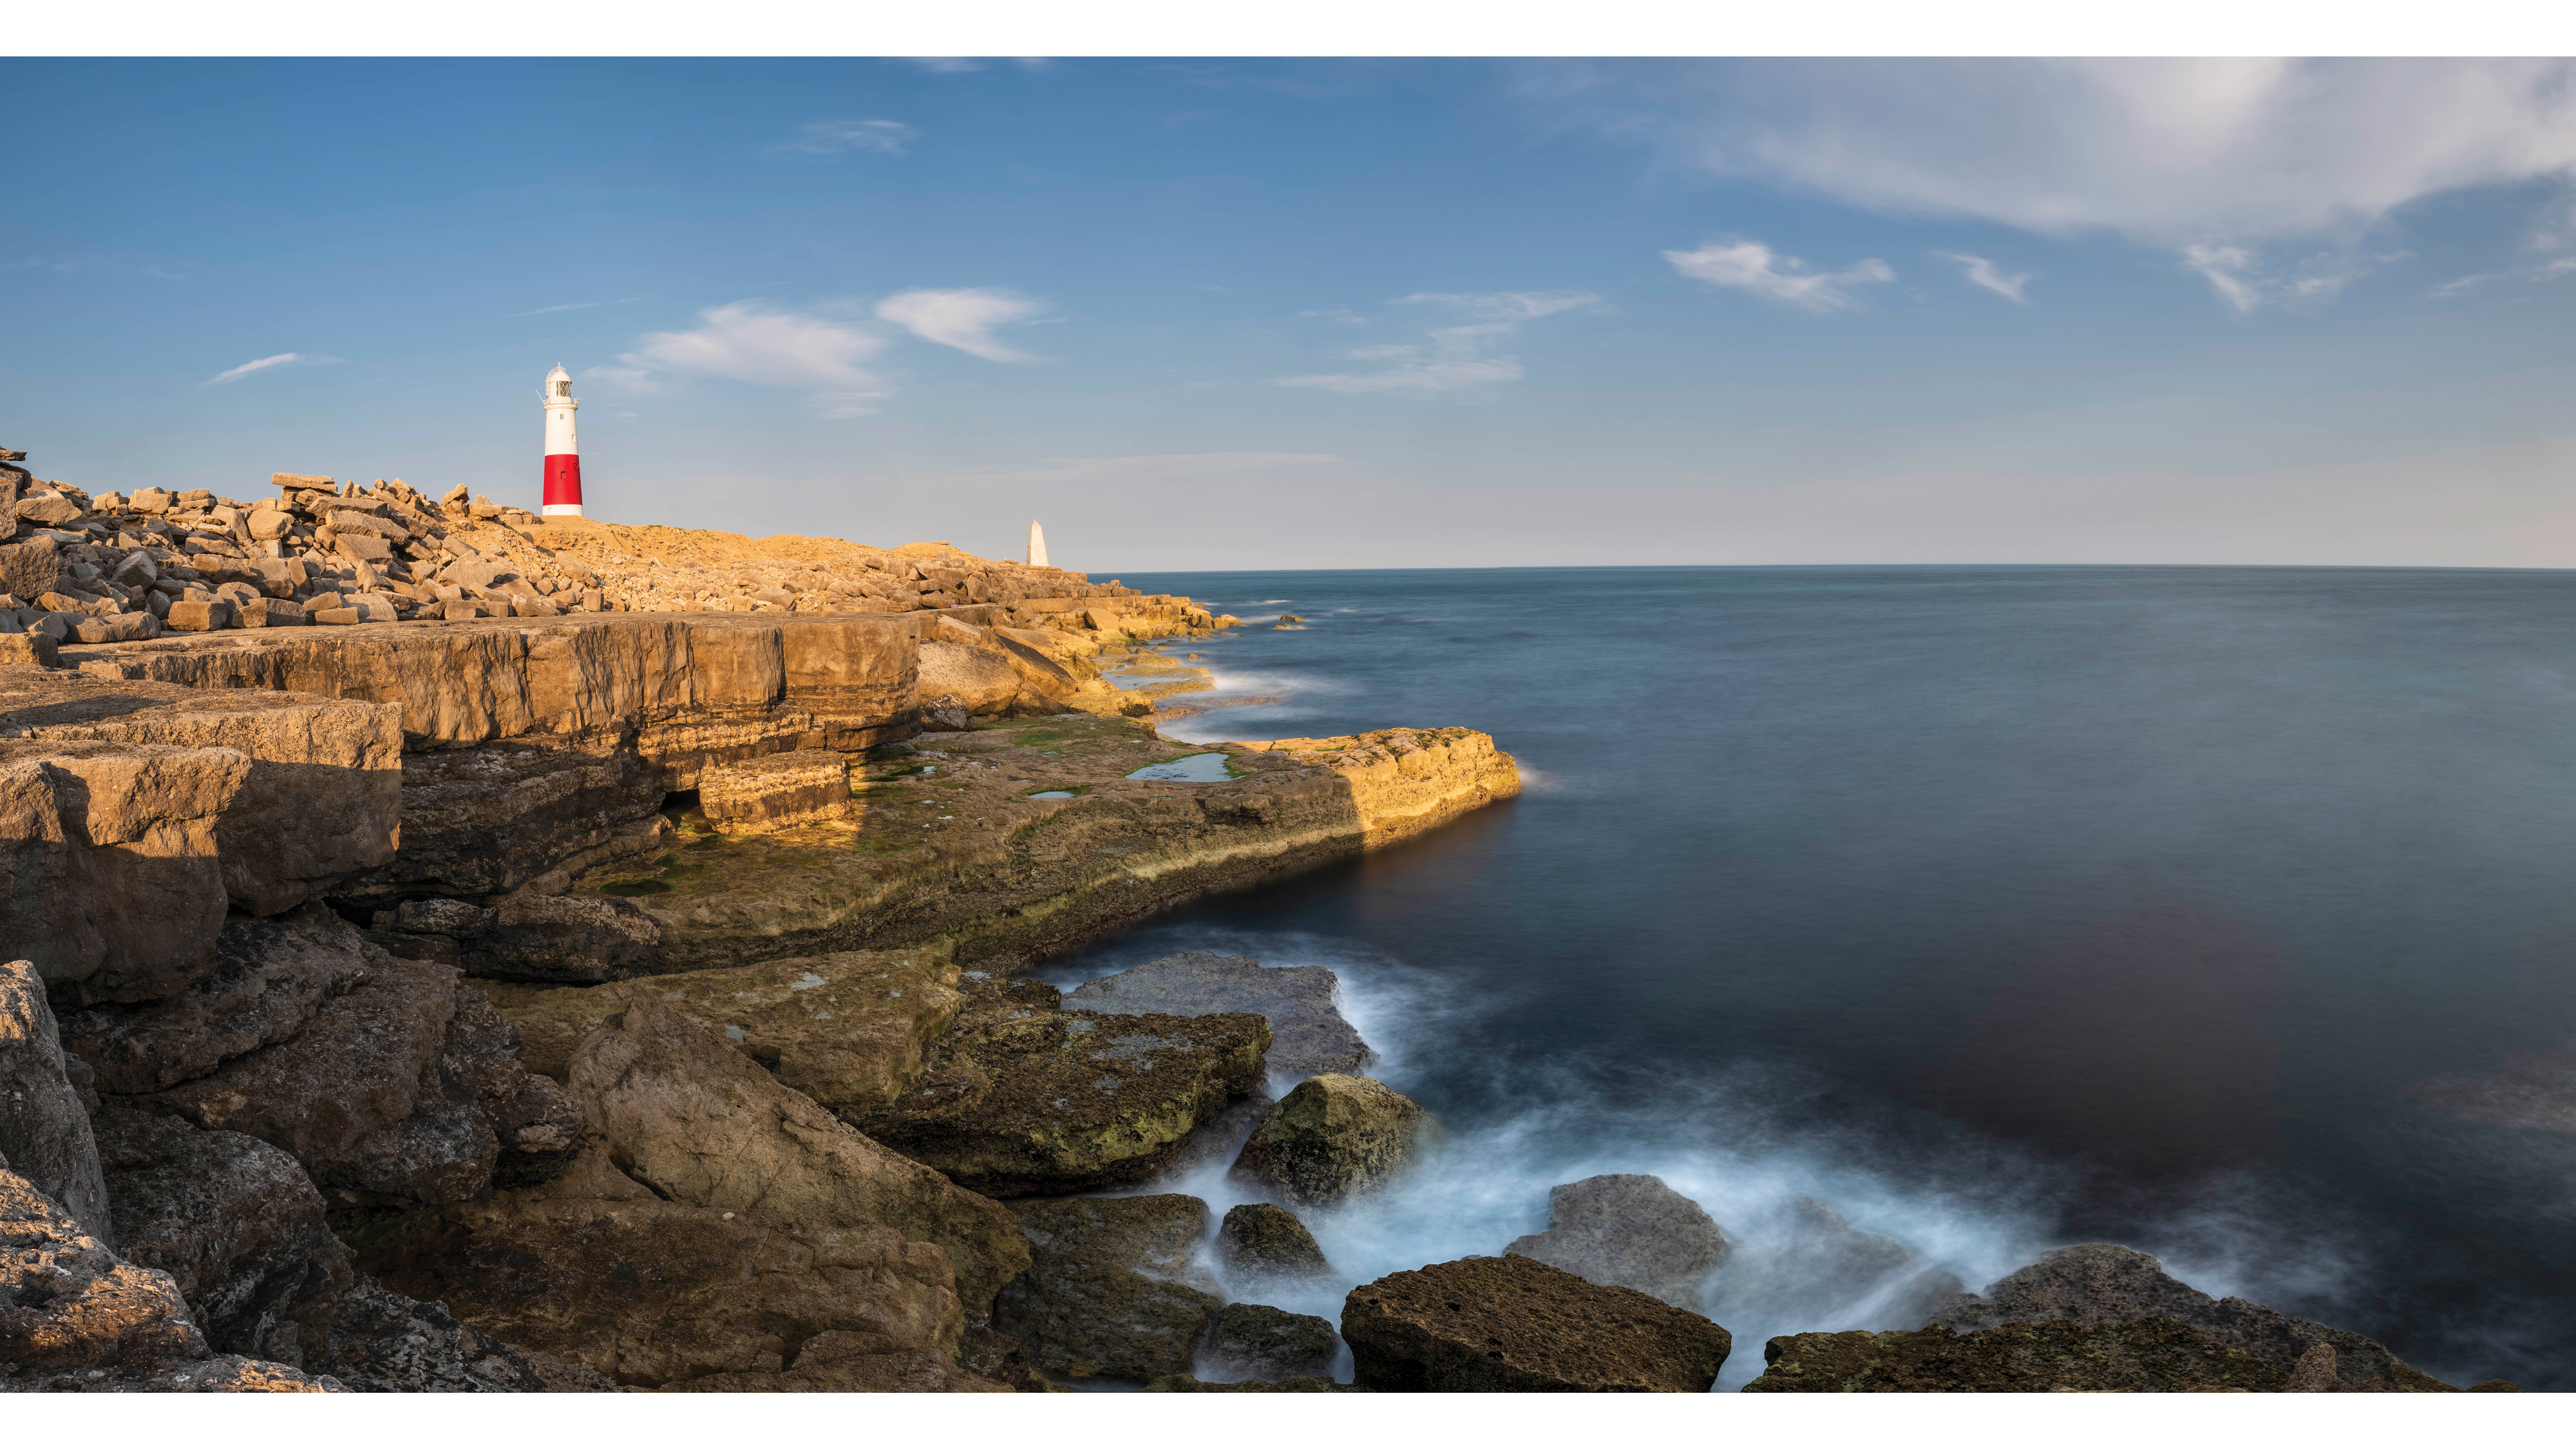
Most people love panoramics as they mimic the way we view a vista, with our eyes scanning across the scene. When creating a panoramic, the temptation can be to simply crop the middle from a single frame, but if you shoot a series of images and ‘stitch’ them together into a single image you will get better results with more resolution, a wider angle of view and less distortion.
It’s a two-stage process to create a stitched panorama. Firstly you need to shoot the images, having chosen a suitable scene; look for strong interest along the horizon and a clear focal point. Then you need to combine the images you’ve captured. The best photo editing software is available for this, but excellent results can be obtained using Adobe Lightroom, Photoshop or Photoshop Elements.
Specialist panoramic heads are available that make lining up shots easier, but if you avoid including close foreground any good, stable head will do.
To help prevent distortion, shoot in portrait orientation and take between five and seven images – or more if the scene justifies it. Use manual settings, so that focus, exposure and white balance do not change from one frame to another, and avoid using polarizing filters, as the degree of polarization will change as you pan across the scene.
Here we’ll take you through the process of capturing the images and then the steps needed to stitch them together in Lightroom.
Stitched panorama setup
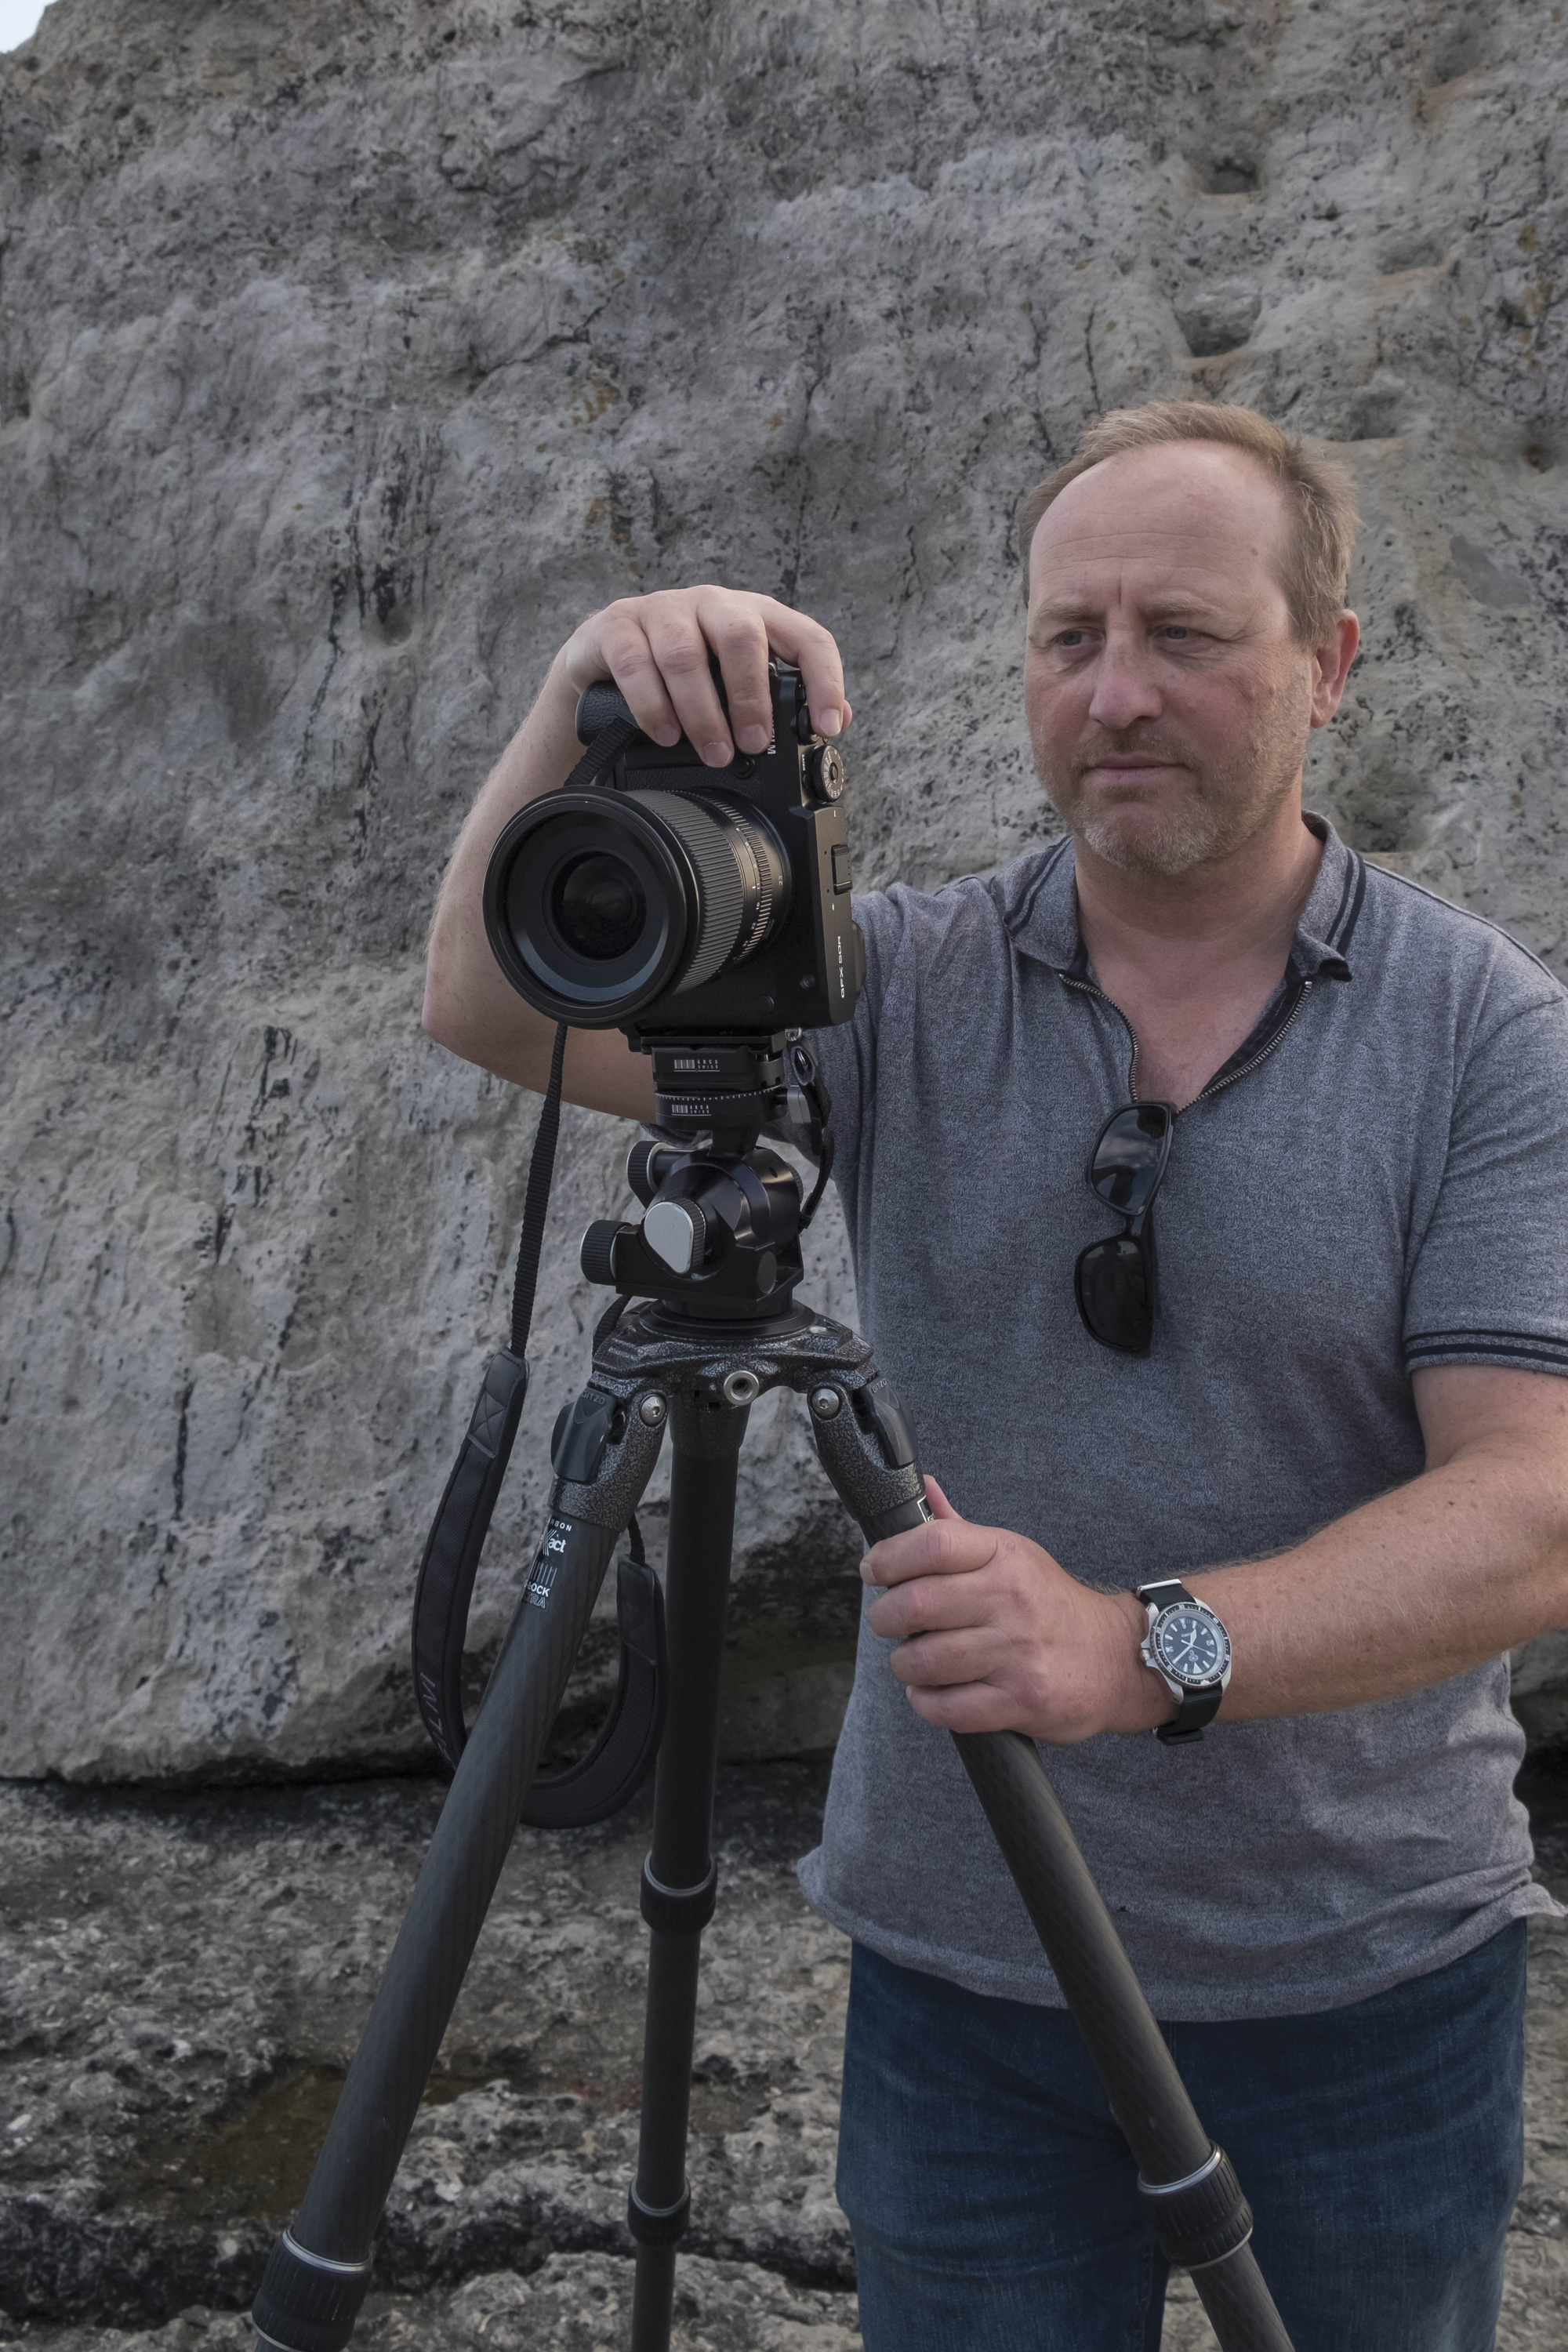
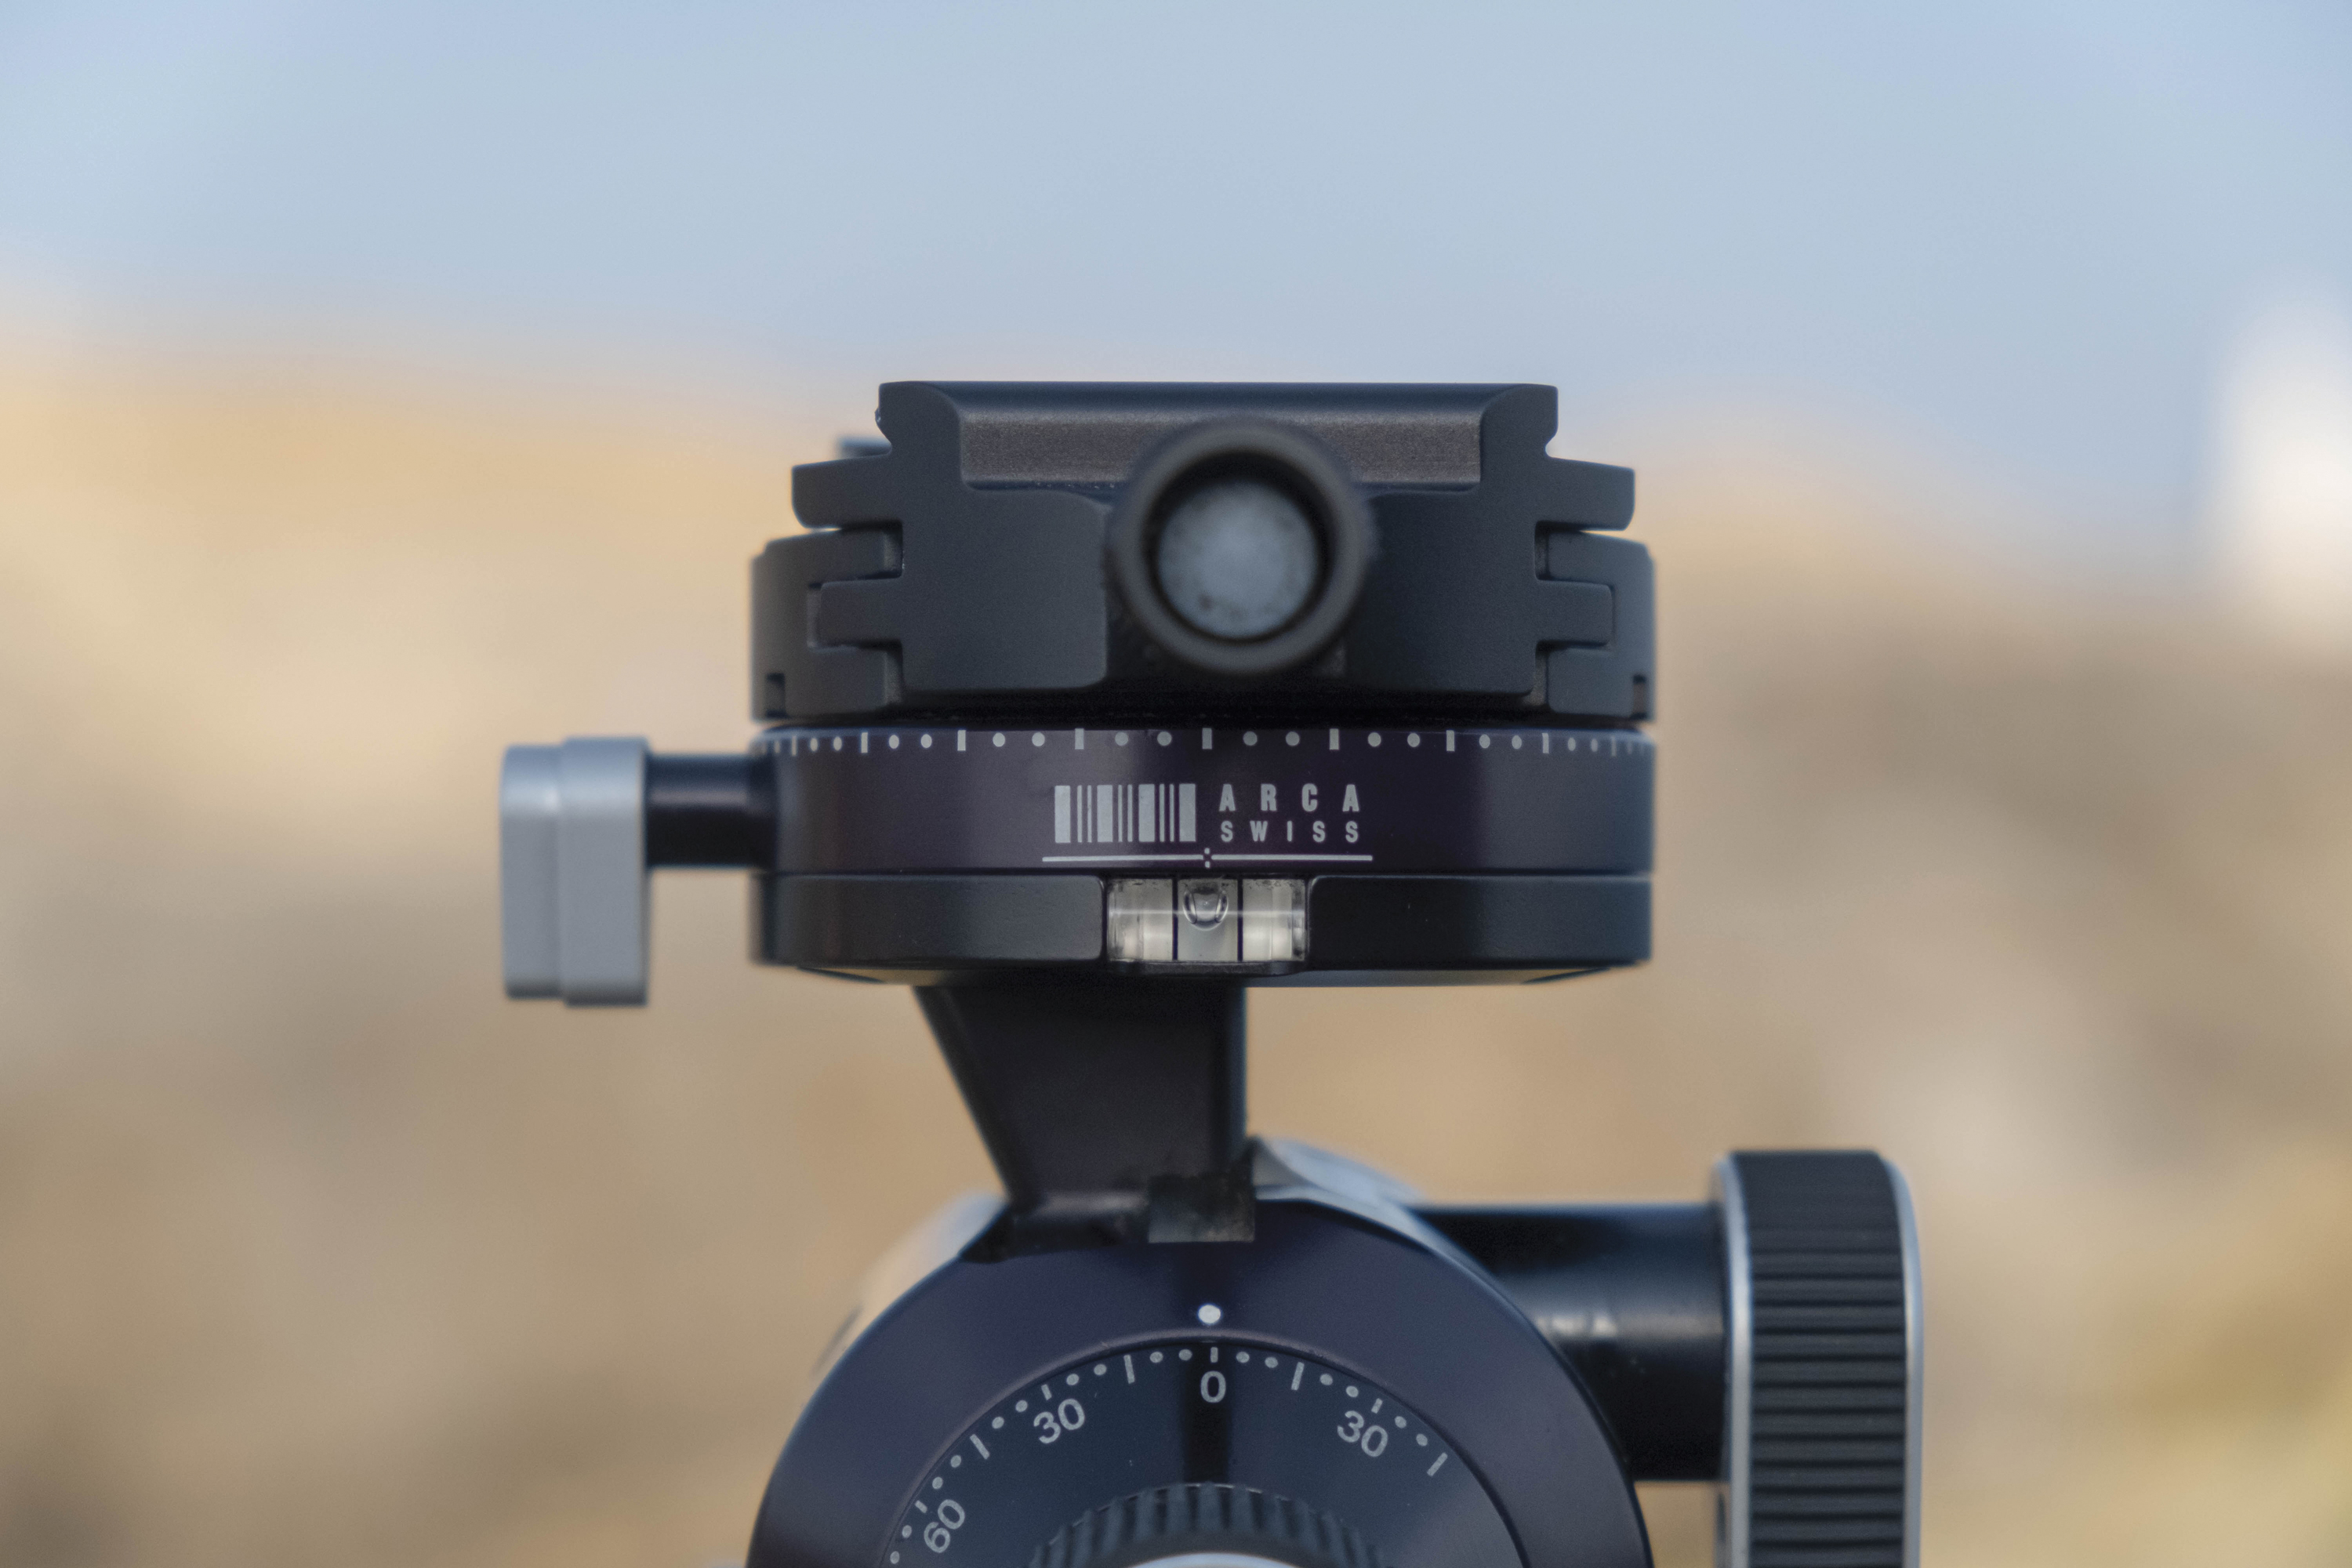
To increase your chances of creating a successful panorama, you need a good tripod head. The best geared tripod heads are excellent because they allow you to fine-tune the position of your camera in different planes, which makes leveling the camera simple and precise. But whichever type of head you use, make sure you use one that has a separate panning control, otherwise you’ll never be able to keep the camera level as you rotate it between shots. The Arca Swiss head pictured here has two panning controls: one at the base of the head and one on the top. With an already aligned camera, this ensures the camera stays level.
Camera in Portrait Orientation
While you can shoot panoramics in landscape orientation, you’ll get less distortion if you shoot in portrait format. The disadvantage of this is that you will need to shoot more images, with a greater risk of things in the scene changing in between shots.
The best camera deals, reviews, product advice, and unmissable photography news, direct to your inbox!
Geared Tripod Head
A three-way pan and tilt head or geared head is much easier for panoramics than a ball head, as you can make fine adjustments to level the camera, and you have excellent control when panning between shots.
No polariser
It’s fine to use grads and neutral density filters, but don’t use a polarizer; as you pan across the scene and change angle relative to the sun, the degree of polarization will change, leading to highly uneven polarization in the final image.
Stitched panorama shooting steps
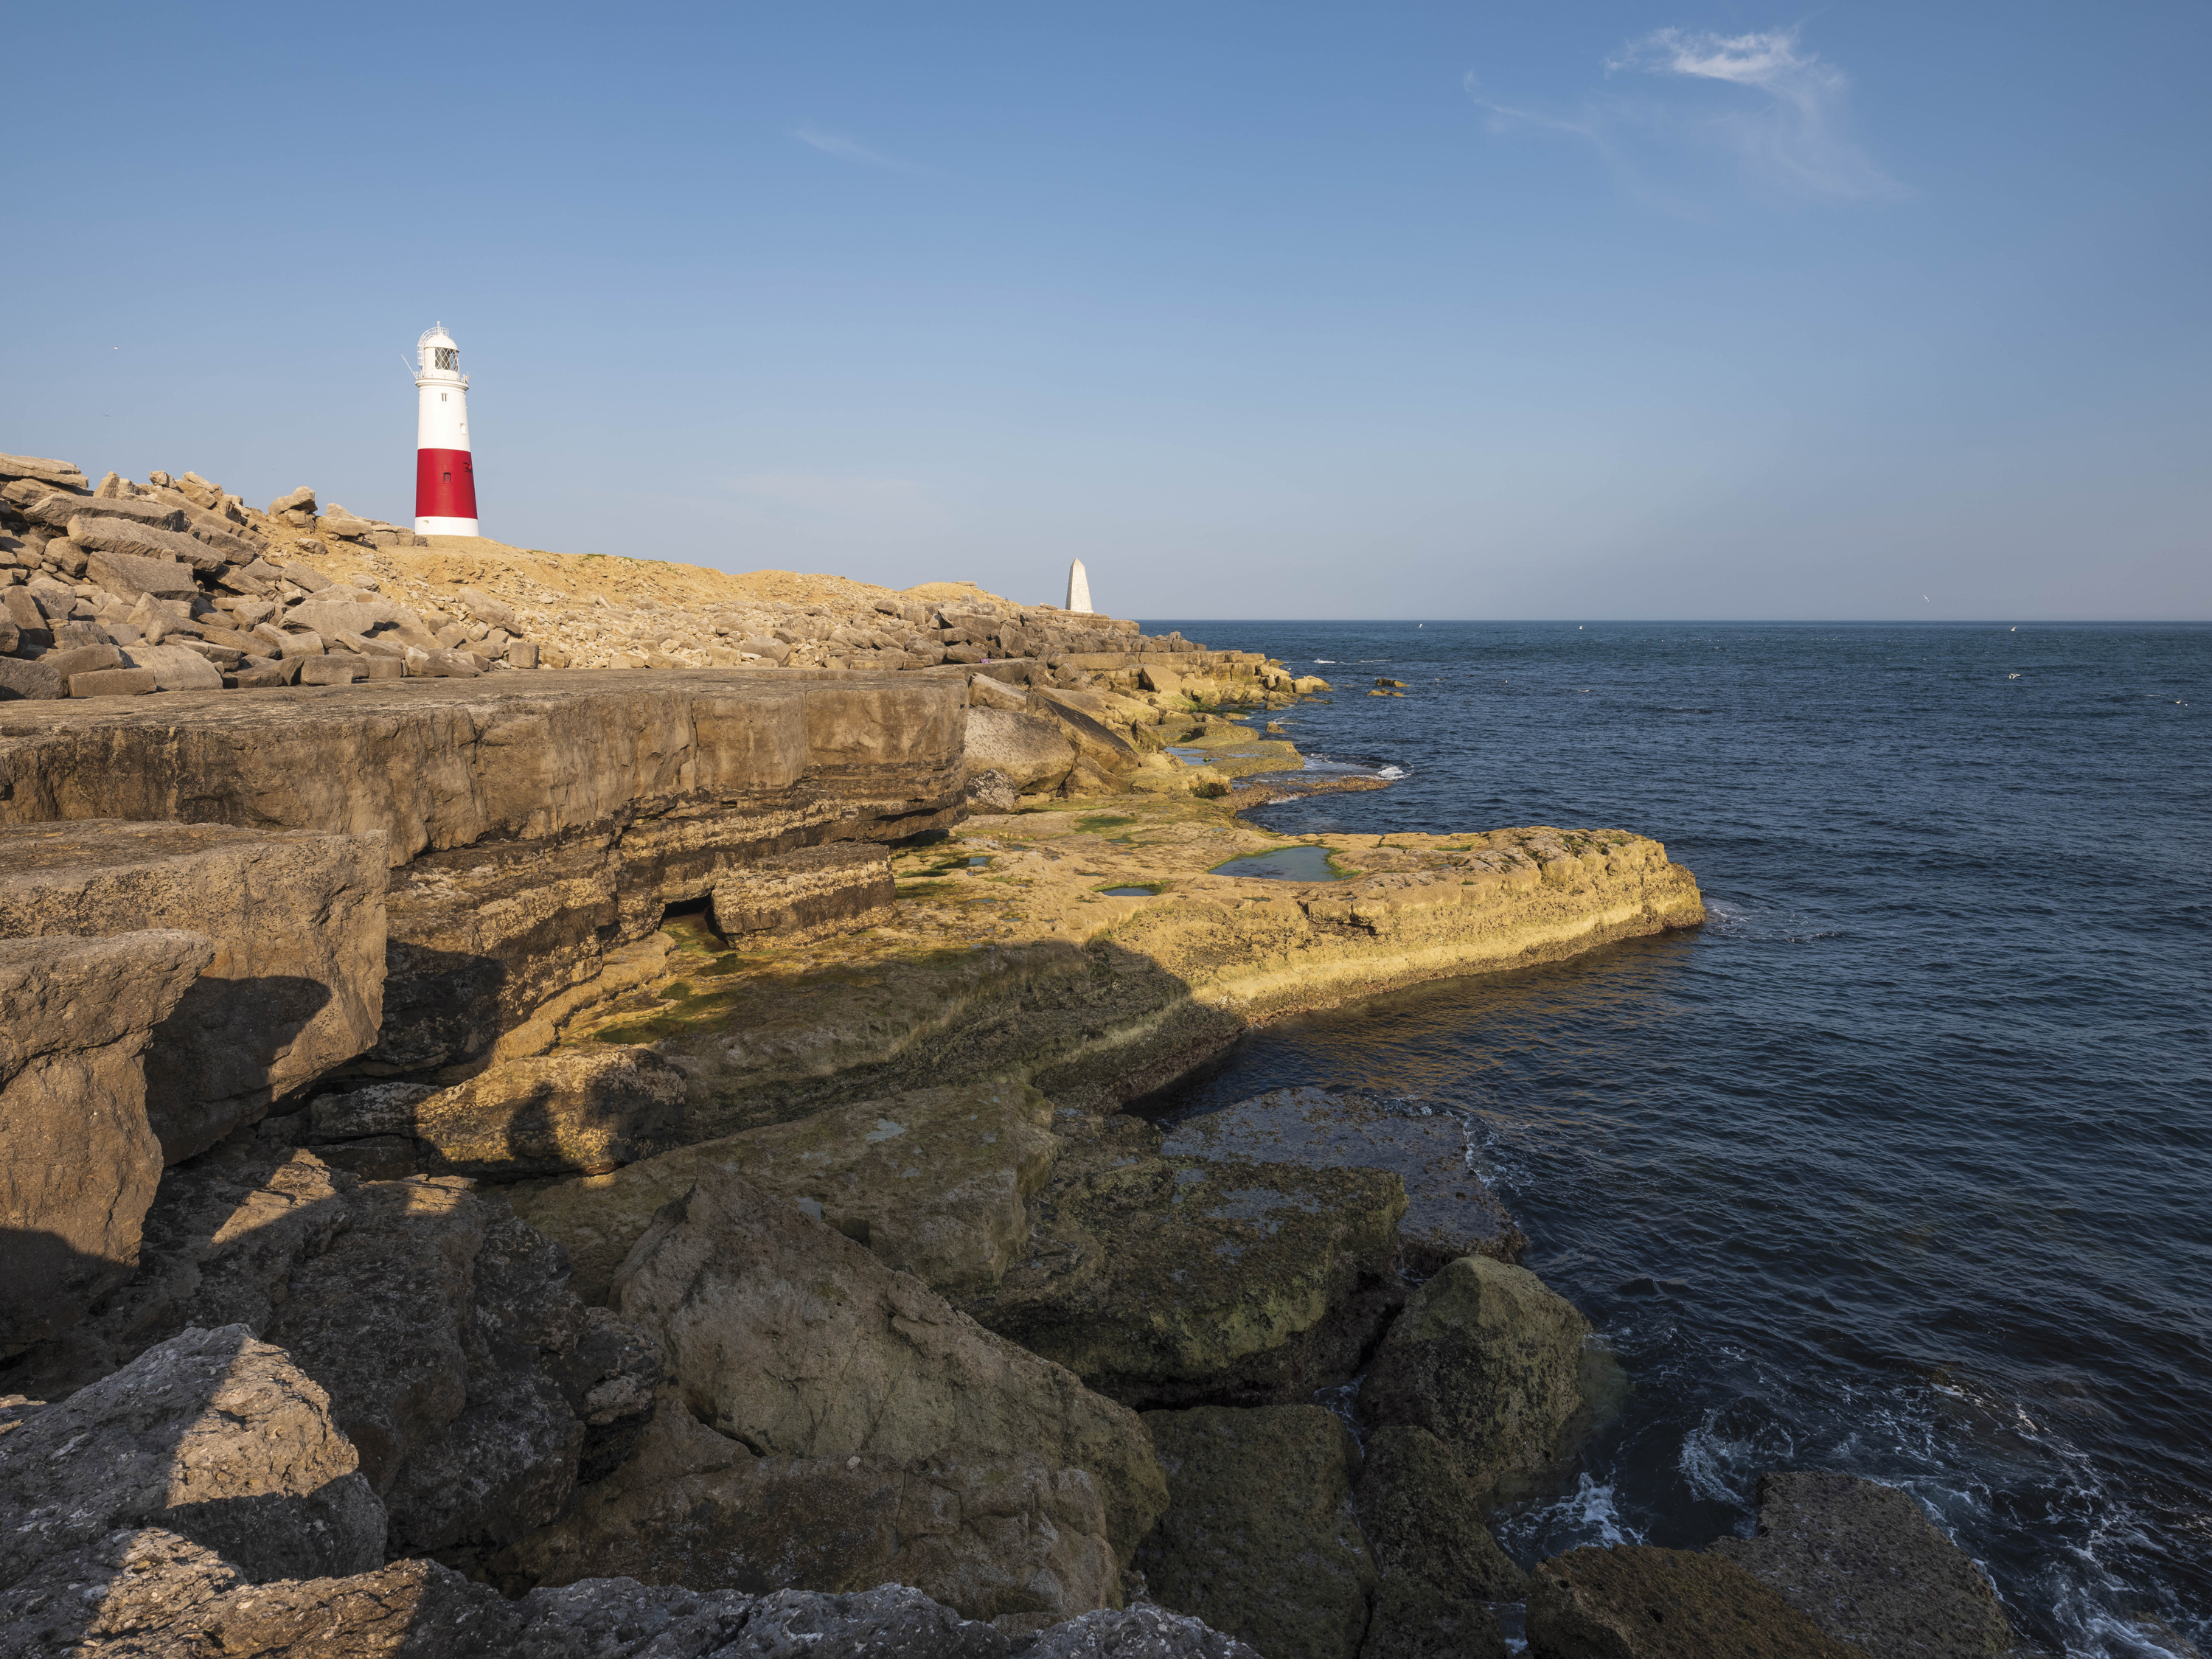
1. Choose the right subject
This scene should work well as a panorama; it has strong interest across the scene and a natural focal point – the lighthouse – to give the eye somewhere to rest. The close foreground should be avoided as it could create stitching errors.
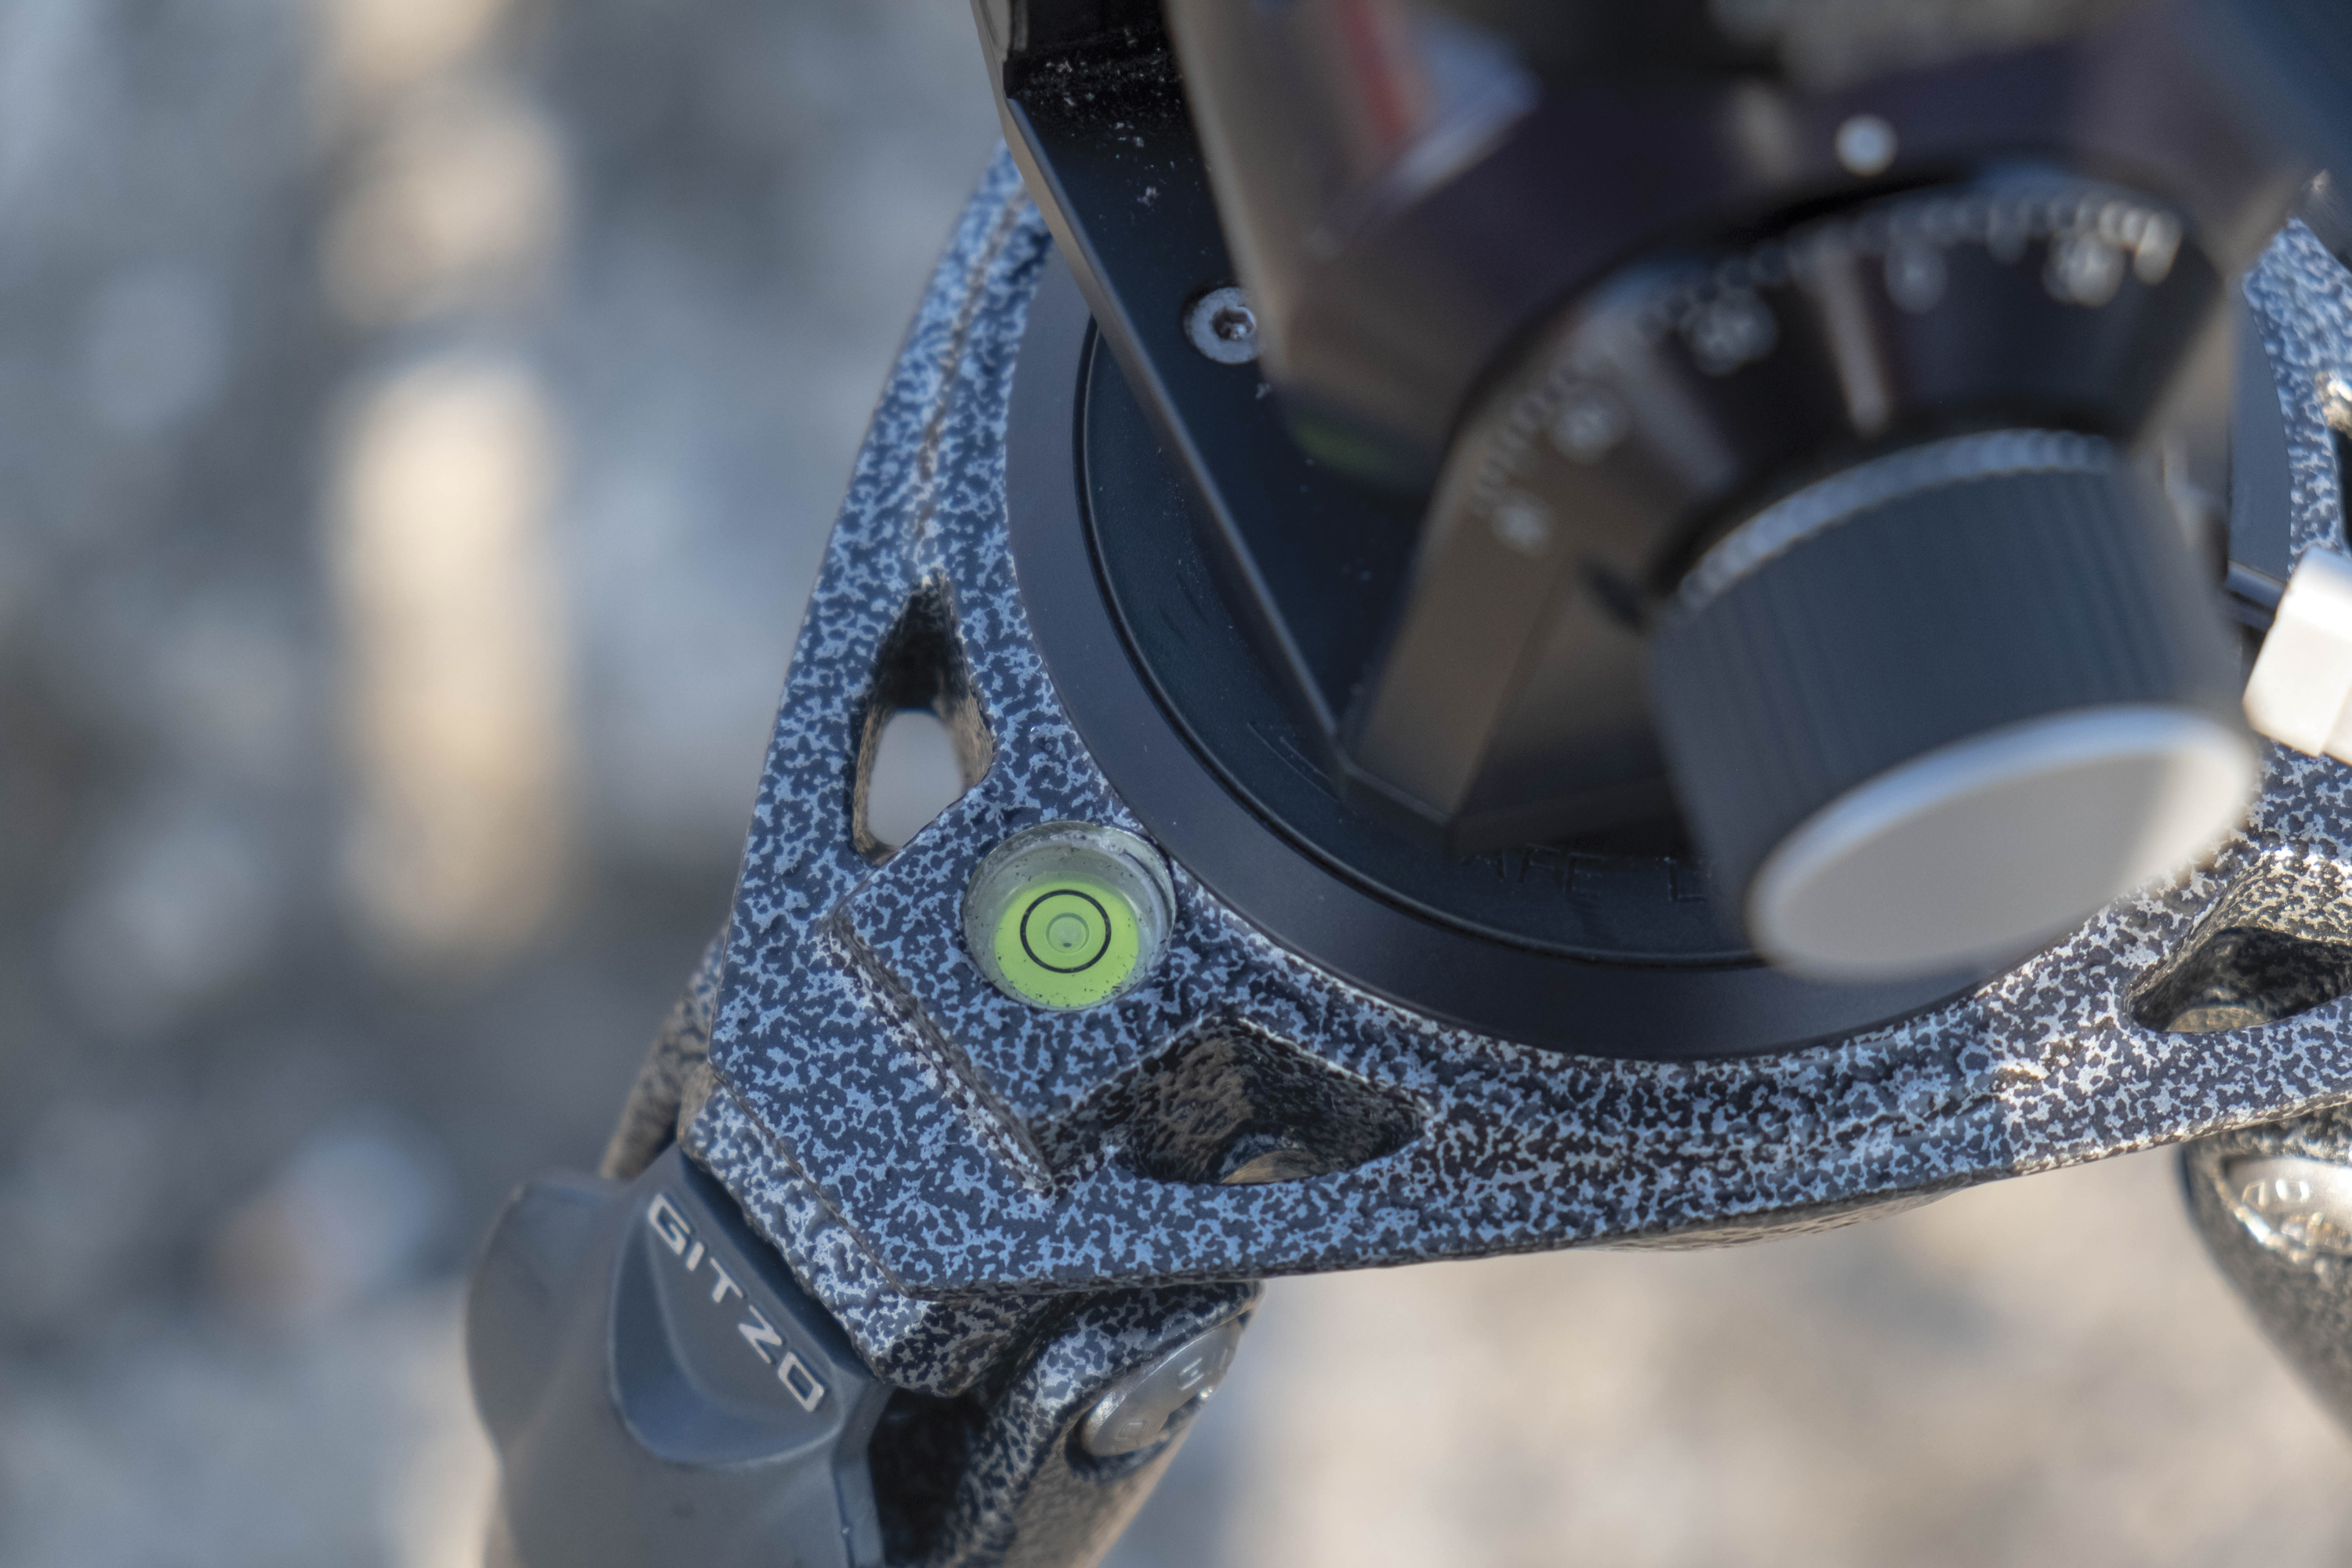
2. Set up tripod
It’s important that the camera is level as you pan across the scene, so make sure everything is completely level when you set up your tripod and head. Most good tripods and heads have a bubble level to help you. Specialist leveling bases are also available.
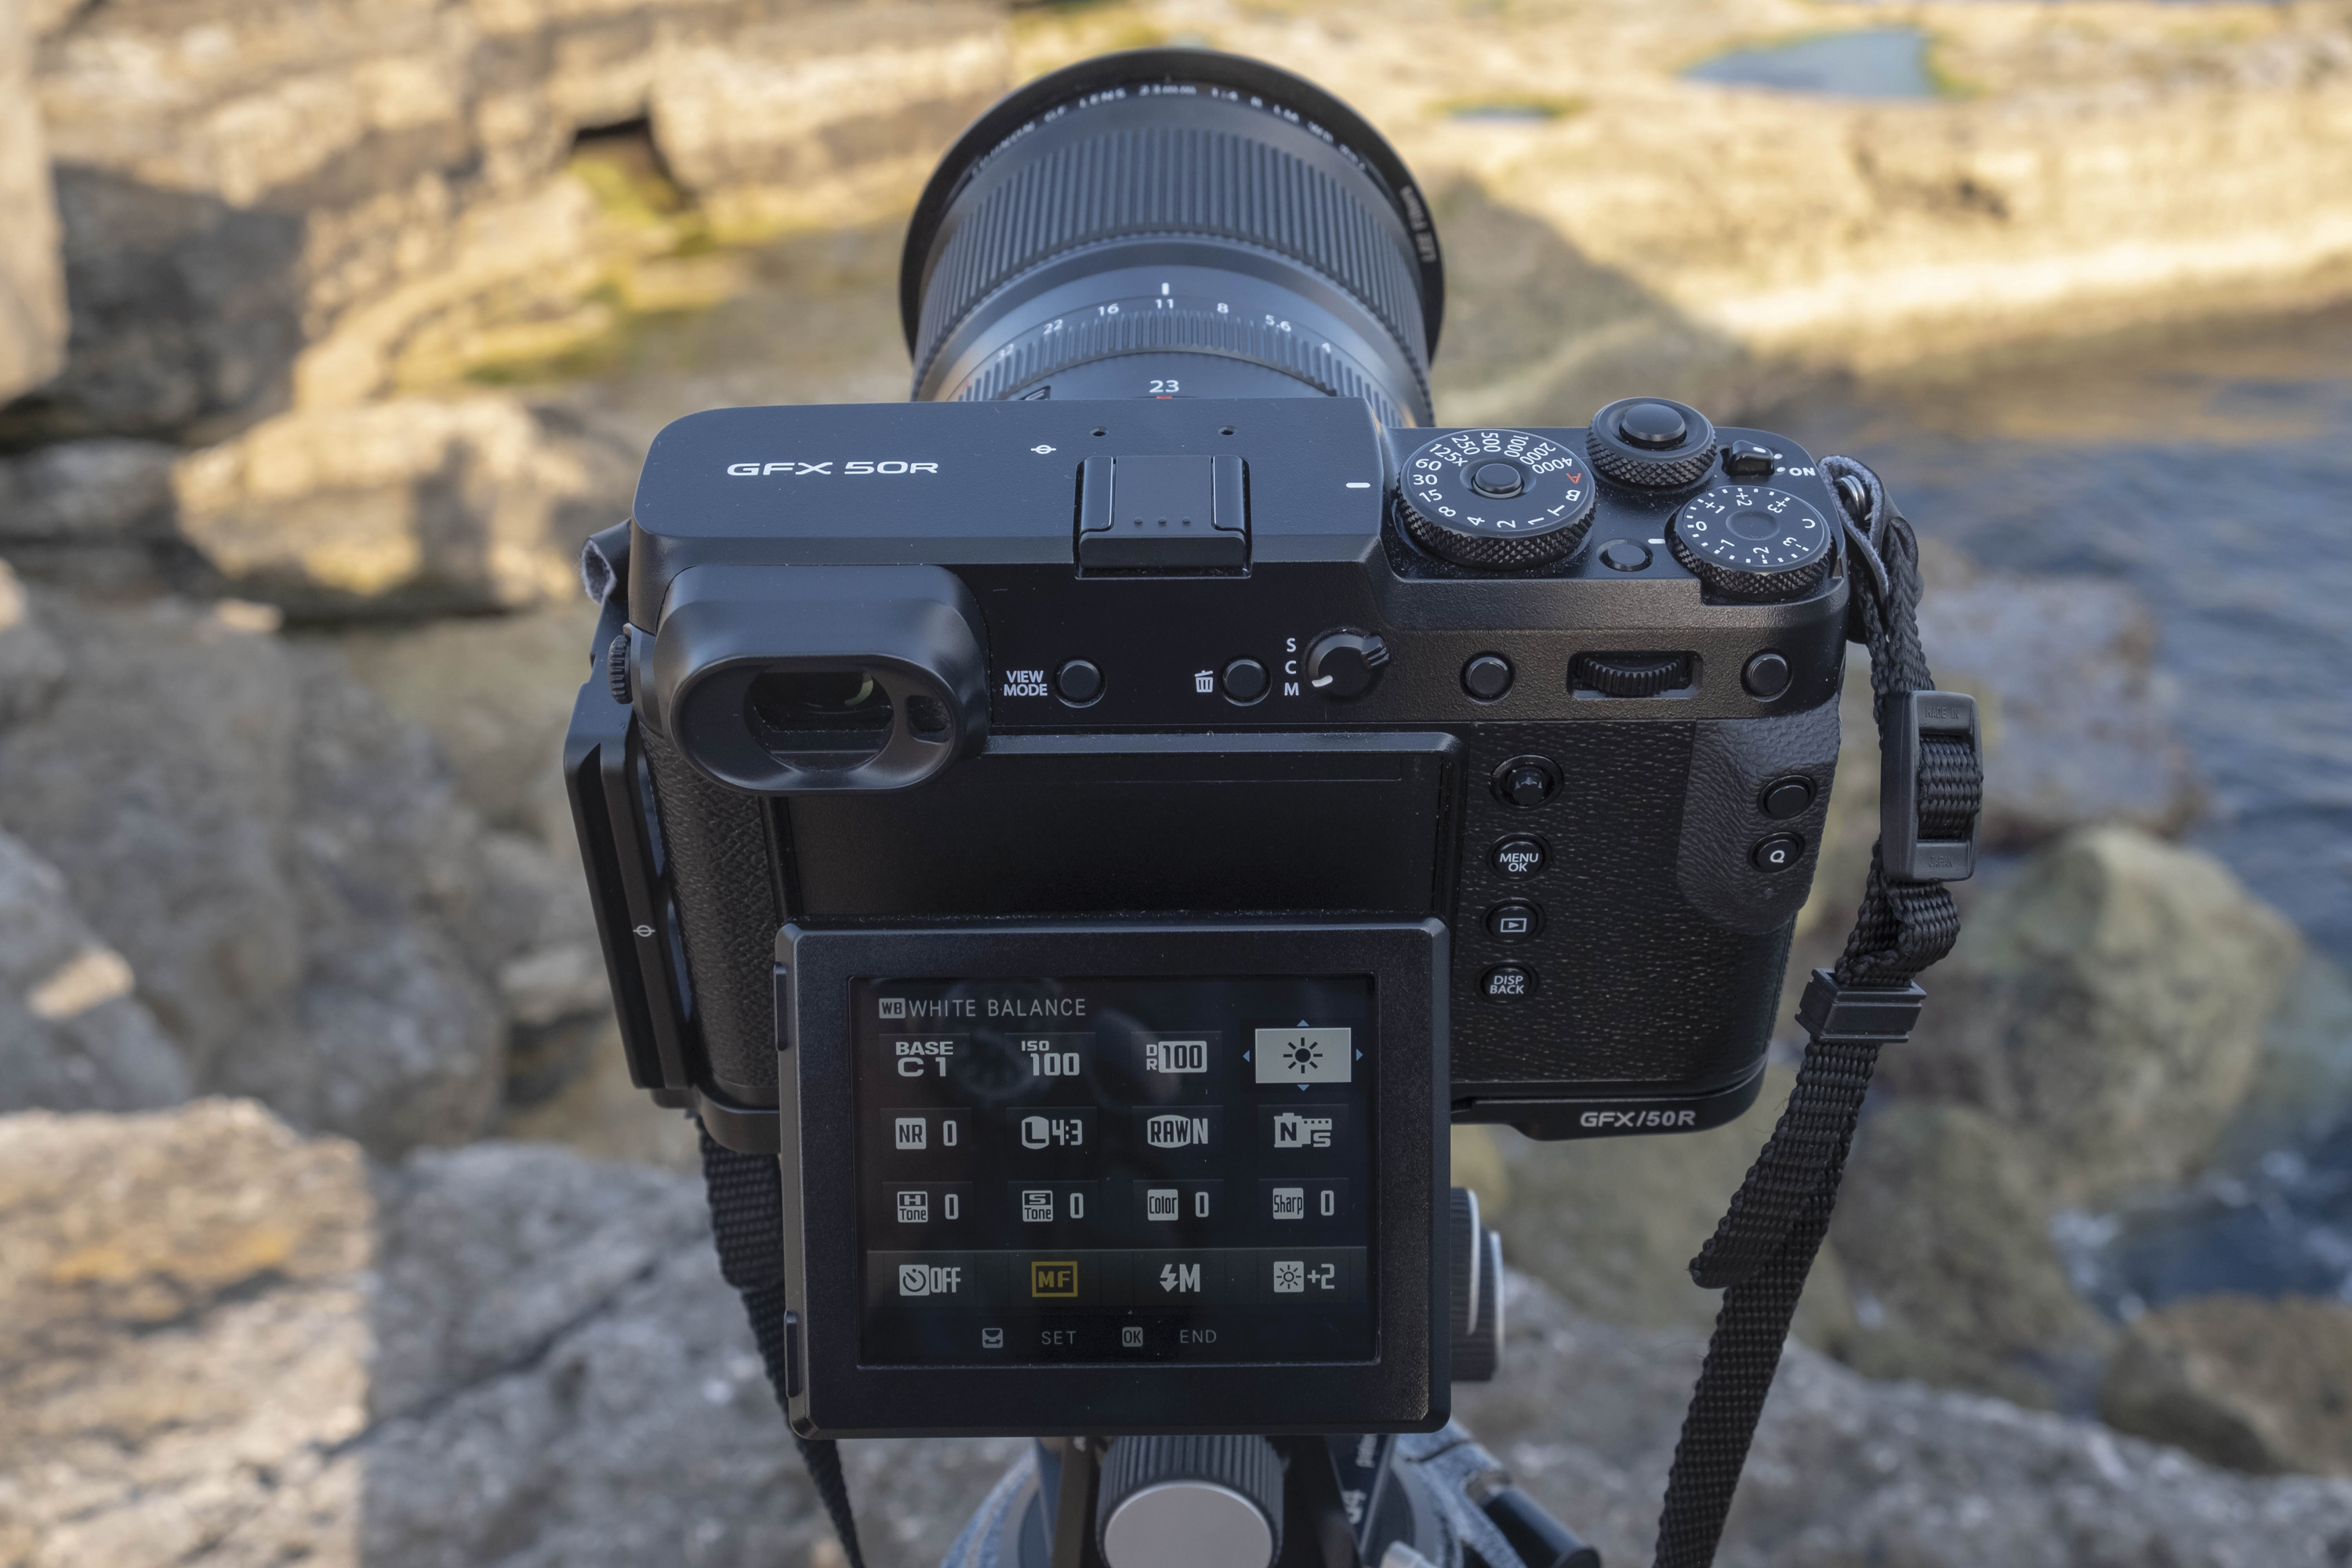
3. Select camera settings
Settings need to stay consistent across all the frames you want to stitch together, so set manual exposure, manual focus and select a white balance preset rather than leave it on auto: daylight is probably the best option and can always be tweaked during processing.
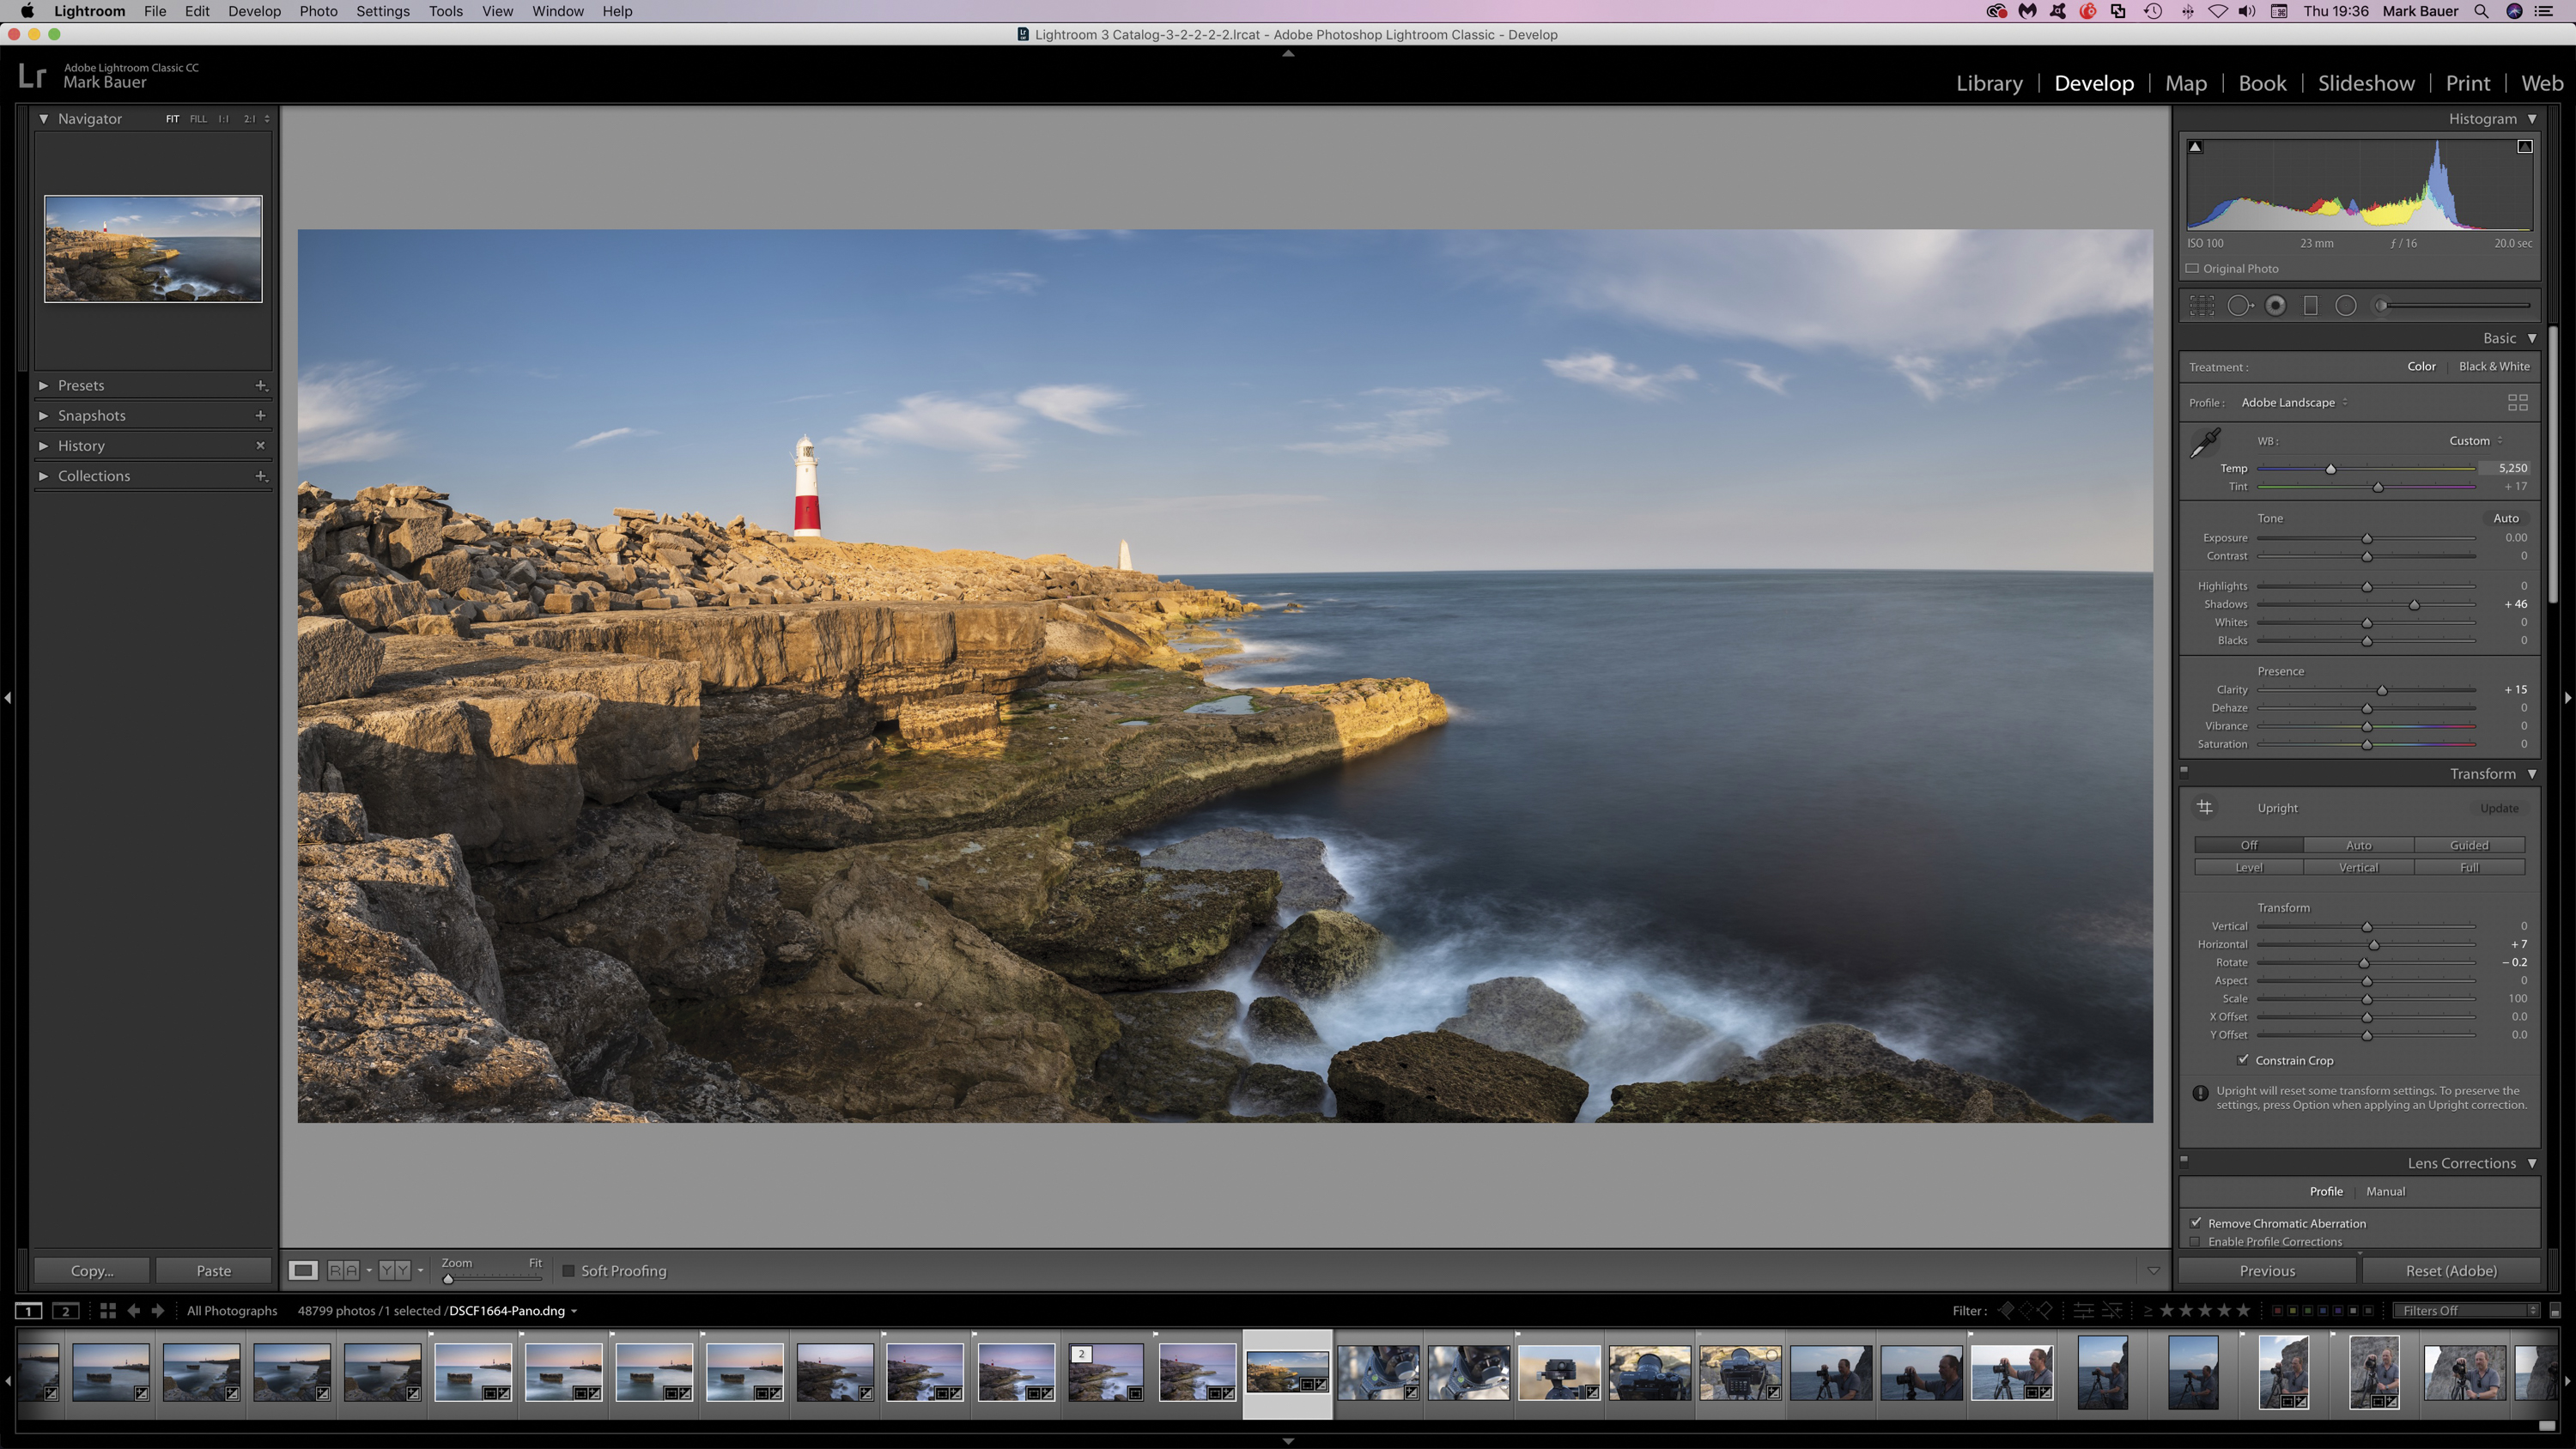
4. Meter the scene
The final image will have a wider angle of view than your lens and the light can vary considerably across the scene. Take meter readings from all parts of the scene you intend to include in the final image, average them out and then enter the values manually.
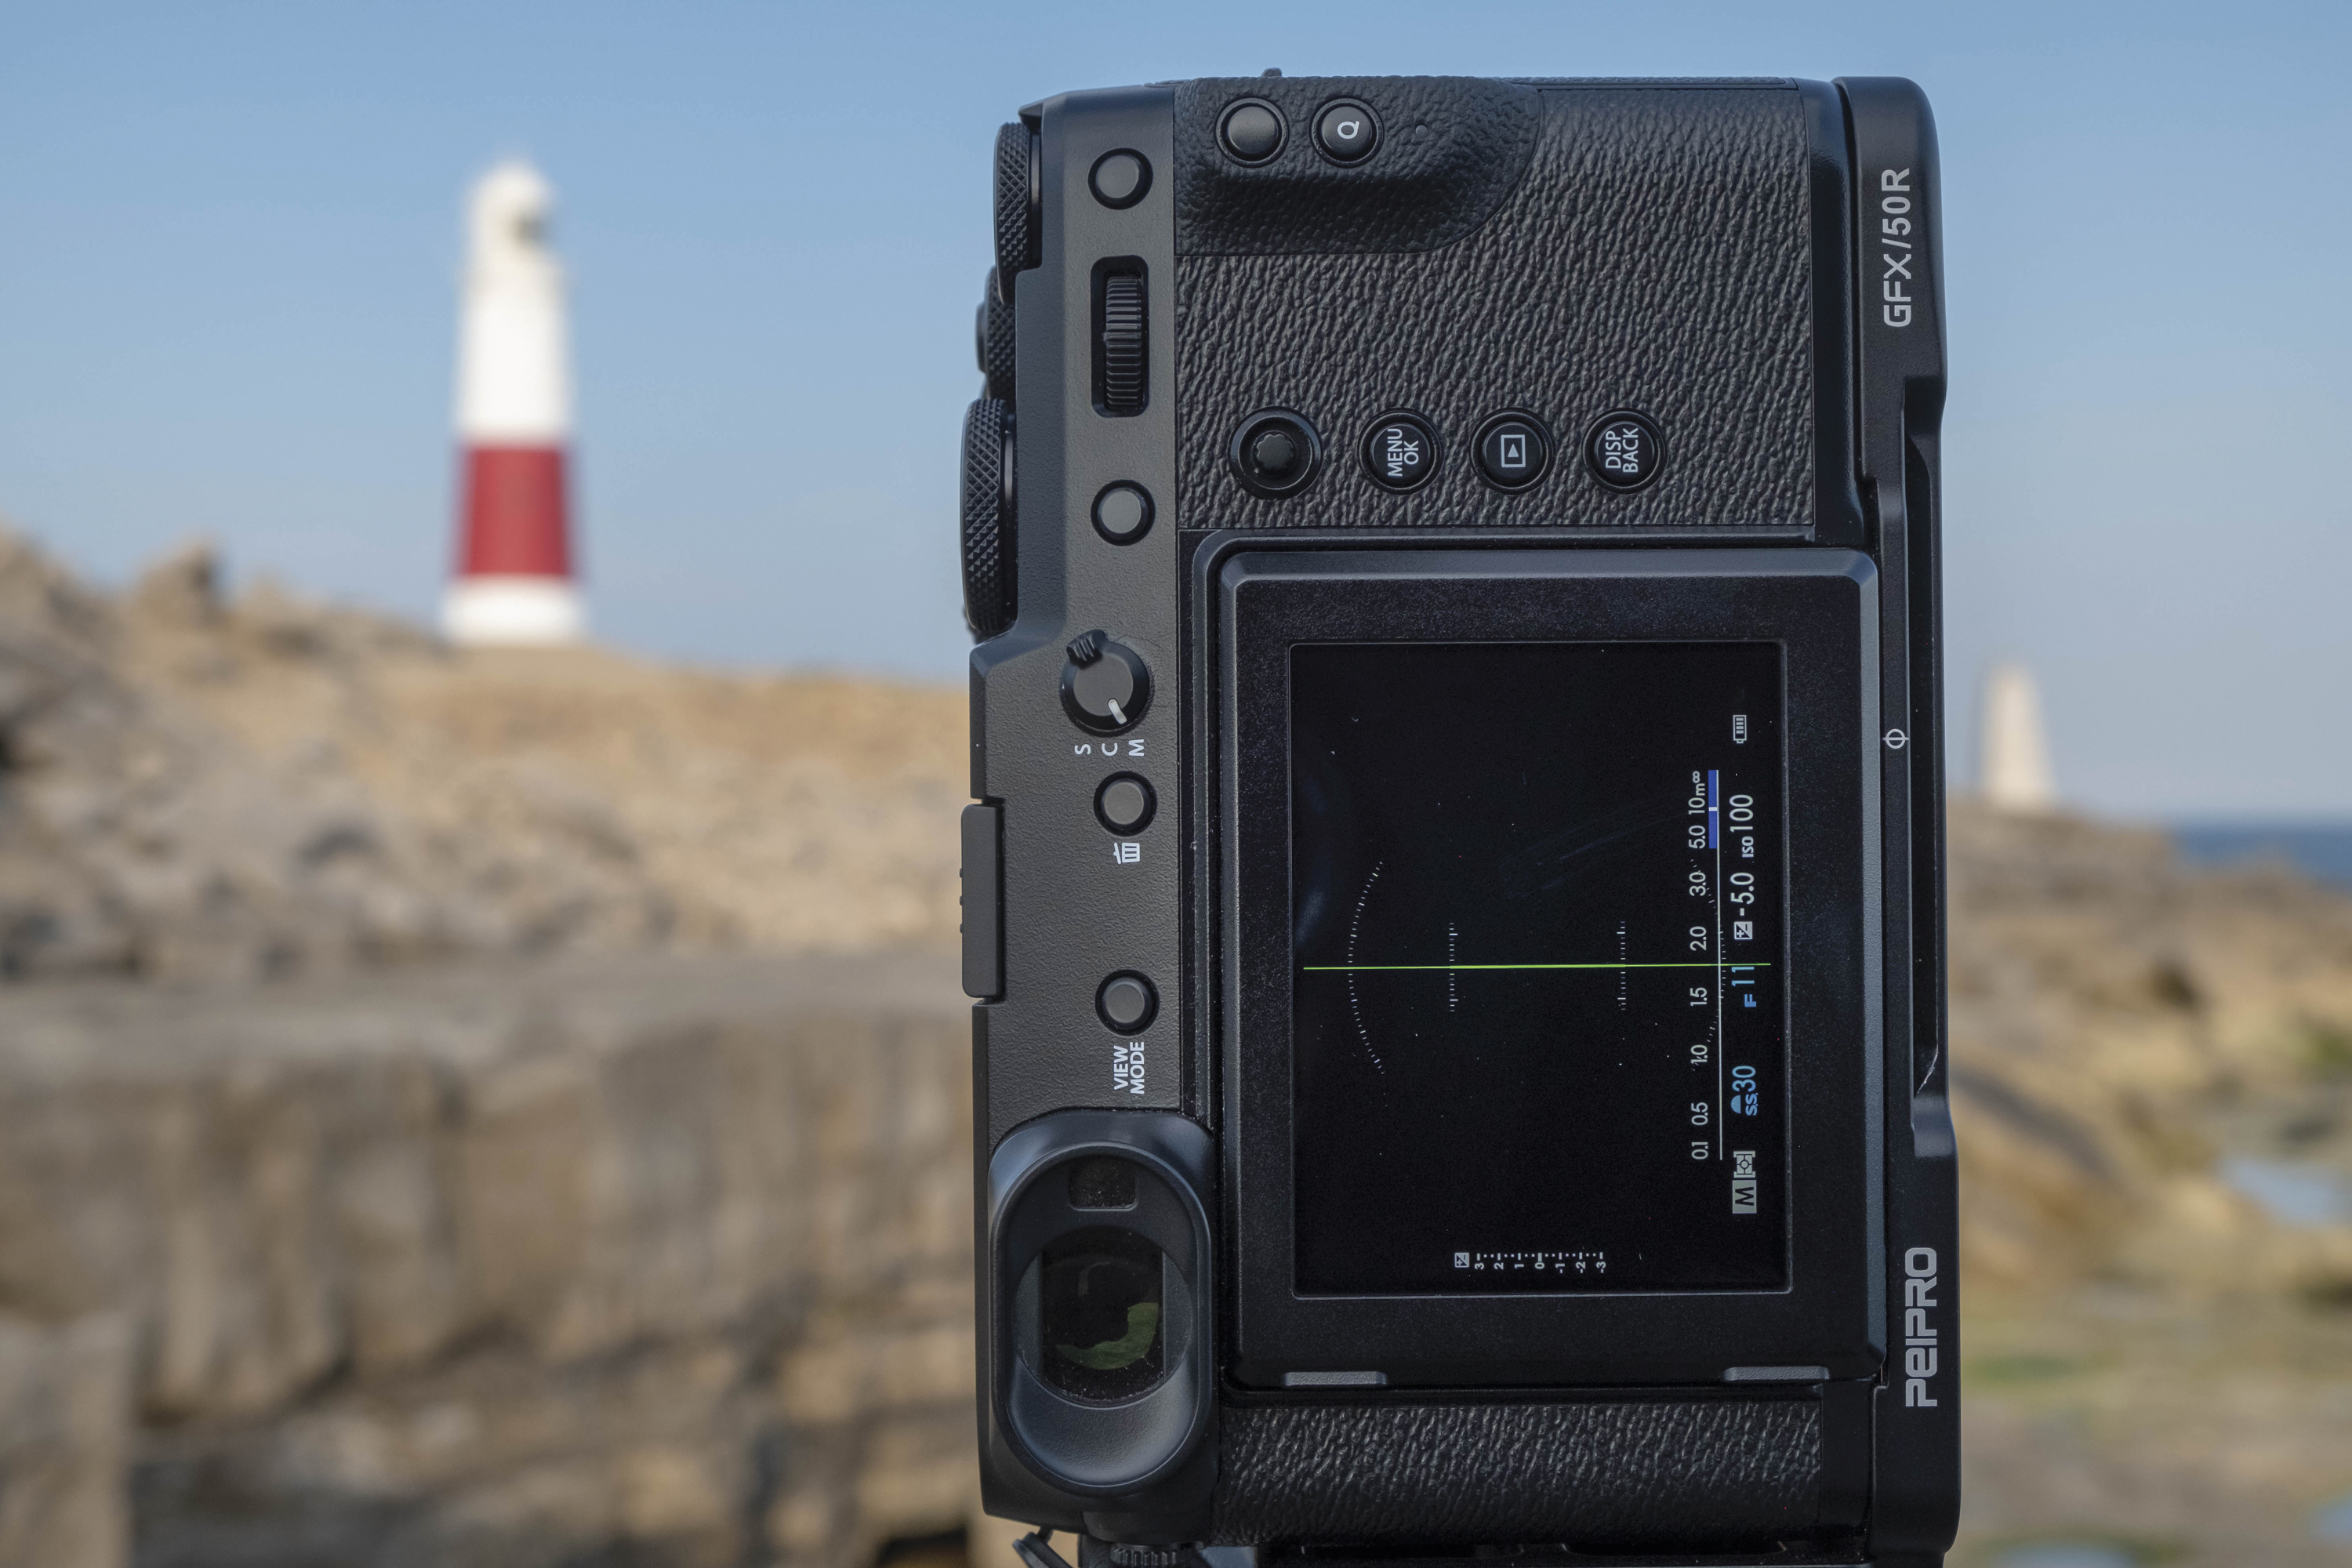
5. Set up the camera
Attach the camera to the tripod in vertical orientation – an L-bracket can be very useful as the camera will balance much better. Double-check that everything is as level as possible – your camera’s electronic level or a hotshoe spirit level will really help here – and fit any necessary filters.
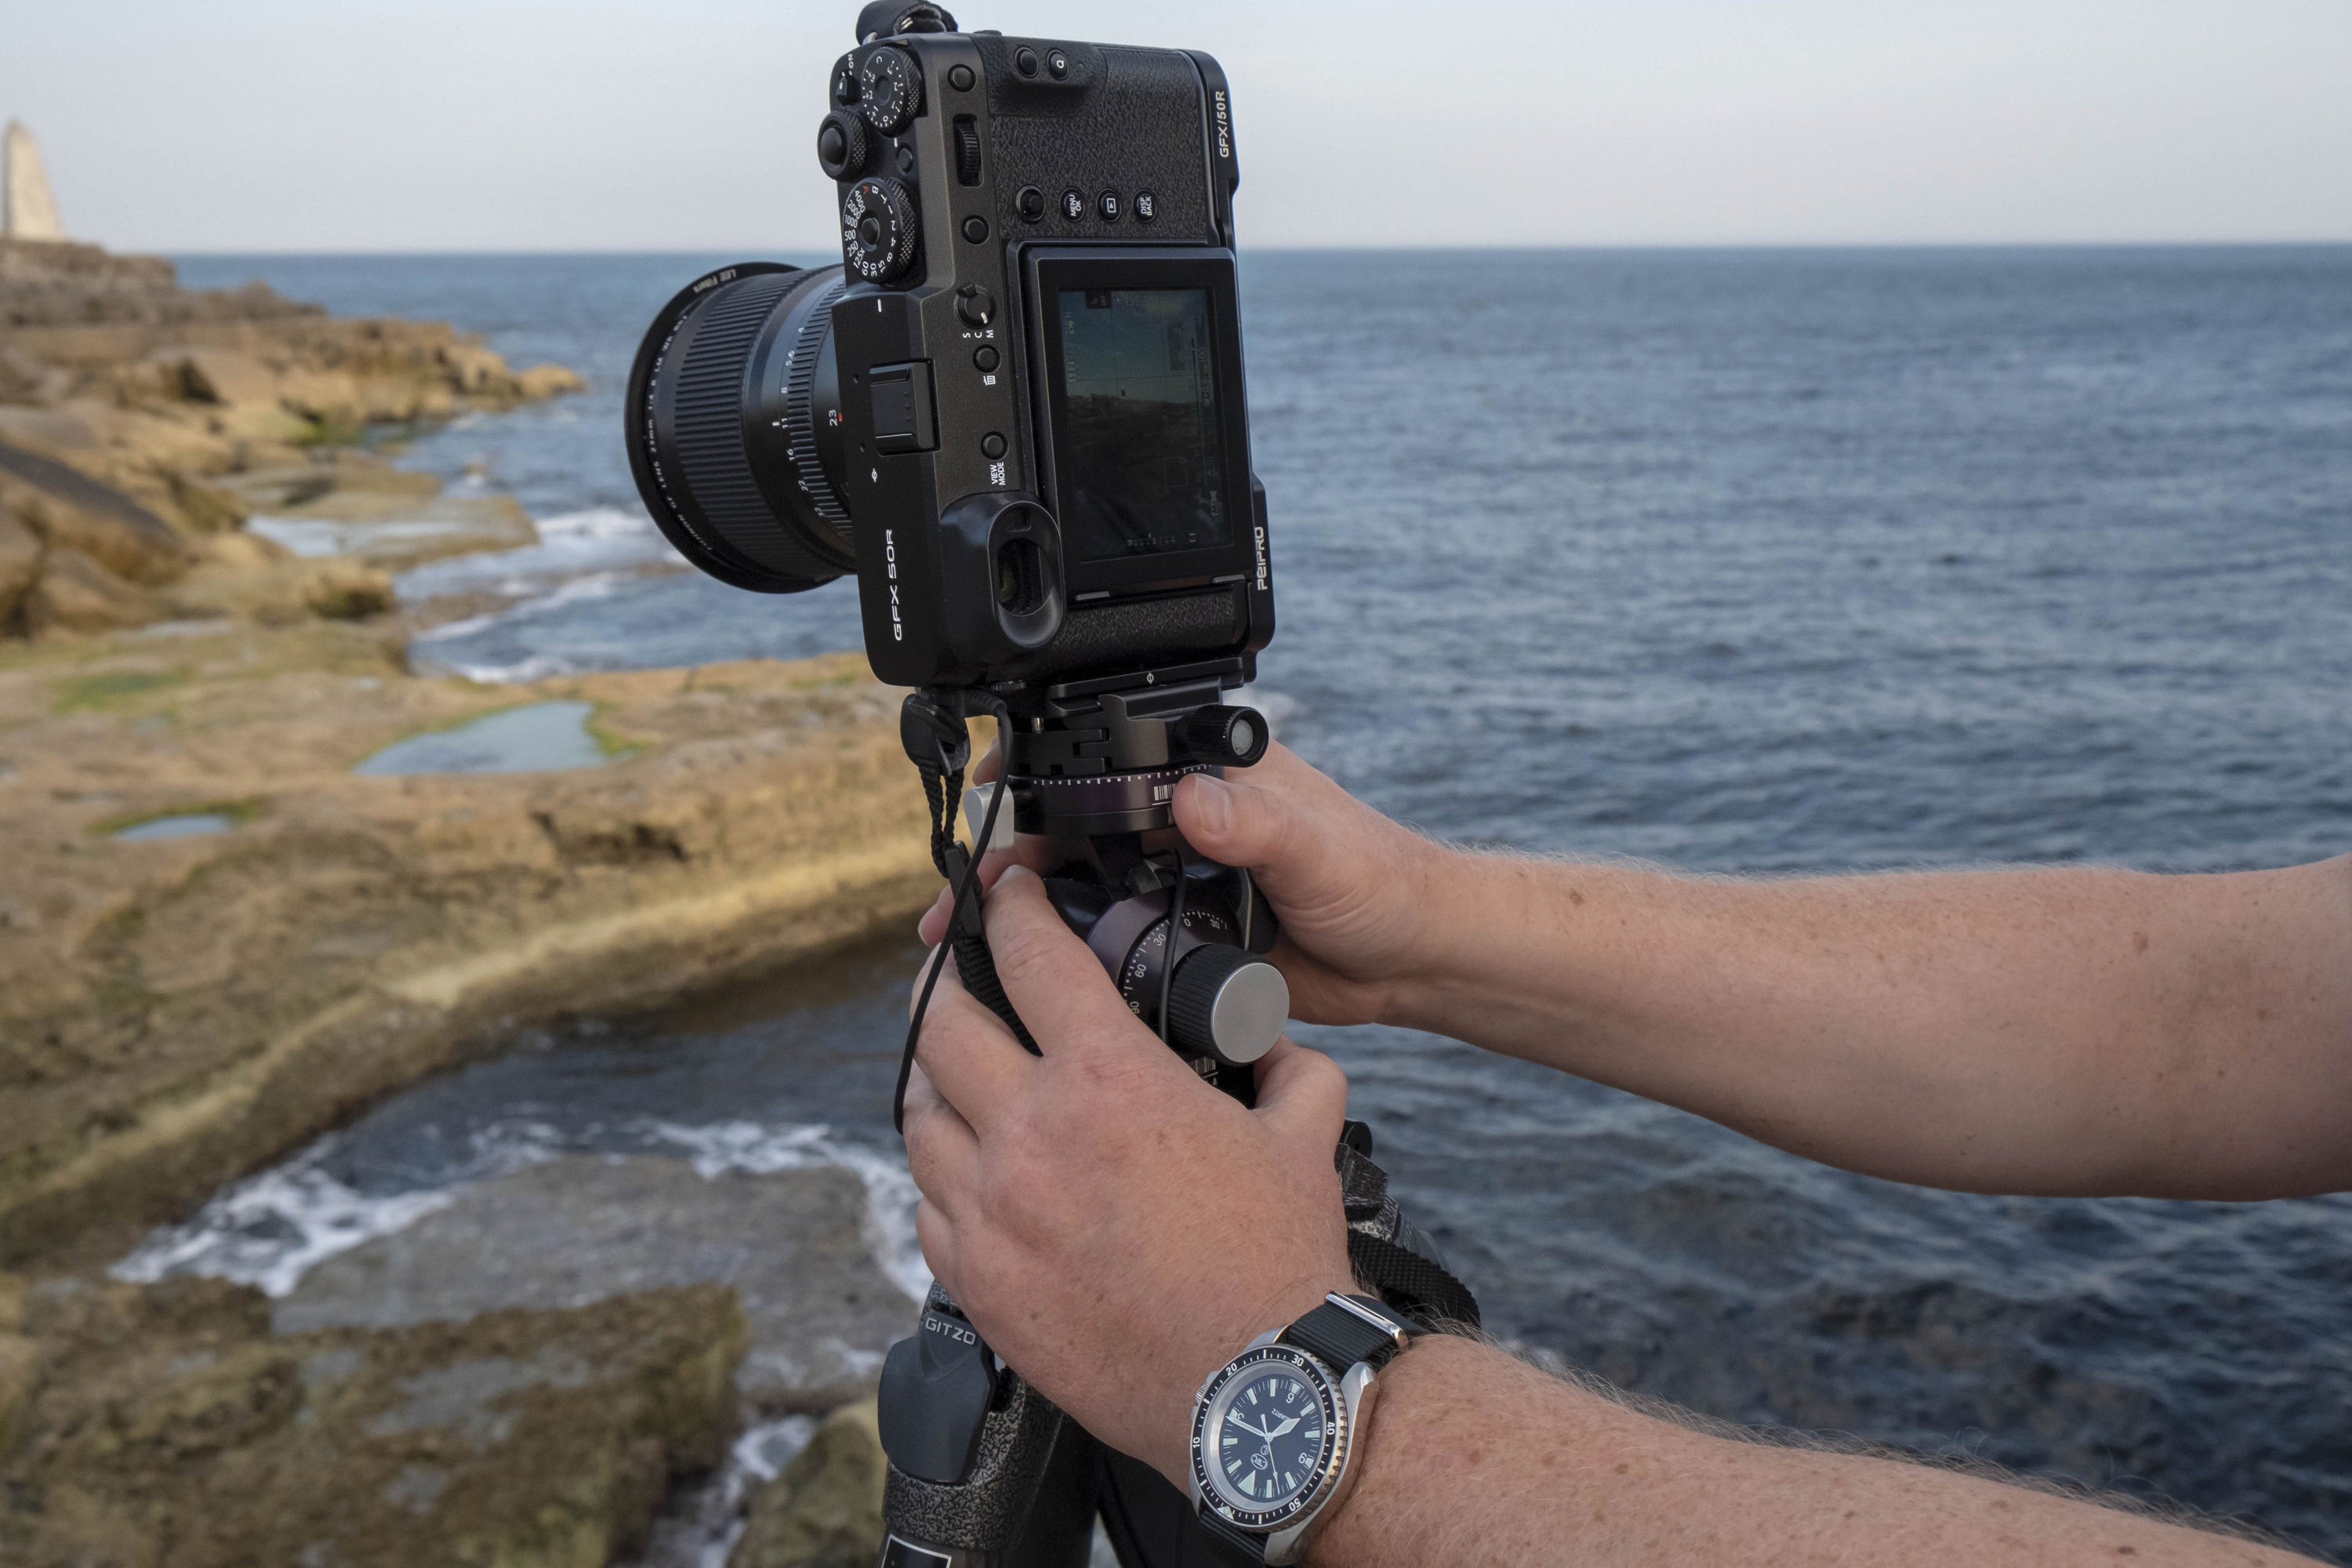
6. Carefully shoot
Take the shots, panning the camera in between each one; be careful not to jog the camera, even slightly, so that it’s no longer level. Allow plenty of overlap between images – around 20-40 per cent – so that when stitching, you use the lens’s ‘sweet spot’ from each frame, with minimum distortion.
Stitched panorama editing steps
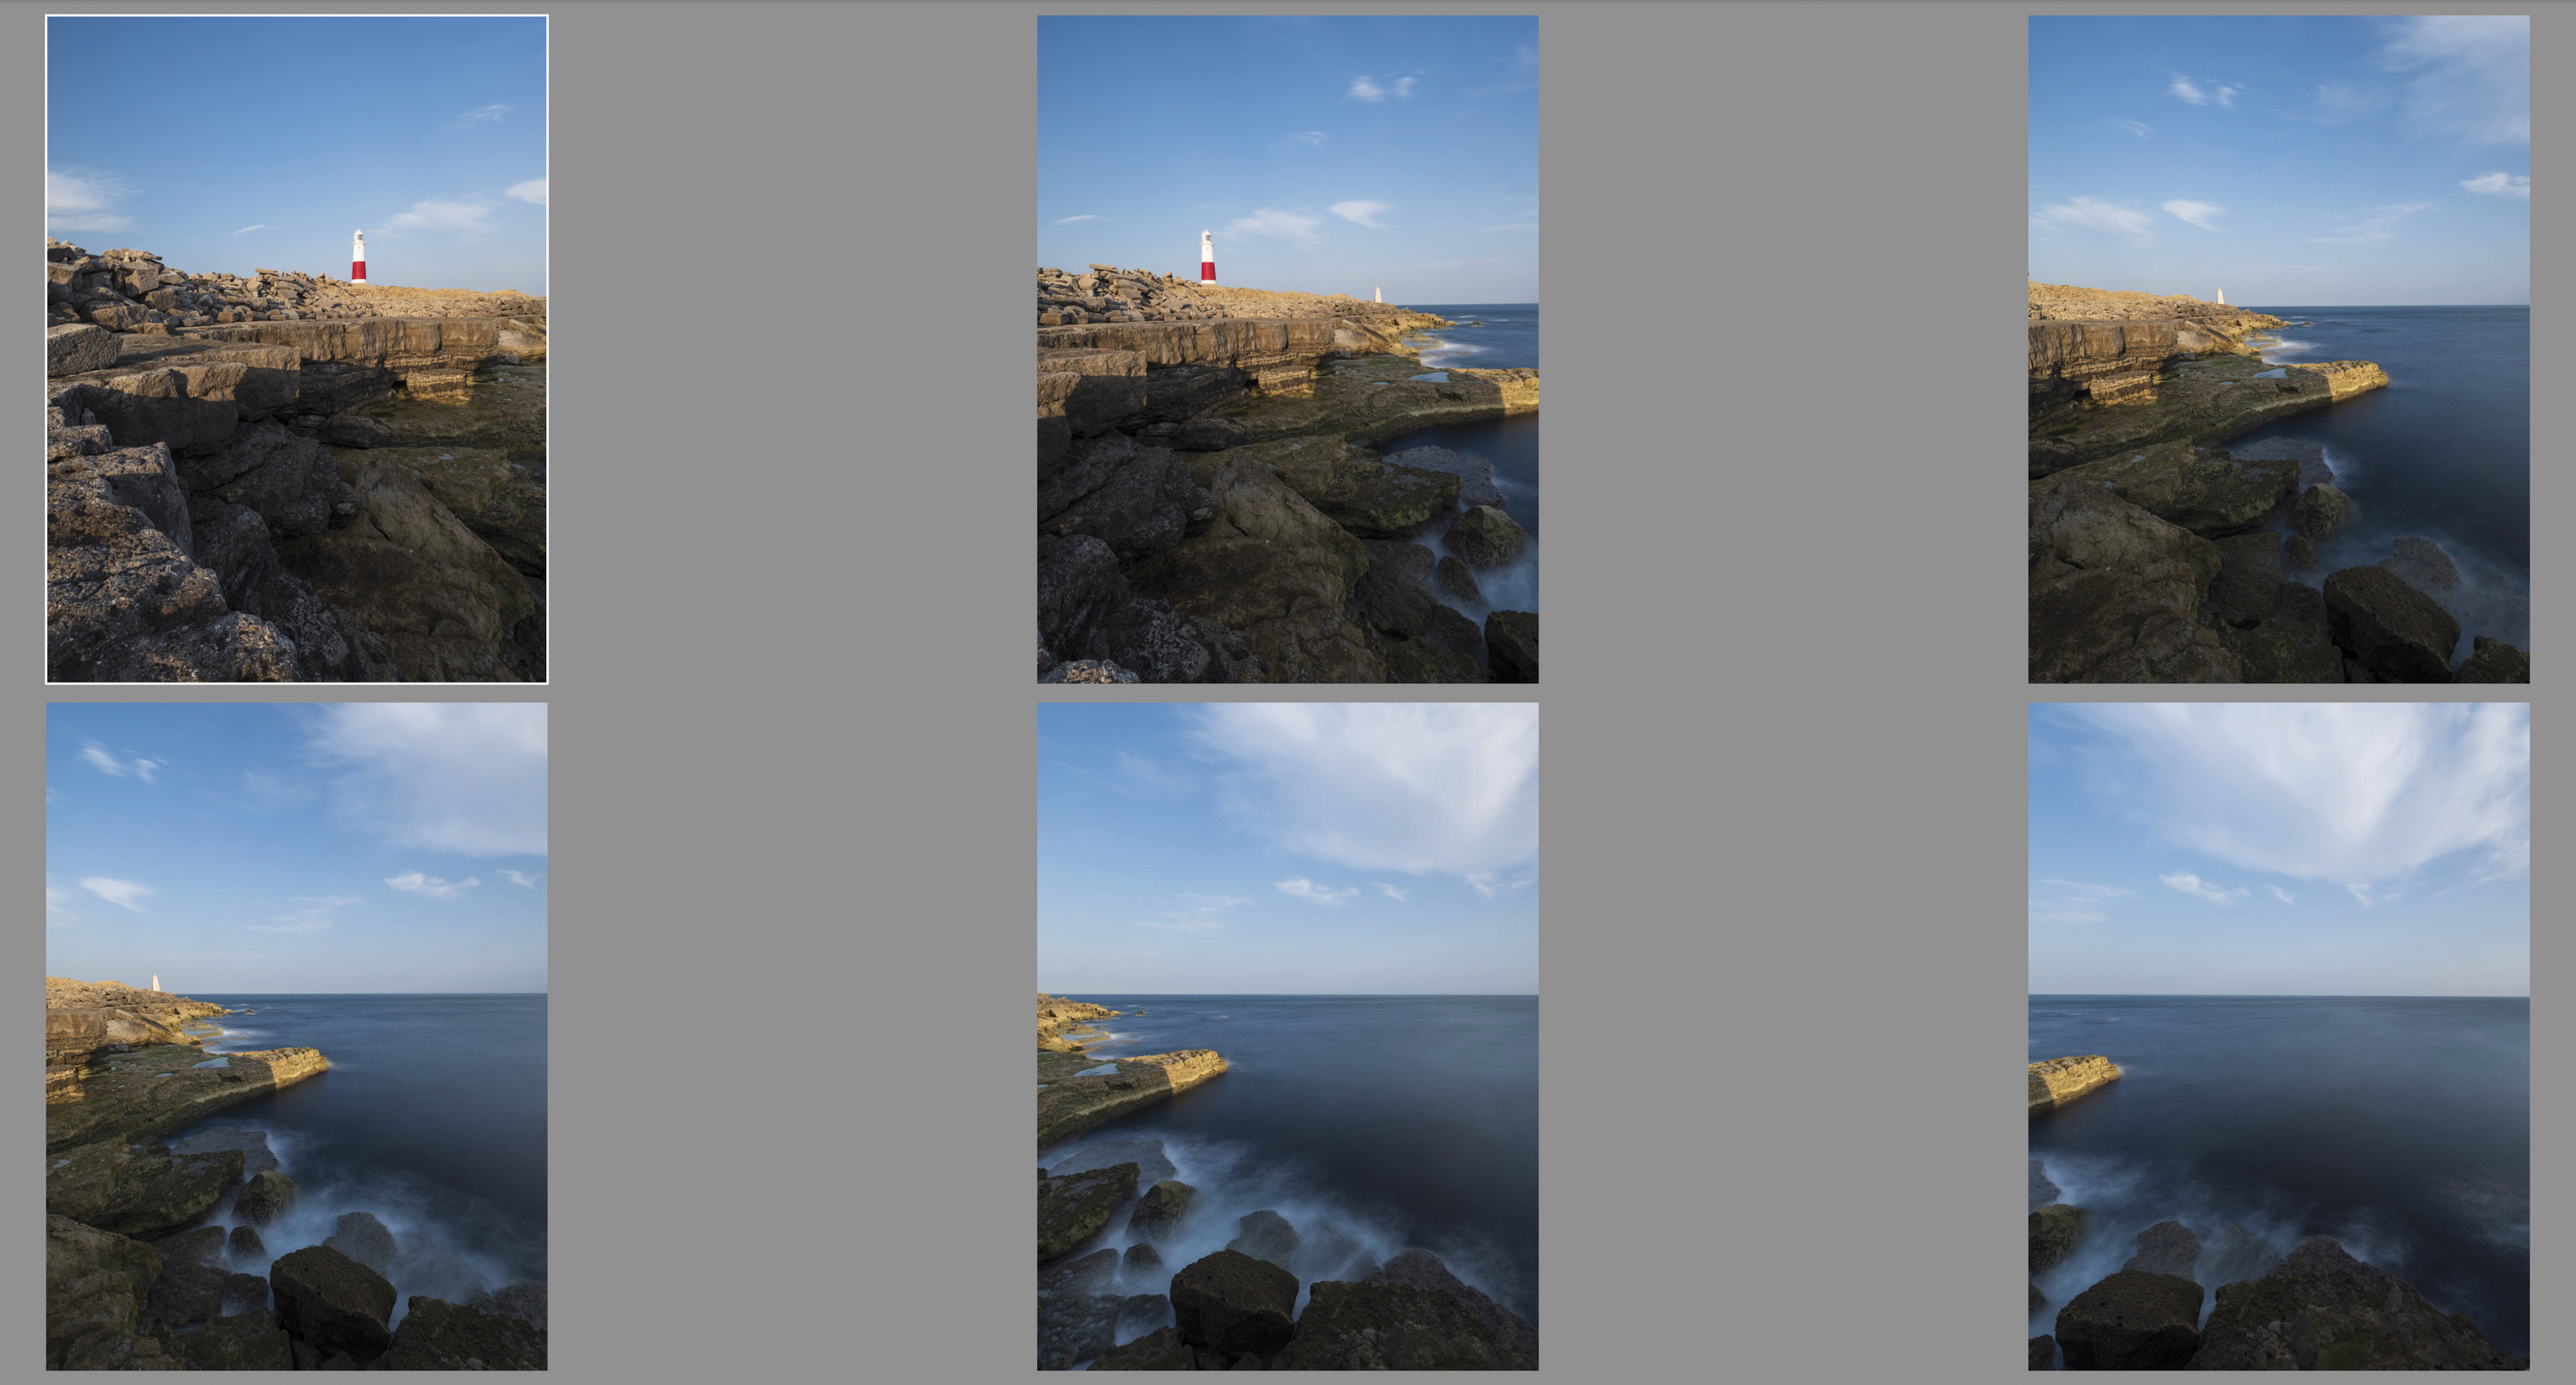
1. Import and merge
Firstly, import the images into Lightroom. Do not make any adjustments to individual files. Then, select all the images you want to stitch, and go to Photo>Photomerge>Panorama.
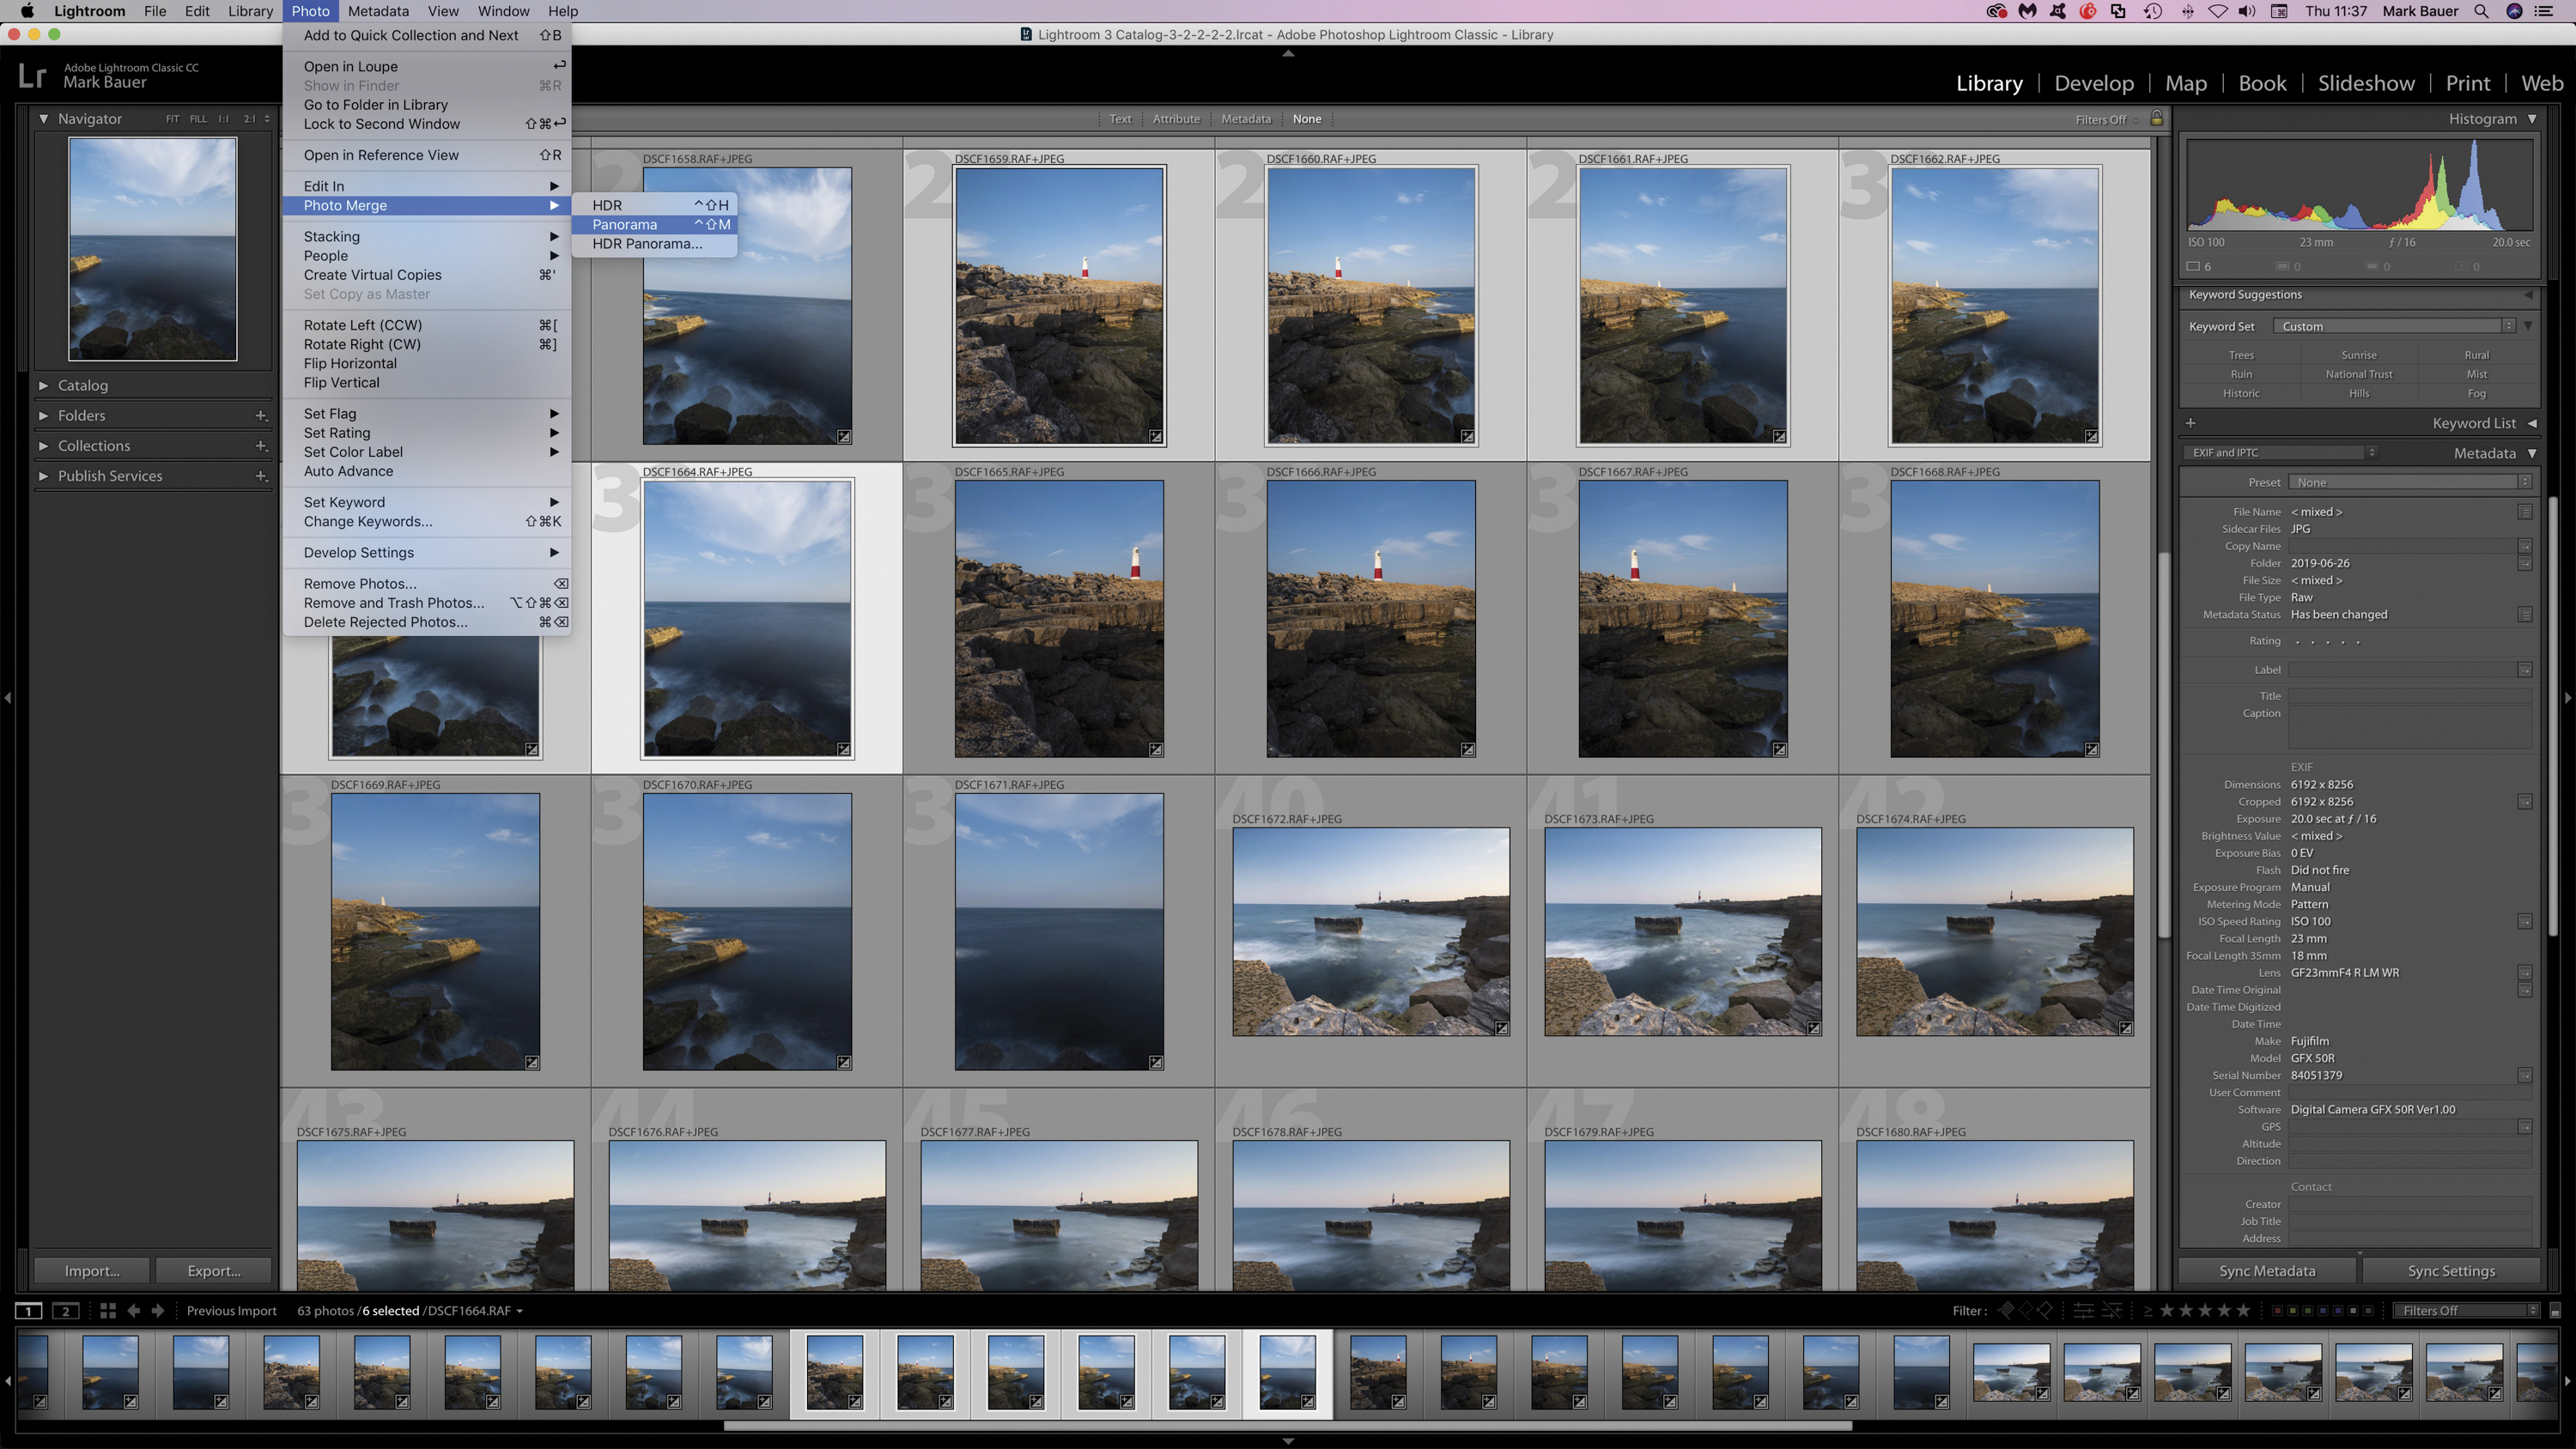
2. Panorama merge
In the Preview Photomerge dialogue box there are three projections to choose from: Spherical, Cylindrical and Perspective. Here, Spherical gives the best result. Autocrop removes any undesired transparent areas around the edges of the image.
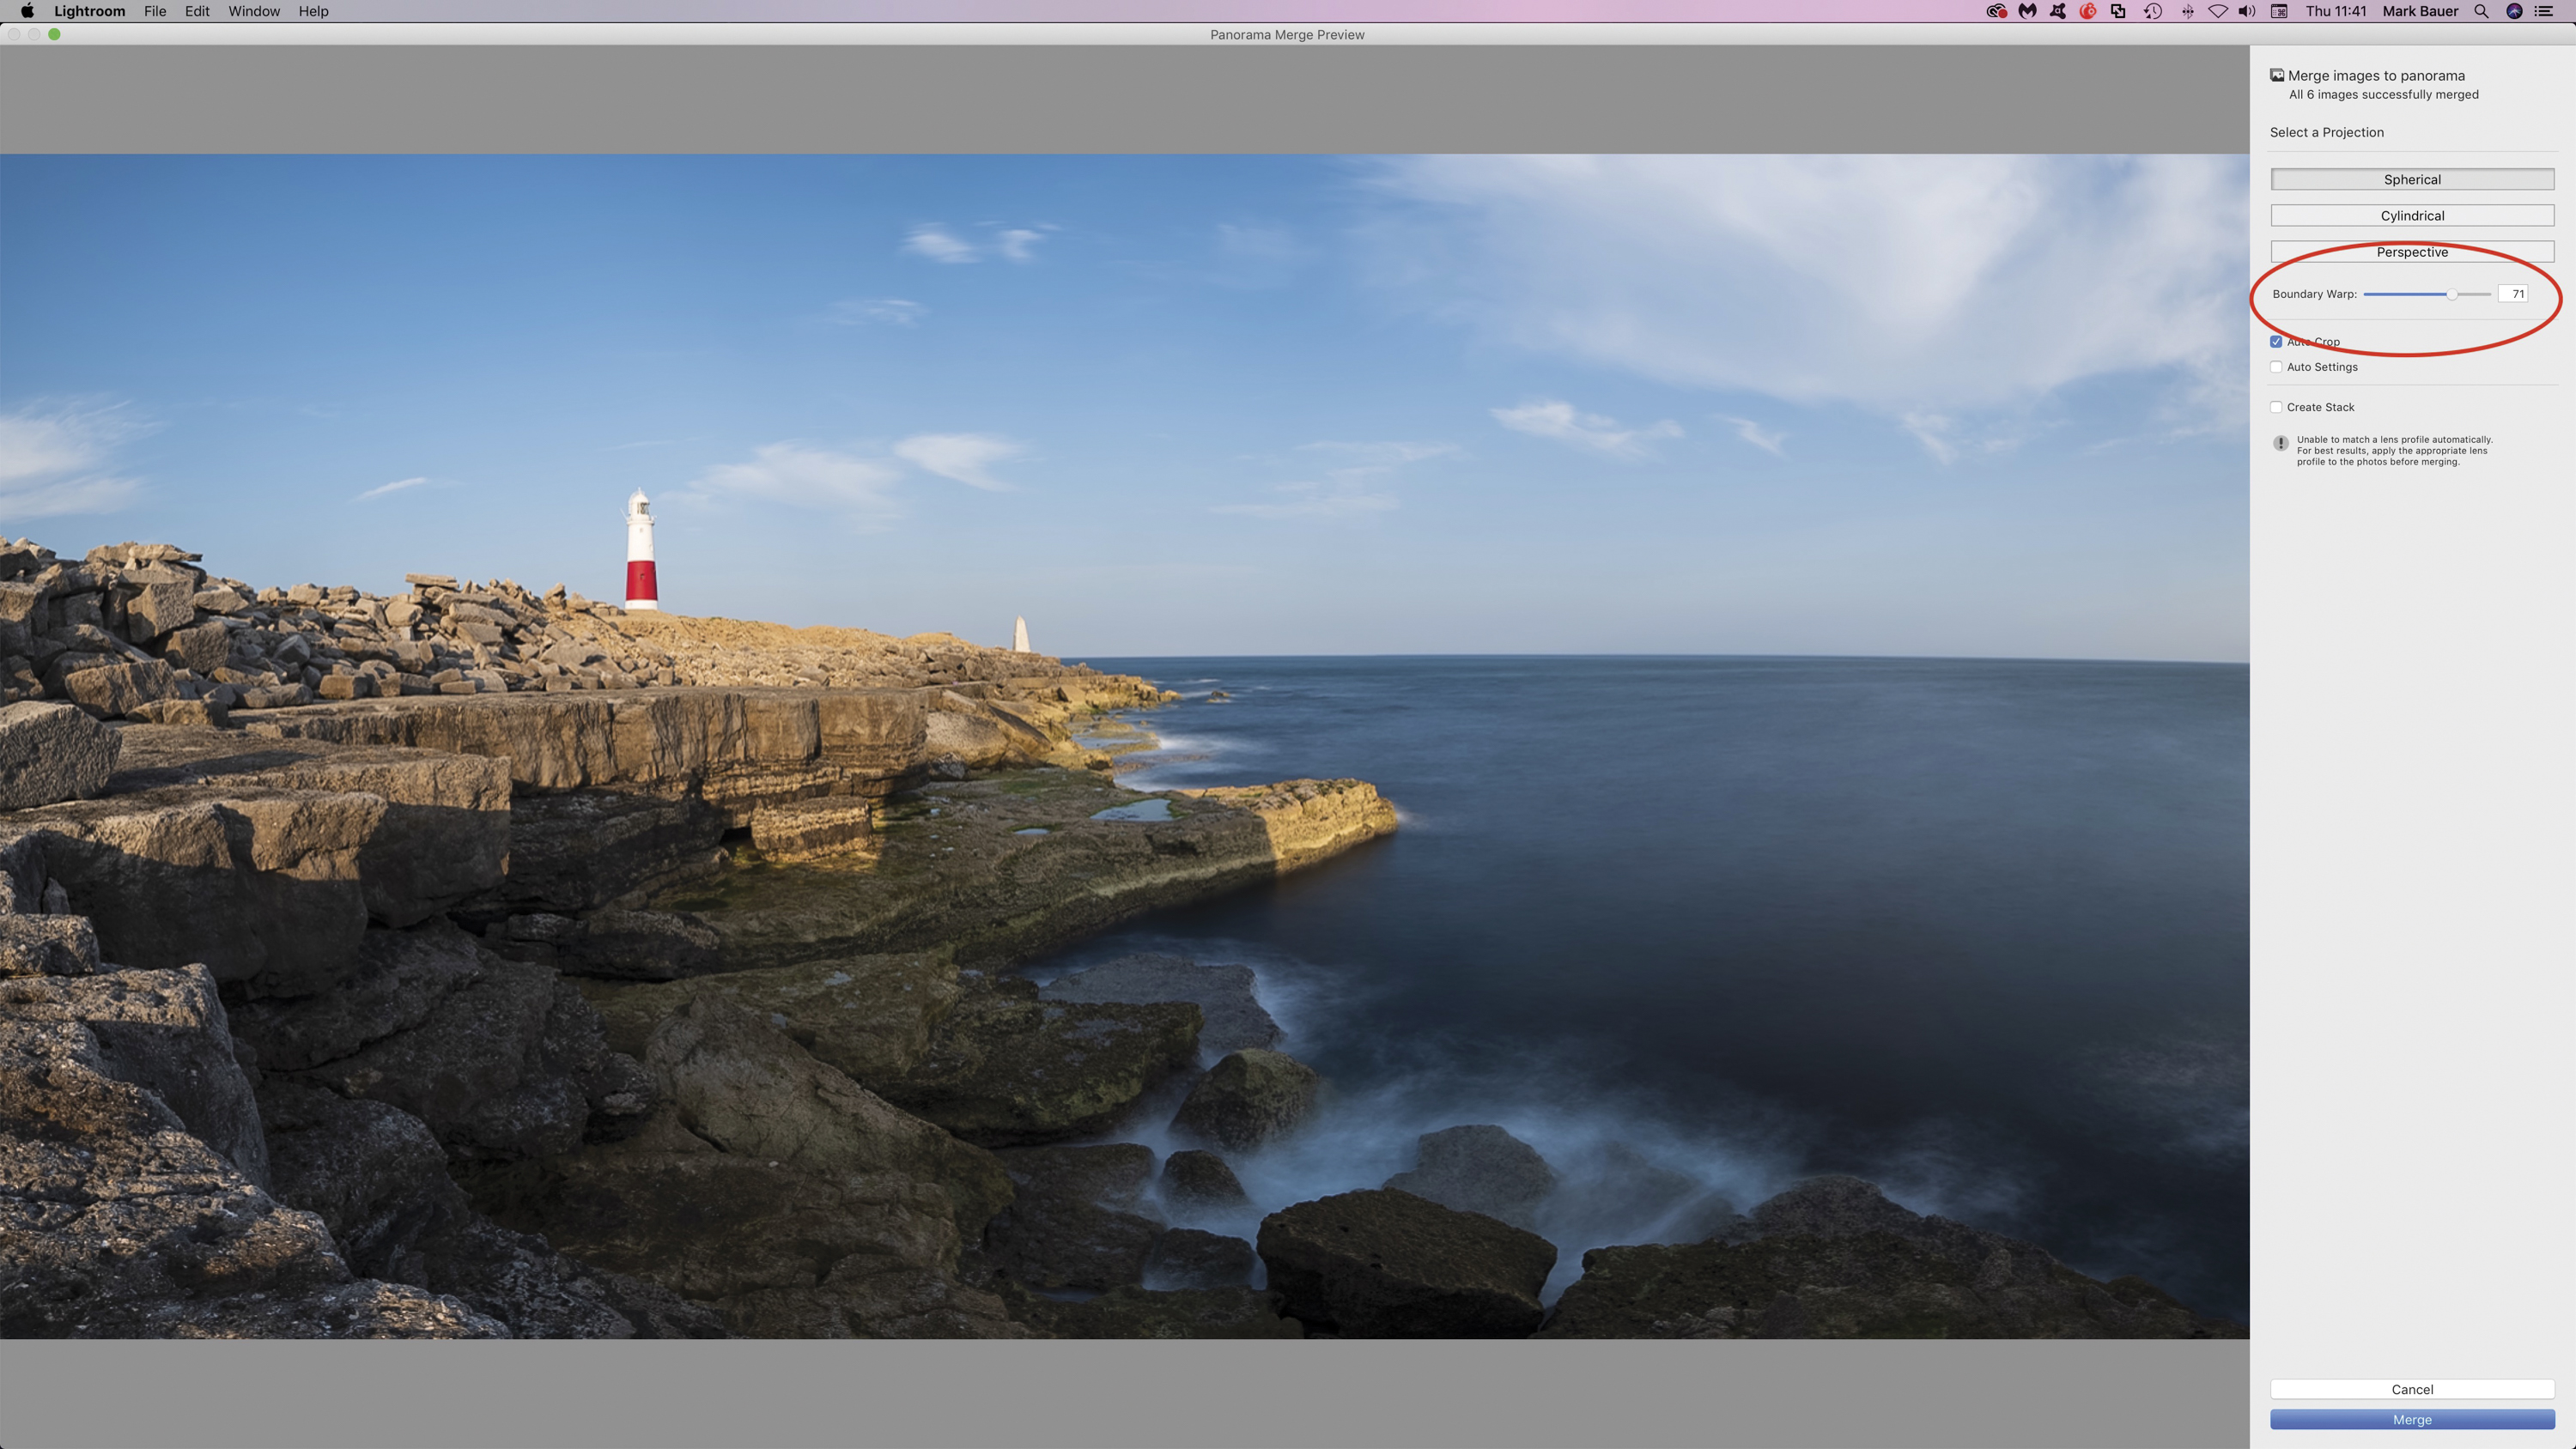
3. Boundary Warp
Use the Boundary Warp slider to warp the image to fill the canvas; this will enable you to recover parts of the image that are lost when cropping. Here, some extra sky and foreground detail has been included in the image.

4. Final steps
Click the ‘Merge’ button; Lightroom will stitch the images together and create a new DNG file. After this you can open this file and edit as you would with any other Raw file – adjusting white balance, tonal adjustments and so on as needed.
Read more
Use blending modes in Photoshop CC
Best cameras for beginners
Create a double exposure effect in Affinity Photo
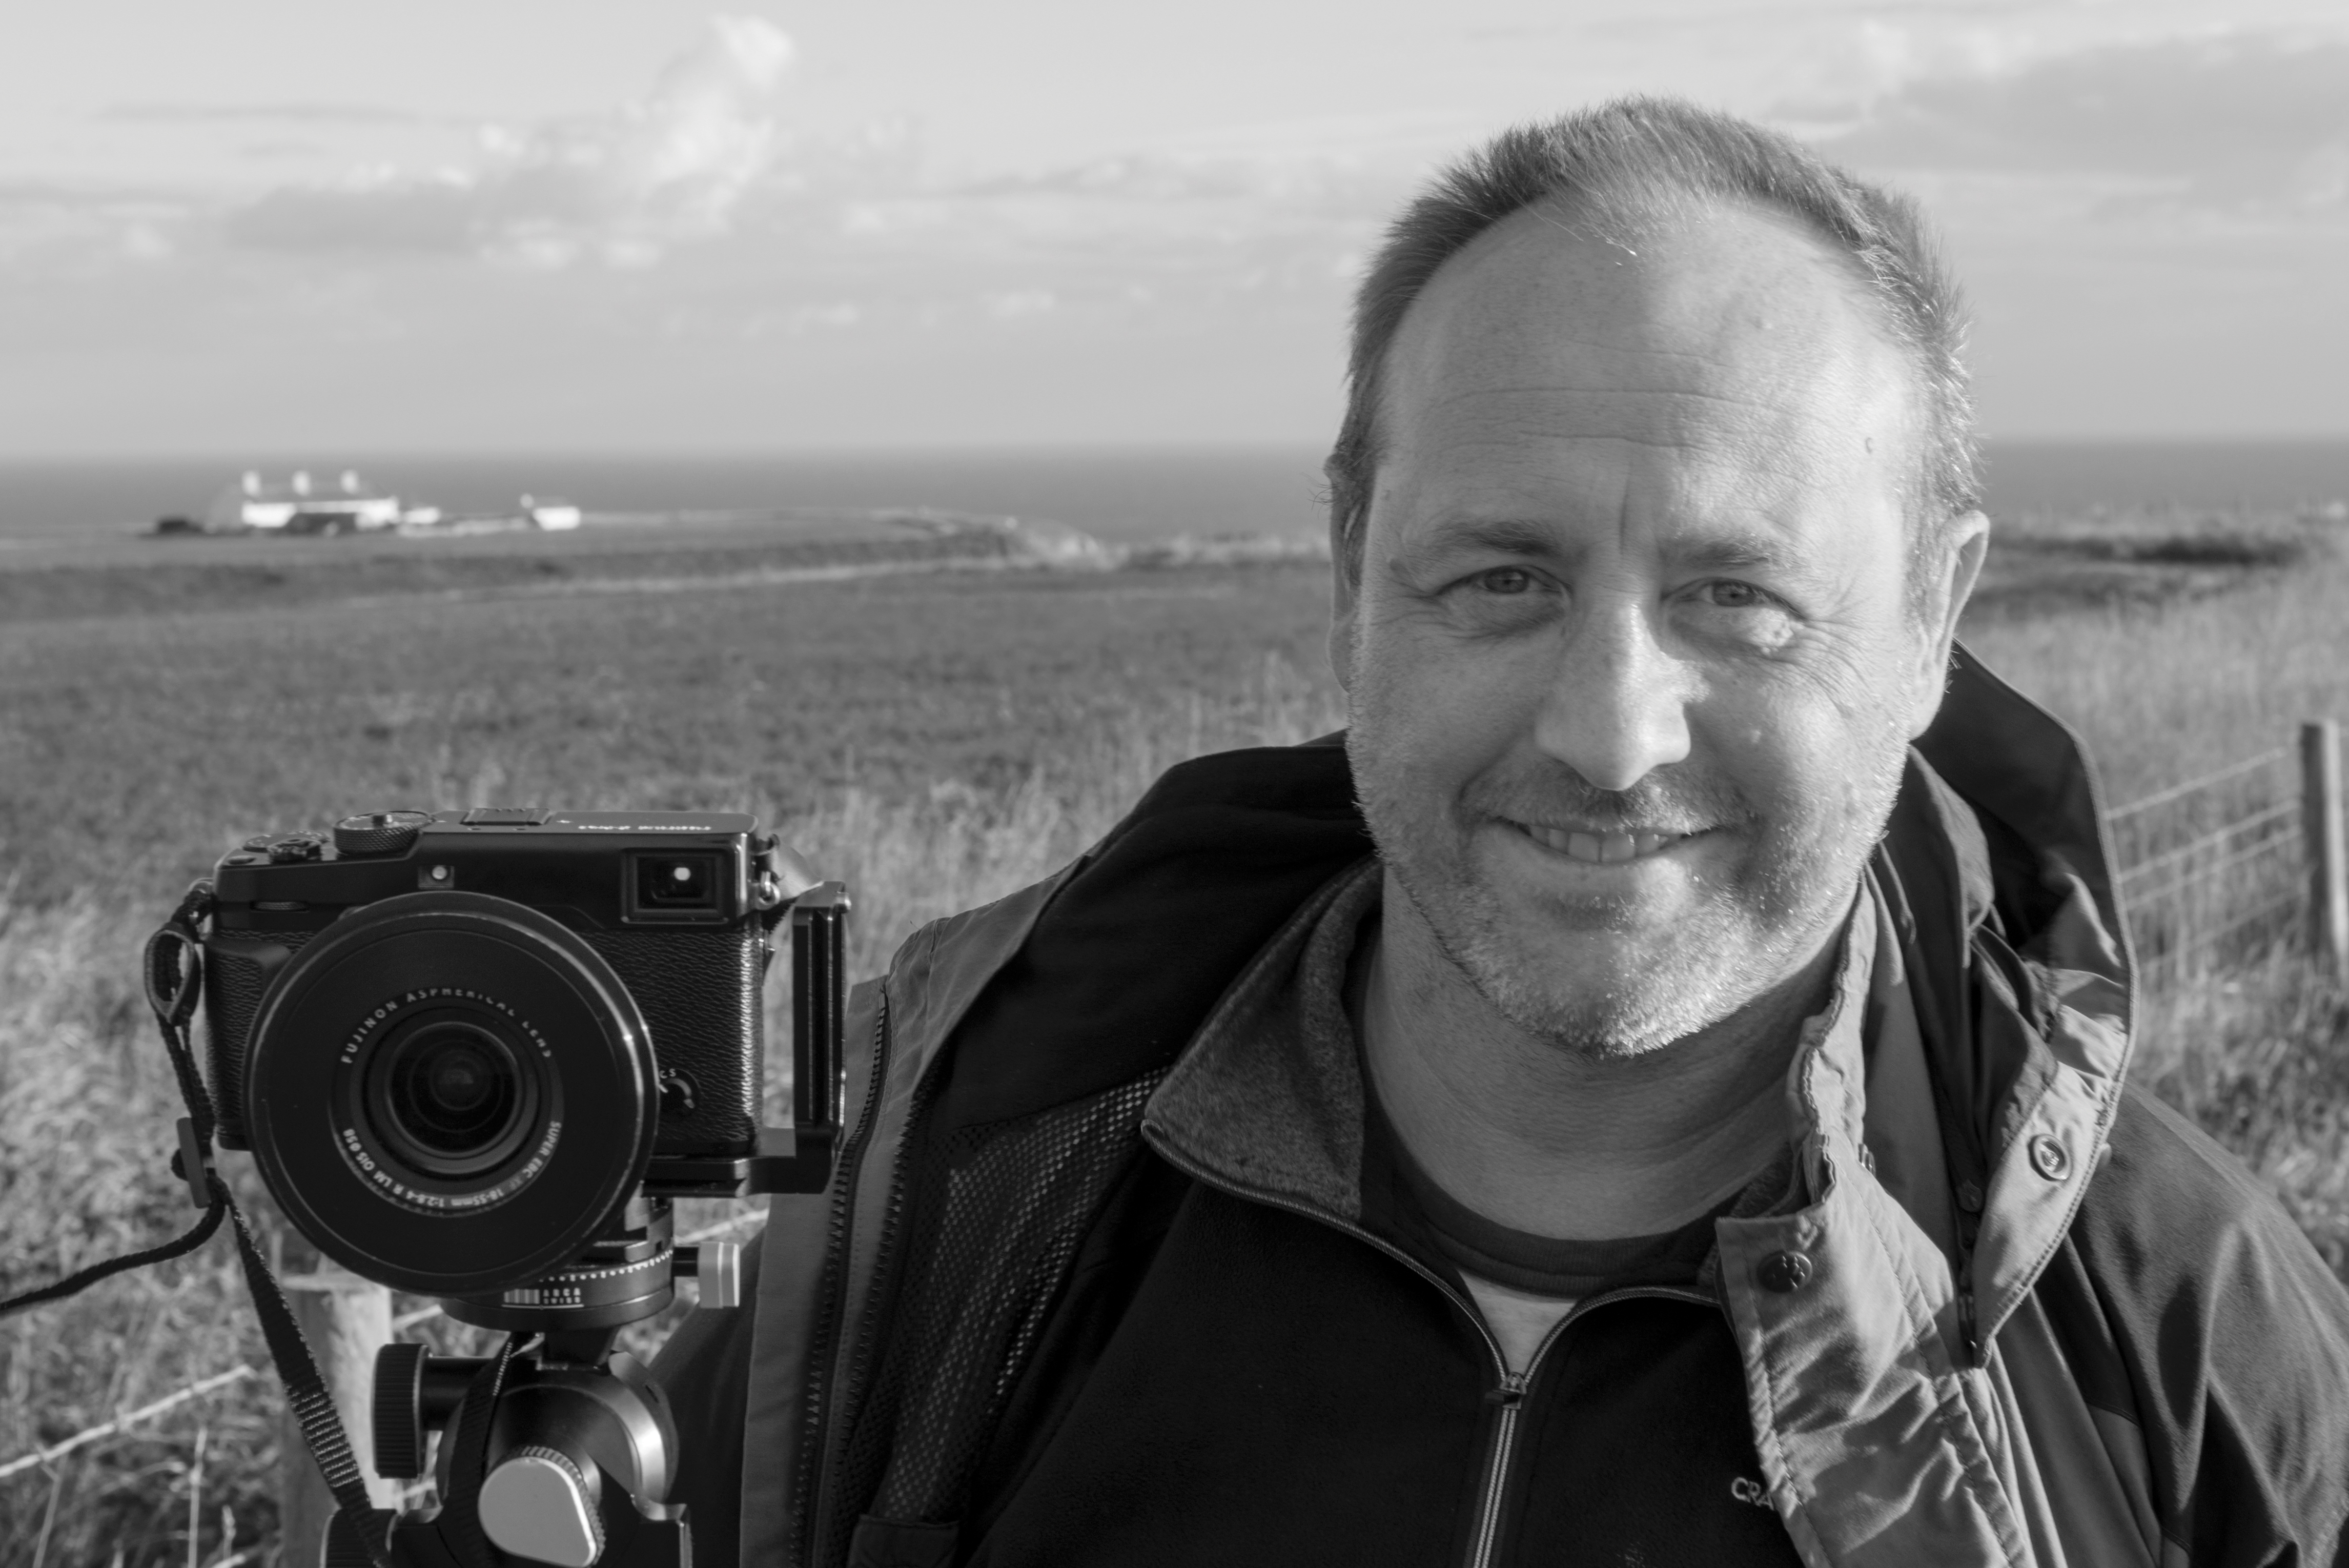
Mark Bauer has been a full-time landscape photographer since the early 2000s. As well as being a regular contributor to the UK photographic press, he is the author of seven books, including the best-selling The Landscape Photography Workshop.
- Lauren ScottFreelance contributor/former Managing Editor
