How to use mirrors to magically enhance your portraits
Use a little smoke and plenty of mirrors to capture a series of creative portraits you can shoot at home
Watch video: How to use reflections to enhance portraits
Reflections are a photographer’s best friend. They crop up in many genres of photography, whether it’s a building reflected in a puddle, neon lights reflected in a shop window or a product reflected on a sheet of acetate. And portraits are no different.
Portrait shopping list
• Best Nikon portrait lenses
• Best lens for portraits
• Best ring light
• The best reflectors
In this project we’ve captured a series of indoor portraits using household mirrors. They were all shot with a Nikon camera, but these techniques will work with any other camera. All you need is a willing model or the mind to shoot a self-portrait – and one of the best Nikon portrait lenses would help too! We’ve shot images where the reflection is the main component of the photo and portraits where the reflection adds additional interest (see main image, right). While there’s no correct way to shoot portrait reflections, it’s worth remembering that mirrors don’t behave like a two-dimensional image, so depth of field still very much applies.
We’d also recommend cleaning any mirrors you use before you start shooting so any unsightly marks are removed. Not only will this leave you with less tidying to do in post, but will help prevent your camera from unintentionally focusing on the mirror’s surface.
Unwanted objects – and photographers – have a habit of encroaching on reflections. Make sure any objects that detract from your images are stowed away and that you pay extra attention as to whether or not your arm, leg or camera is poking into the frame. Experimentation is key, so grab some ideas and inspiration from the following project and then let your creativity run wild.
How to use reflections to enhance portraits
1. Eerie reflections
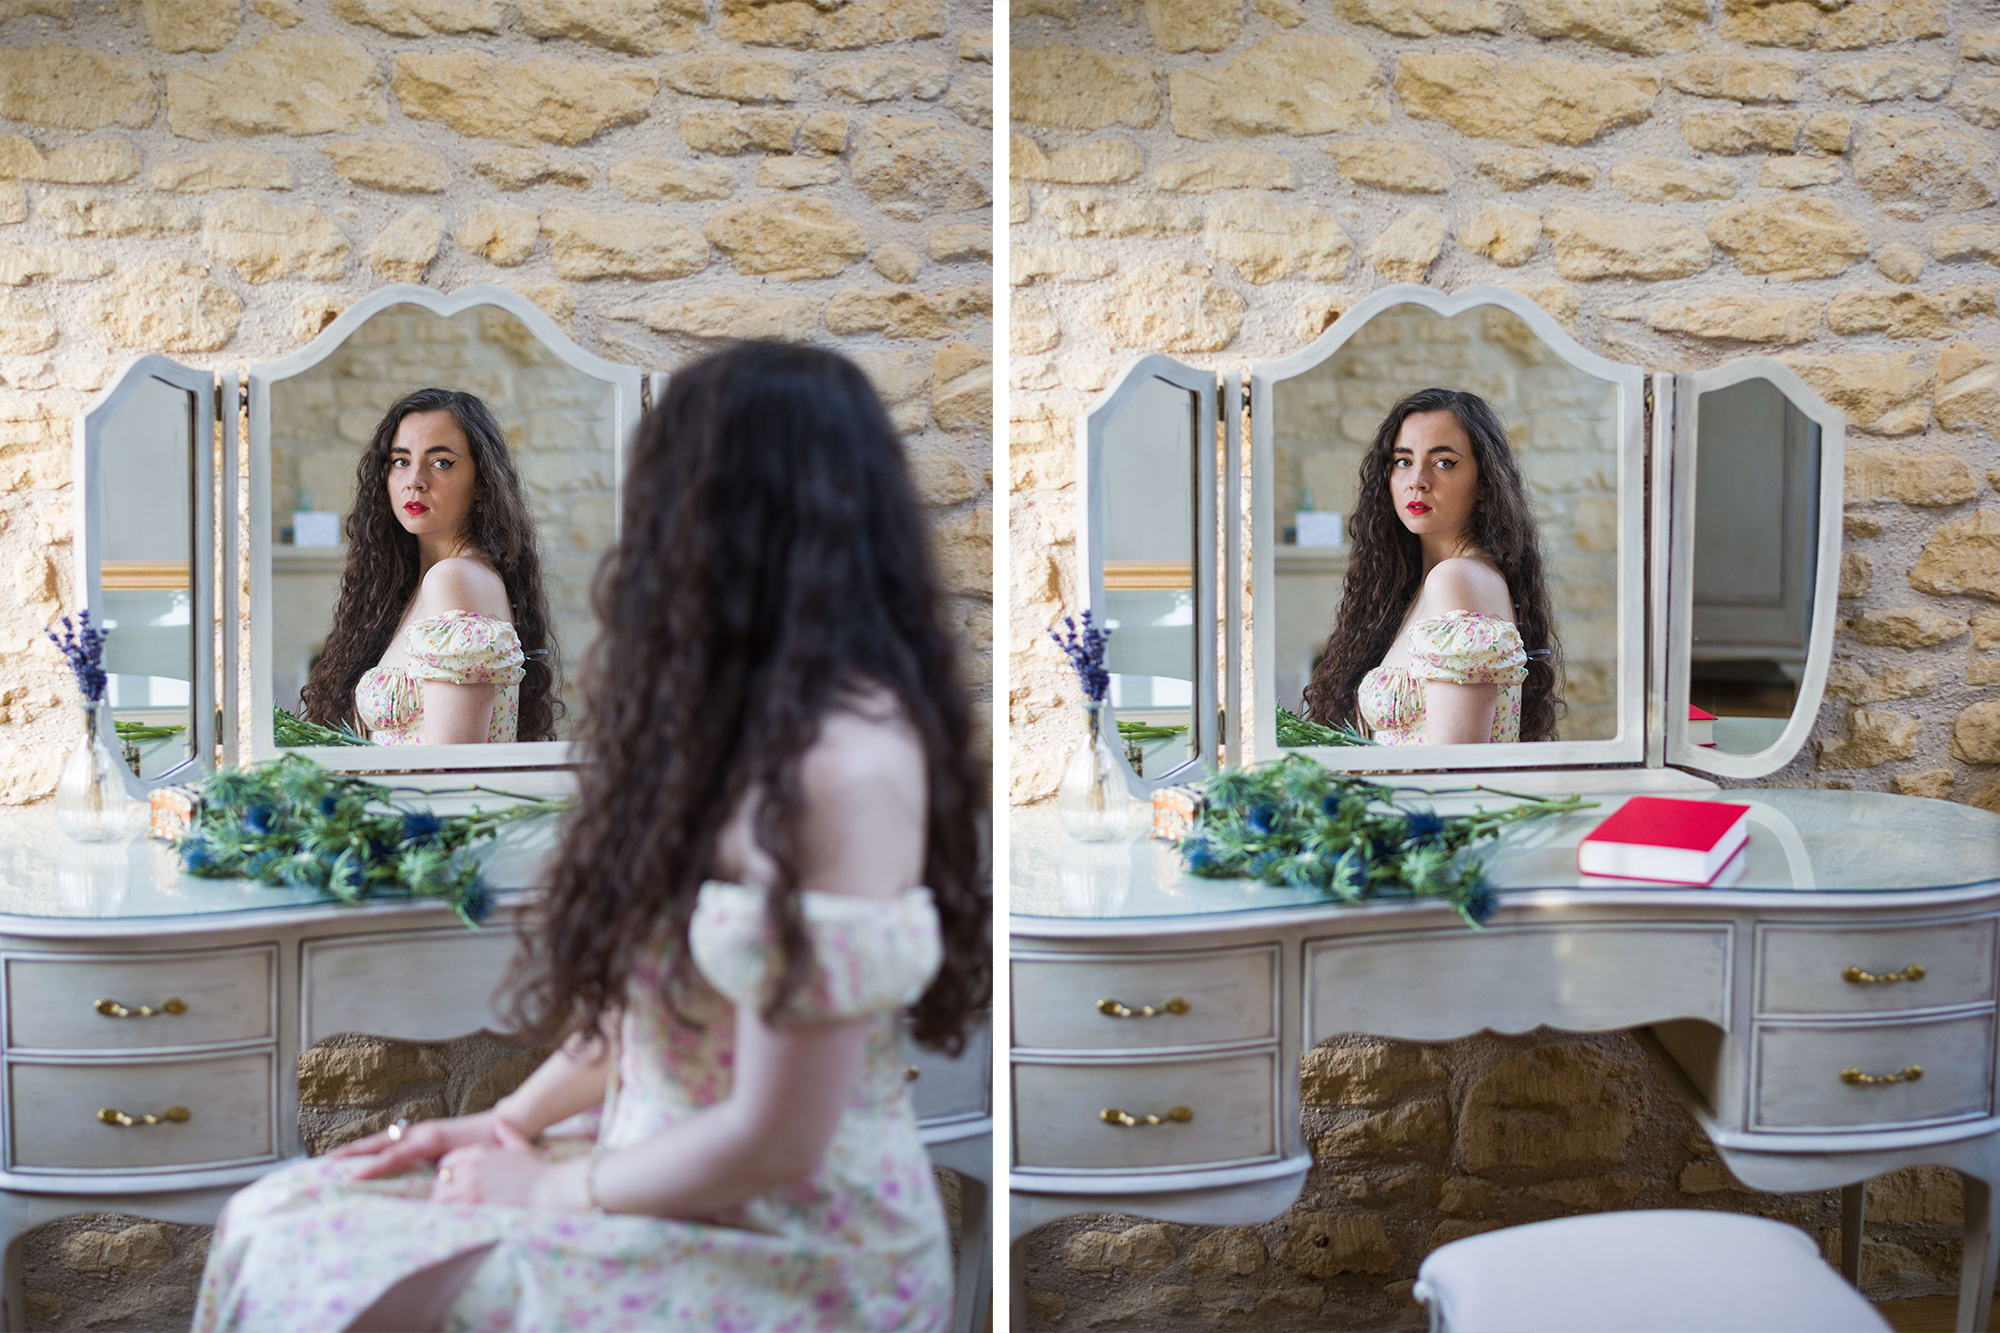
A reflection of a person who isn’t there is a Hollywood horror film trope, and a fun home-based project. Set your camera on a tripod and frame your sitter so their body doesn’t overlap their reflection. Focus on the reflection and take the shot.
The best camera deals, reviews, product advice, and unmissable photography news, direct to your inbox!
Ask your sitter to leave the frame without moving anything and capture a second shot. Import these into a Photoshop document with the first image as the top layer. Select both layers and click Edit>Auto-Align Layers. Once aligned, add a layer mask to the top layer, select a soft black brush and paint away the figure.

2. Candid reflections
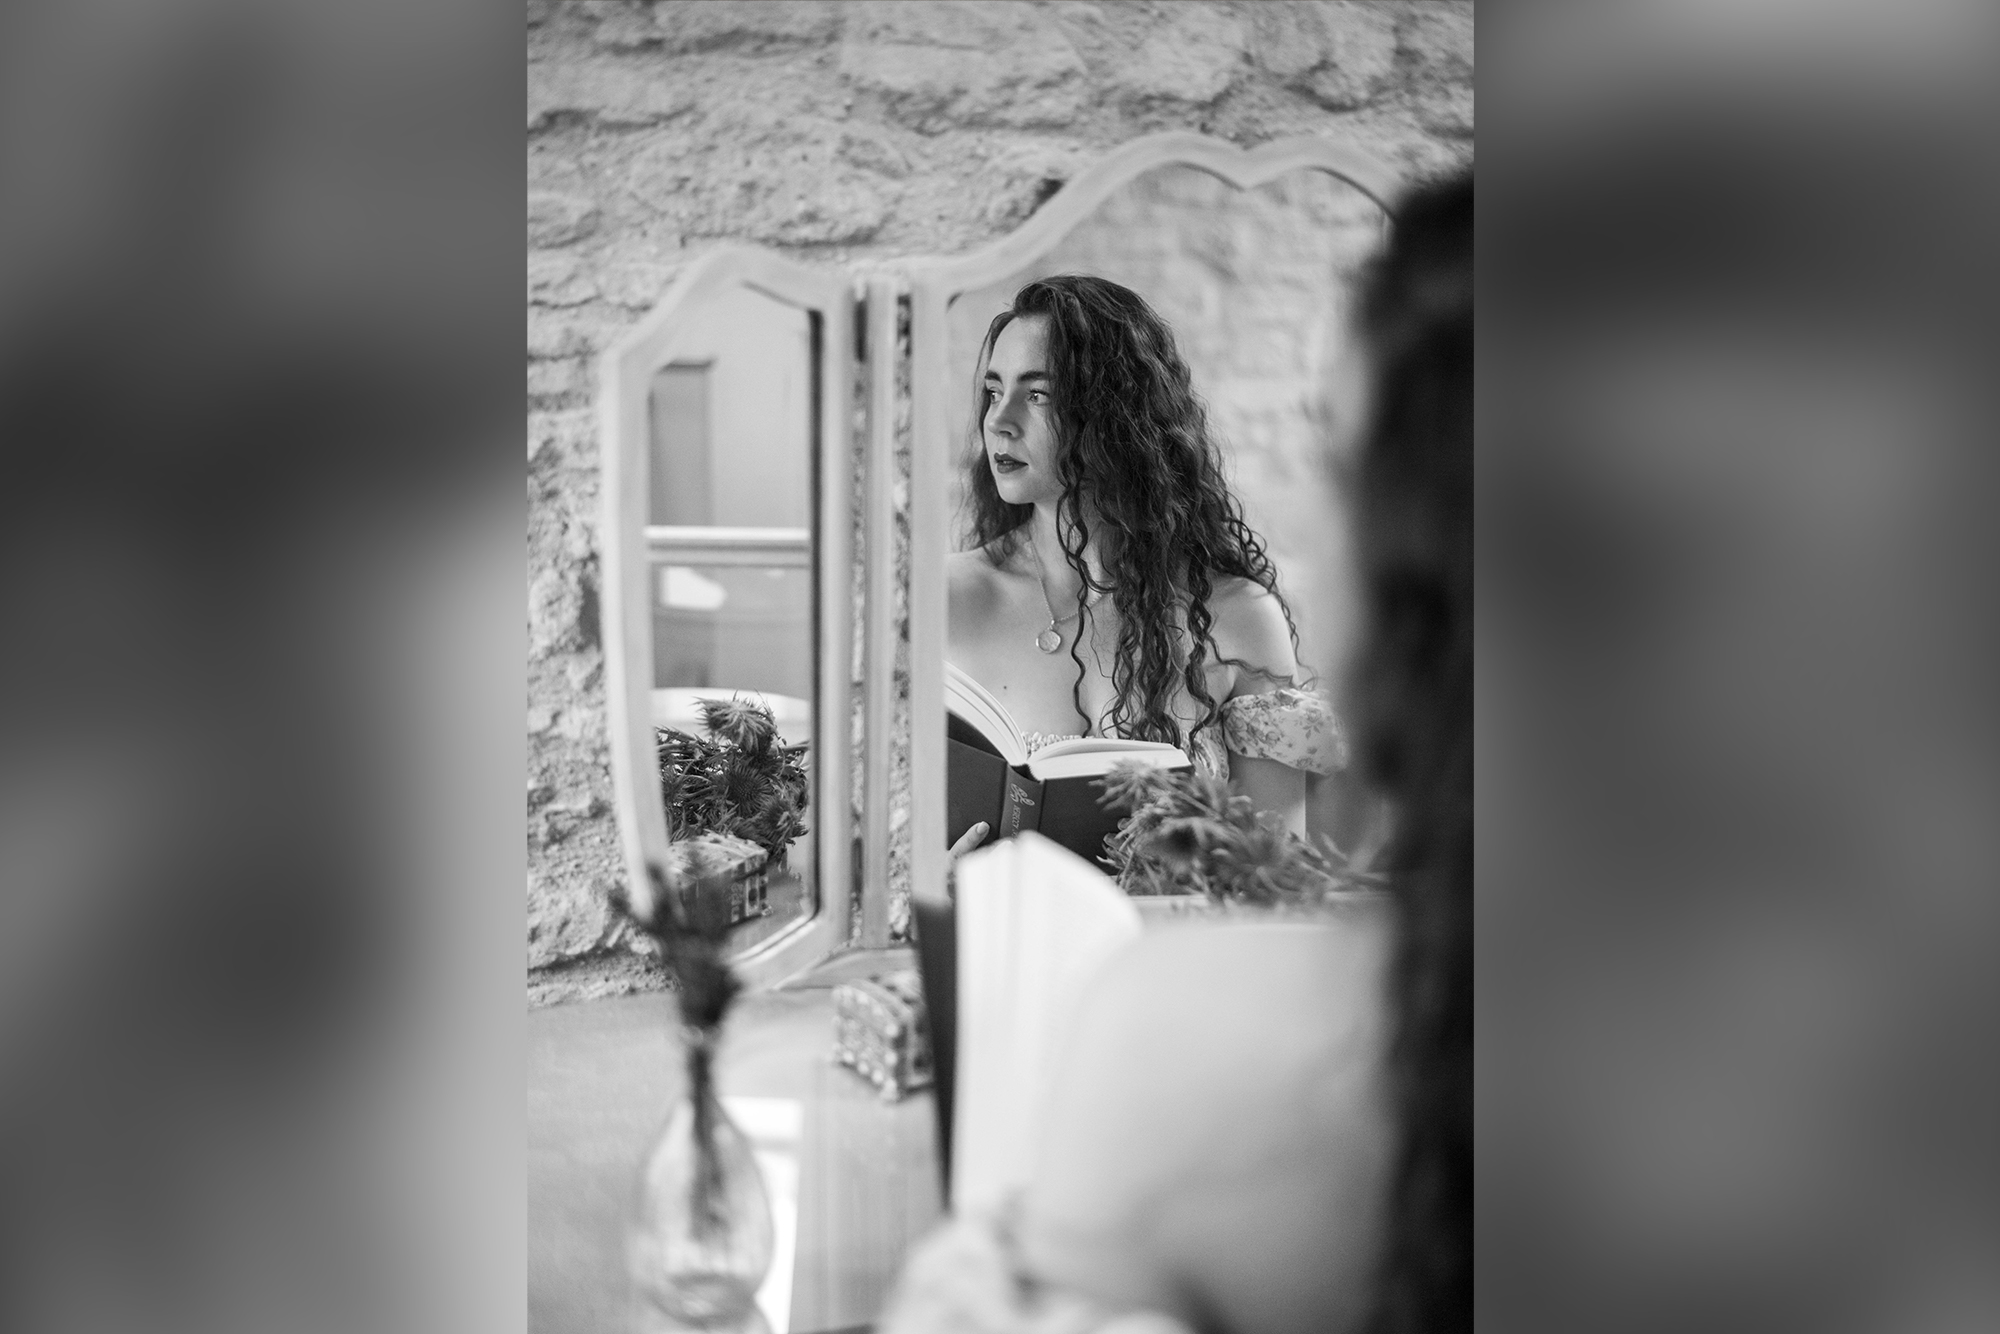
Good photographs often don’t require a special gimmick or complicated technique. This simple black-and-white portrait is the kind of candid image a wedding photographer might capture while the bride and bridesmaids get ready for the Big Day.

3. Camera settings and editing
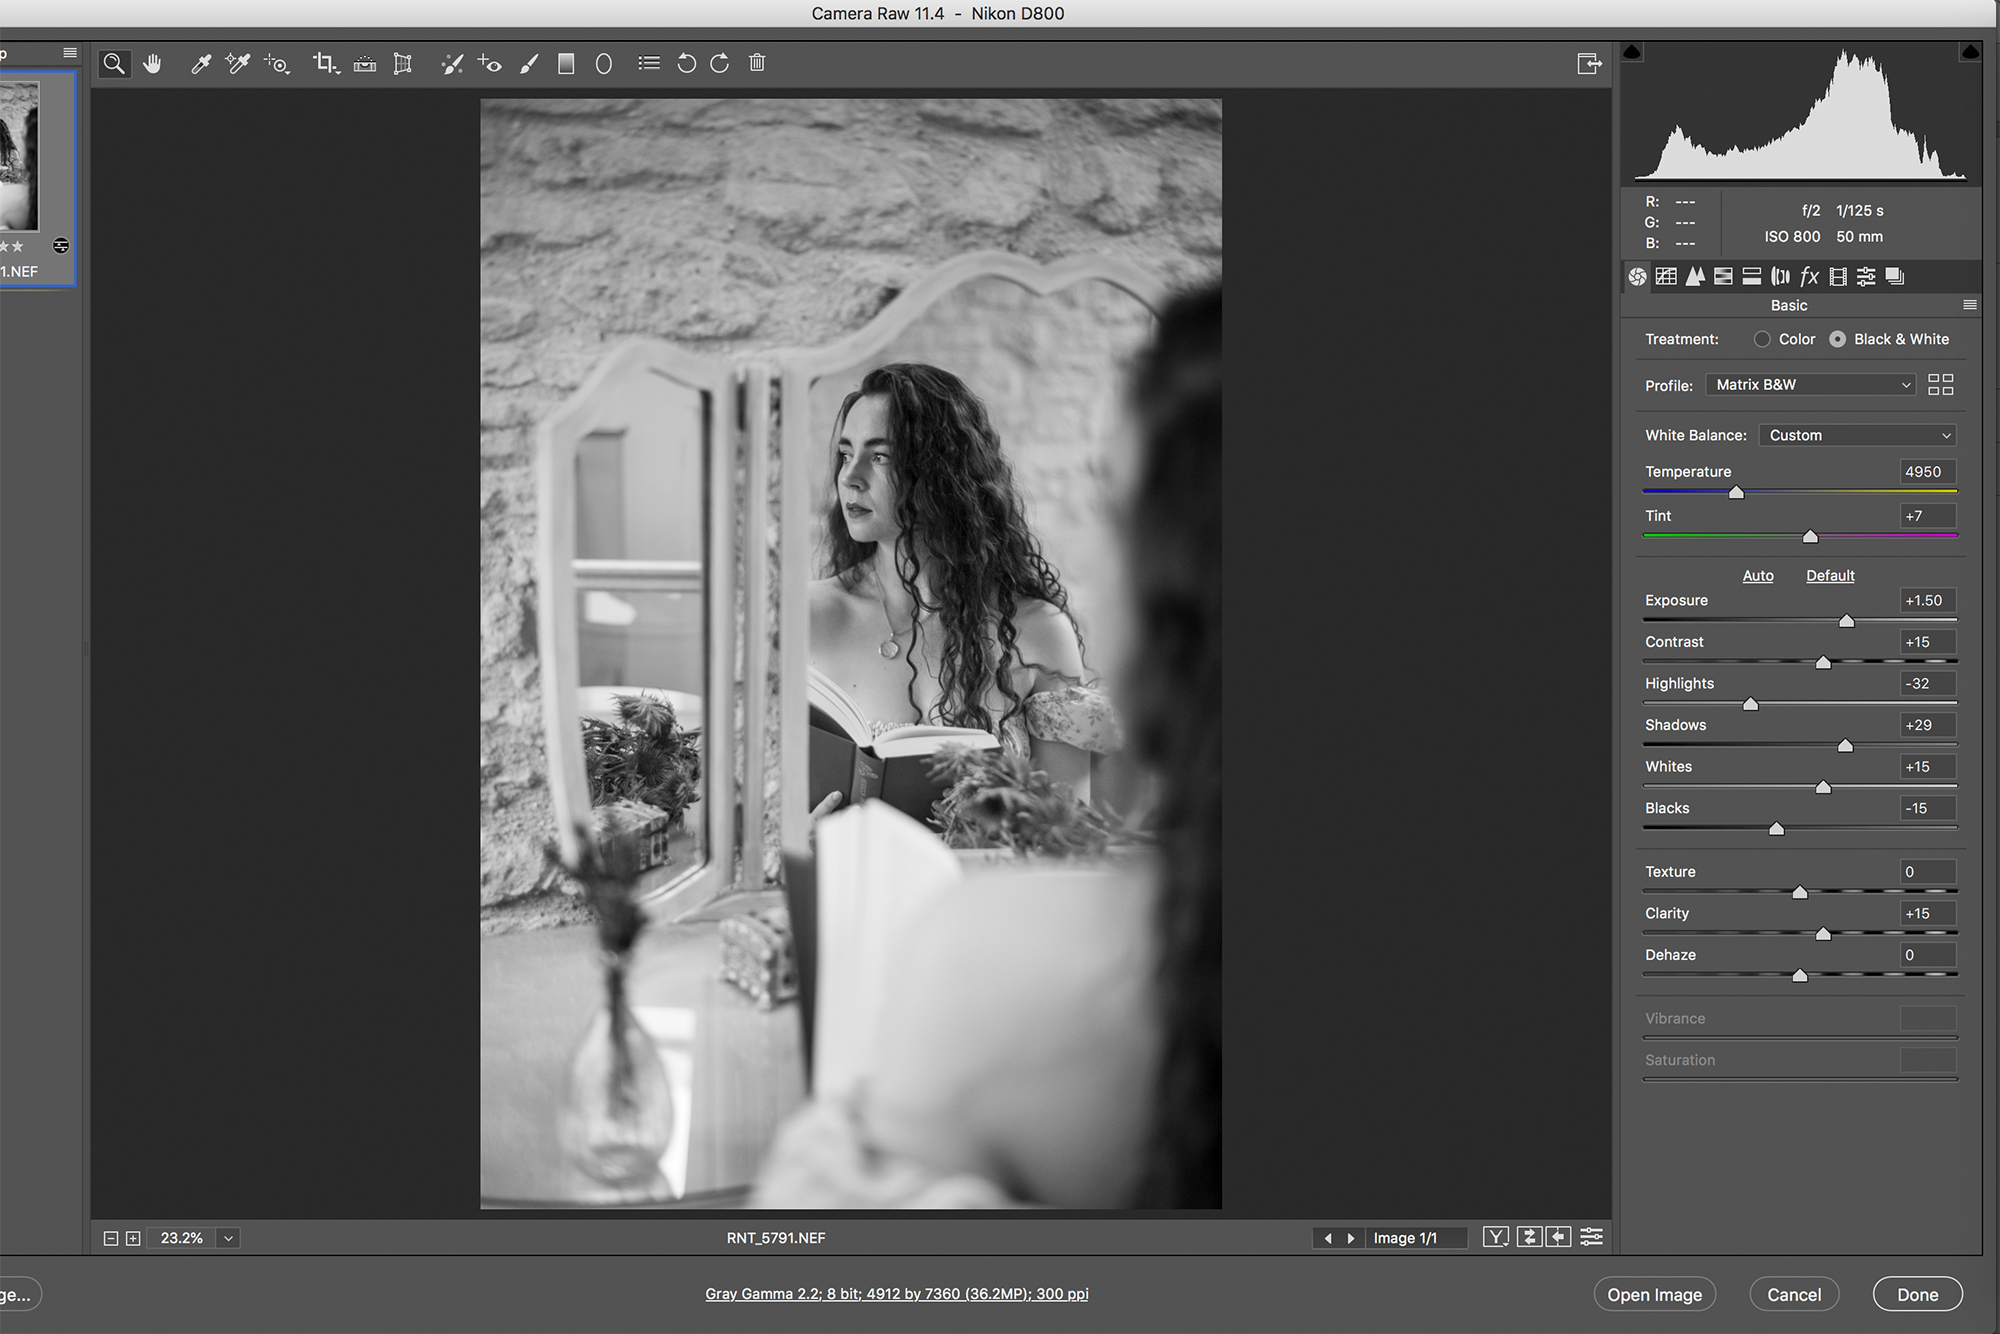
We used a wide aperture of f/2 to blur the foreground interest, which added depth. The subject was framed on the right, since she was looking towards the left portion of the image and we focused on the eye that was closest to the camera. It was then simply a case of converting the photo to black and white in post-production.

4. Keep it clean
It doesn’t matter how high-resolution your camera is, how sharp your lens is or how fast your shutter speed is, dirty smears can soften your image. We’d recommend wiping down your mirror with a cloth and some glass cleaner to make sure it’s spotless.

5. Curb the clutter
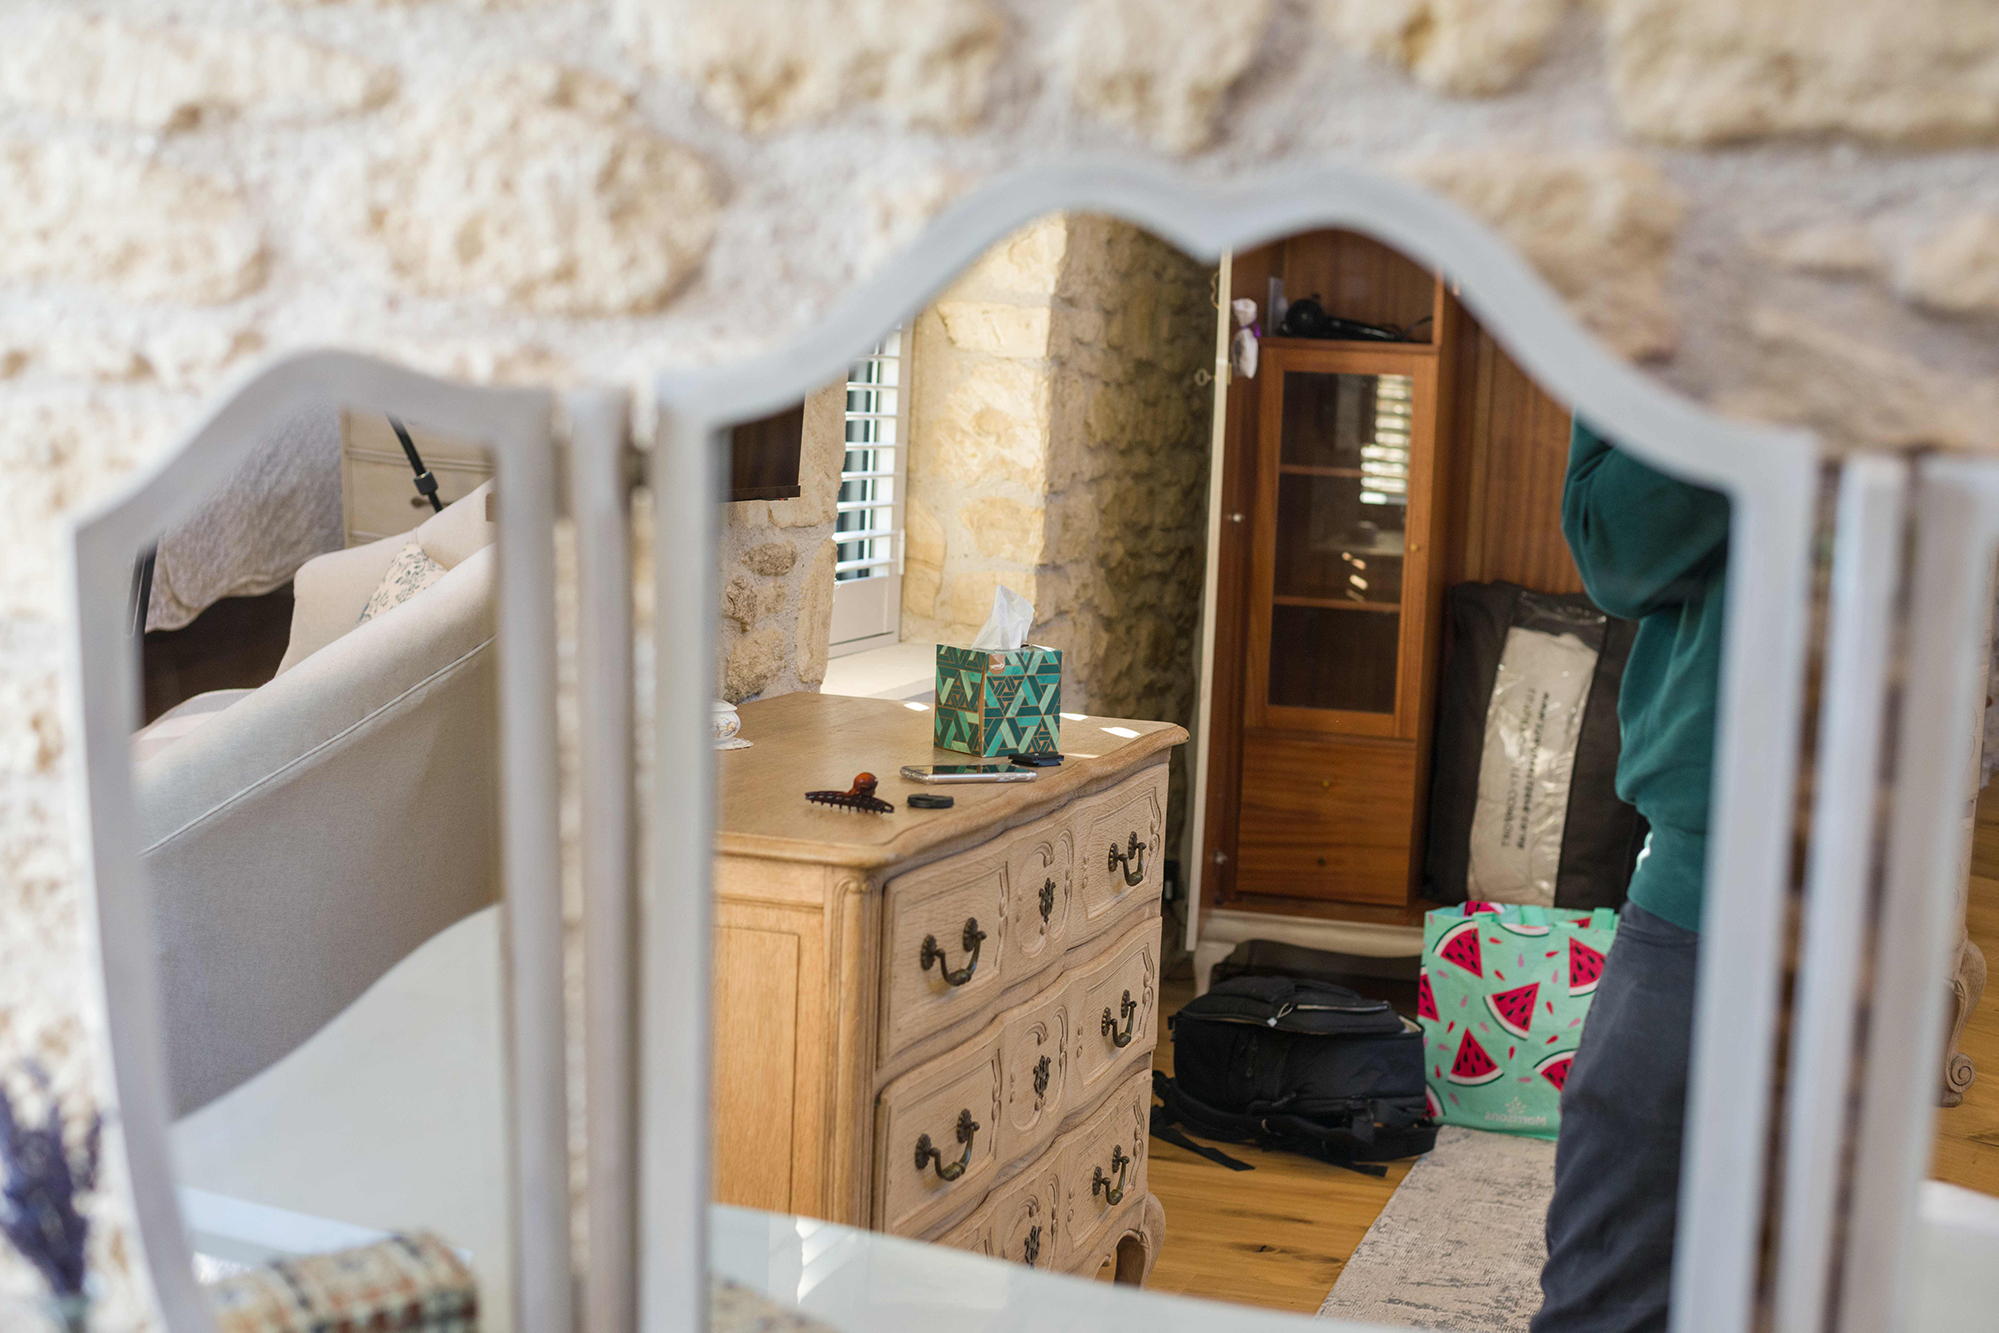
Clutter should be another consideration. You might think your frame is clutter-free, but check each image carefully to ensure nothing irregular is reflected in the mirror. Camera bags, electrical appliances and even you (while you’re concentrating on the shot) can unintentionally get caught in reflections. This can cause a post-production headache or even ruin the image.
You can try moving your mirror or, if it’s hinged like ours, take the time to adjust its position. Just moving it a few centimetres could shift an ugly distraction out of the frame or bring in something that adds to the overall image.

6. Pocket a mirror
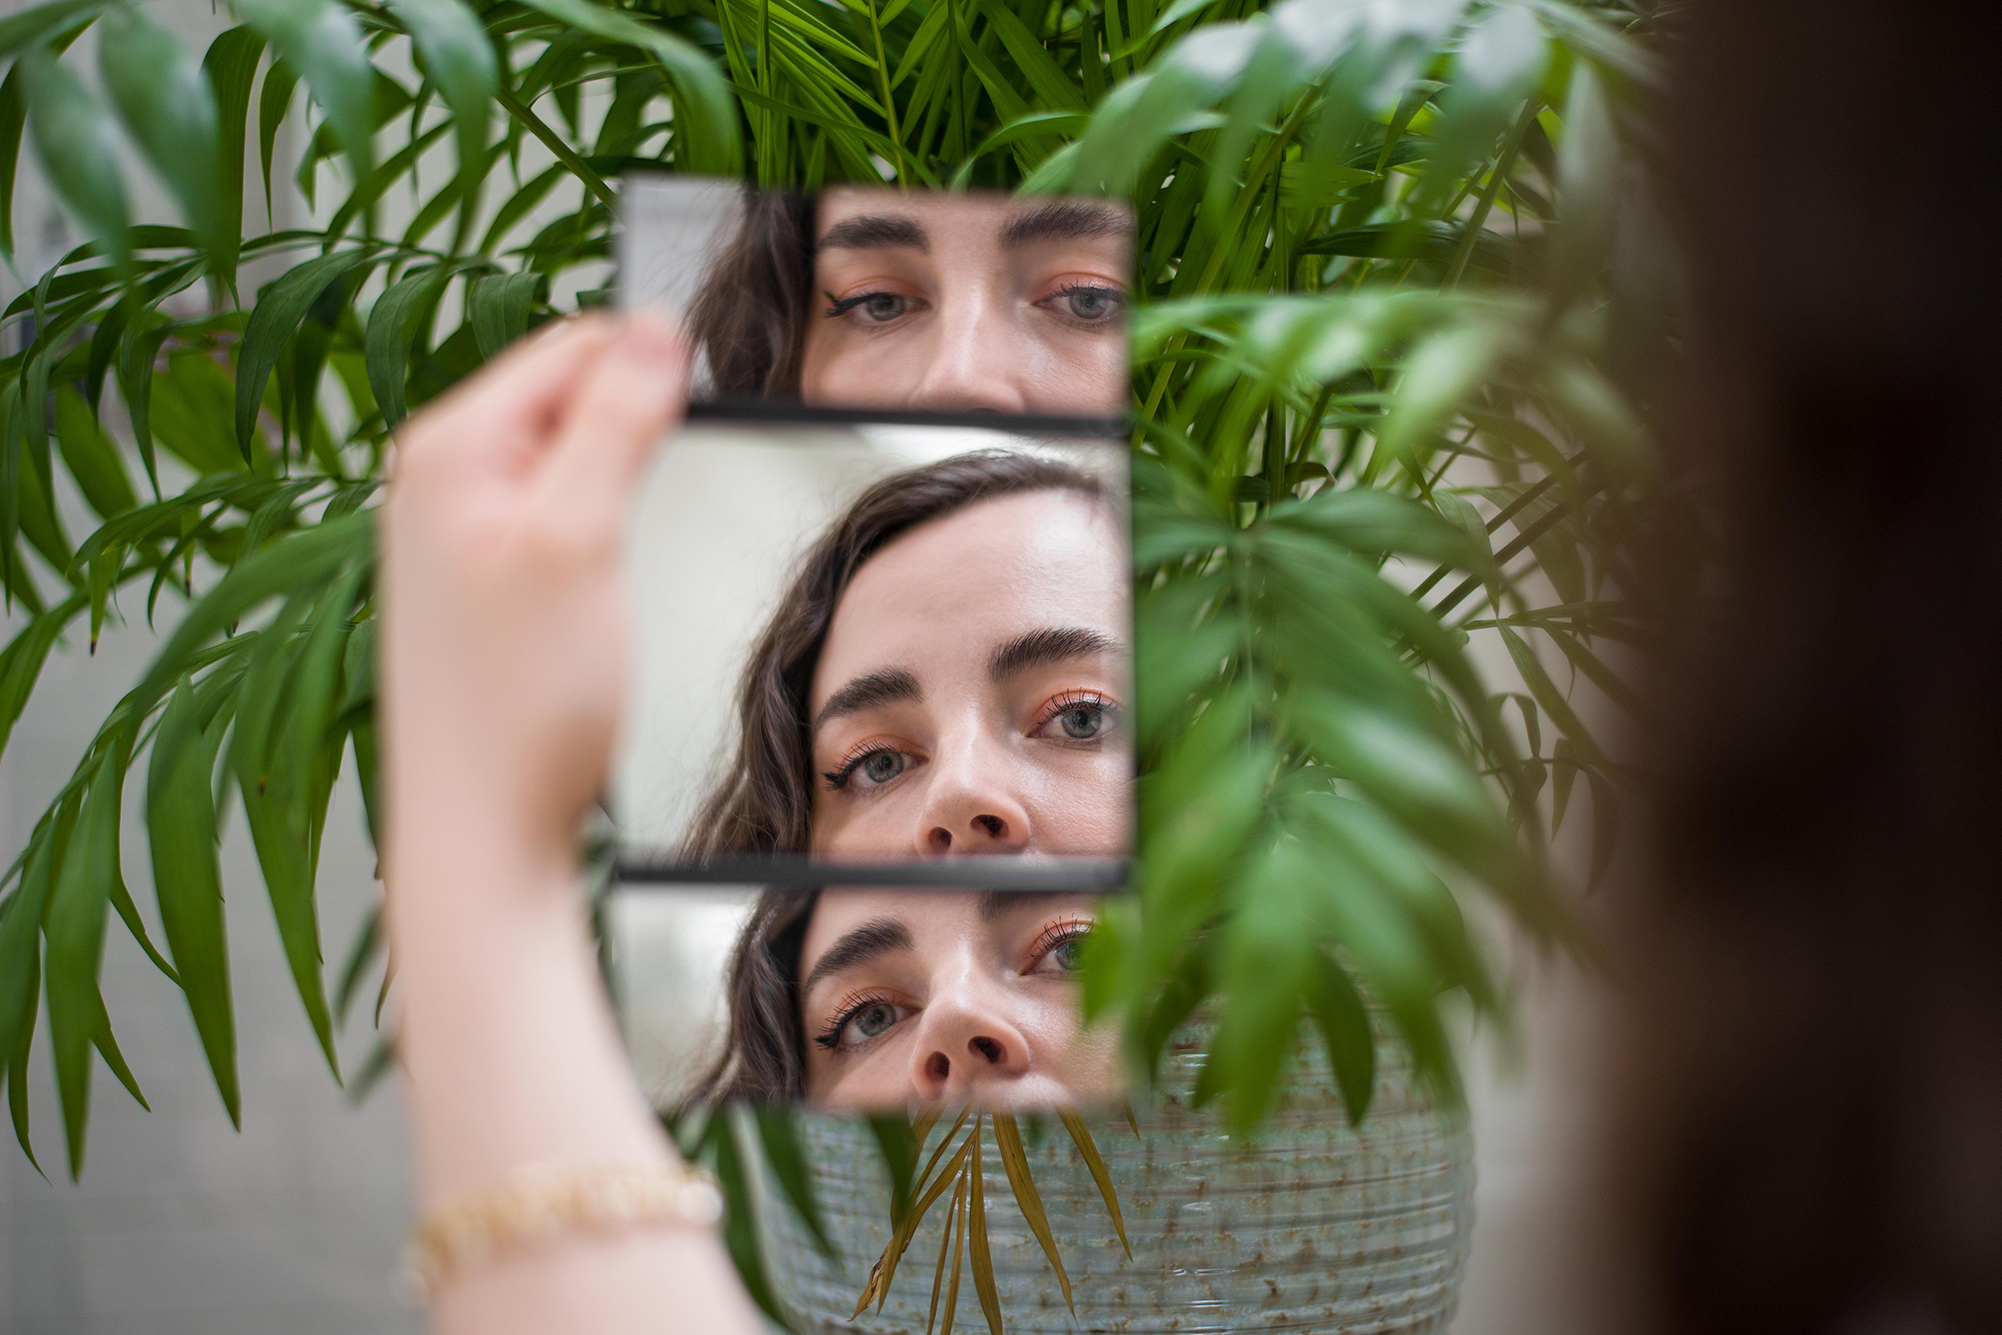
Compact mirrors come in all shapes and sizes, and can be used to create interesting portraits too. We used a small folding mirror to create the surreal portrait (above) as we carefully angled each mirror until our subject’s eyes were aligned in all three panels.

7. Find a new angle
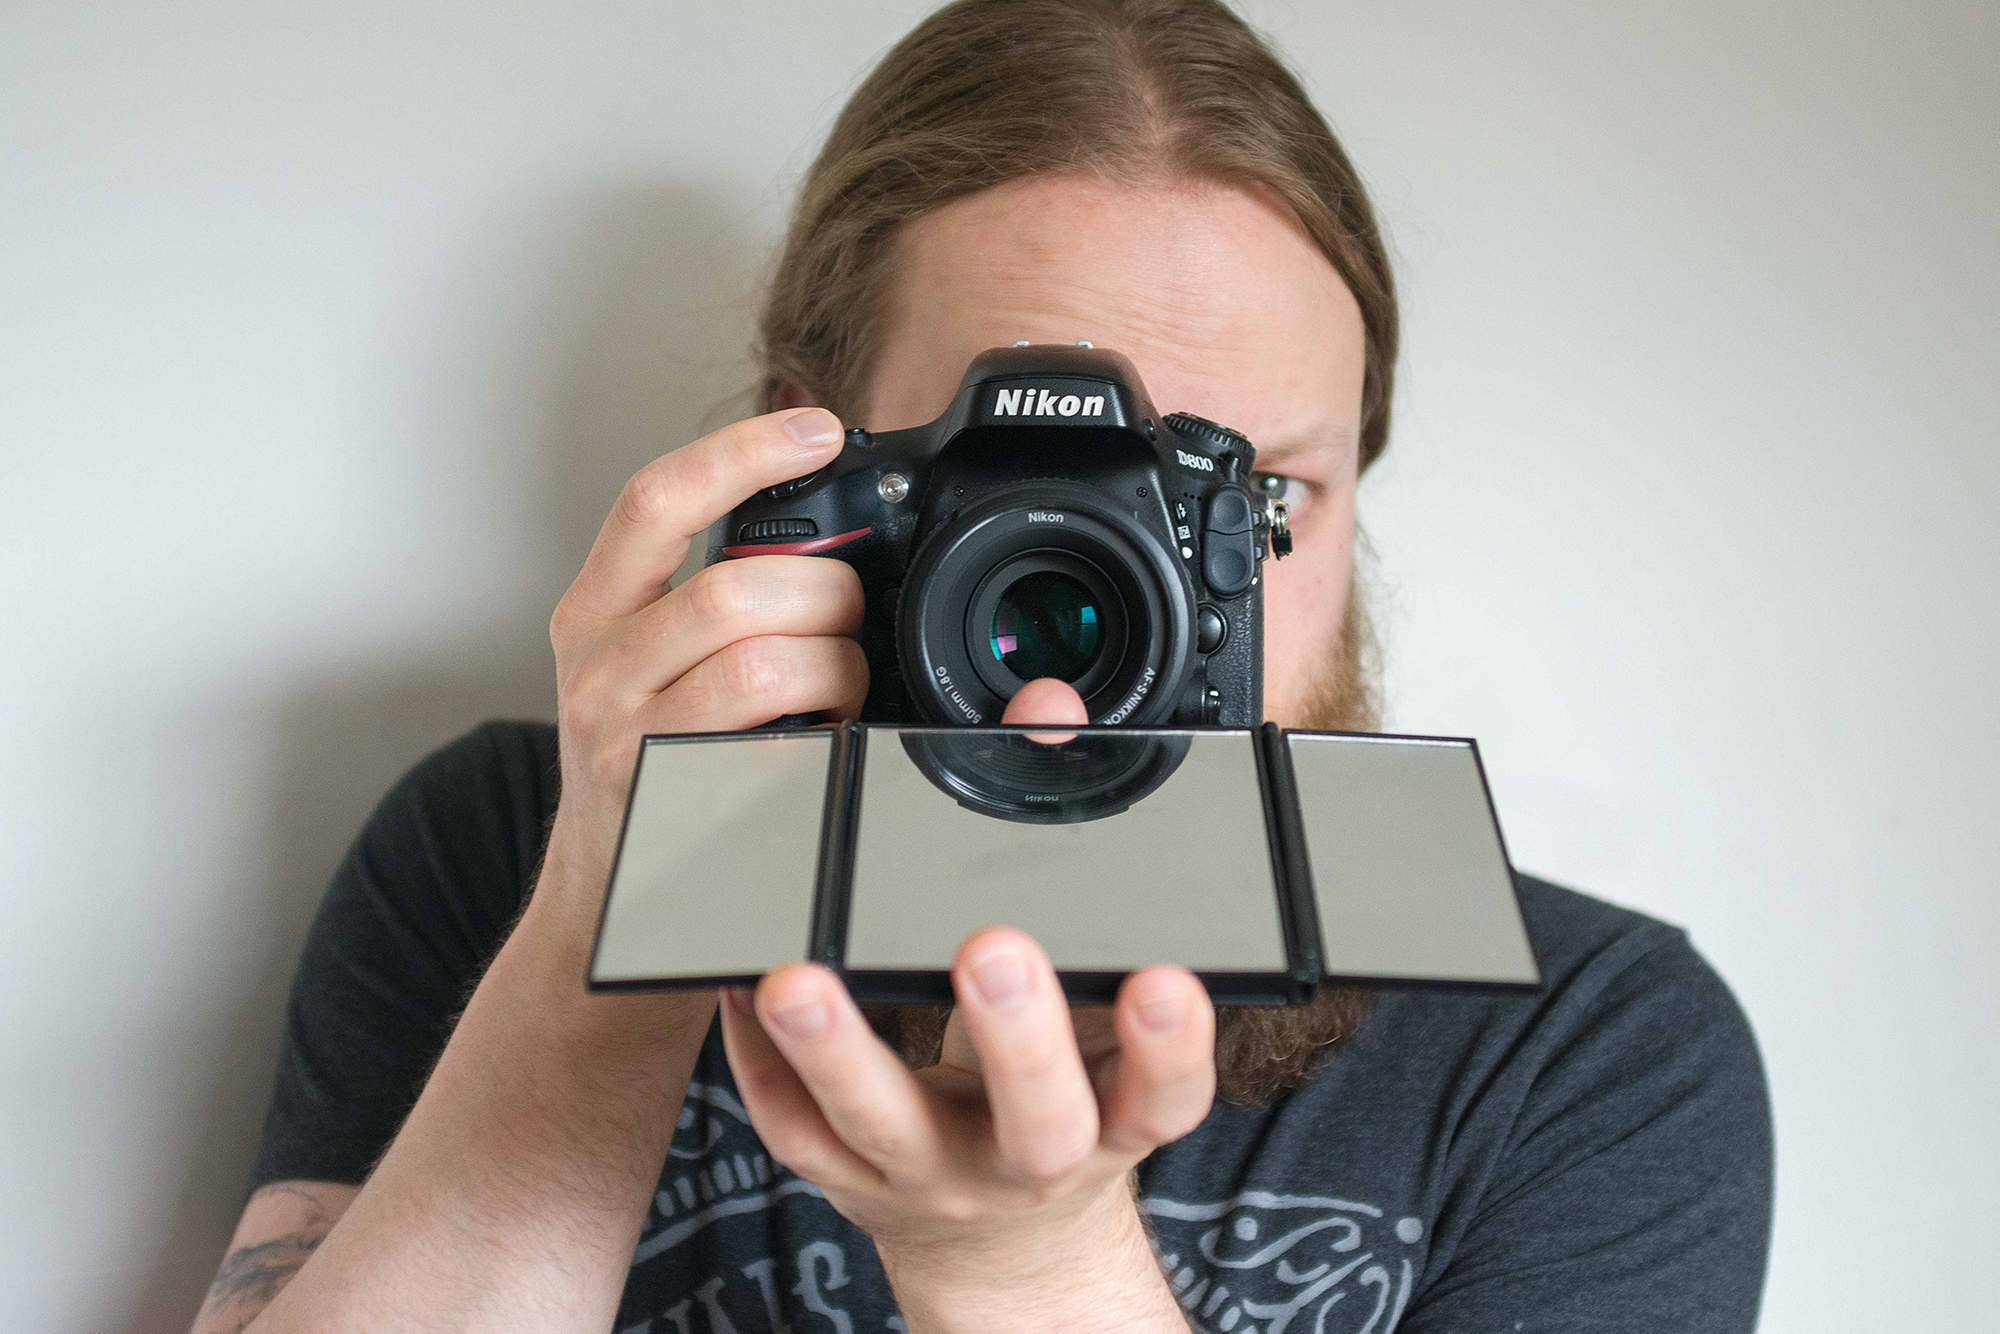
Experimenting with reflections is key. You could even try to position multiple compact mirrors so each one frames your subject or combine them with larger mirrors. Another neat trick is to hold a mirror beneath your lens. Angle it correctly and you can split the image horizontally, forming symmetrical reflections, much like a playing card.
N-Photo: The Nikon Magazine is a monthly publication that's entirely dedicated to Nikon users. For the best news, reviews, projects and more, subscribe to N-Photo today!
Read more:
Best Nikon portrait lenses
Best ring light
The best reflectors
Mike studied photography at college, honing his Adobe Photoshop skills and learning to work in the studio and darkroom. After a few years writing for various publications, he headed to the ‘Big Smoke’ to work on Wex Photo Video’s award-winning content team, before transitioning back to print as Technique Editor (later Deputy Editor) on N-Photo: The Nikon Magazine.
With bylines in Digital Camera, PhotoPlus: The Canon Magazine, Practical Photography, Digital Photographer, iMore, and TechRadar, he’s a fountain of photography and consumer tech knowledge, making him a top tutor for techniques on cameras, lenses, tripods, filters, and more. His expertise extends to everything from portraits and landscapes to abstracts and architecture to wildlife and, yes, fast things going around race tracks...

