How to use Instagram filters
Give your Instagram photos, videos and Stories a boost with easy-to-use in-built filters
Filters have been a big part of Instagram right from its launch. They’re a quick, simple and easy way to make adjustments to your photos and videos without requiring tonnes of specialist knowledge. But you can get even more from Instagram filters if you know just a little bit about how to get the most from them.
That’s where we come in, we’ll help you figure out how to apply filters, when to use them, what the best ones are, and how you can even save your filtered photos and videos for use outside of Instagram.
Keep reading to find out more…
1. What are Instagram filters?
Filters on Instagram are one-click presets that you can use on your posts (and stories) to quickly change the look of your imagery. There’s lots of reasons to use them, from quickly improving how your image looks to creating a uniform look across your entire feed. You might also just want to use them for fun, experimenting with the different options available for each piece of content you upload.
2. What types of Instagram filter are there?
You can apply filters either to your Posts which appear in your main feed, or to Stories - the two types of filters have different names and different effects. There are some filters which are quite extreme in how they change your image, while some are more subtle. Some can be used to convert your images to black and white, too.

3. What are the best Instagram filters?
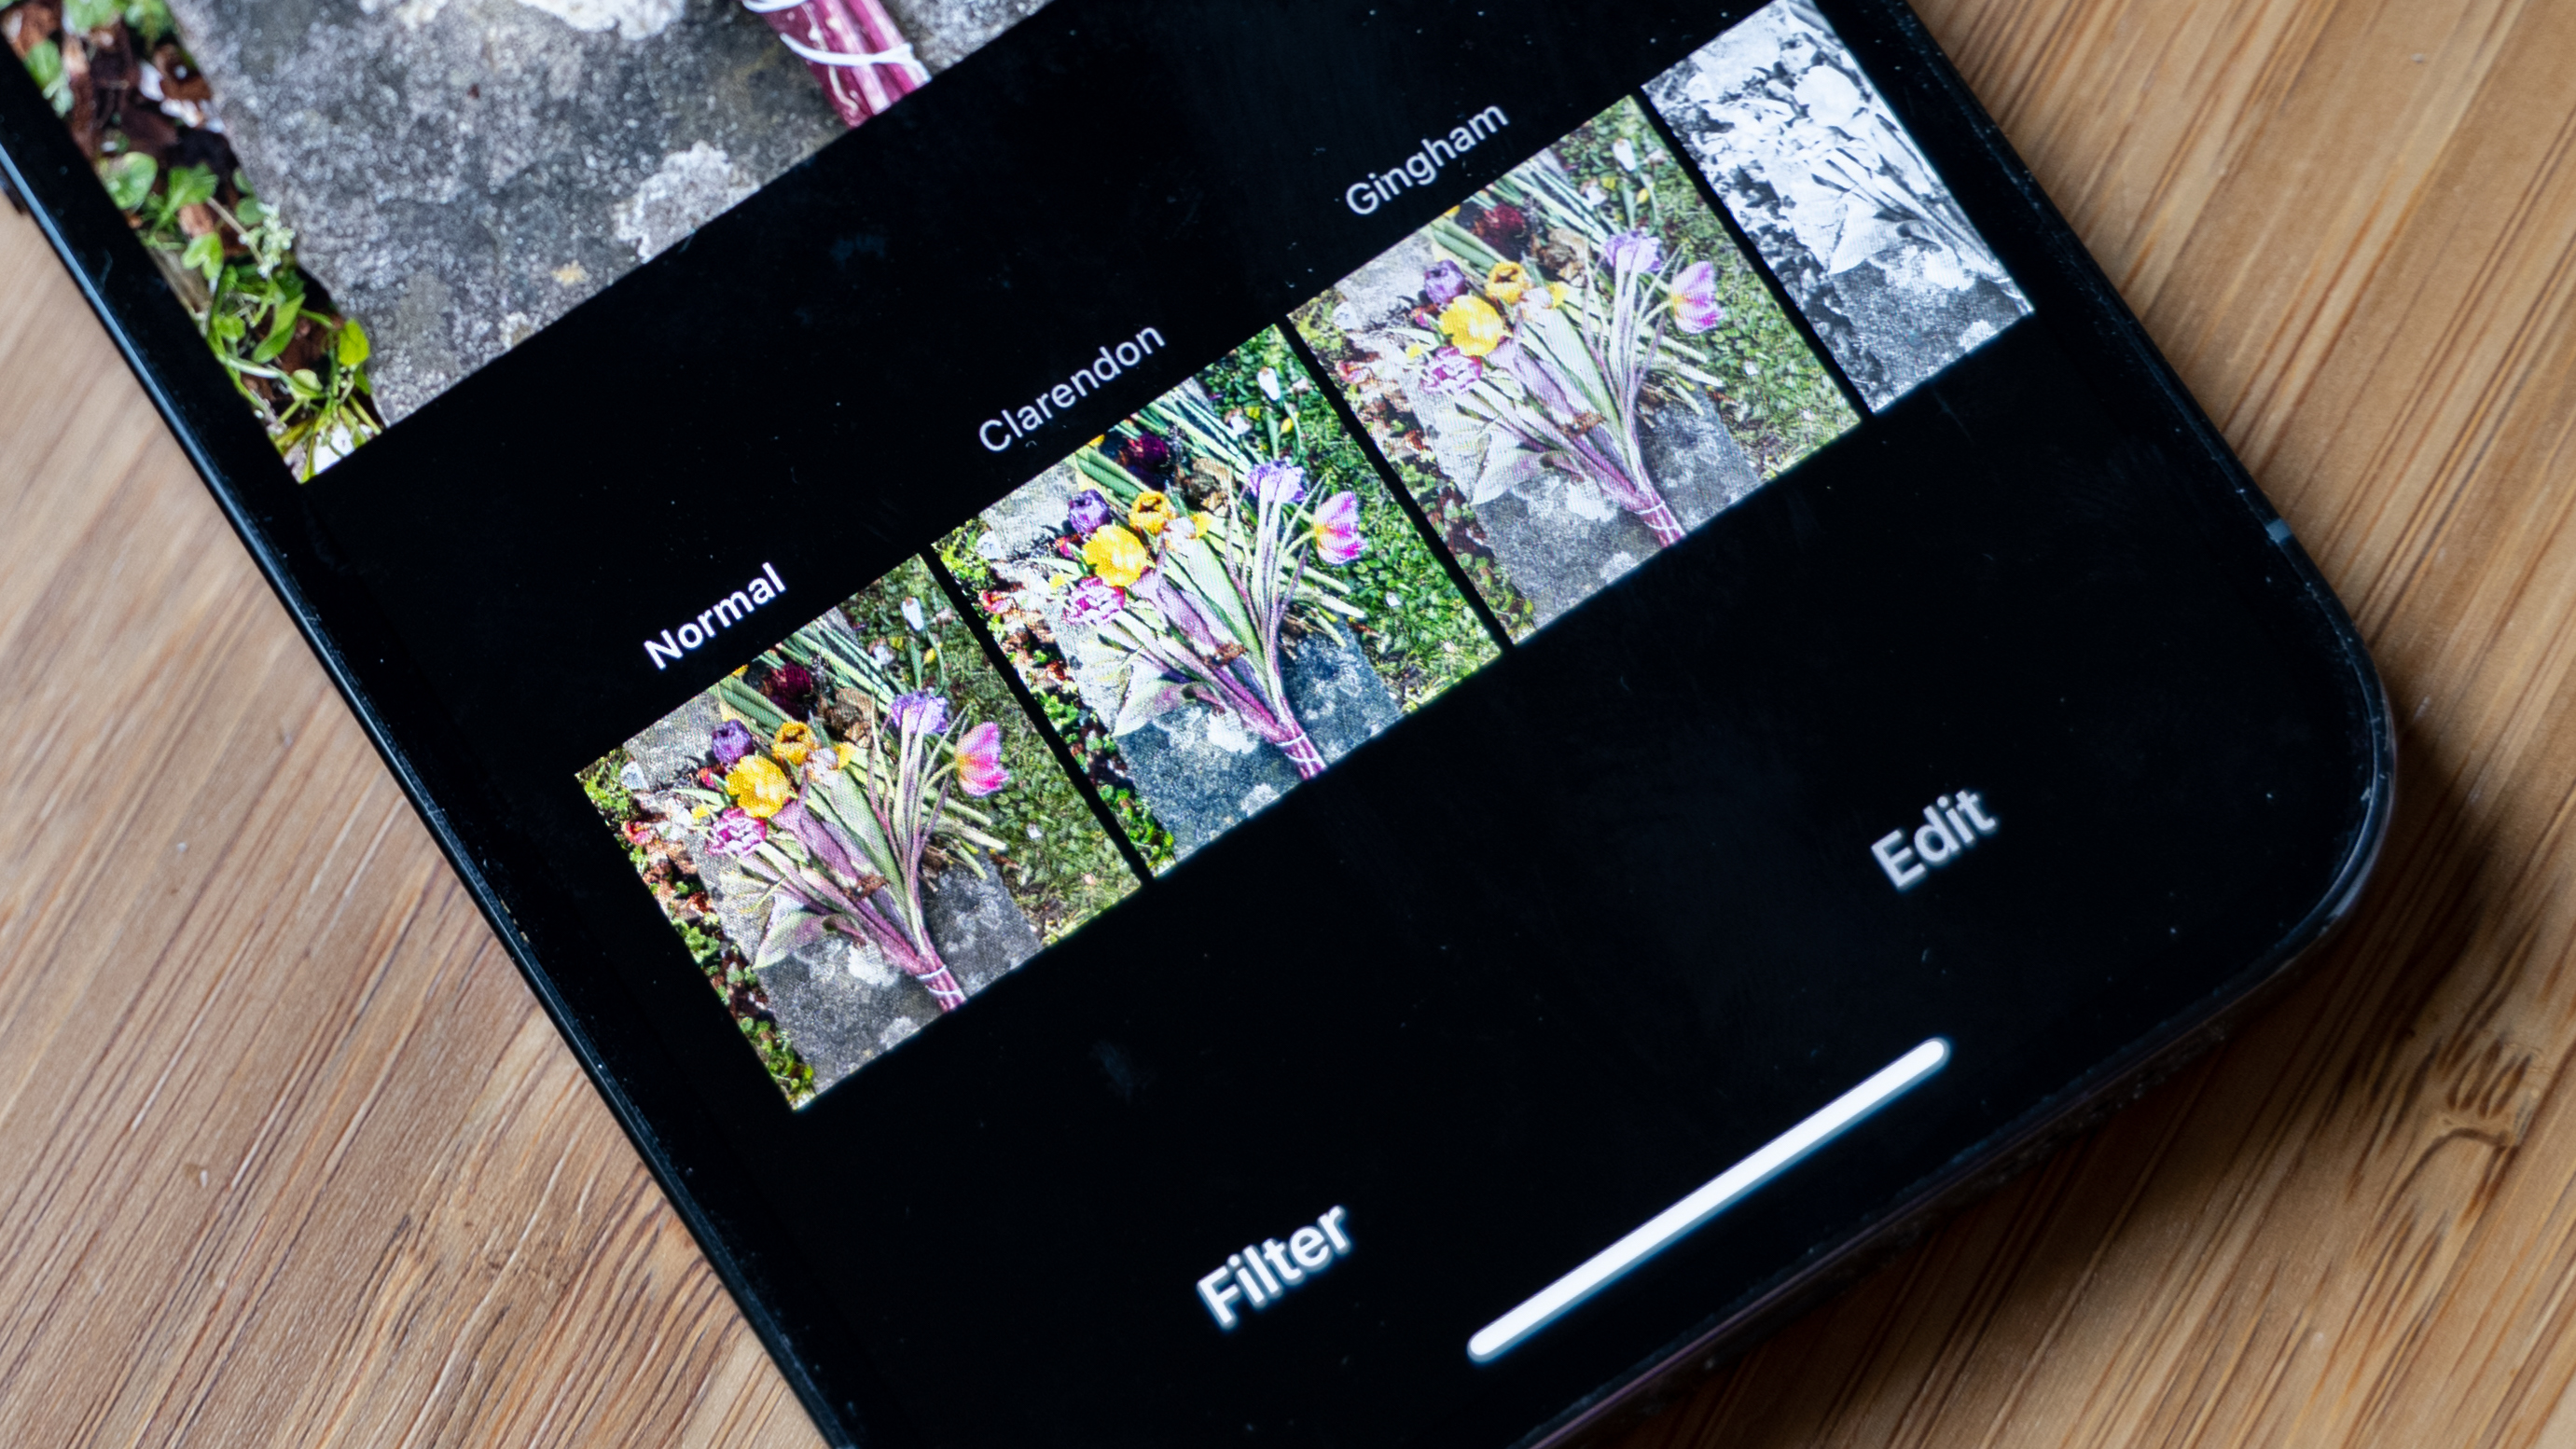
The “best” Instagram filters is very subjective, as it will all depend on the type of look you want to achieve. That said, when it comes to Posts, it’s said that the Clarendon filter is the most popular across Instagram - this is likely because it gives a bright and vibrant appearance to your shots, and works will across multiple genres. Sutro adds a nice vignette that some will like (and others may well hate), while Valencia gives a lovely warm appearance which is particularly nice for landscapes. It’s worth experimenting with all of the different filters to find the best one for you, or your type of photography.
4. How do you apply an Instagram filter?
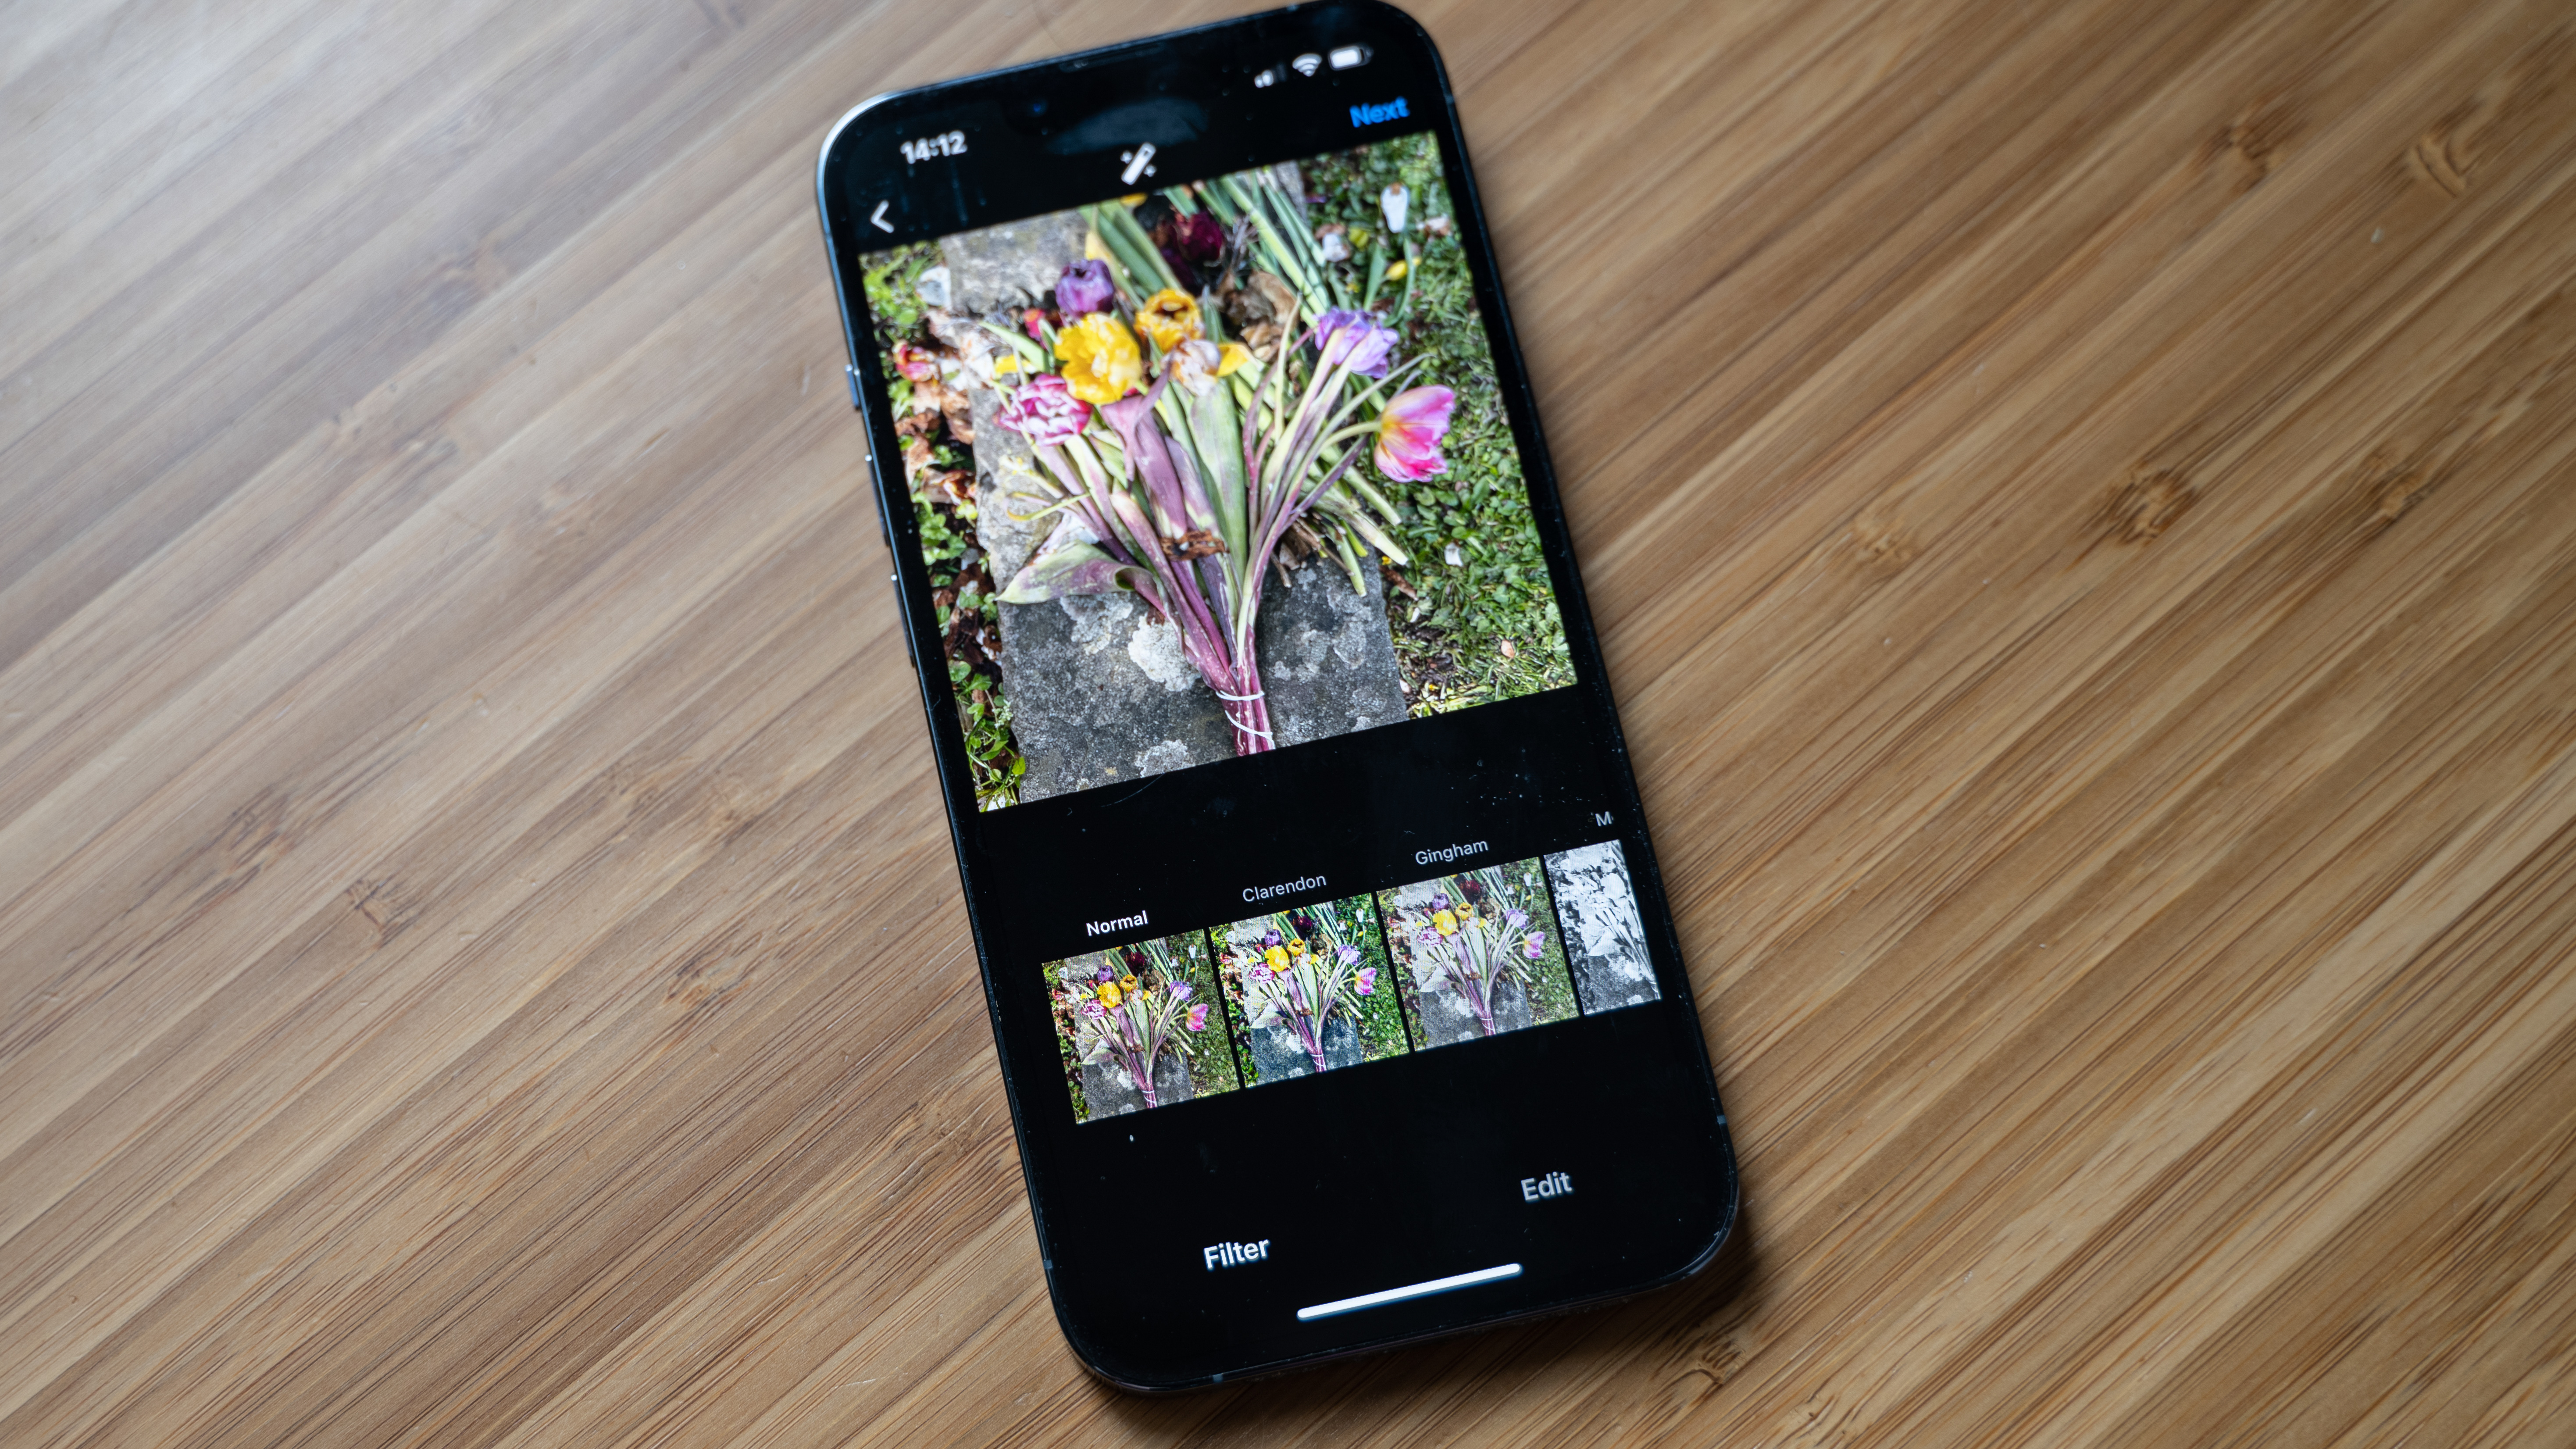
It’s very quick and easy to apply a filter to a Post. Once you’ve tapped Create, then Post, and chosen a photo, tap Next to be taken to the editing options. Filters will be displayed first and you can swipe to browse the various options available. By default, you should find that Clarendon is the first option, with other options such as Lark, Juno, Amaro, Valencia, Willow, Inkwell and so on all being displayed. As you swipe at the bottom of the screen, the icons displayed for the filter will show a quick preview of how the filter will look for your image - but you can also tap it to apply it to the large preview area. Tap and hold your finger on the large preview area to see how your image looked without the filter applied, then remove it to see the filter looks. This is a good way to quickly compare and contrast how your original looks compared with the filtered version.
5. What should you not use Instagram filters for?
There’s really no hard and fast rules about when you should and shouldn’t use filters. Some people like to use them for every post, while others reserve them for more infrequent posts. There’s also a popular hashtag which makes a point that the image is unfiltered, perhaps to highlight how bright or colorful something looks in reality. In such cases, users might tag the content with #nofilter and forego any filter or editing. If you’re a photographer who has spent time editing your shots in software such as Photoshop, you might also consider filters to be overkill here too.
6. Can I save or adjust my favorite Instagram filters?
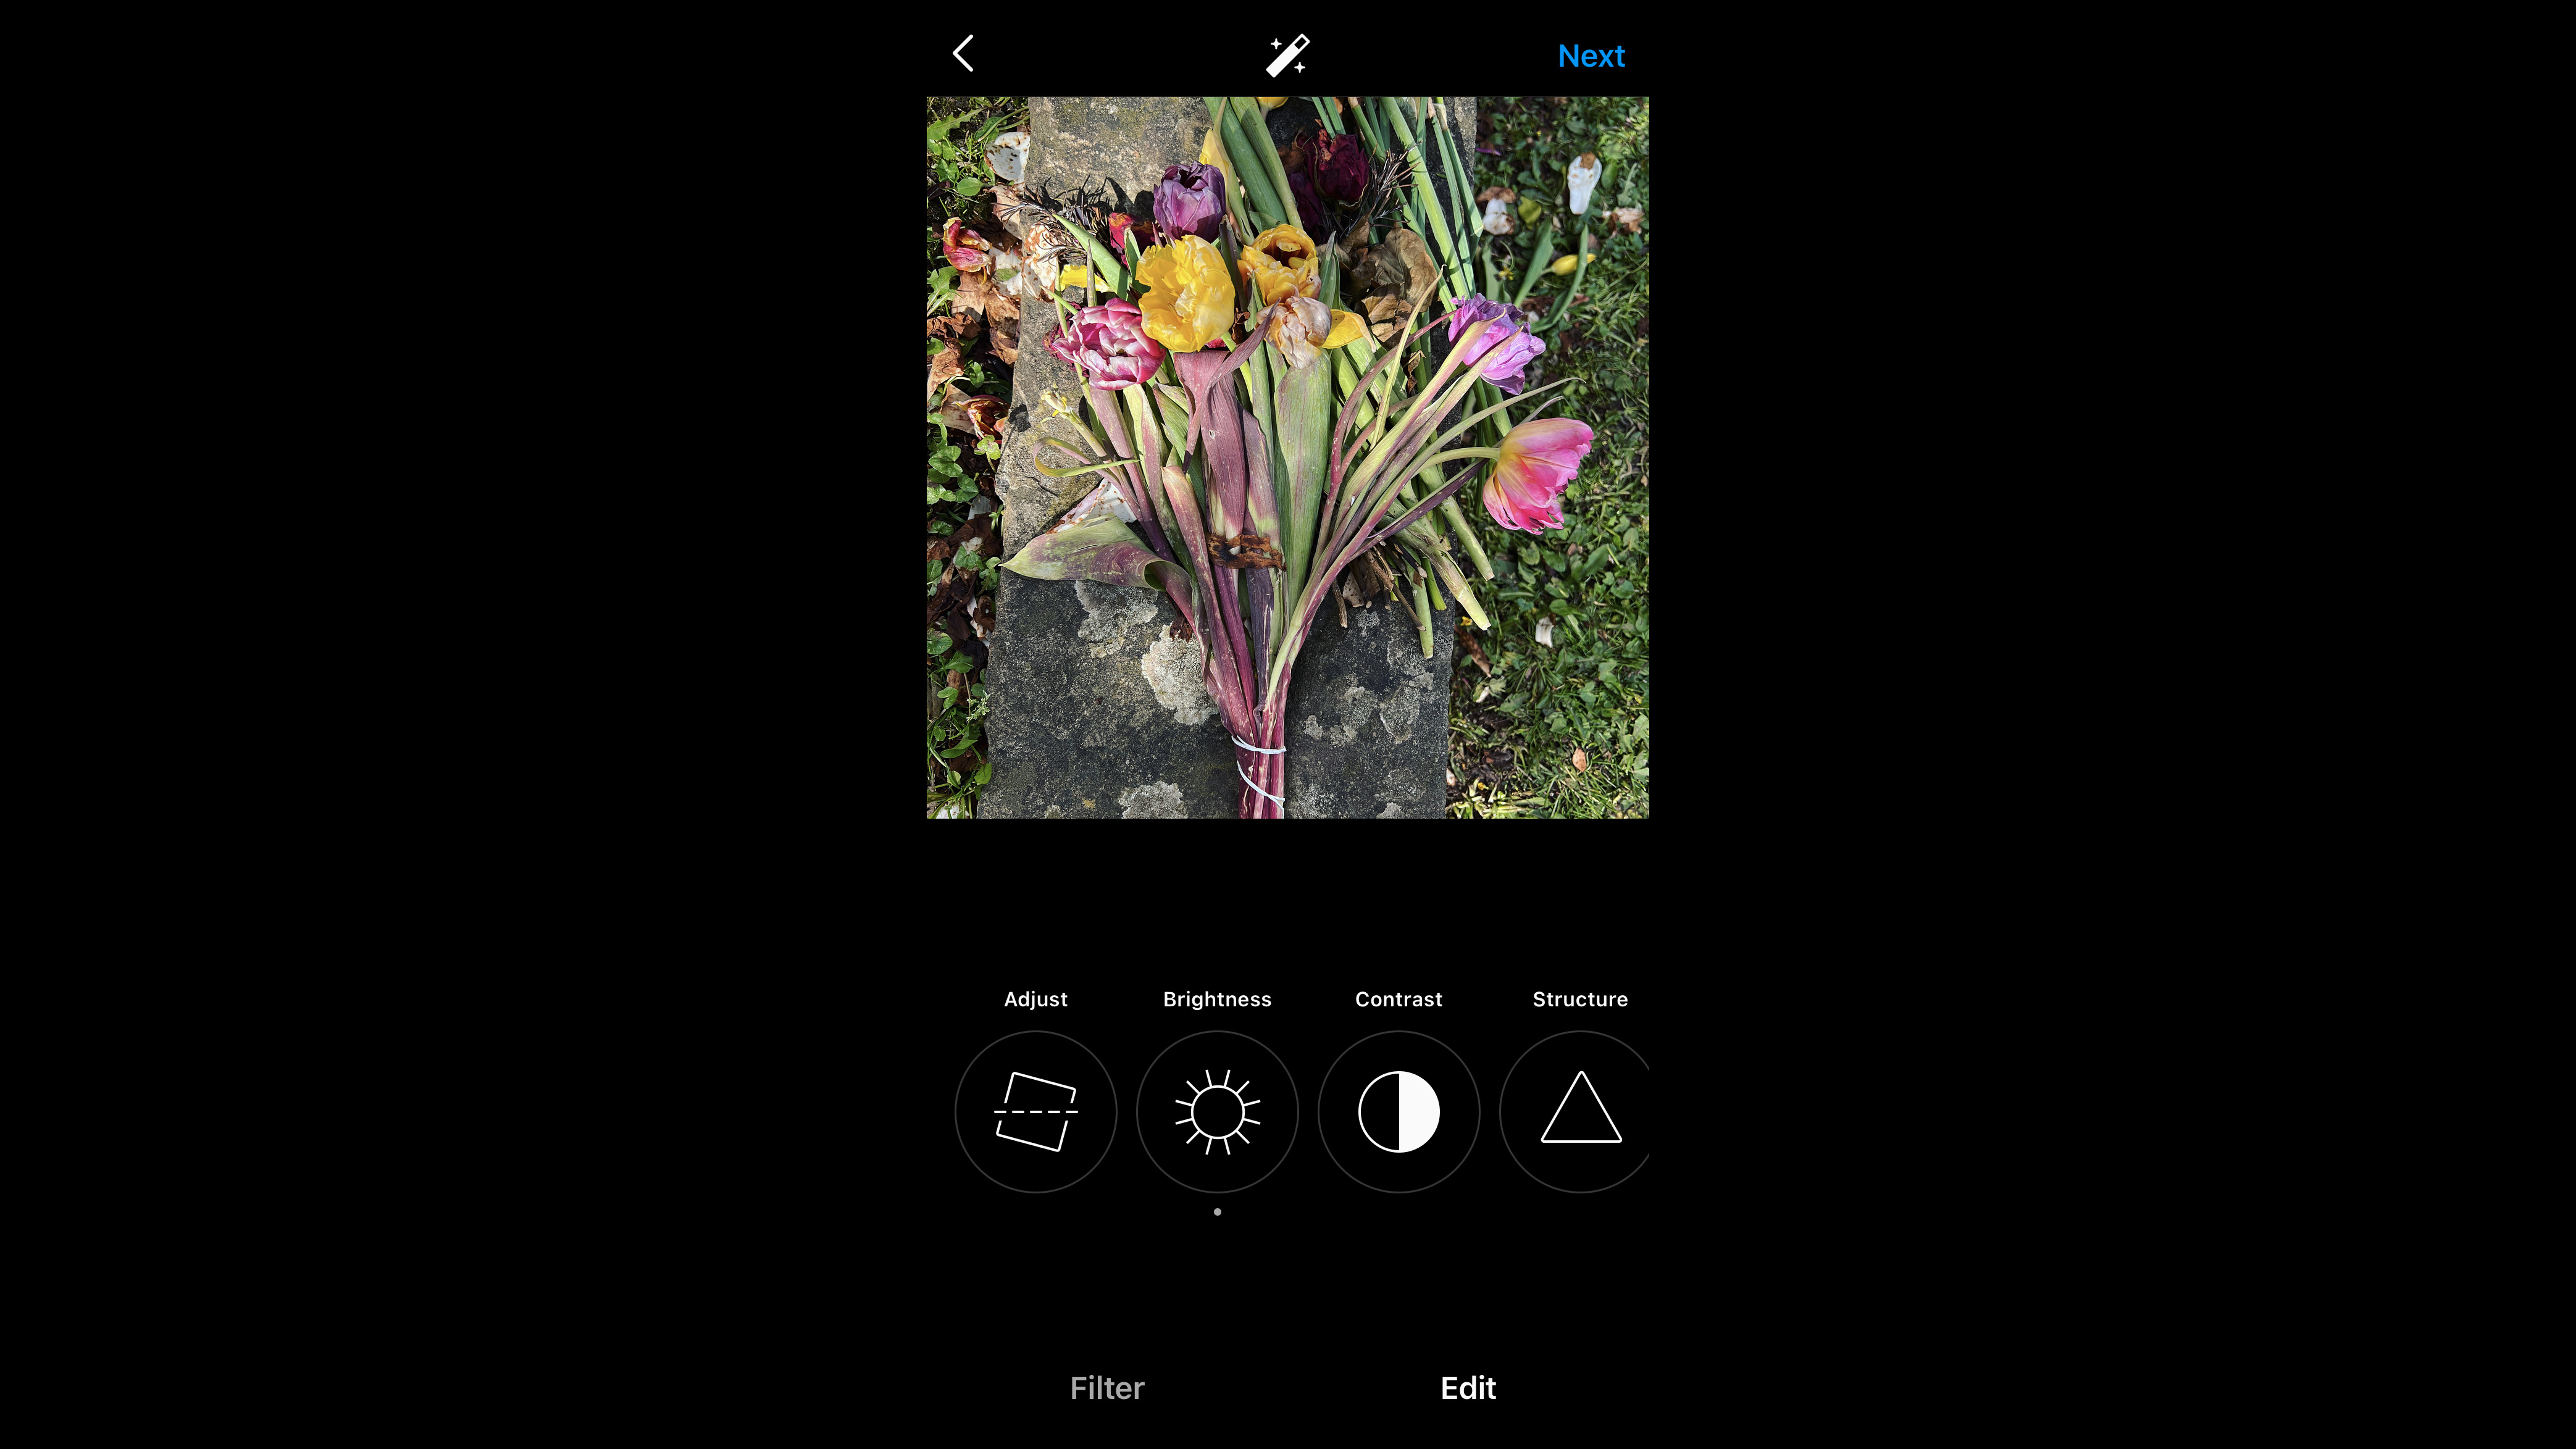
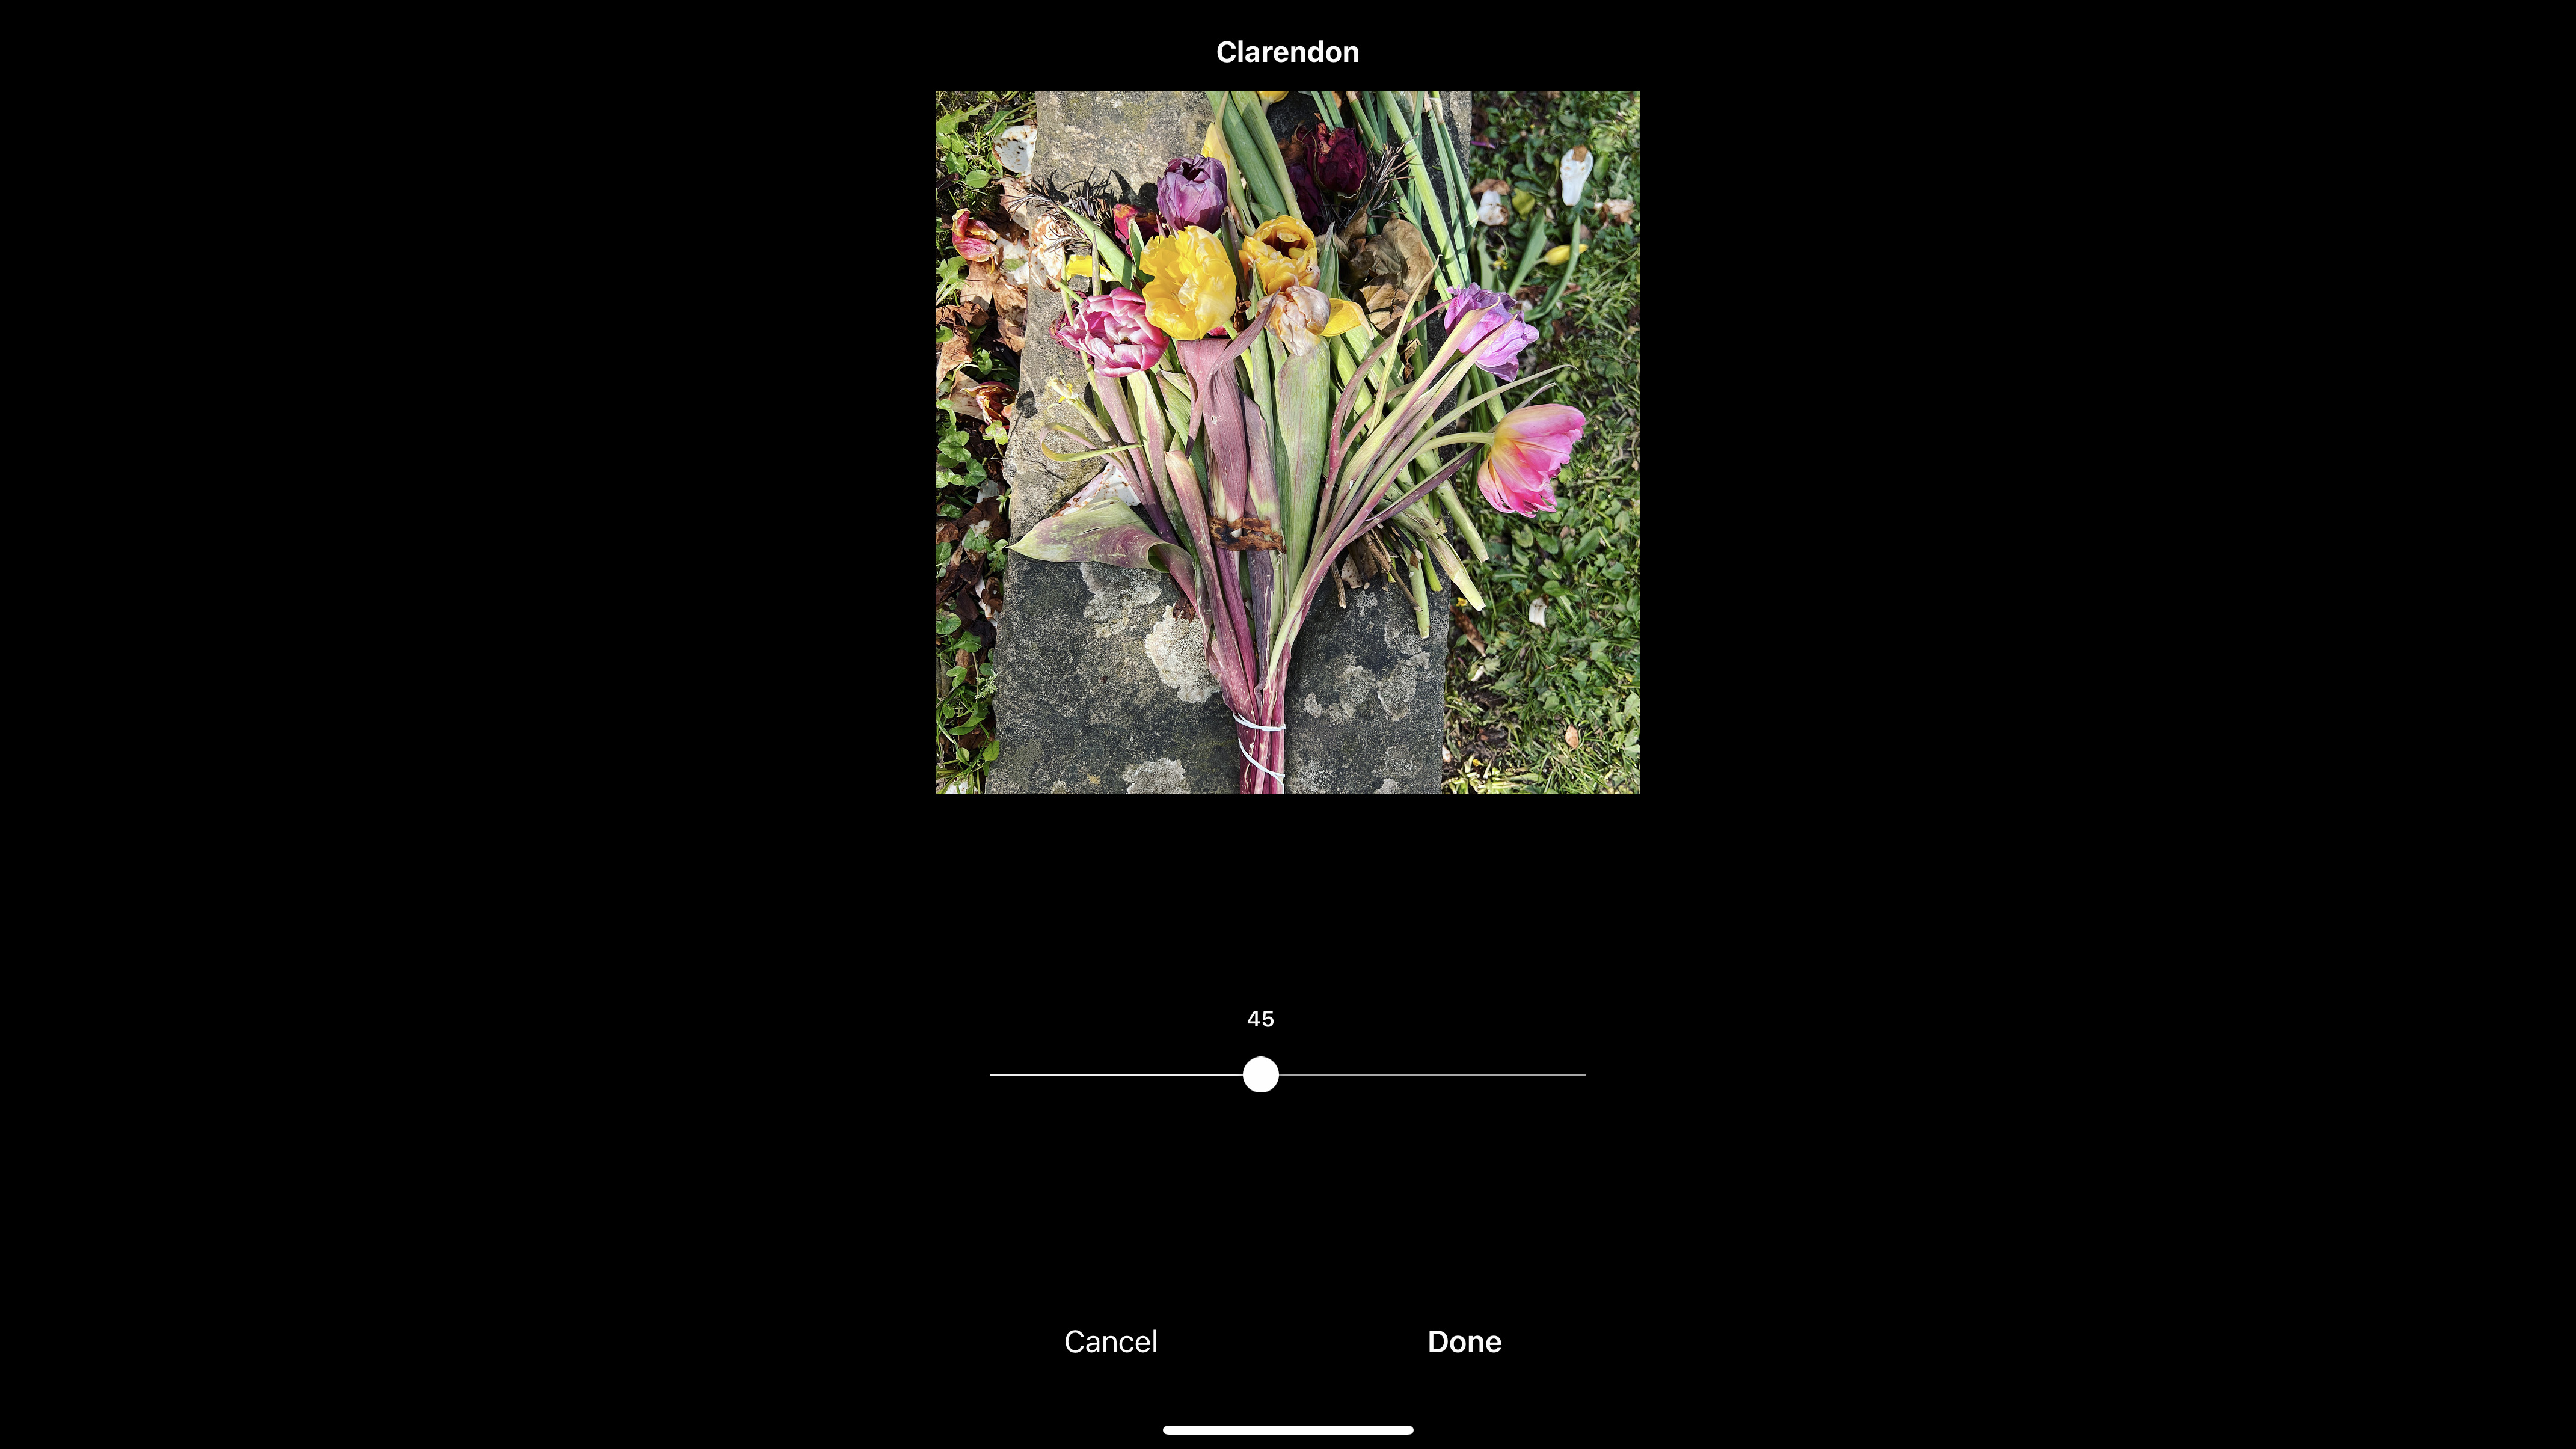
There’s limited adjustments available directly to filters, but you can change their intensity, to create a subtler effect. To do this, tap on the filter you want to apply, then tap it again to reveal an intensity slider. This is graded 0-100, giving you the flexibility to dial in (or remove) as much as you need. You can also tap the “Edit” tab to make changes to parameters such as Brightness, Contrast, Saturation and so on, which will have an impact on your Instagram filter too. Sadly there’s no way to save your adjustments so you can use it on another photo.
You can change the order of display for the filters at the bottom of the Instagram screen. This can be helpful if your favorite is one which is near the end of the selection and you use it frequently. To change the order around, press and hold the filter and drag it to the position you want it to be.
7. Can I create my own Instagram filters?
Sadly this is not something that you can do within the app just now. You can create your own presets, but if you’re not sure how to do that, lots of people sell presets which you can use for software and apps such as Lightroom, which you can create outside of the app, ready for upload into Instagram.
8. Should I use filters for every post on Instagram?
Again, this is something which comes down to personal preference. Some like to use the same filter for every post to create a uniform look, some like to use different filters depending on the subject, or how the filter makes the image look. It pays to spend some time thinking about how you want your overall feed to look ahead of time, especially if you’re setting up a new Instagram account, or you’re hoping to take your account in a different direction. You might want to consider, for example, having different Instagram accounts for different purposes - such as a personal account, an account for commercial work, an account for a specific genre and so on. Each one might use different filters (or no filters at all).
9. Can I save my filtered photos and videos to my camera roll?
Yes. If you’re using an iPhone, you should find that your filtered and posted images are saved directly to your camera roll. Android users will need to turn it on the Settings menu (Settings > Account > Save Posted Videos).
10. Can I use filters for my Instagram stories too?
Yes, although they’re not the same as the Filters available for Posts. Once you’ve added a Photo / Video to your story, swipe left or right to add a filter, swiping again to move between the different options available. There’s a more limited choice of Filters here, and you can’t edit them, but they’re still a good way to give your content a different look. You can also add effects if you’re recording content directly to your stories, rather than adding photos or videos which already exist in your Camera Roll. These are a bit like Filters, but instead do something fun such as adding a starburst effect, or adding different eyelashes to your face and so on. They can be accessed by tapping the circular icons at the bottom of the screen - with lots to swipe through and experiment with.
More Instagram guides
The best camera deals, reviews, product advice, and unmissable photography news, direct to your inbox!
Amy Davies has been writing about photography since 2009, and used to be a colleague on Digital Camera magazine and Techradar.com. She now works as a freelance journalist writing for nclude Amateur Photographer, Stuff, Wired, T3, Digital Photographer, Digital Camera World, TechRadar, Trusted Reviews, ePhotozine and Photography Blog. She has an undergraduate degree in journalism and a postgraduate diploma in magazine journalism, both from Cardiff Journalism School.
