Home photography projects: Professional-looking product photography
Get great looking photos for your eBay listings or online store with professional looking product photography at home
The best camera deals, reviews, product advice, and unmissable photography news, direct to your inbox!
You are now subscribed
Your newsletter sign-up was successful
Watch video: Home photography ideas – Pro-looking product photography
Photography projects at home
• Home photography ideas
Useful home photography kit
• Best tripods
• Best lighting kits
• Best reflectors
• Best macro lenses
While we're all stuck indoors, it's a great time to clear out the cupboards and list some stuff on eBay. And if you run an online store, you can keep things ticking over by refreshing your shop images or adding new shots of new products.
A great photograph can do more to sell a product than any amount of sales spiel, so capturing quality shots is vital if you want to get your product noticed and make it look inviting and clickable amid all those other listings.
• Best camera for product photography
You’ll be pleased to hear that it is actually quite simple to capture a clean-looking shot of a product set against a white background. Better still, you don’t need an expensive or fancy studio setup to take it! In this project we’re going to show you how to create a DIY table-top studio using little more than a large sheet of white paper and some tinfoil.
The key to successful and clean product photography is having a seamless white backdrop with no horizon lines in the background to break it up. You can create this by making an infinity curve out of a sheet of white paper and positioning it in place, then sitting your product on it.
Using diffused natural light you can light your product and simply use a reflector to bounce some light back in the shadows. If you don’t have a reflector, or yours is too big for the job, then we’ll show you how to create one using some card with foil wrapped round it.
The best camera deals, reviews, product advice, and unmissable photography news, direct to your inbox!
Once you’ve got your product image, we’ll then show you how to make the finishing touches in Photoshop Elements so they’re ready to go!
Get set up for product photography at home
01 Natural light
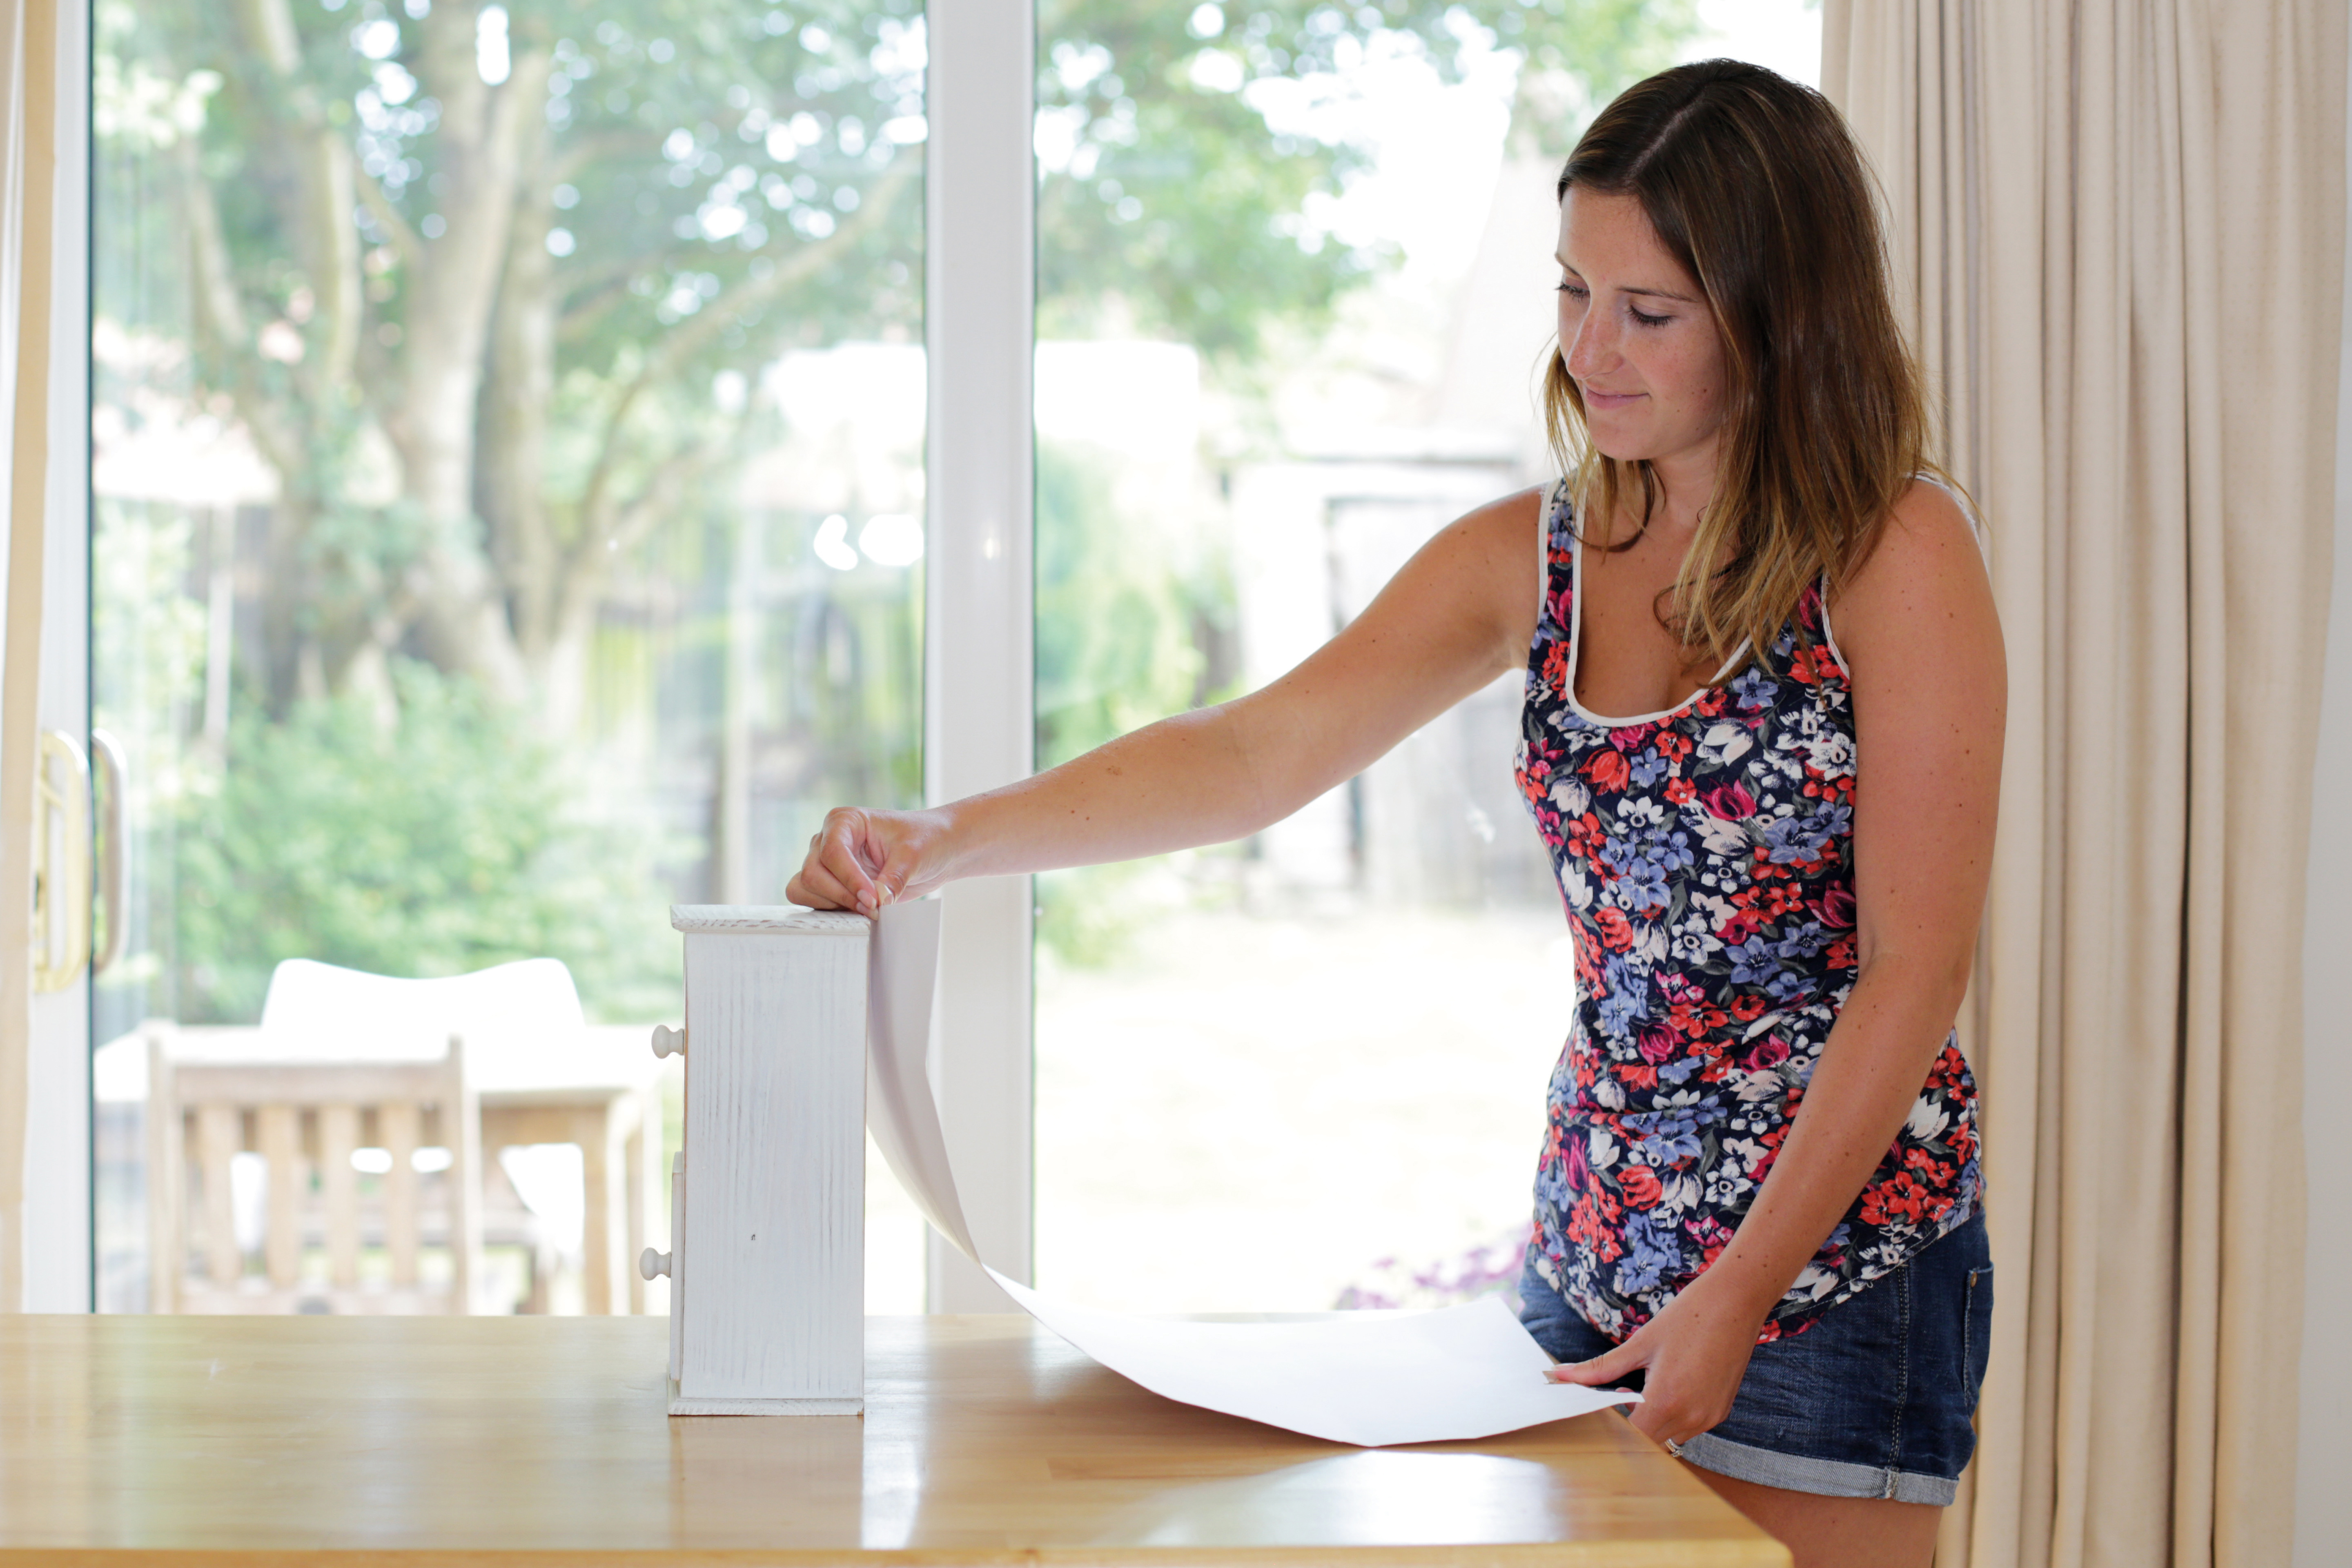
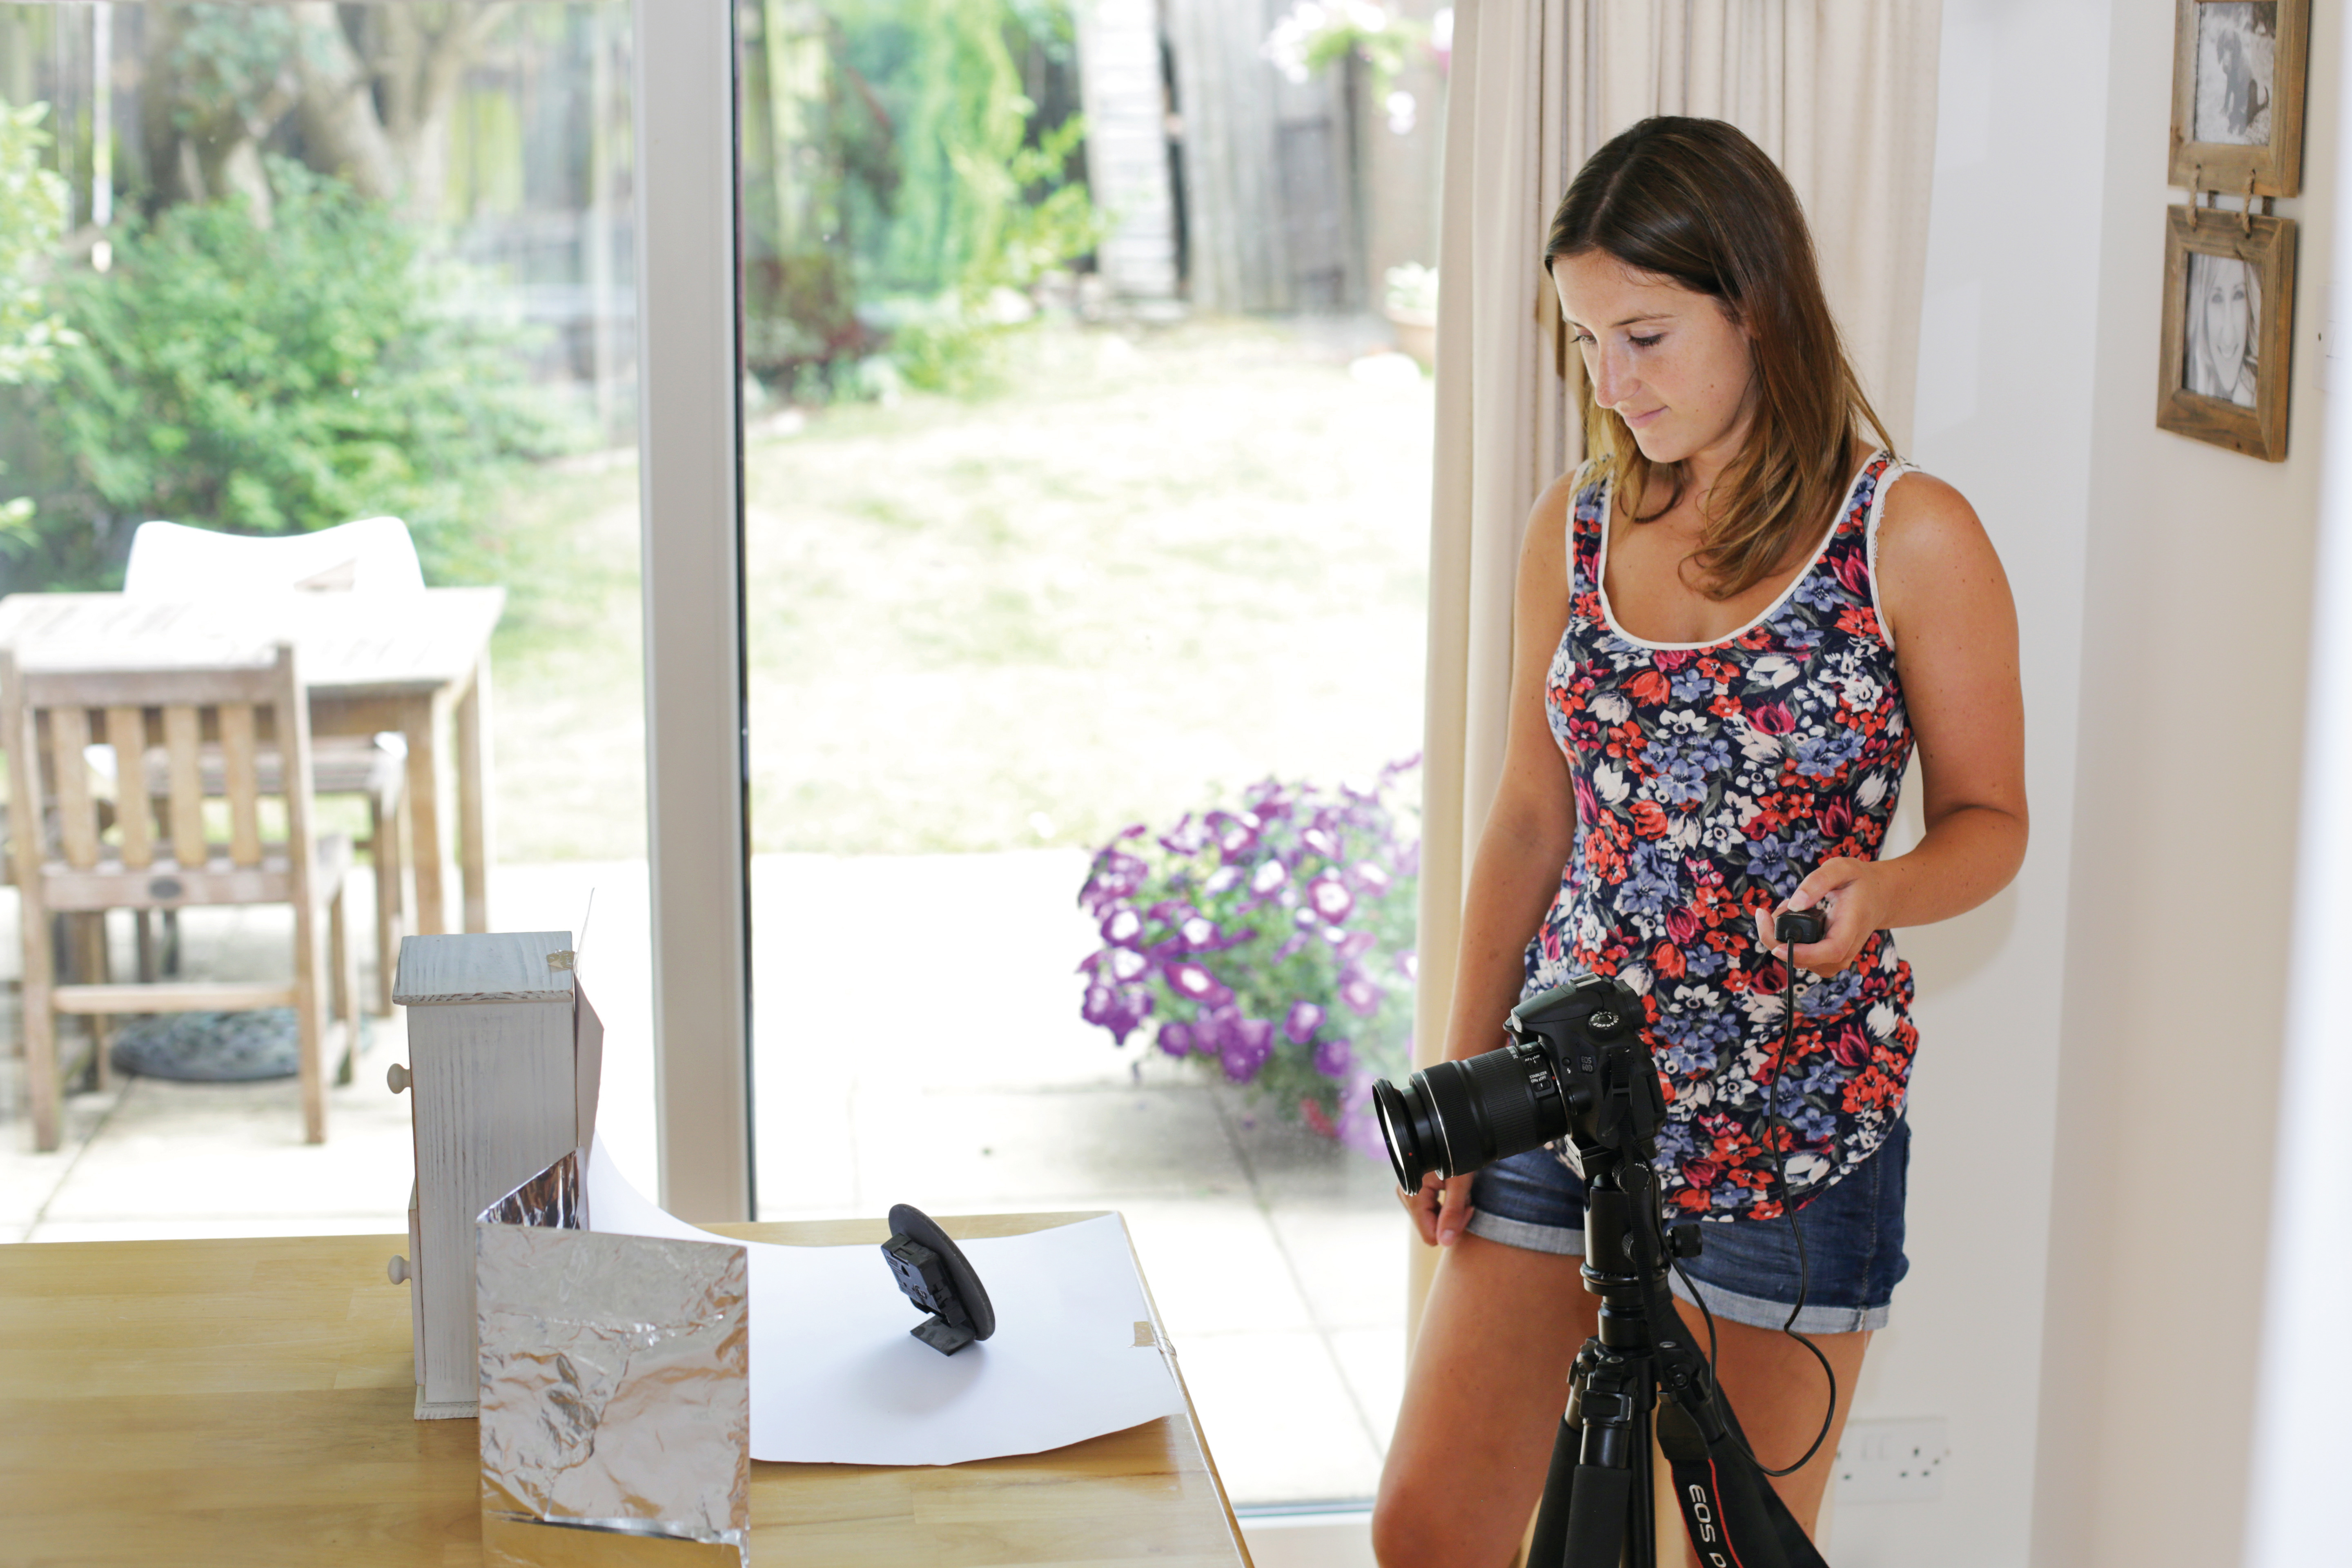
Set up near a window with plenty of natural, diffused light. For the backdrop, create an infinity curve for a background free from distractions by using a large sheet of thick white paper or card. Lean it up against something secure, and hold it in place with some tape.
02 Camera setup
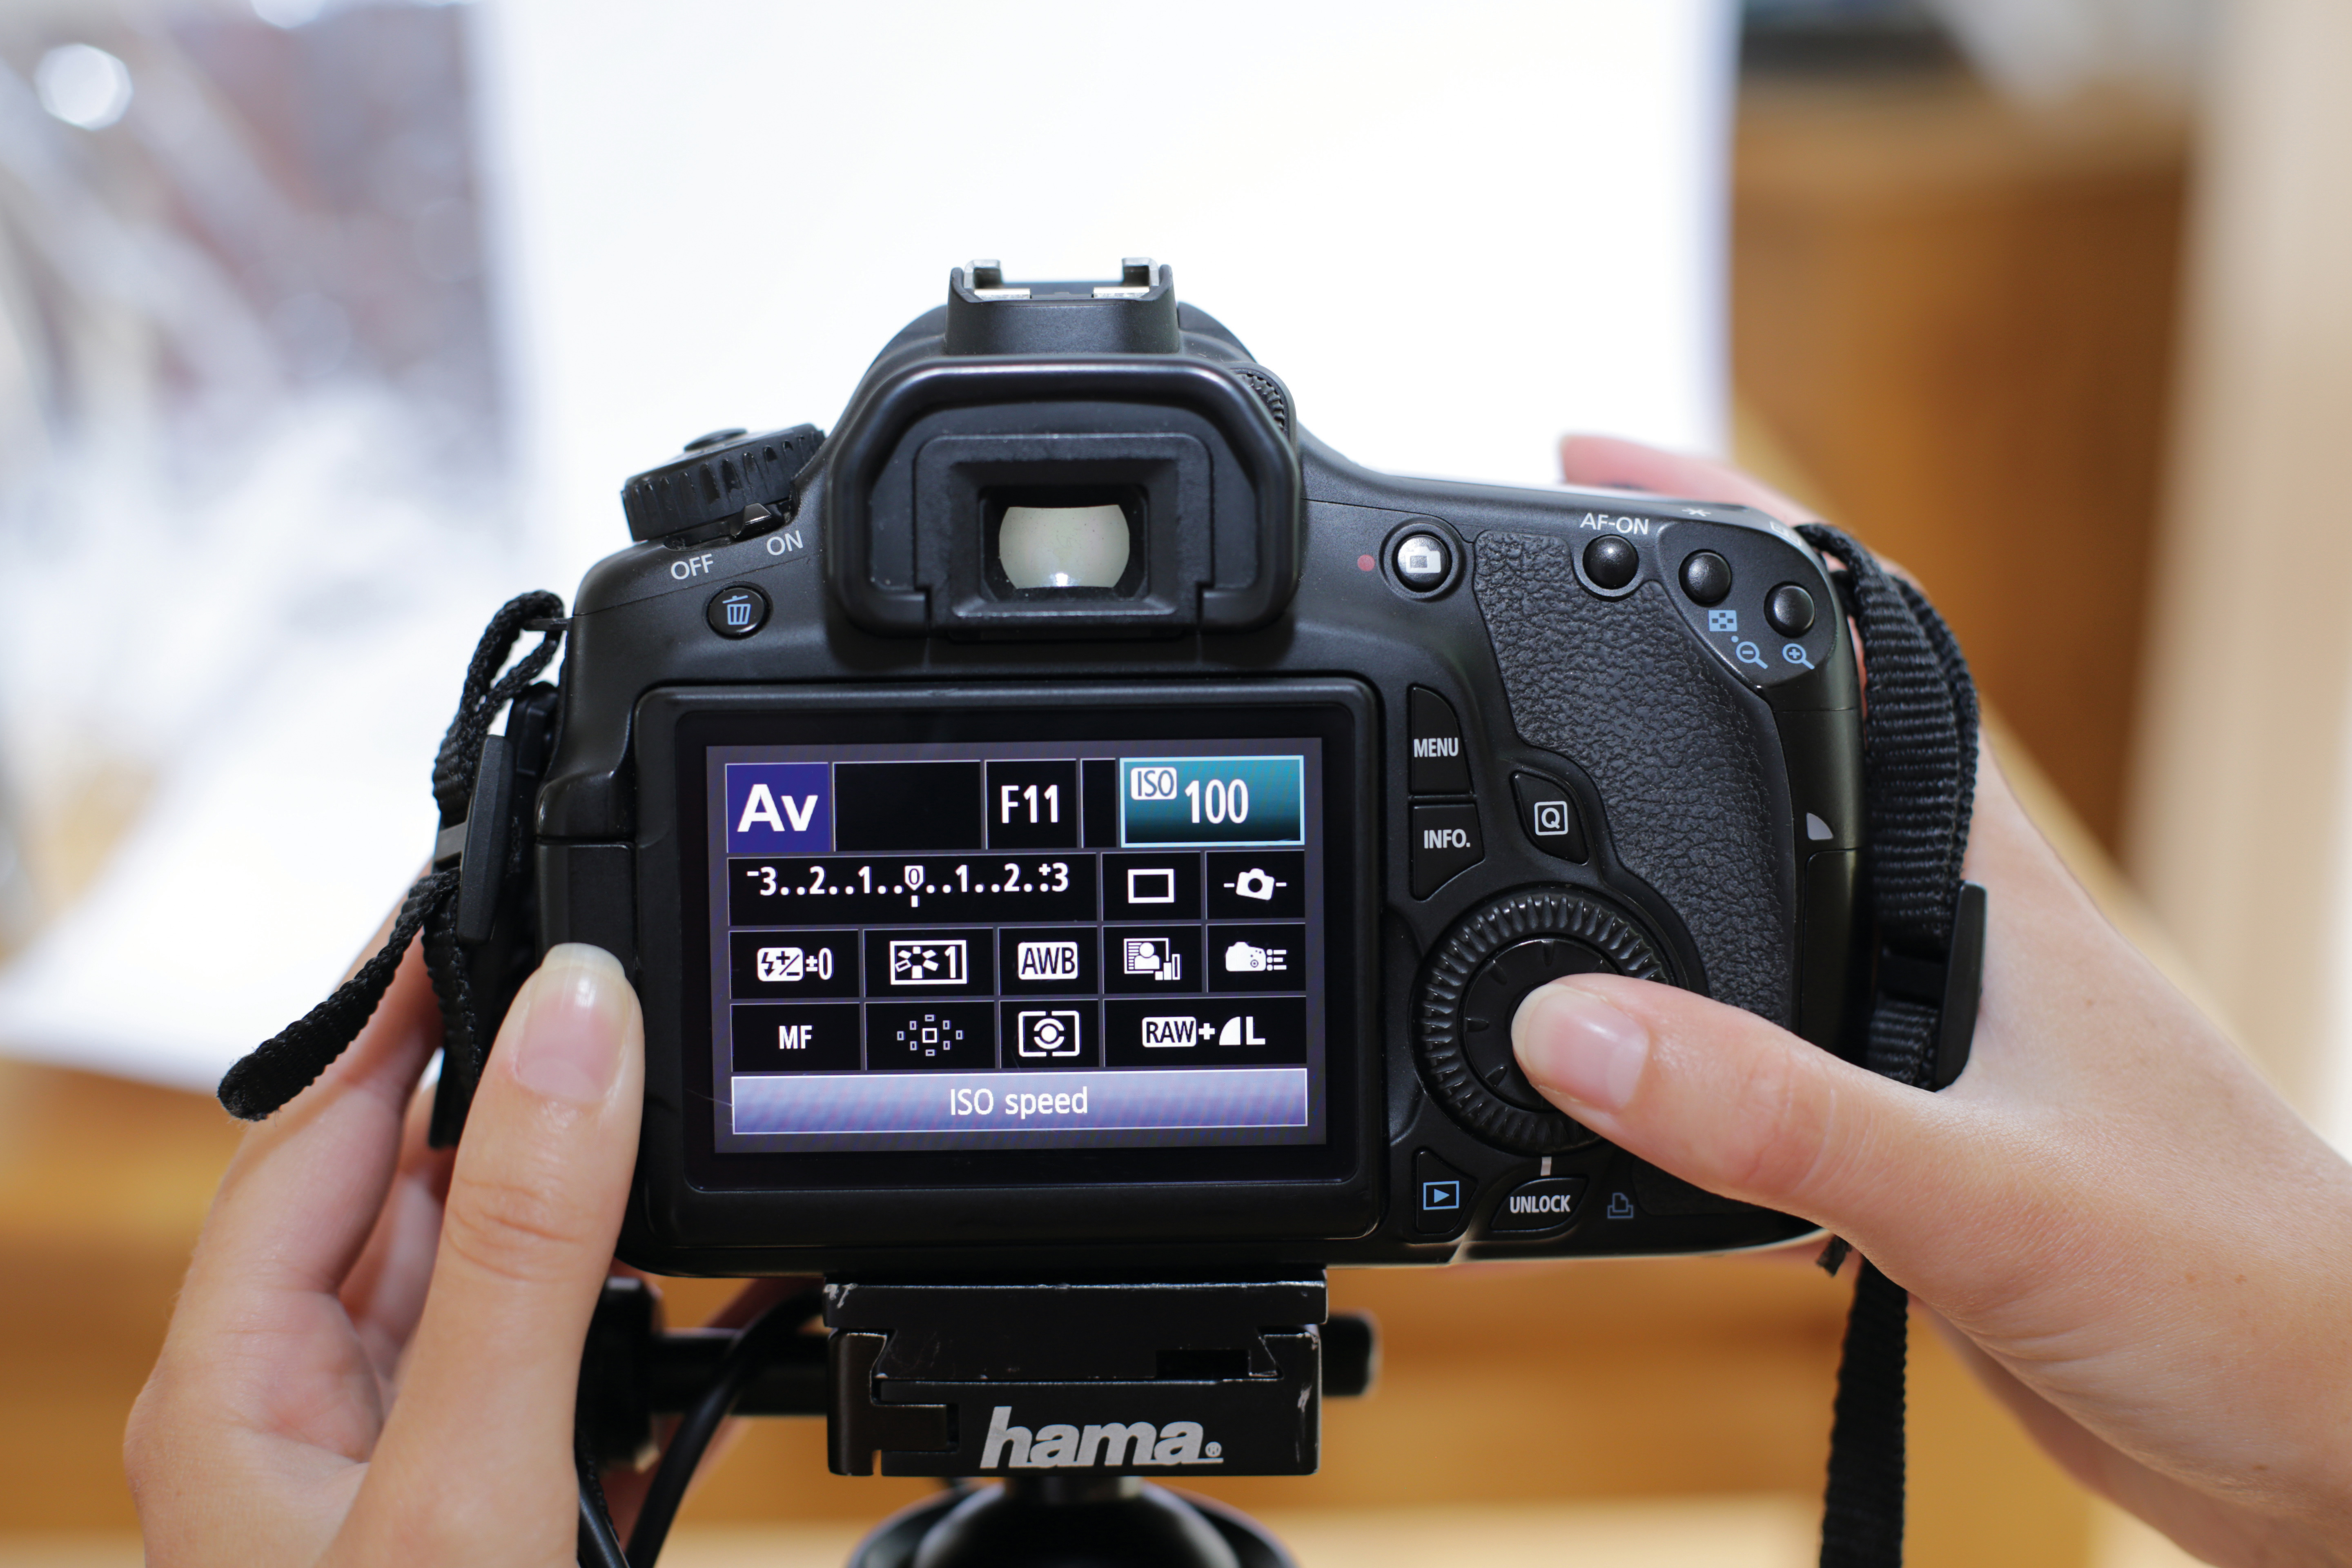
Position your camera on a tripod, and make sure that it's recording in Raw for top quality images. In aperture priority mode set a narrow aperture, such as f/11, to ensure a good depth of field to render your entire subject in sharp focus. As always, keep your ISO low for high quality images.
03 Reflecting the light
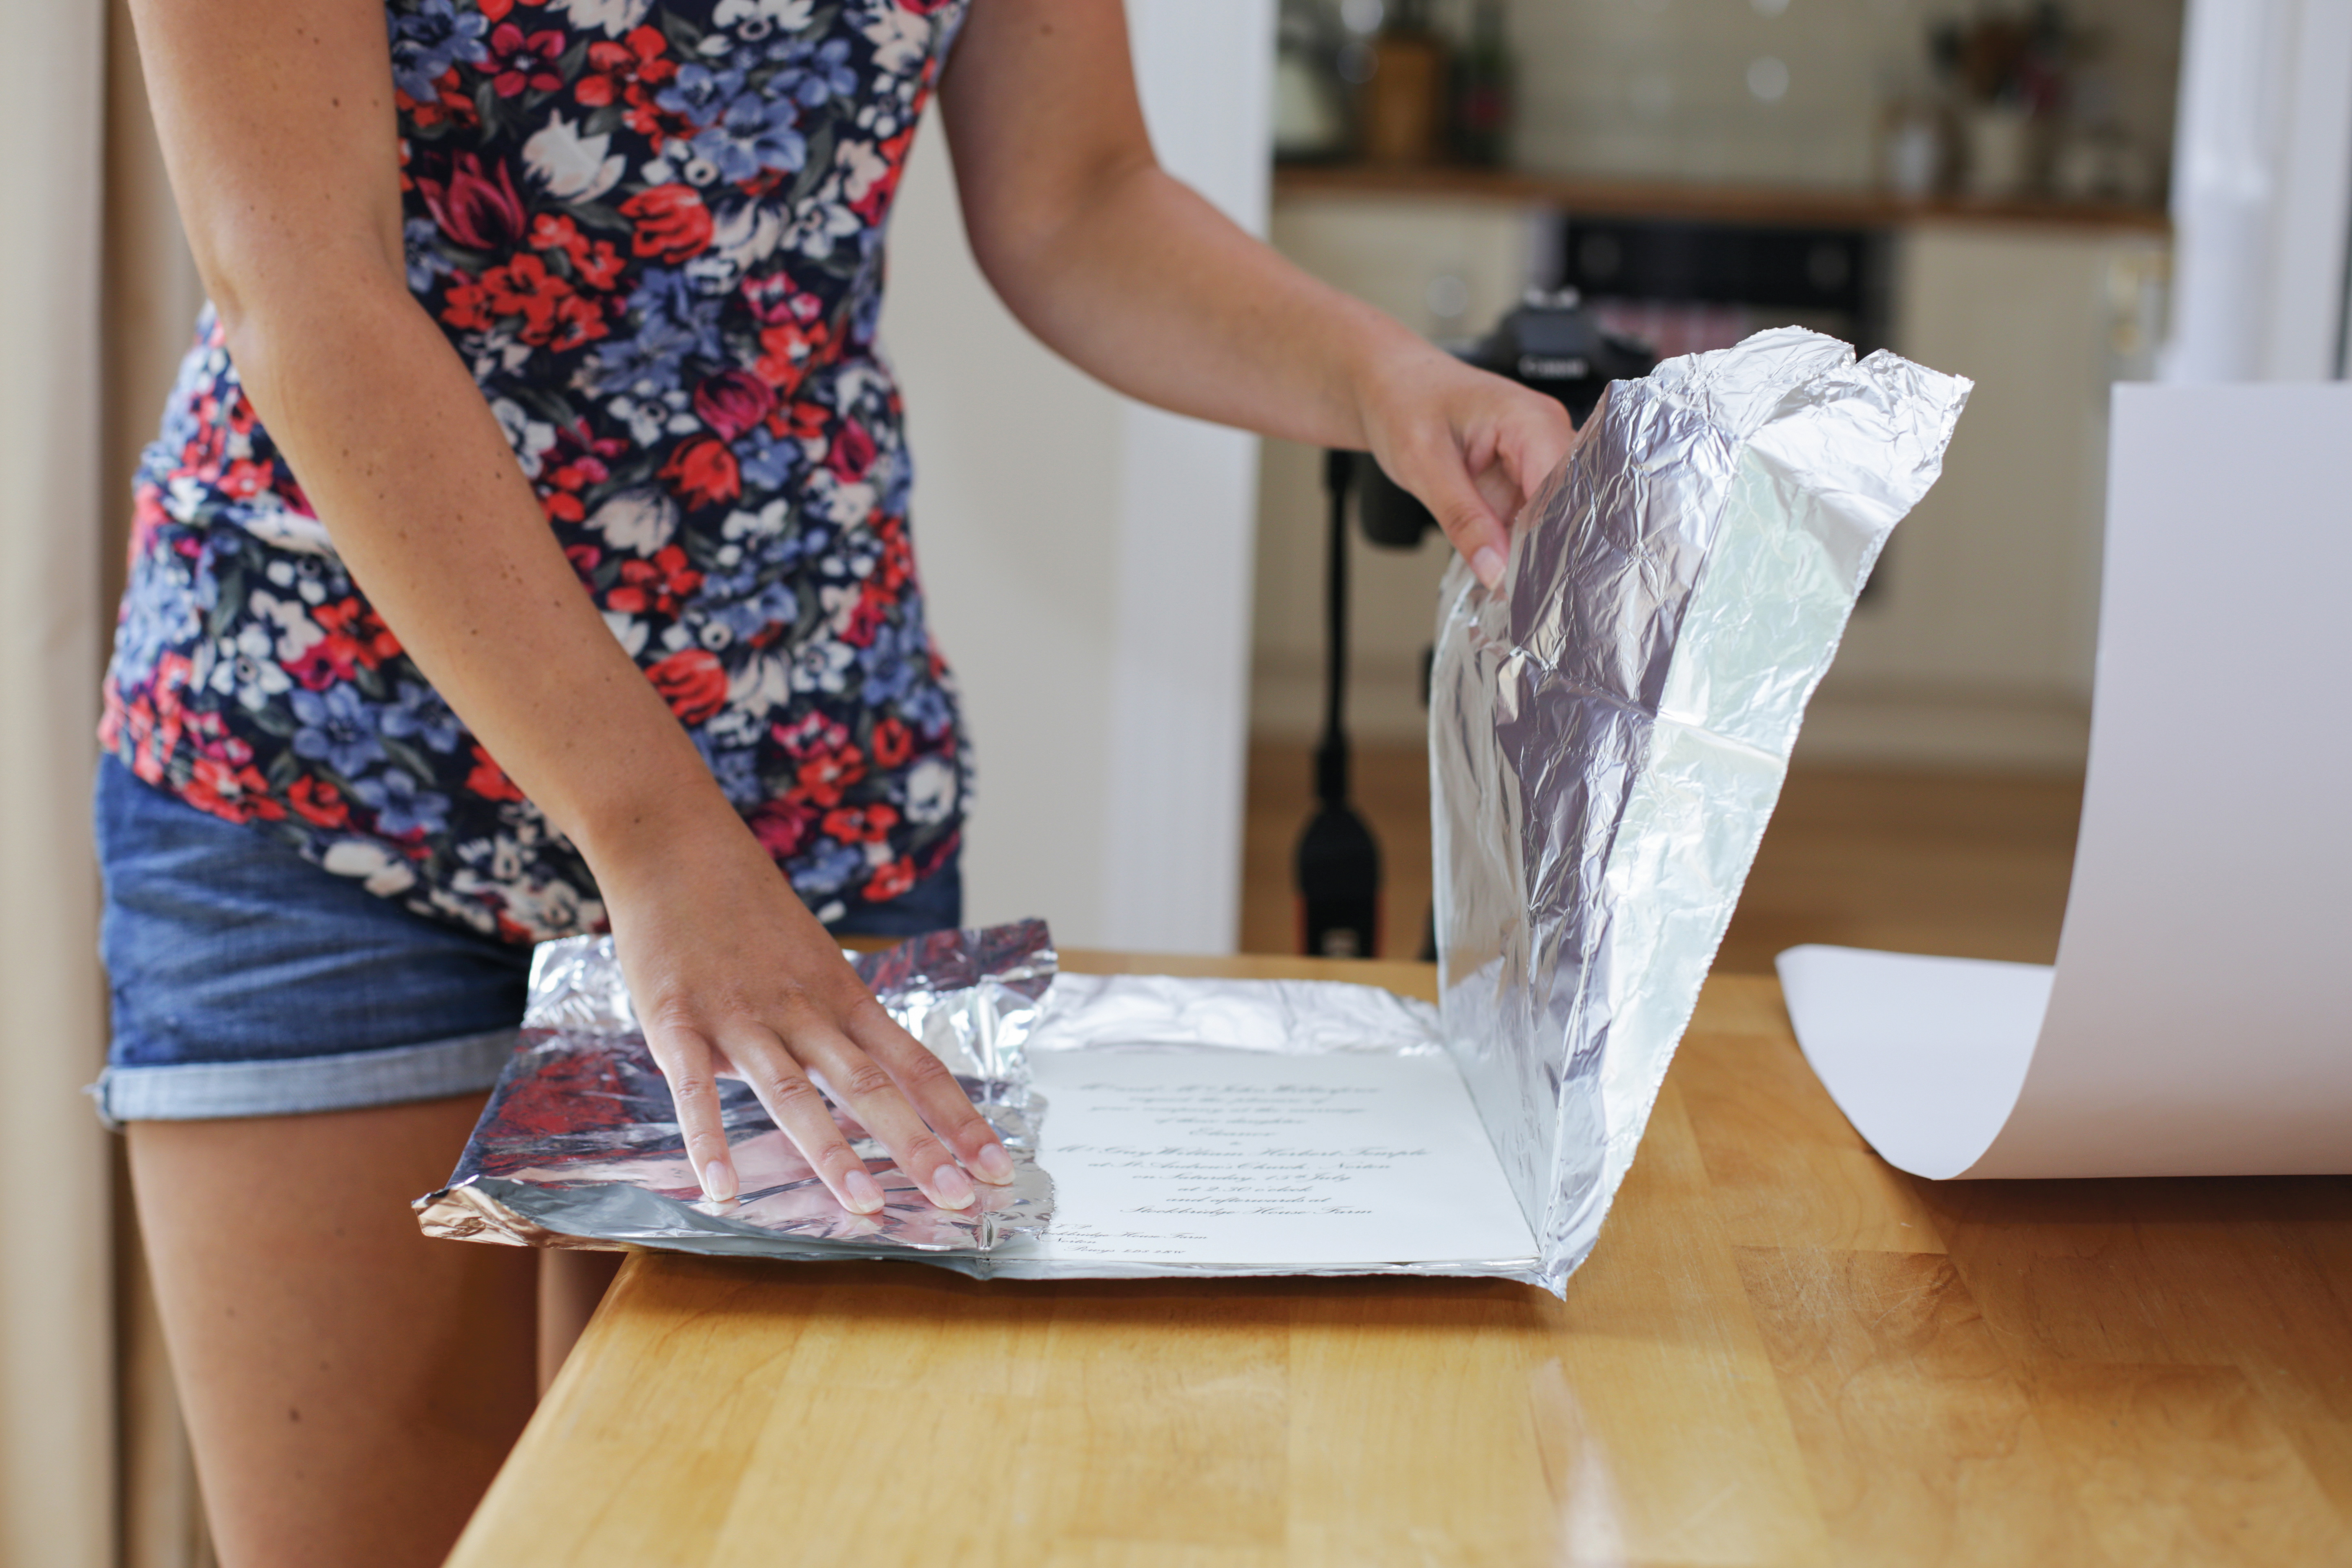
A mini reflector is ideal for this project, but if you only have a large reflector then you might find it too big or cumbersome for such small subjects. Instead, you can use a piece of white card or some tinfoil to throw some light back in to fill the shadows.
04 Position subject
Place your subject centrally on the white paper, then experiment with the position and angle of your reflector to create even lighting on your product. Try holding it opposite the window or above your subject to brighten the overall image.
05 Compose and focus
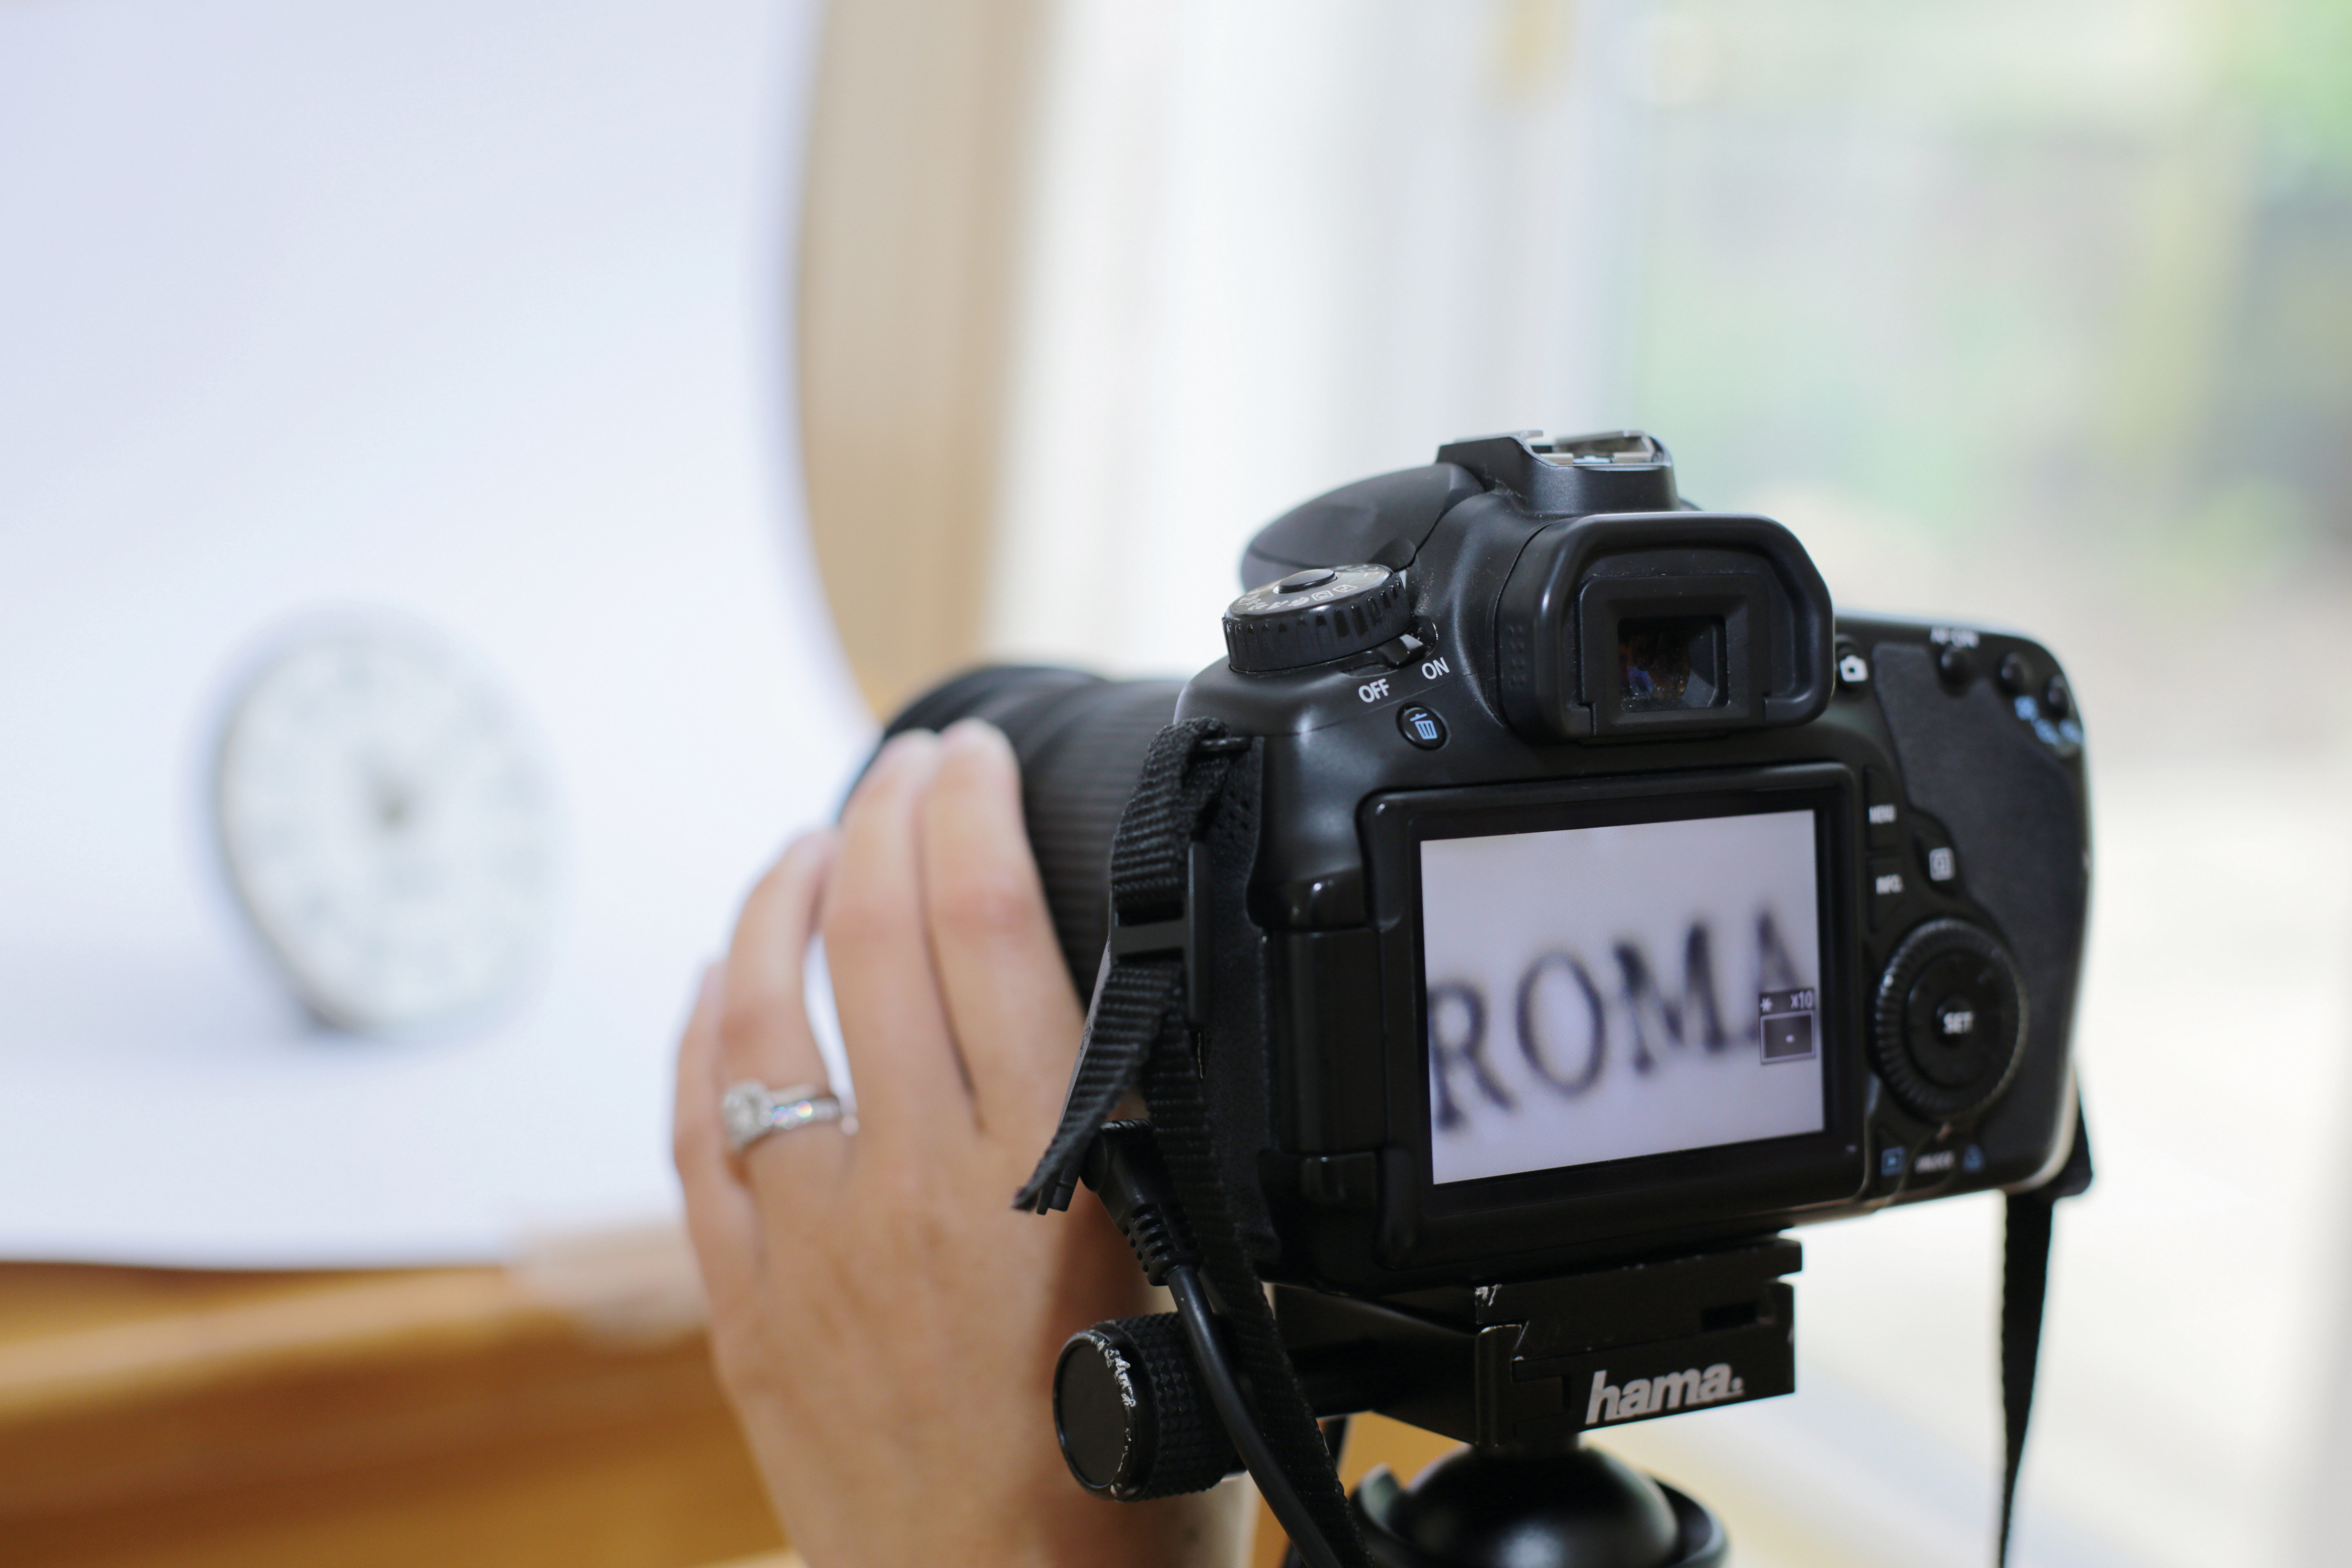
A 24-105mm lens will accommodate most shooting spaces – using the telephoto end will enable you to capture the product without the edges of your backdrop creeping into frame. In Live View mode, zoom into your focal point with the magnification function; with your lens set to manual focus, turn the focus ring until your subject comes into sharp focus. Use a shutter release or self-timer to avoid camera shake.
'Shop your shots so they sell
01 Adjust color temperature
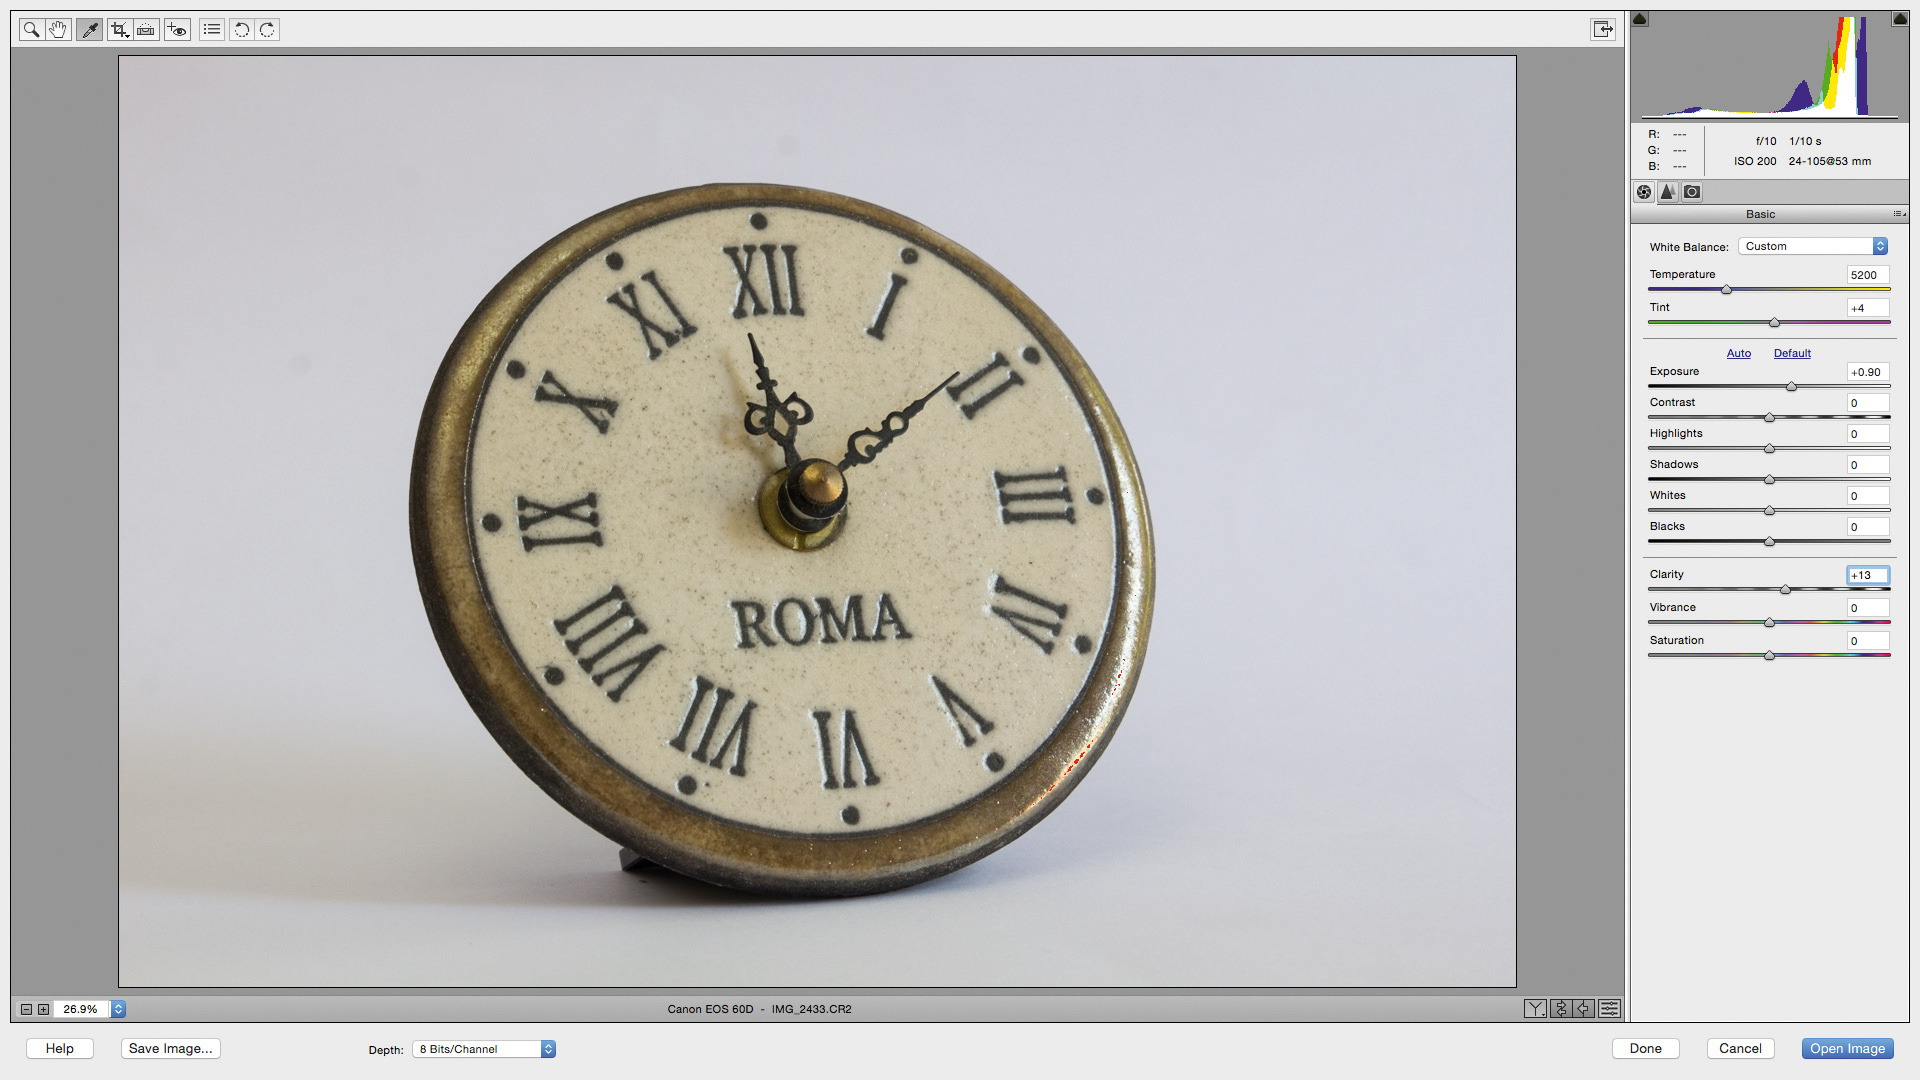
Open your image in Photoshop or Photoshop Elements with Adobe Camera Raw. Grab the White Balance tool and, with the picker, click on the background to remove any color cast. Fine-tune with the Temp, Exposure and Clarity sliders, and click Open Image when your product is looking good.
02 Get a clean white look
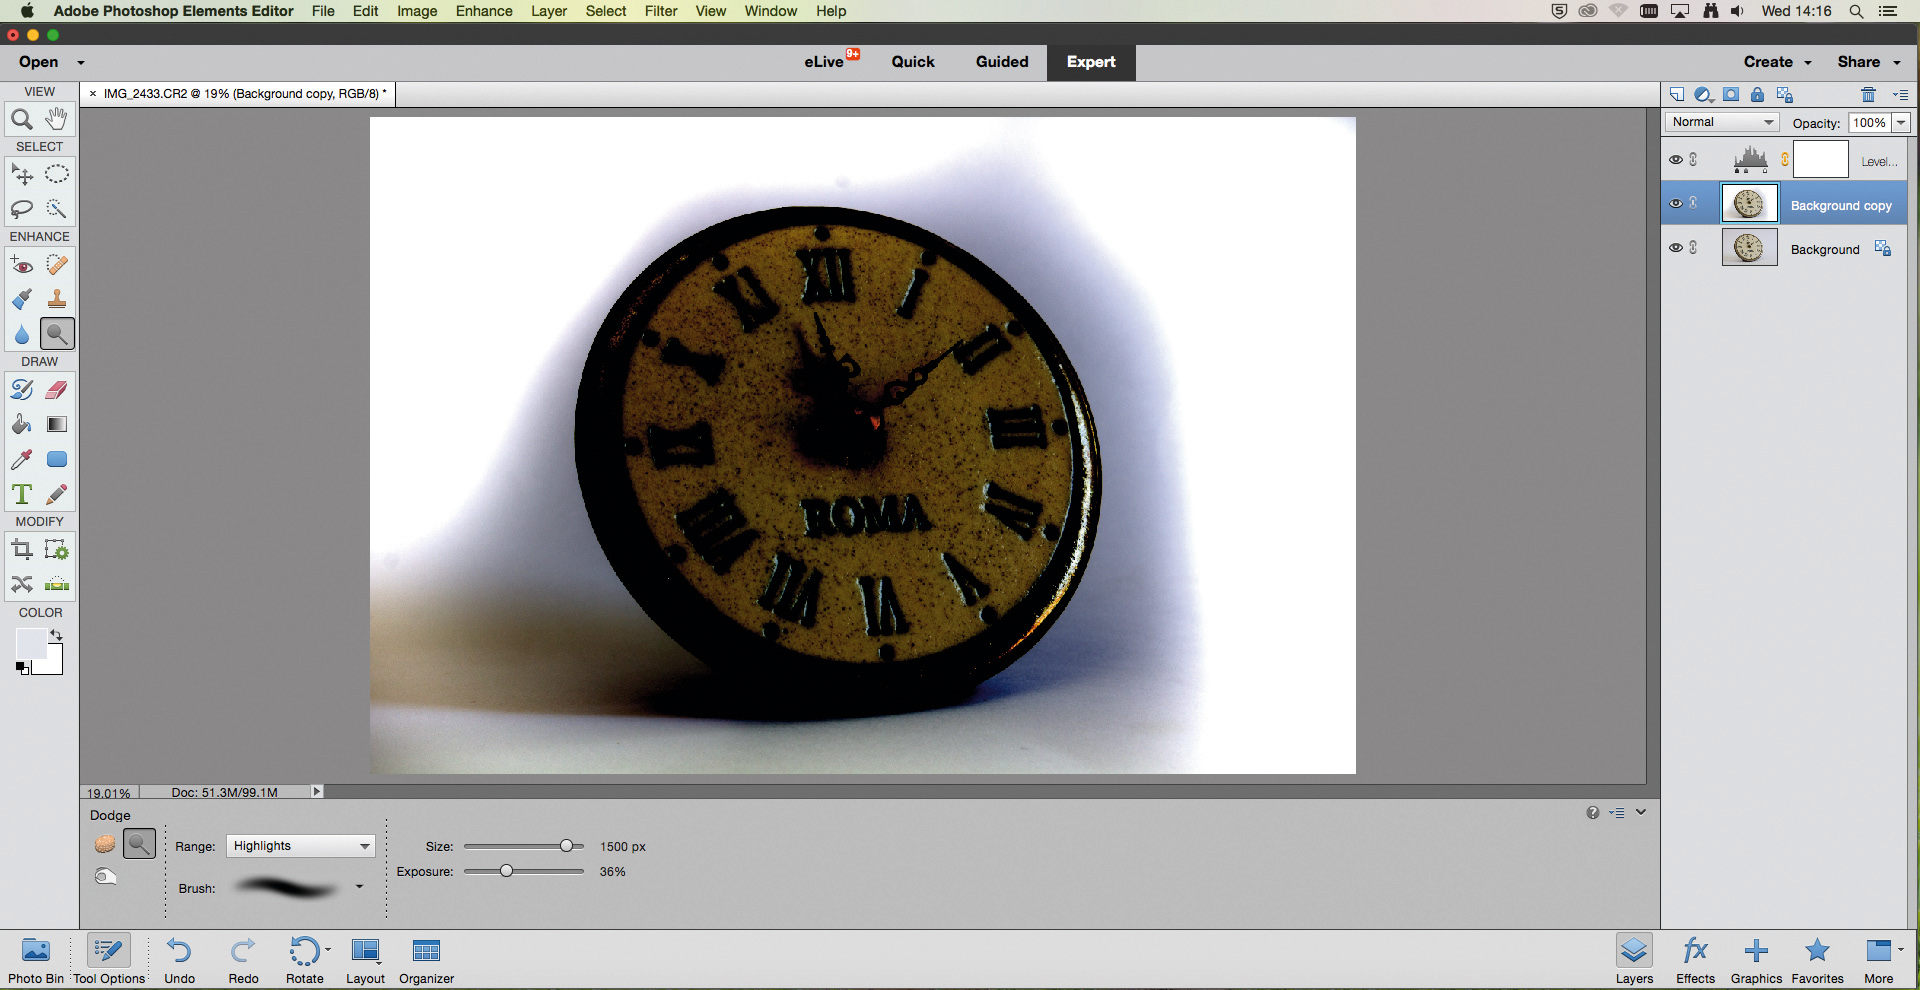
Unless the light is just right, you're probably going to have a grey-looking backdrop. Hit Ctrl (on a PC) or Cmd (Mac) +J to copy the background Layer. Make a Levels adjustment layer and drag the black point to the right. We set the Dodge tool to Range: Highlights, Exposure 15%, and lightened the middle layer’s background (adjust to suit your own shot). Now delete the Levels layer, flatten, and you're done!
PhotoPlus: The Canon Magazine is the world's only monthly newsstand title that's 100% devoted to Canon, so you can be sure the magazine is completely relevant to your system.
Read more:
Best light tents for product photography
Home photography ideas: Shoot product photography with a single strobe
Home photography ideas: Use a shift lens for sharper food and product shots
Hollie Latham-Hucker is a former Technique Editor of PhotoPlus magazine. With a degree in Design Photography from the University of Plymouth, she is currently working as the Technique Editor of Amateur Photographer.
